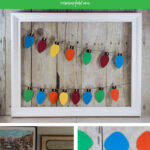
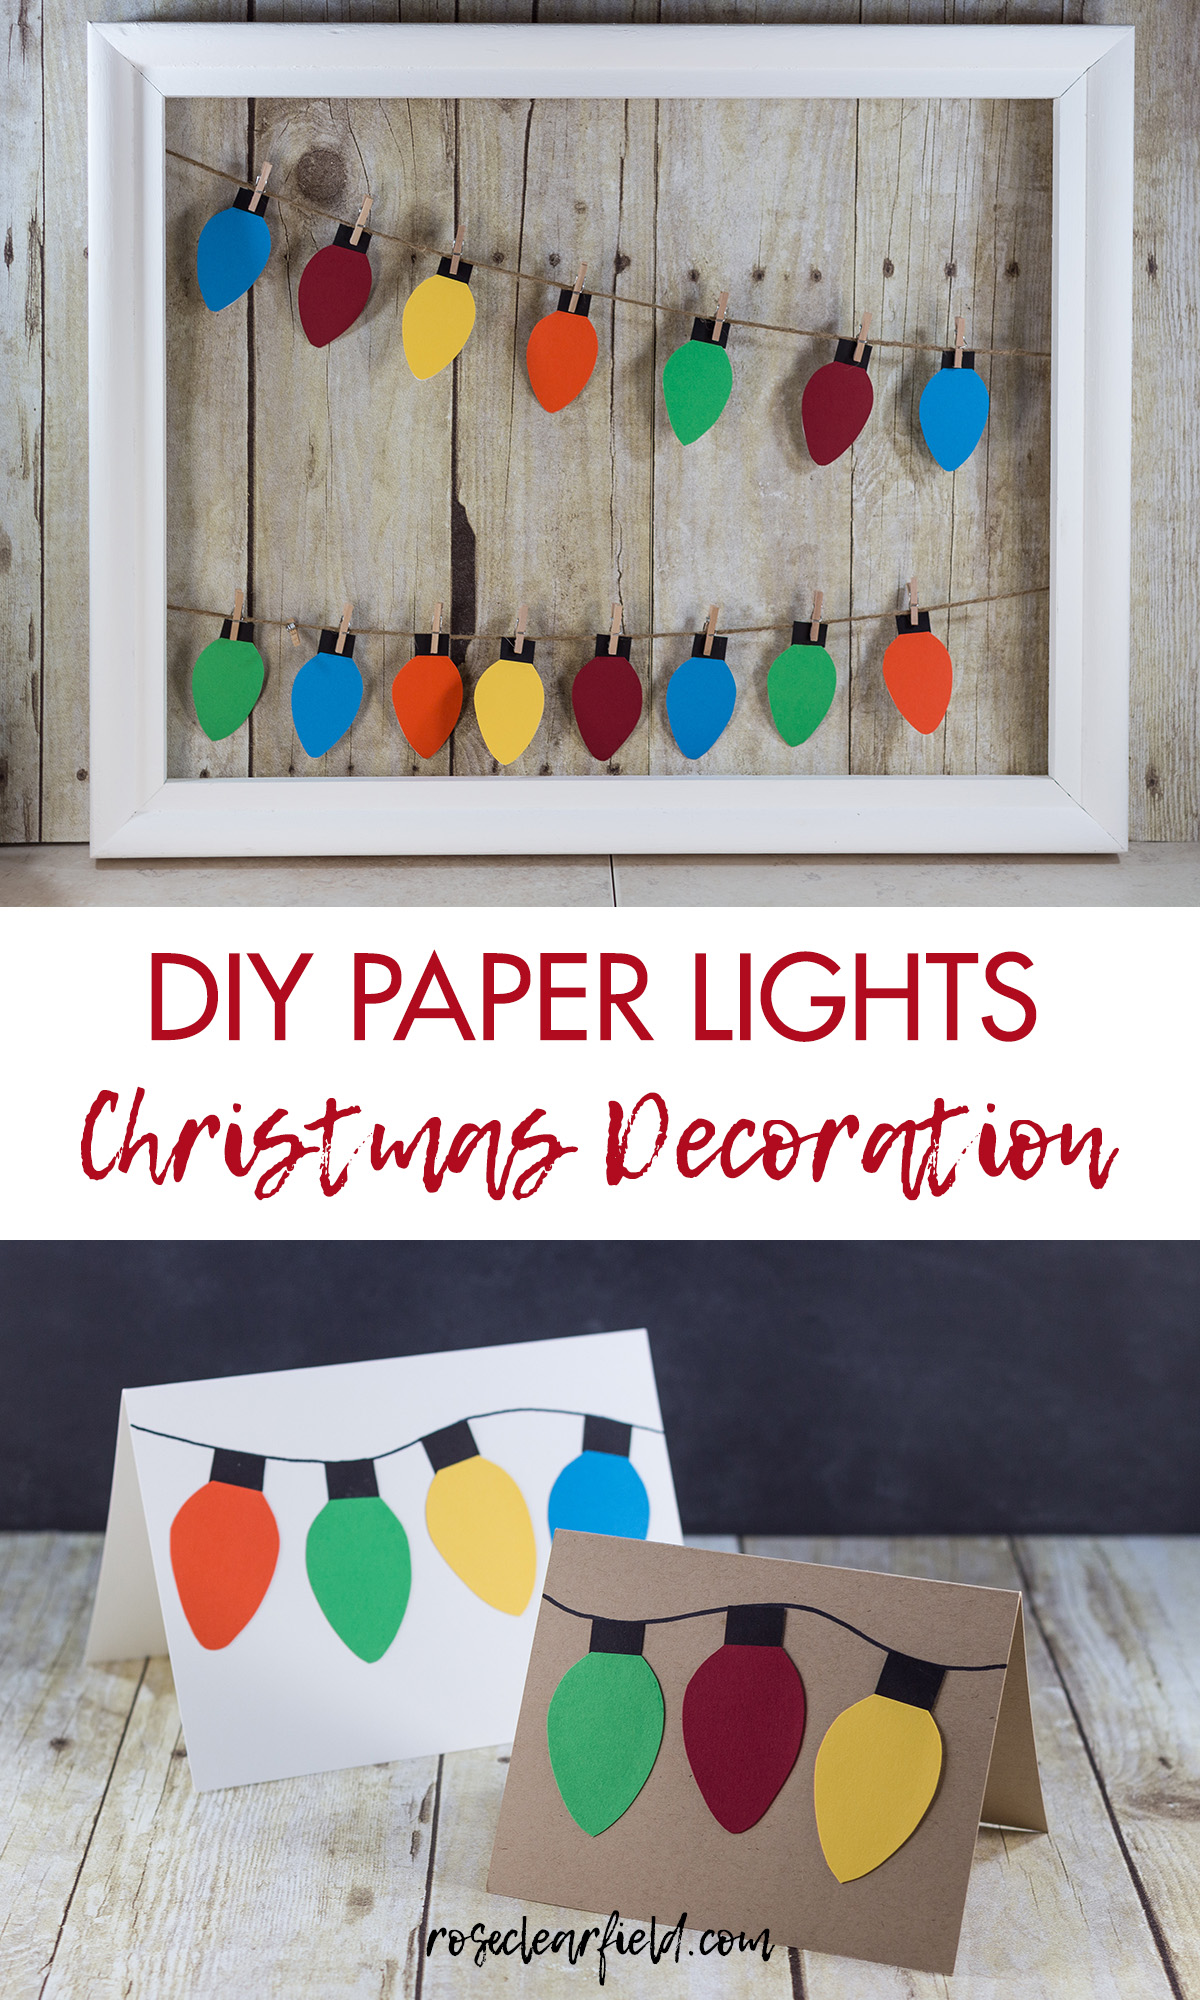
I have an open frame in our entryway that I switch up for different holidays and seasons. Somehow in the craziness of moving right before Thanksgiving, I didn’t create a Christmas display last year. As some of you saw on Facebook, it took me longer than usual to come up with the current display. But I couldn’t be happier with the results. My DIY paper Christmas lights decoration may be my favorite open frame display yet.
The best part is that these homemade paper holiday lights are so versatile. If you don’t want to make a hanging display or garland, you can use them for greeting cards, gift tags, and much more. I share a couple of my other uses for them at the end of this post, but the possibilities are endless.
The concept of the open frame display is pretty straightforward. You can remove a canvas photo or painting or take out the glass from any frame. I chose to paint my frame white. Determine where you’d like the string or twine to hang in the frame. Attach two nails on either side of the back of the frame to match your string placement. I used a natural jute twine from Michaels. String up the twine. If necessary, add a dot of glue to either end of the strands to secure them. I also purchased my tiny clothespins from Michaels.
DIY paper Christmas lights decoration supplies:
- Christmas lights template (original source: Printable Treats). I printed 2 sheets for my hanging display and the other Christmas lights examples I feature in this post.
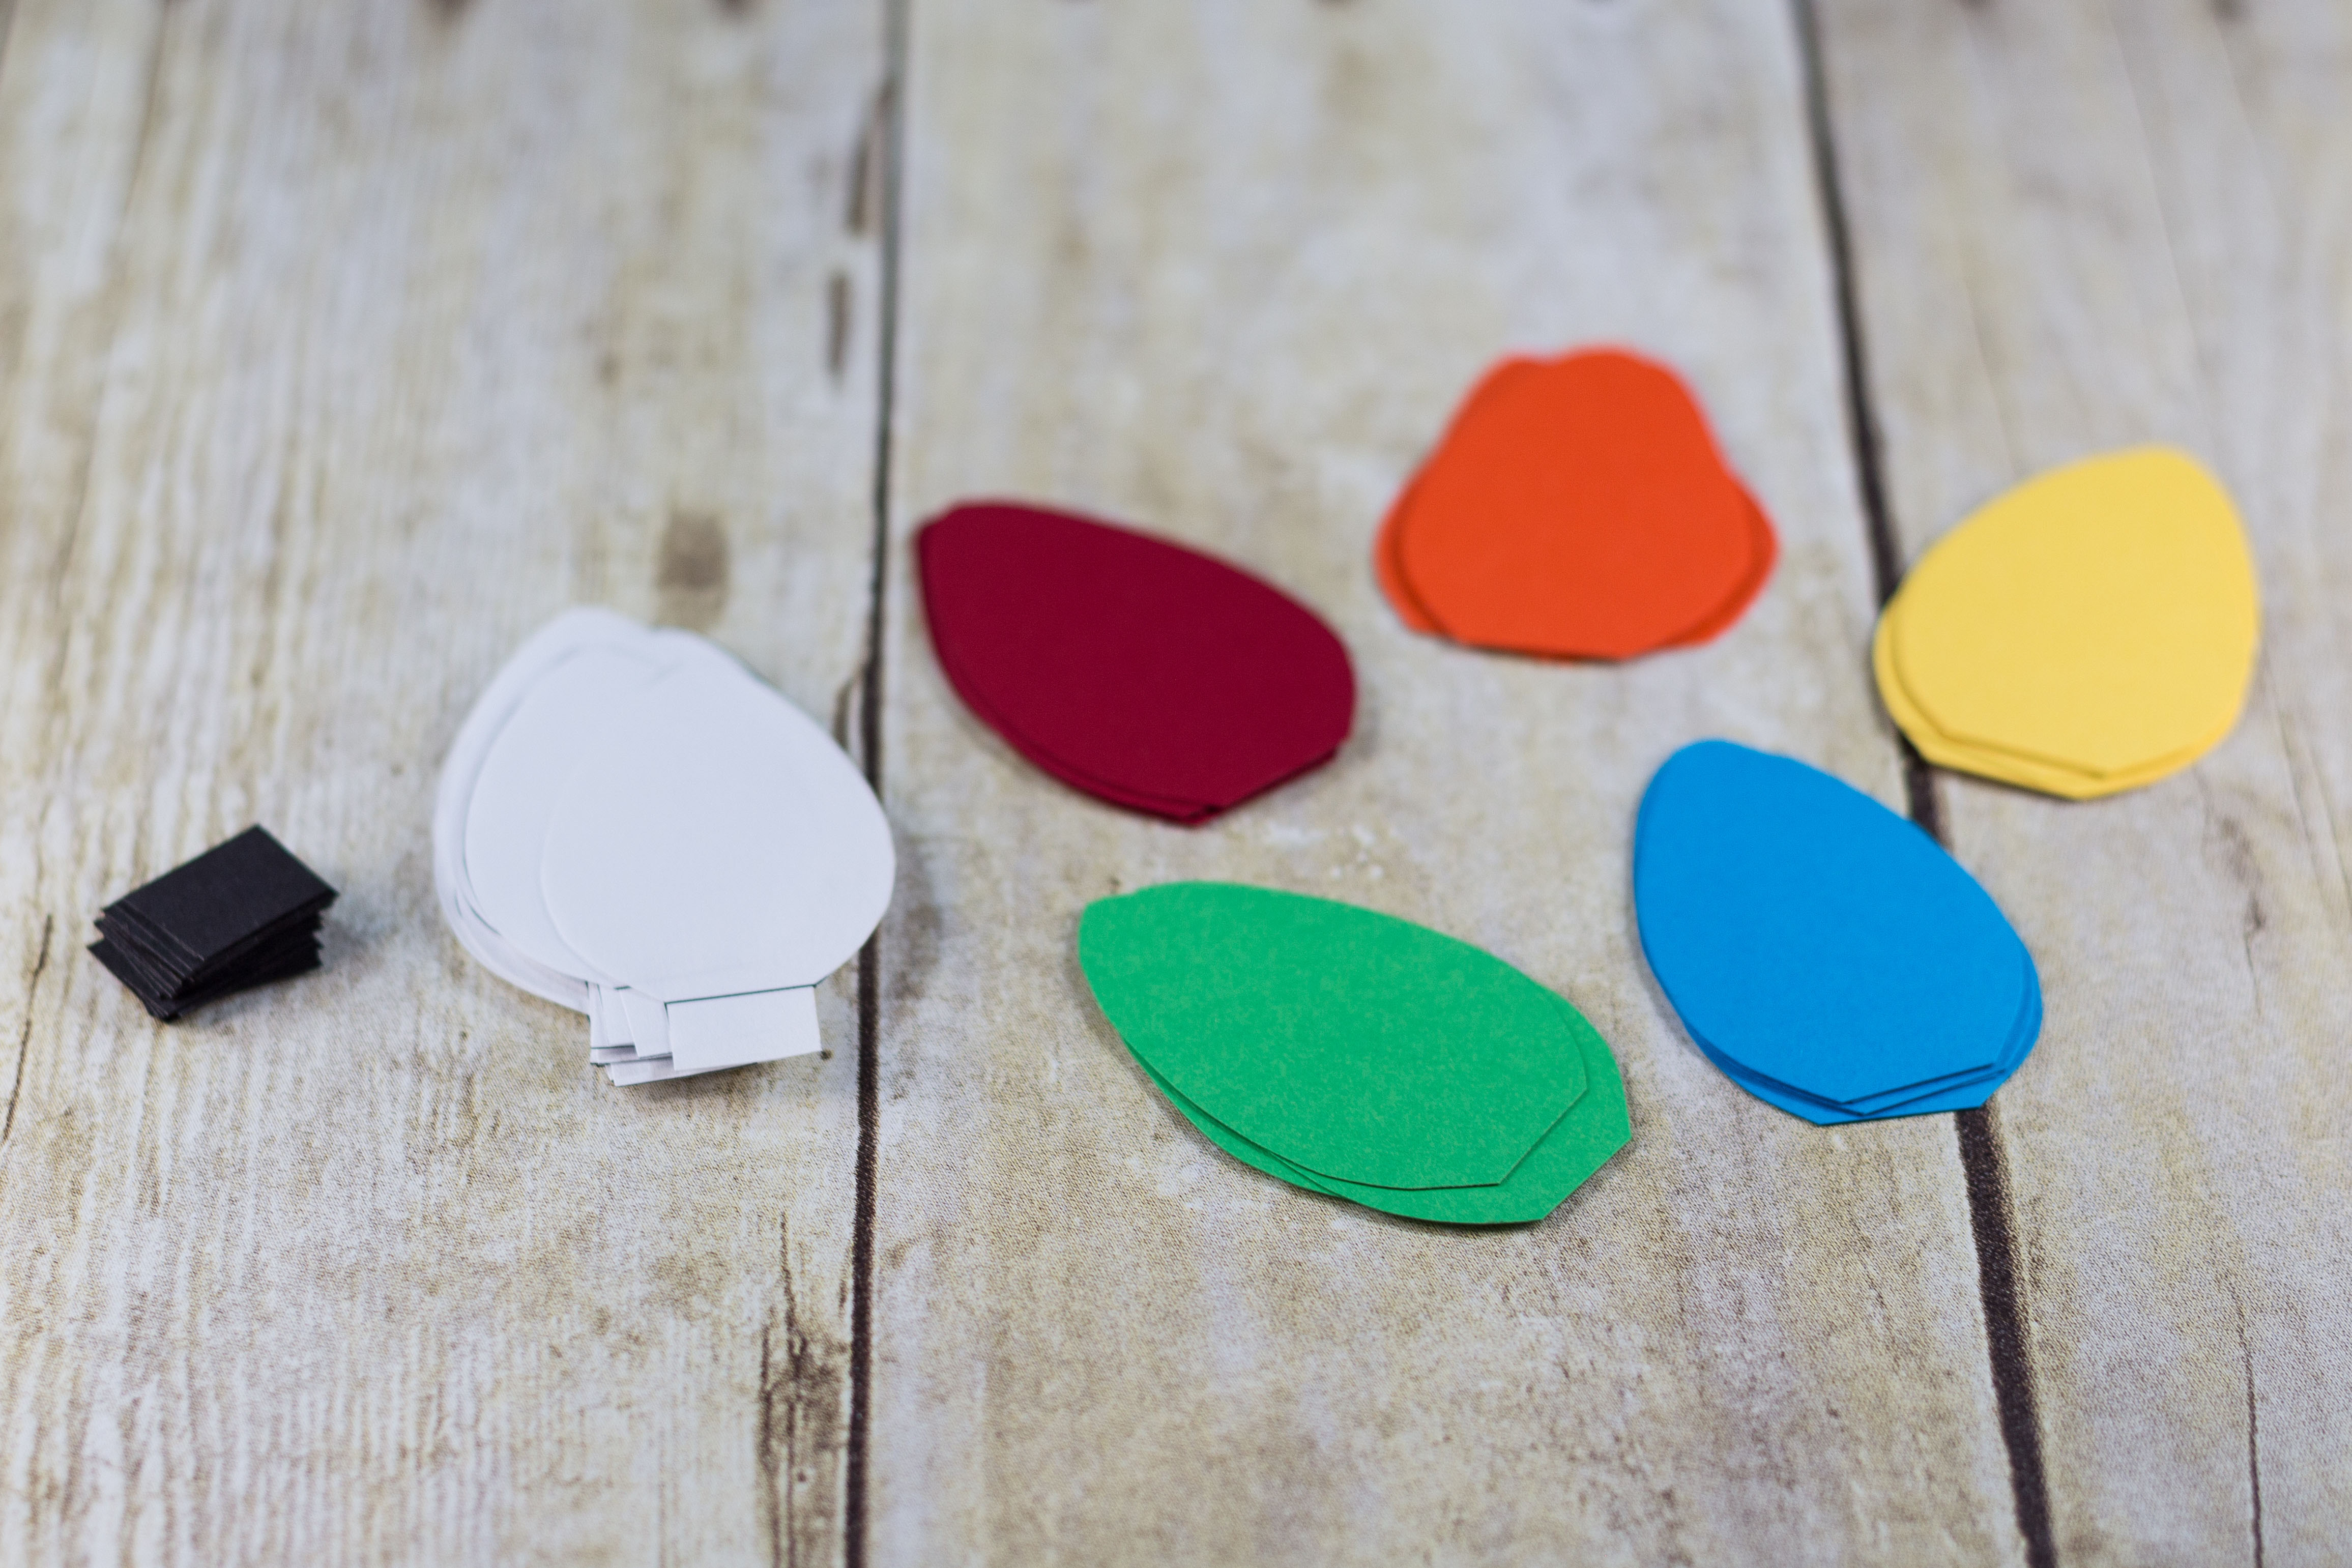
- Six 8.5″ x 11″ sheets cardstock, one each of the following colors: red, orange, yellow, green, blue, black
- Scissors
- Scrapbook glue (I use Scotch Scrapbooker’s Glue)
Print the Christmas lights template. The size of your hanging display or garland will dictate the number of lights required. If necessary, print 2-3 templates.

Gather your cardstock.

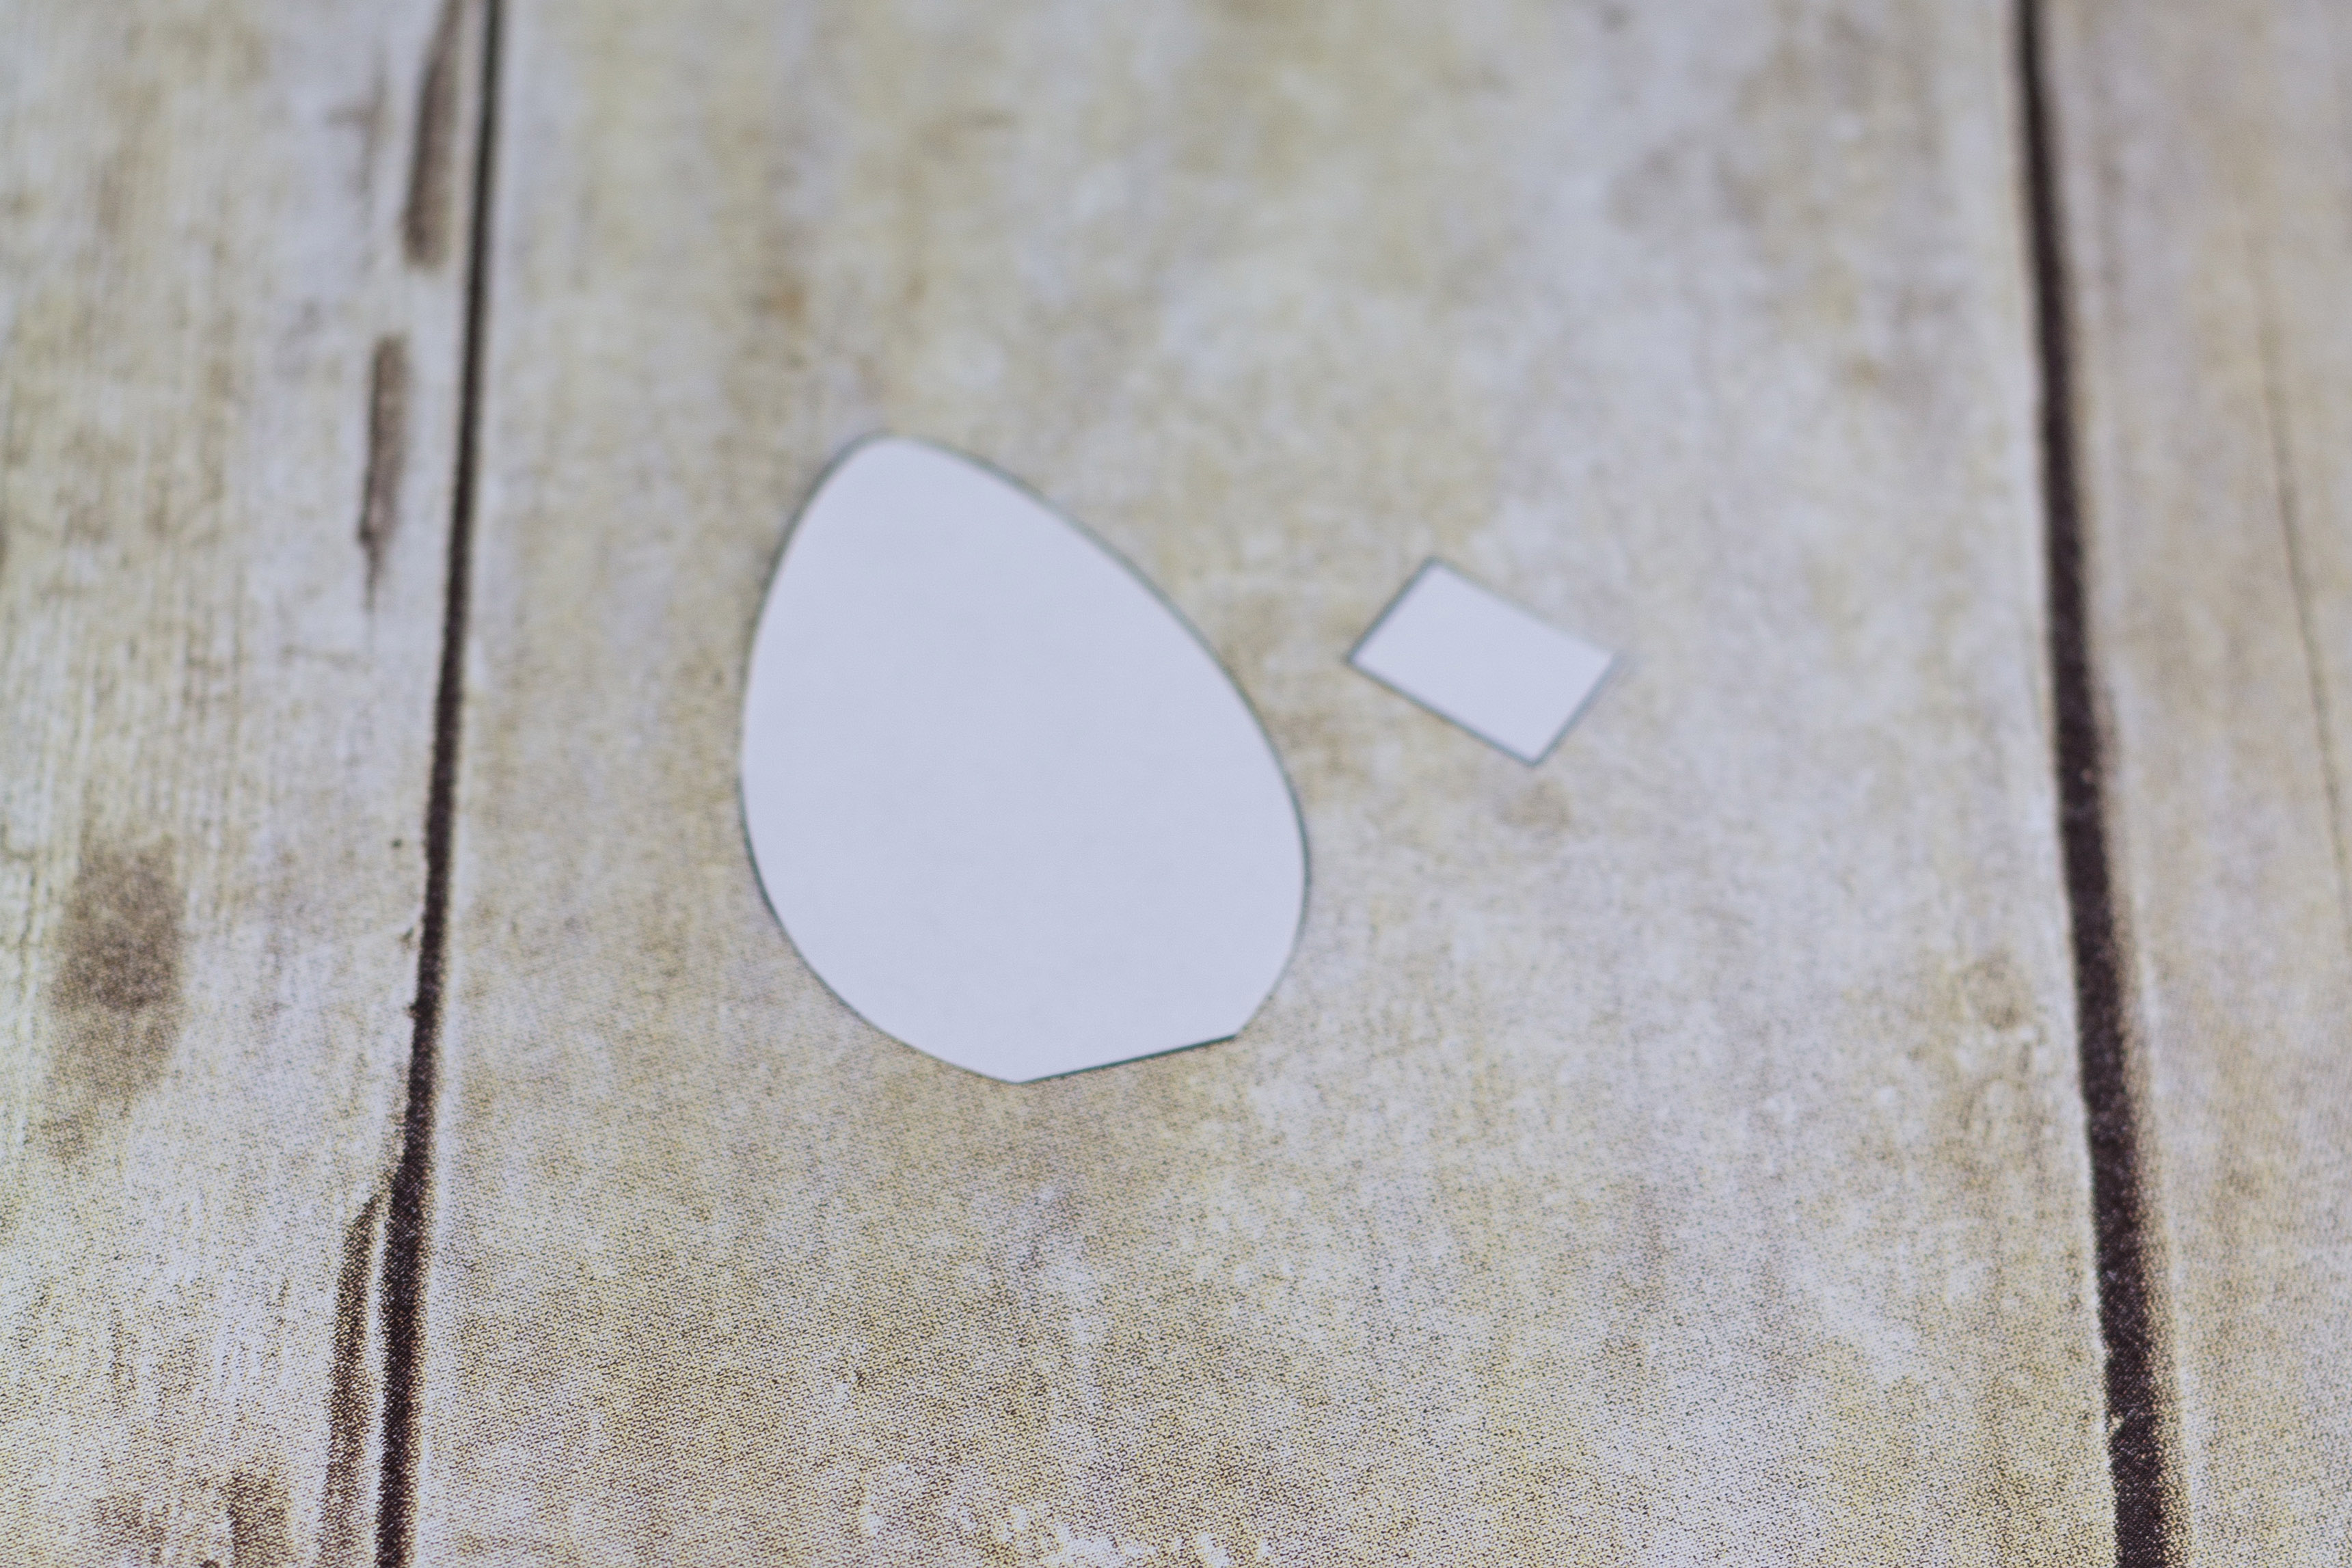
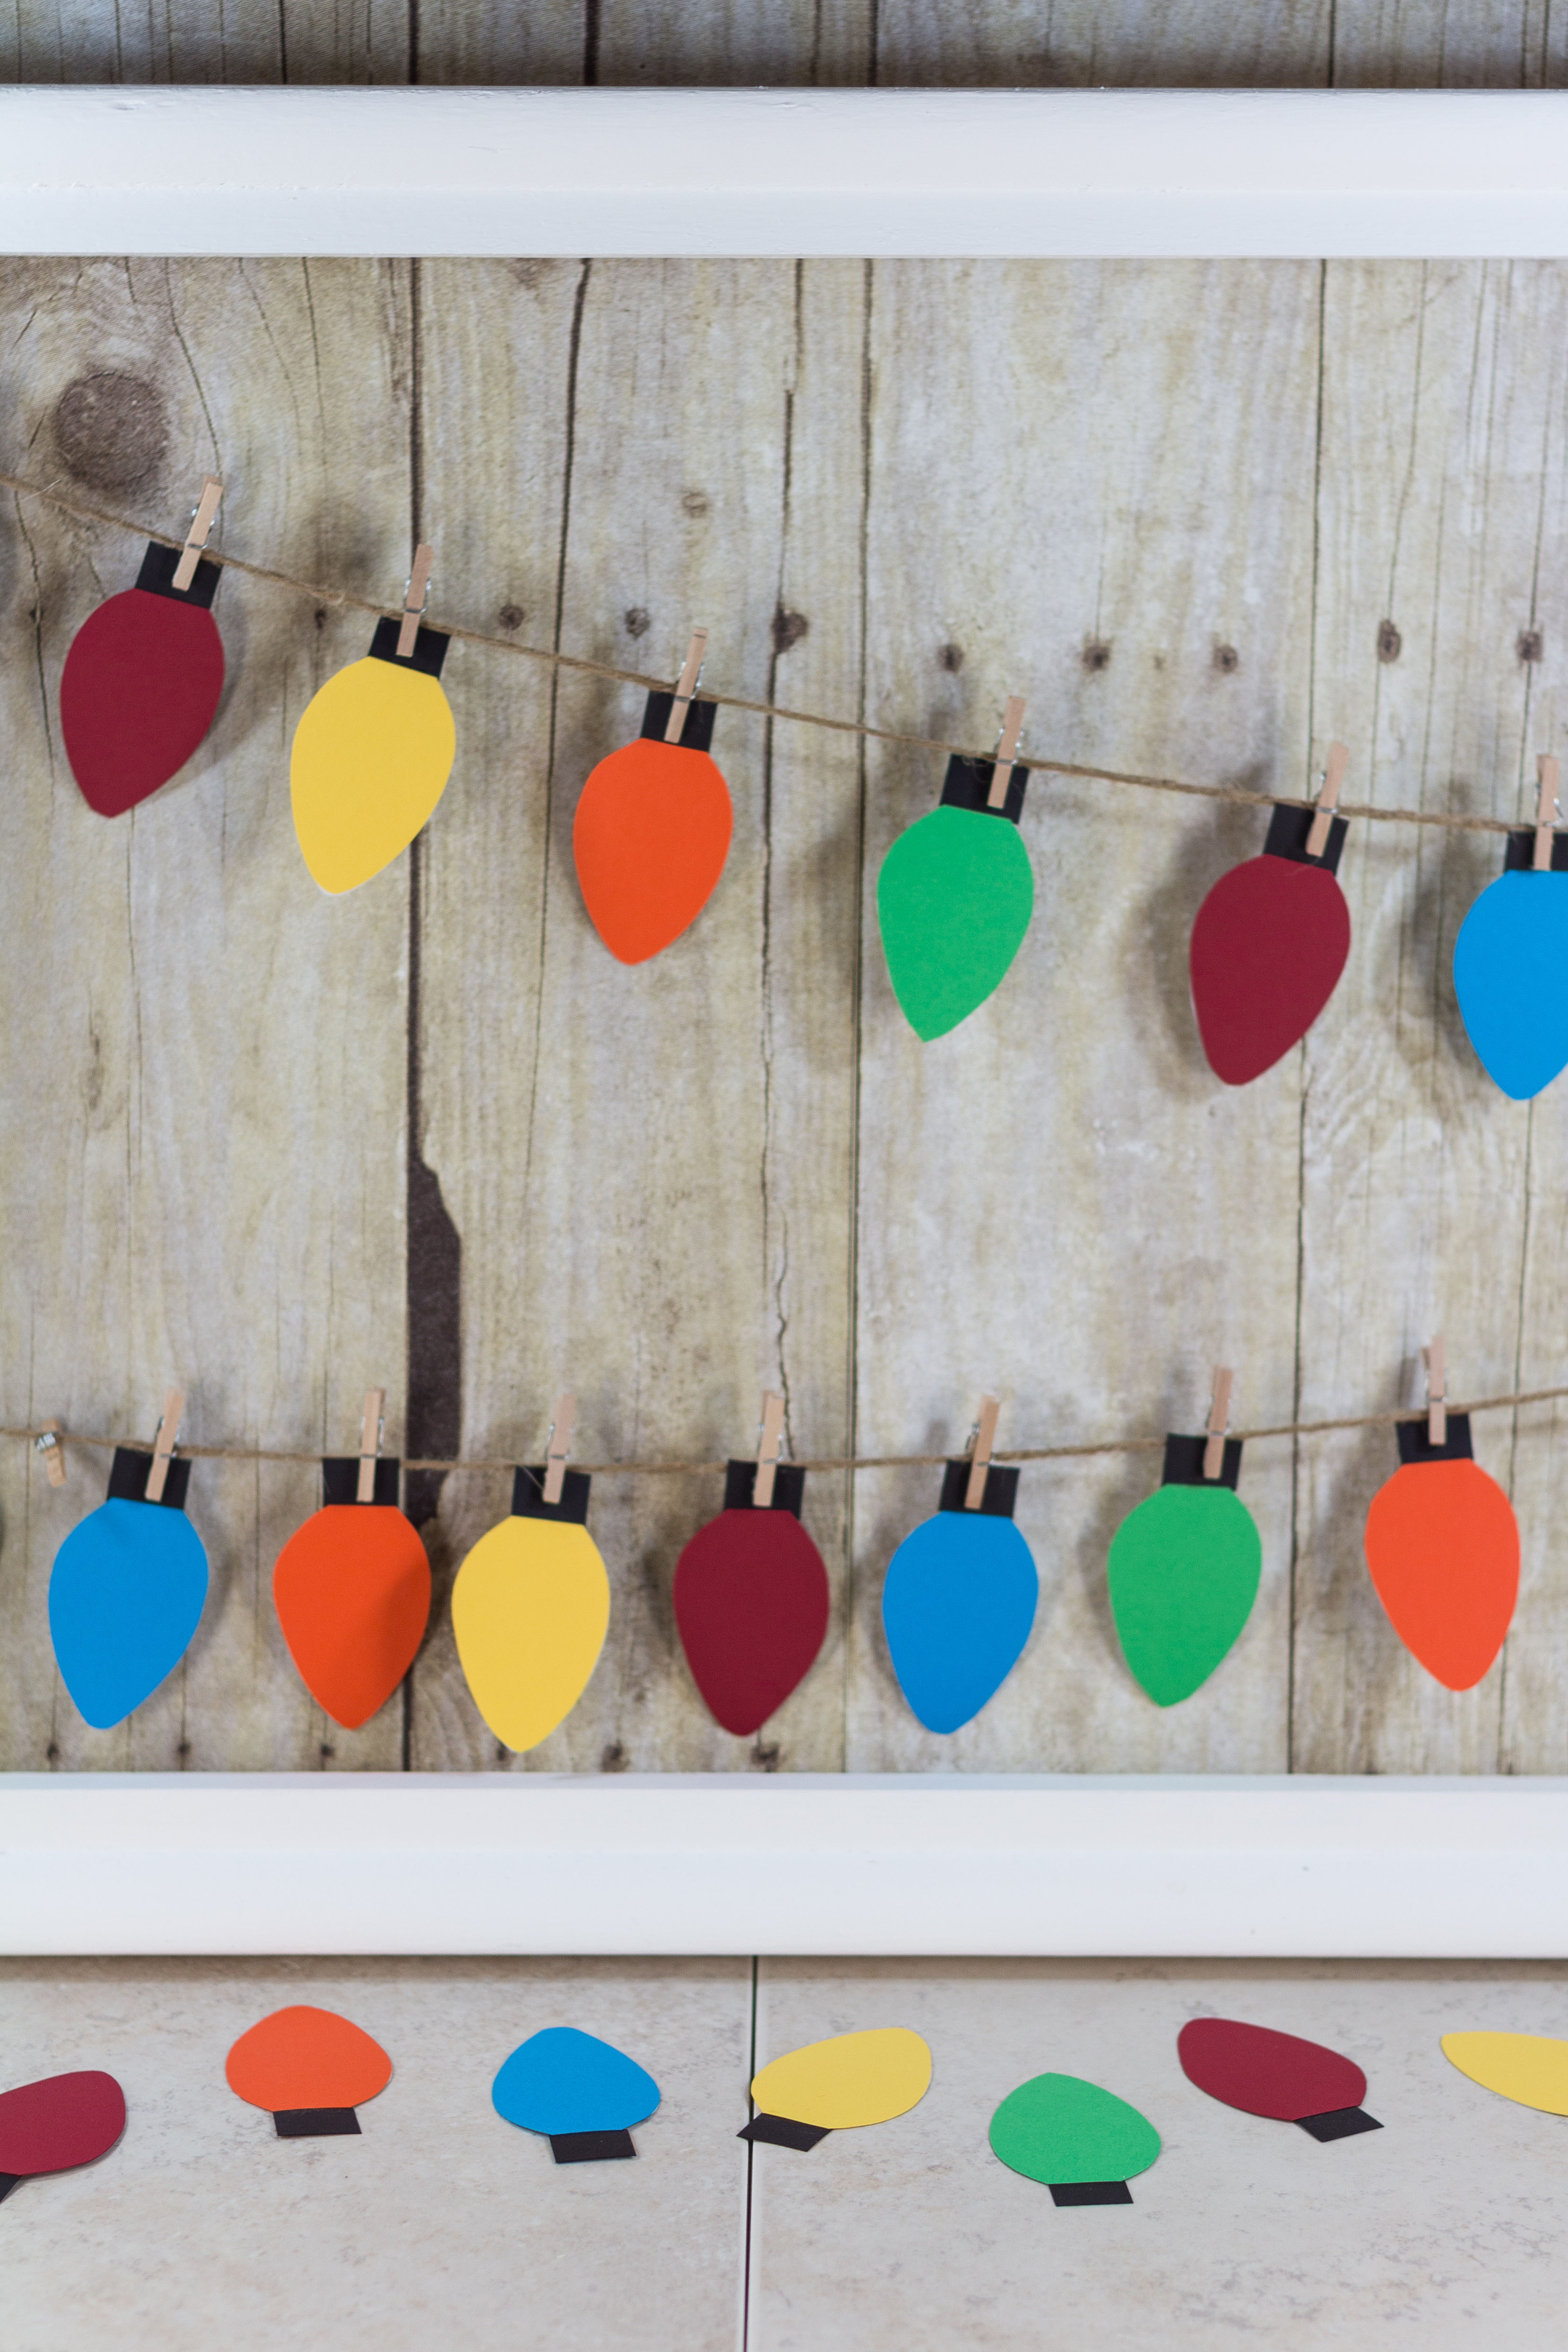
Cut out one light template to use as your cardstock tracing pieces, cutting apart the light and base.
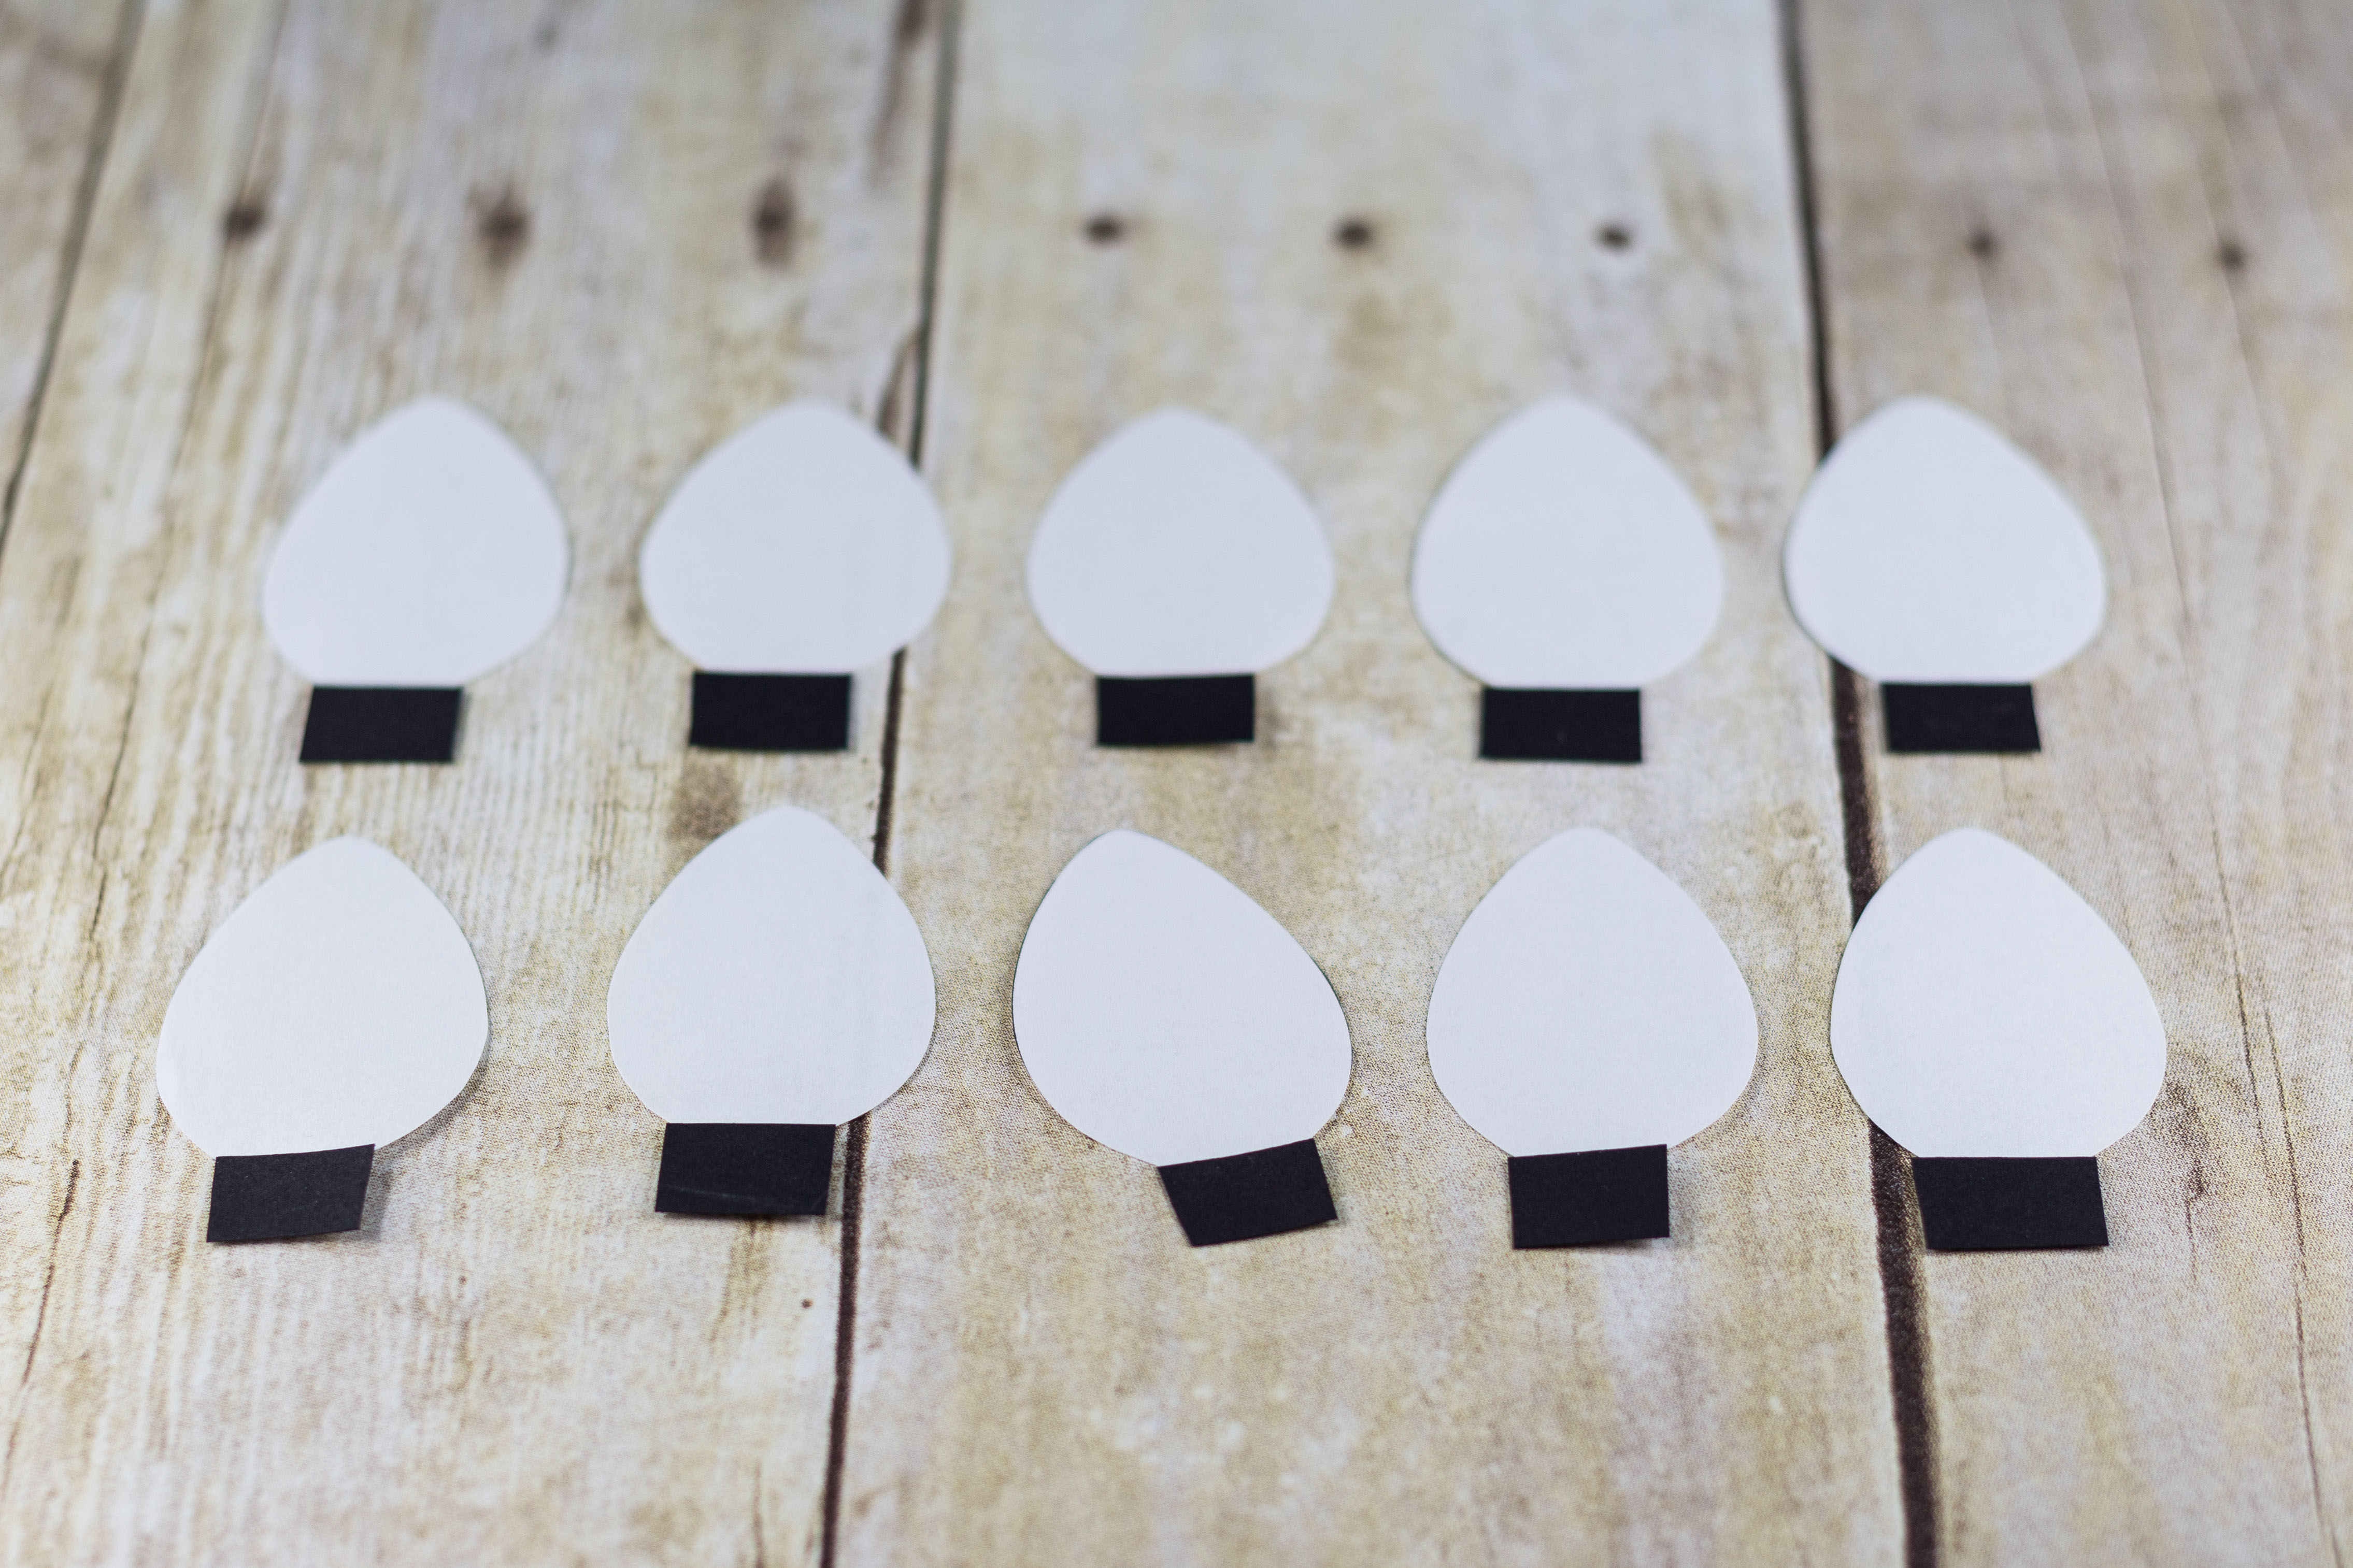
Trace the lights on the colored cardstock and the bases on the black cardstock.
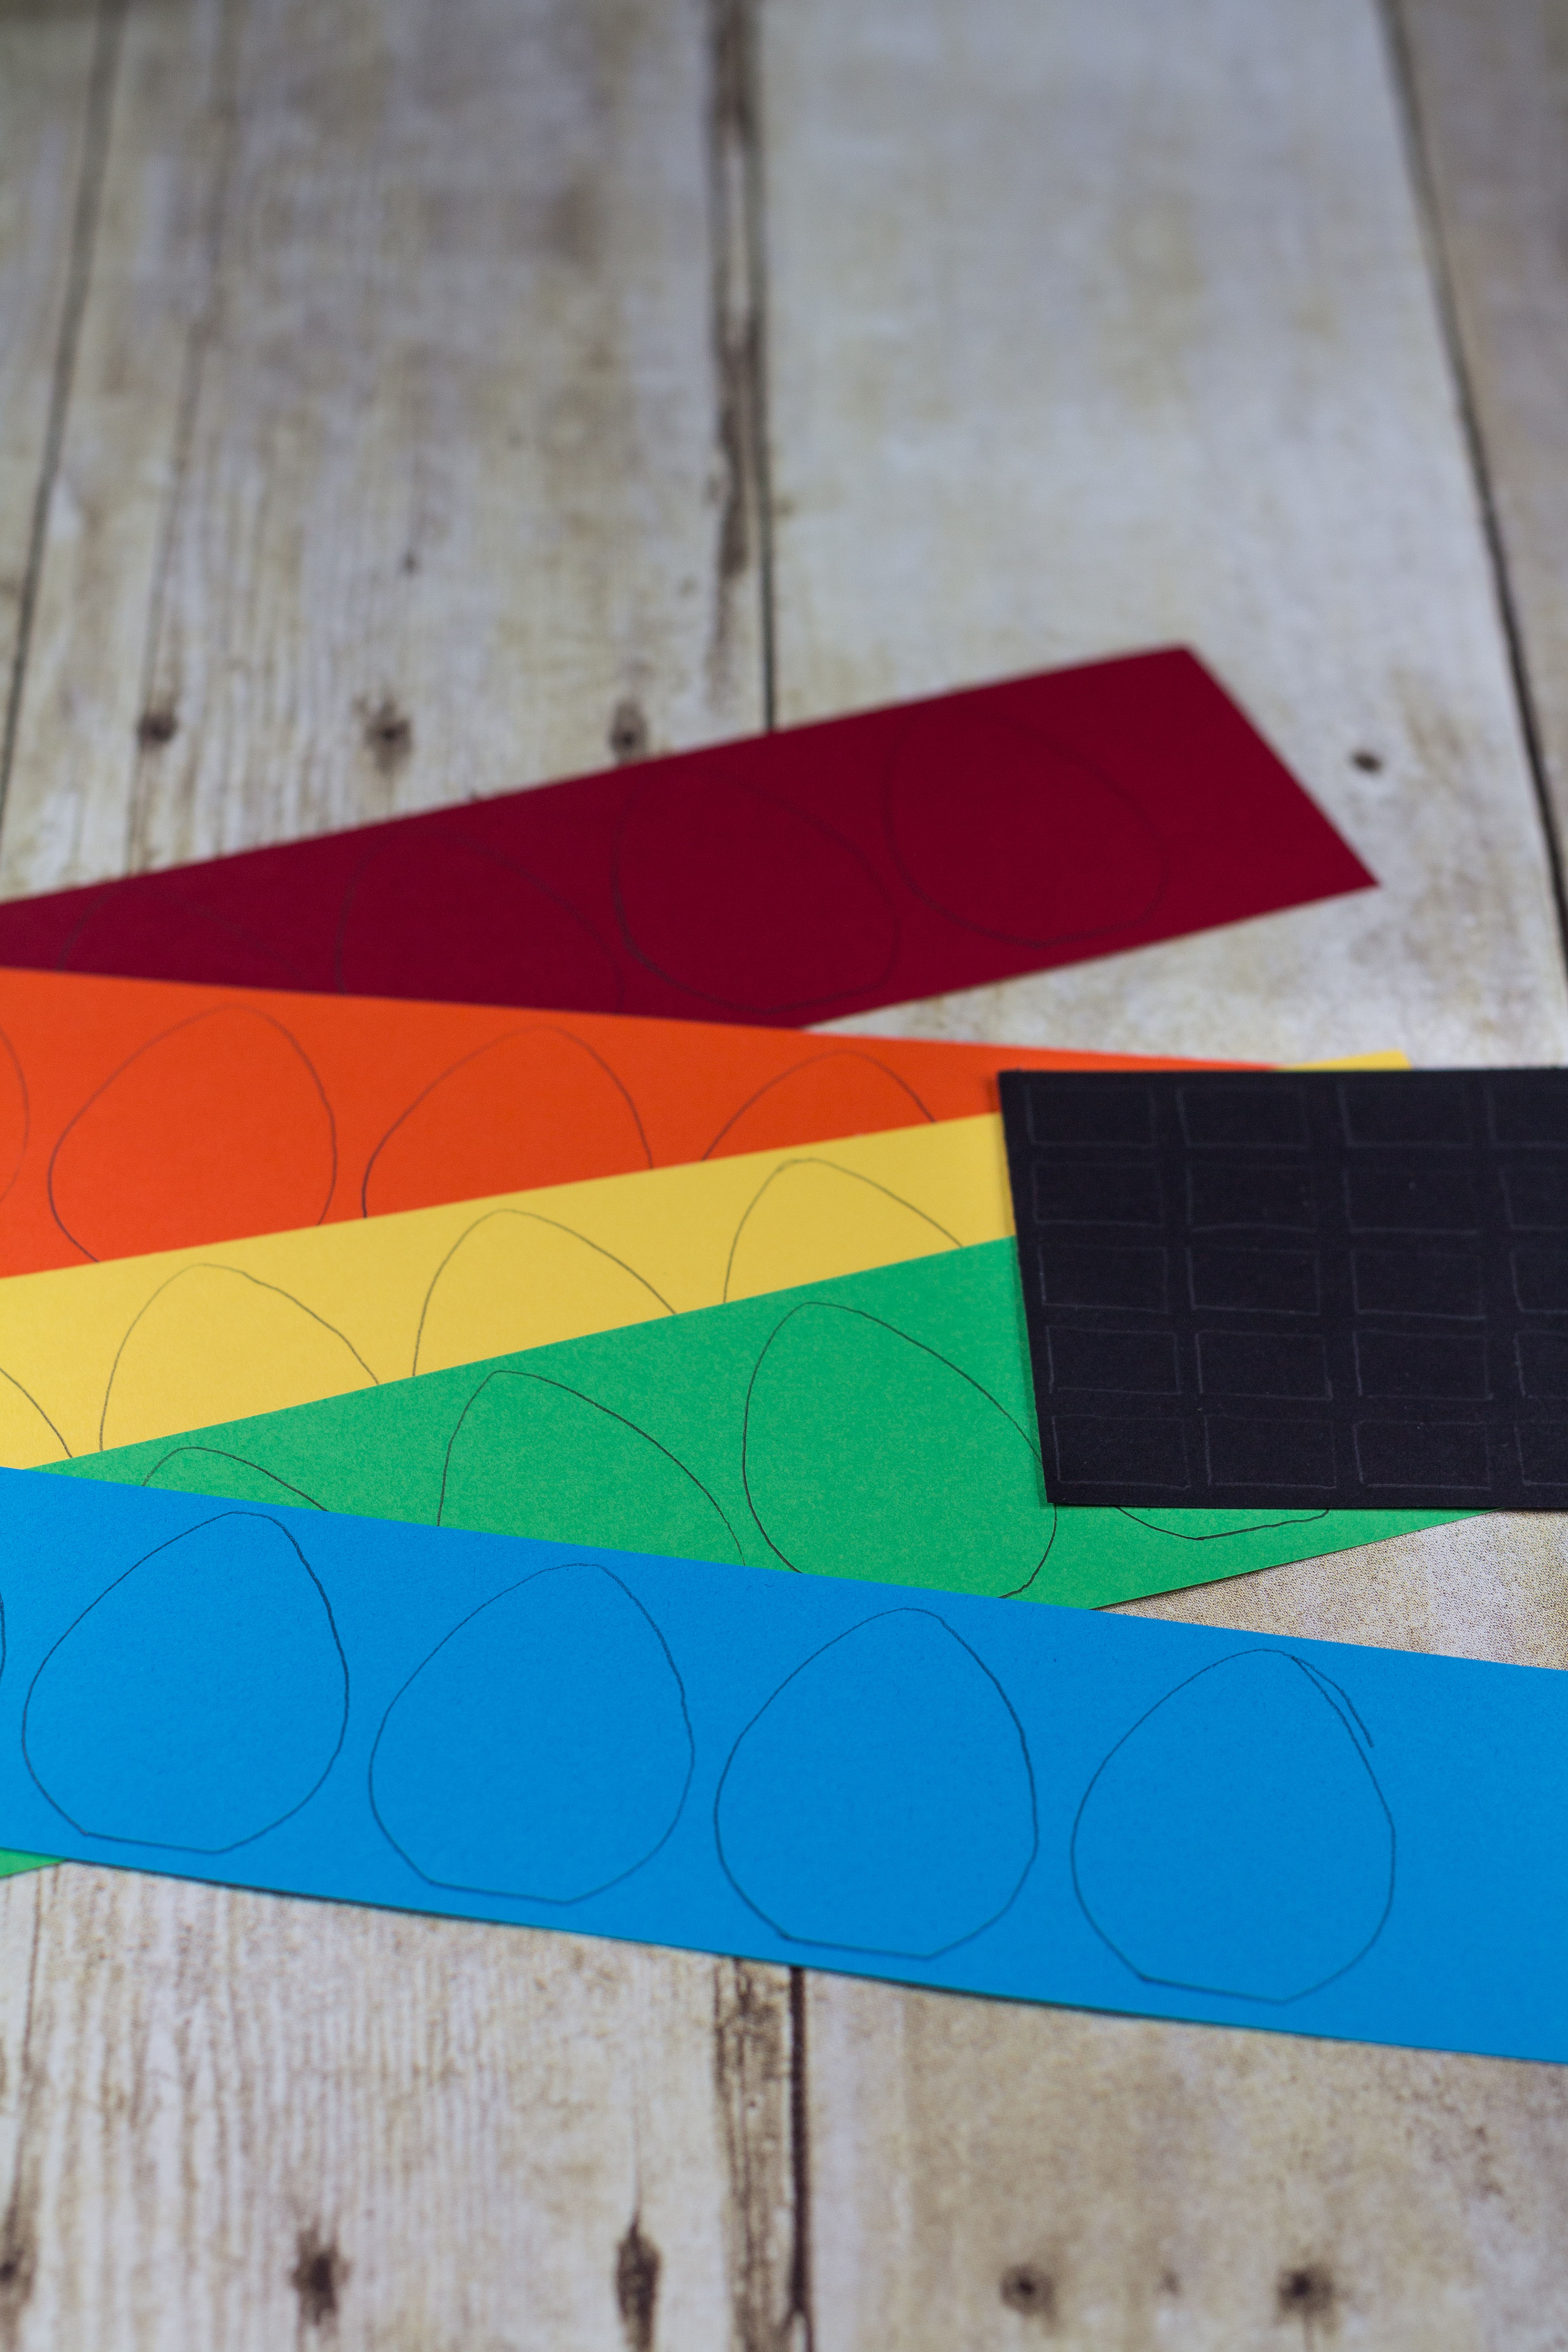
Cut out all of the paper bases and the cardboard pieces.
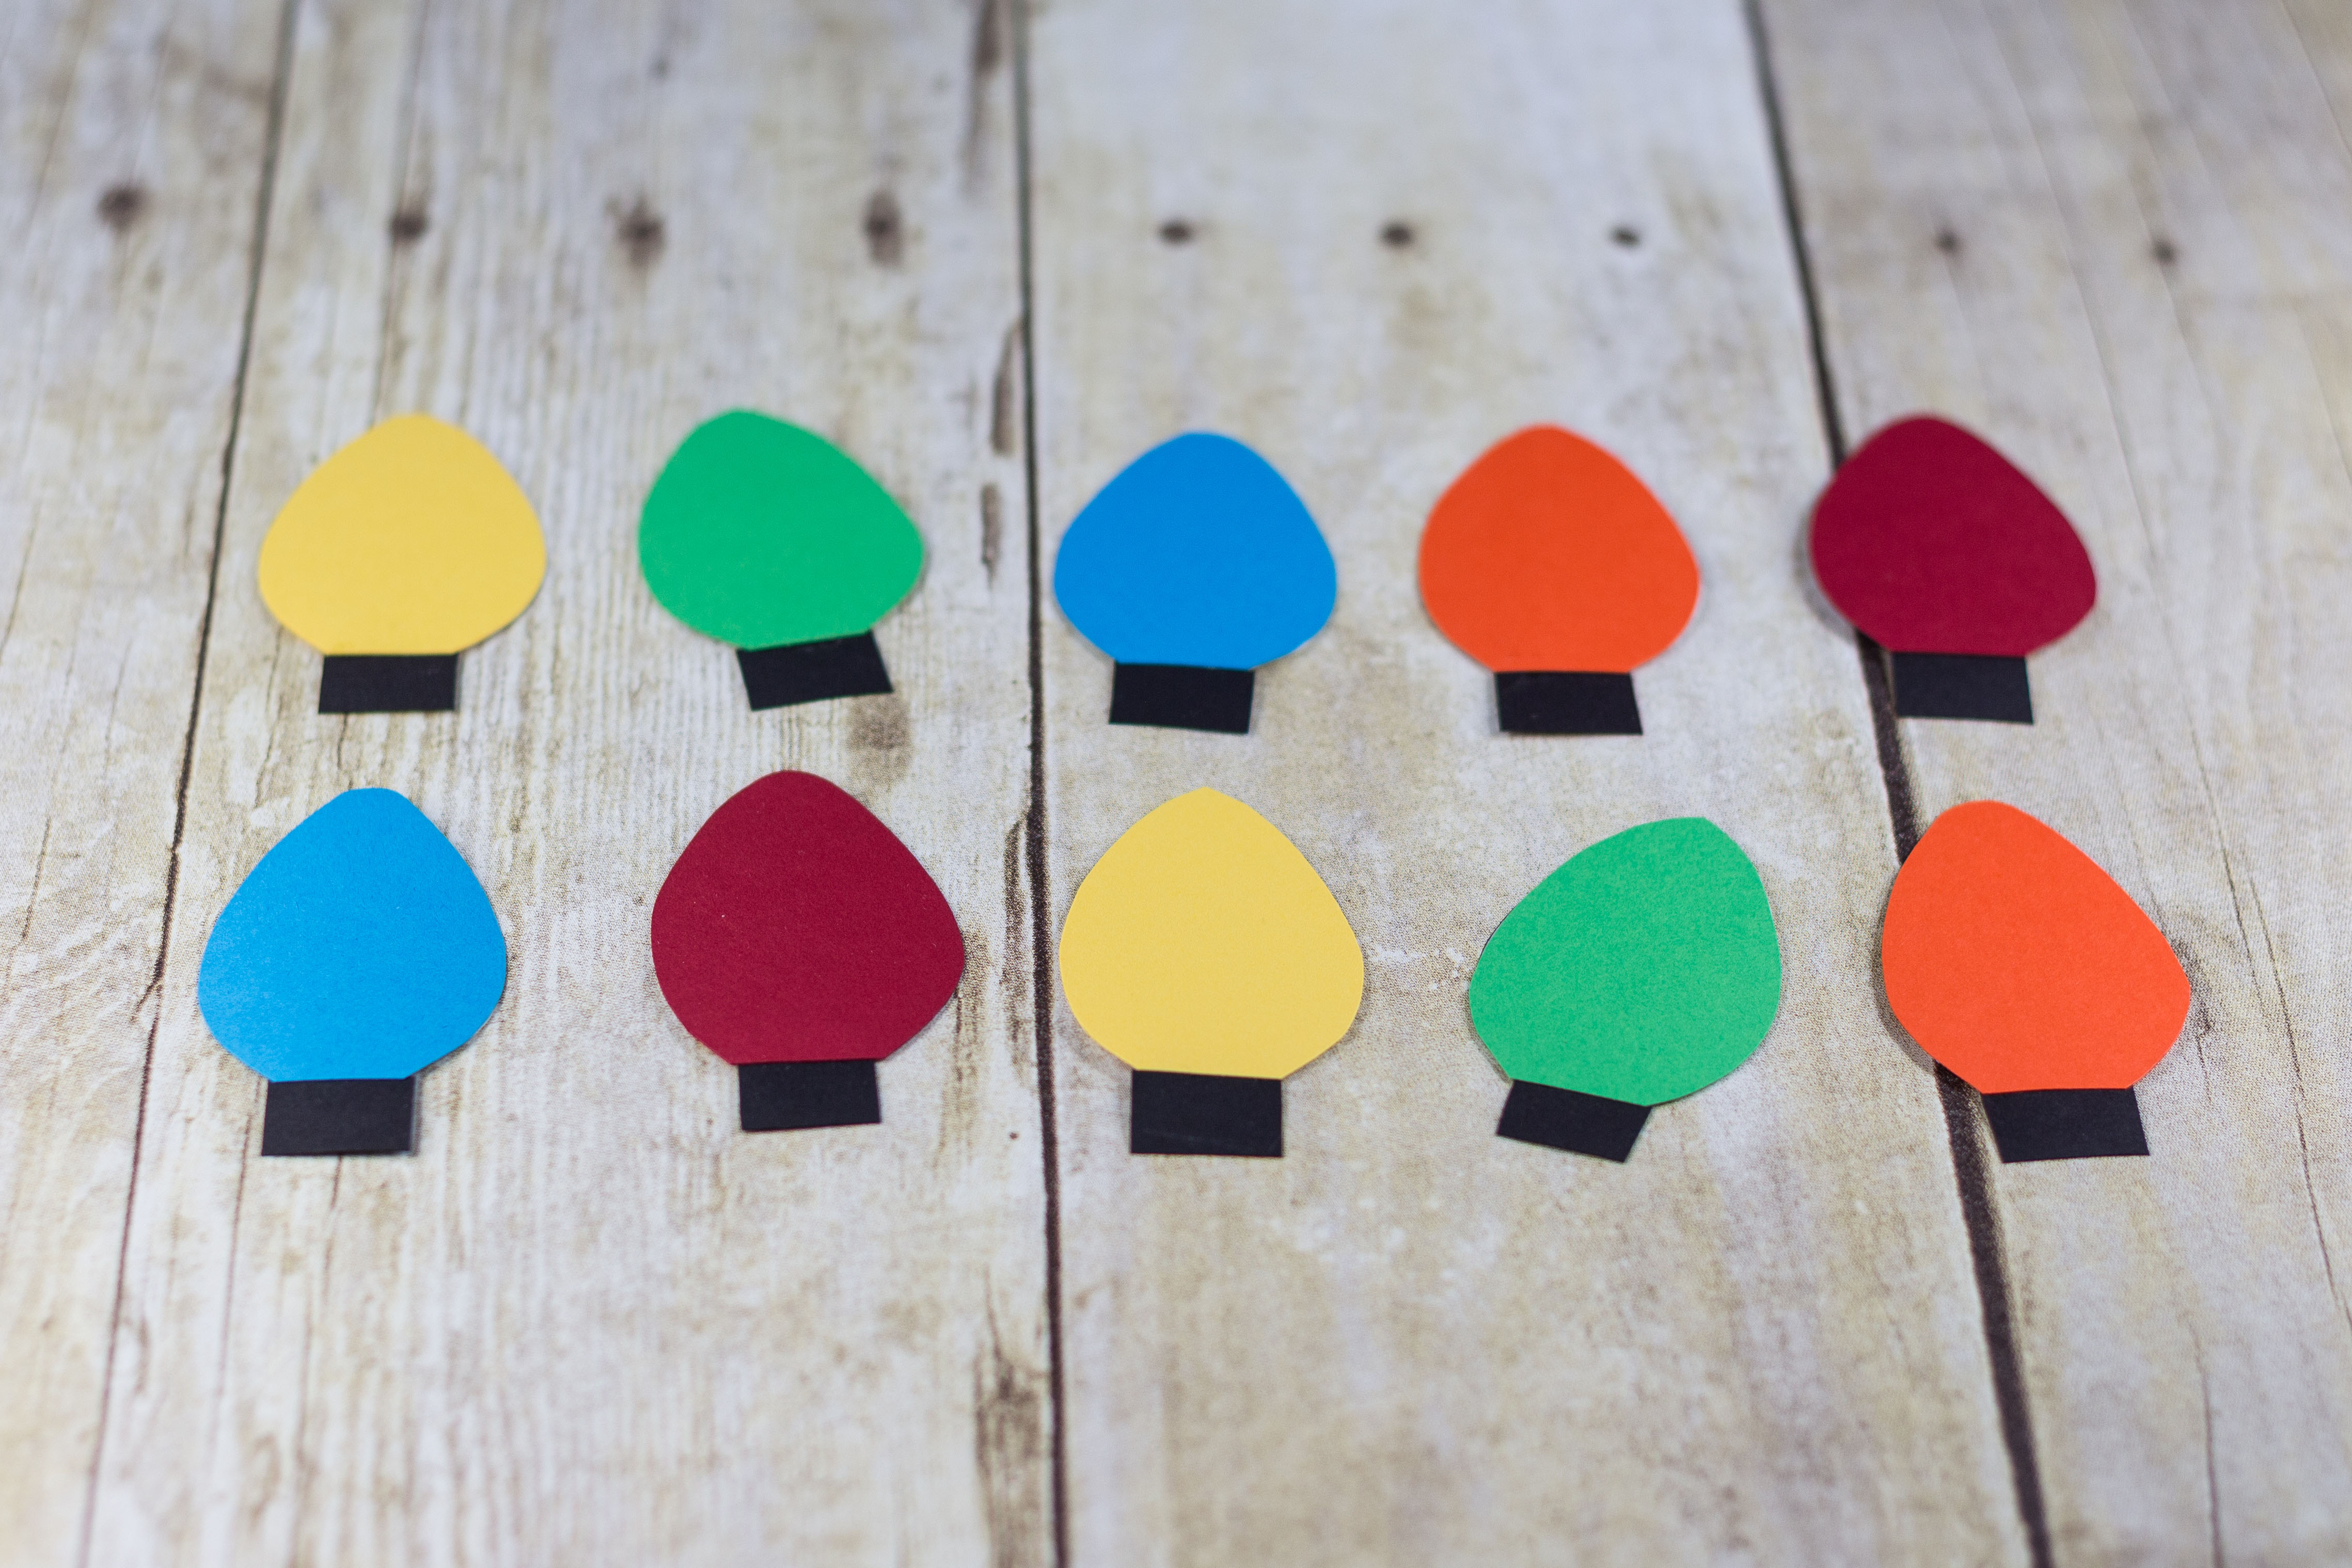
Glue the bases to the paper templates.
The Scotch Scrapbooker’s Glue dries very quickly. As soon as you’ve finished gluing the bases, you can begin gluing the lights.
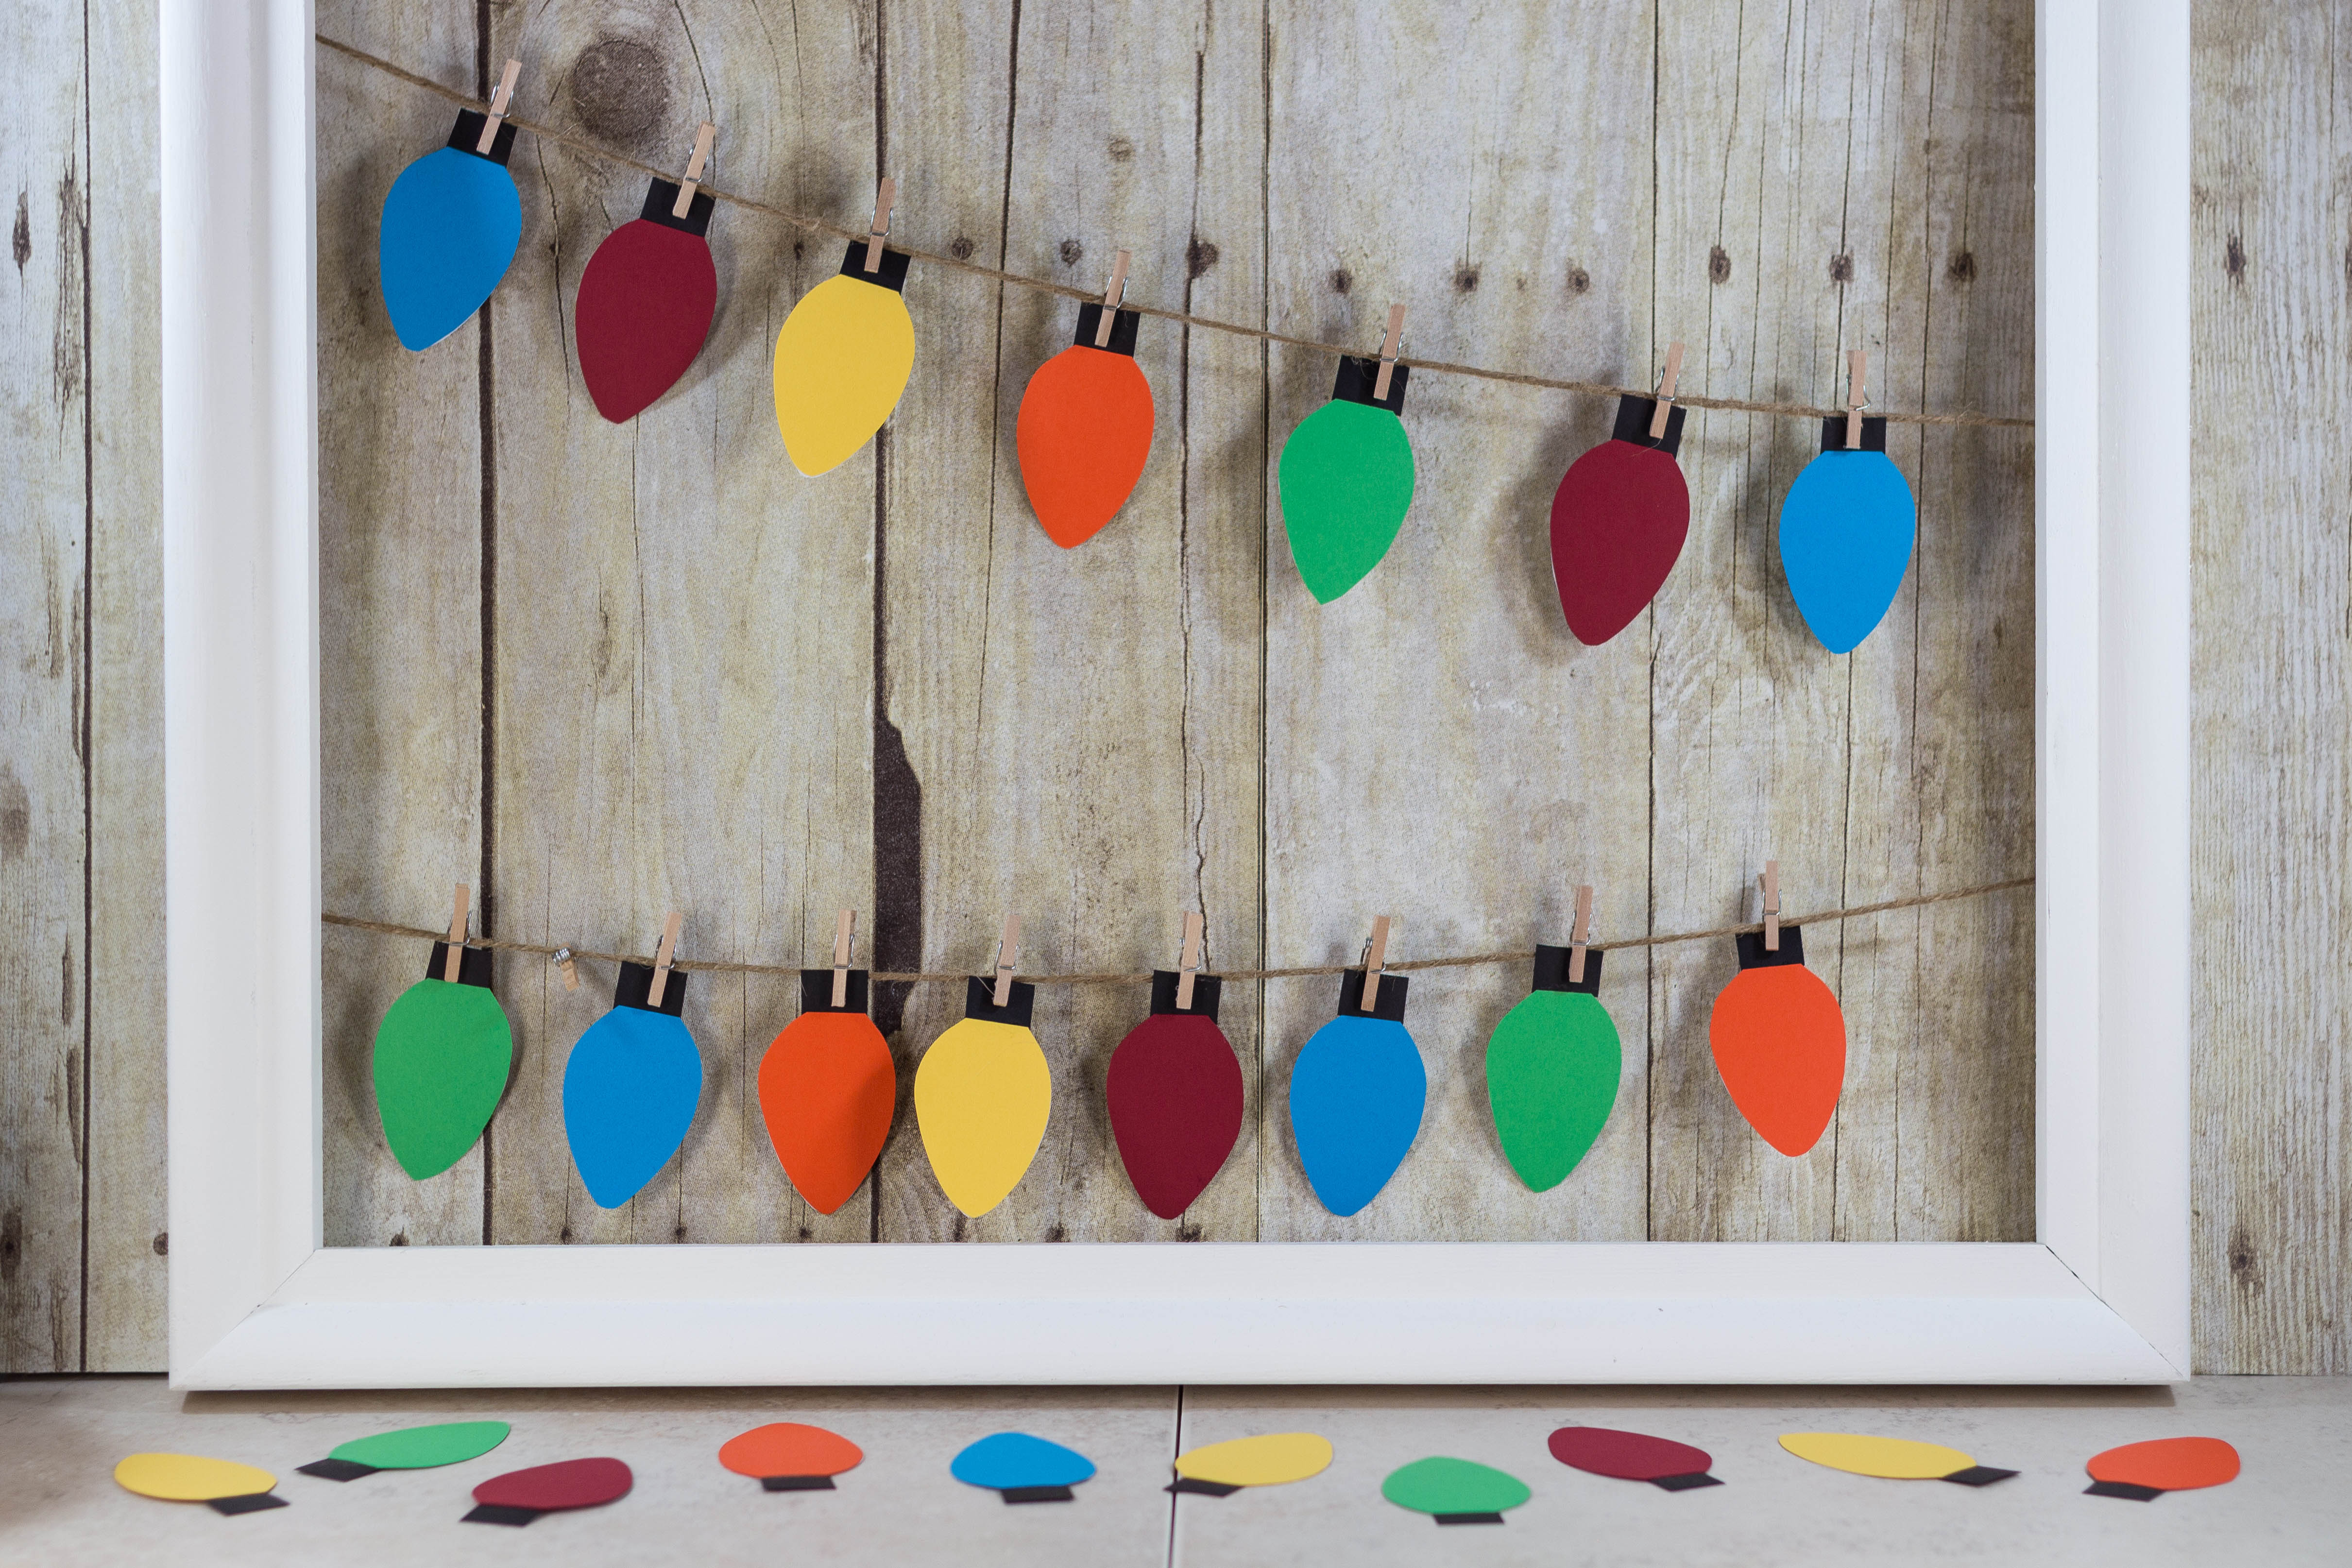
Hang up your new paper Christmas lights in your hanging display with tiny clothespins. (Paper Christmas lights are also perfect for a garland. You can glue or sew them to string or twine.)
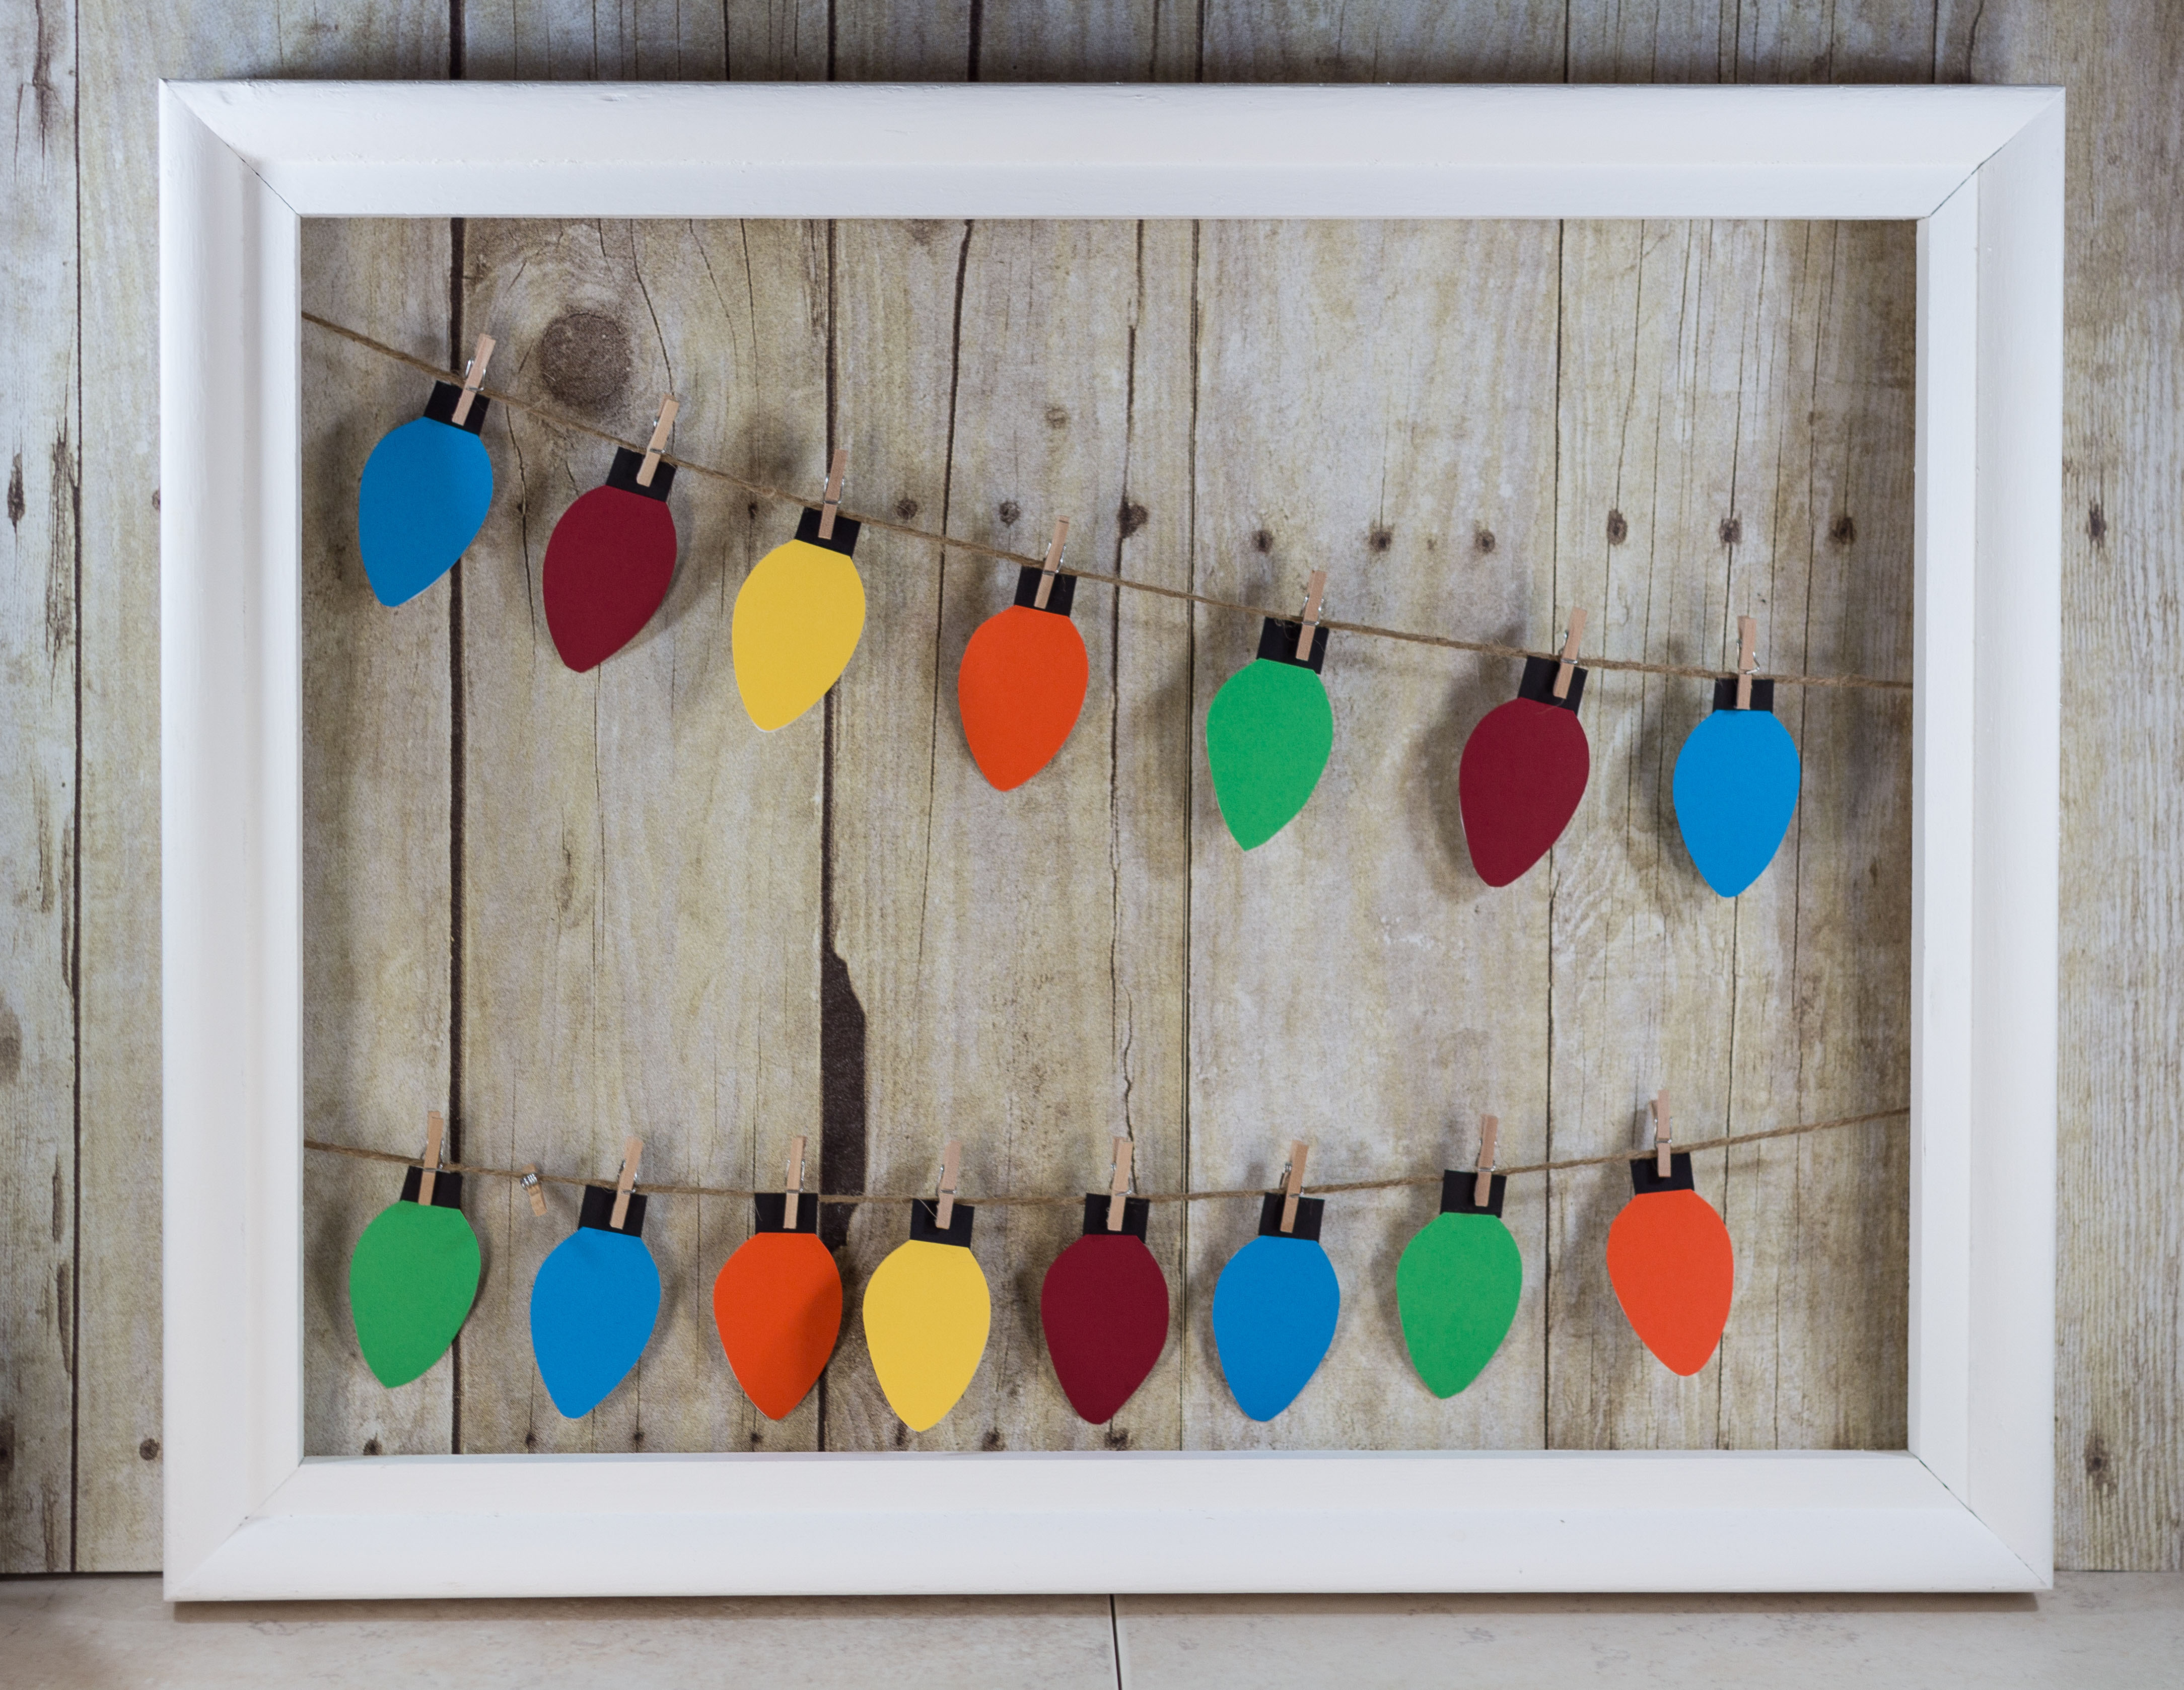
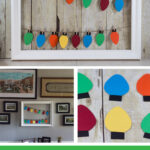
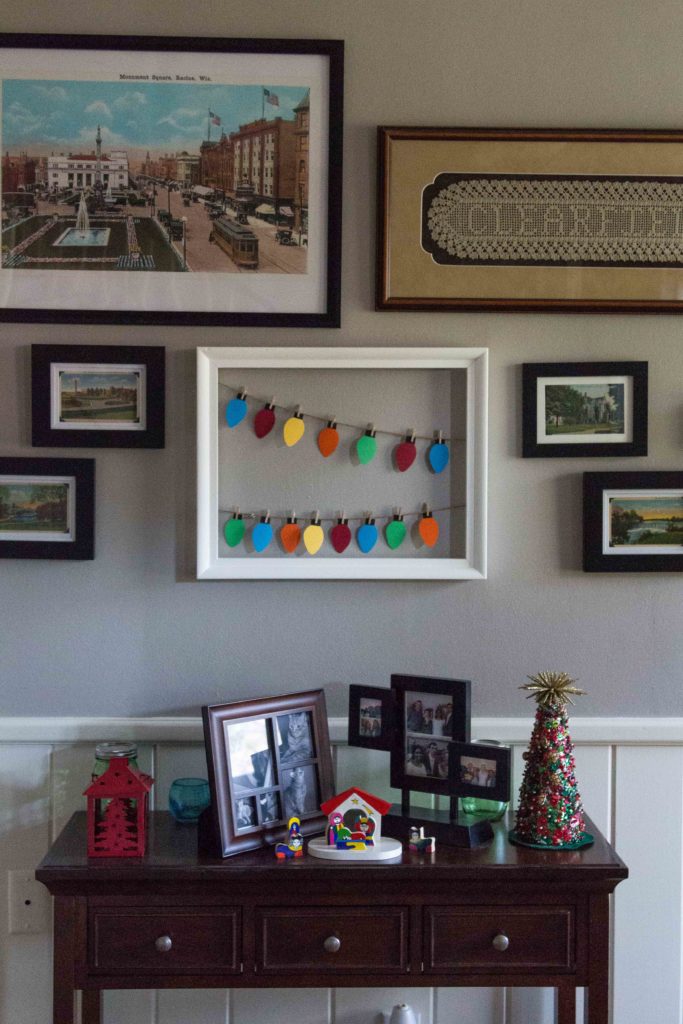
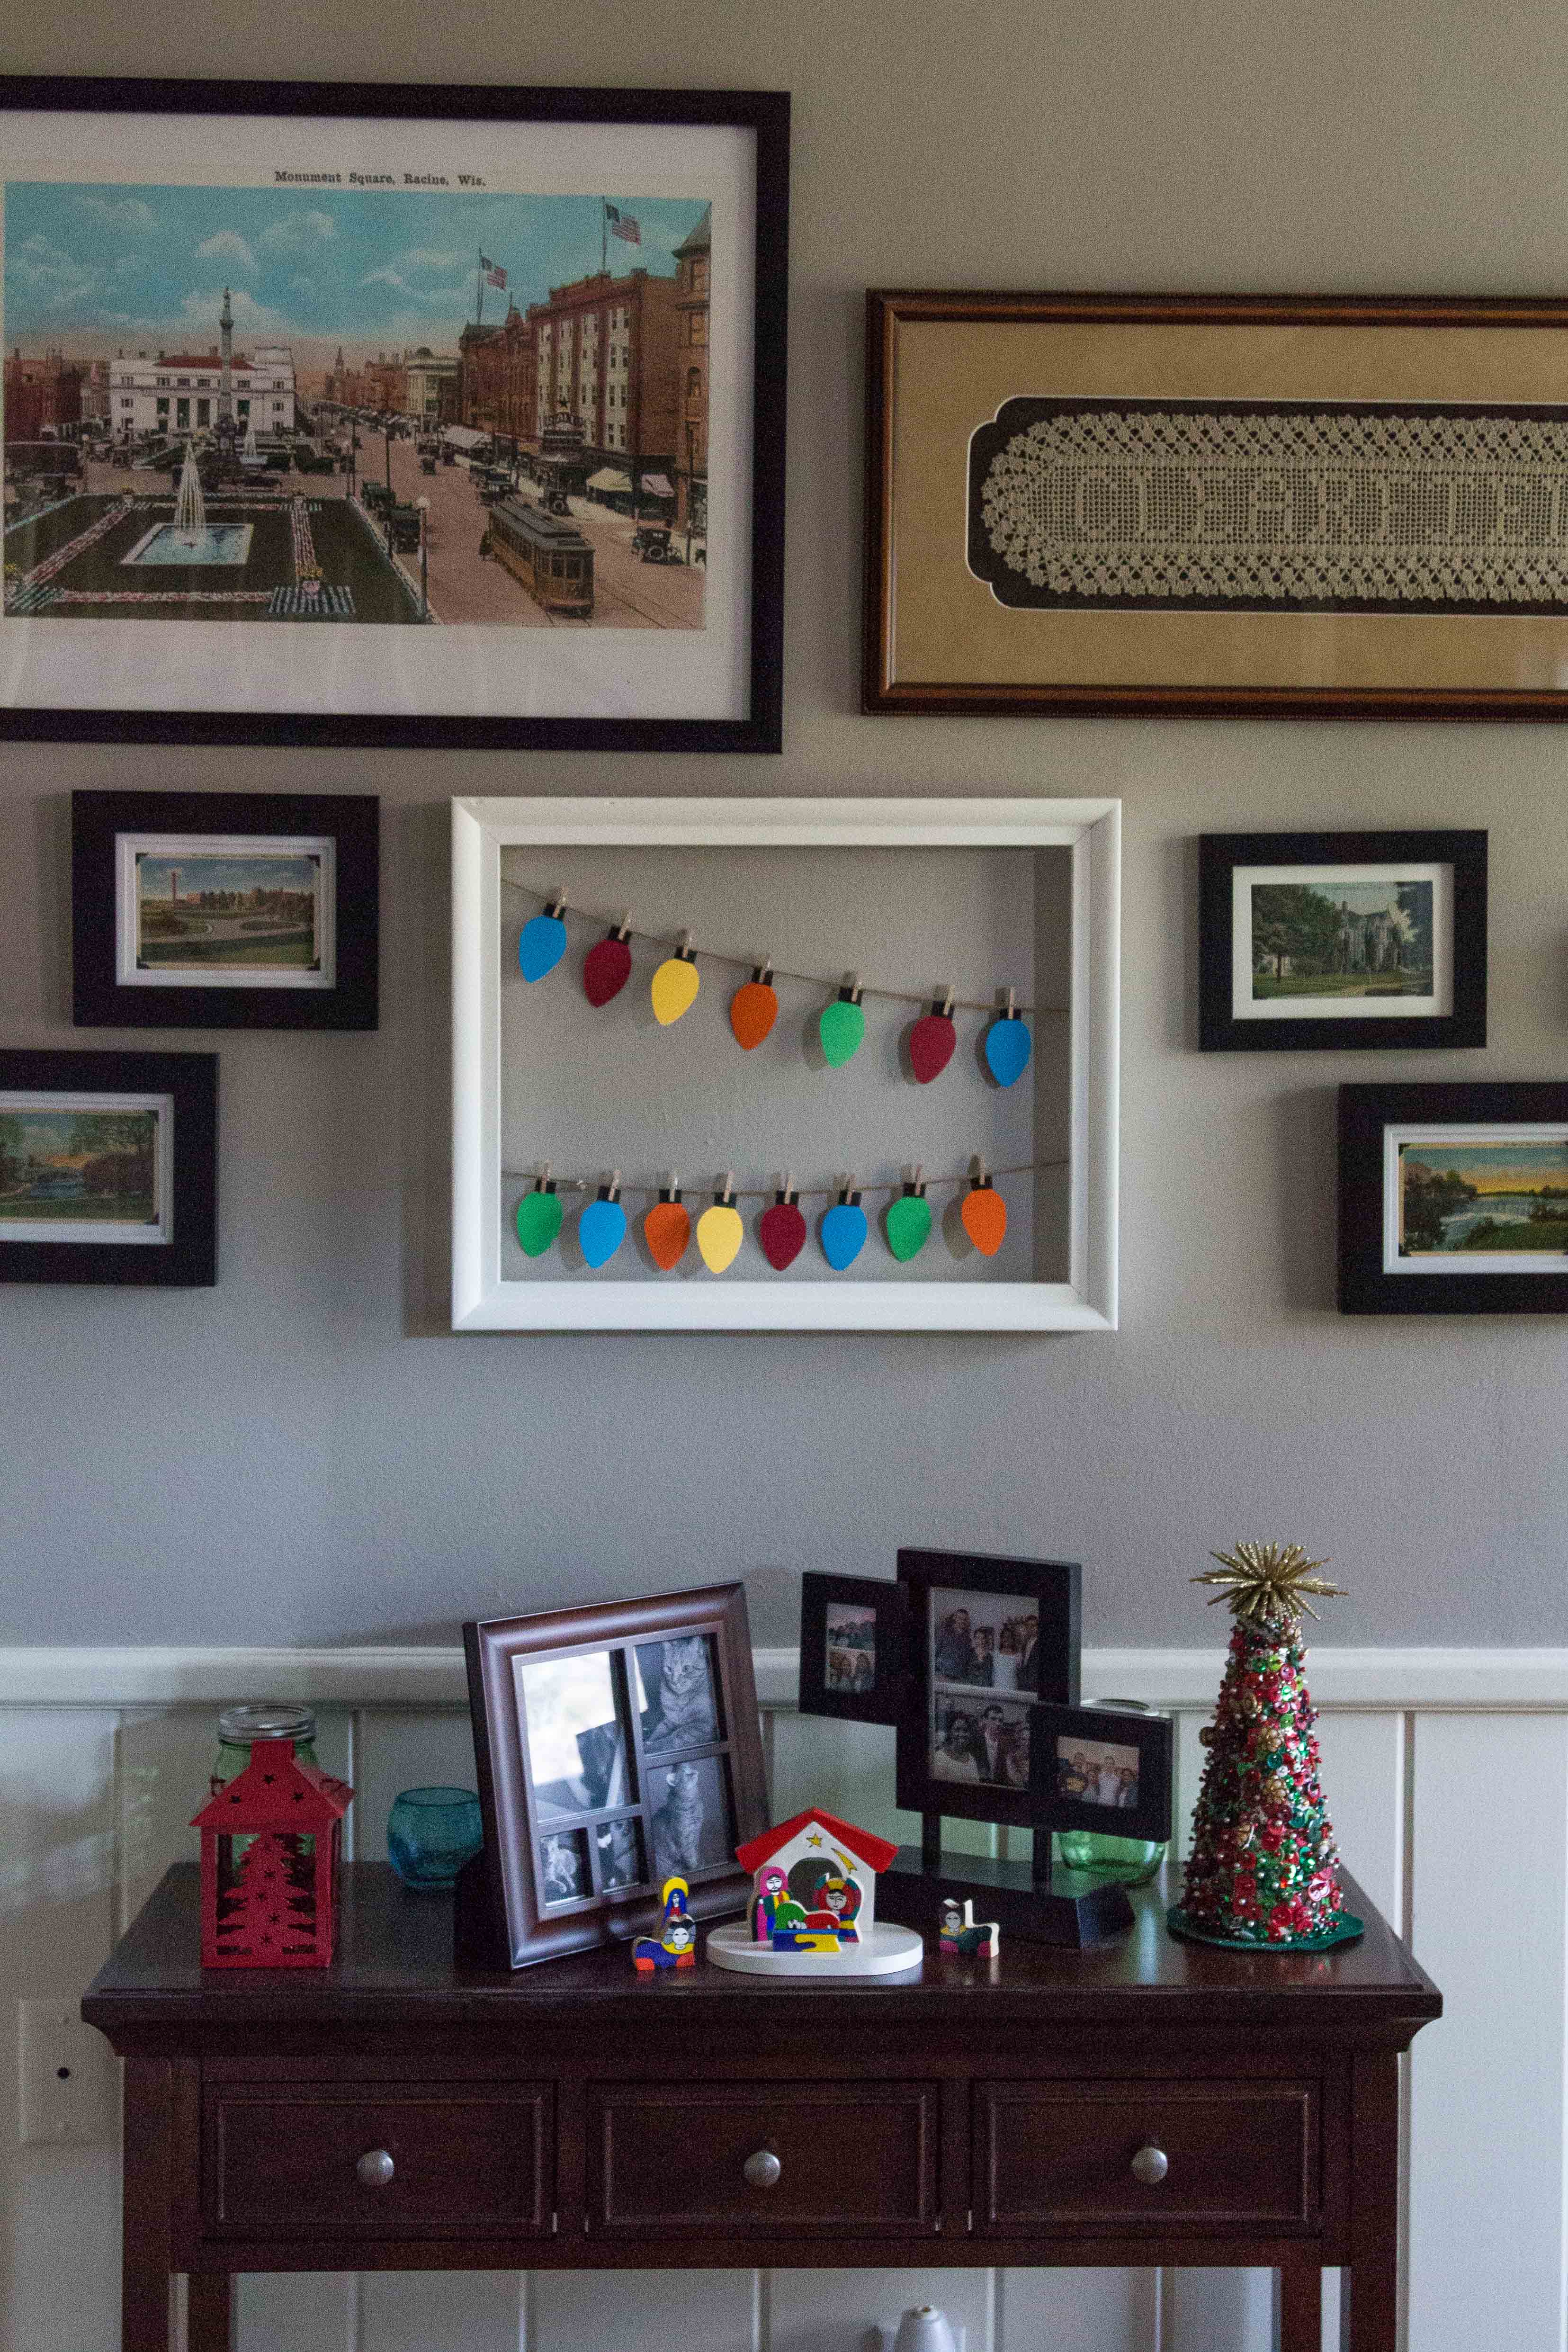
Here it is hanging in our entryway amidst some of our other Christmas decorations. I love Christmas decorations so much.
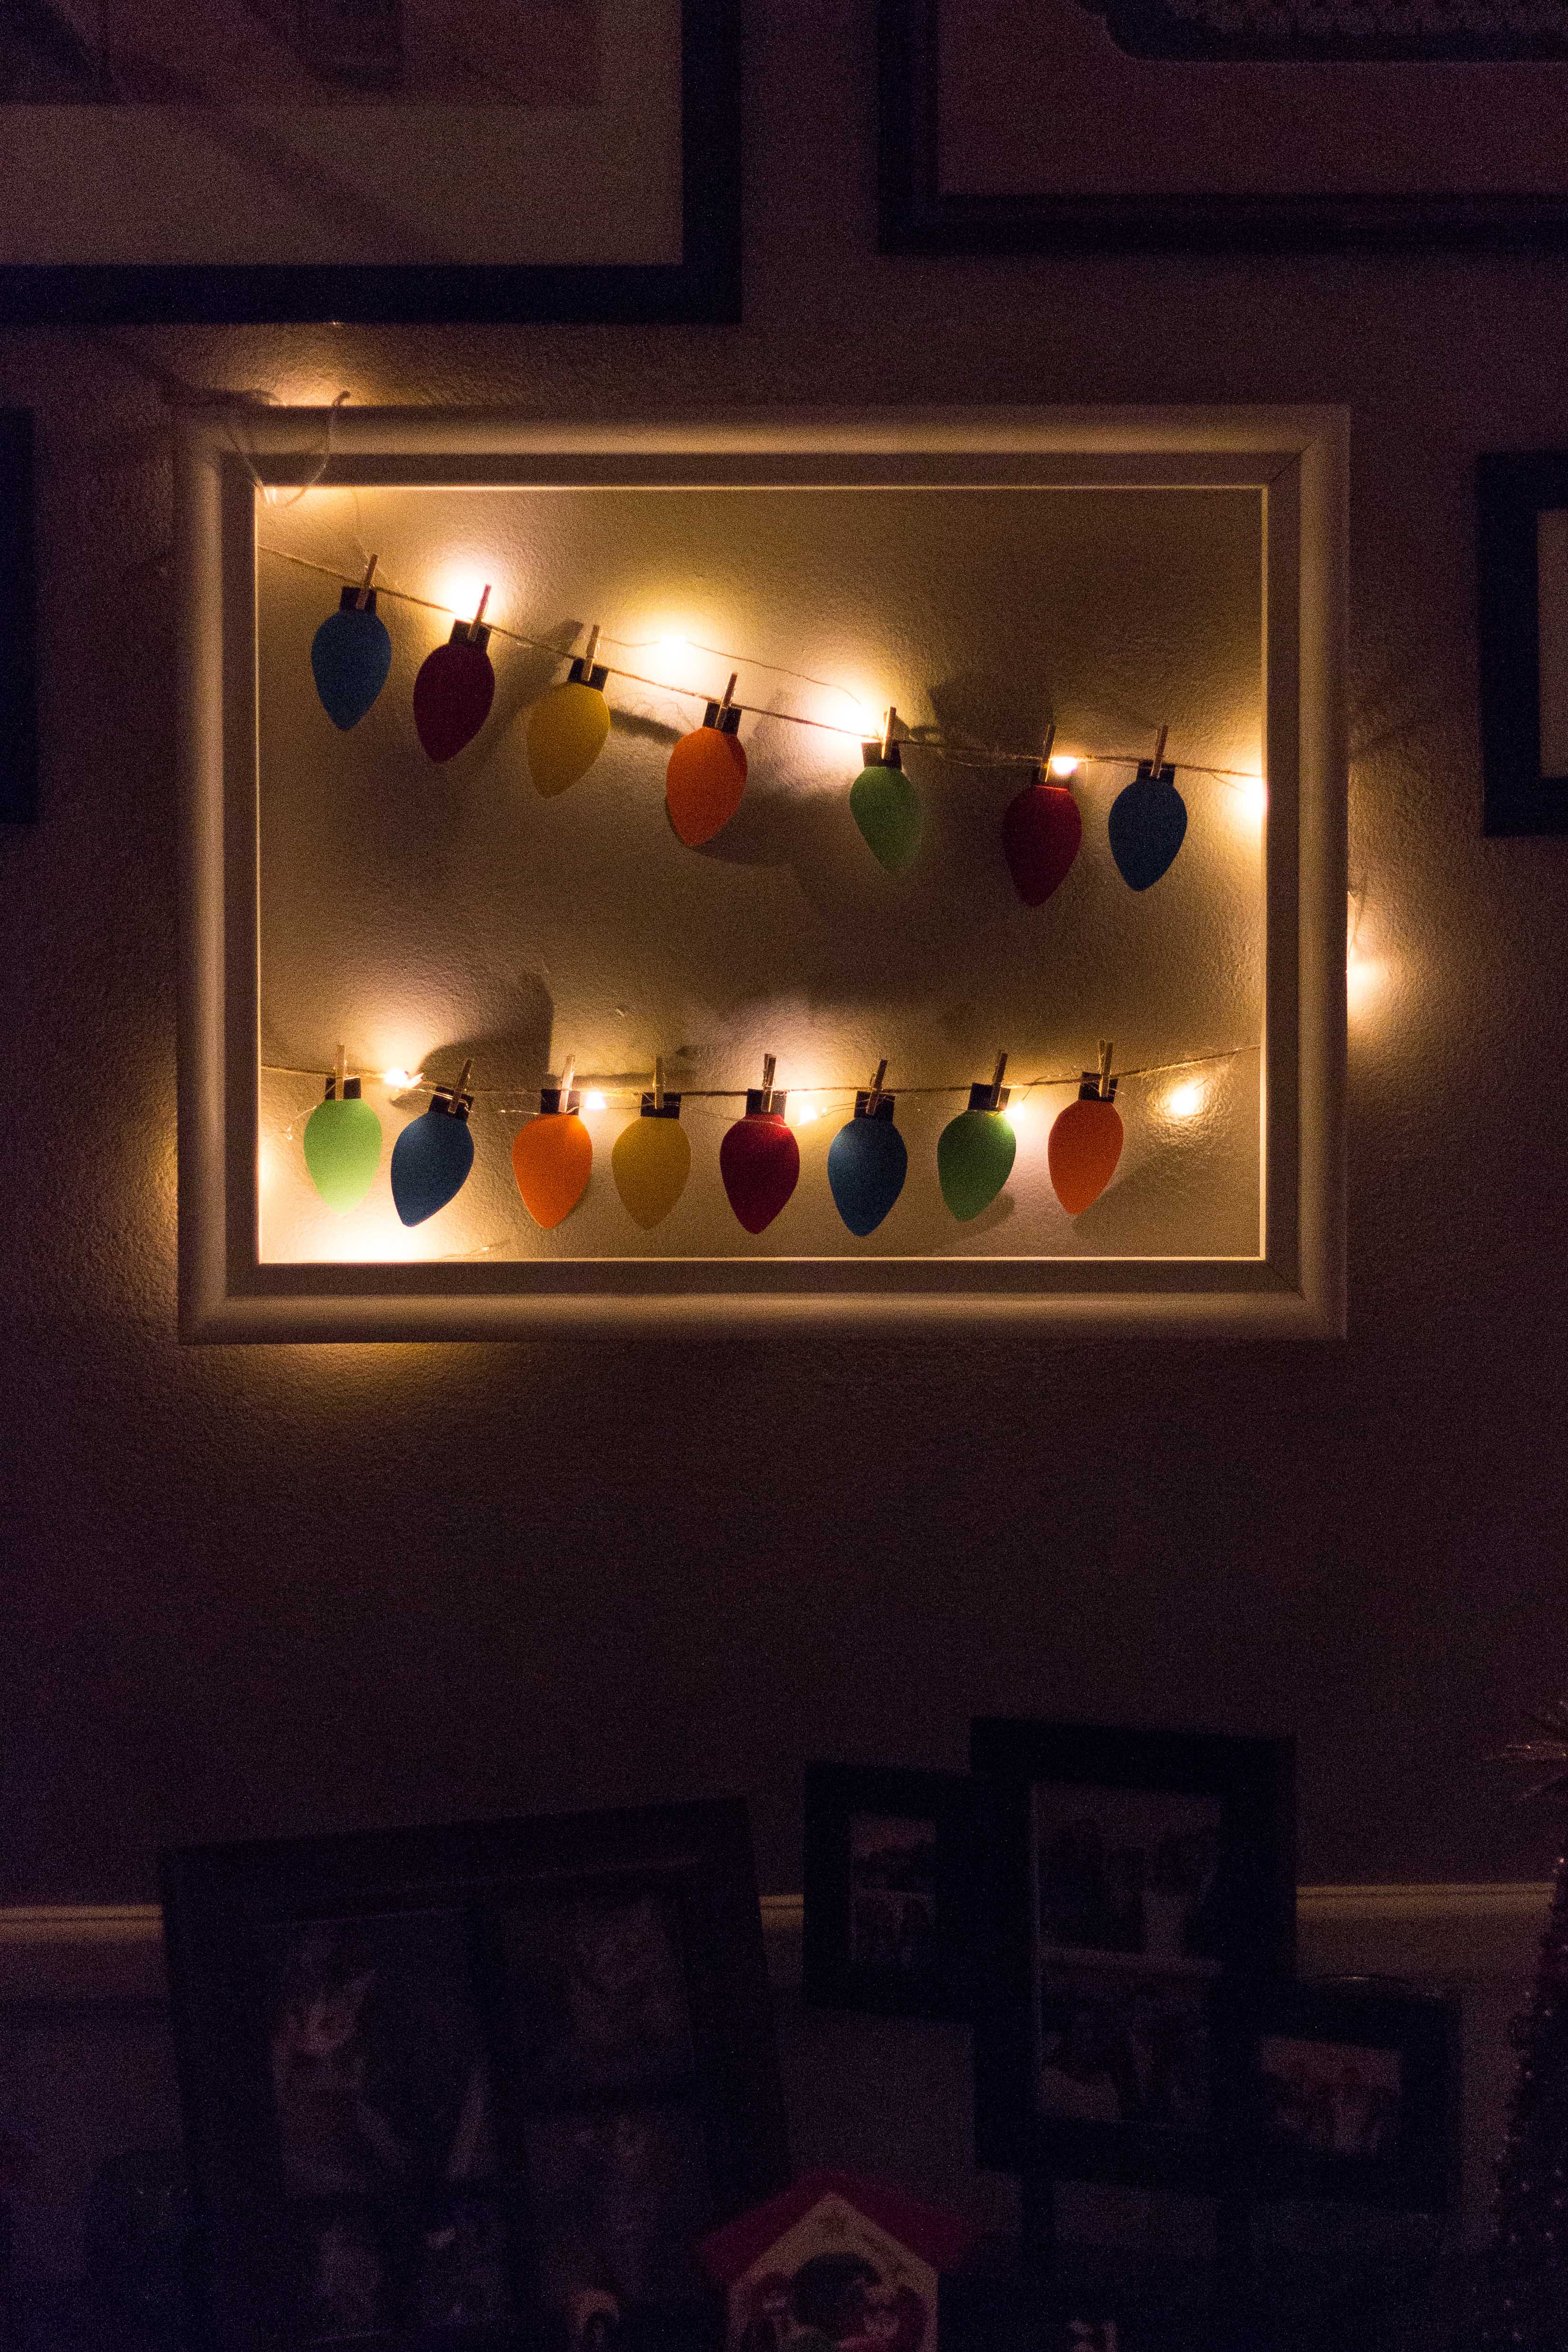
Blog reader Kerry mentioned the idea of clipping fairy lights behind the paper lights. I’d had fairy lights saved on my Amazon wish list for weeks and knew this was my cue to pull the trigger. I love the result! Please pick up some fairy lights if you use your paper Christmas lights for a hanging display or garland.
I also used some of my paper Christmas lights to make gift tags and greeting cards. For the past few years, I’ve been wrapping my Christmas presents in kraft paper so I created the gift tags with colored cardstock. I love the idea of kraft gift tags, too.
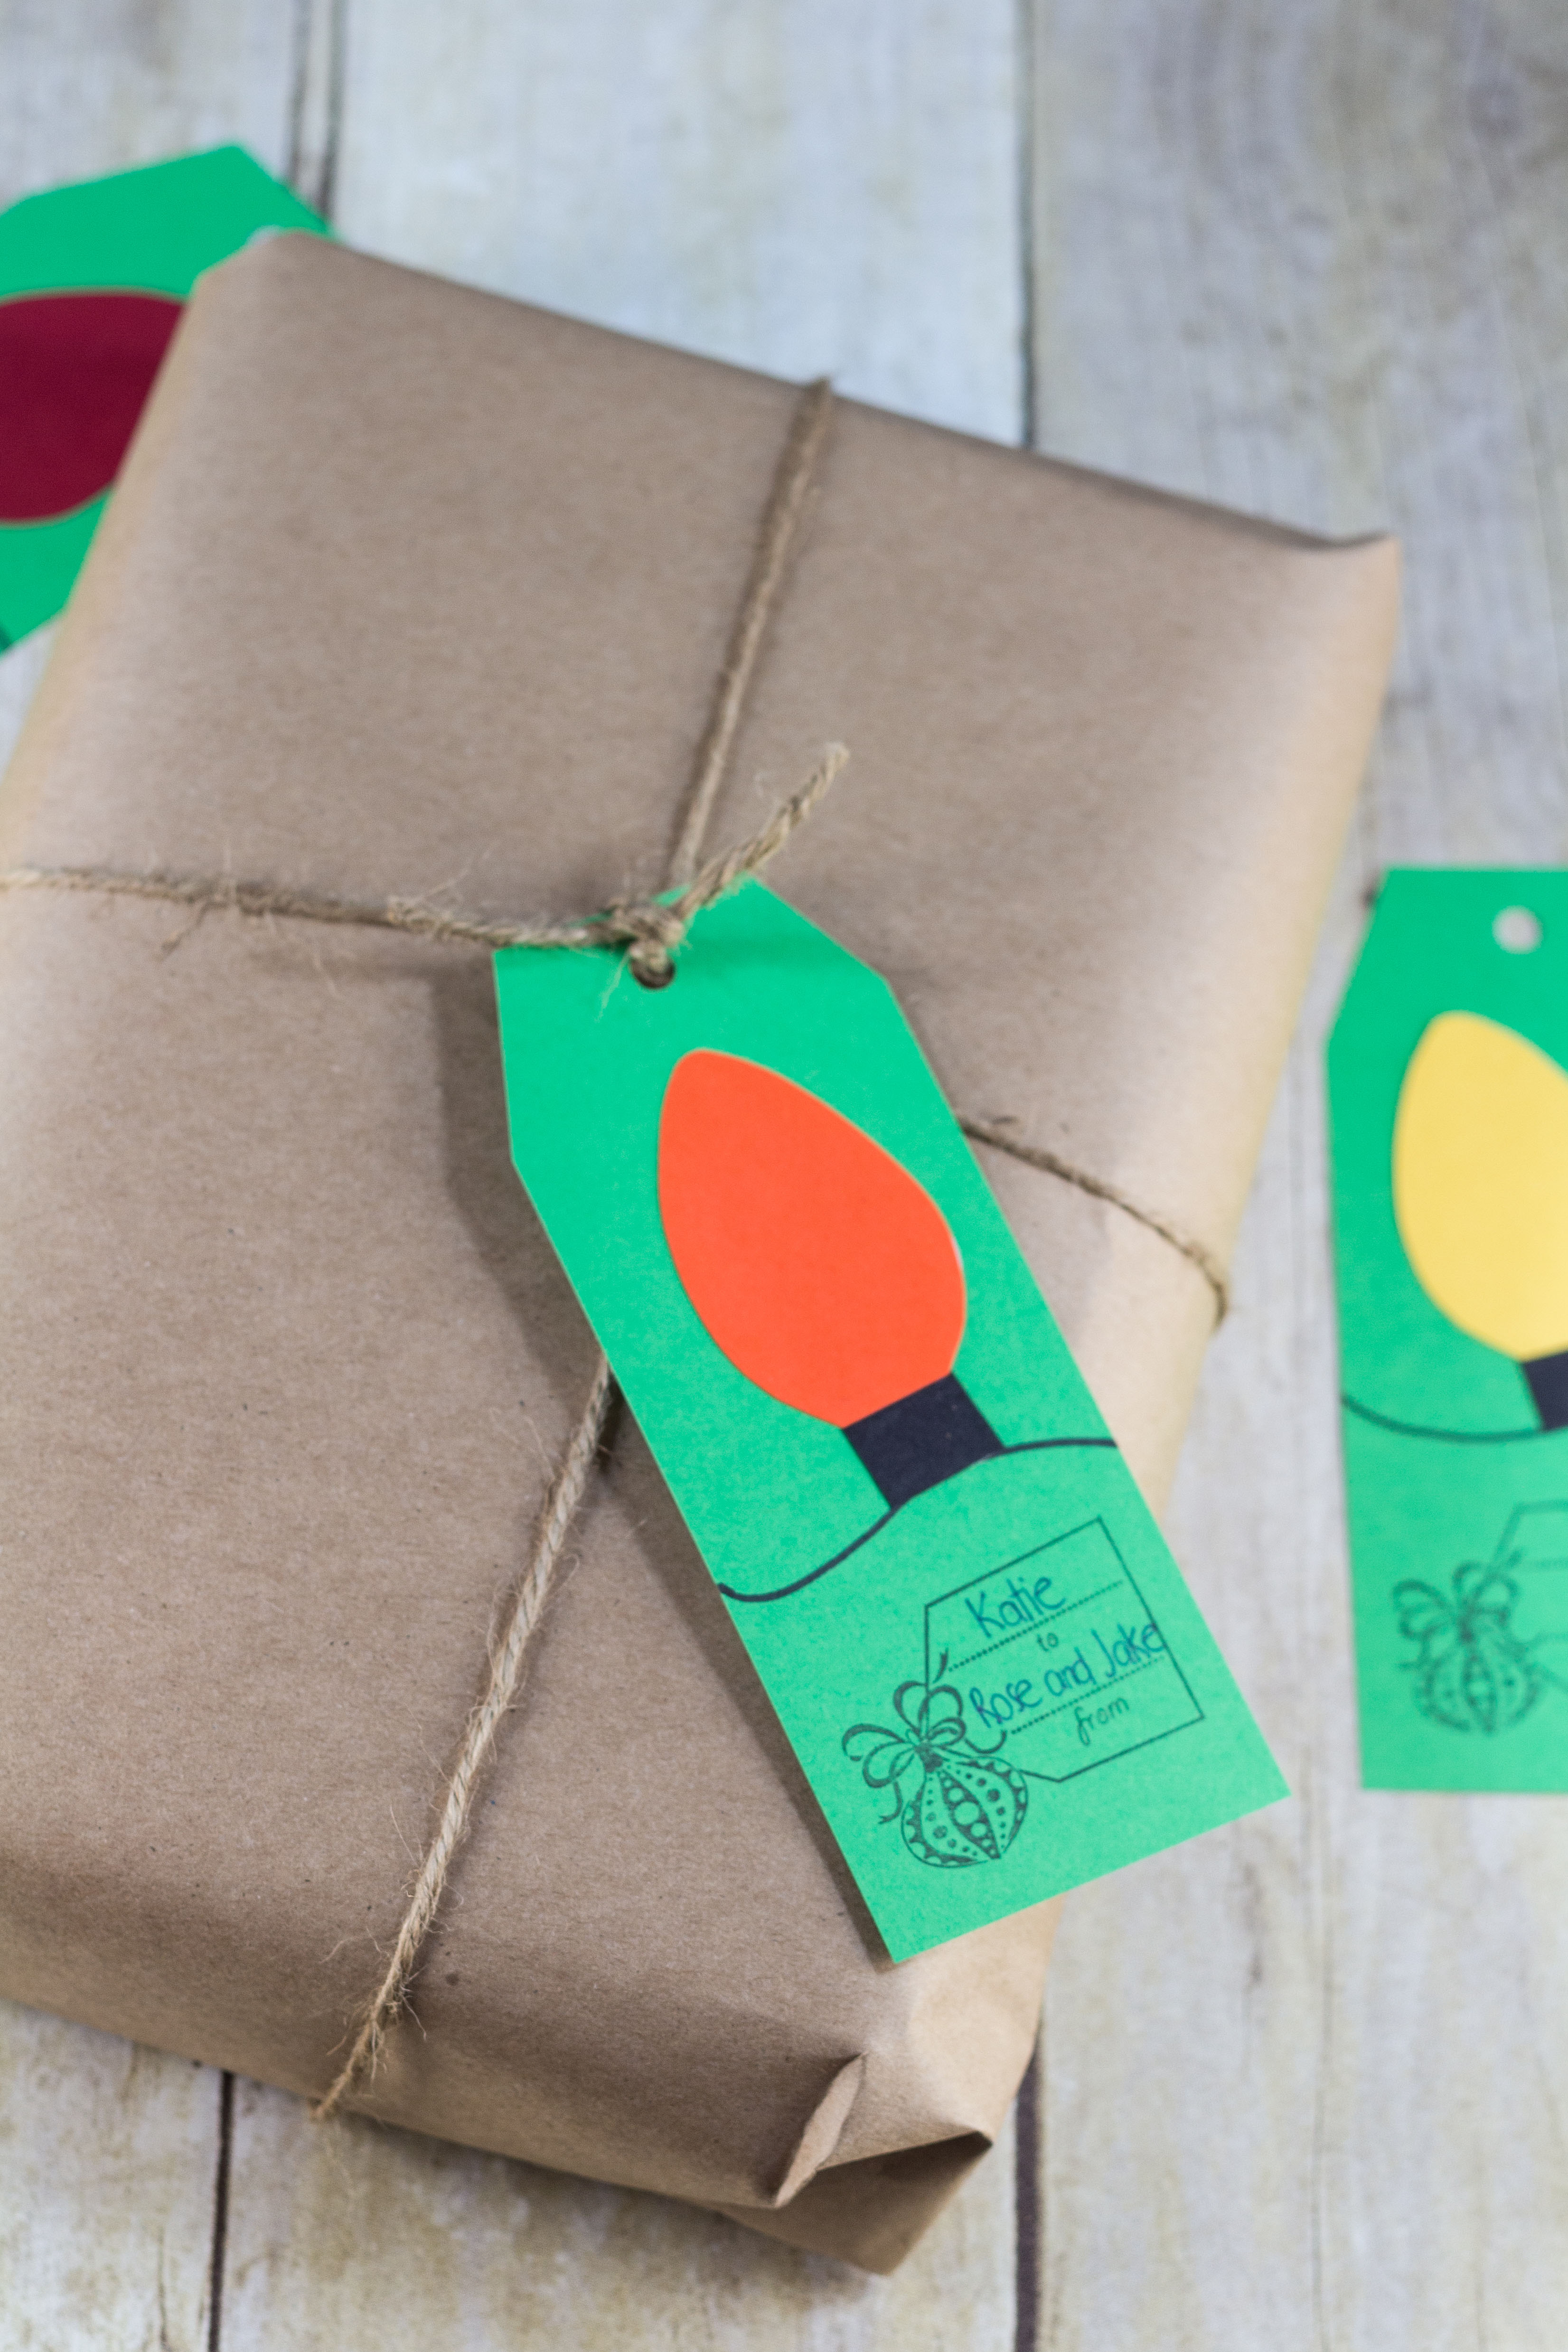
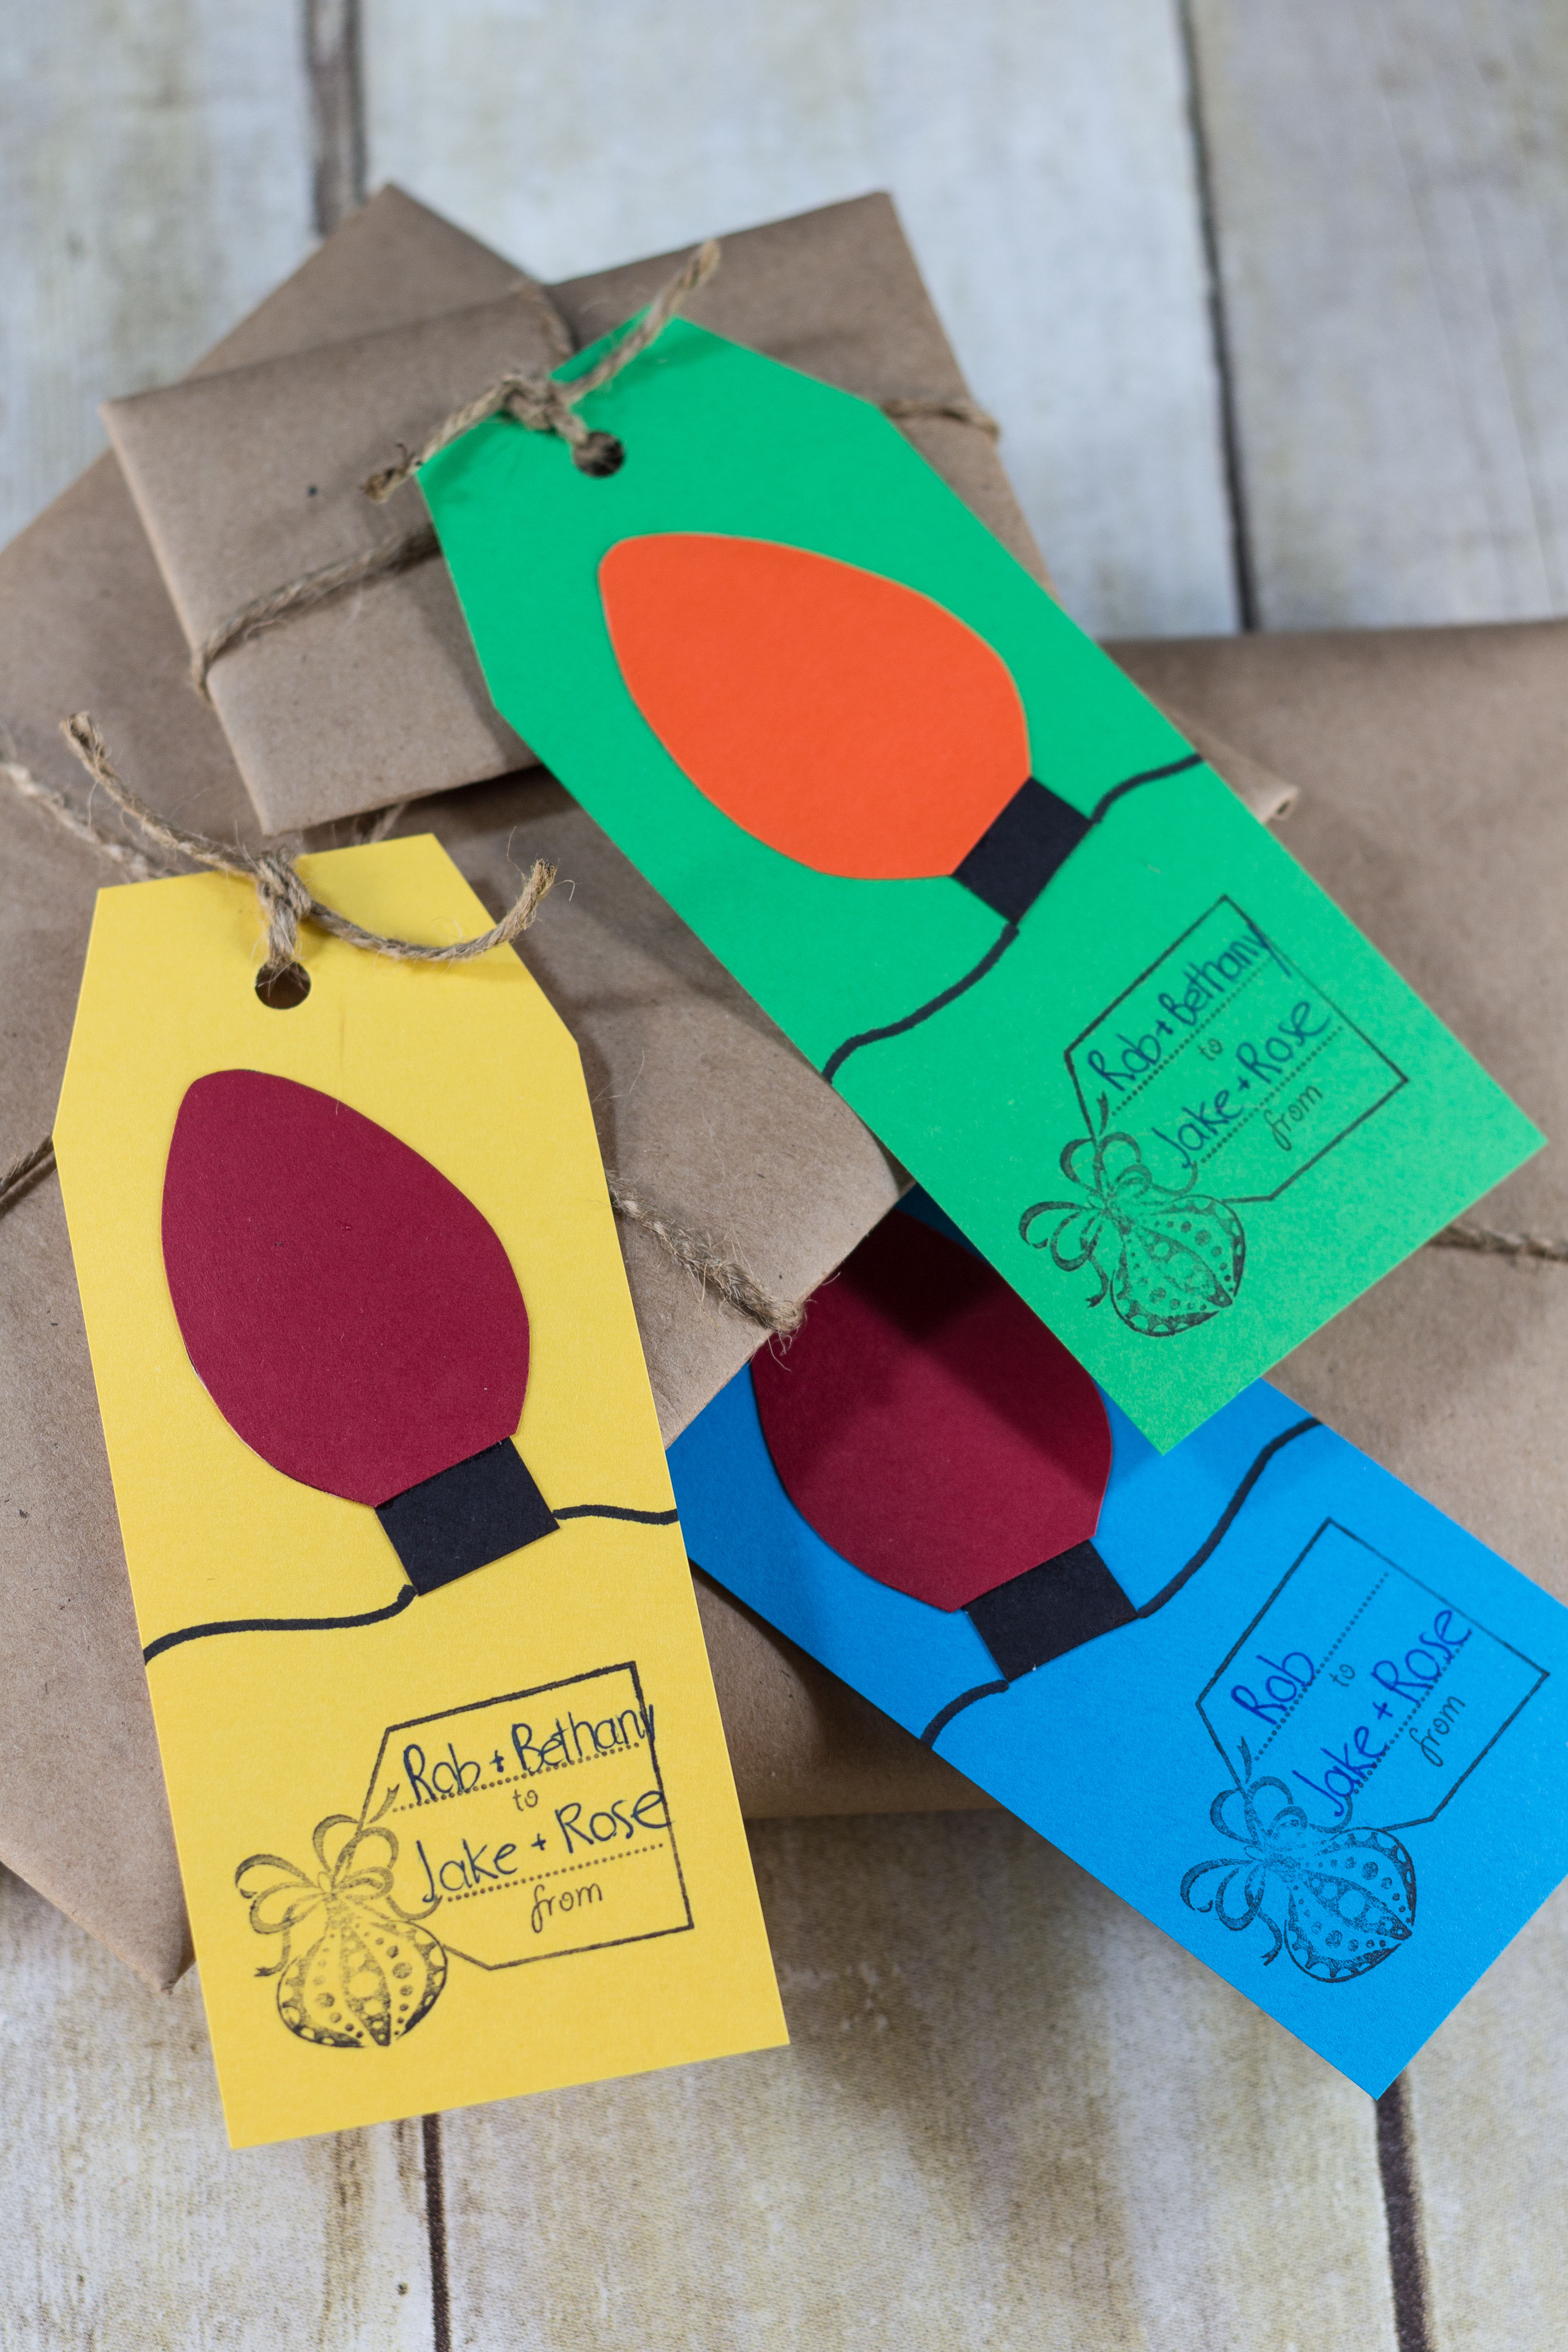
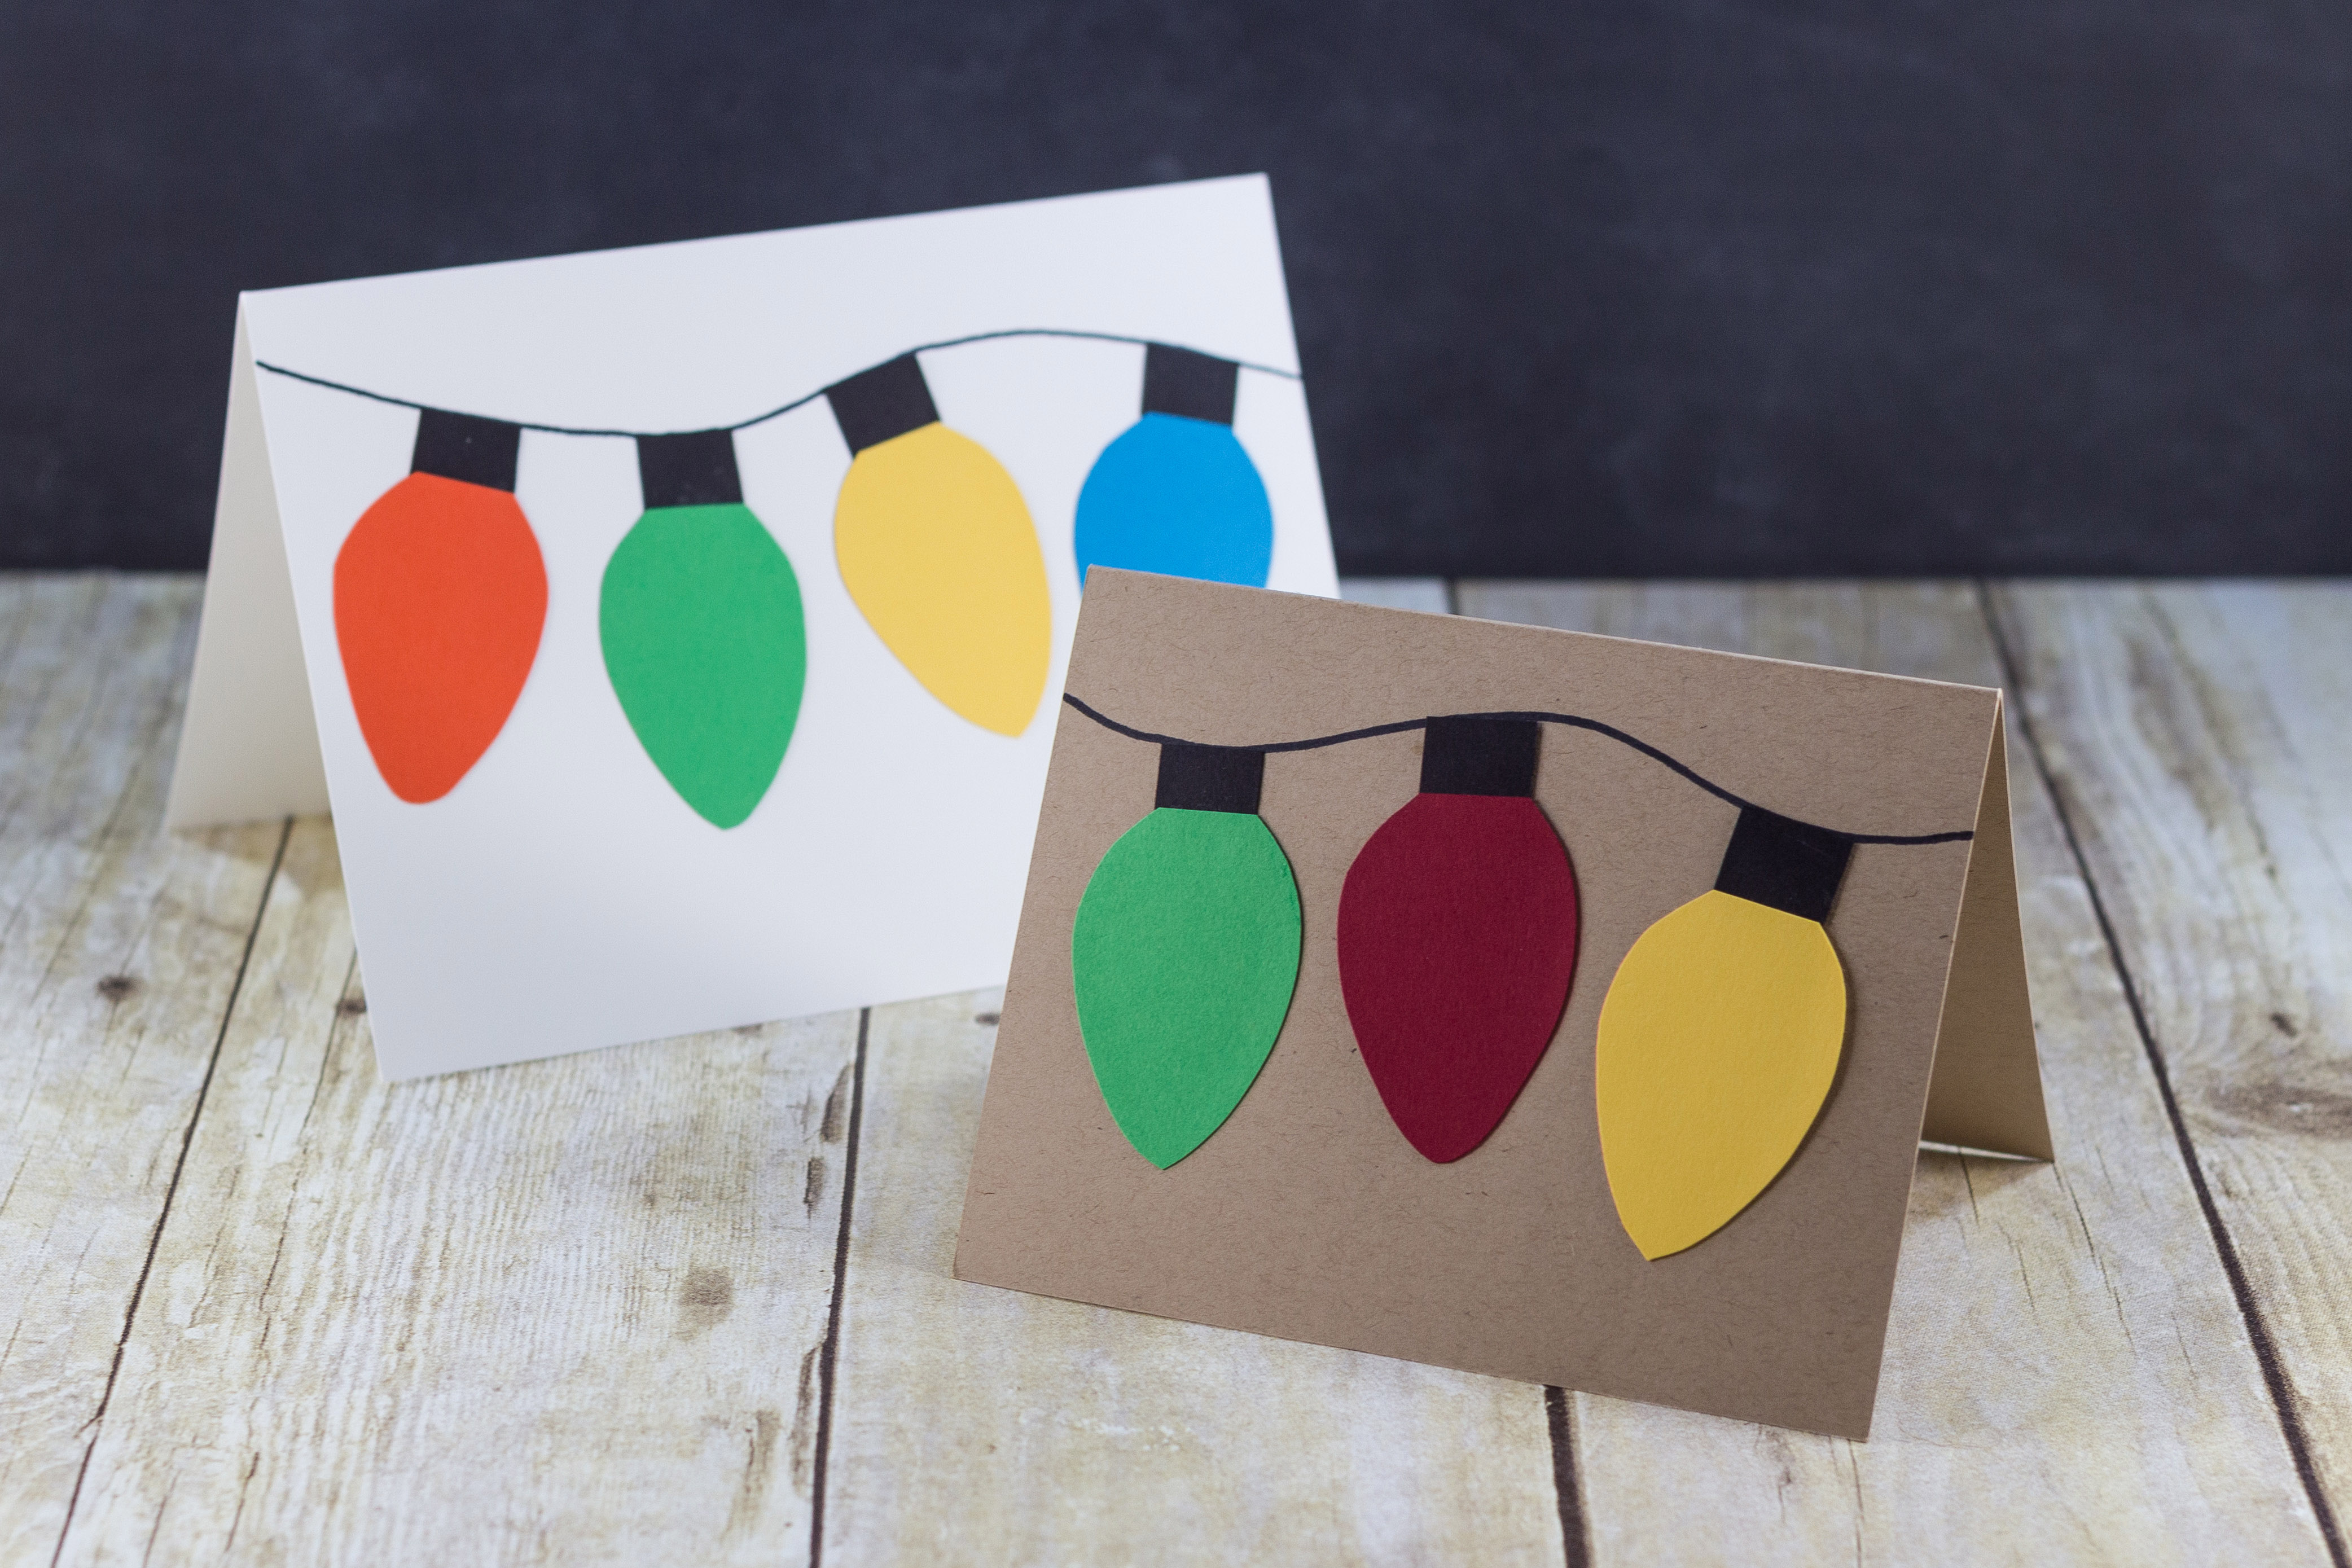
Finally, I made some greeting cards in A2 and A7 sizes. For both the gift tags and the greeting cards, I added the Christmas light string detail with a black Sharpie marker.
[Disclaimer: There are a few affiliate links in this post. Thanks for your support!]
Did you make the DIY paper Christmas lights decoration?
I want to see it! Tag your images #RoseClearfield on Instagram or Twitter or post a photo to my Facebook page.
Pin the DIY paper Christmas lights decoration for easy access later!
More DIY holiday projects: