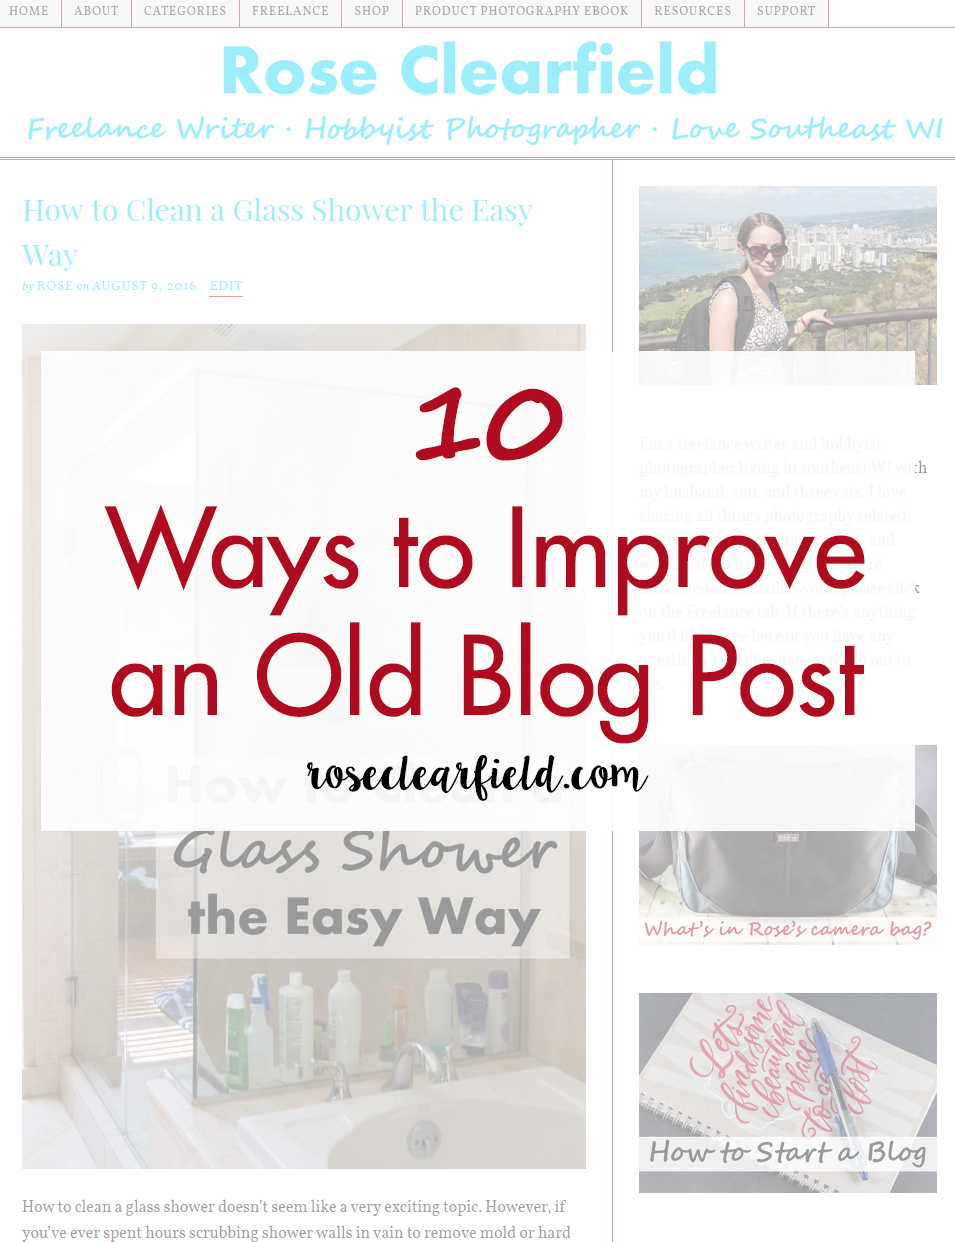
Why take the time to improve an old blog post?
You spent a lot of time, and sometimes a lot of money, creating blog posts. You want them to do well. It’s always more fun to create new content than go back and work on old content. But your old content is really valuable. Instead of letting great posts get lost in the cracks, make it a priority to improve them, so they keep generating consistent traffic and income.
1. How do I choose which posts to improve?
The ideal blog posts to improve are posts that are already performing well. Making a few tweaks will help these successful posts perform even better. If you check your blog stats regularly, most likely you already have a few ideas of posts that need to work. If you need a few ideas, there are a couple of ways to pull up your highest traffic blog posts.
- In Google Analytics, go to Behavior > Overview. Scroll down. You’ll see a list on the lower righthand side of the page with your top 10 highest traffic posts. If you’d like more information about these posts or to see more than the top 10 posts, click on “view full report” at the very bottom of the page.
- In the WordPress Jetpack plugin, go to Site Stats. Under Top Posts & Pages, click on Summaries. In the Summaries section, you can view your posts ranked by traffic for the past week, month, quarter, or year or for all-time.
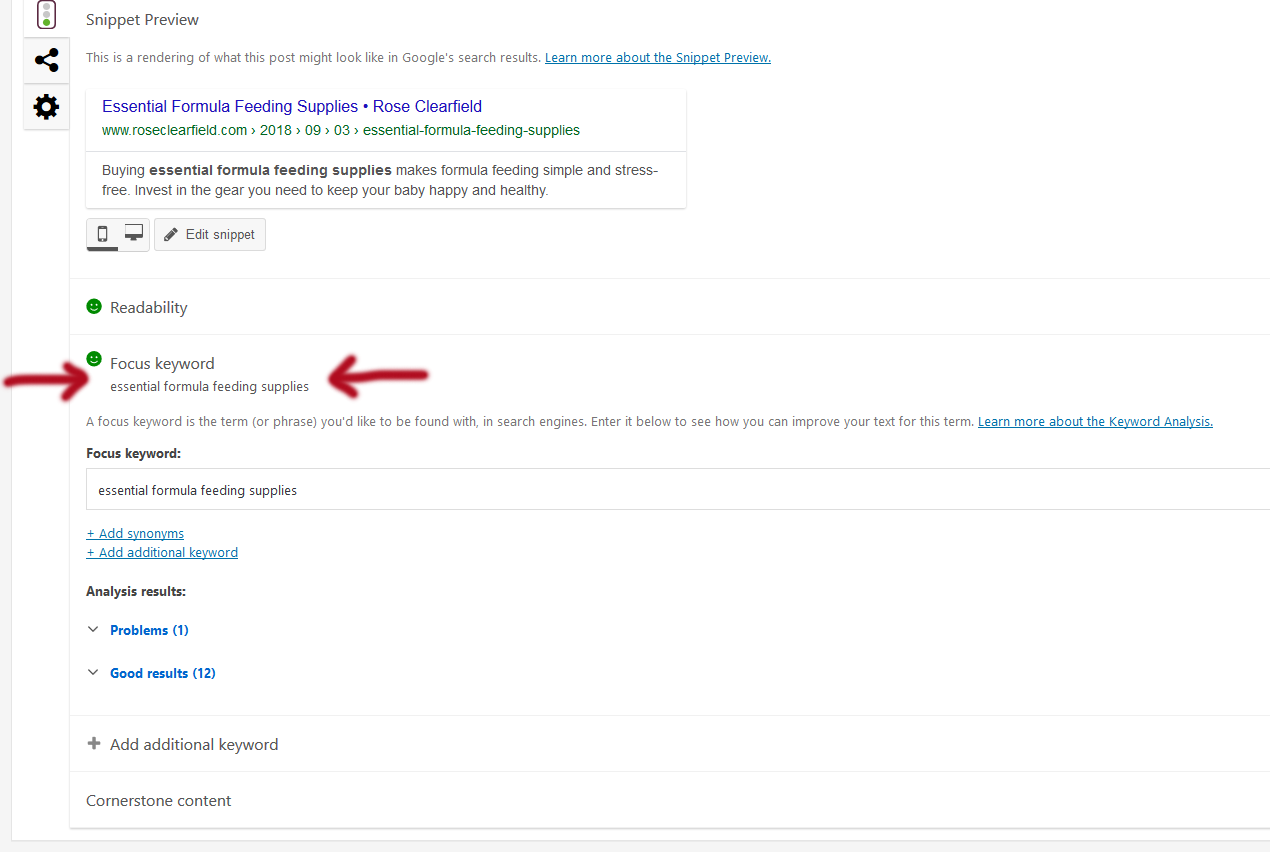
2. Add a focus keyword and incorporate it in the post.
A focus keyword is the keyword you want your blog post or page to rank for in search engines. Research your topic and select a focus keyword that fits the searches people will do for your topic. Typically, for a blog post, you’ll want to create a long-tail keyword with multiple words. For example, “DIY Scrabble Tile Family Picture Frame” is a better blog post keyword than “picture frame” or even “DIY picture frame.”
To add a focus keyword and meta description to your blog post, you need the Yoast SEO plugin. This free plugin is one of the simplest, most effective ways to make sure you’ve optimized every blog post. Following the plugin’s recommendations to get a green “good” rating on a post ensures that it will perform better.
Adding or changing a focus keyword may mean changing the title of the post, which is good, as this additional change may further boost the post. Make sure to update the meta description as well, so it also includes the focus keyword.
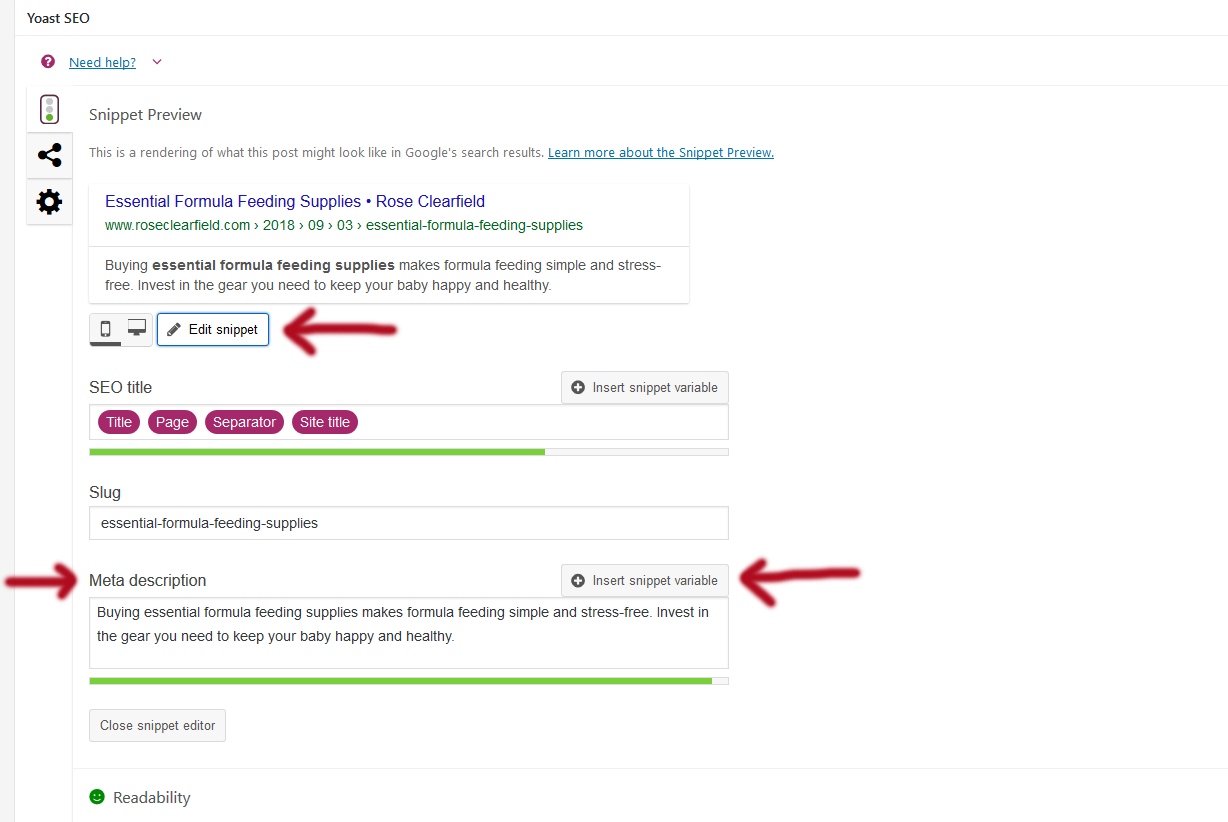
3. Add or re-write a meta description.
A blog post’s meta description is the text that displays in the search engine results, typically when the search includes a phrase contained the description. This text may also get pulled when the post is shared on social media. The maximum length for a meta description is 155 characters. Any text beyond 155 characters won’t display in the search engine. Adding a meta description with the blog post’s keyword phrase increases the chances of the post getting found on search engines.
To add a meta description, click on the Edit snippet button in the Yoast SEO plugin. Then type your text in the meta description box. The meta description should be actionable and in the active voice with a call to action. This may seem obvious, but the meta description should fit the content. If you promise your readers a free ebook, the post should contain a free ebook. Promising a free ebook and then not providing an ebook or providing an ebook that isn’t free will increase your bounce rate and may penalize your site on Google.
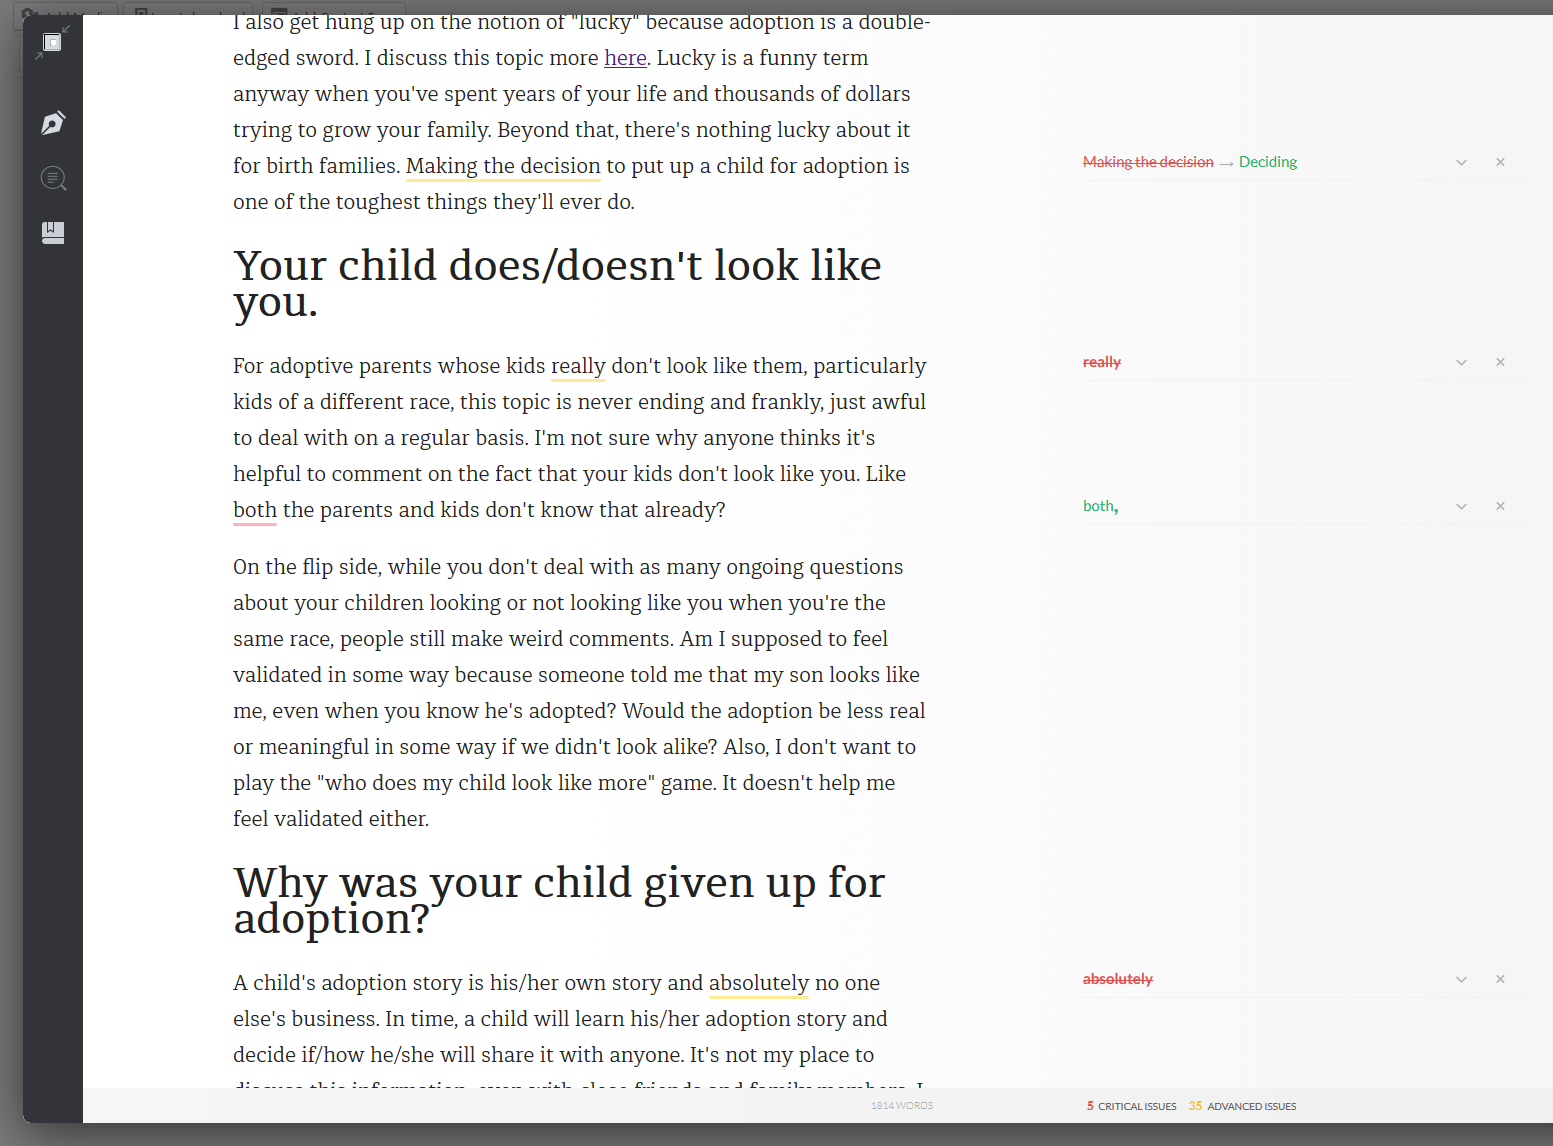
4. Improve the readability, fixing any spelling and grammatical mistakes and removing any dead links.
Evaluate the readability of your blog post. Break up the text into paragraphs. Use headings to further break up the text, making it easier for readers to digest and find what they’re looking for in the post. As you proofread your post, get rid of any spelling and grammatical mistakes. I use Grammarly to proof all of my posts and do a full read through, as even the best grammar checkers don’t catch every mistake.
If you don’t already have the Broken Link Checker plugin, consider installing it to watch for dead links and remove them as needed. Broken links look bad and will detract from your content and may negatively impact your search engine ranking as well.
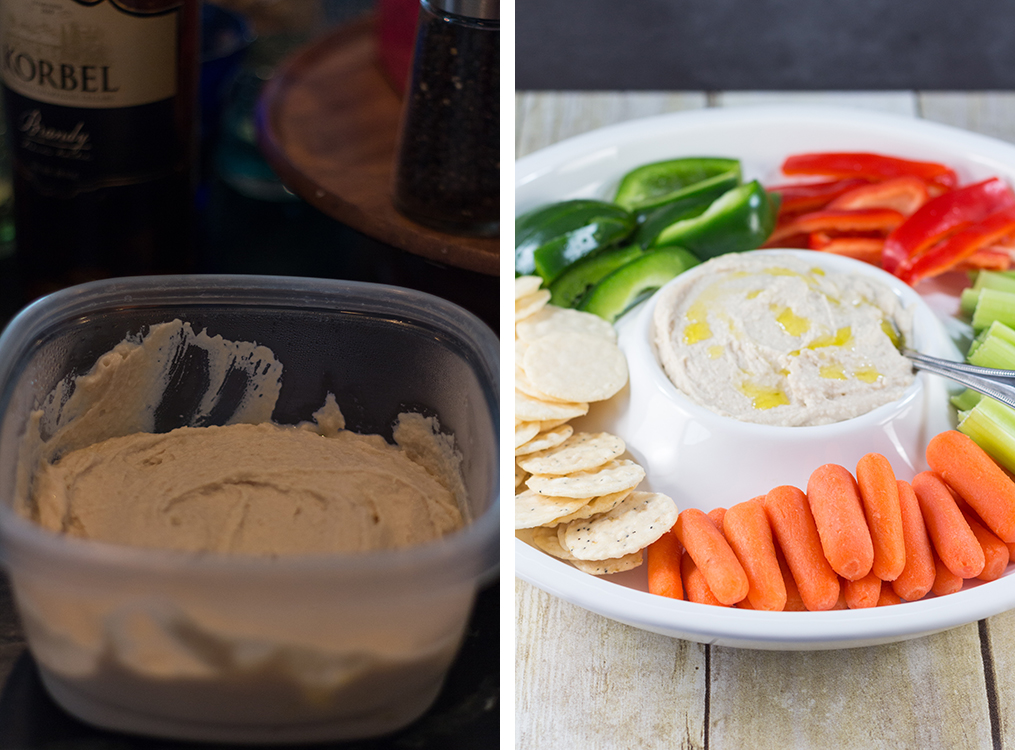
5. Update the photos.
Shooting, editing, and uploading new photos for an old post has to be one of the least fun ways to improve an old blog post. It’s always more fun to work on new pictures. But we all have old content with embarrassingly bad photos. Everyone has to start somewhere, and there’s no shame in that. Don’t believe me? You can check out plenty of my super old recipe pictures on HubPages.
Don’t stress about taking new pictures for every single old blog post. No one has the time and energy for this amount of work. As you prioritize older, high traffic posts to improve, think about the posts that will benefit the most from new photos. Make time to re-shoot the photos for 1-2 blog posts per month.
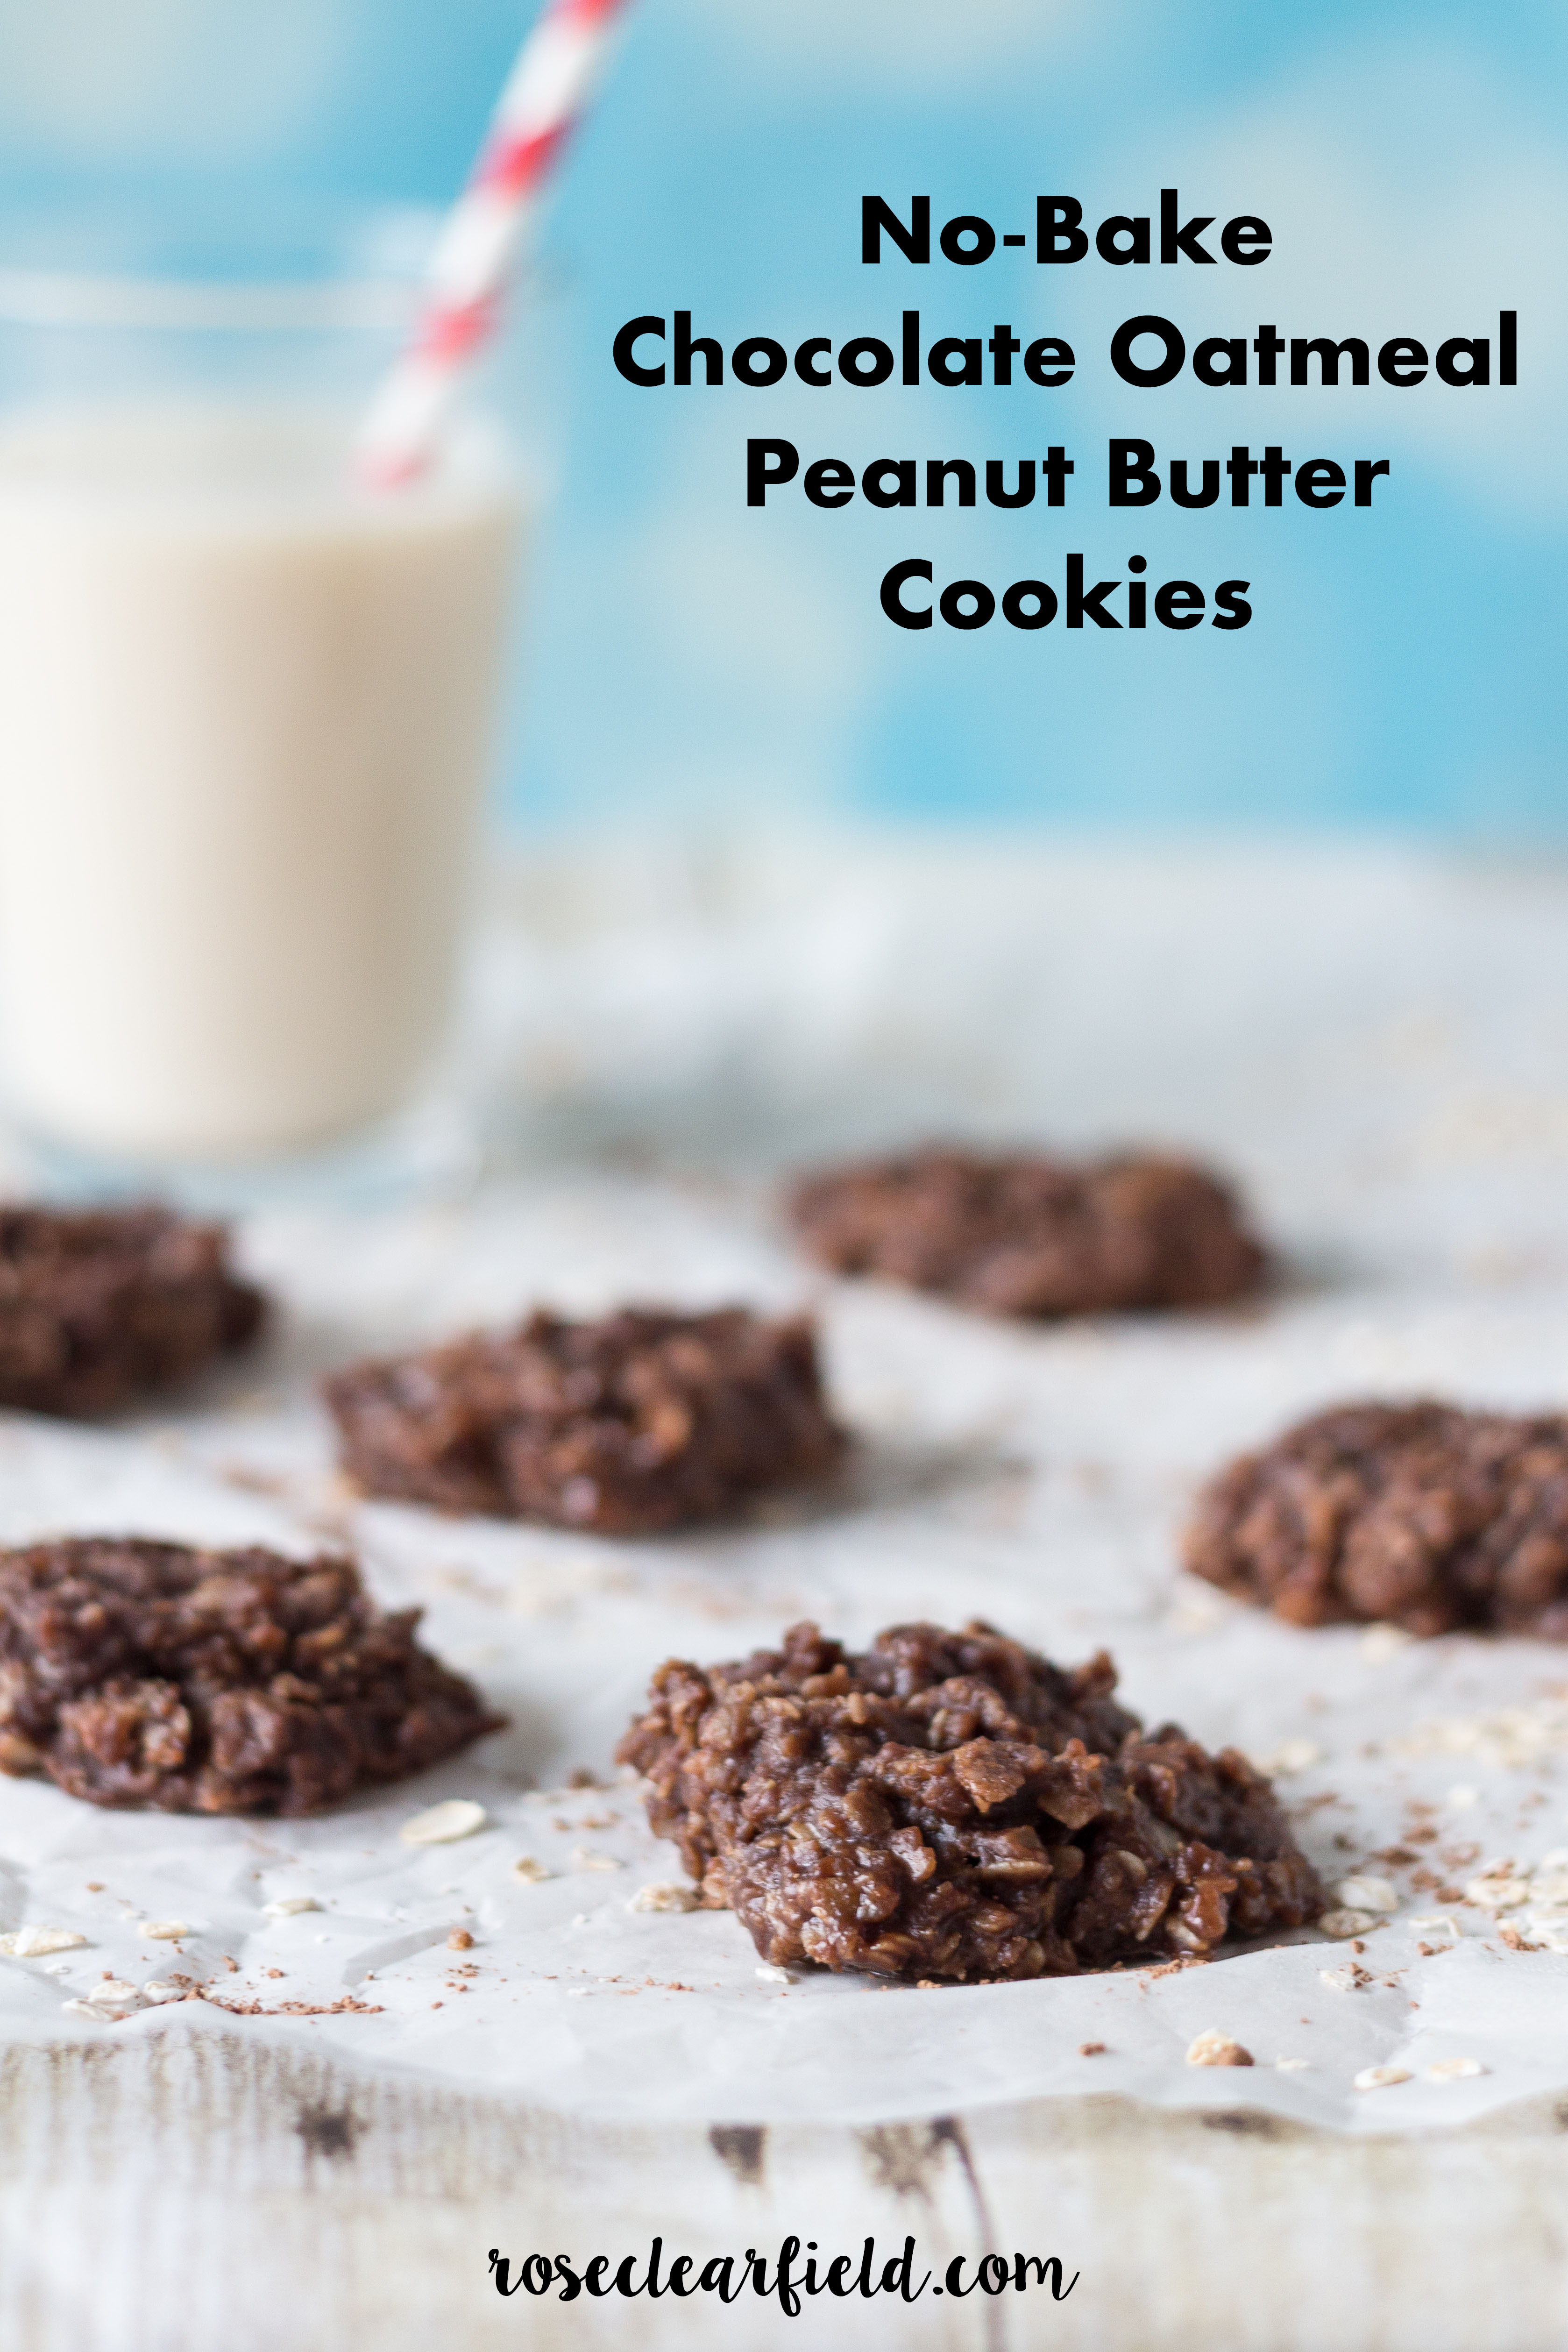
6. Create a new Pinterest-friendly graphic, and share it on Pinterest.
I cannot emphasize enough how important it is to create stellar Pinterest-friendly graphics for your top posts. Any type of blog post with high visual interest (i.e. recipes, DIY projects, home decor, fashion) has the potential to perform very well on Pinterest. Shooting blog post images with Pinterest in mind will greatly increase your Pinterest shares.
Select a high-quality, vertical image that fits the content at hand. I know that this sounds obvious. But you see way too many pins with royalty-free-sourced images that don’t actually fit the content. You may also opt to create a vertical graphic with several landscape-oriented images, which is fine. (This pin for my woodland baby shower post is a good example of this type of Pinterest graphic.) Once you have your image(s), choose easy to read font(s) and color(s). Sticking to a relatively small pool of fonts and colors (maximum four each) will help you create cohesive pins that fit your brand.
Once you have your new Pinterest-friendly graphic in your post, share the post on Pinterest. At the end of this post, I cover more information about scheduling social media shares for consistent exposure. I also cover more details about creating Pinterest-friendly images and graphics in my post Pinterest 201 for Bloggers: Grow Your Blog With Optimized Pin Images.
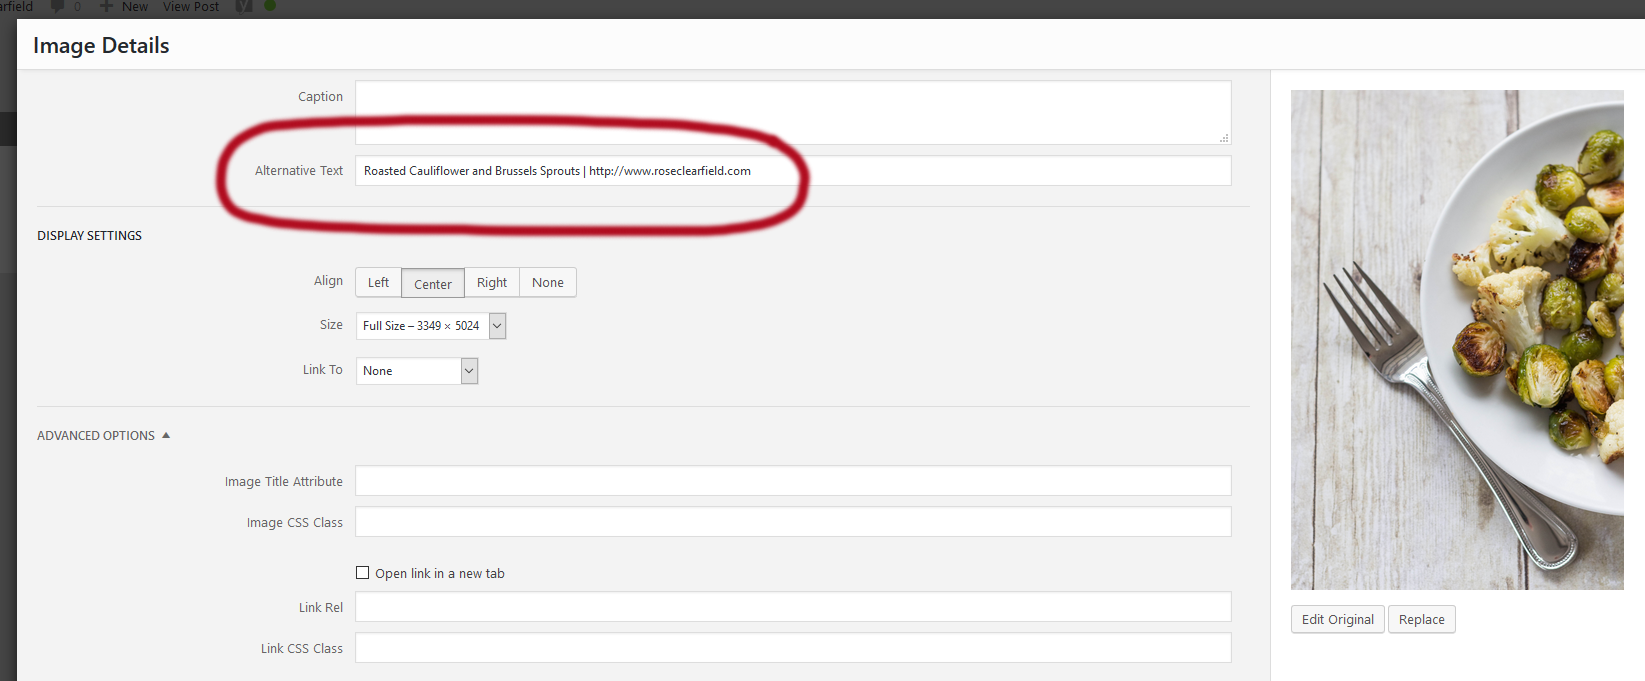
7. Add or update the alt text for your photos.
Alt text is the word or phrase inserted as an attribute in an HTML document to inform website viewers about the nature or contents of an image. The alt text appears in a blank box that would normally contain the image. Adding an alt text to your images is important for search engine optimization. It also improves your visibility on social media and Pinterest, as these sites will pull your alt text when the image is shared. To add an alt text, look for the blog called alt text or alternative text when you upload a new image.
When you’ve chosen a strong focus keyword for your post and used it in the title of the post, the title itself makes a great alt text. Typically, I use the post title and my blog URL in the alt text, such as “10 Ways to Improve an Old Blog Post | https://www.roseclearfield.com.” You may choose to include additional information in your alt text as well.
8. Add a video.
Creating a new video for an old post generates another way for the post to be found. And frankly, it’s a lot more fun to create a new video than to re-shoot photos. When you upload the video on YouTube or another public channel, make sure to include a link to the blog post. As you create a small library of videos, you’ll gain subscribers to your video channel, increasing exposure to your blog.
9. Provide updates to the original post.
Is there new information that you can add to a post that wasn’t available when you published it? Have you tweaked the recipe slightly or developed an alternative method for the DIY project? Another great way to provide updates to the original post is to answer reader questions. Maybe a number of people have asked for clarification on a step in the recipe. Address this inquiry directly in the post.
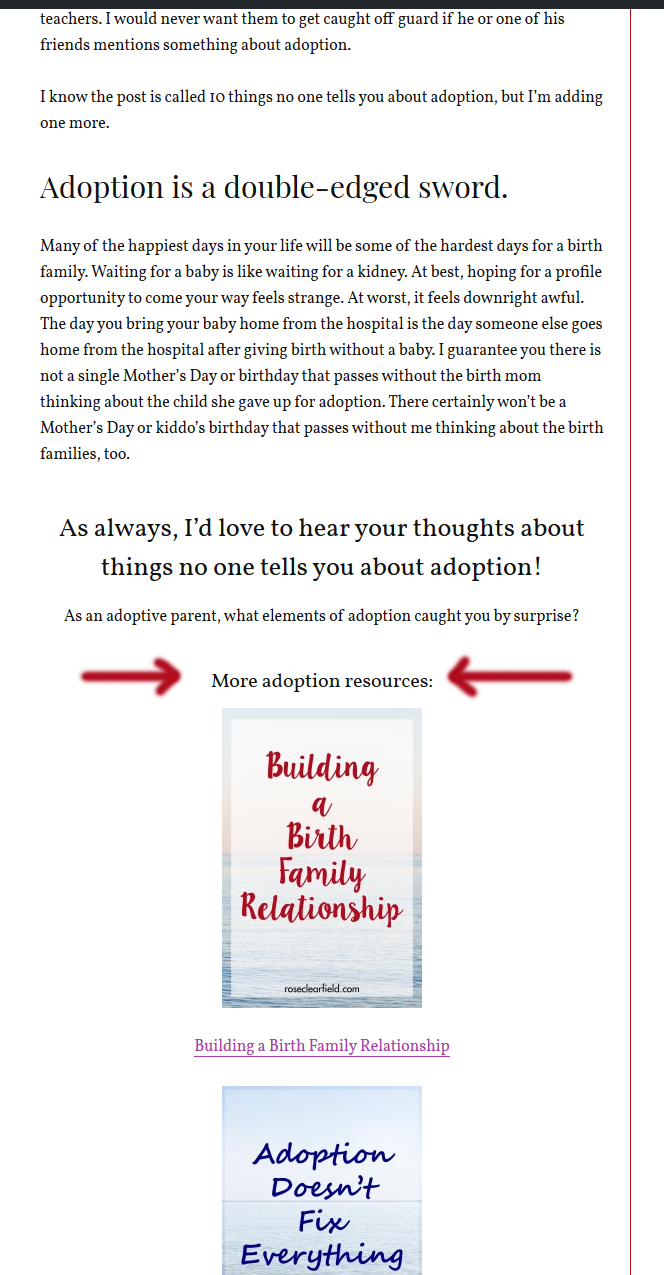
10. Add a few newer internal links that are relevant to the post.
When you’re regularly publishing to a blog, you’re always adding new content. A month, a year, or a few years after publishing a post, you may have more internal links to add that are relevant to the post. For example, when I published 10 Things No One Tells You About Adoption, I hadn’t written any other posts of this nature. At the end of the post, I linked to the adoption section of my blog, in case readers were interested in learning more about our adoption story. Half a year later, I have written a number of related posts. As such, I updated 10 Things No One Tells You About Adoption with said links.
And a bonus #11…
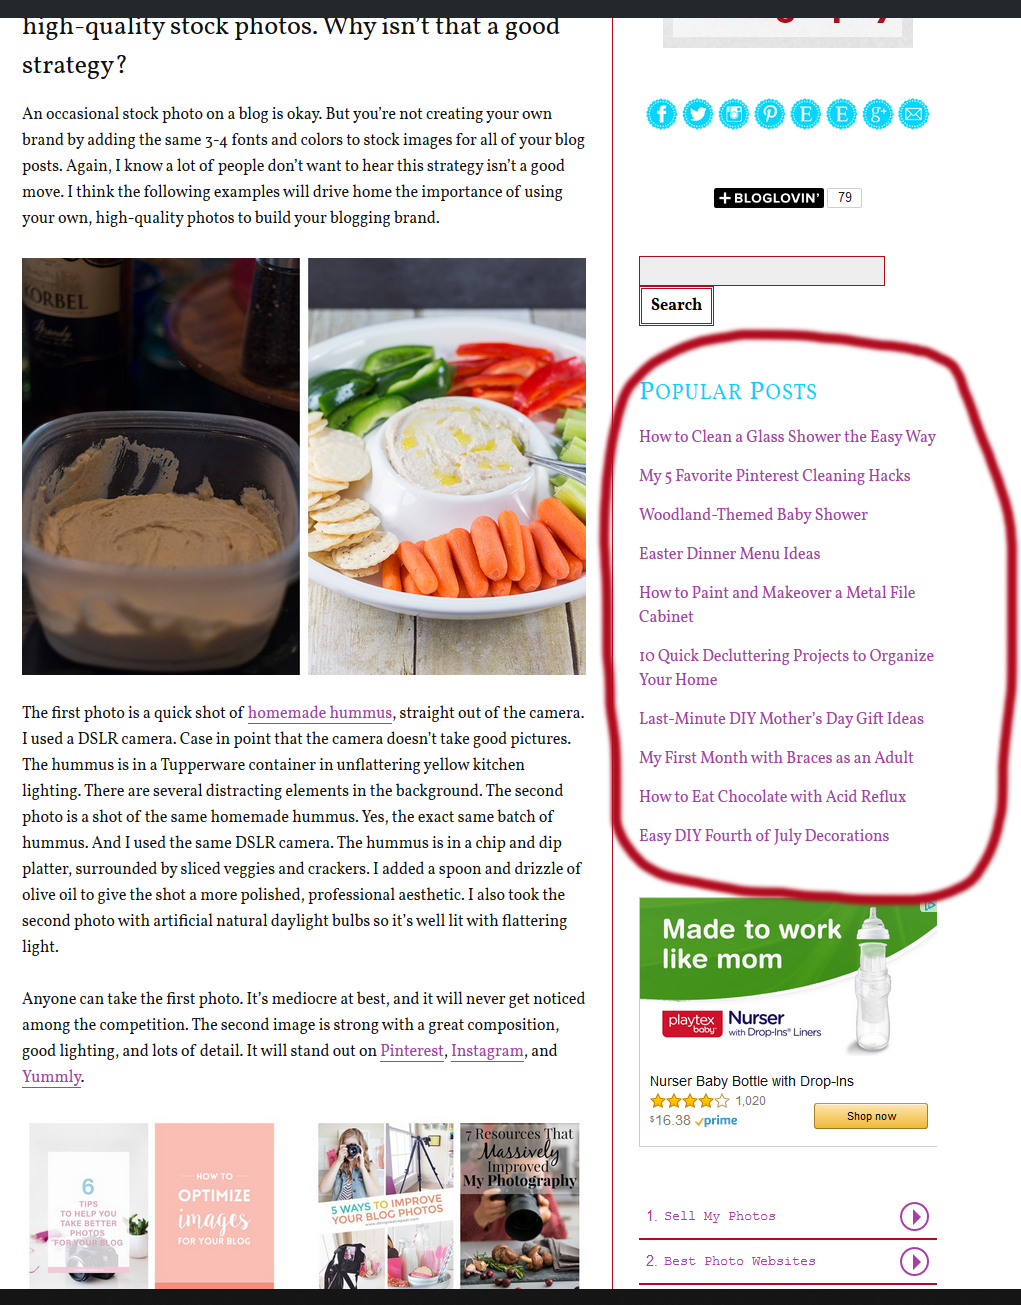
11. Add a link to the post in the sidebar or menu.
Highlighting your most popular posts or a selection of relevant seasonal or holiday posts in the sidebar or menu of your blog is an easy way to keep interested readers clicking through more posts. Personally, I use the WordPress Popular Posts plugin to highlight my most popular posts. It allows you to customize your sidebar posts display in a variety of different ways, such as how many posts it displays and if you want to display post thumbnails. As an added bonus, the plugin provides a number of stats about your most popular posts.
Finally, once you’ve finished your improvements to your old blog post, schedule new social media shares. I have an Excel blog post spreadsheet with all of my evergreen blog posts and their most recent share dates. I check it periodically and schedule new shares via Tailwind as needed. If you don’t have a sharing system in place, I highly recommend implementing one. It’s time-consuming to create but so quick and simple to update.
[Disclaimer: There are a few affiliate links in this post. Thanks for your support!]
Do you have any additional tips to improve an old blog post?
Share your insight in the comments!
More blogging resources:

Photography 101 for Bloggers: Take and Edit Better Photos
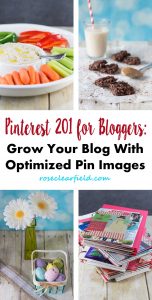
Pinterest 201 for Bloggers: Grow Your Blog With Optimized Pin Images