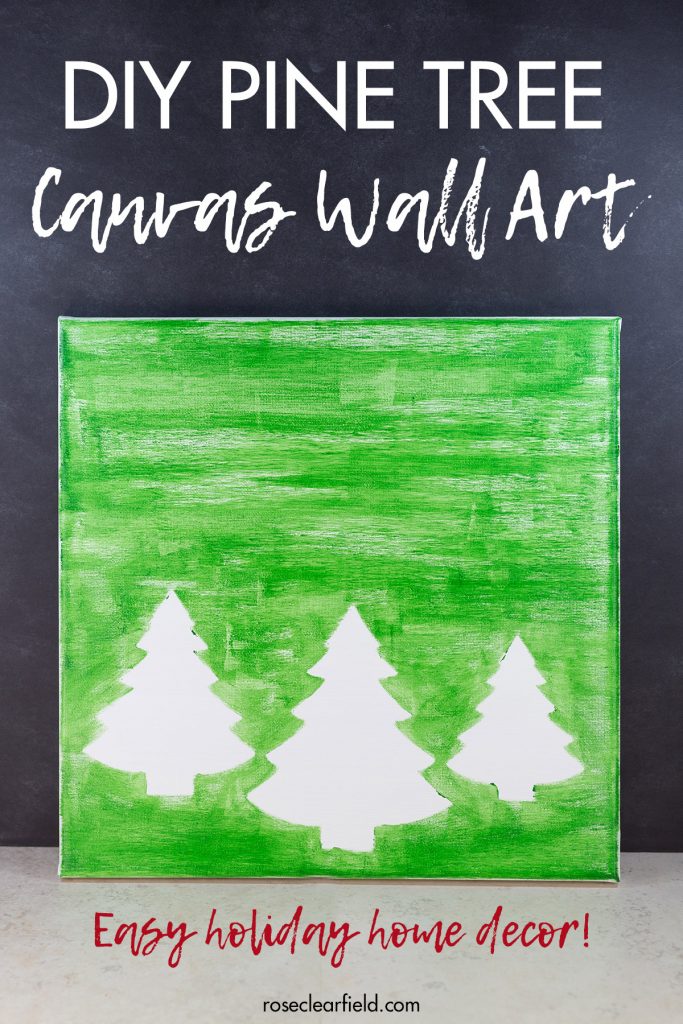
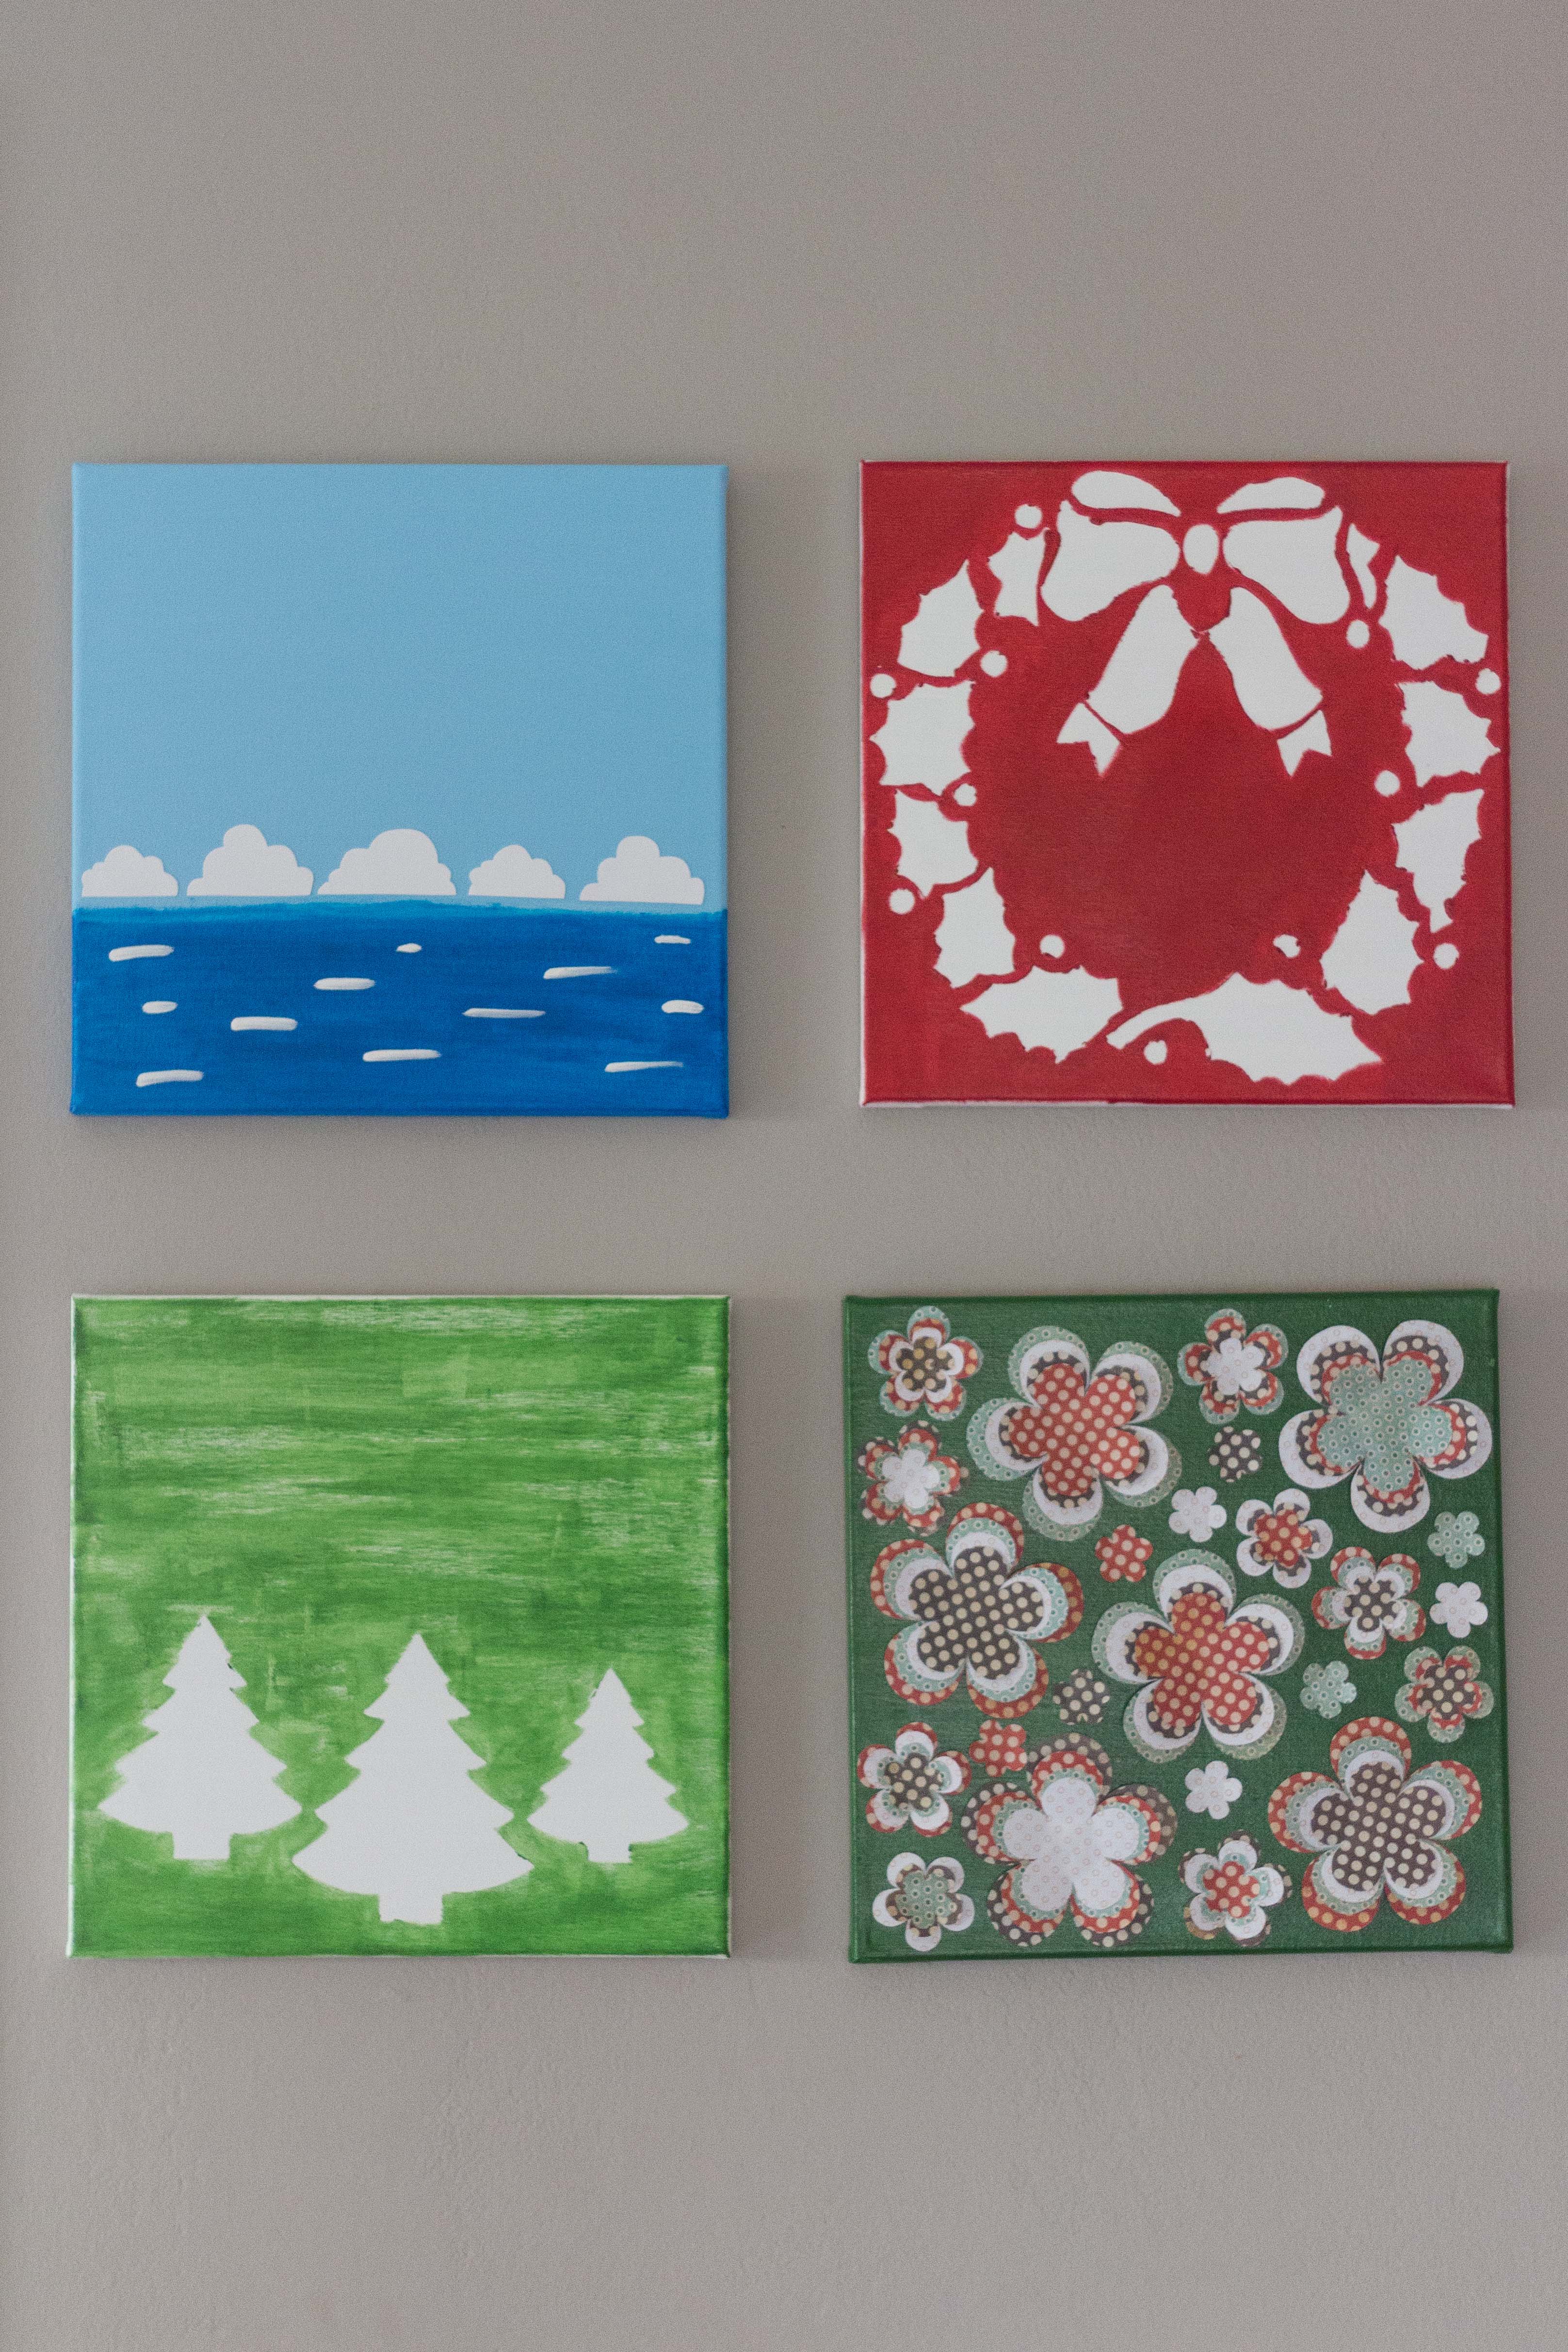
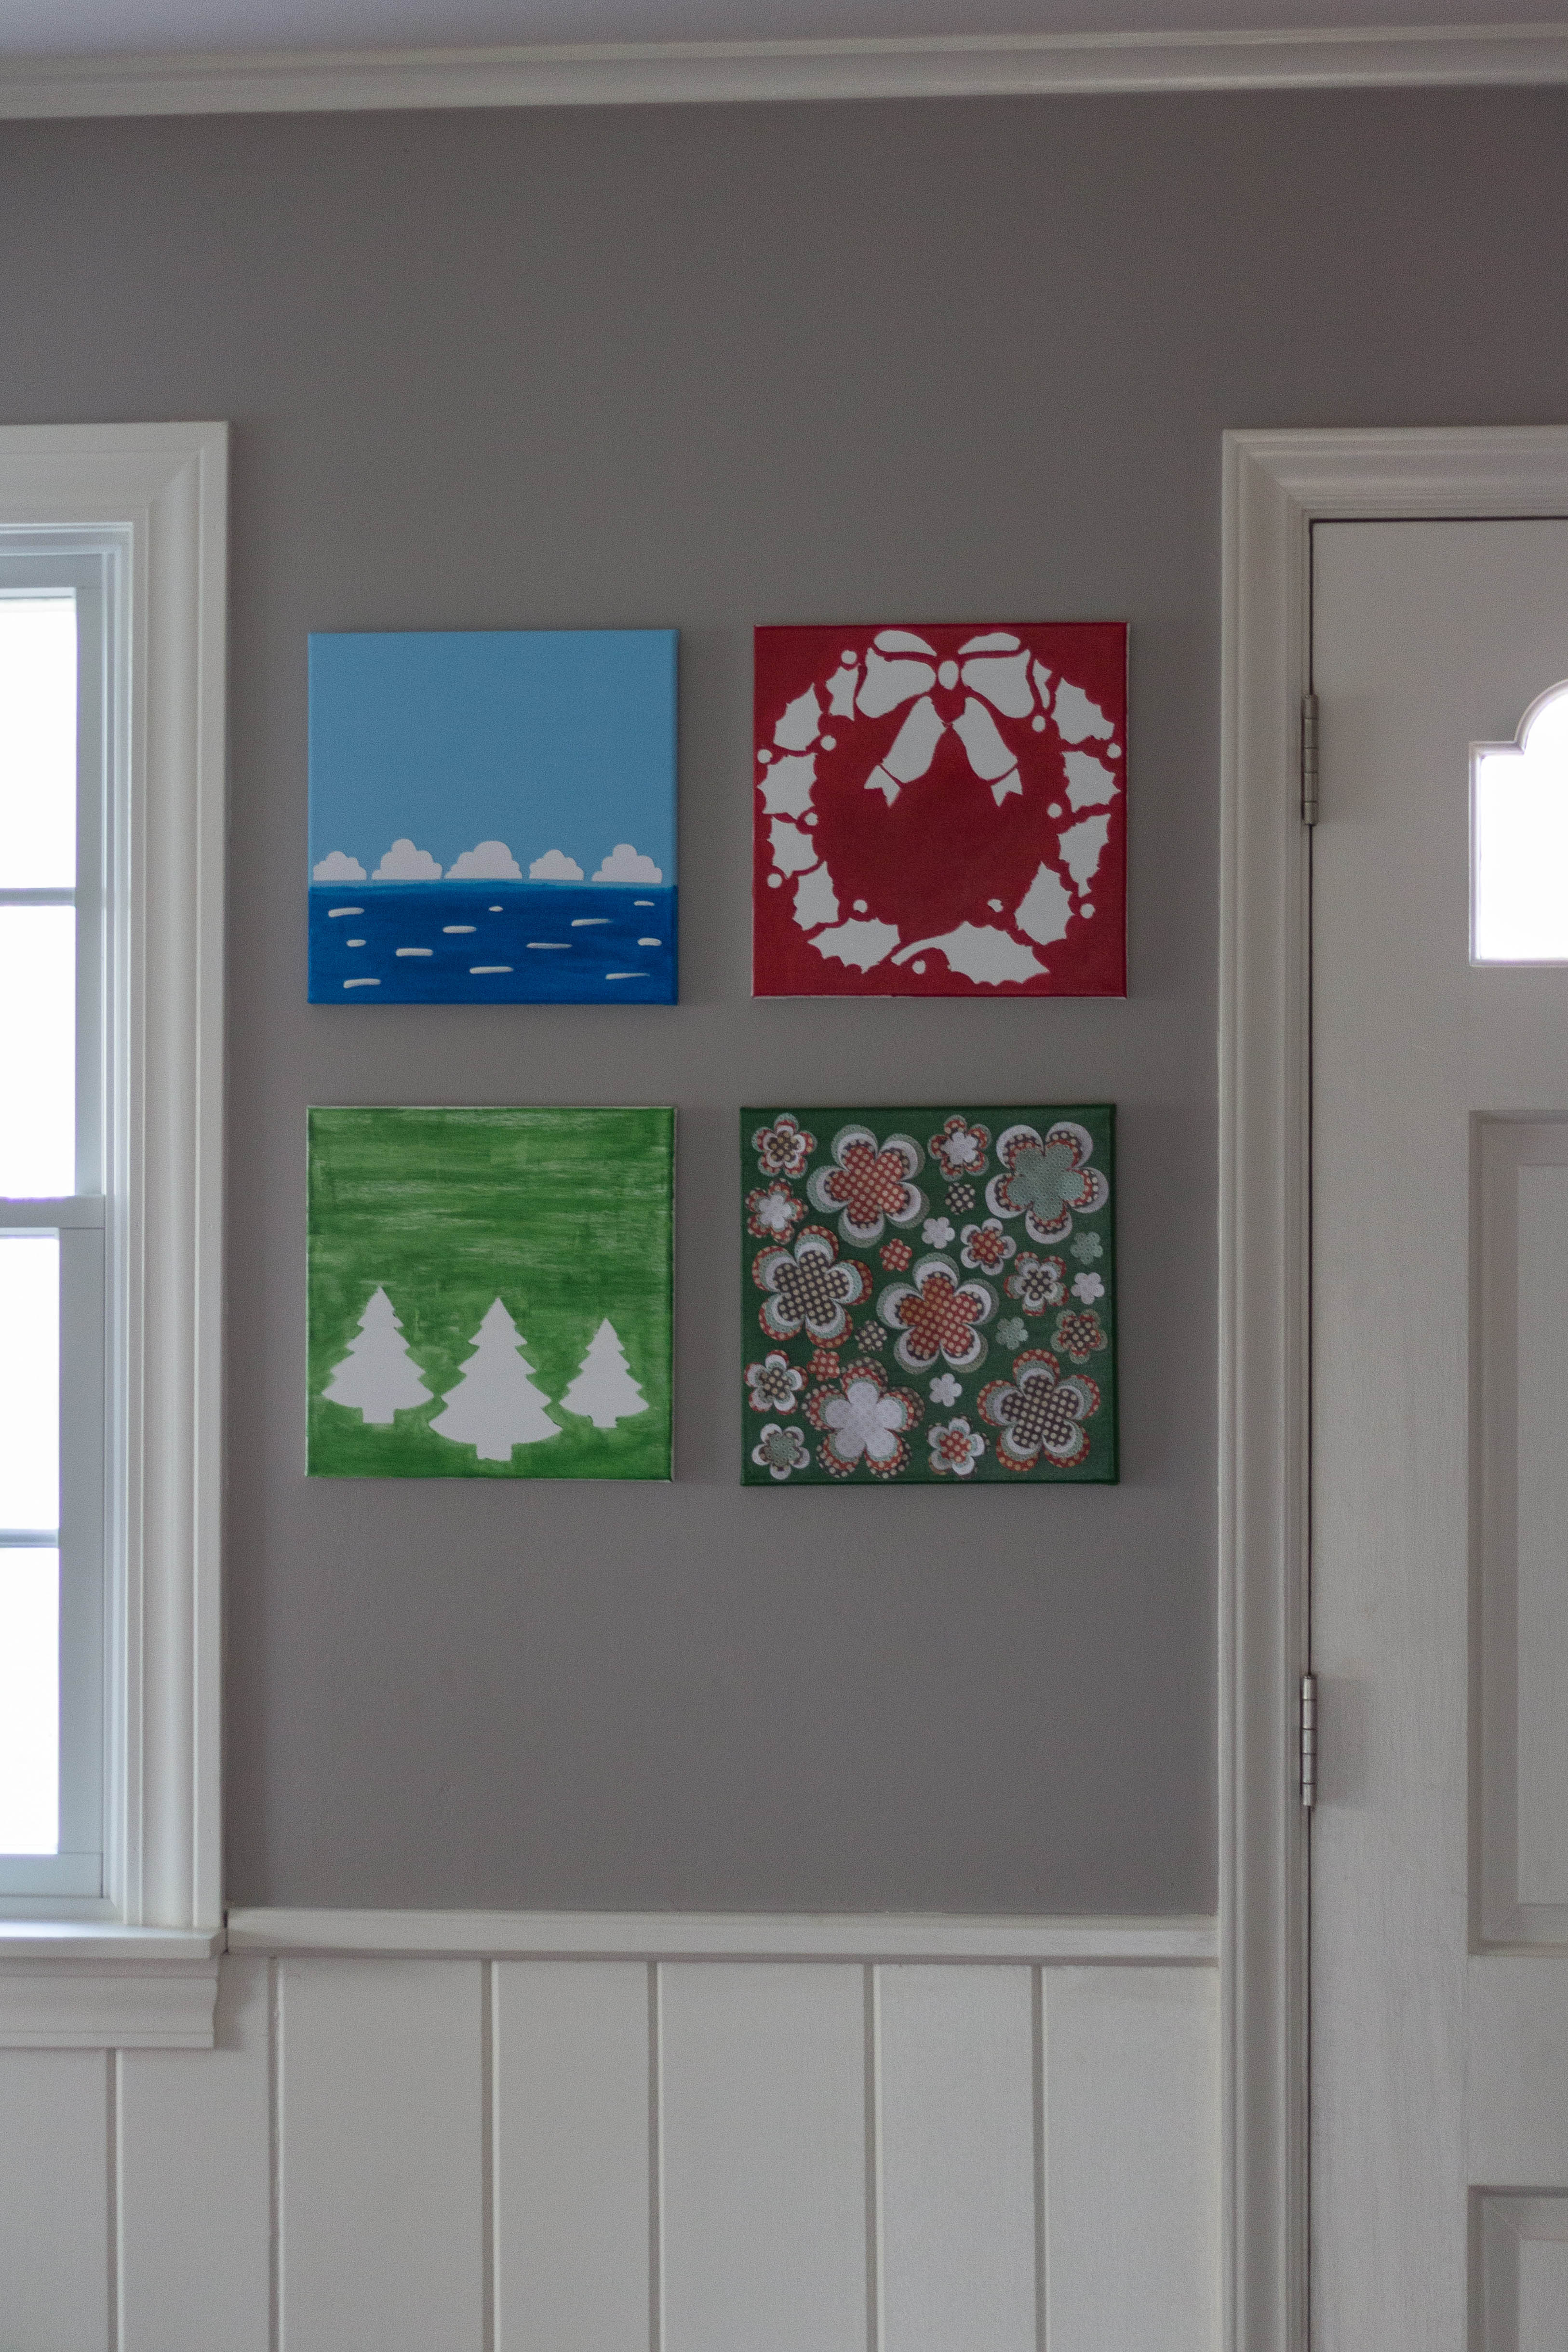
I created new holiday decor canvas wall art!
As many of you already know, I like to switch up some of the decor in our entryway periodically for different holidays and seasons. Somehow in the craziness of moving and some other things that were happening this time last year, I did make any Christmas pieces. So I put together a couple this year and am sharing the tutorial with you today.
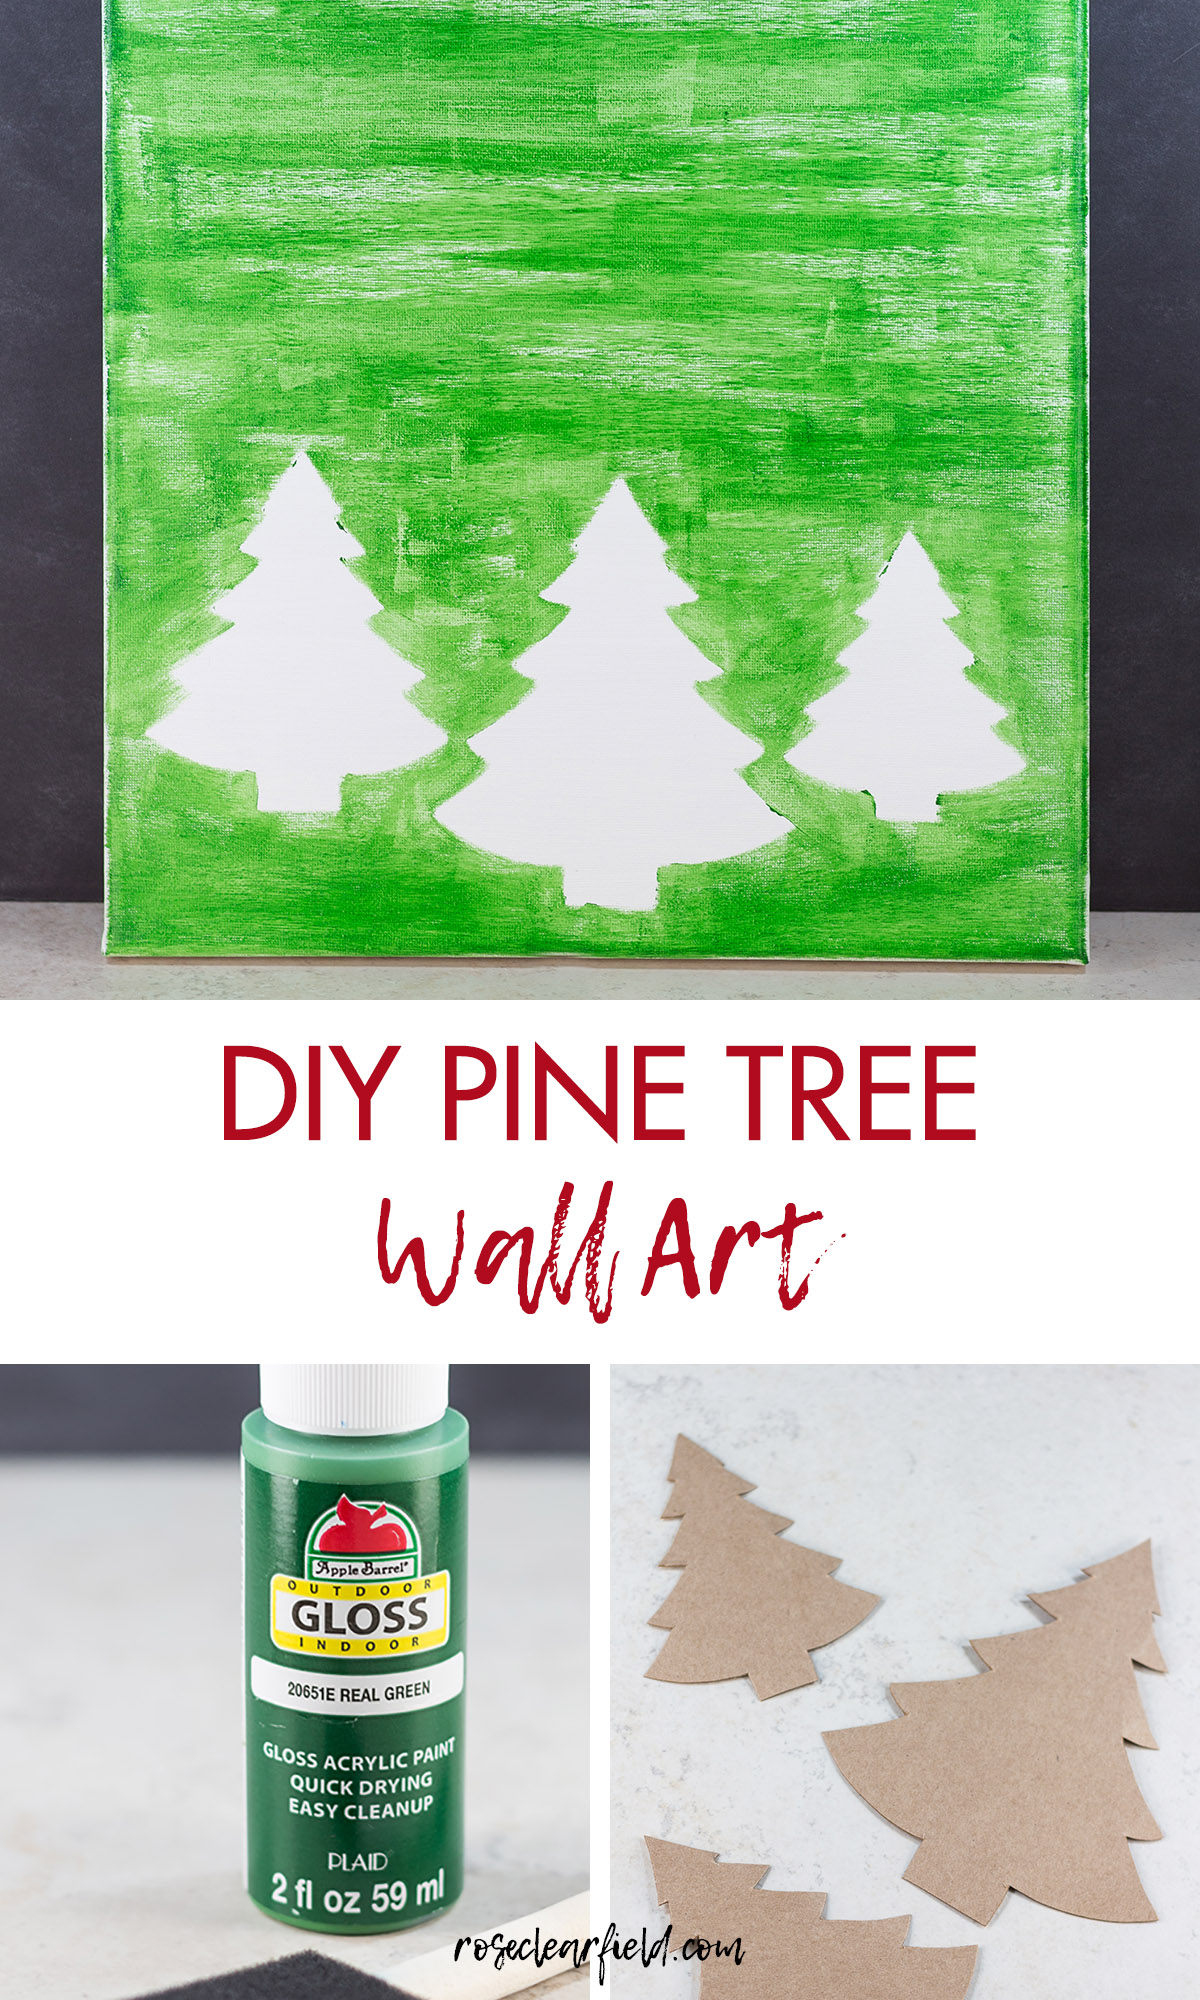
The DIY pine tree wall art is one of these projects that is so simple, calling it a tutorial is sort of a stretch. But a quick, straightforward craft tutorial is often one of the best kinds of tutorials. You can pick up all of the supplies at Michaels and have the entire project completed in an afternoon. It’s simple and cheery, putting a smile on your face every time you walk through the door during the holiday season.
Supplies:
- One 12″ x 12″ blank canvas
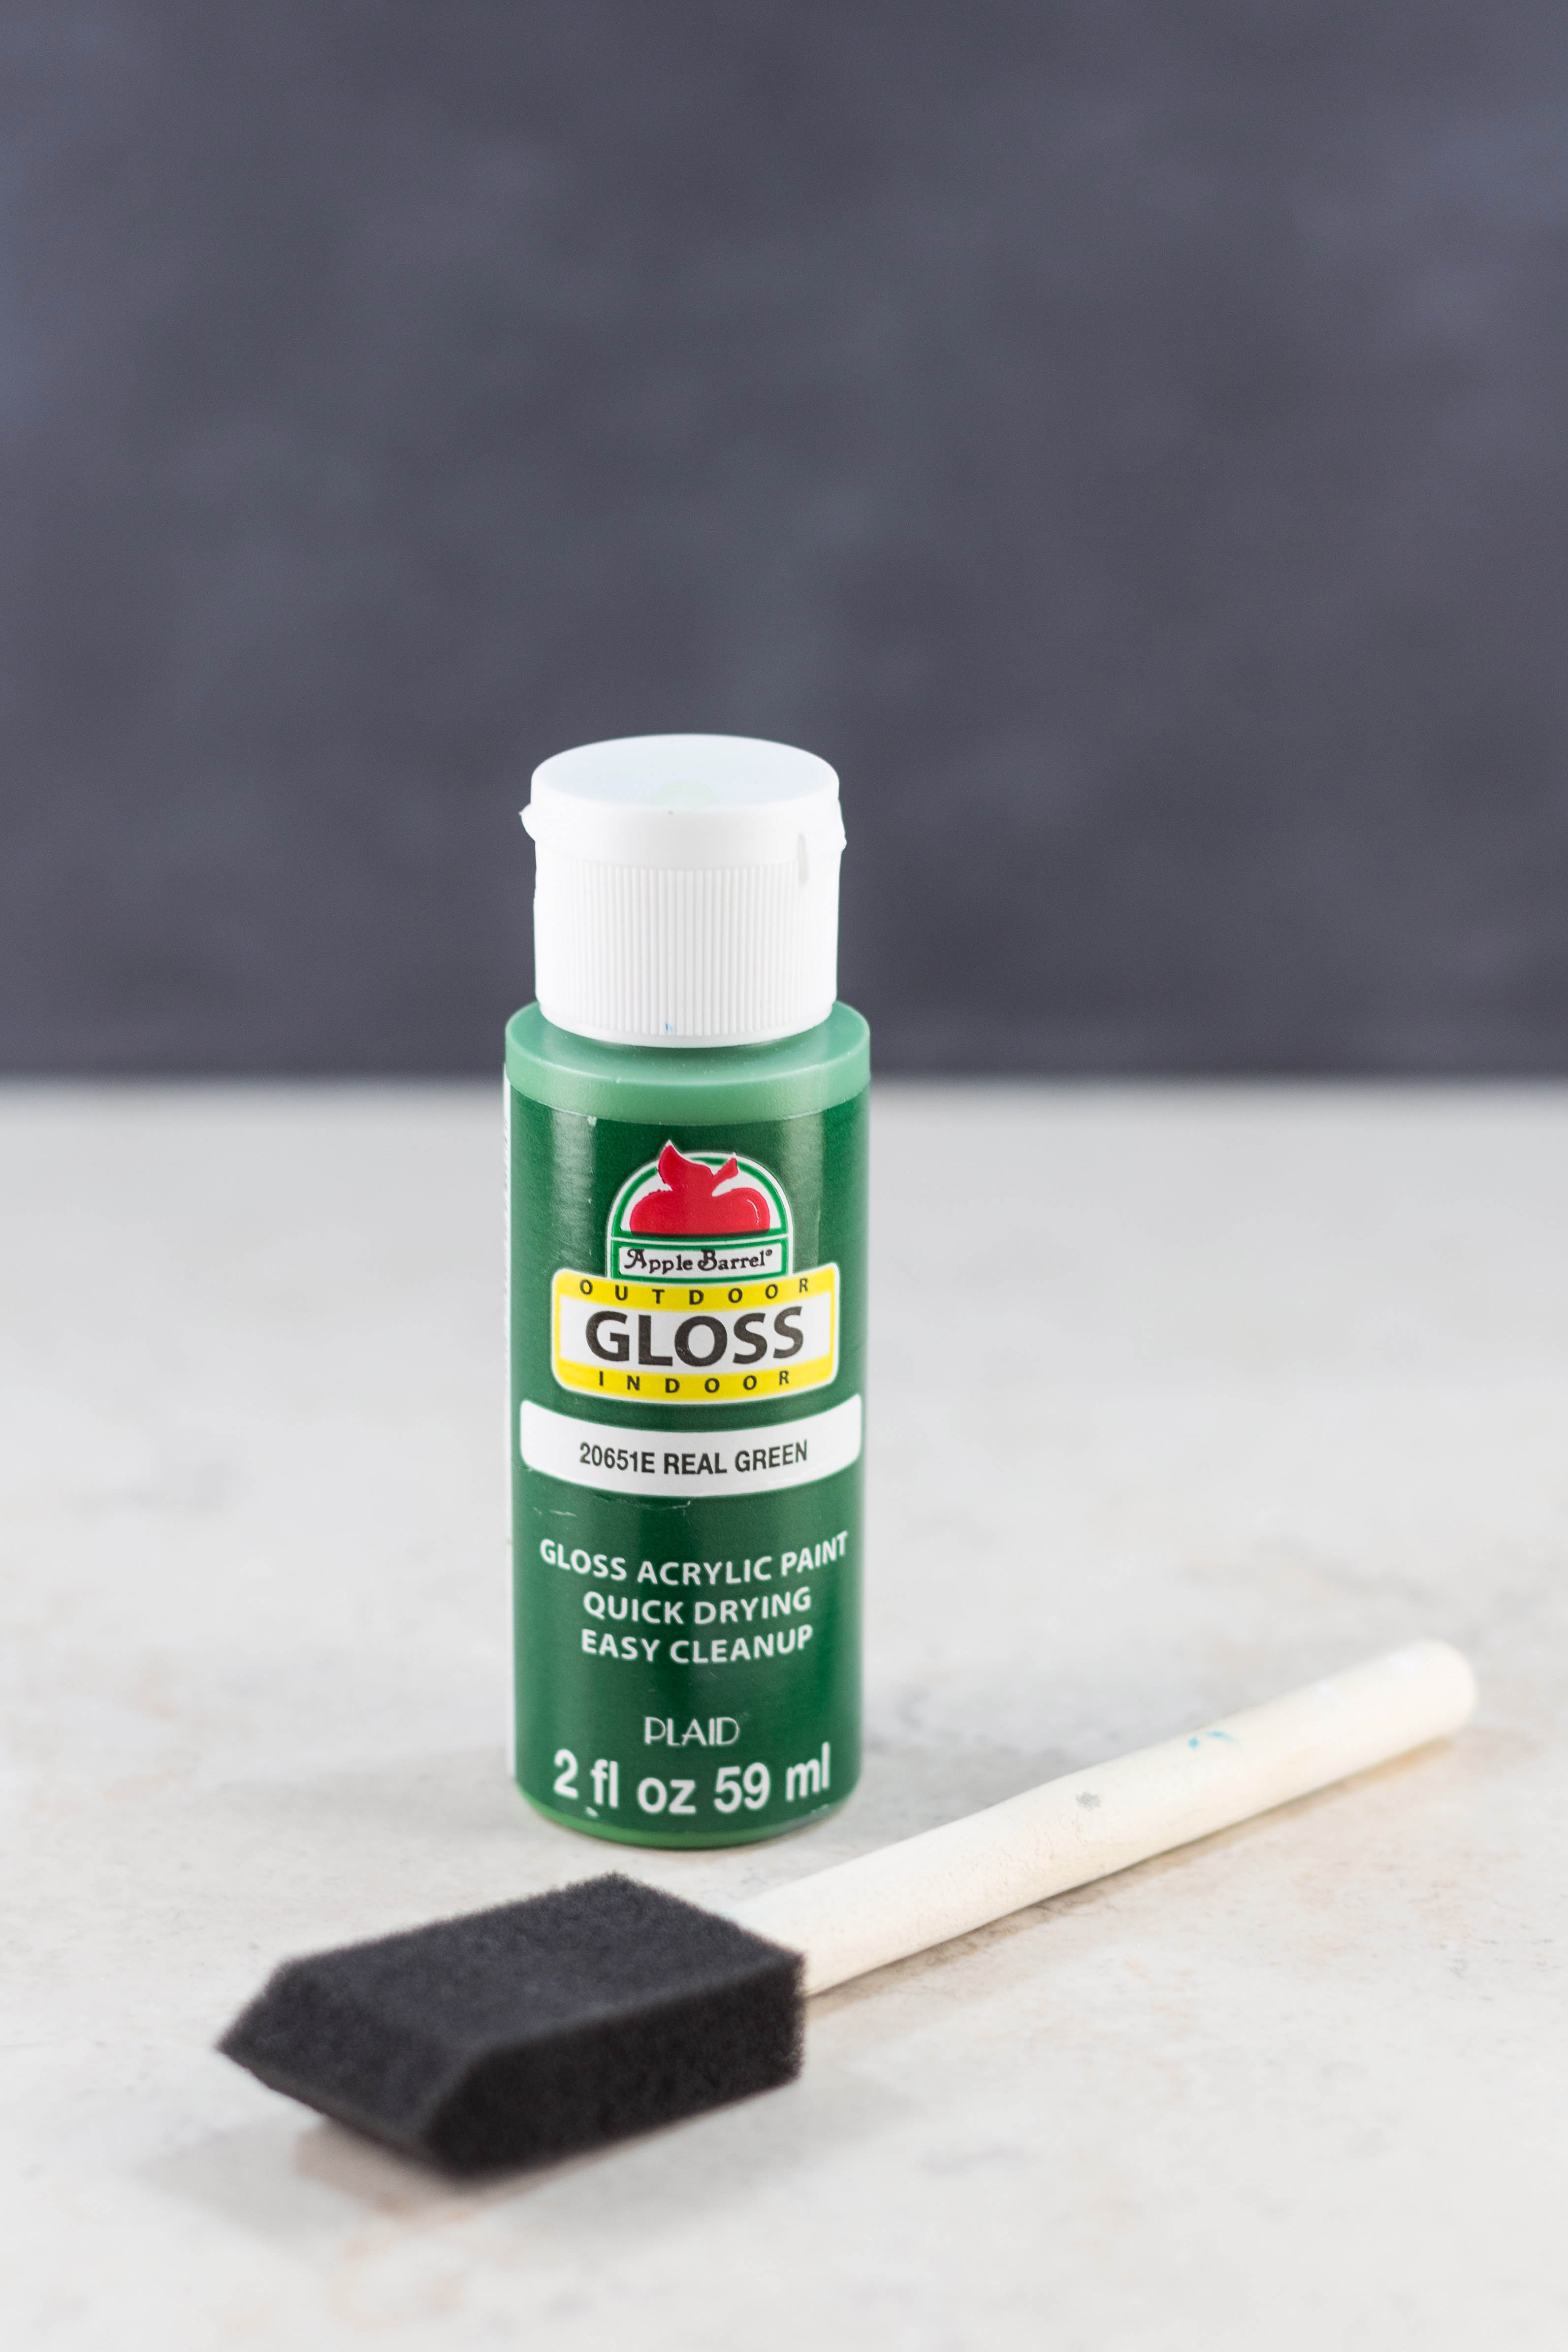
- White and dark green acrylic paint (I used Apple Barrel 20403E White and 20651E Real Green)
- Pine trees template (original pine tree source: In My World)
- Empty cereal box or other cardboard of a similar thickness
- Painter’s tape
- Small foam brush
- Pencil
- Scissors
- Sawtooth hanger and hammer for hanging the art
Use the small foam brush to paint the entire canvas white, including the sides. Most likely you’ll need to do 2-3 coats to ensure full coverage.
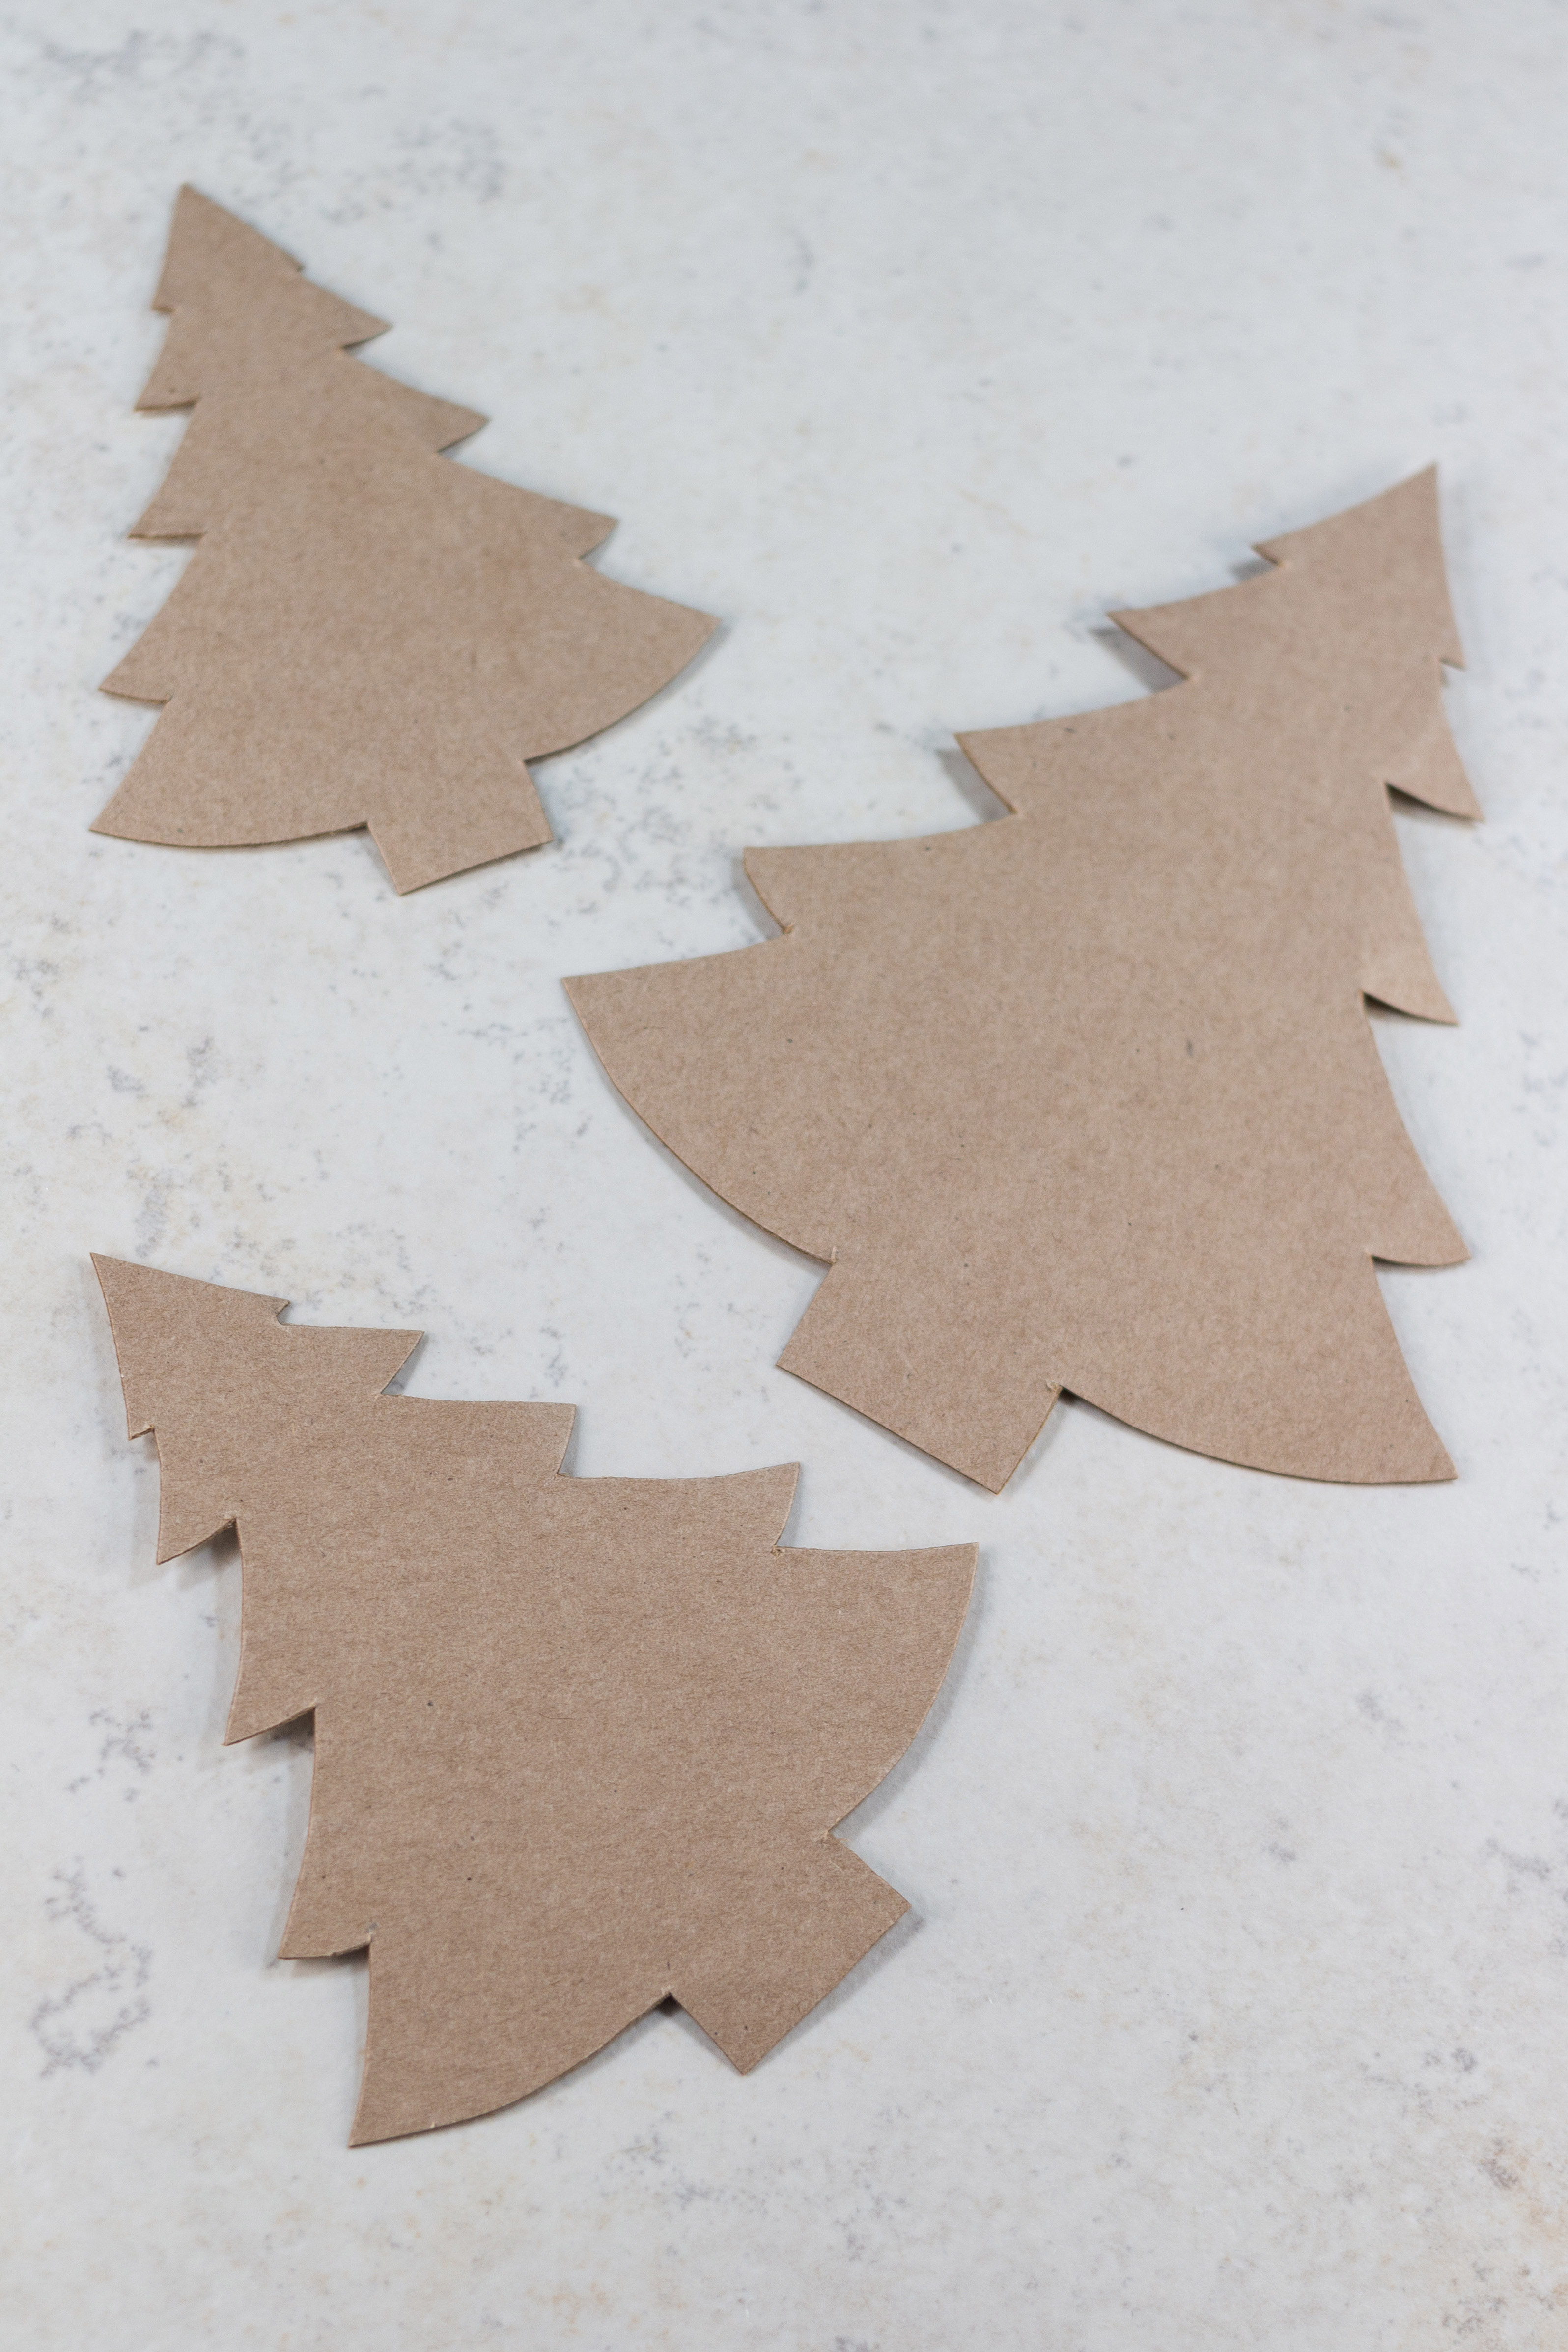
Print and cut out the pine trees template (PDF in source list above). I cut out the pine trees without the stars. It’s up to you if you want your trees with or without stars. Trace each pine tree onto a piece of cardboard. I like to use a cereal box or other cardboard with a similar thickness. Cut out the cardboard pine trees.
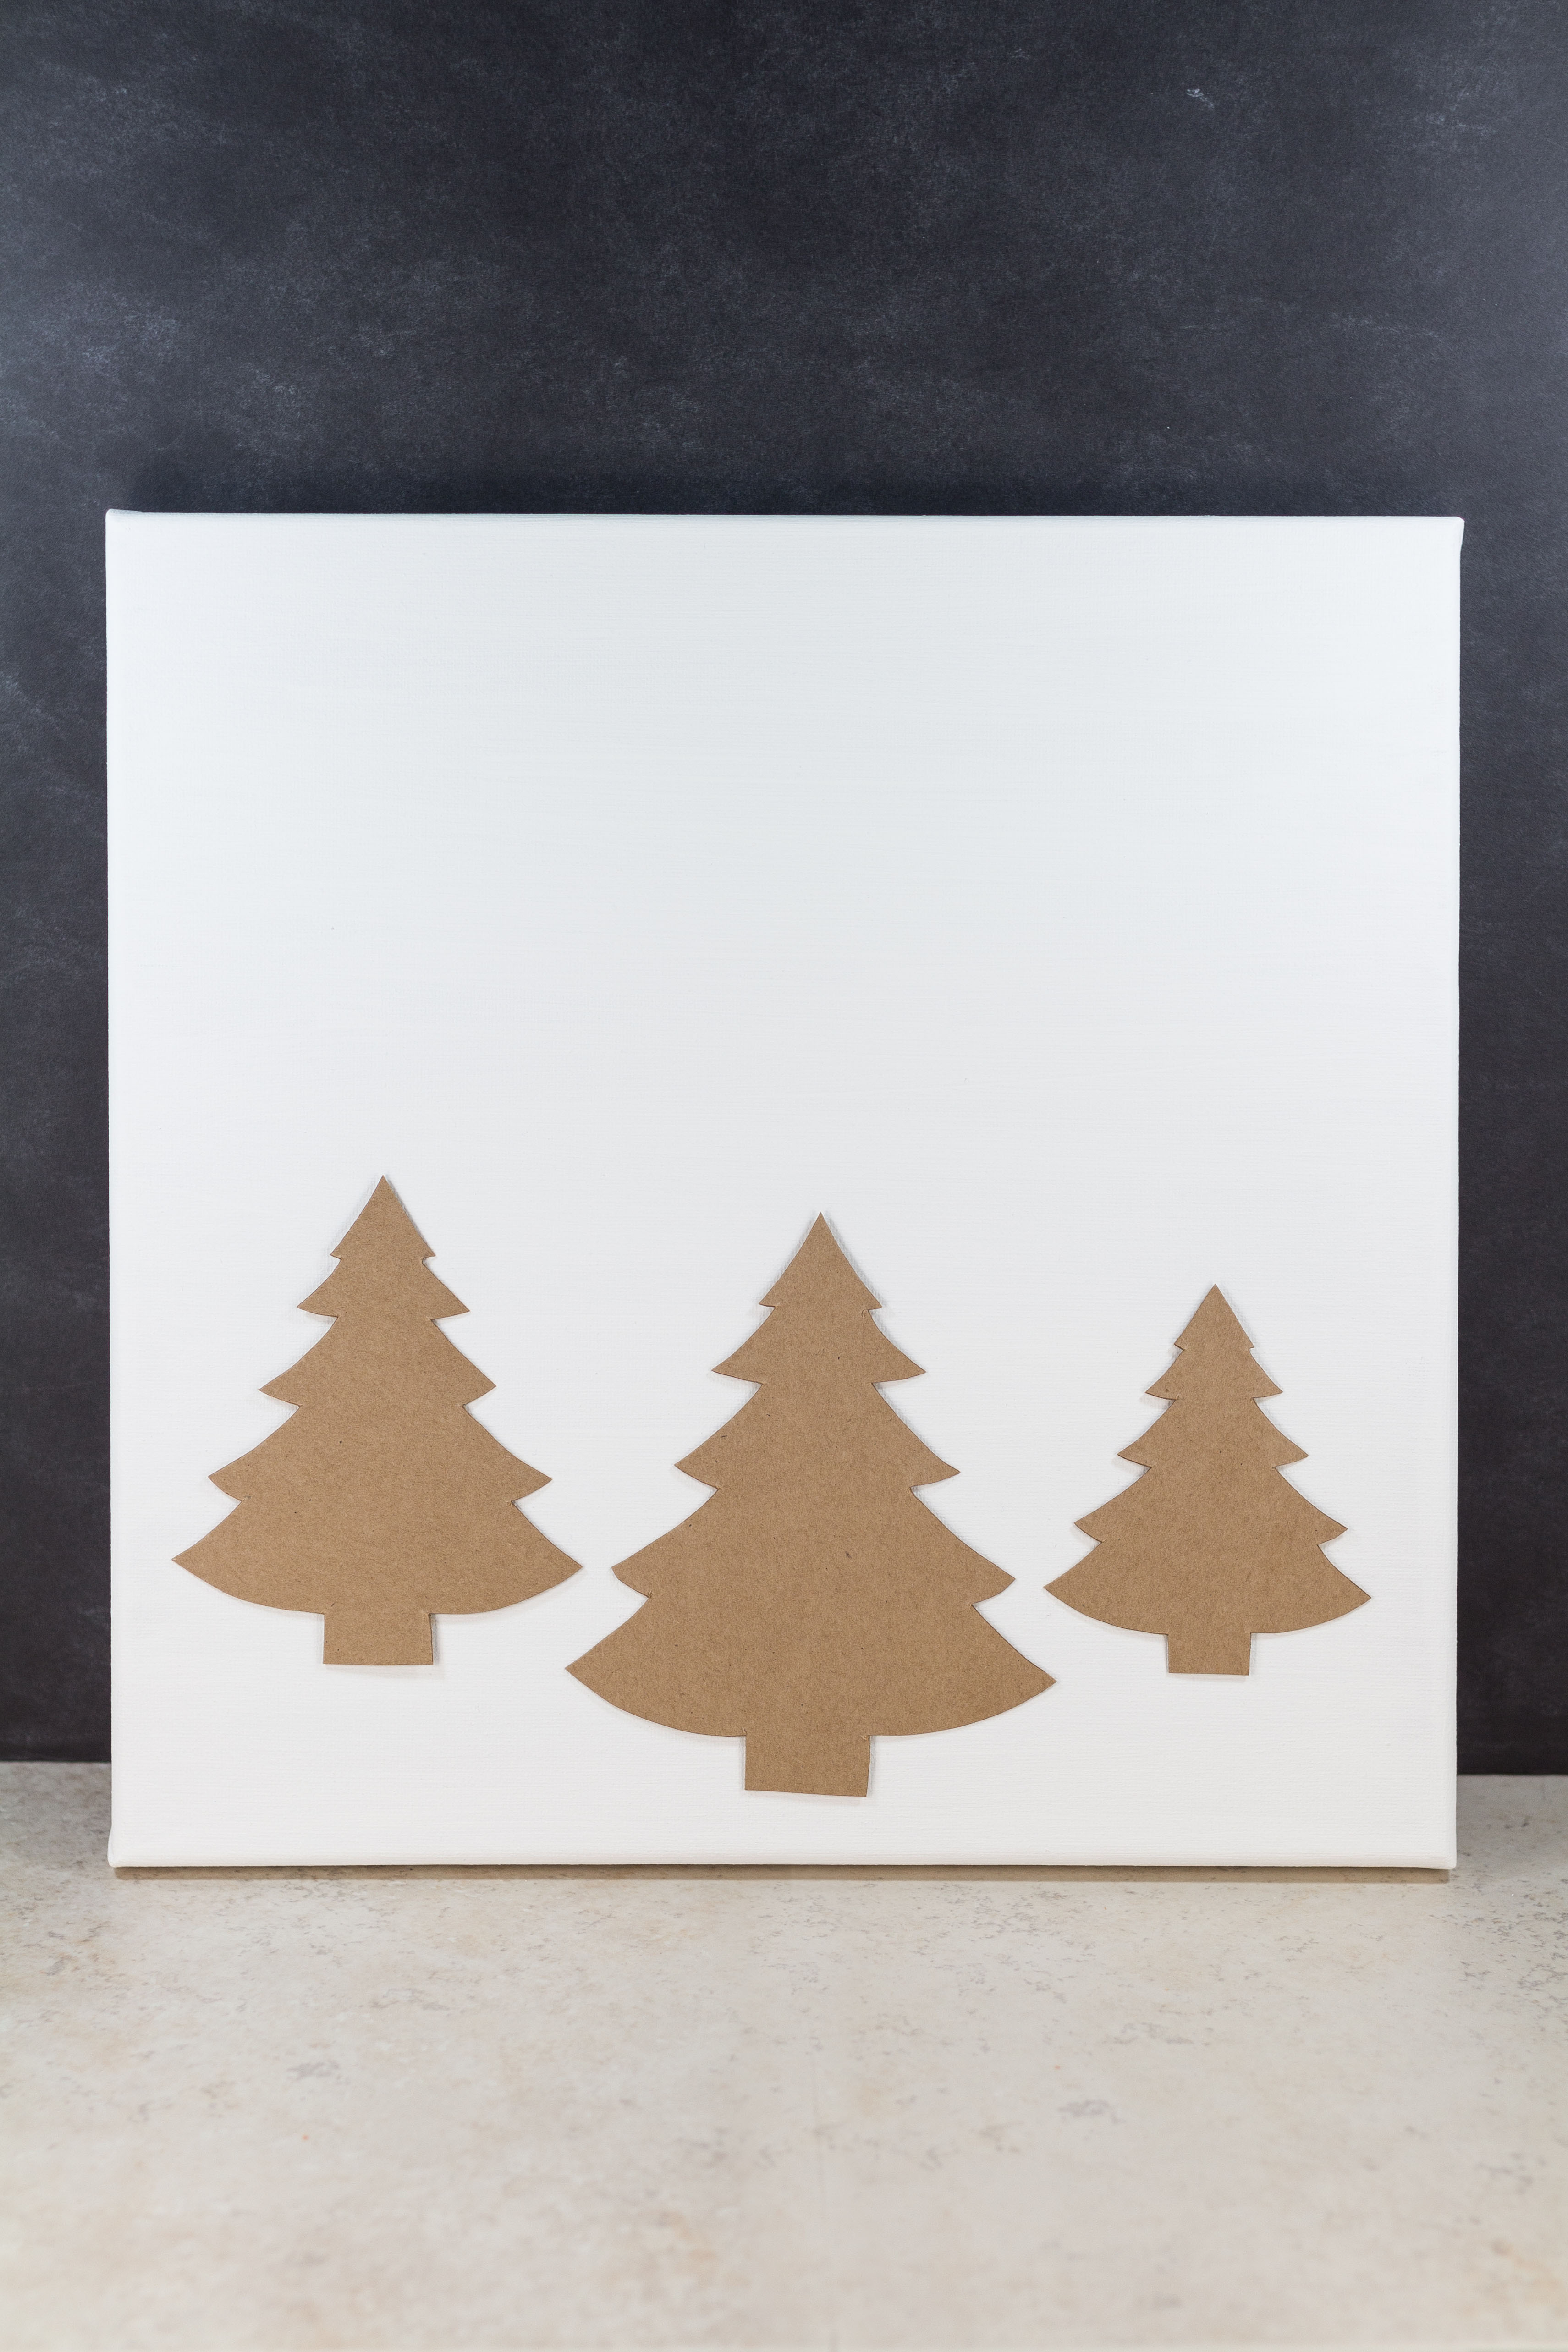
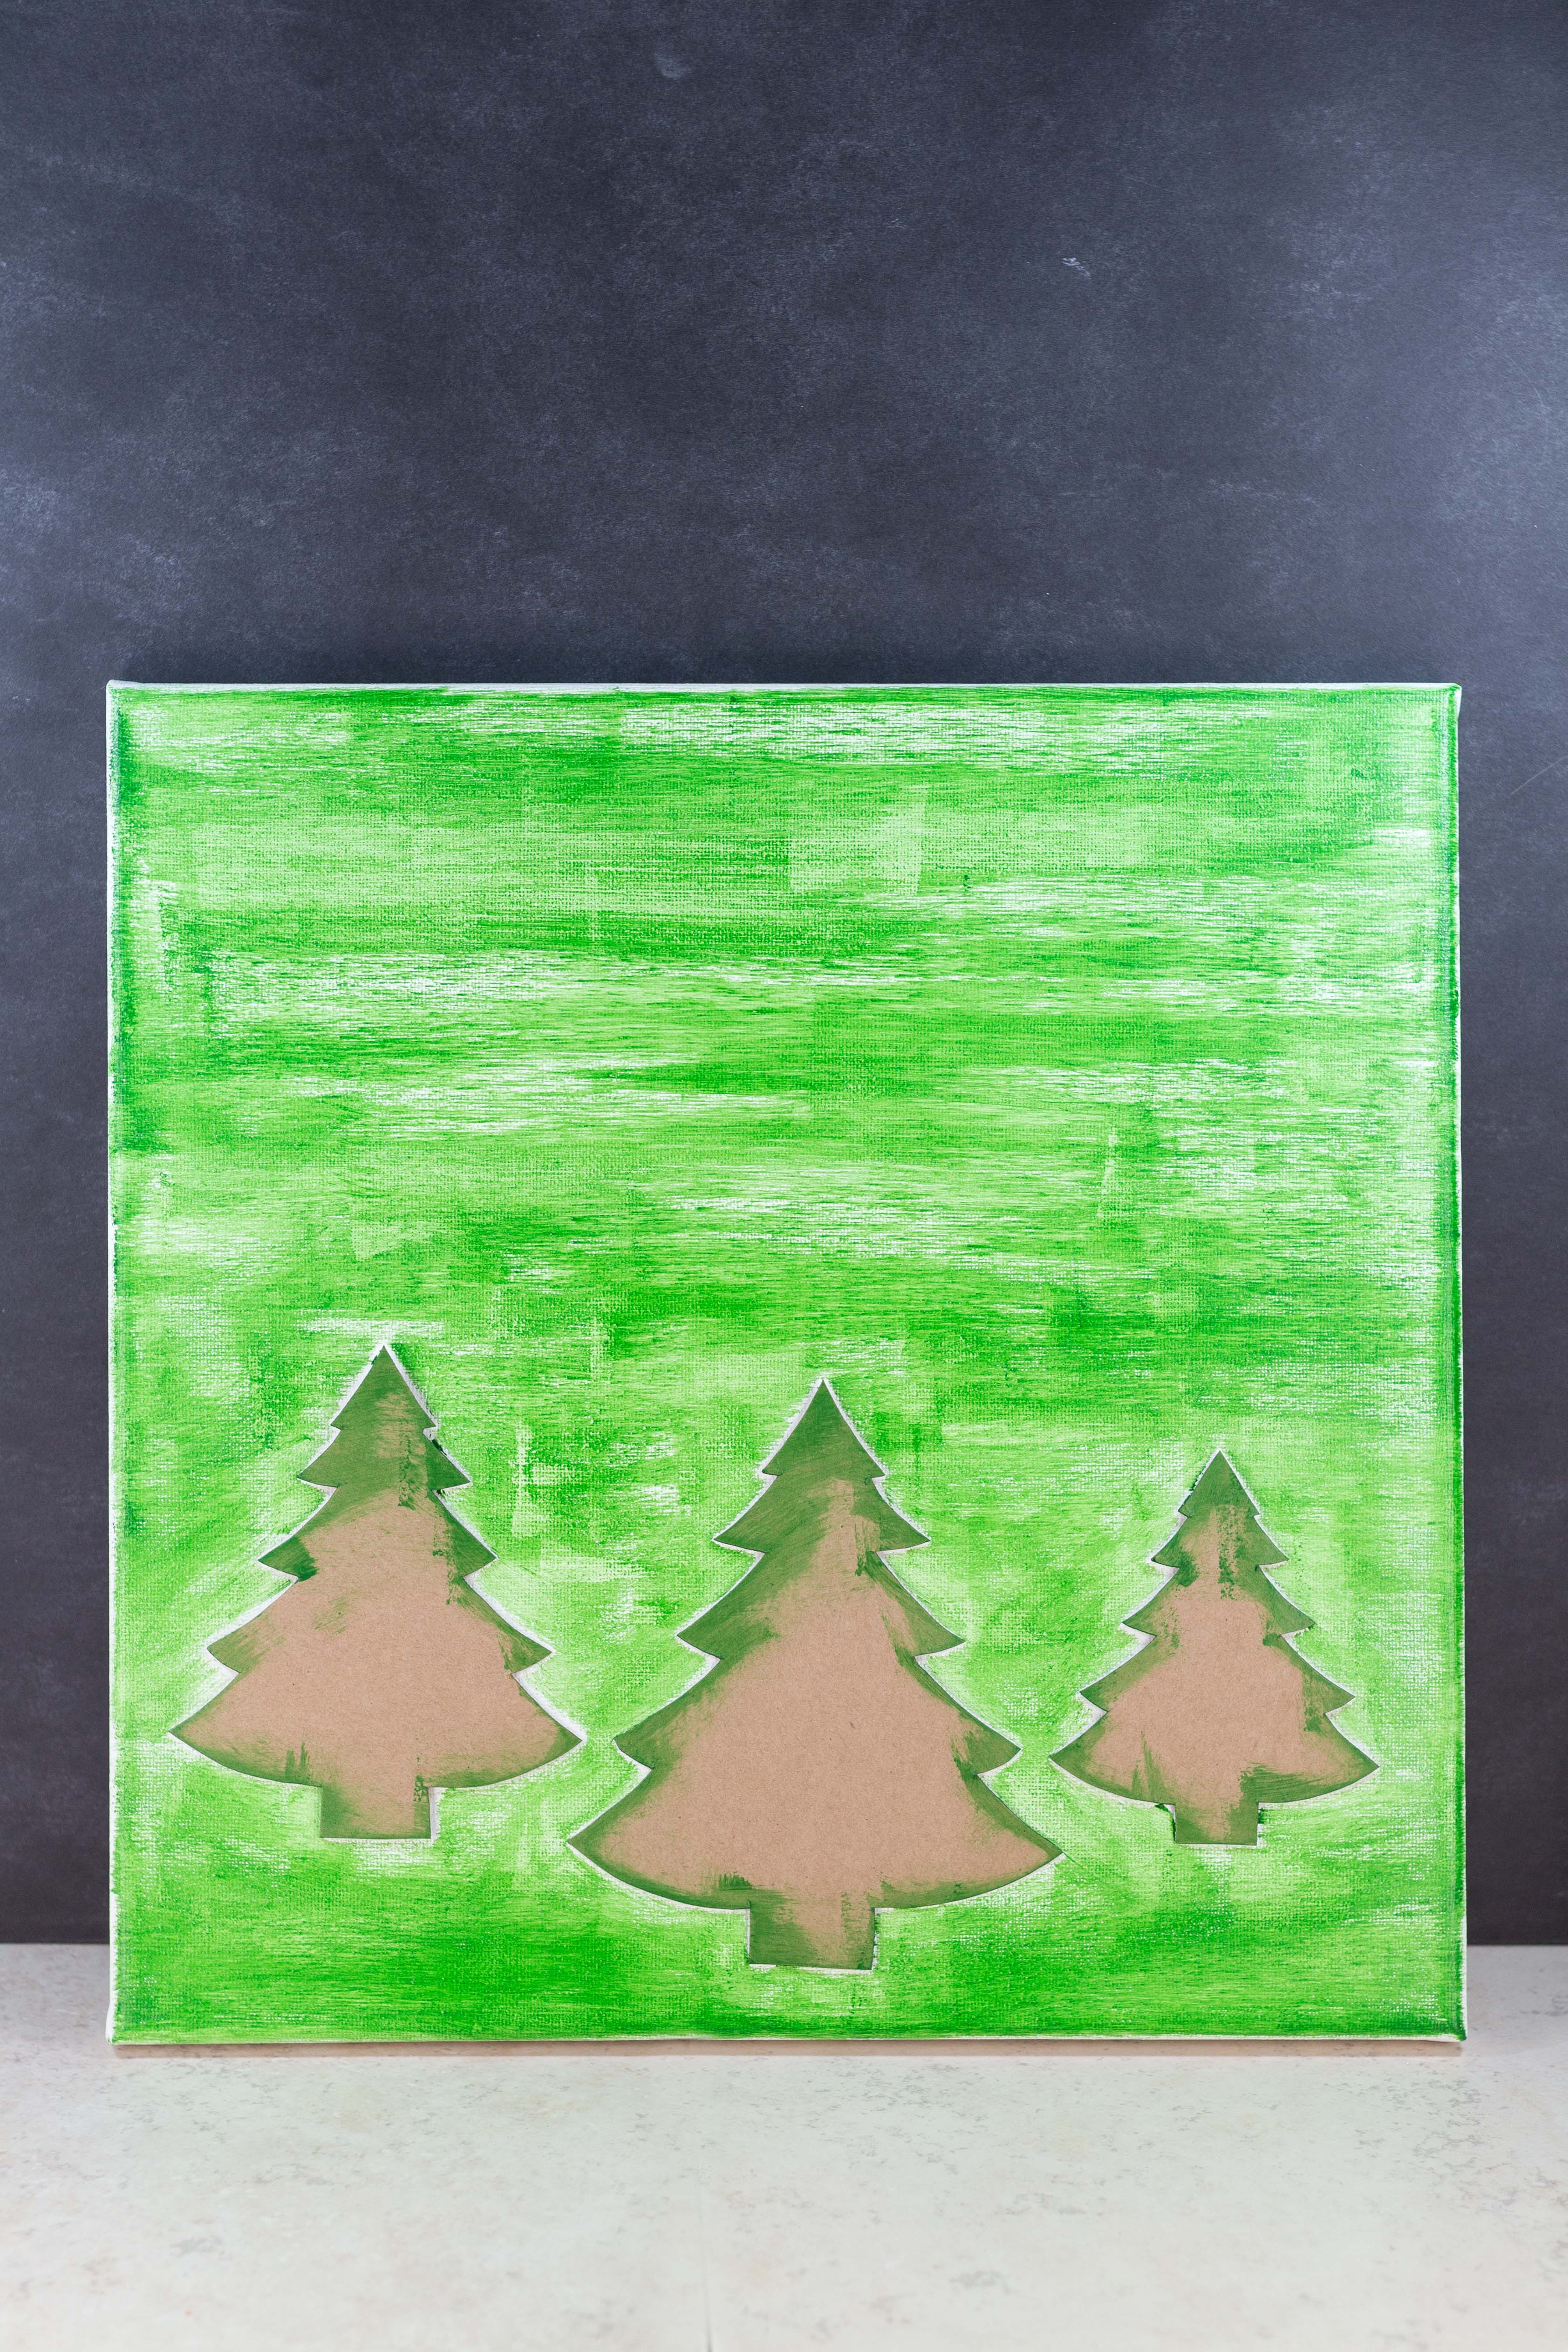
Arrange the pine trees on the canvas. I placed the trees close to the bottom of the canvas with the medium tree on the left, large tree in the center, and small tree on the right. Feel free to experiment, as you may prefer a different arrangement. When you’re happy with the tree placement, use the painter’s tape to secure the trees to the canvas.
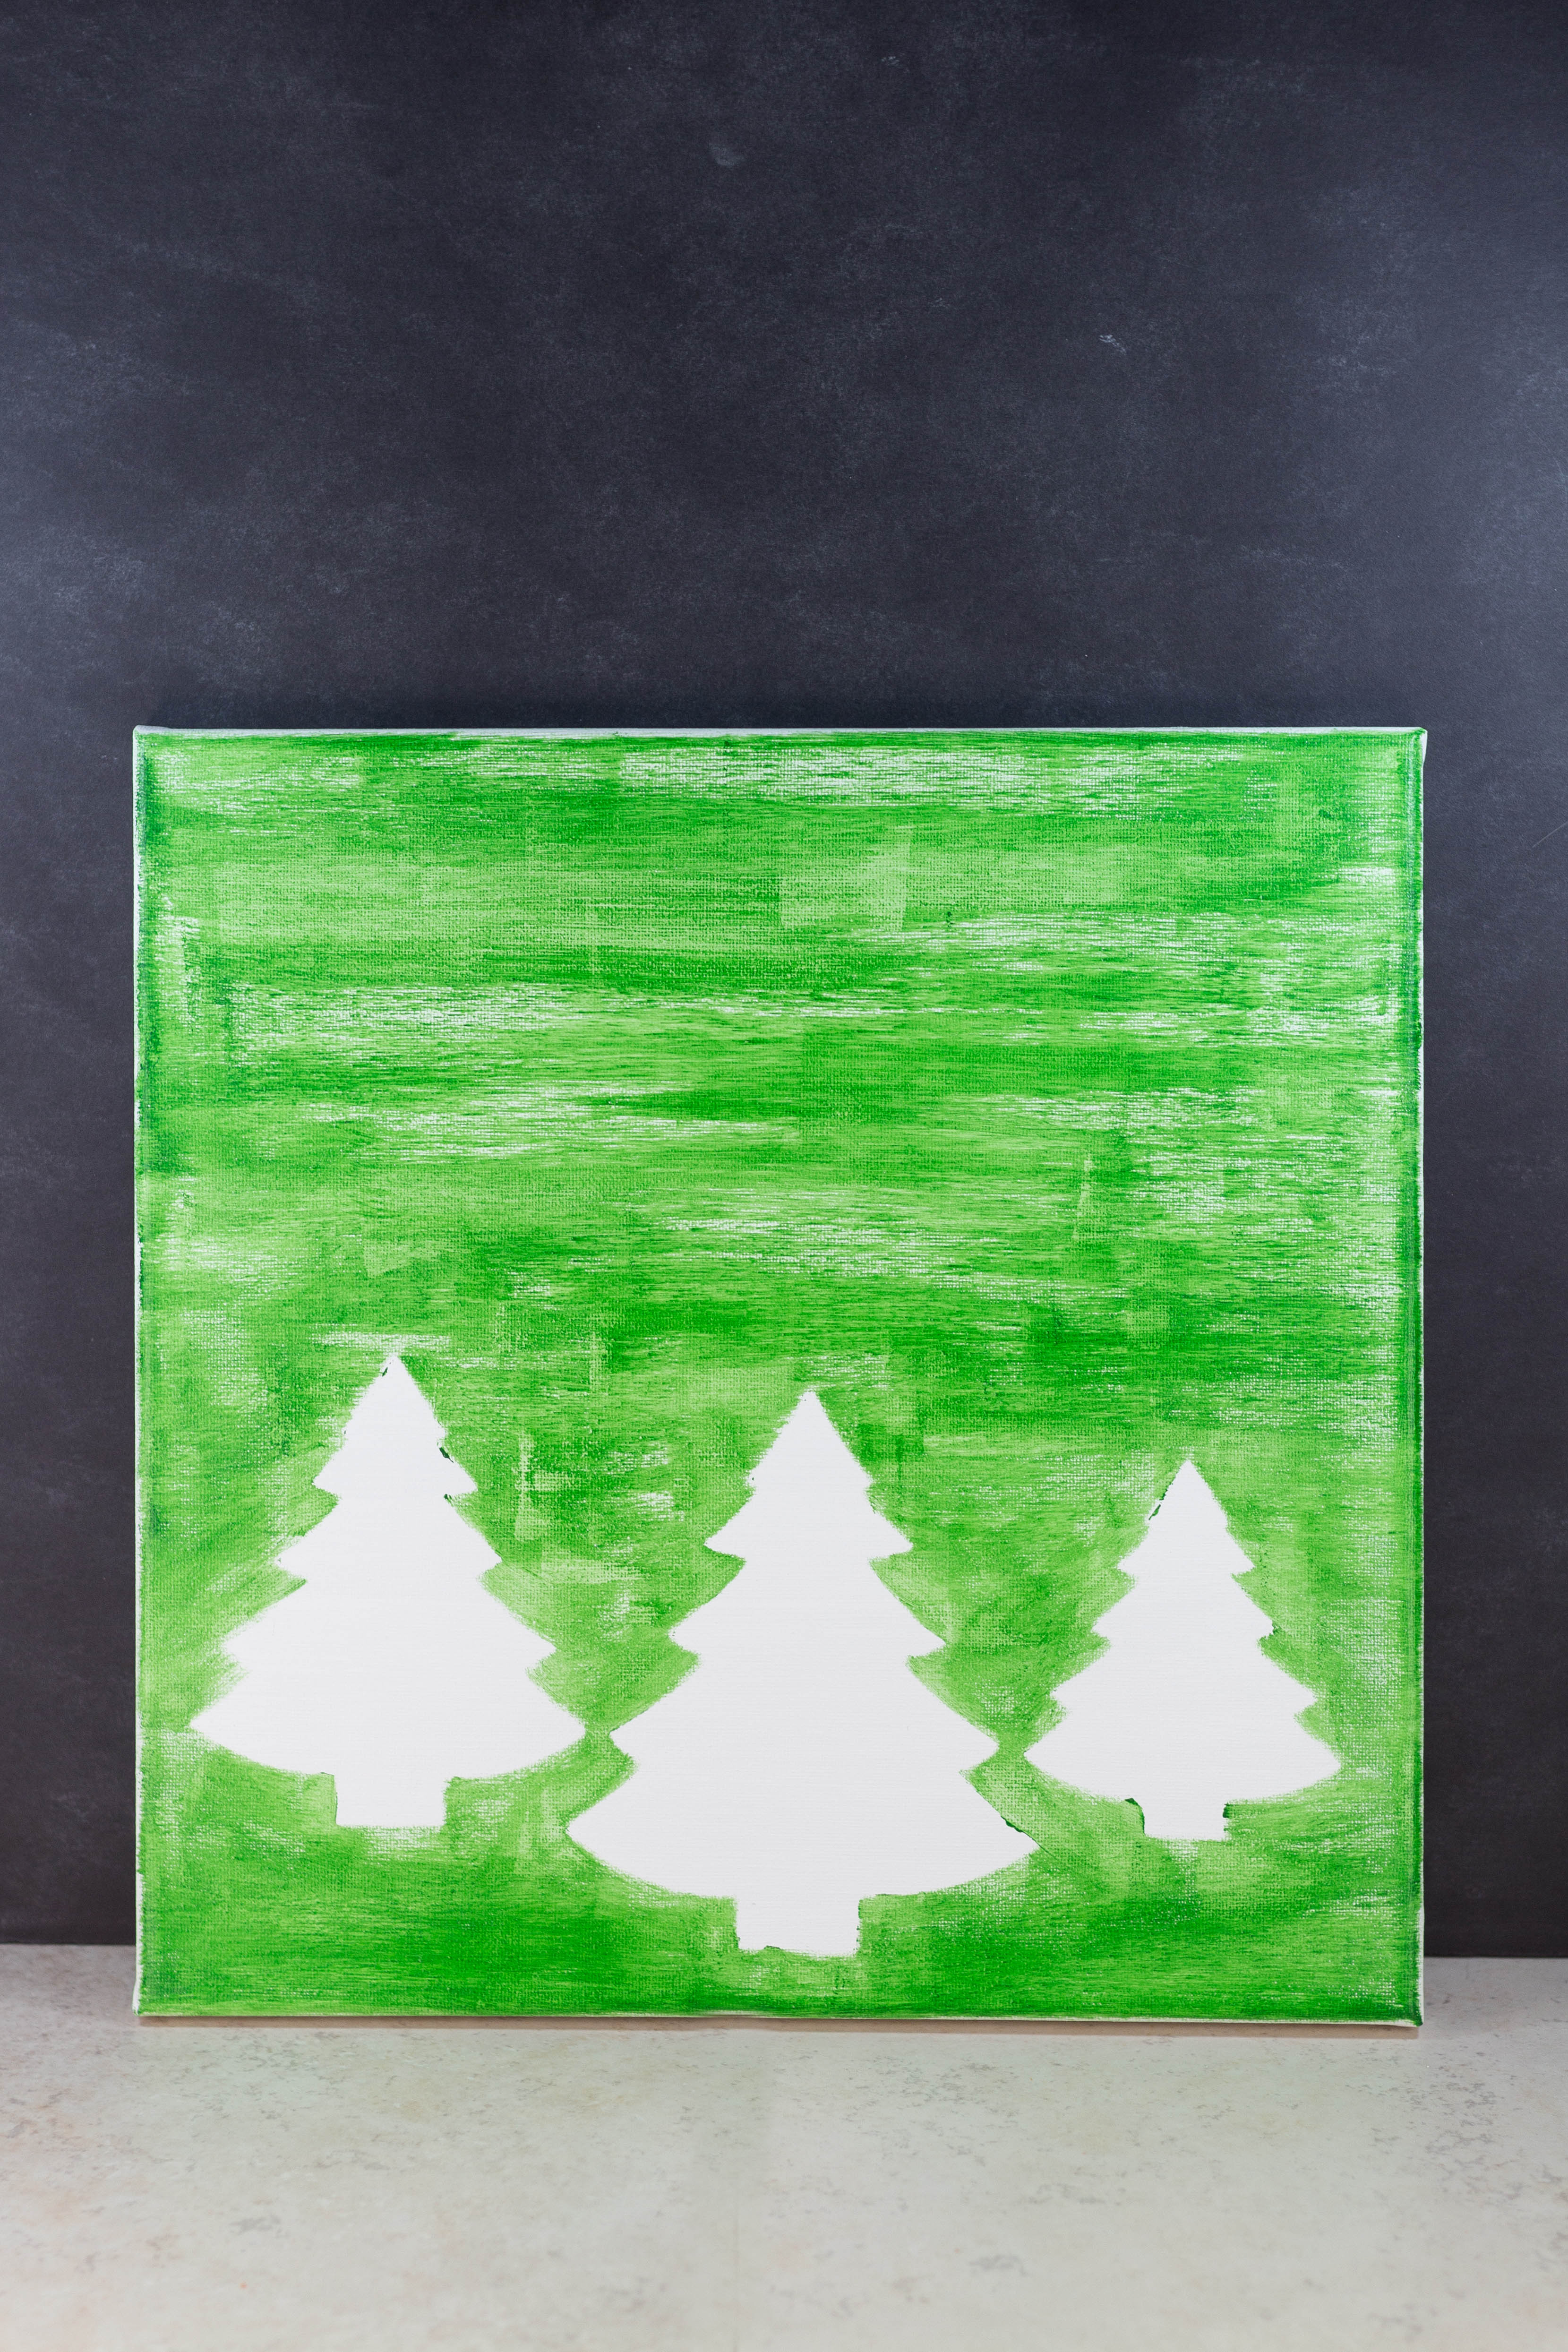
Use the small foam brush to paint the exposed white canvas green, being careful not to paint underneath the trees. I chose to paint one lighter coat, creating a bright green background with lots of exposed white. I also chose to leave the sides white. If you layer 2-3 thicker coats of the Apple Barrel Real Green, you’ll create a much darker, fuller background. (The flower canvas art in the final entryway images is an example of this darker, fuller green background.) It’s completely up to you what type of aesthetic you’d like to create.
When the paint has dried, remove the cardboard pine trees.
The sawtooth hanger should come with a couple nails. I center the sawtooth right at the top of the canvas. Use the nails and hammer to secure the hanger to the back of the canvas.
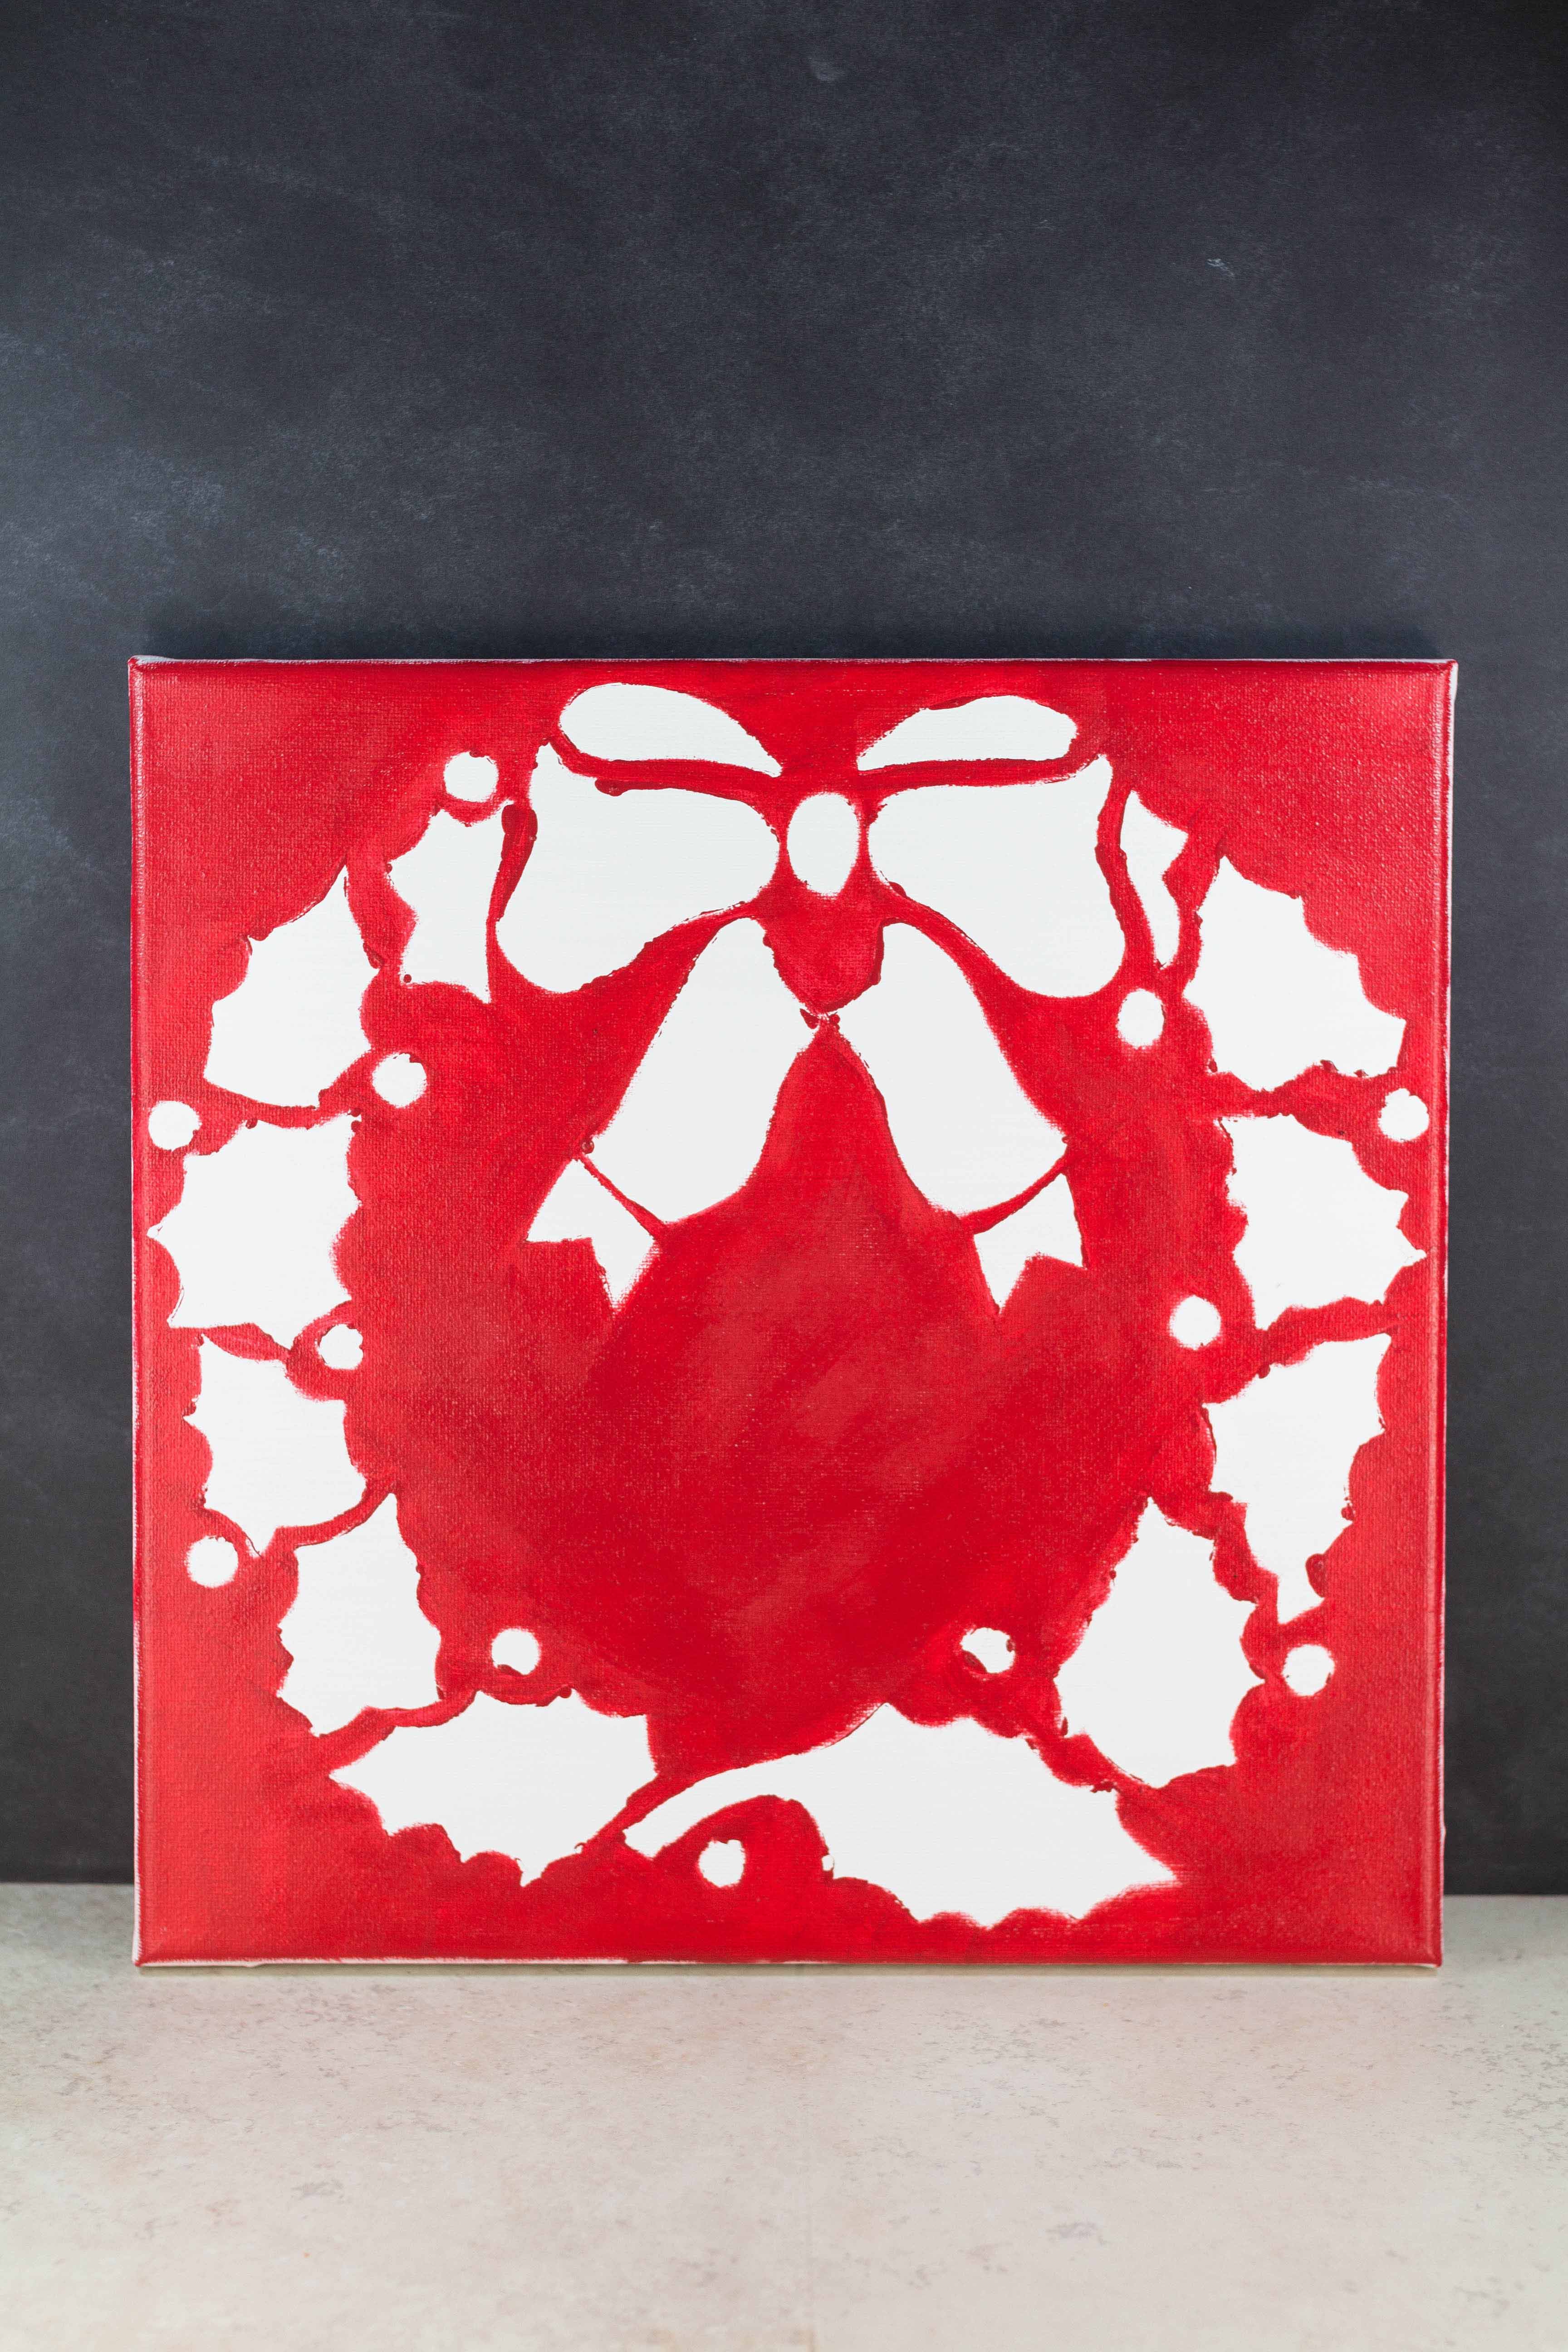
The pine tree holiday wall art turned out so nicely that I got a little more ambitious and created a wreath using the same reverse stencil technique.
I saved a wreath stencil image from pre-cut.com. I opened the image in Photoshop and changed the image size to 11.5″ to fit another 12″ x 12″ canvas. I saved the image in two different pieces so I could print it on standard 8.5″ x 11″ paper in my home printer. Then I used the same method as I did for the pine trees to create cardboard pieces. The red paint I used is Apple Barrel 20636 Real Red.
I’m so happy with the new entryway holiday art display and am looking forward to having it up for a few more weeks.
I do my best to save all of the templates I use for my entryway art and other home projects to my Free Printables Pinterest board. If you ever have any questions about the templates I’ve used or would like an adjusted size to fit a specific project, don’t hesitate to ask.
Want to save the pine art project for later? Pin it on Pinterest!
Did you make the DIY pine tree holiday wall art?
I want to see it! Tag your images #RoseClearfield on Instagram or Twitter. You can also post a photo to my Facebook page.
More holiday DIY projects:
DIY Paper Christmas Lights Decoration
Upcycled Christmas Card Books Tutorial

