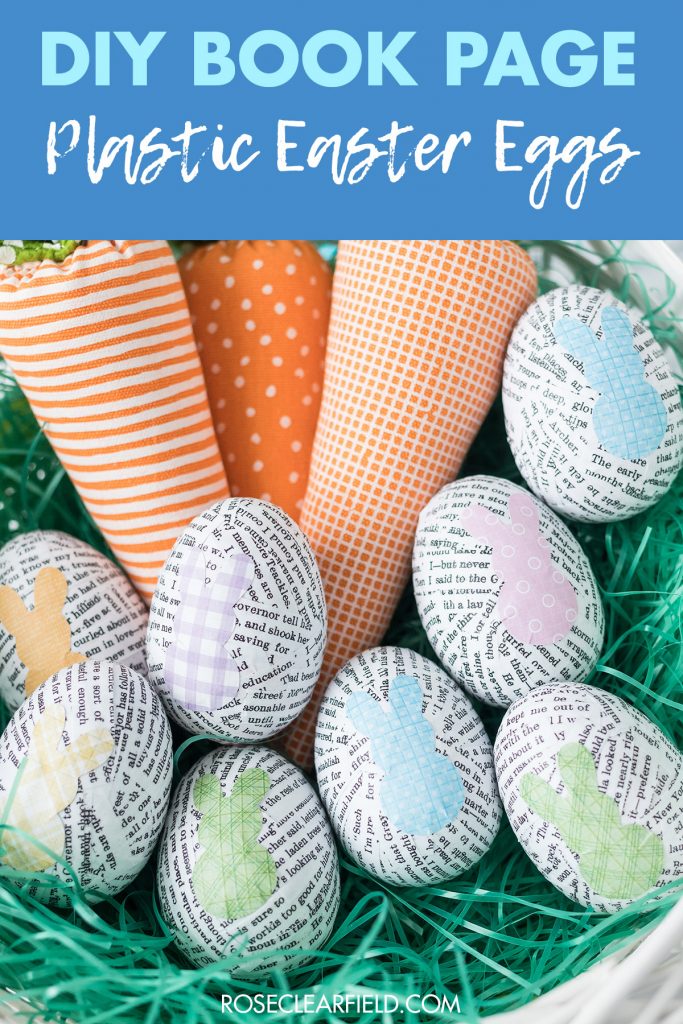


Somehow I made it to 2019 without crafting with old books. Honestly, while I love the aesthetic of book page crafts, I don’t love the idea of destroying books. So it’s taken me a long time to develop a method for printing book pages (similar to how I print sheet music) that I can use for craft projects without ripping apart books. I finally did it because I wanted to make DIY book page plastic Easter eggs so much.
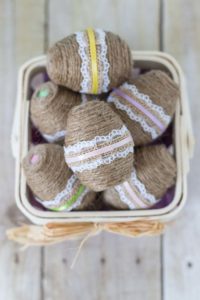
Plastic Easter egg decorating is nothing new around here. I will decorate hard-boiled eggs, but I much prefer to decorate plastic or wooden eggs. I created twine-wrapped and pastel-speckled eggs a few years ago. This year I created sheet music eggs and now DIY book page plastic Easter eggs.
Supplies for DIY book page plastic Easter eggs:
- Plastic Easter eggs
- Old book pages (see note below)
- Acrylic spray (optional, see note below)
- Bunny template [original source]
- Cardboard to create a bunny master template (optional, but it makes it much easier to trace your bunnies)
- Scrapbook paper in varying patterns and pastel colors
- Paper cutter
- Mod Podge
- Scotch Scrapbooker’s Glue or other clear-drying, wrinkle-free paper glue
- Small foam brush (I used a 1″ brush, which is what I’ve linked here)
- Scissors
To make the DIY book page plastic Easter eggs you see in this post, I used a full page of vintage English text from Old Design Shop. I used Photoshop to create a black and white version with reduced margins, which is available here. Select the 8 1/2″ x 11″ size setting when you print it for optimal sizing. There are tons of free vintage book pages online if you don’t love this one.
I used approximately one page for every two Easter eggs. The exact number of pages you need for your eggs will depend on the size of the print, the size of the pages, how you cut your book page strips, etc.
If you’re using genuine or laser-printed book pages, you don’t need to coat them in acrylic spray. If you’re using ink jet-printed pages, you need to give them a couple of coats of acrylic spray. Otherwise, the Mod Podge will make the ink run.
One additional tip for DIY book page plastic Easter eggs
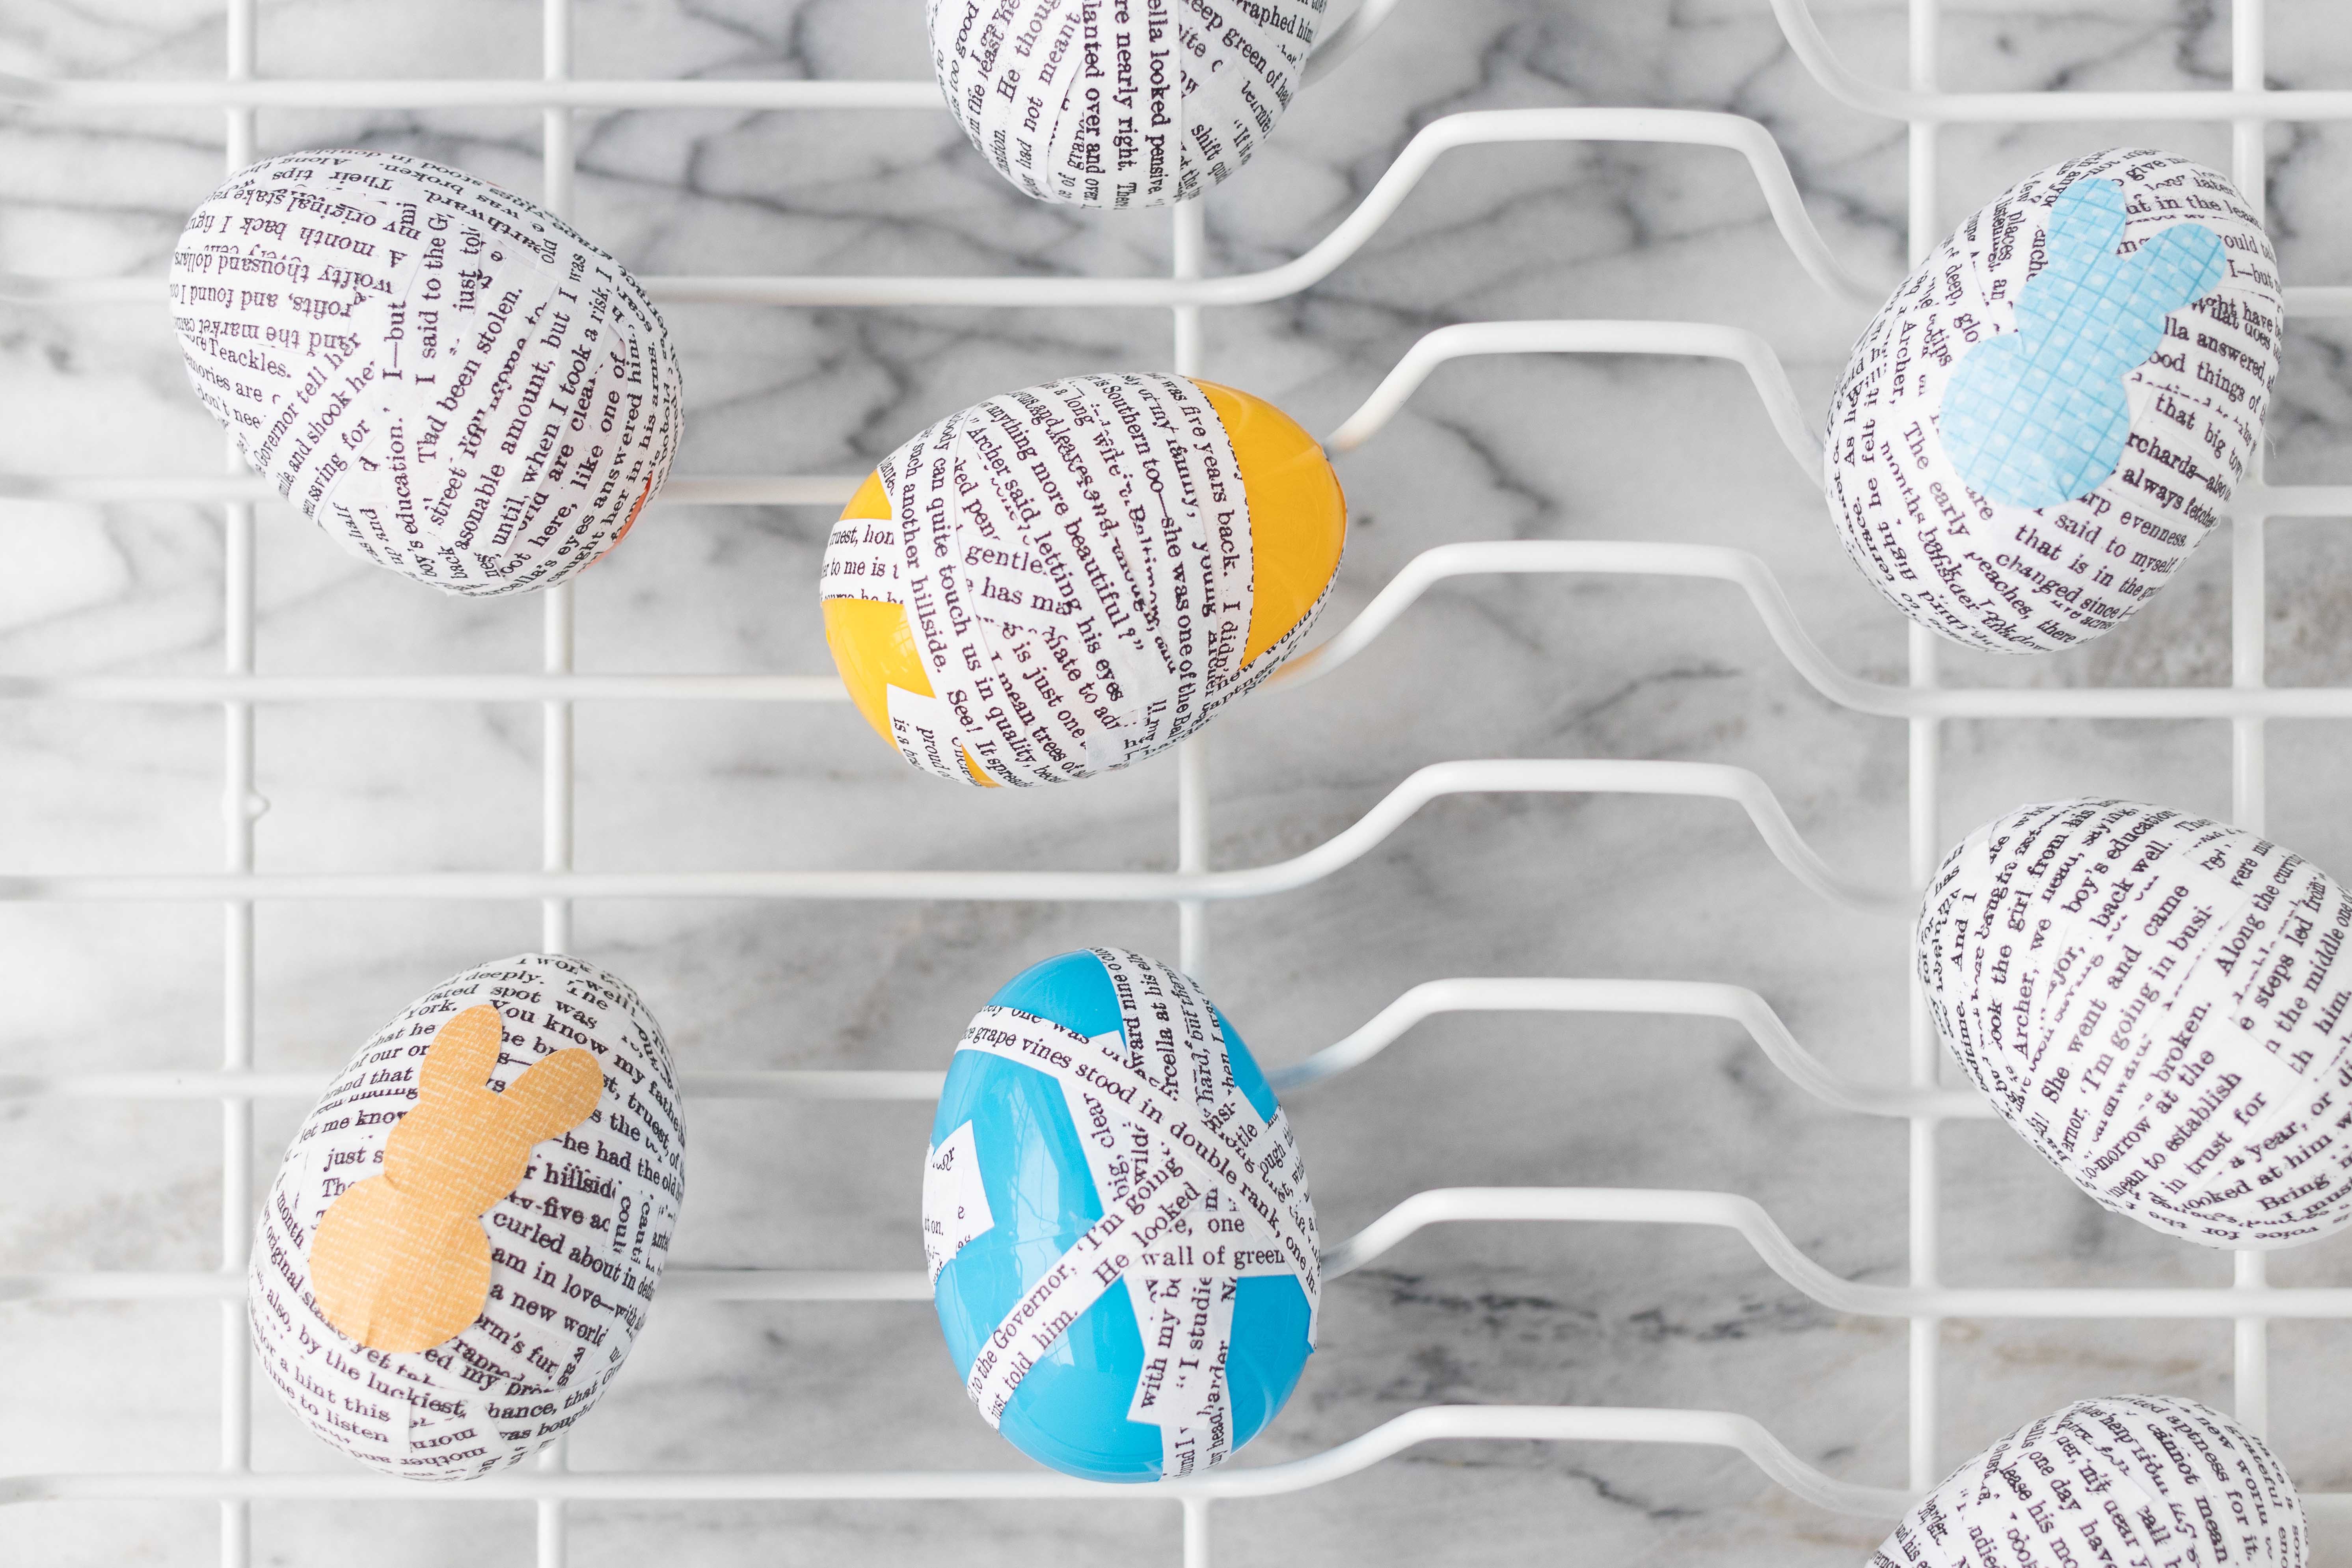
I’m a little embarrassed to be sharing this hack publicly. I’ve been using it for years, and it works great, so I’m starting to include it in relevant tutorials. I have a really simple plastic dish drying rack that I use to dry homemade greeting card components and any other small DIY craft items, including plastic Easter eggs. A steel drying rack is a perfect option, too.
How to make DIY book page plastic Easter eggs
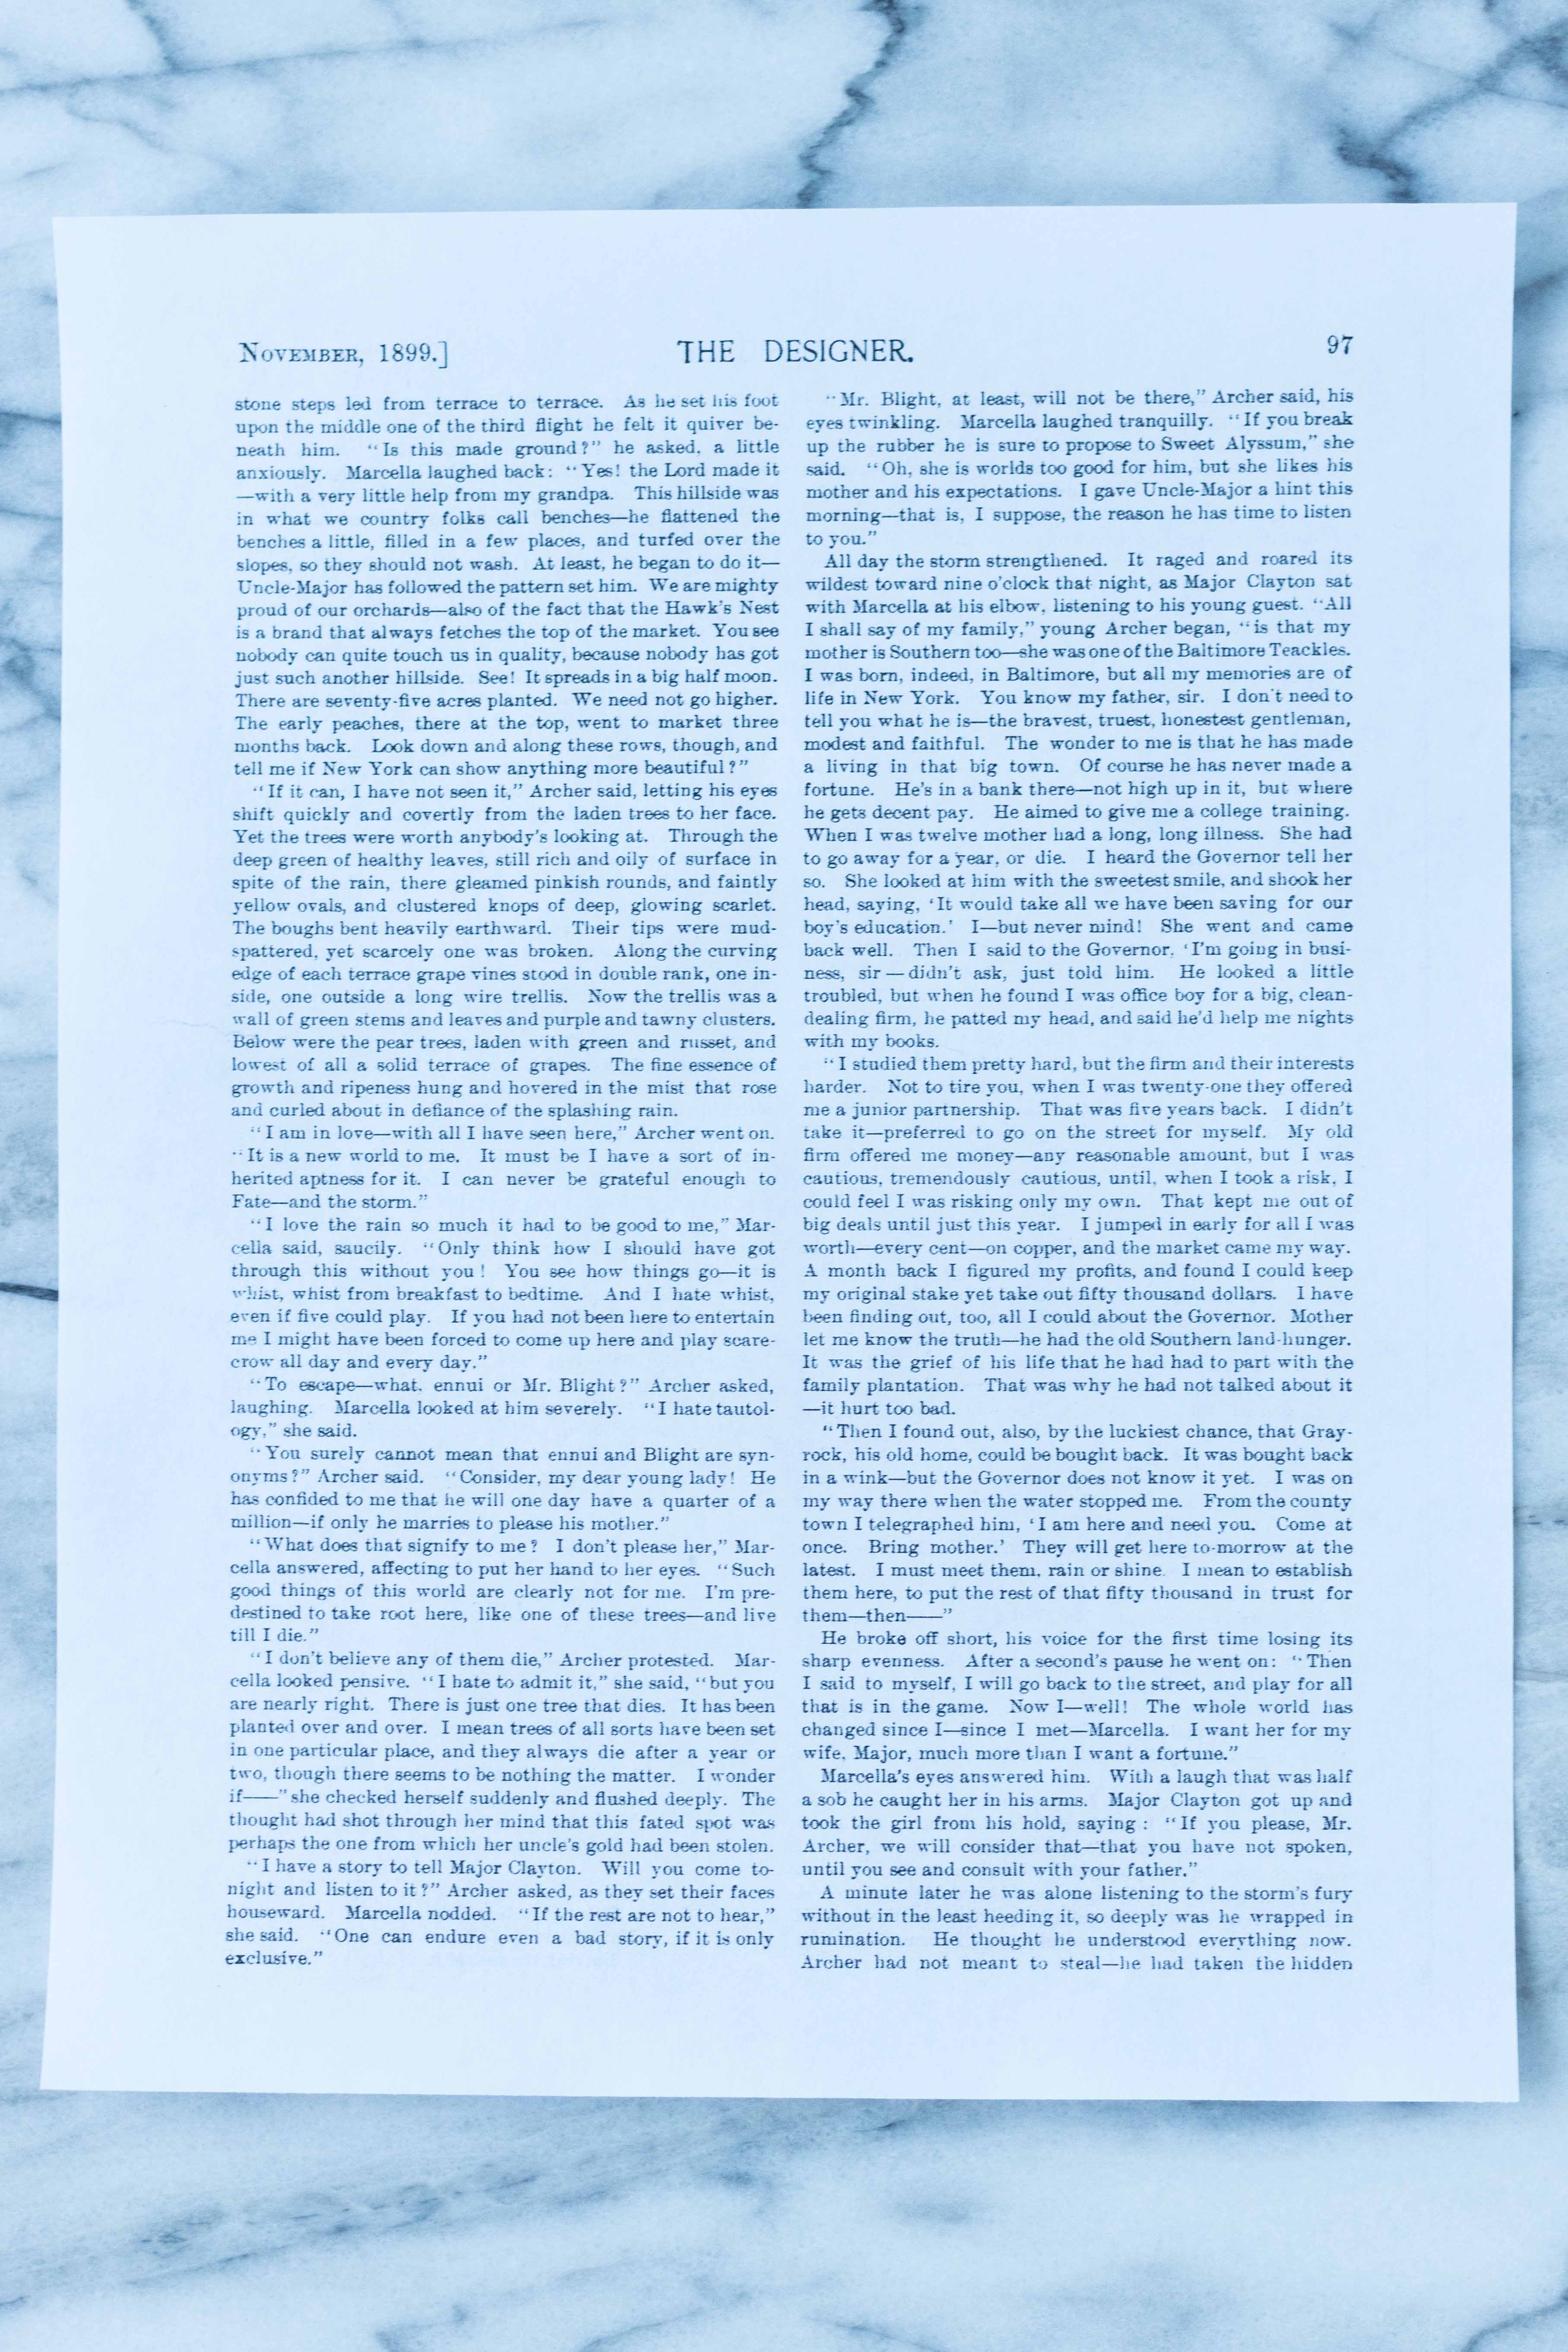
Collect or print out the book pages you’ll be using for your eggs.
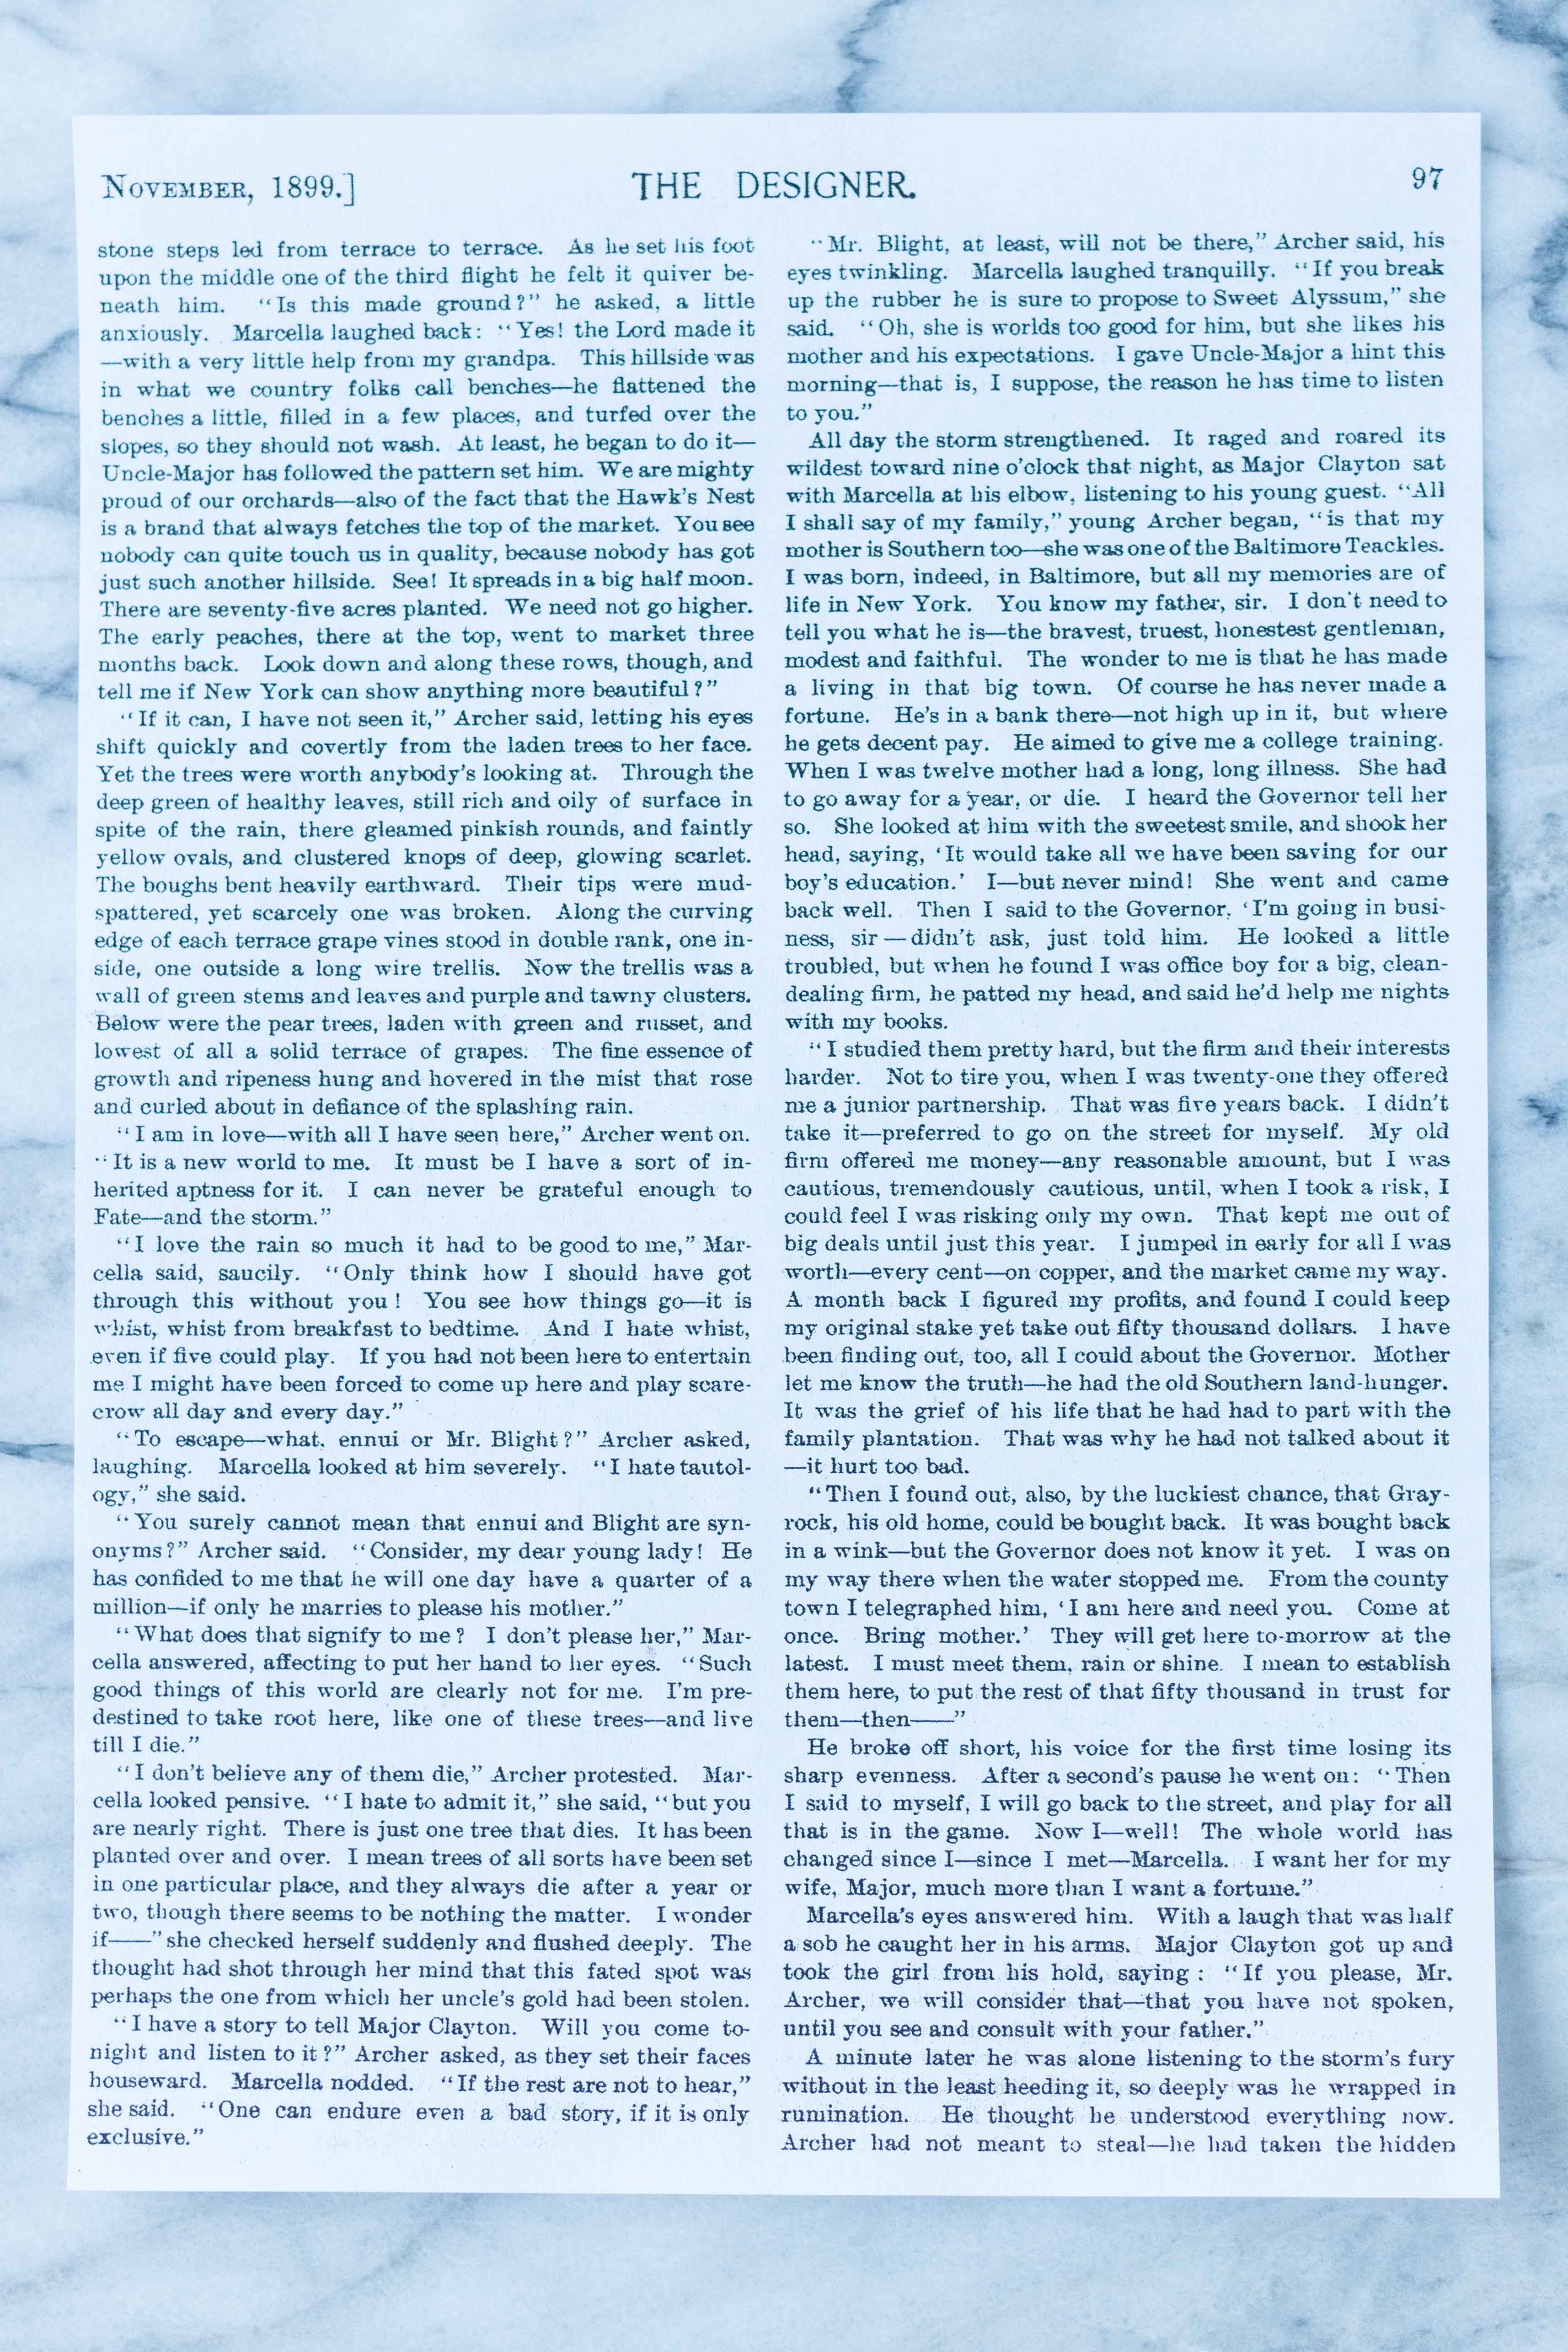
Using a paper cutter, trim off the margins.
If you’re using ink jet-printed book pages, give them a couple of coats of acrylic spray. Apply the spray in a well-ventilated area, and allow it to dry completely. If you’re using genuine or laser-printed pages, skip the acrylic spray and go onto the next step.
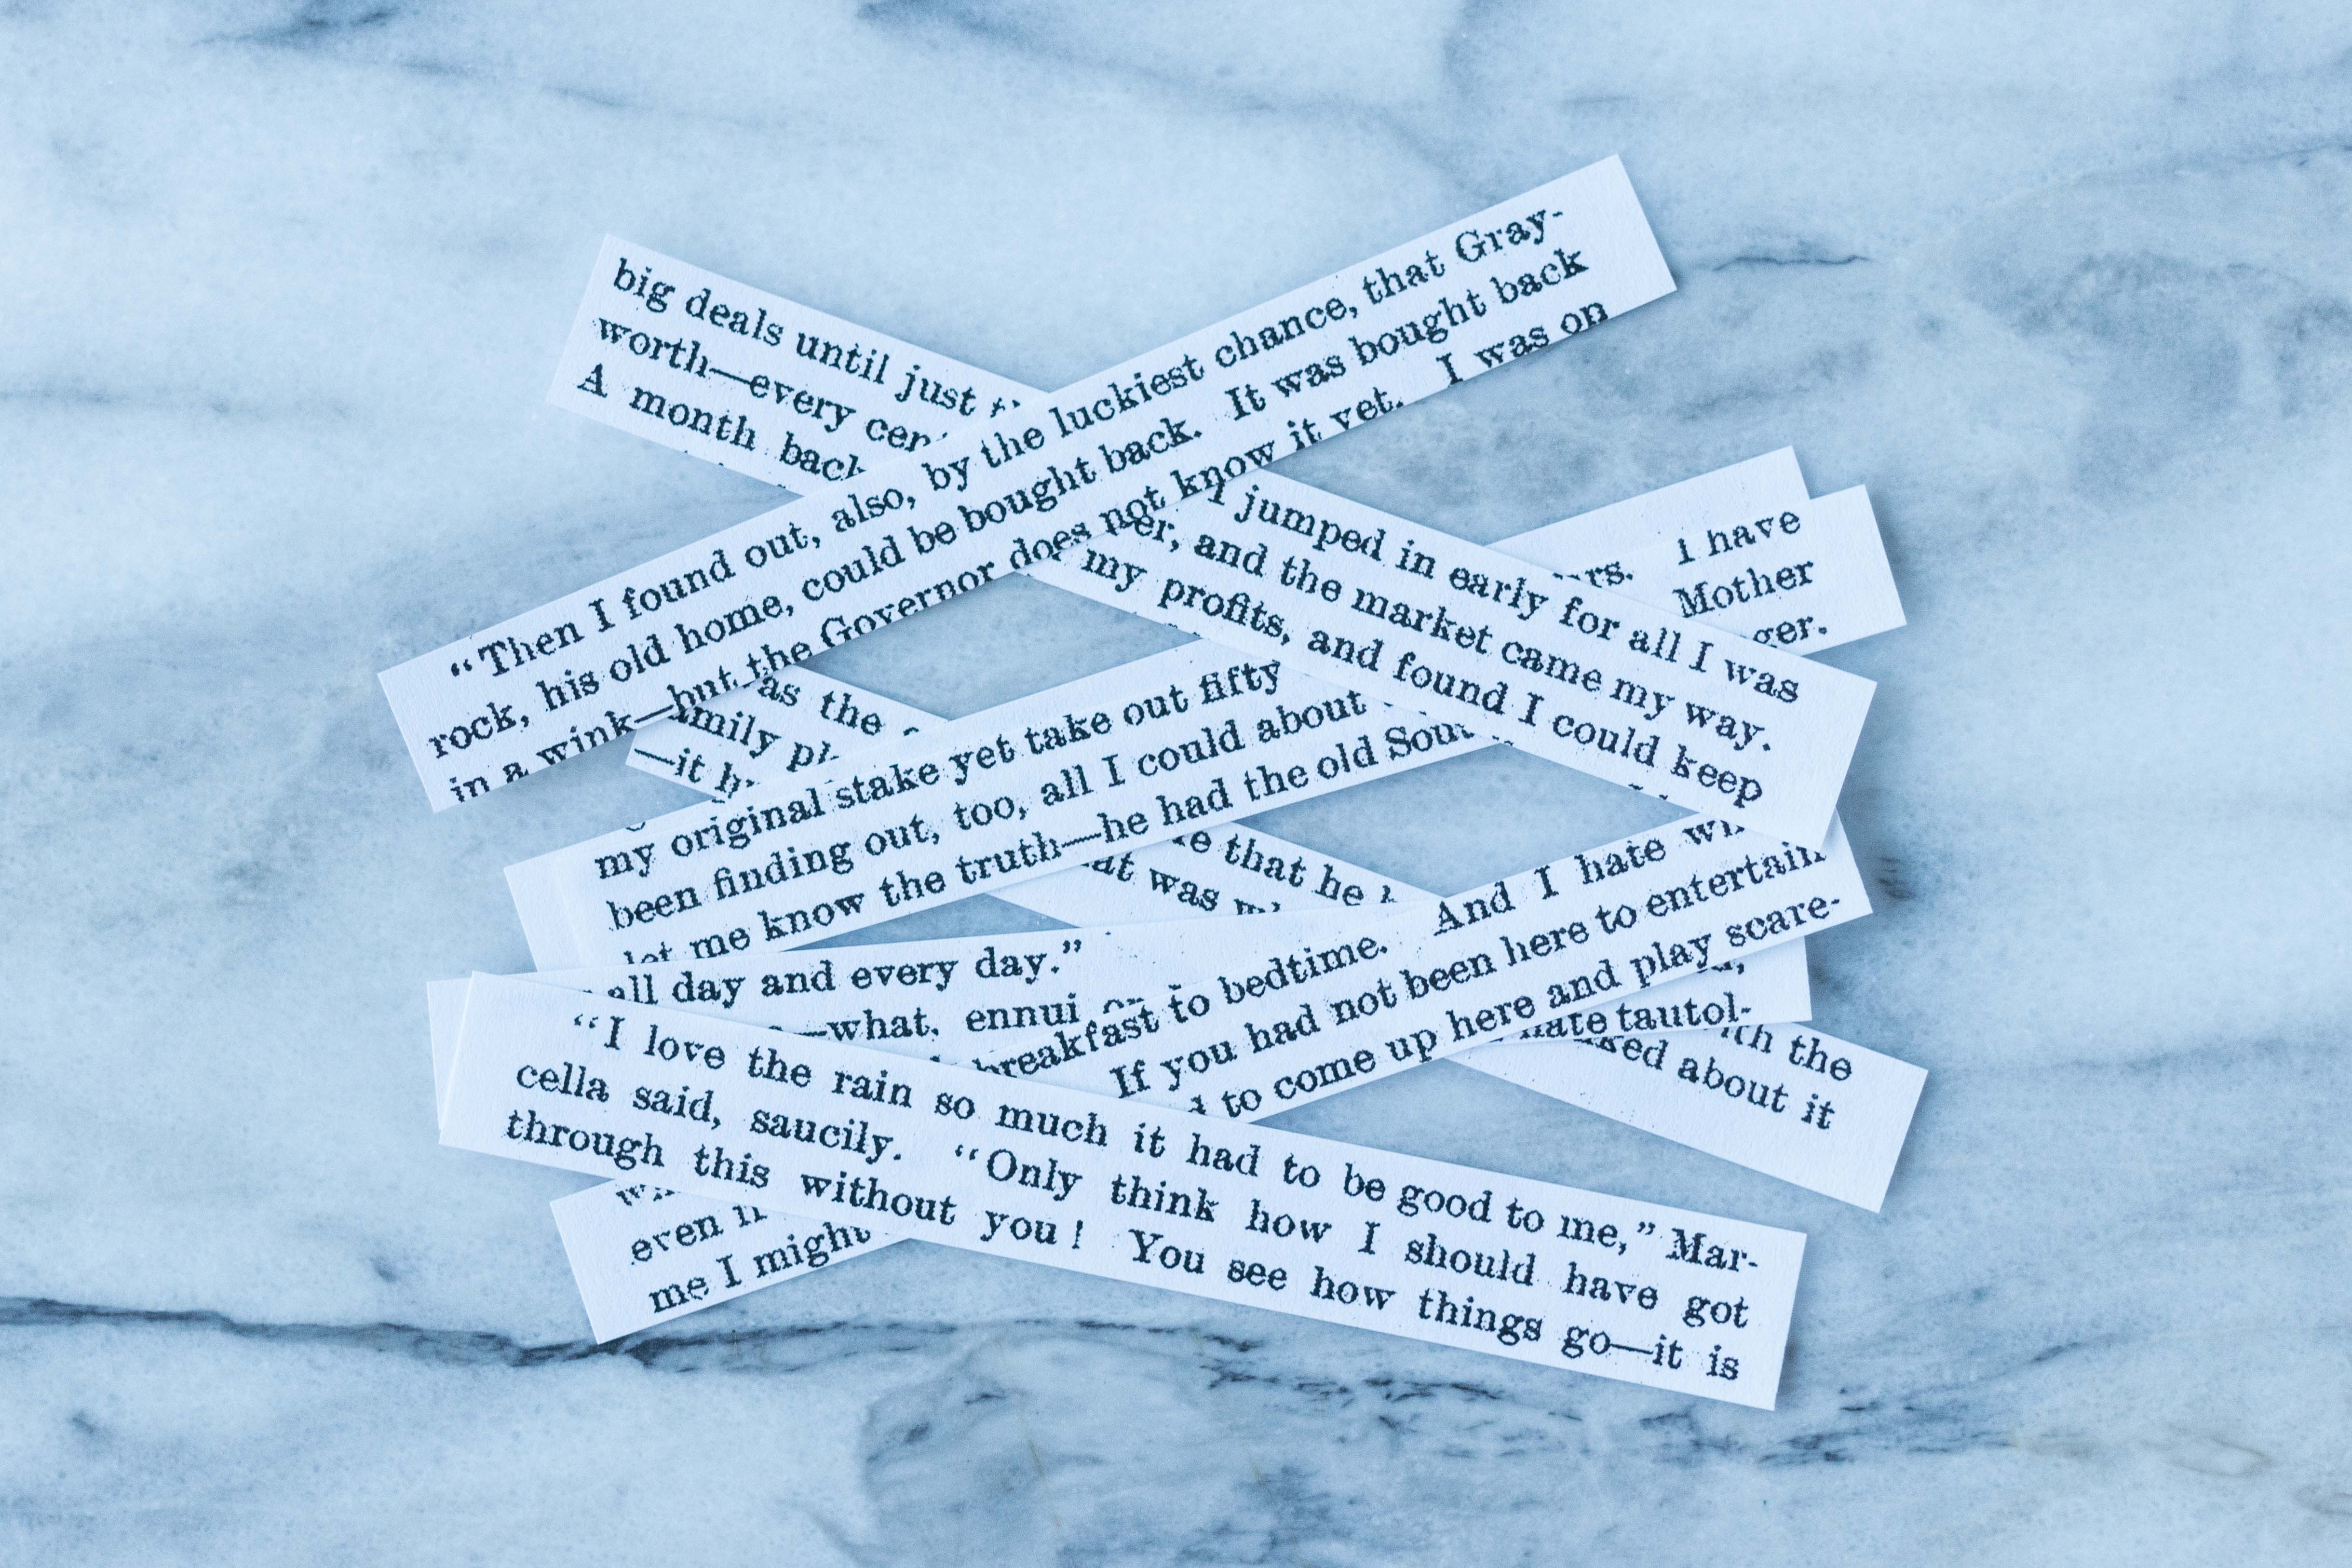
Using a paper cutter, cut the pages into 1/4-1/2″ horizontal strips. I eyeballed these measurements and purposely didn’t make all of my strips exactly the same size.
Take your horizontal strips and slice each one into two or three roughly equal sized pieces. Due to the way the text on my book page is structured with two columns, I sliced my horizontal strips right in between the columns. Again, you do not need to make precise measurements and cut your strips exactly the same.
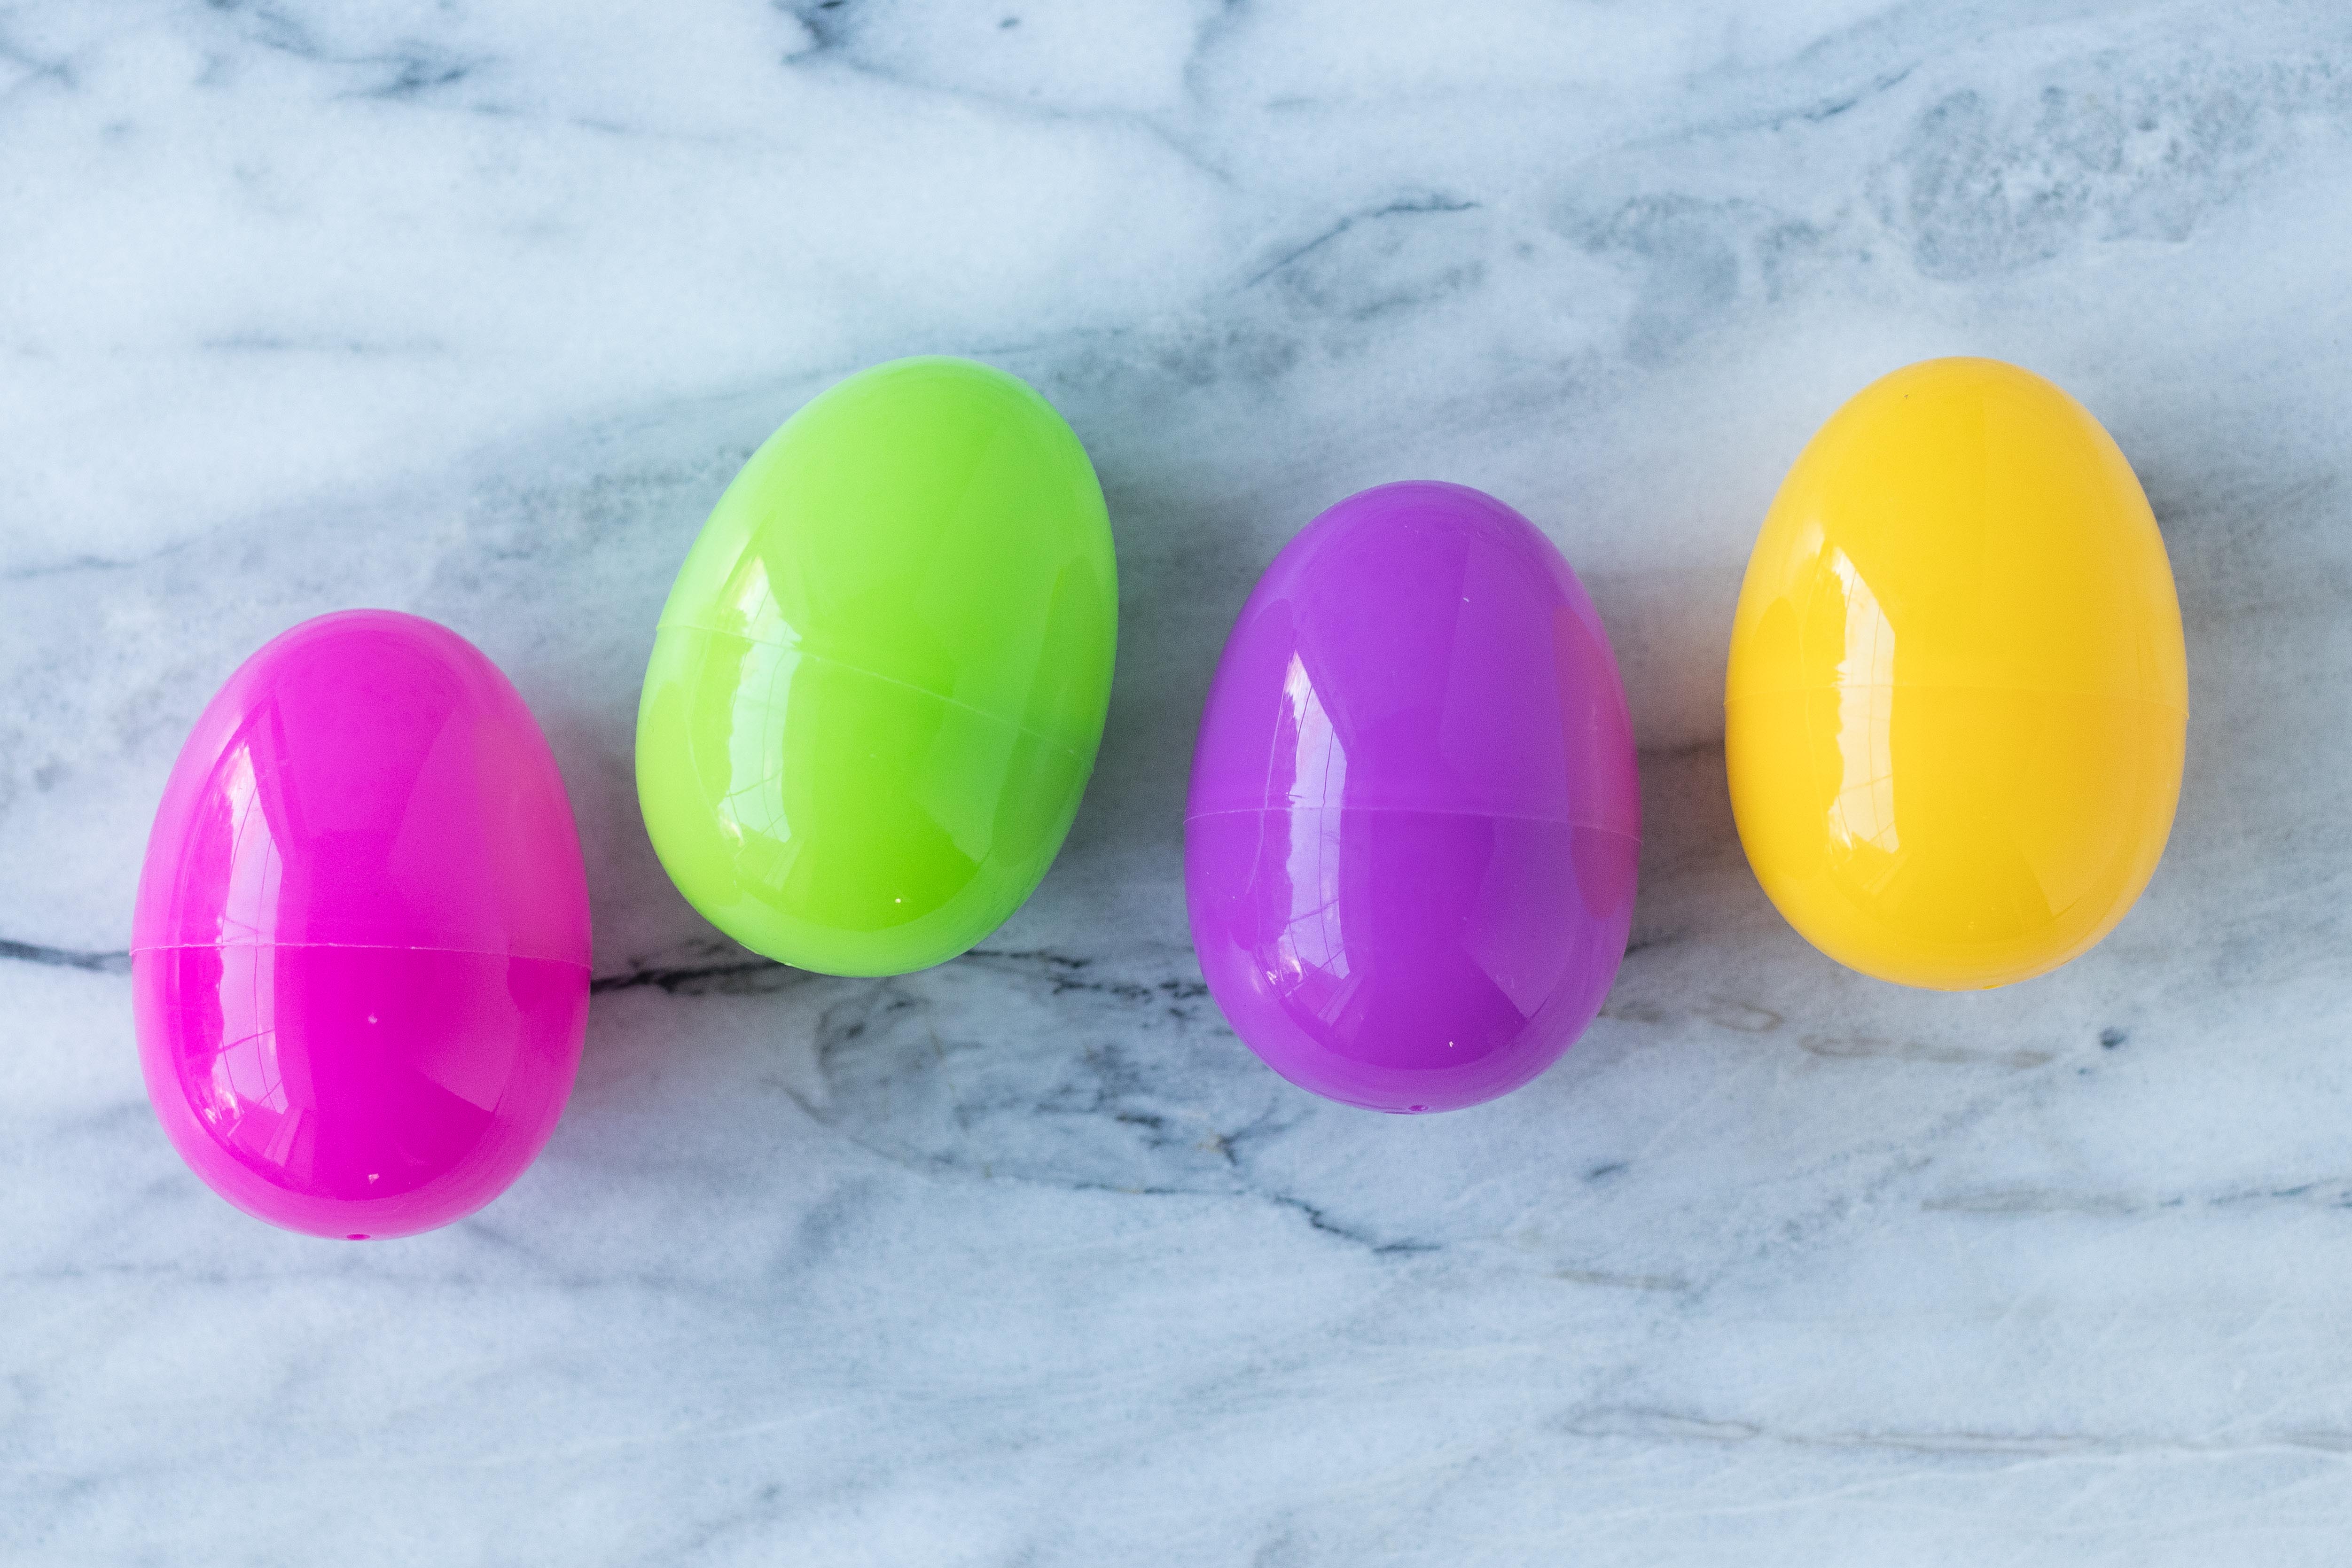
Gather your plastic Easter eggs.
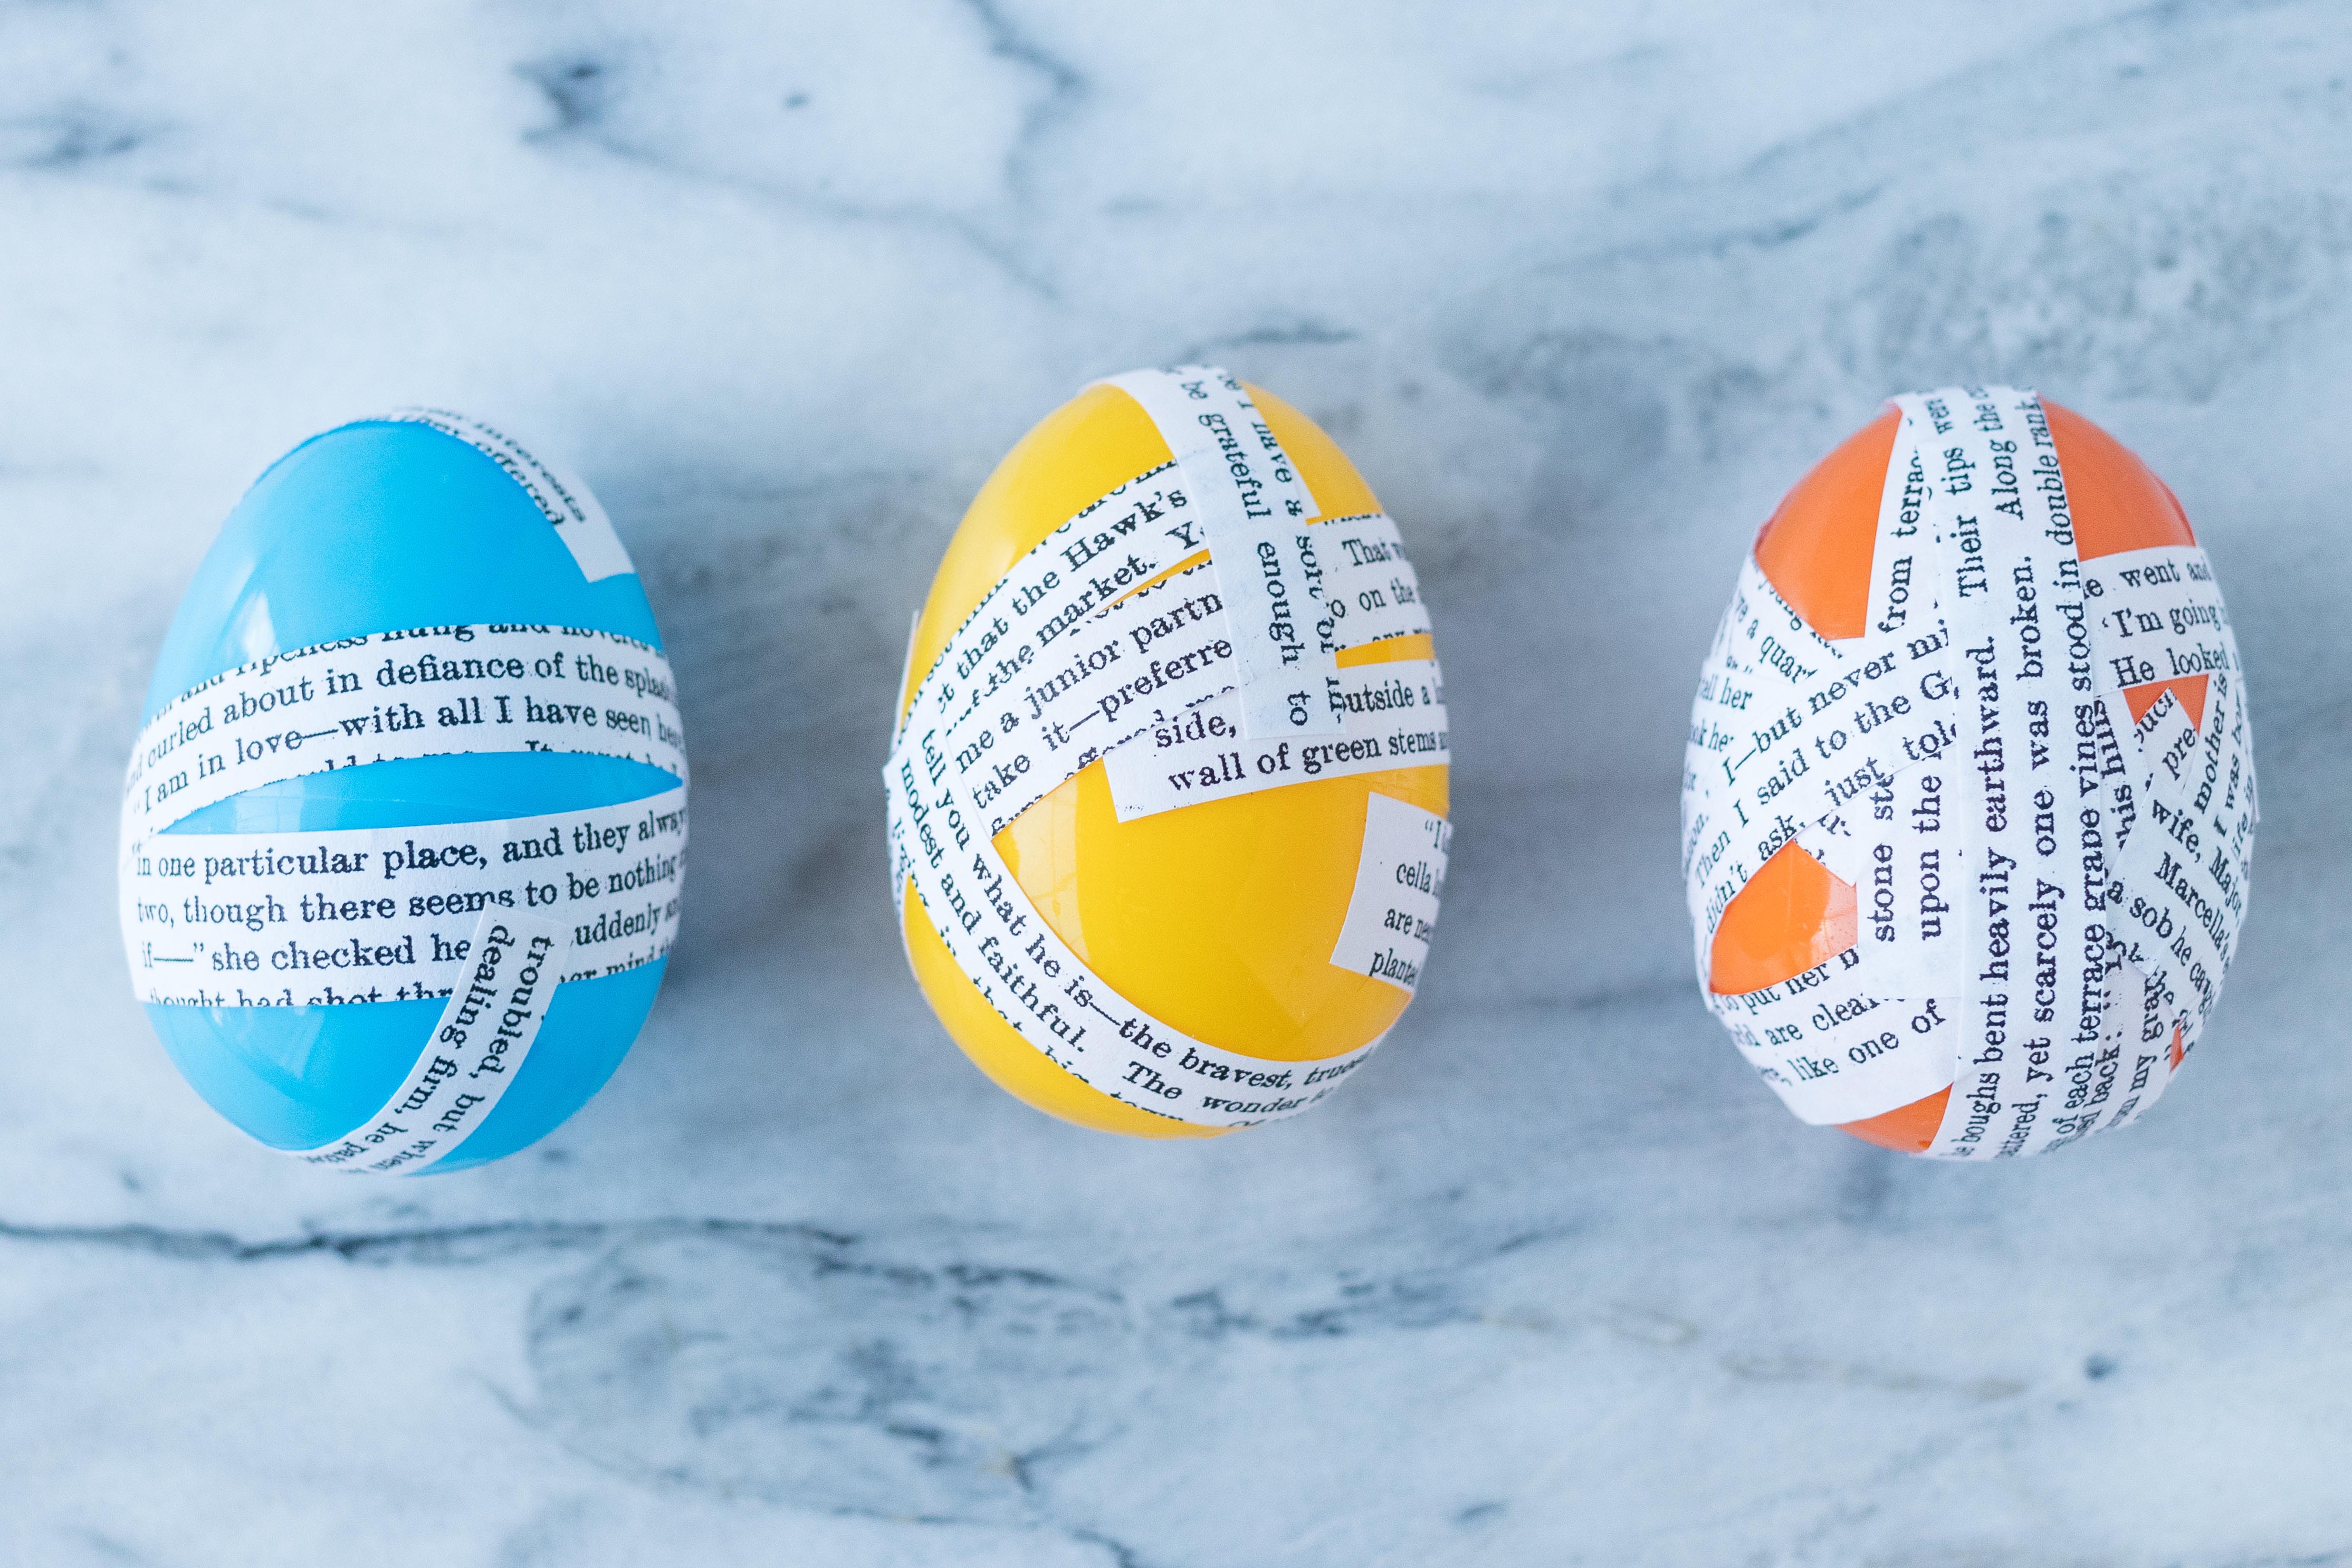
Using the small foam brush, apply thin coats of Mod Podge to adhere the book page strips to the eggs. Add half a dozen or so strips to each egg at a time. Allow the Mod Podge to dry completely before adding more strips. Take your time, smoothly out as many wrinkles as possible as you work.
It’ll take 4-5 rounds of gluing to cover a full Easter egg. As you cover up more egg, you may want to trim down your book page strips to fit over small uncovered areas. Sometimes I also trim down certain pieces to remove large white areas. Using a handful of smaller strips will also prevent the layering from getting too bulky.
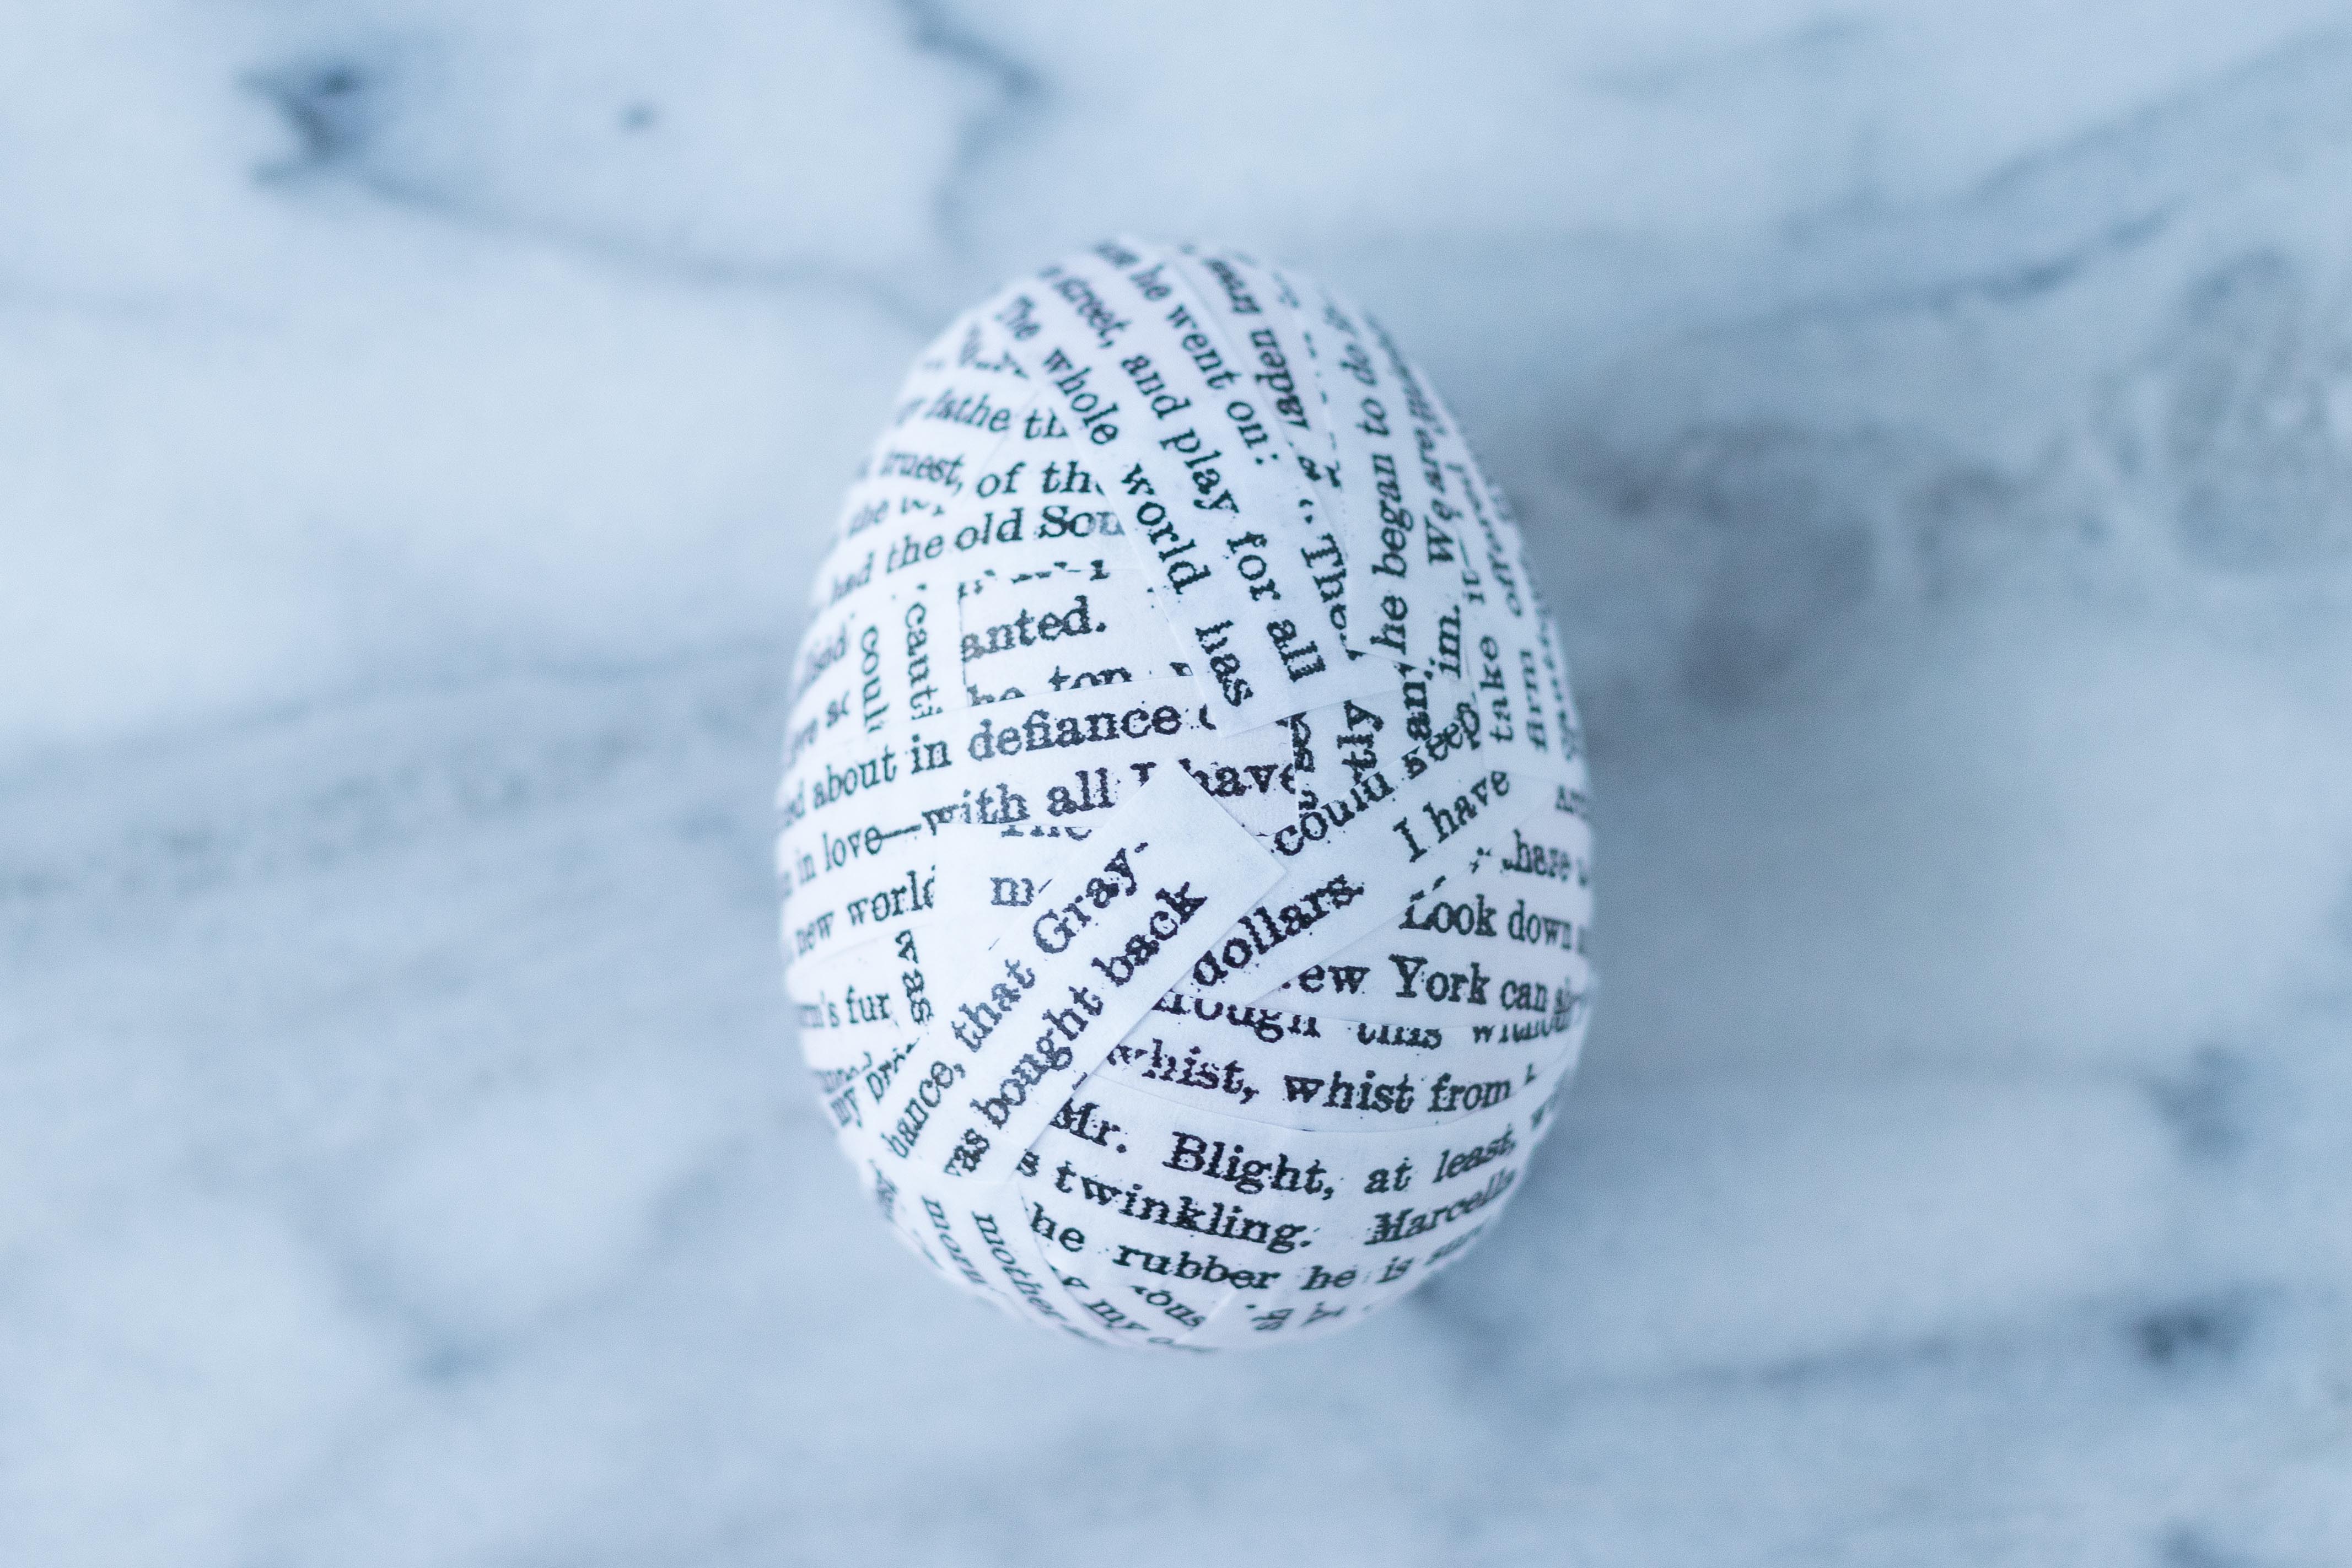
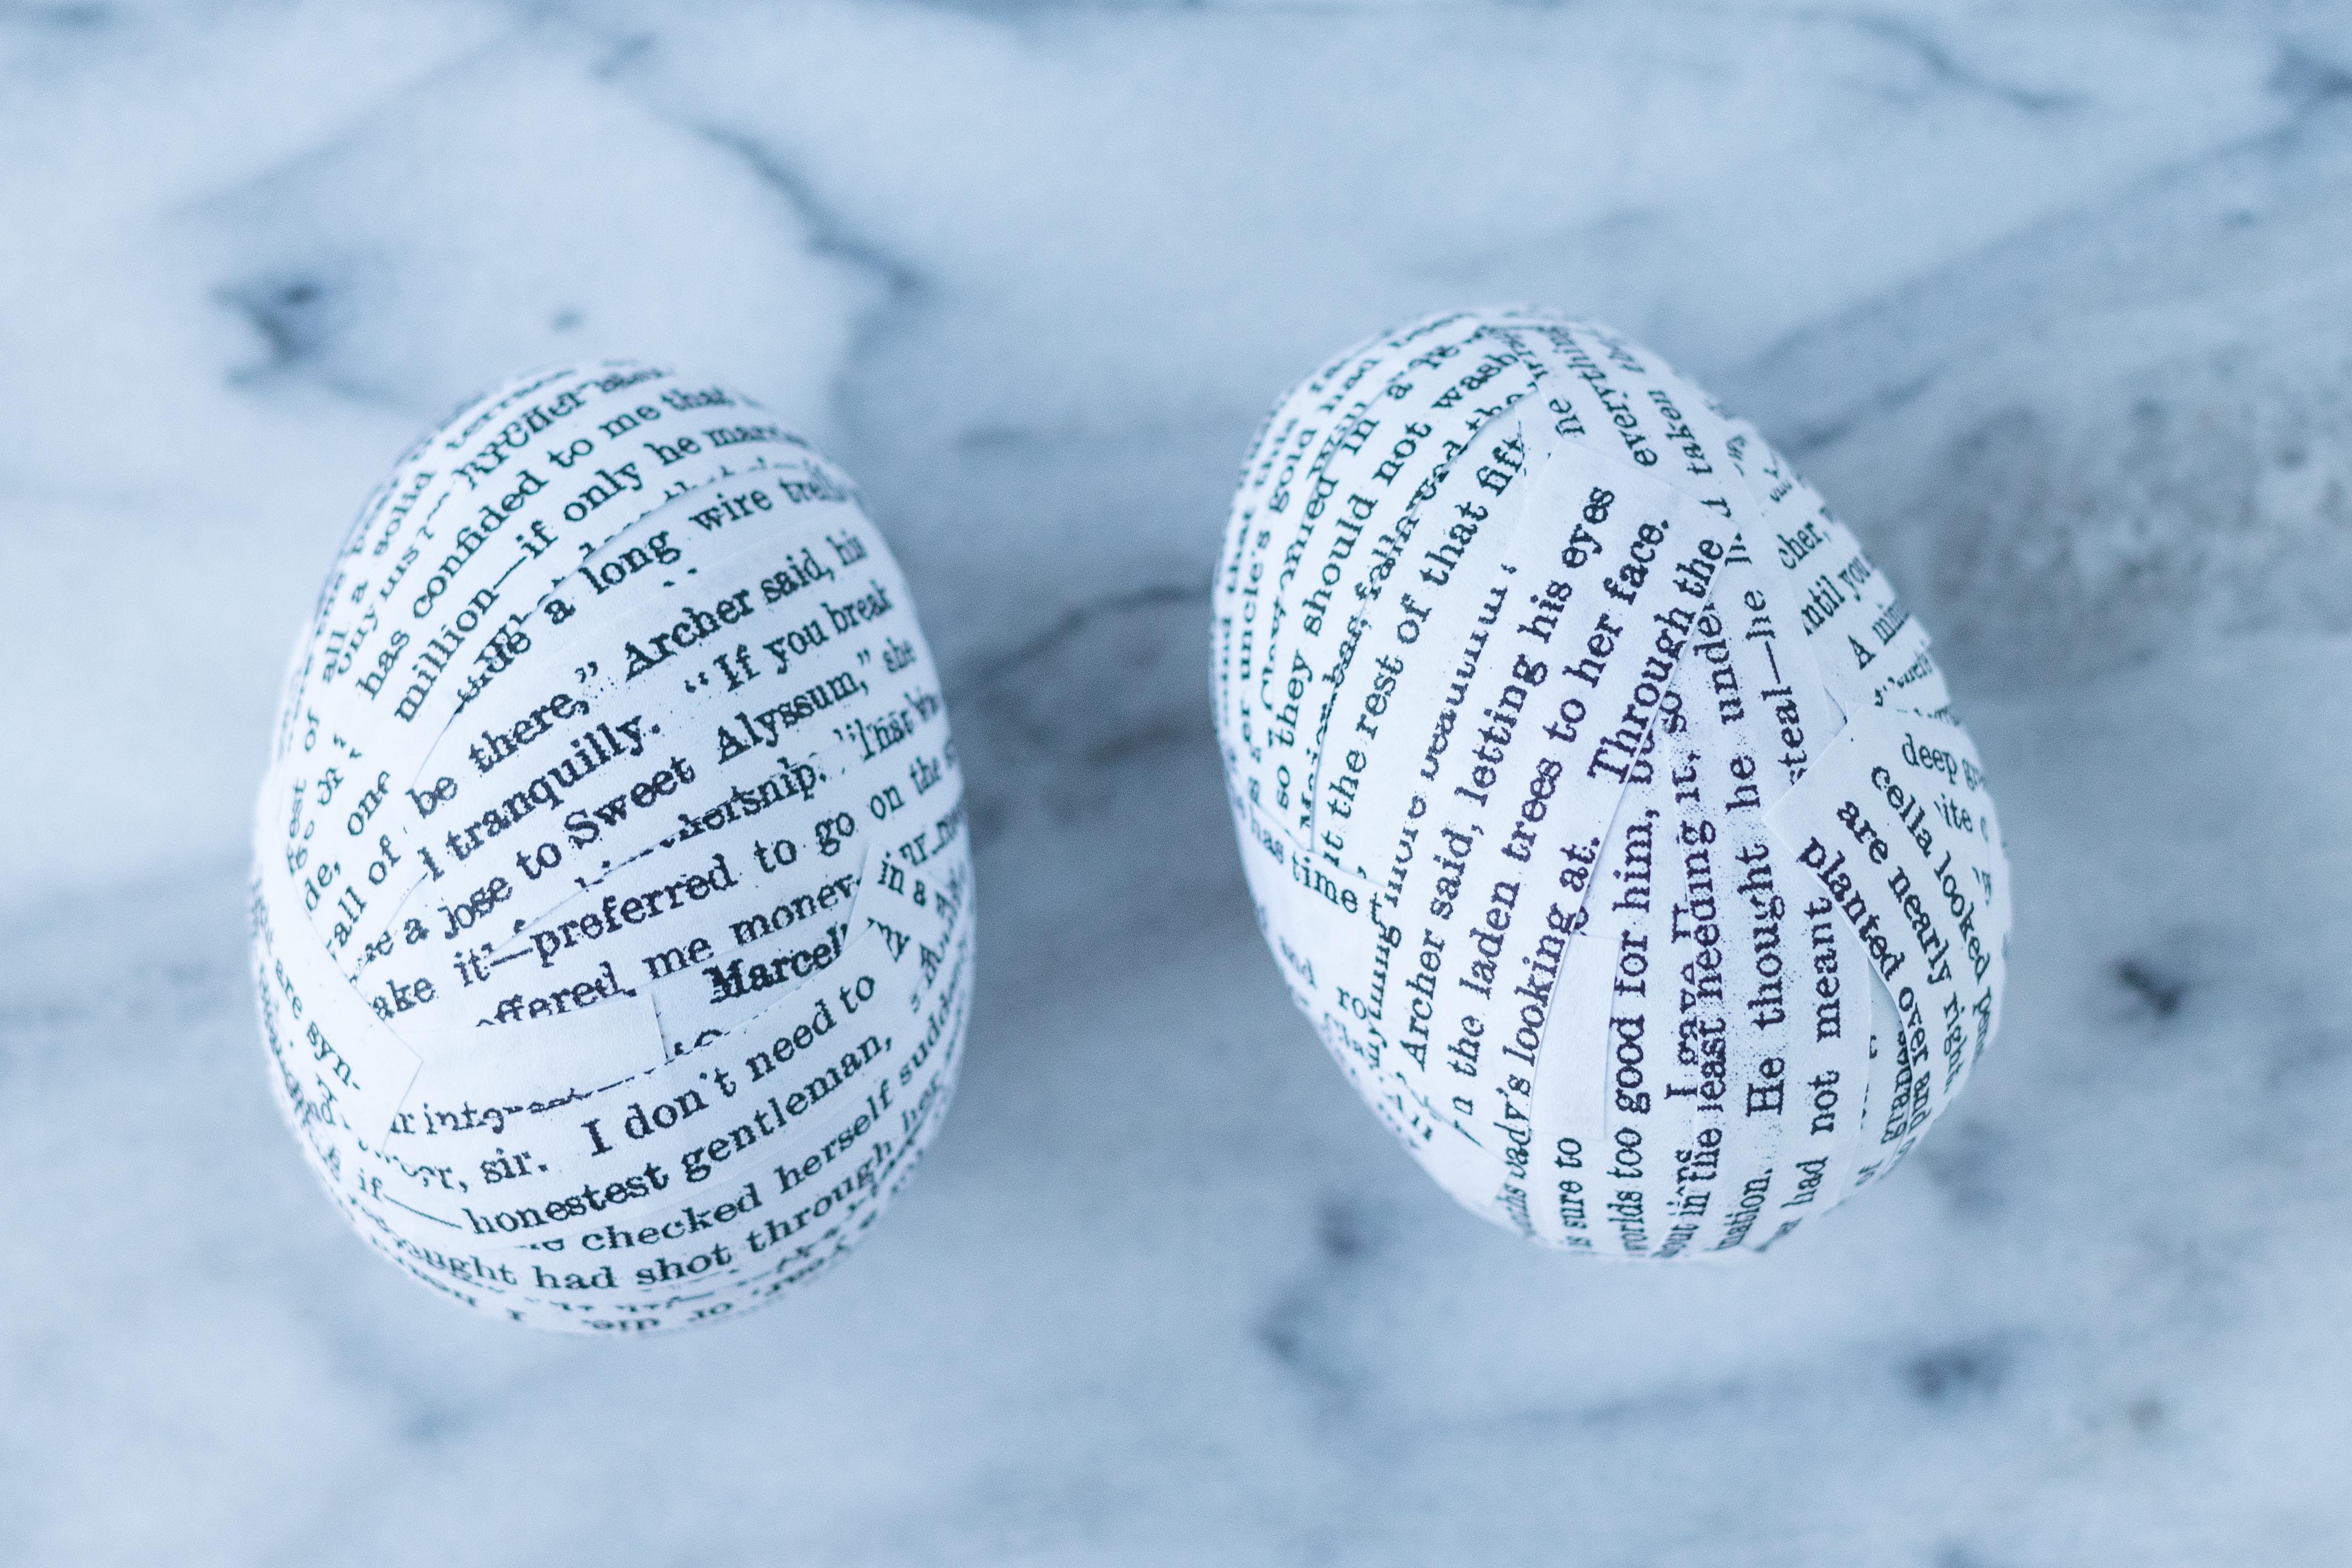
Apply a coat of Mod Podge to the full book page-covered egg. Secure any loose corners as you go. Allow it to dry completely.
I know that the difference between the with and without Mod Podge in the last two pictures is extremely subtle. I promise you’ll be able to tell the difference in person. Mod Podge seals the book page strips and gives the eggs a smooth matte or glossy finish.
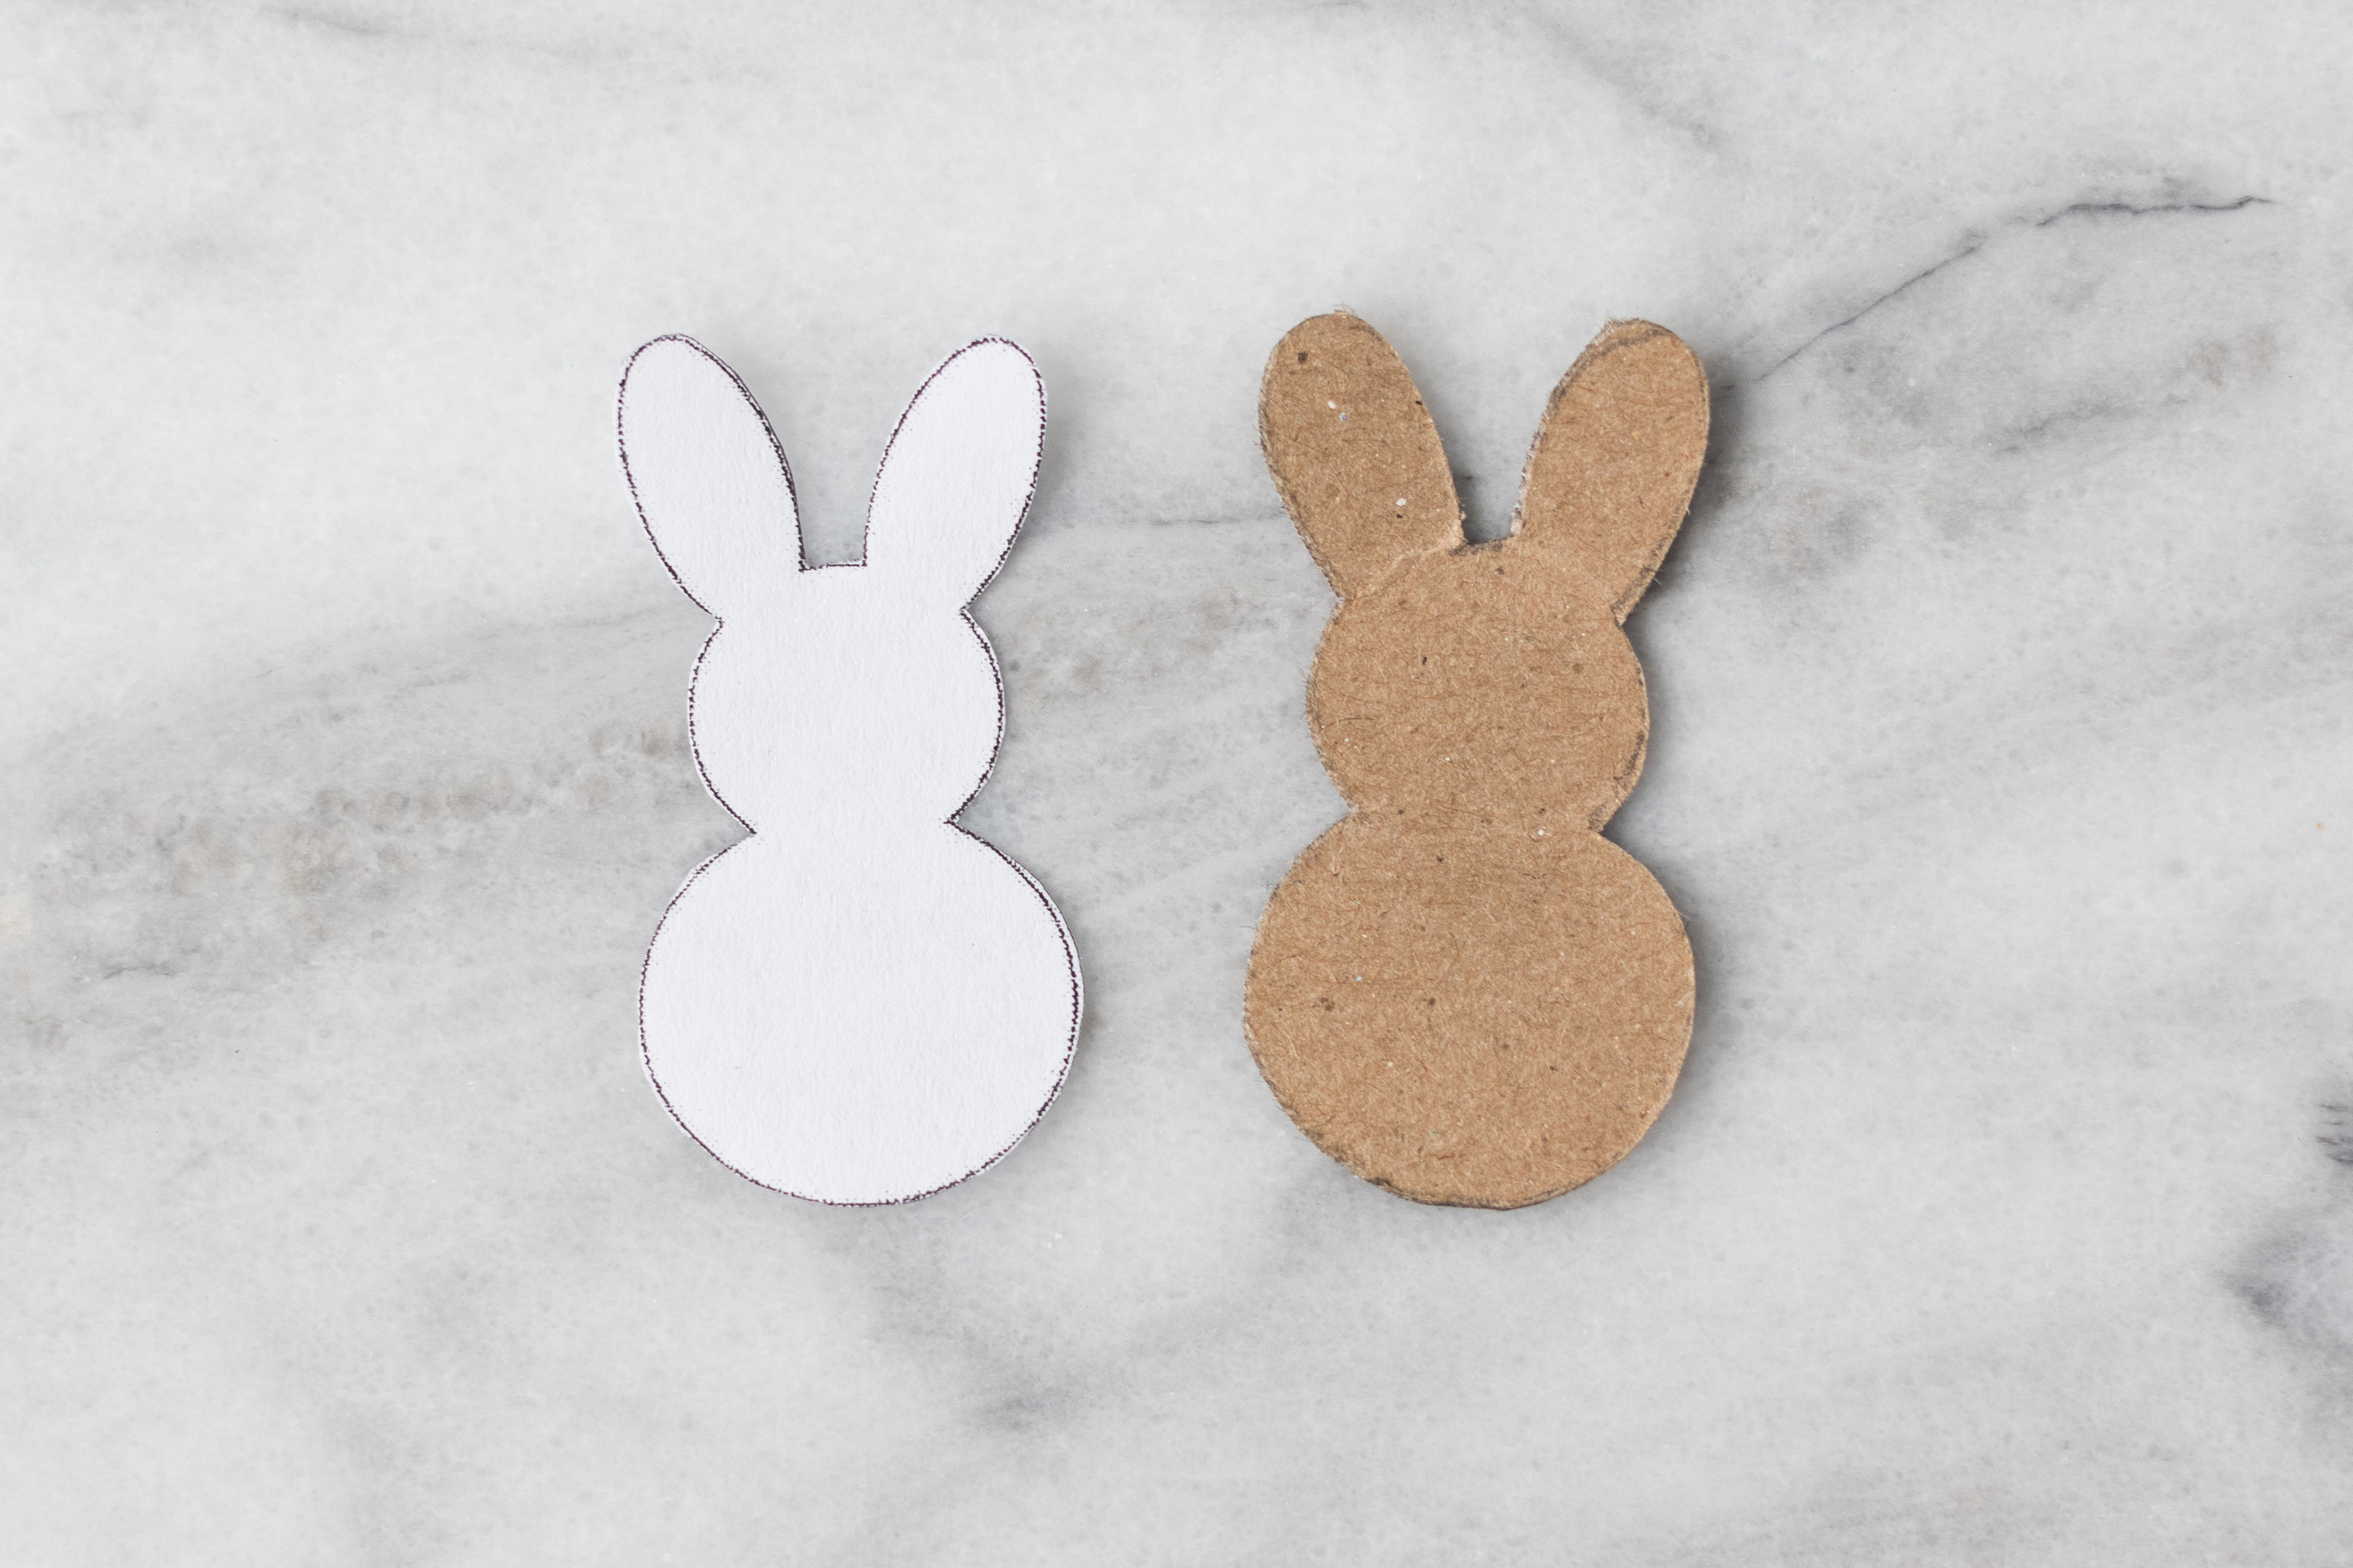
Print and cut out the bunny template. If you like, trace and cut out a cardboard version. This step is not essential but it will make it a lot easier to trace the bunnies.
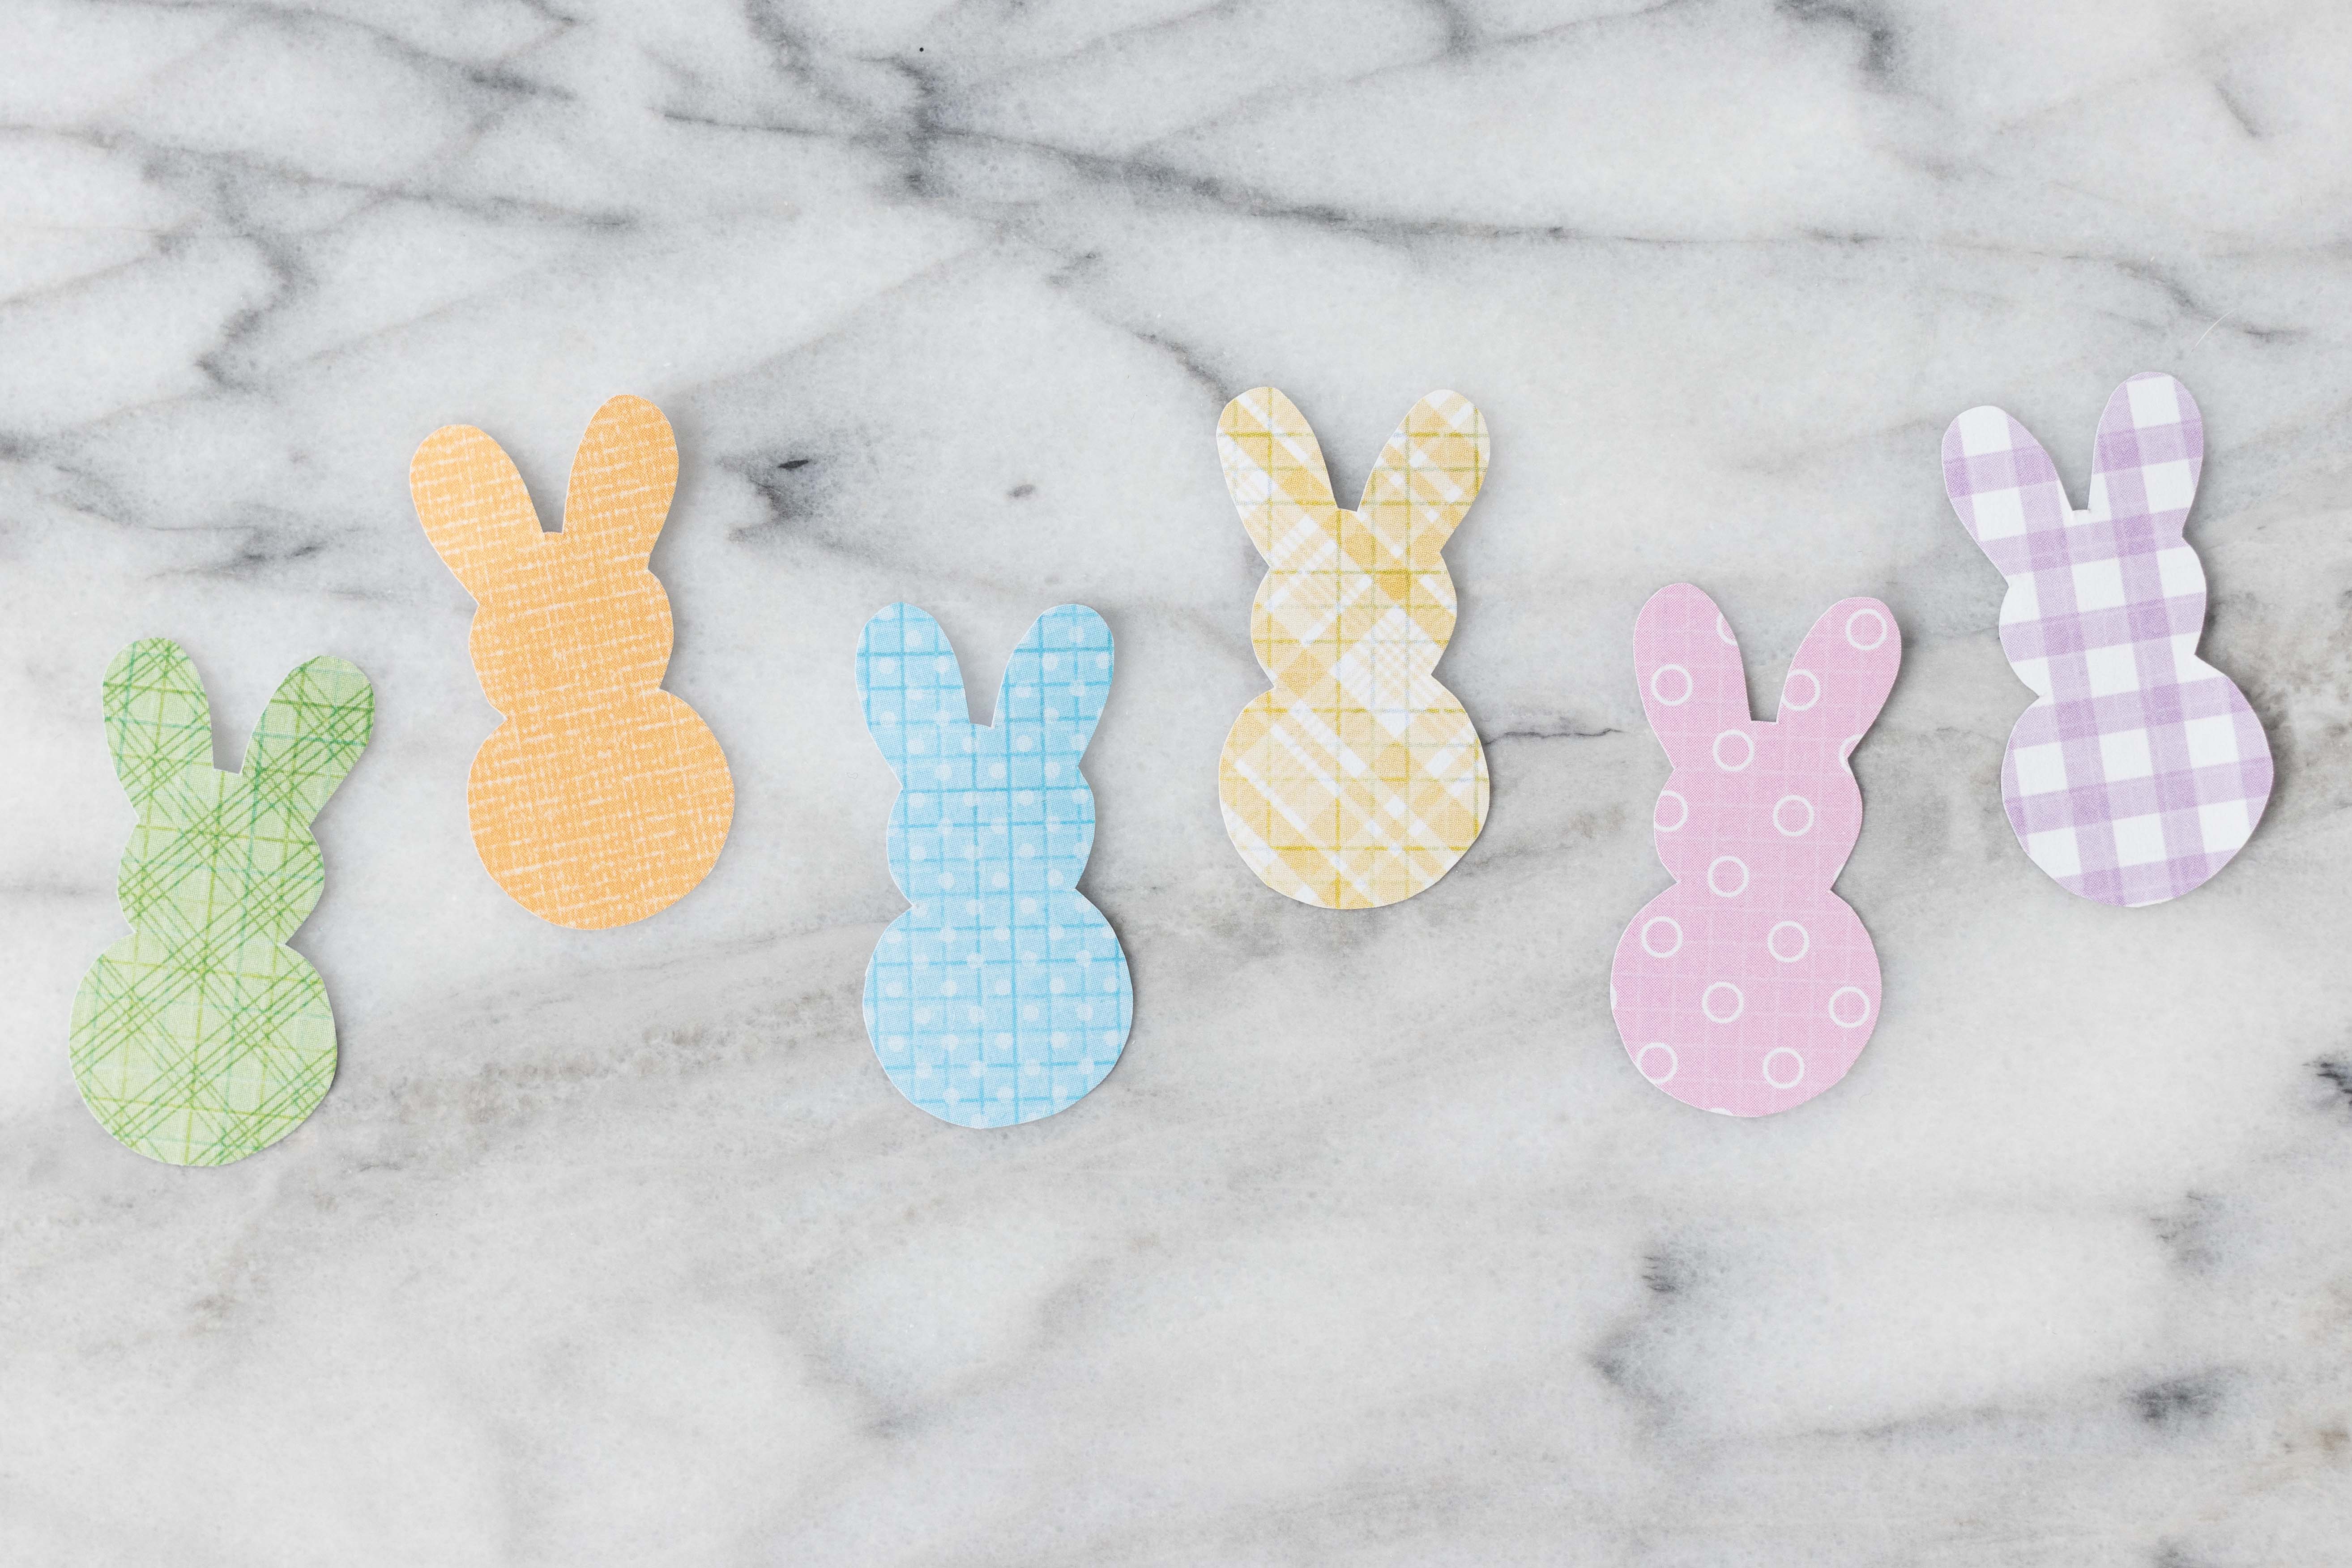
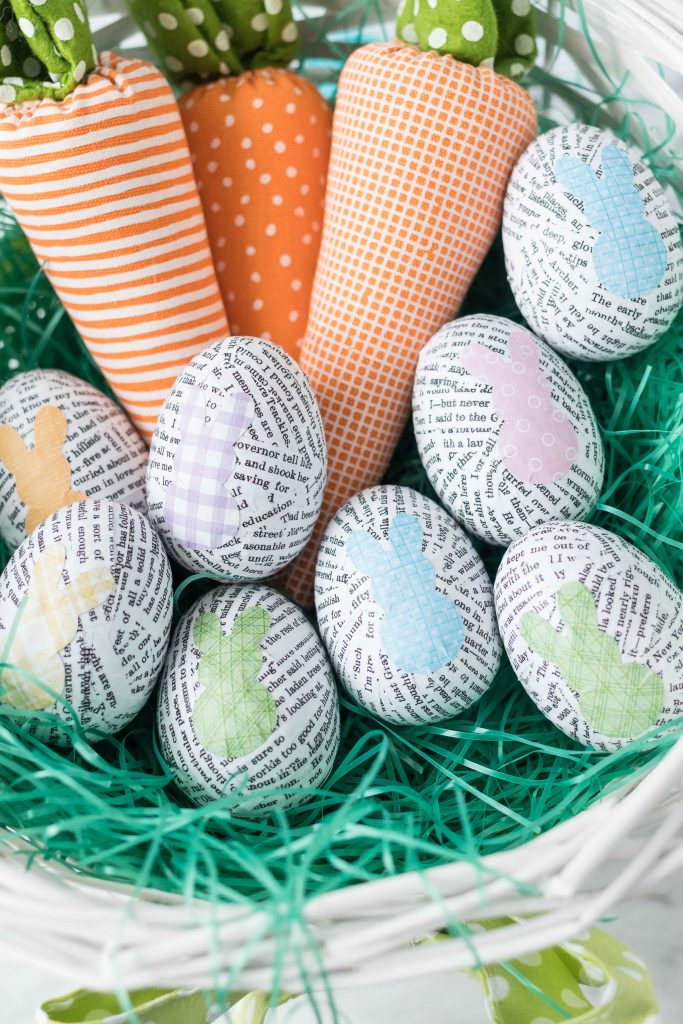
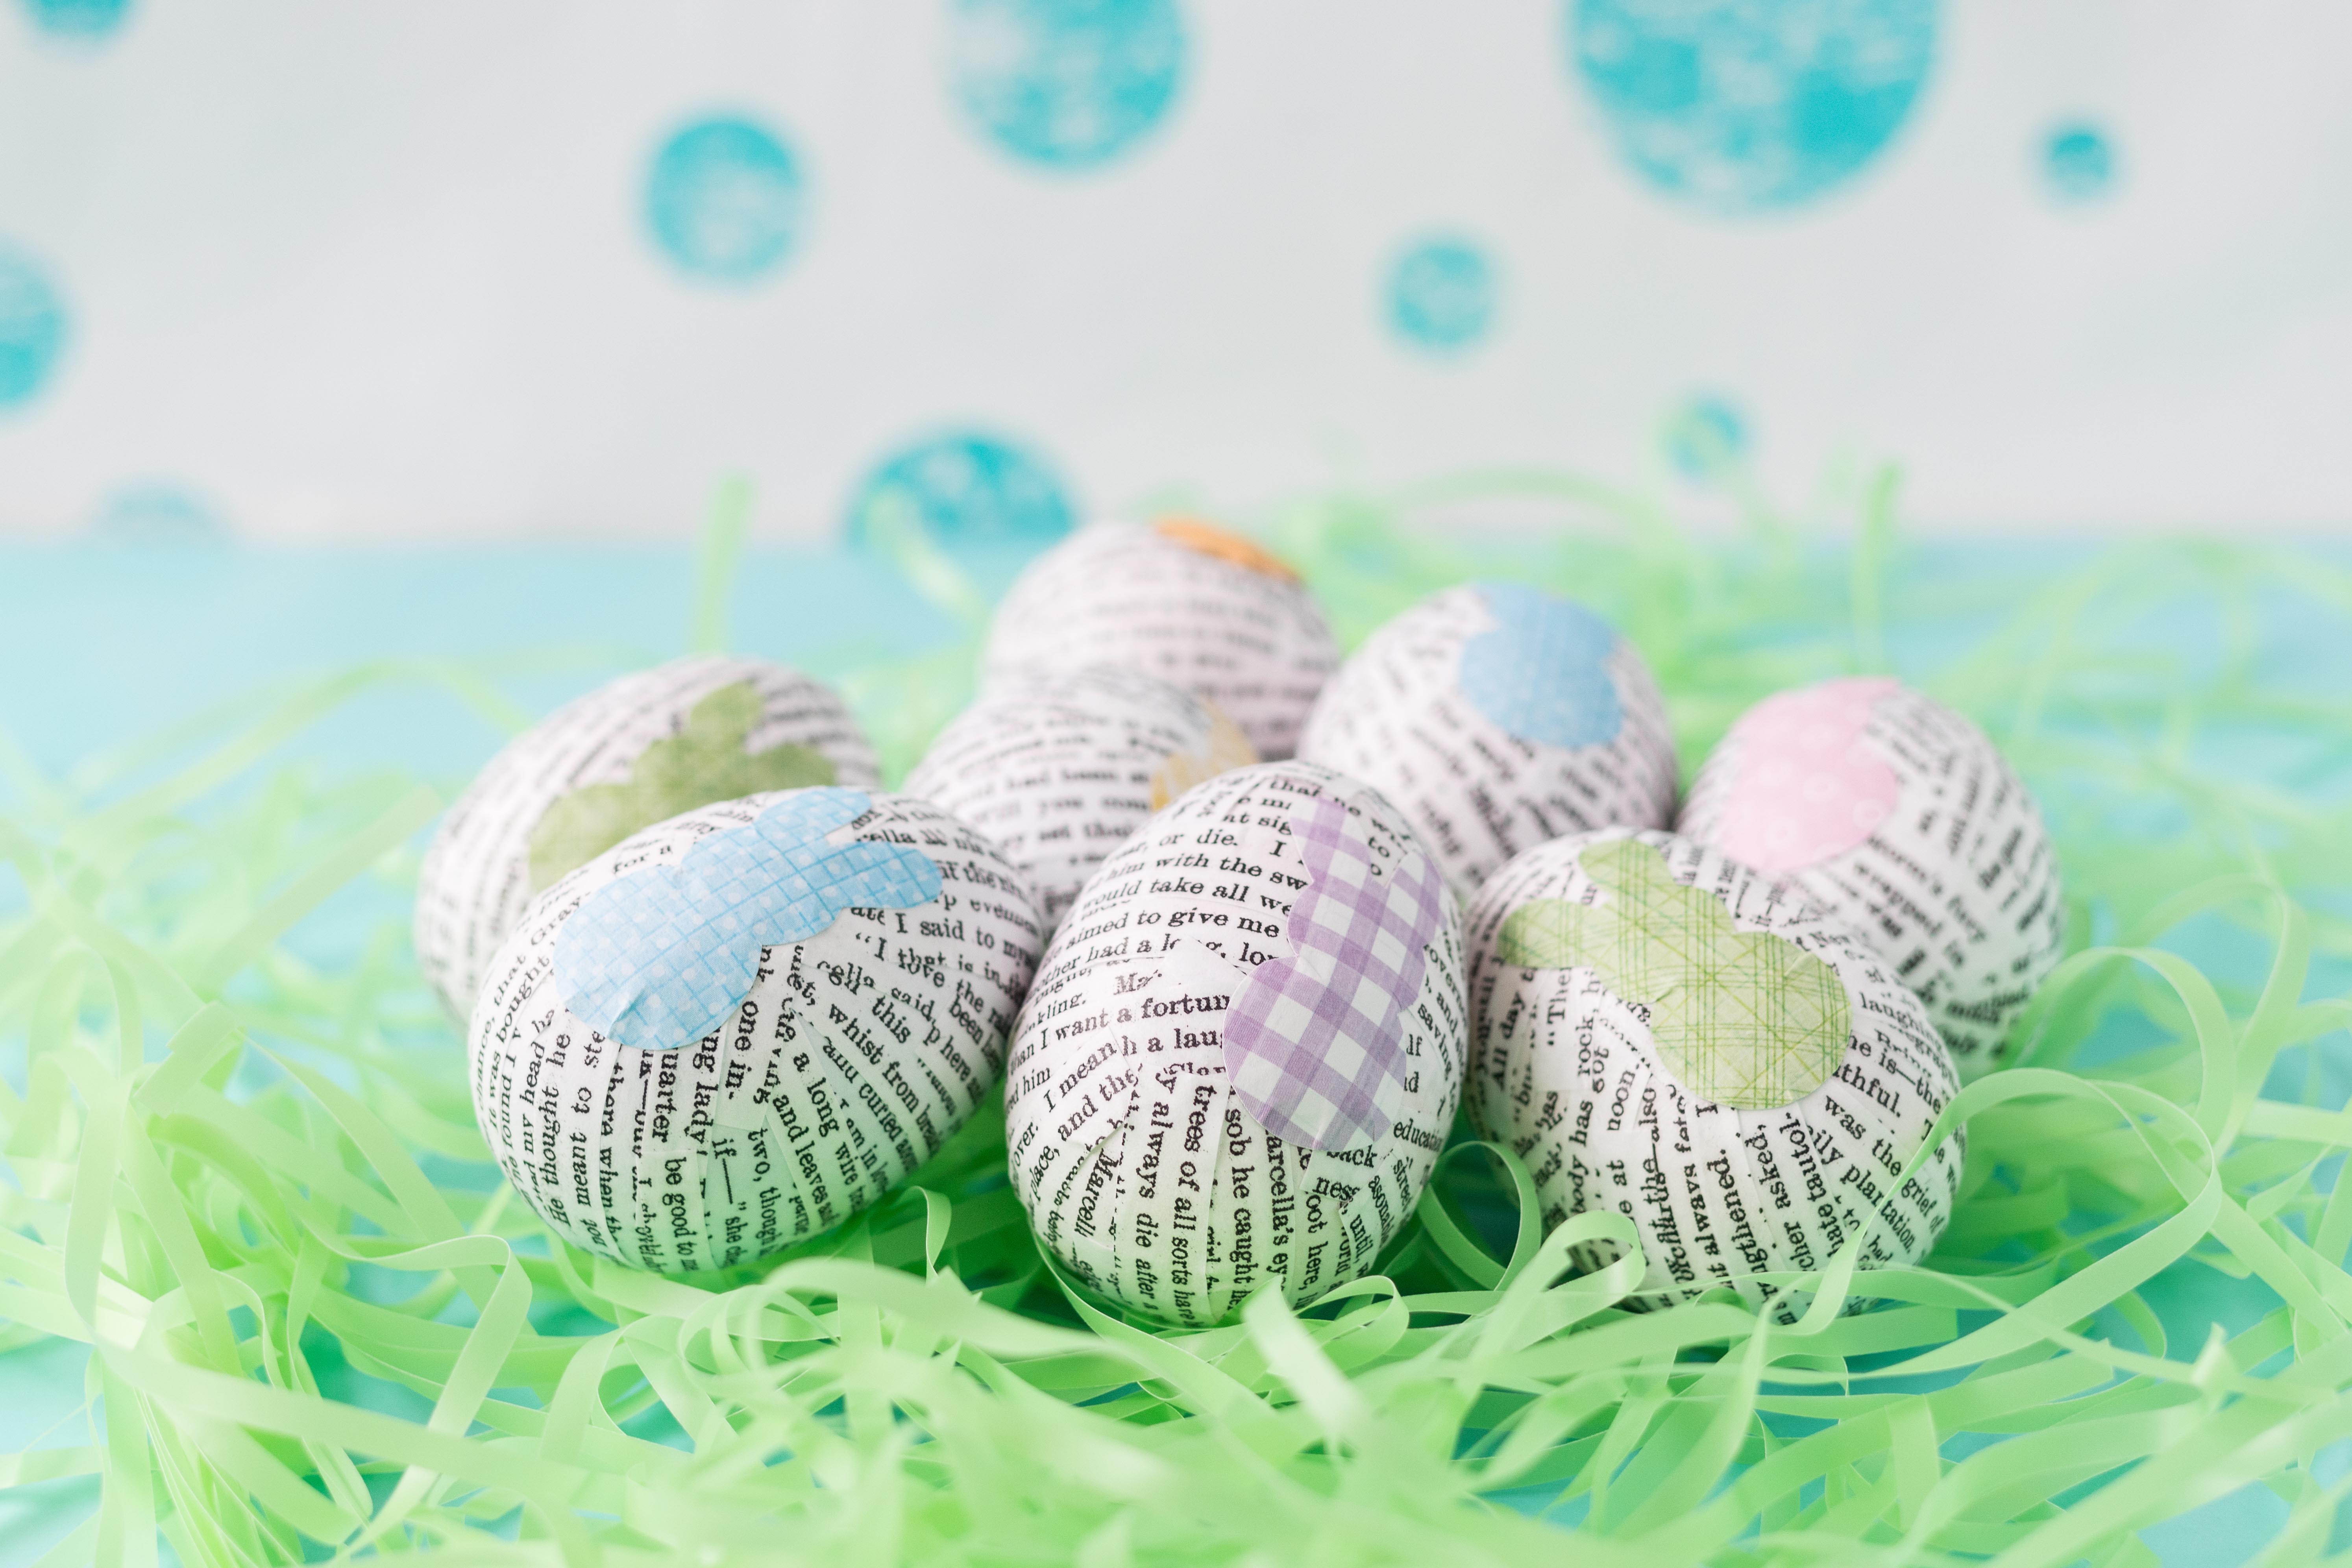
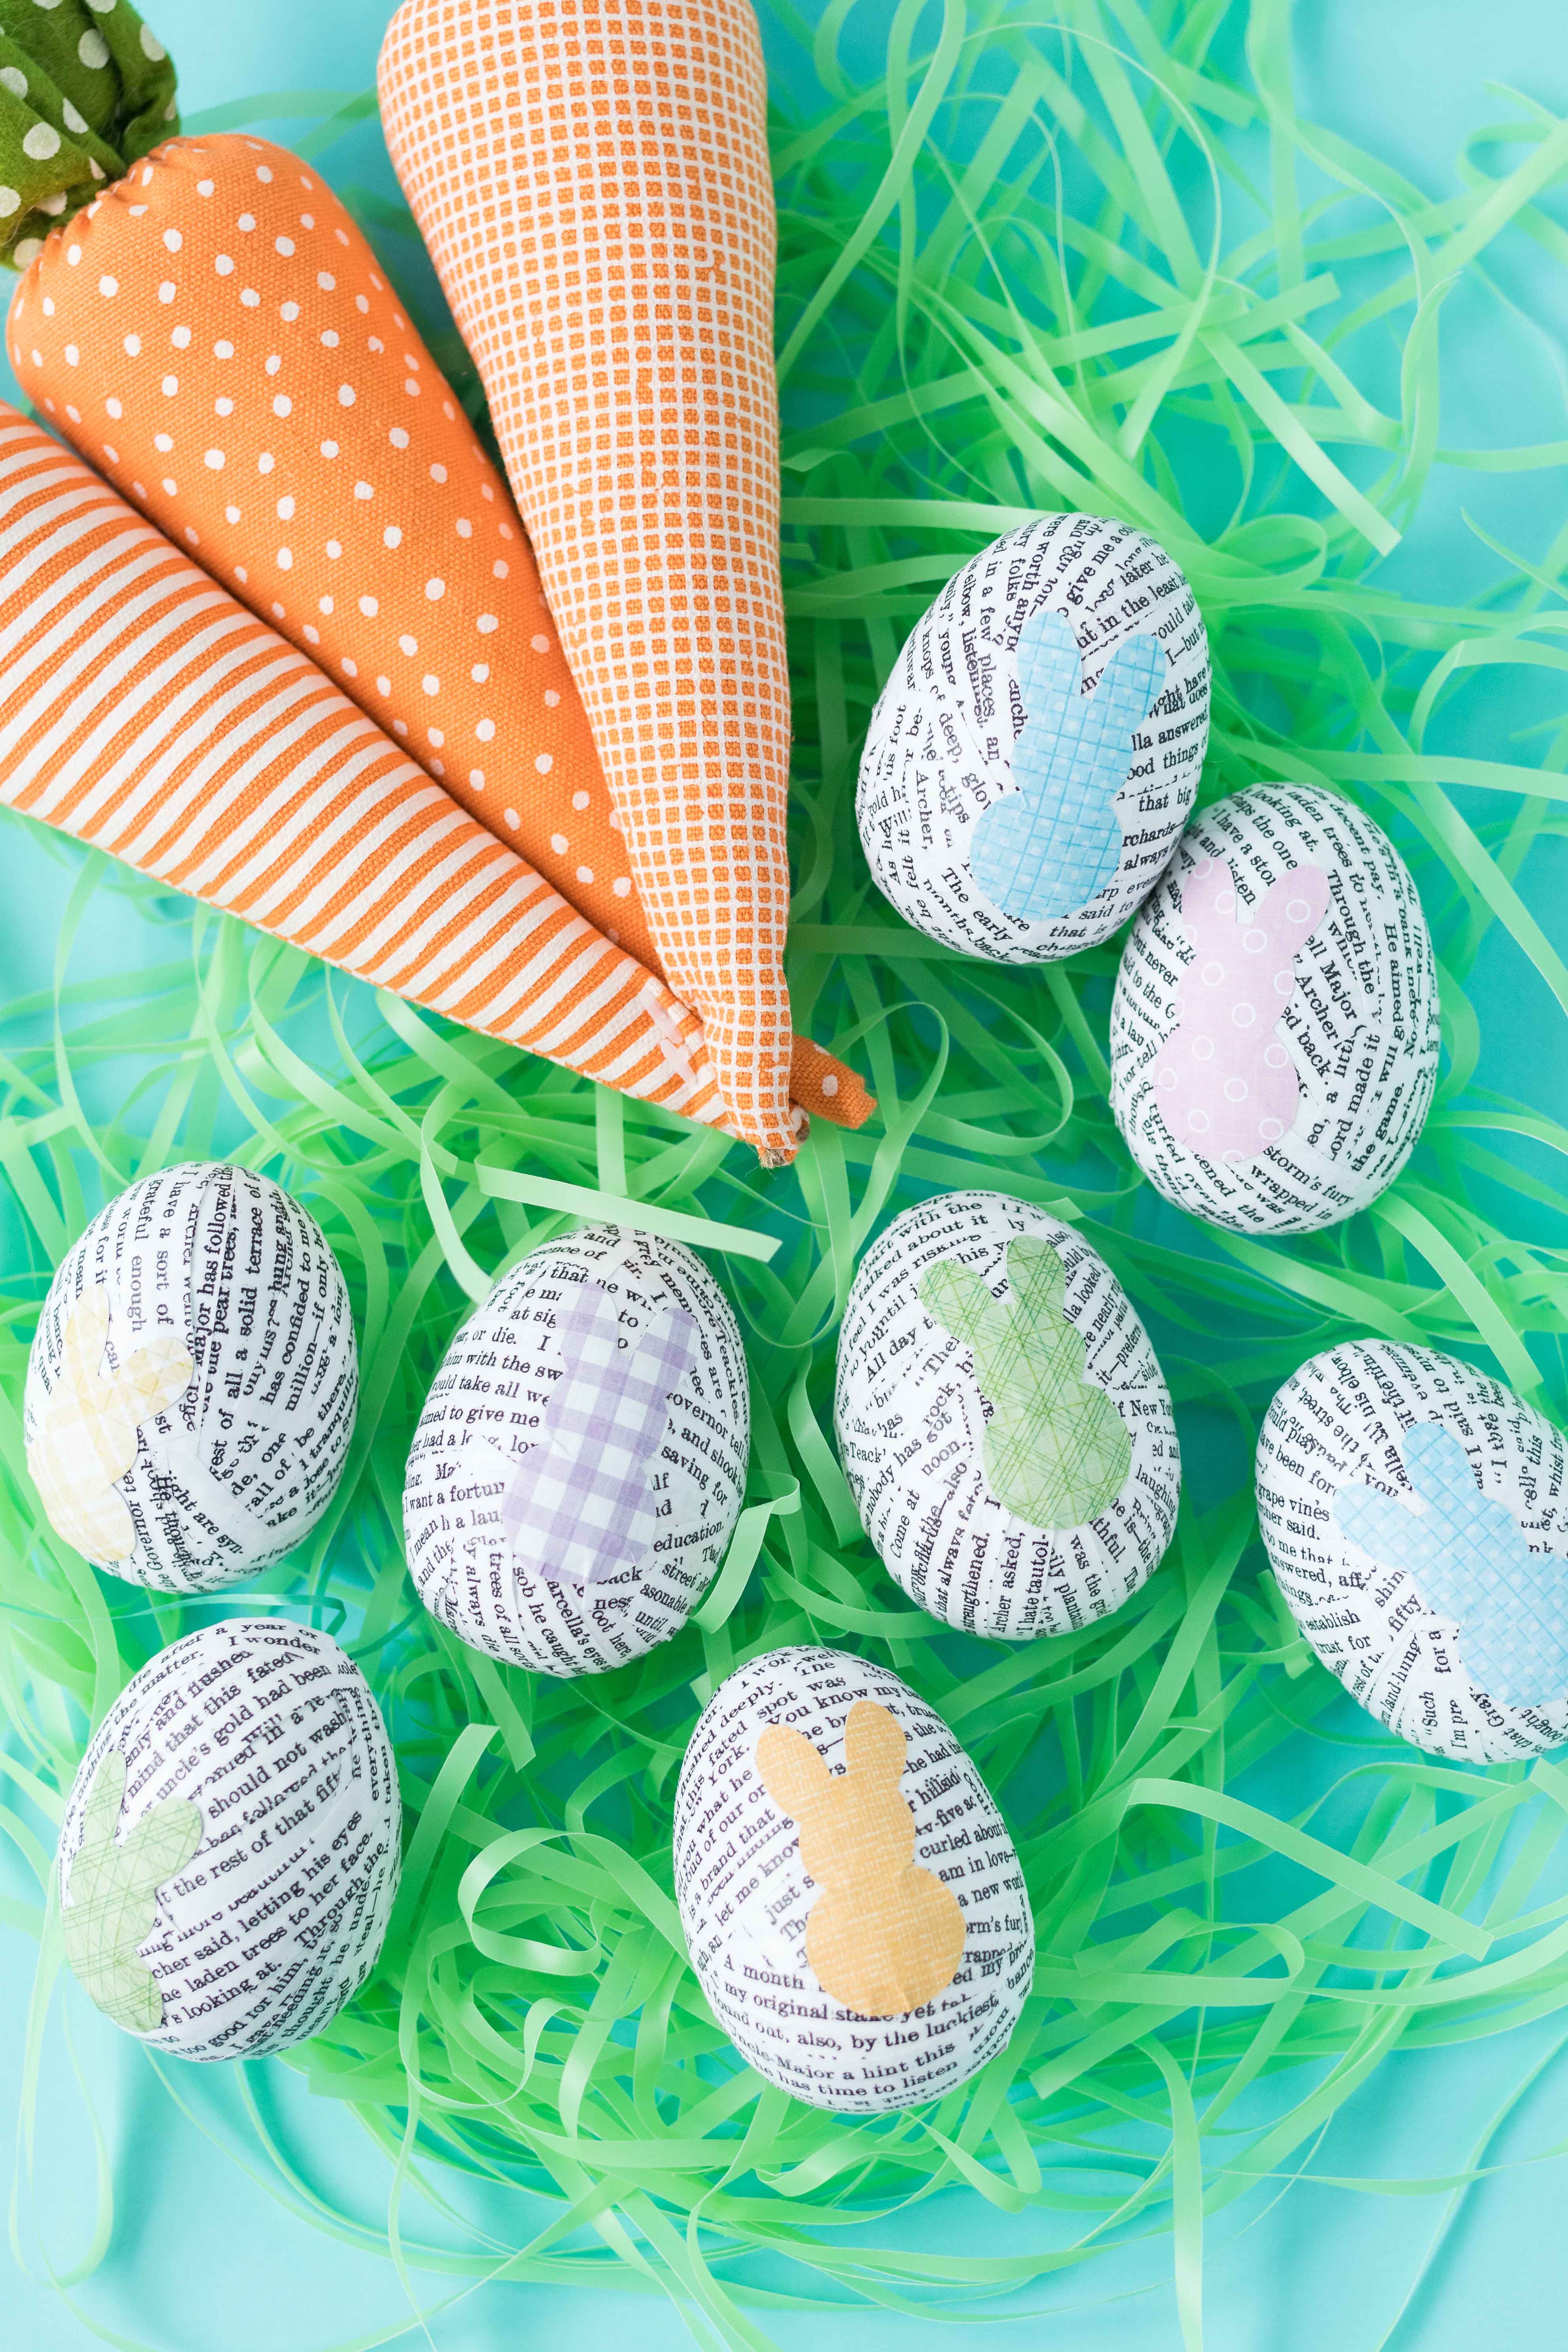
Using the bunny template, trace and cut out scrapbook paper bunnies. Cut out one bunny for every egg you’re making.
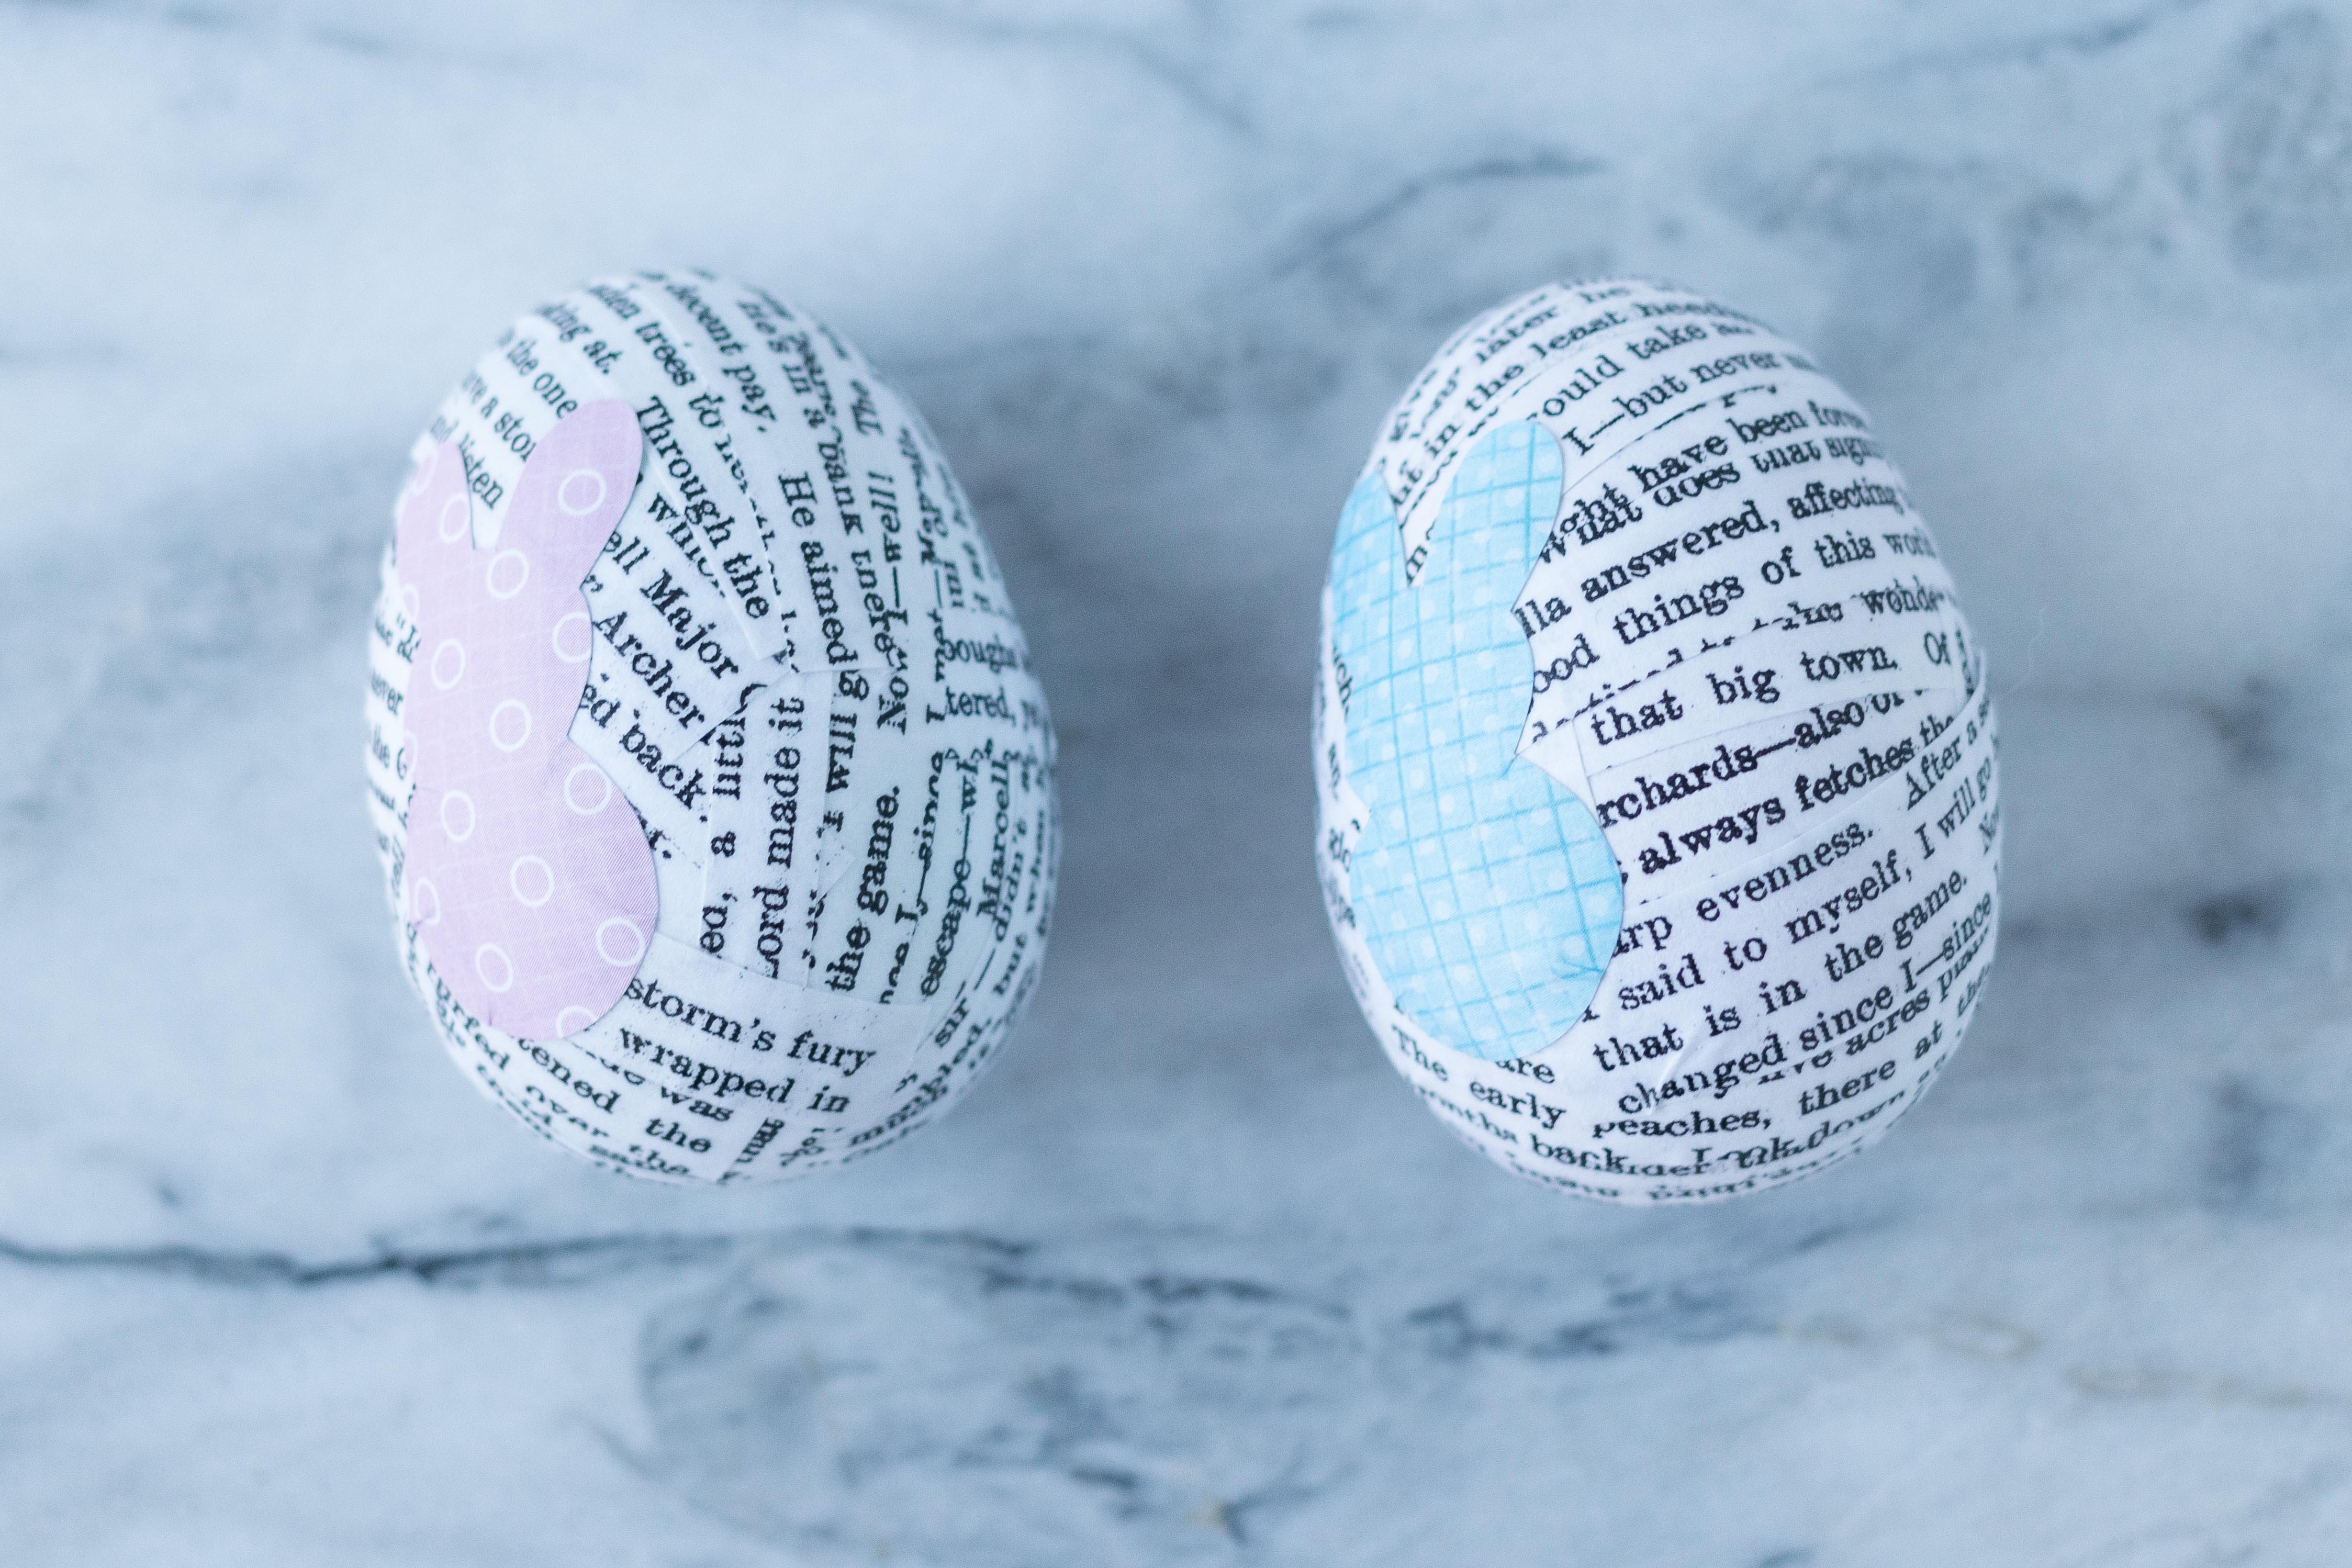
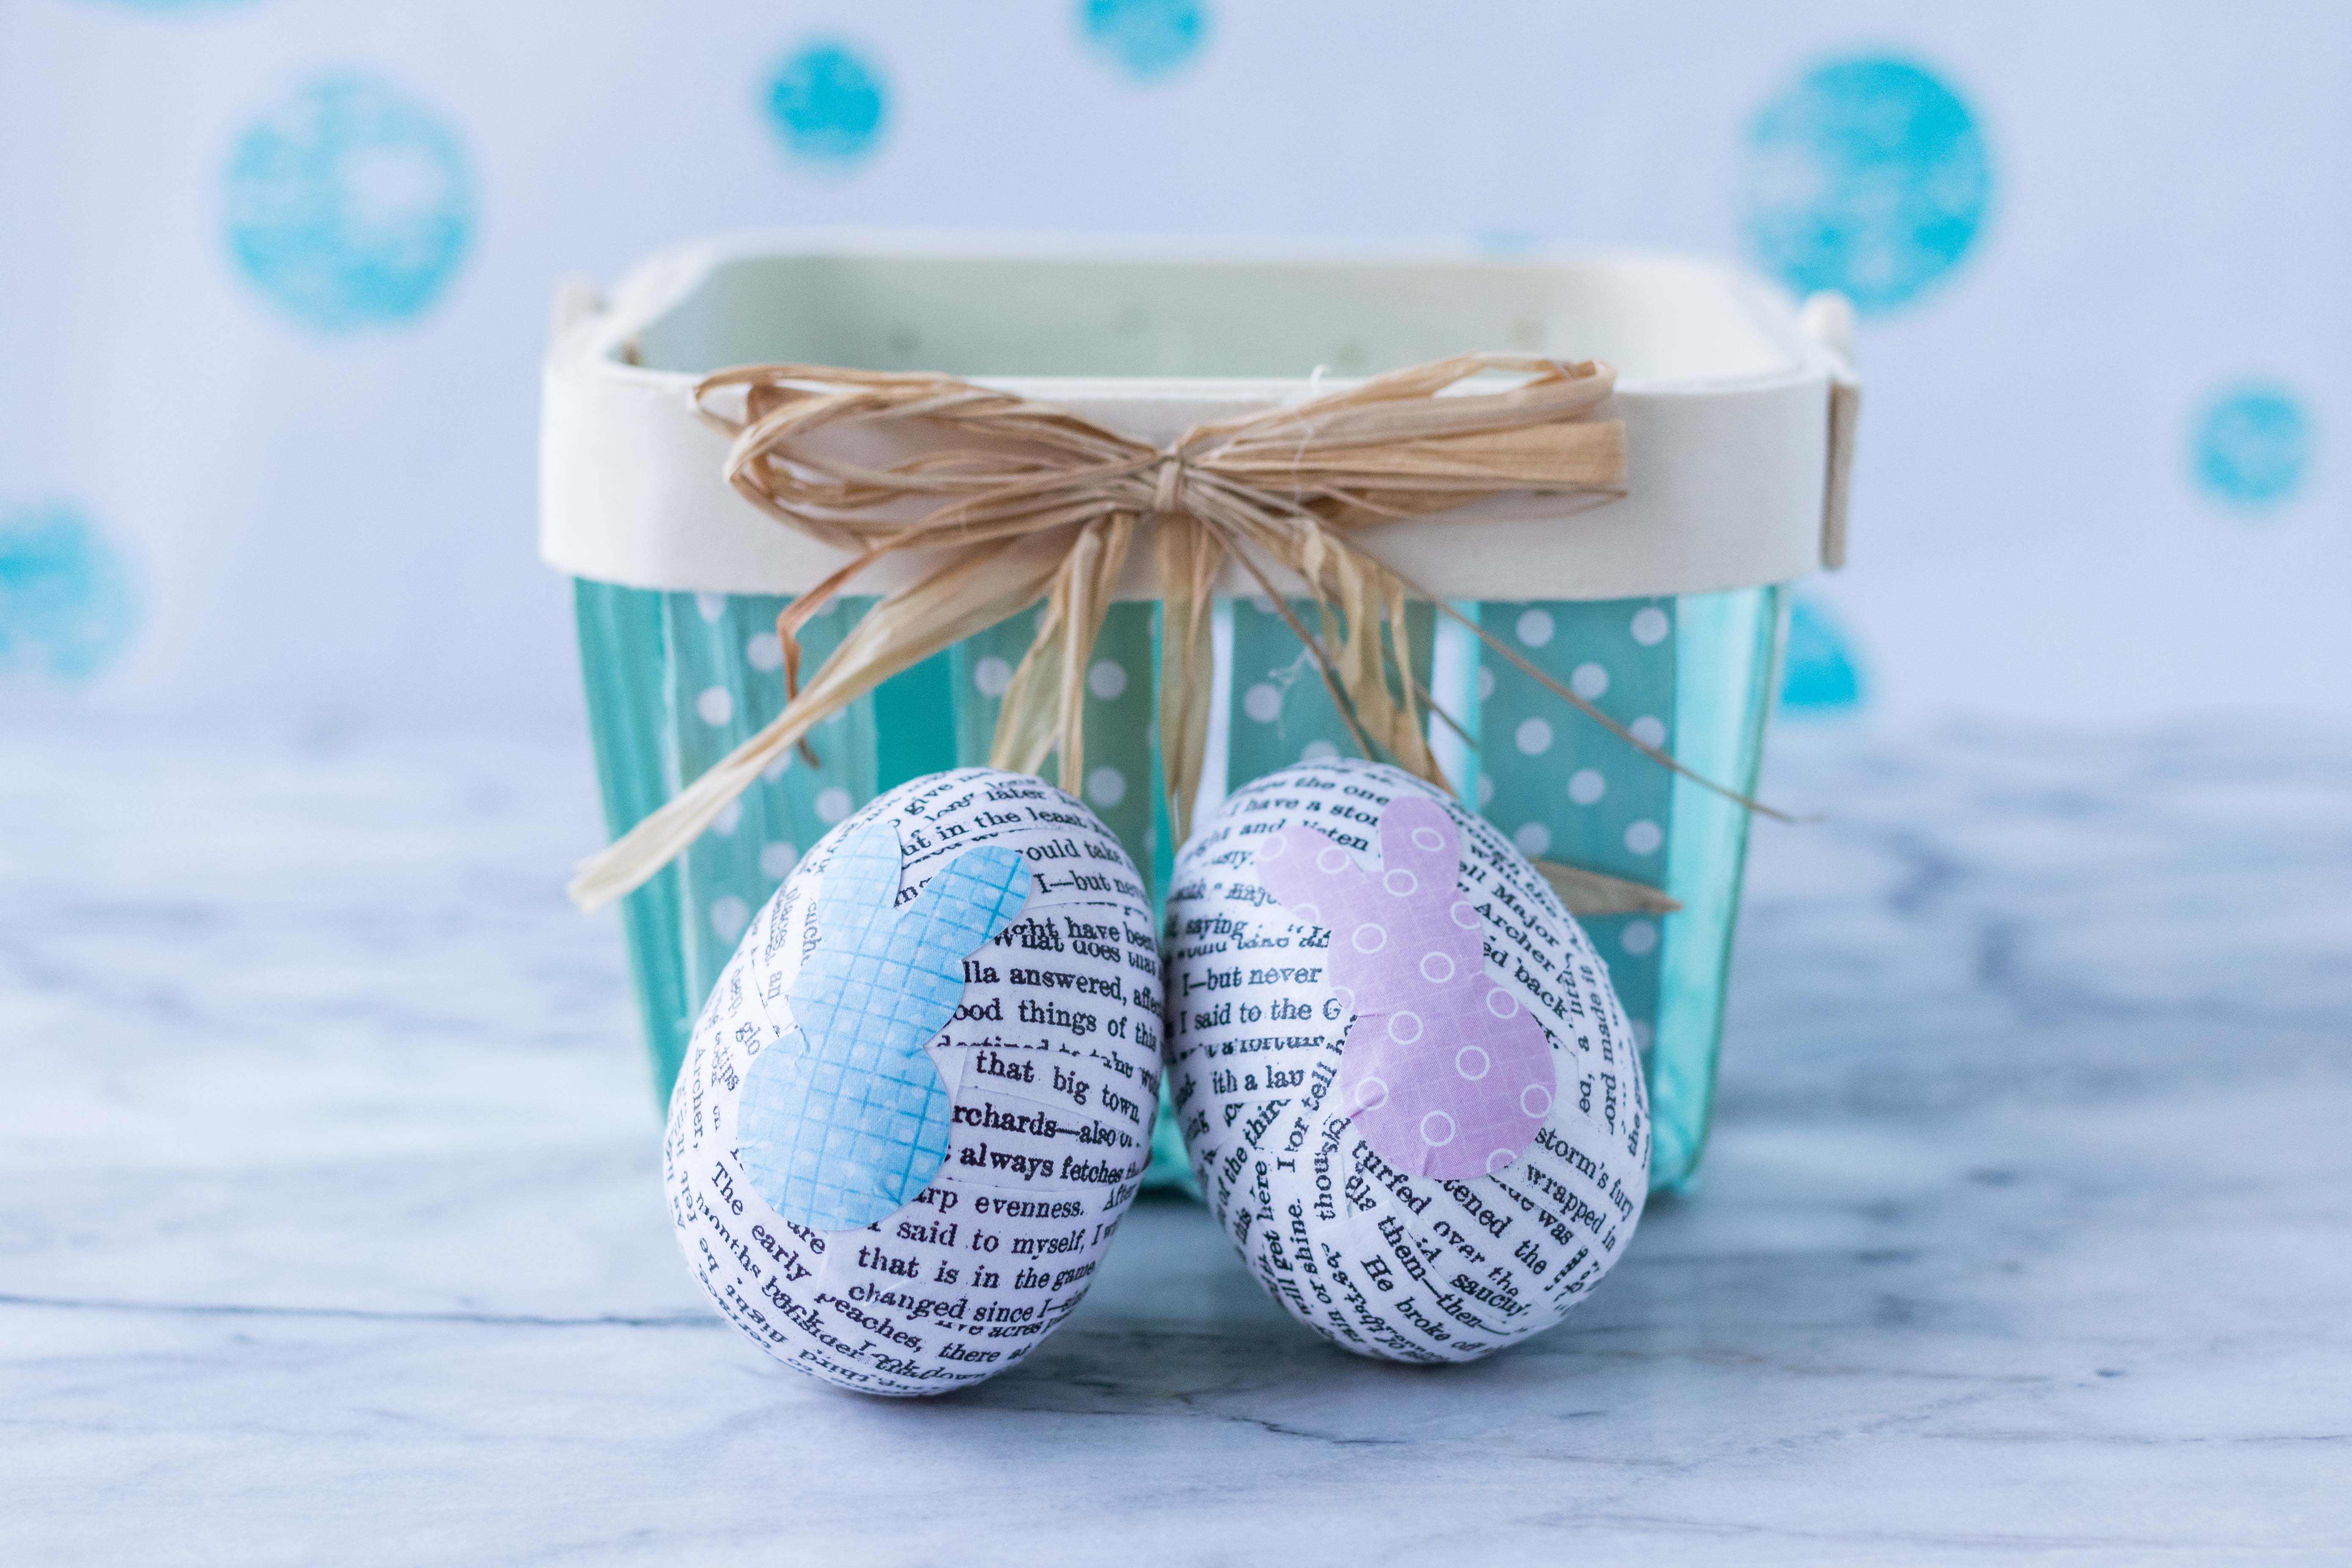
Using the Scotch Scrapbooker’s Glue or other wrinkle-free paper glue, adhere a scrapbook paper bunny to each egg. Smooth out as many wrinkles as possible. The shape of the egg will make it virtually impossible to avoid wrinkles completely.
I chose not to give the eggs a final coat of Mod Podge over the bunnies. I think leaving the bunnies without Mod Podge helps them pop a little bit more. It’s completely up to you if you’d like to finish them with one more Mod Podge coat. It will seal the bunnies, minimizing risk of tearing and other damage.
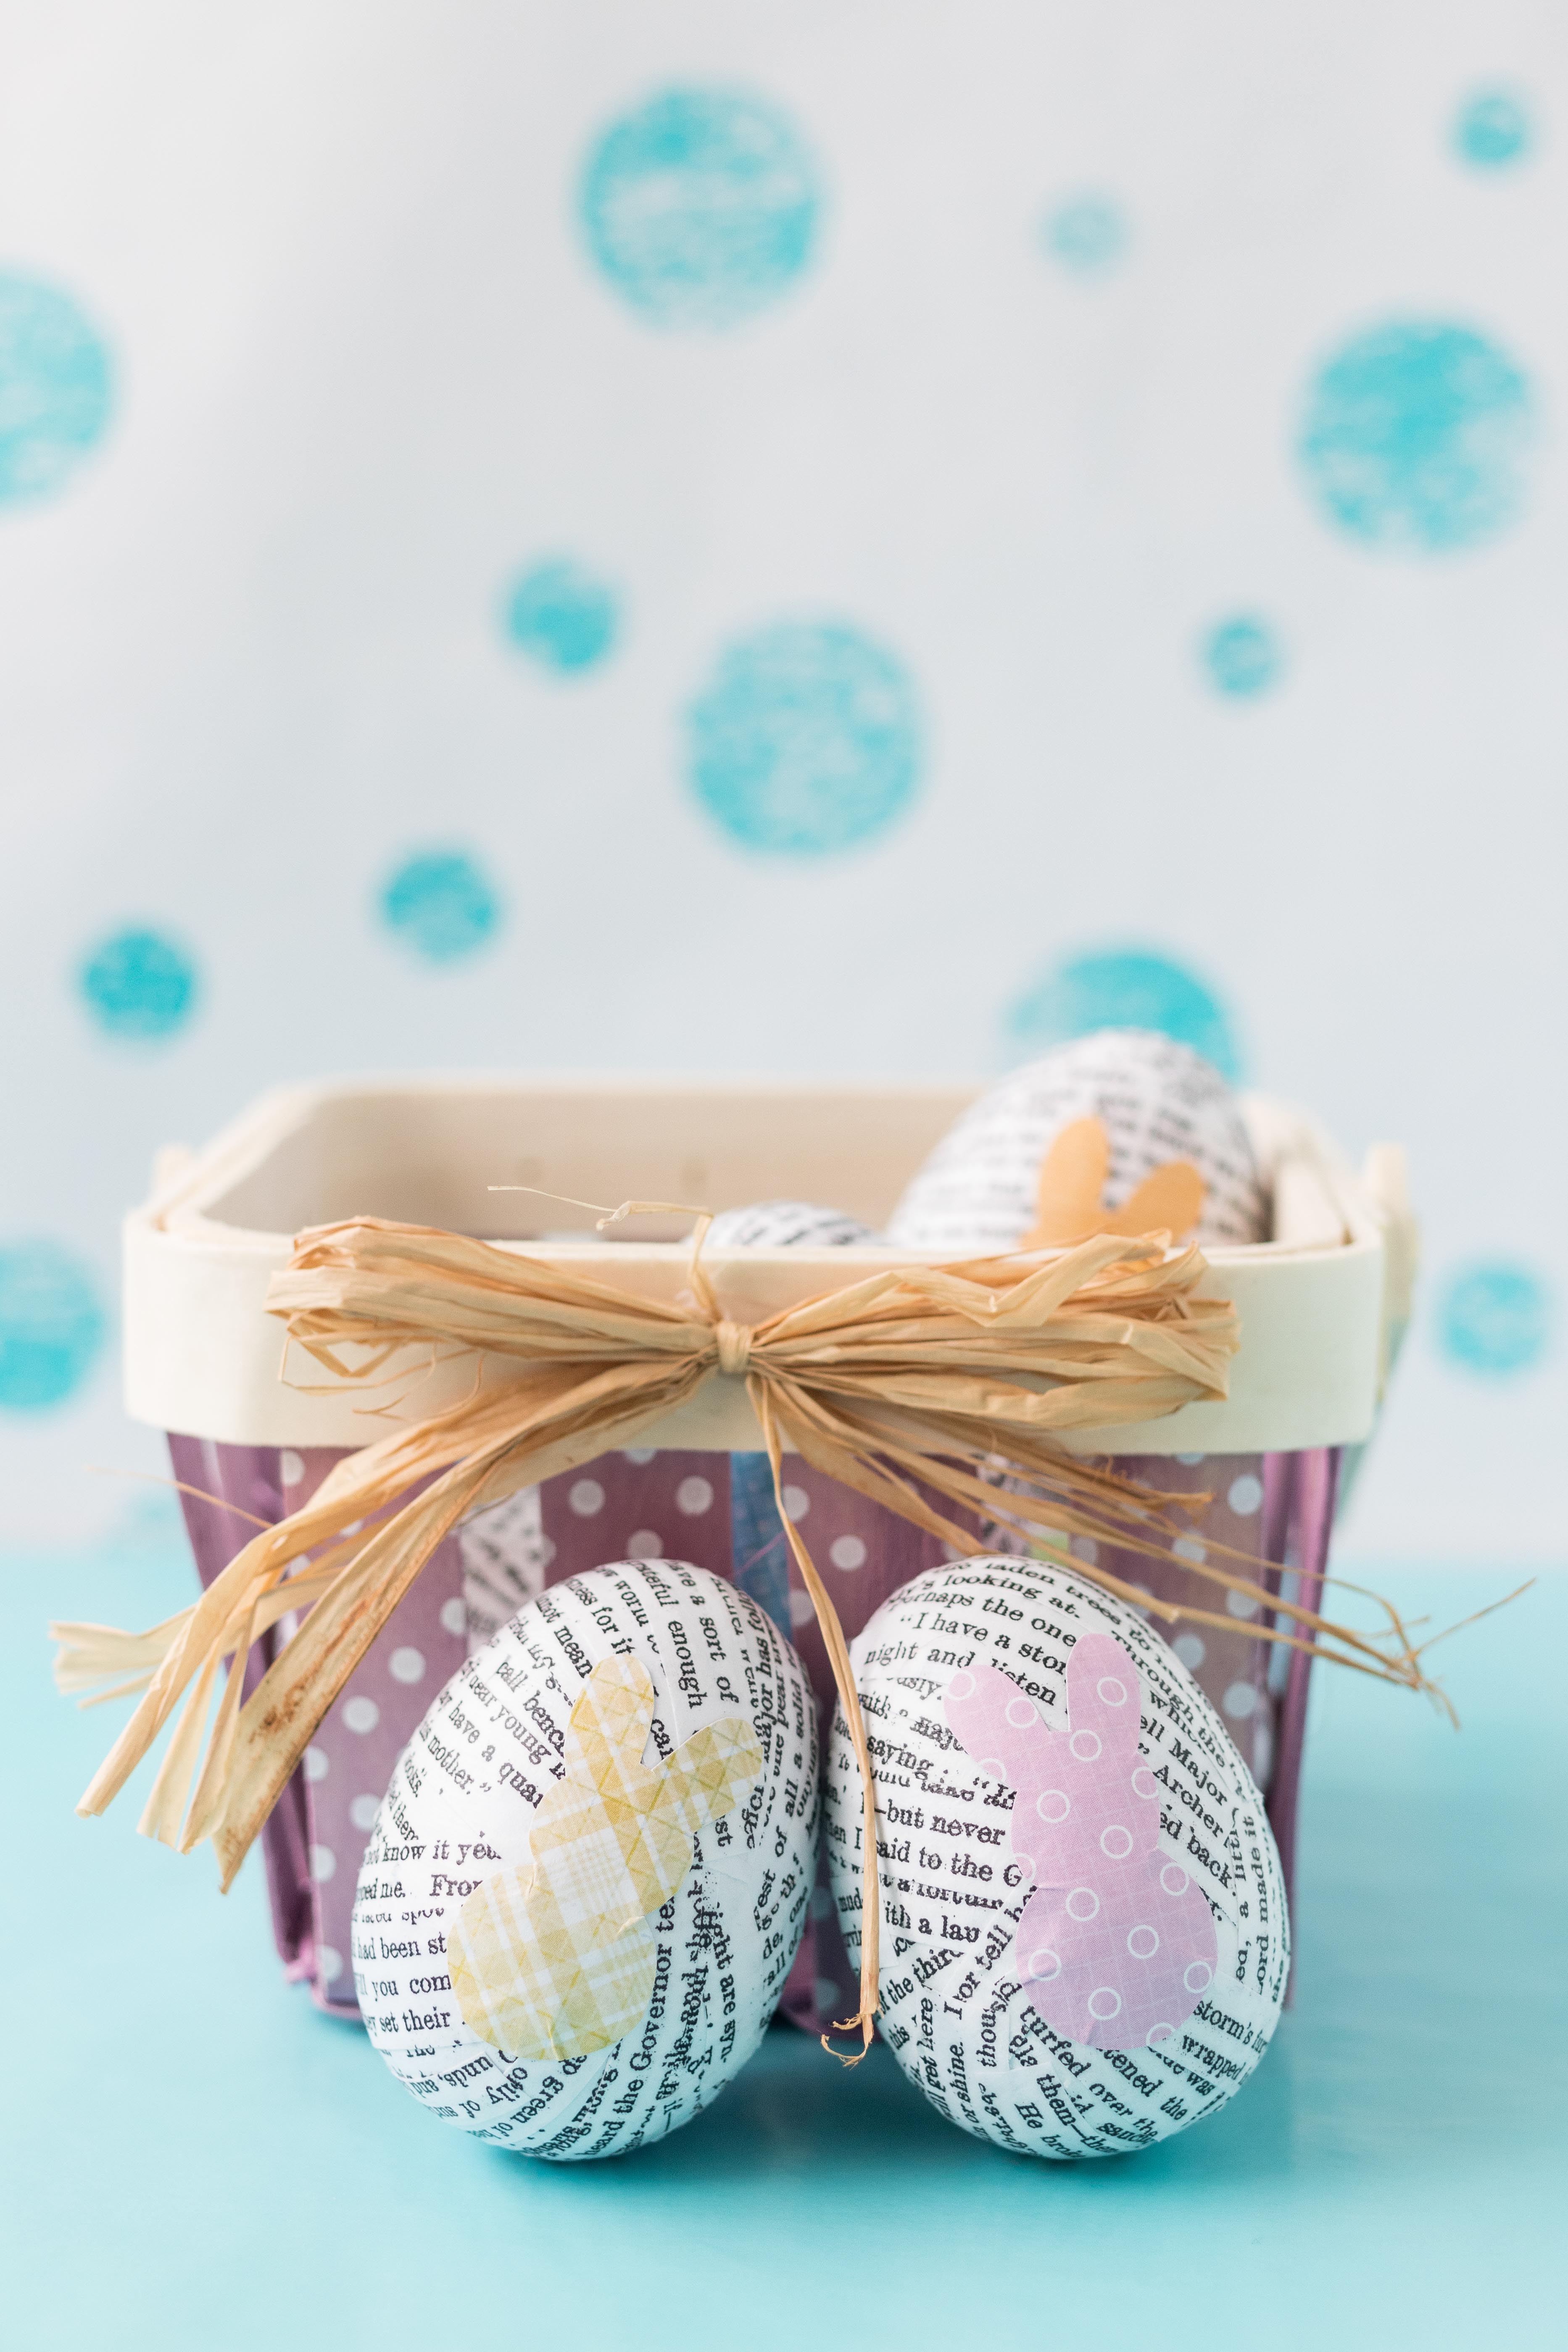
I picked up a couple of these little baskets at Michaels a few years ago. During the spring, I use them to display my decorated plastic Easter eggs in our entryway. Michaels switches up their seasonal offerings every year. However, you should be able to find something similar during the weeks leading up to Easter.
[Disclaimer: There are a few affiliate links. Thanks for your support!]
Did you make the DIY book page plastic Easter eggs?
I want to see them! Tag your images #RoseClearfield on Instagram or Twitter or post a photo to my Facebook page.
Pin this post for easy access to the DIY book page plastic Easter egg tutorial later!