
One DIY sheet music Easter tutorial wasn’t enough, right?
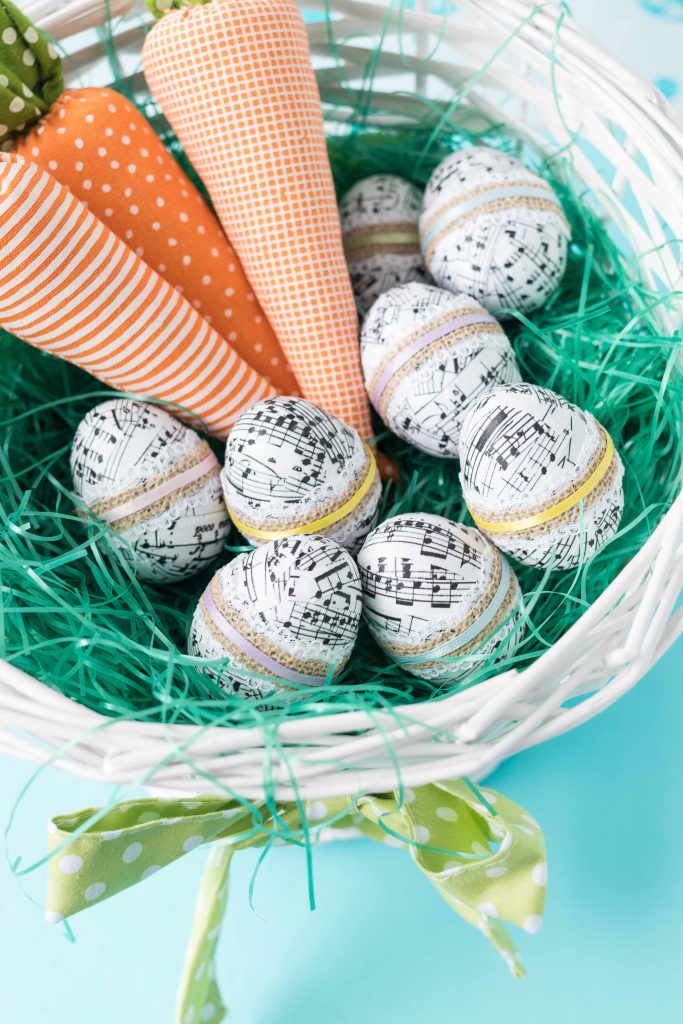
I can’t get enough of sheet music crafts these days, so I’m a little biased. What I love about my sheet music eggs and now my DIY Easter sheet music wall decor is that the music aesthetic is really different. I chose similar soft pastel palettes. But the eggs are much busier with lots of music notes while the wall decor is a little simpler.
Supplies for DIY Easter sheet music wall decor
- 8×10 white picture frame (see note below)
- “Christ the Lord is Risen Today” or other Easter hymn of your choosing printed on white card stock [Hymn source] I also have a collection of free printable hymns for Easter that are perfect for this DIY project.
- Paper cutter
- “Happy Easter” stamp, the one I’m using in this tutorial is from this Hero Arts set
- Dark brown stamp ink
- Scalloped-edge scissors
- Bunny template [original source]
- Cardboard to create a bunny master template (optional, but it makes it much easier to trace your bunnies)
- Cardboard for an extra layer between the frame backing and sheet music
- Colored card stock in varying pastel shades
- Scotch Scrapbooker’s Glue or other clear-drying, wrinkle-free paper glue
- Tacky glue or other all-purpose, clear-drying craft glue
- Small white pom poms (I’m using 6mm pom poms)
- Black gel rollerball pen
The frame I used for this tutorial is a Belmont Frame by Studio Decor from Michaels. Belmont Frames are high-quality and ridiculously well priced. I own a lot of them. Michaels runs frames sales all the time. I’ve picked up brand new 8×10 frames for as low as $4-5. I wasn’t sponsored to promote this frame. It’s just one of my favorites.
How to make DIY Easter sheet music wall decor
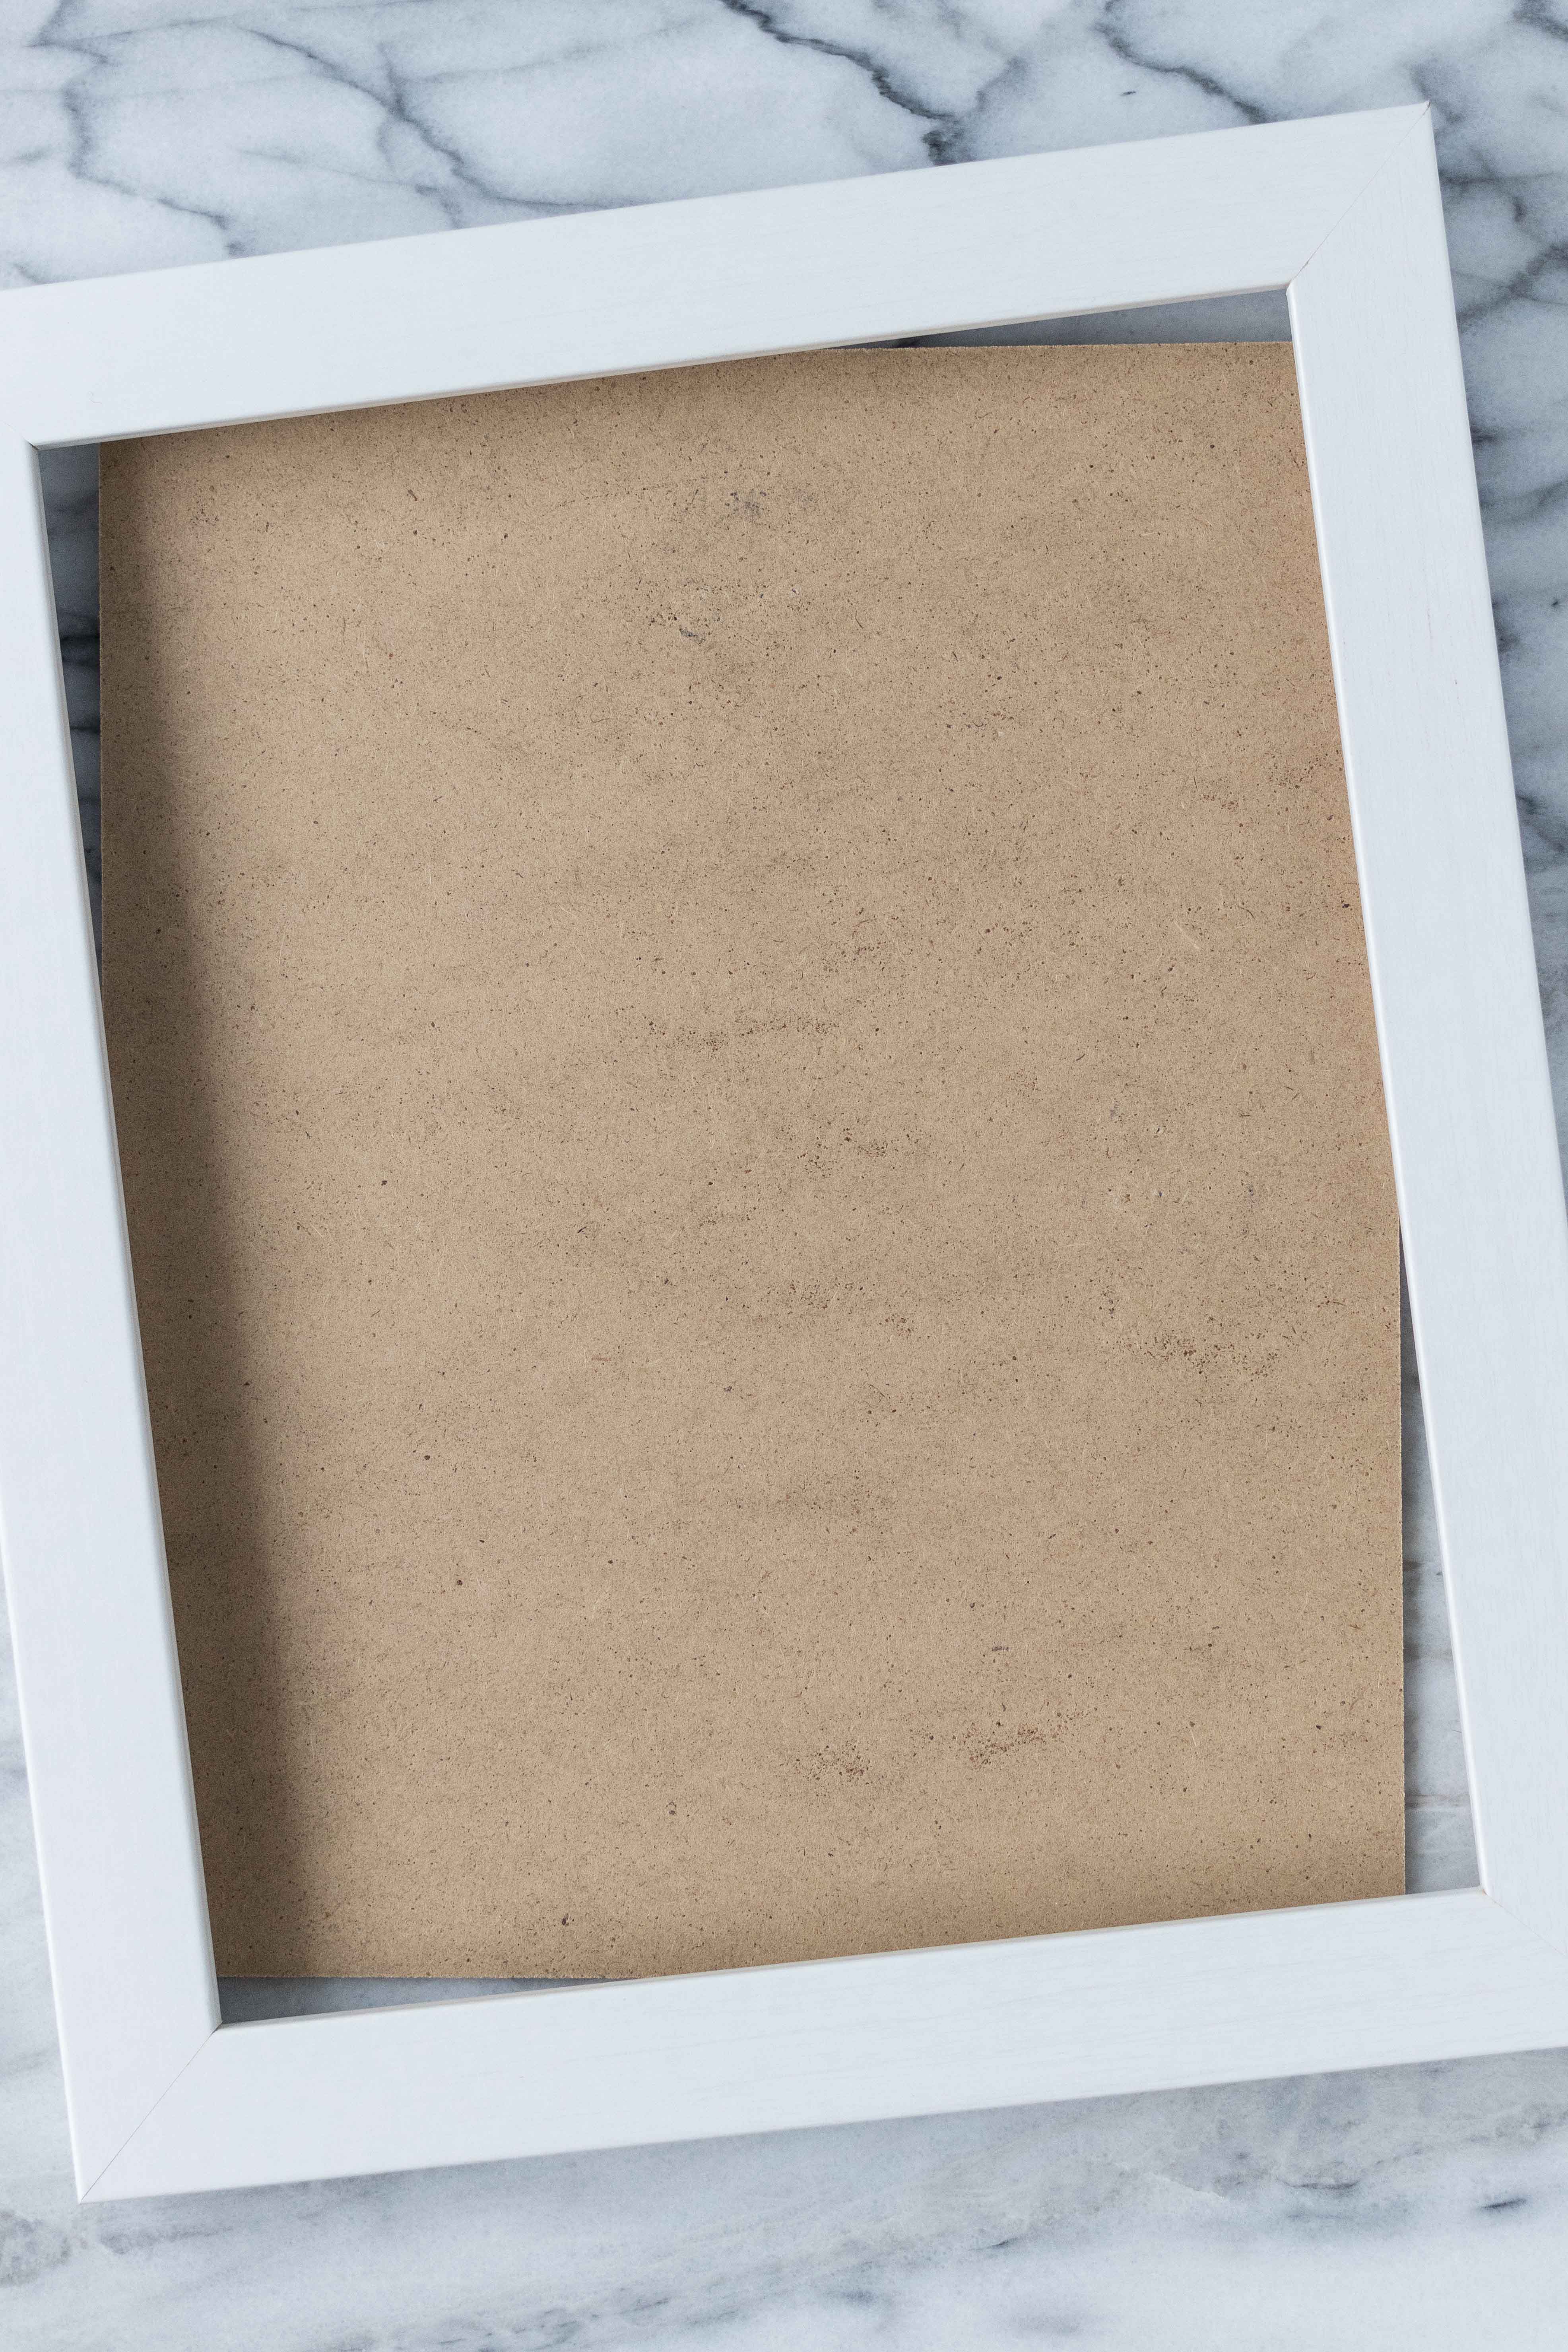
Take the glass and mat out of your frame.
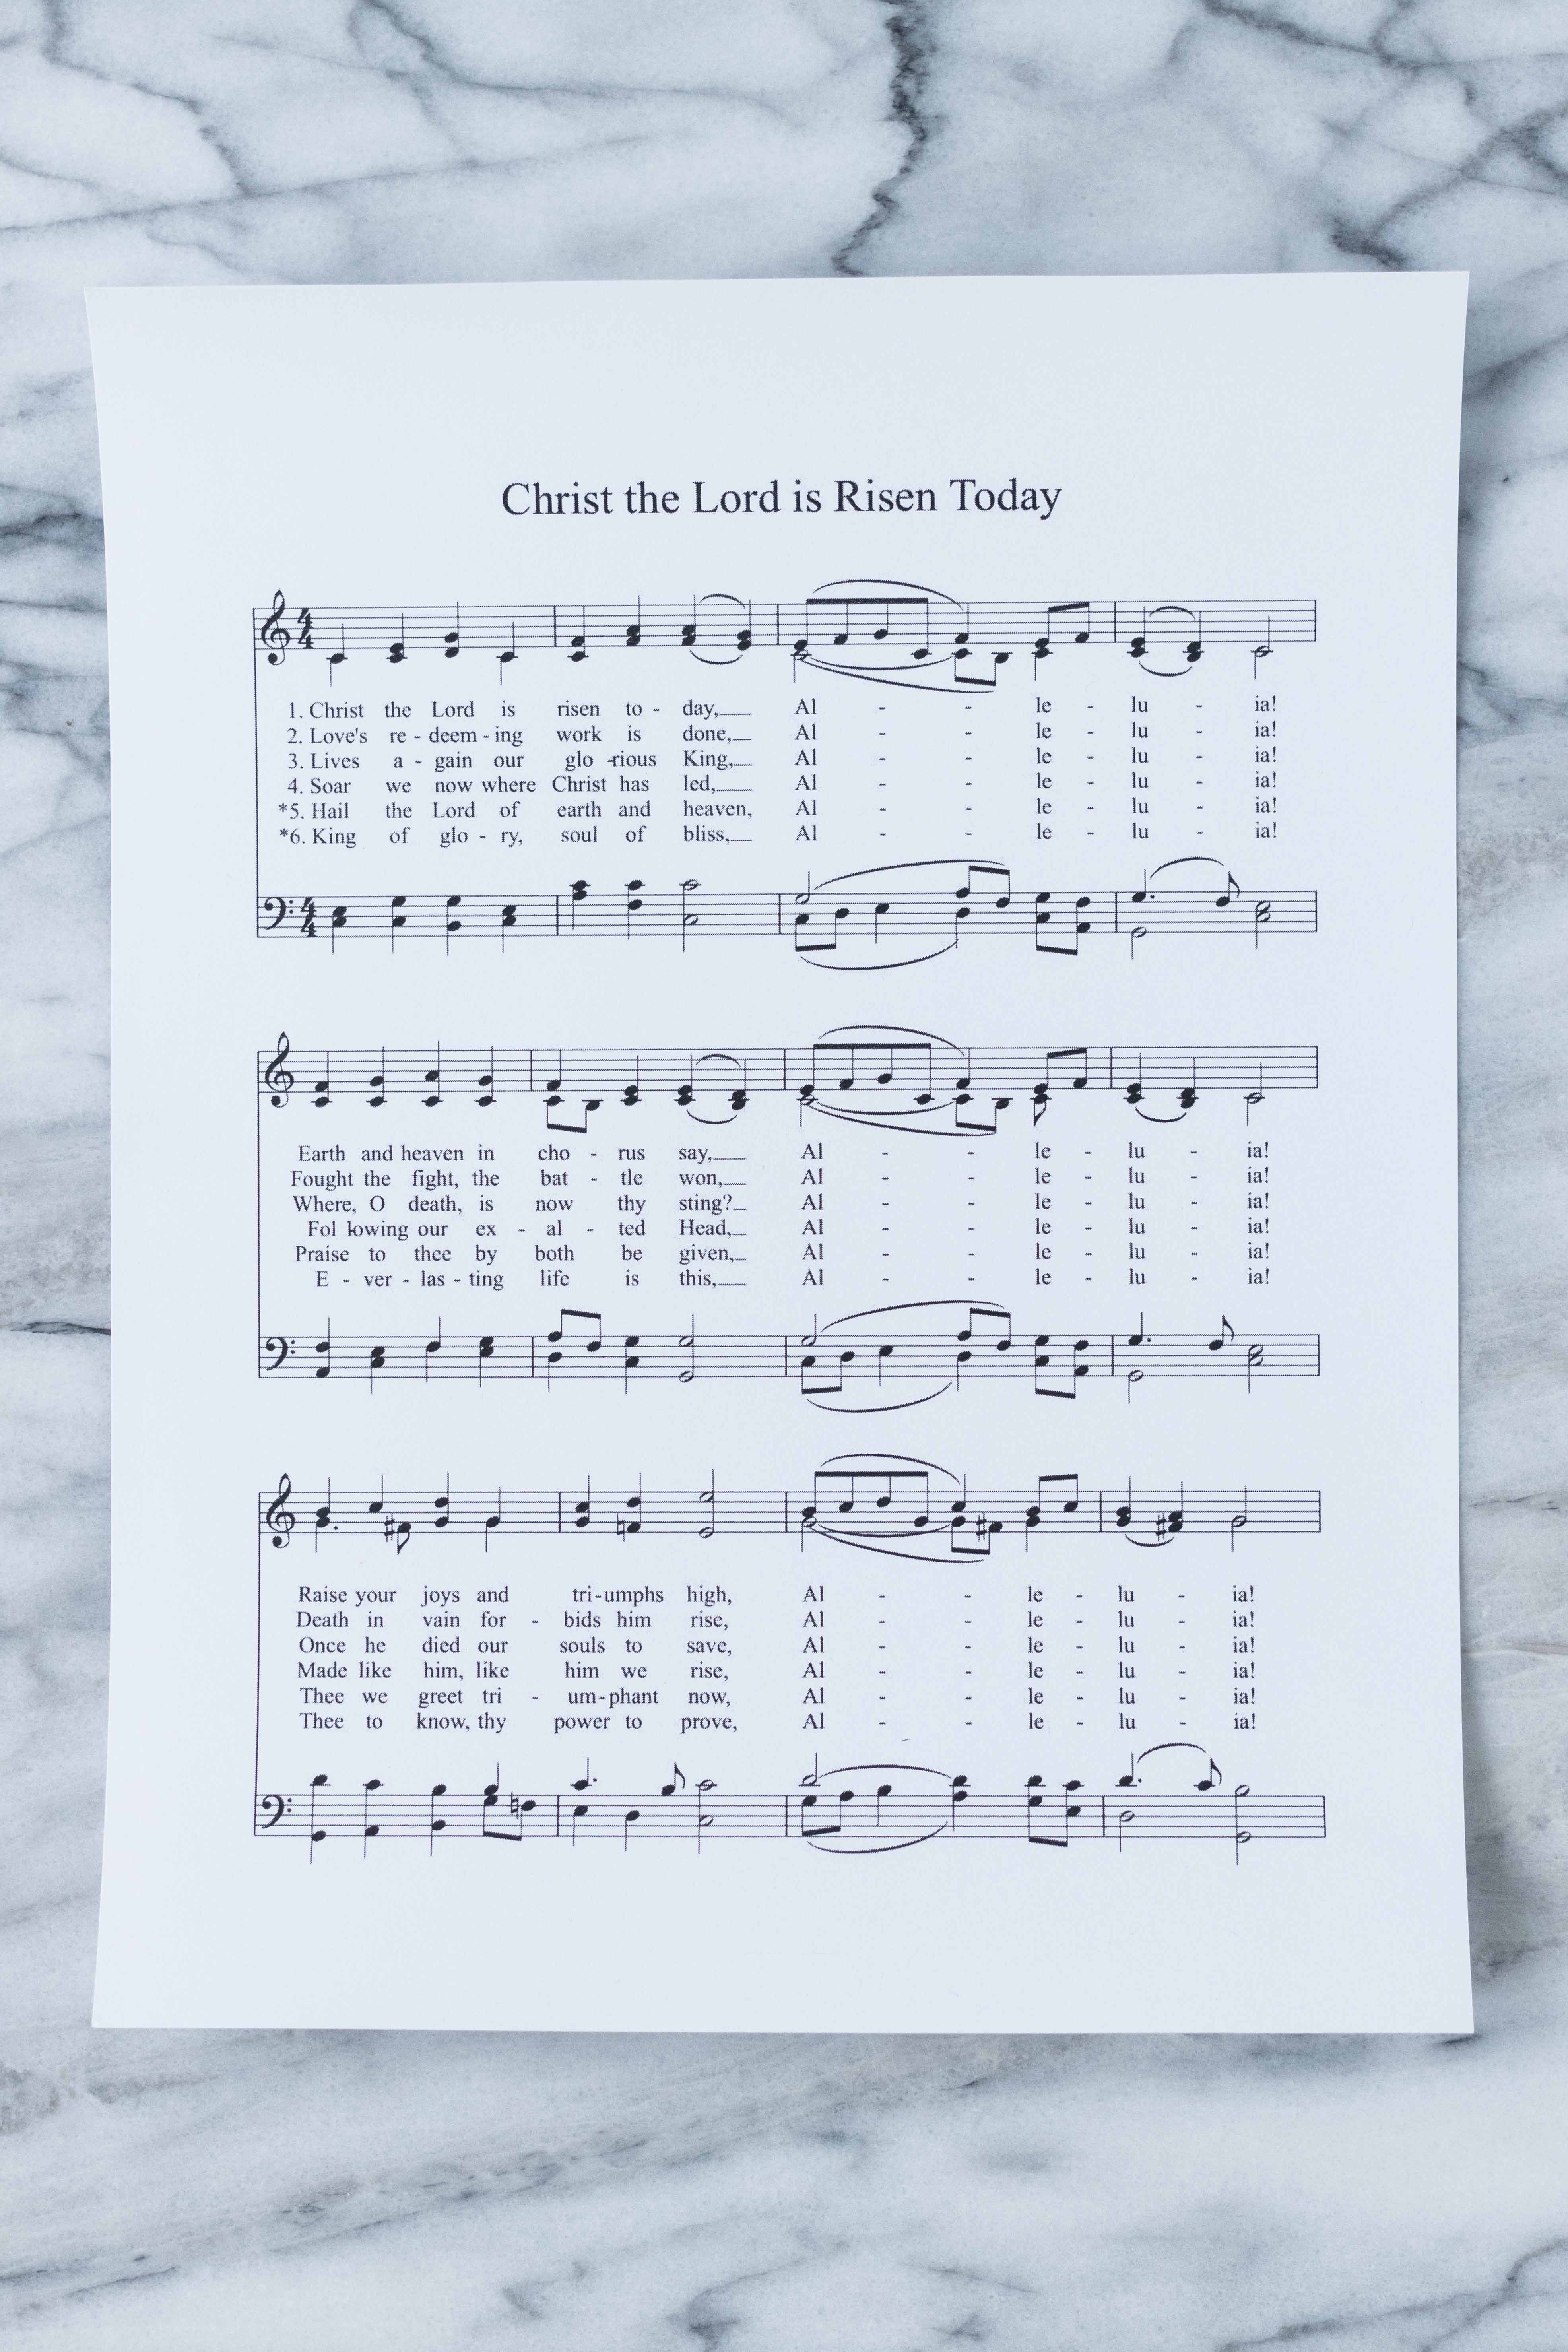
Print “Christ the Lord is Risen Today” or another Easter hymn of your choosing on white card stock. Using a paper cutter, cut it down to fit in your 8×10 frame. I used the backing in the frame to get the measurements for my music just right. I centered the music and left margins at both the top and bottom.

Stamp “Happy Easter” in dark brown ink on turquoise card stock. Allow the ink to dry completely. Cut out the words with scalloped-edge scissors.
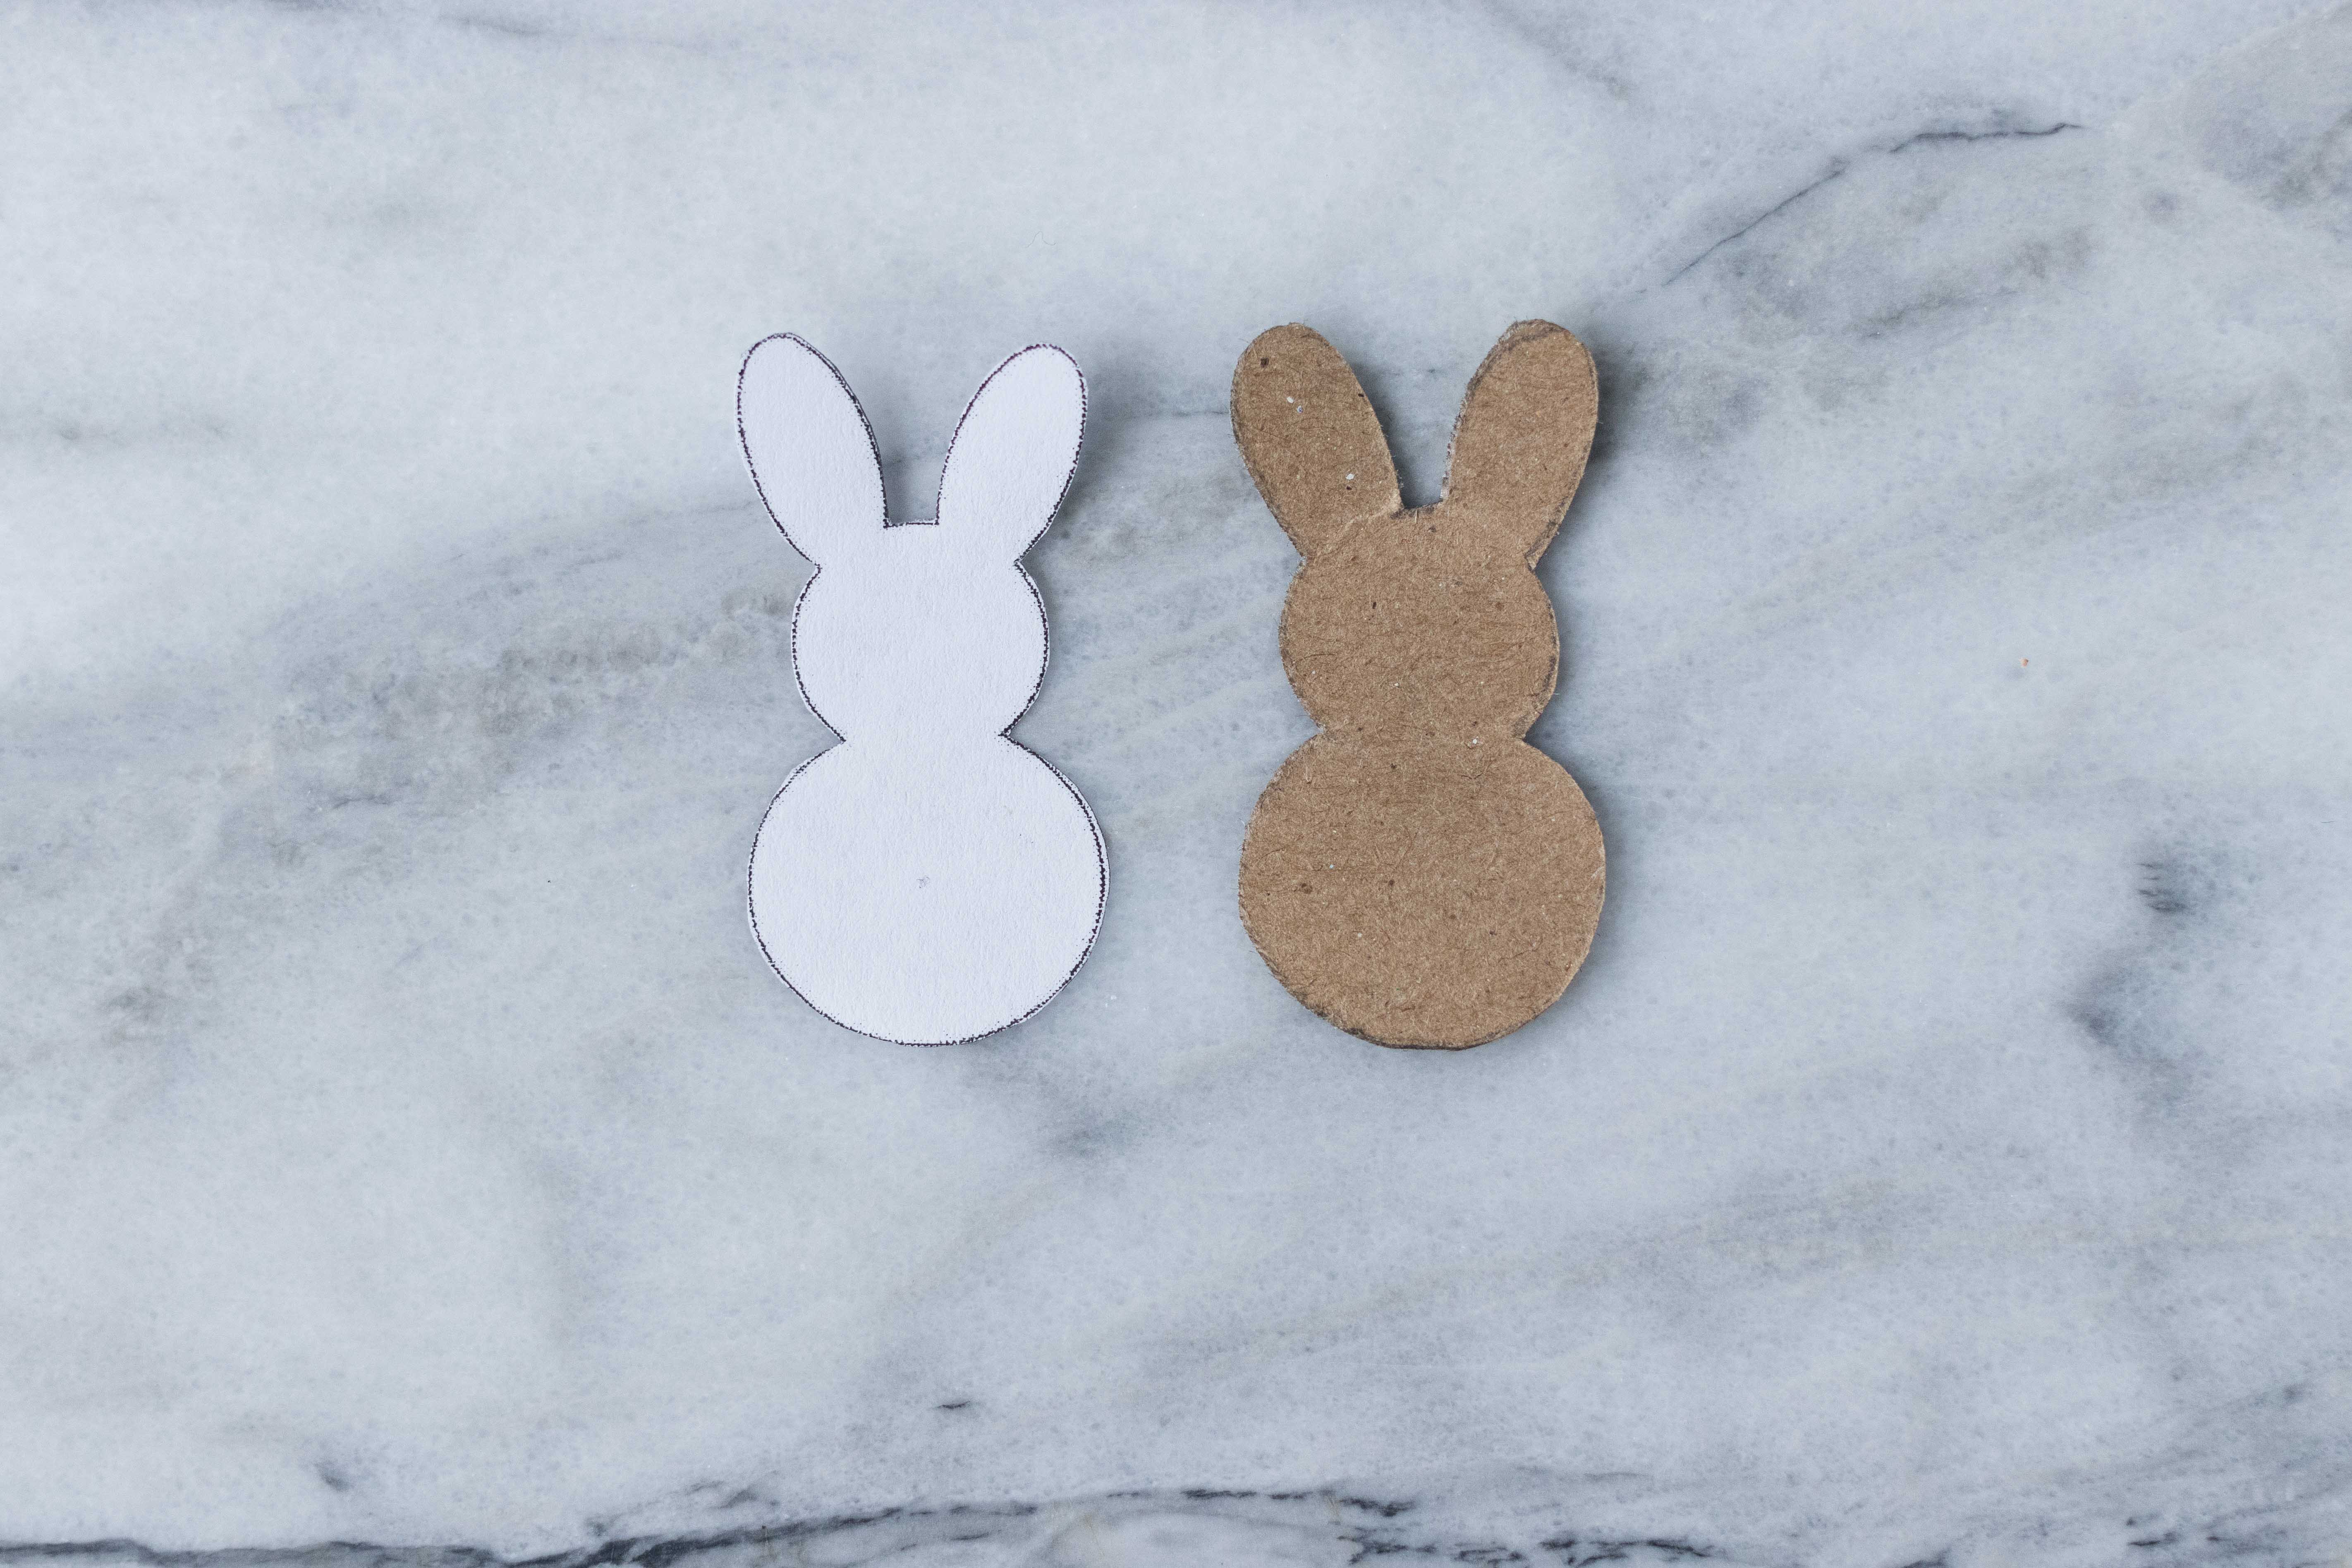
Print and cut out the bunny template. If you like, trace and cut out a cardboard version. This step is not essential but it will make it a lot easier to trace the bunnies.

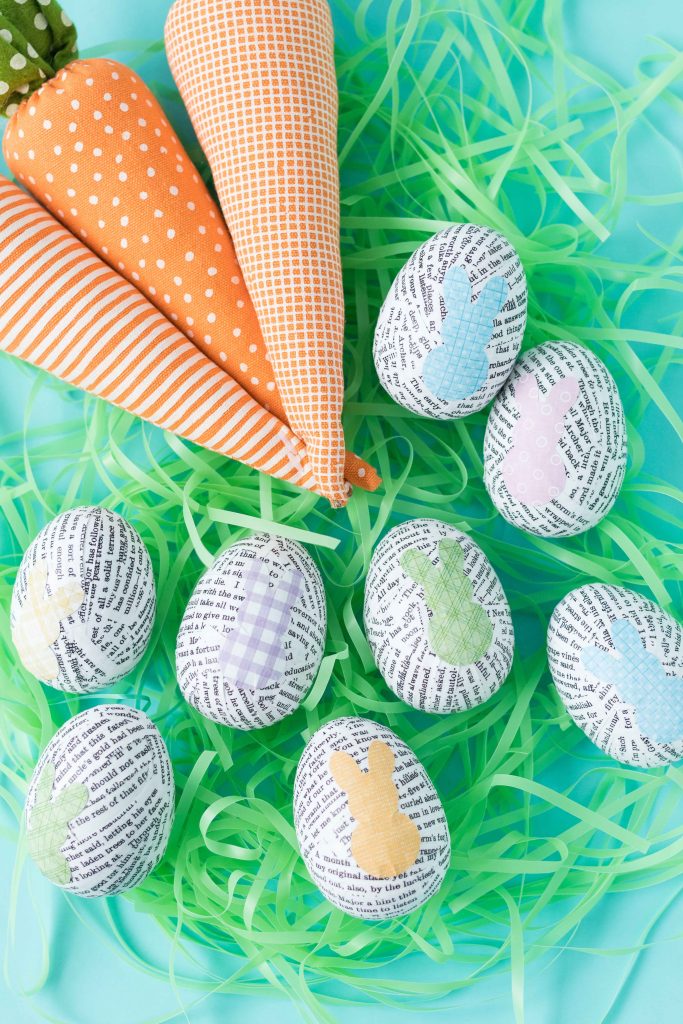
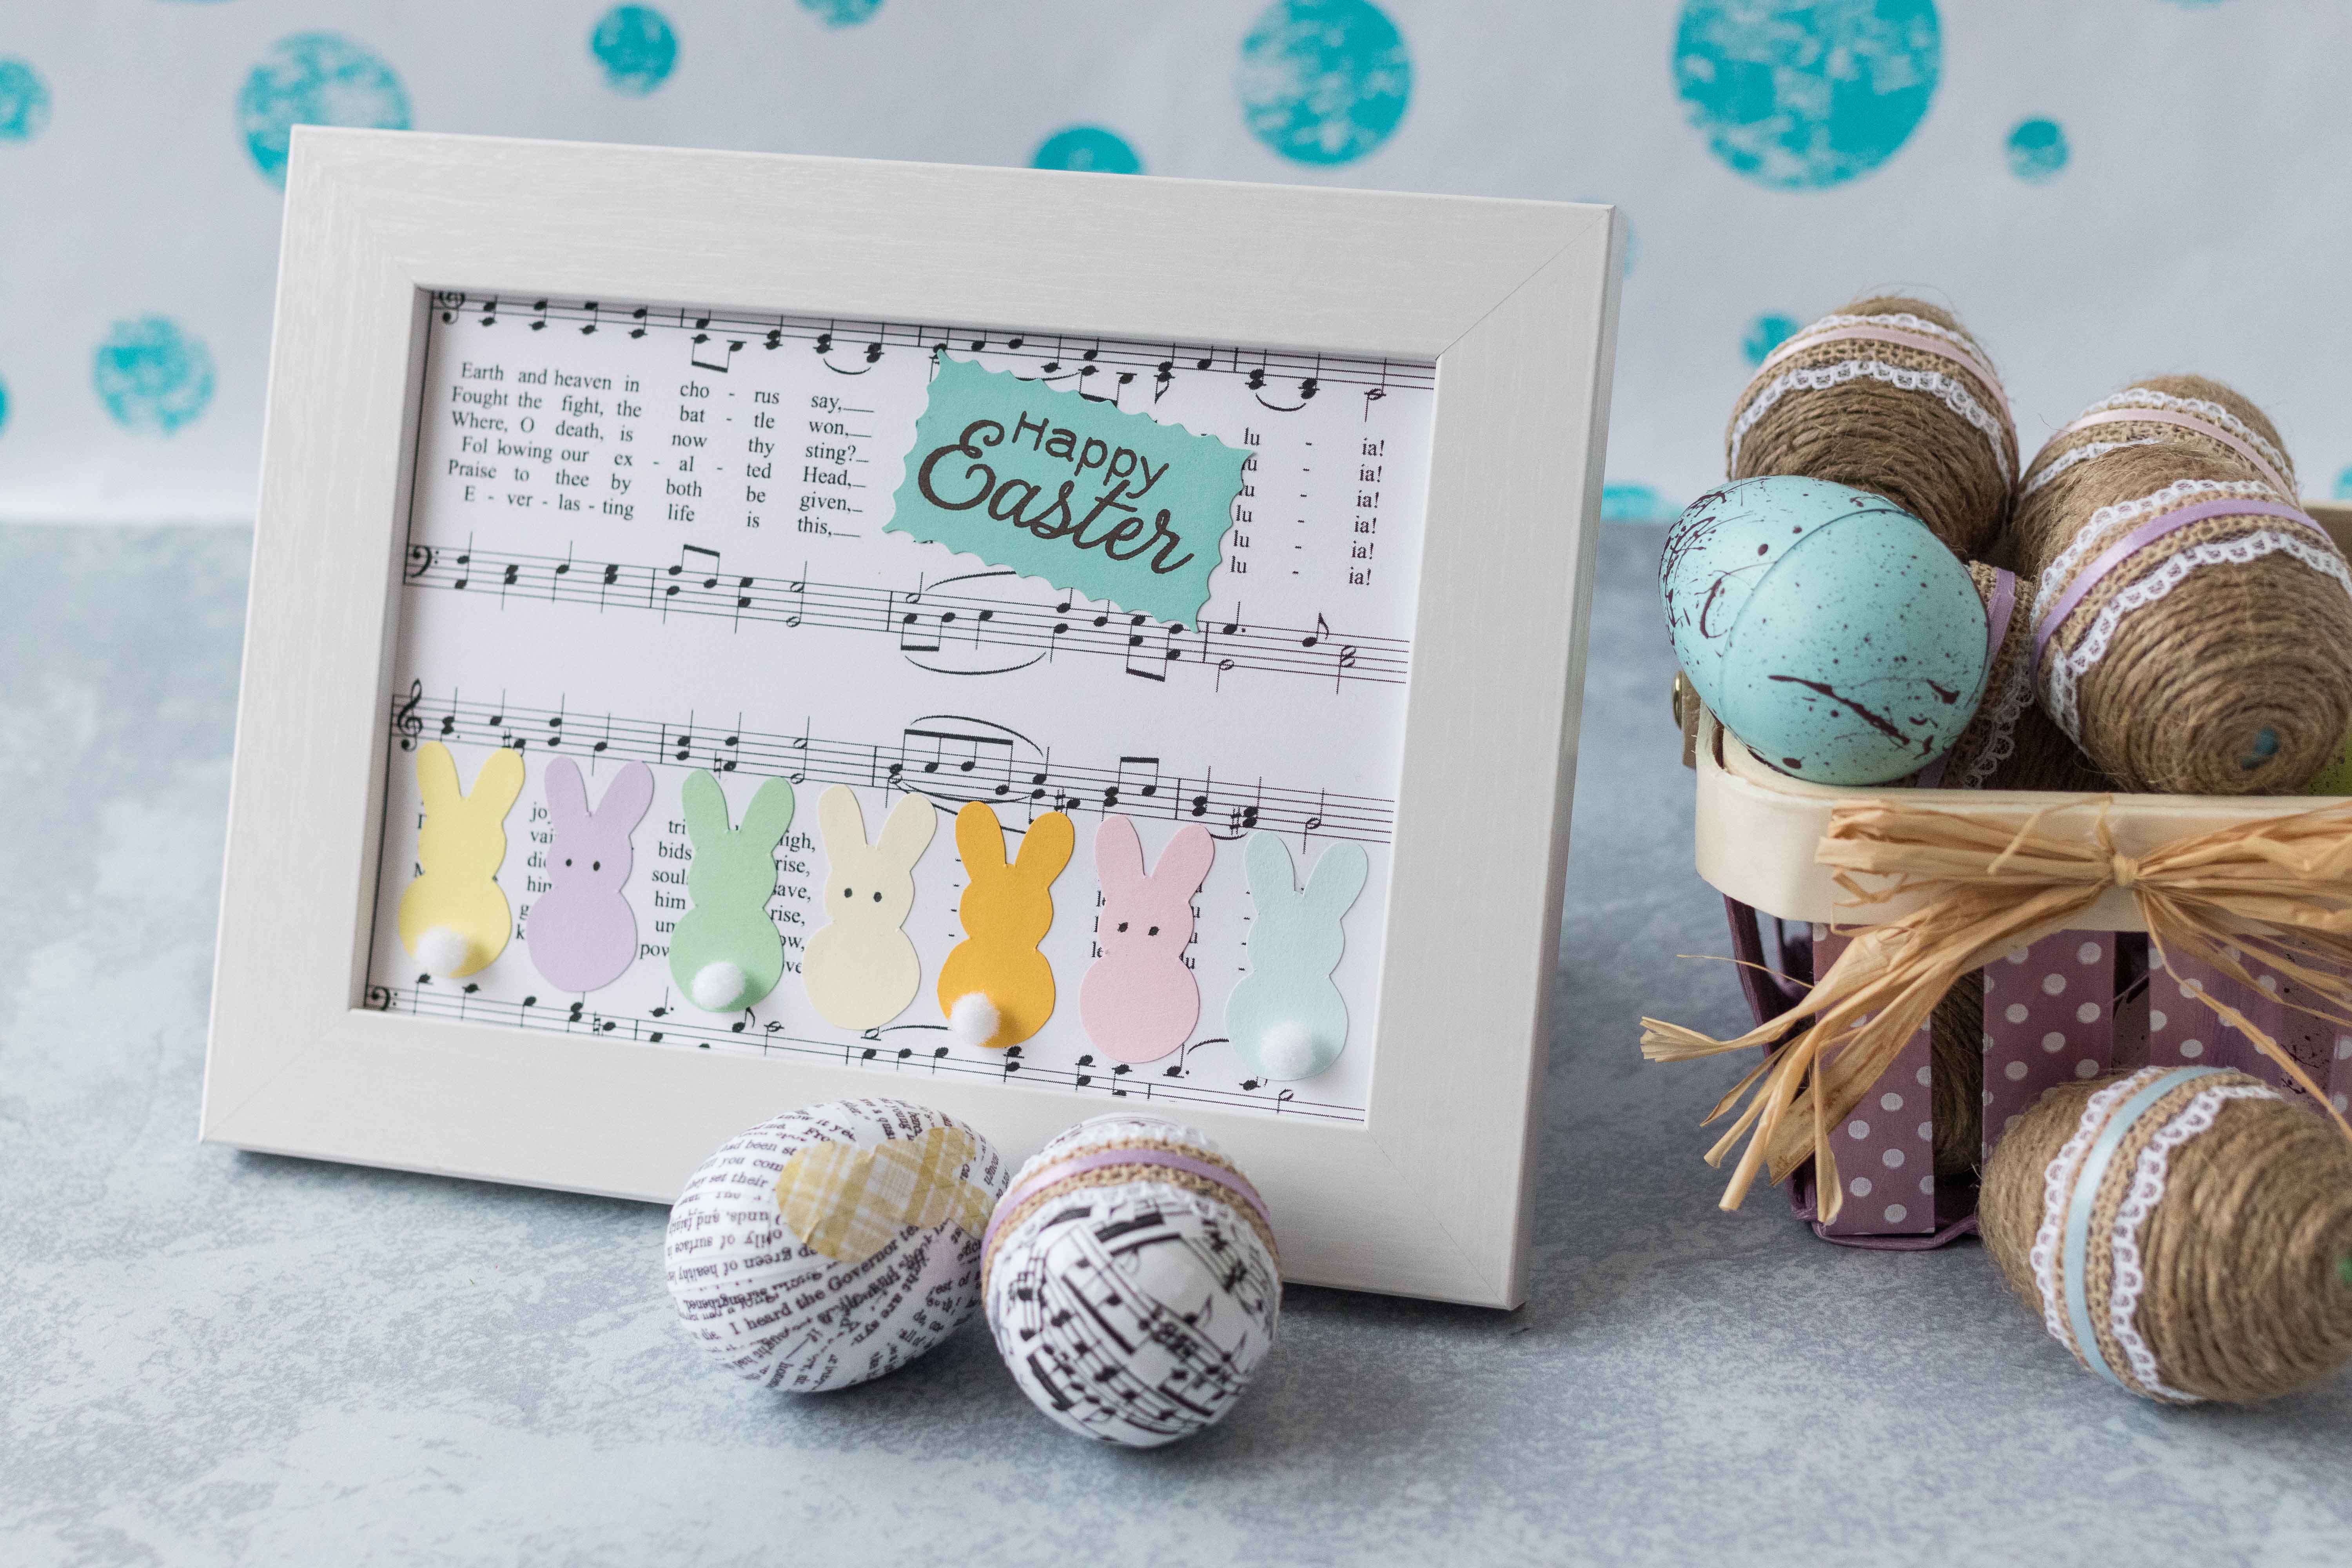
Trace and cut out card stock bunnies in varying pastel shades. I created seven bunnies, all in different shades.
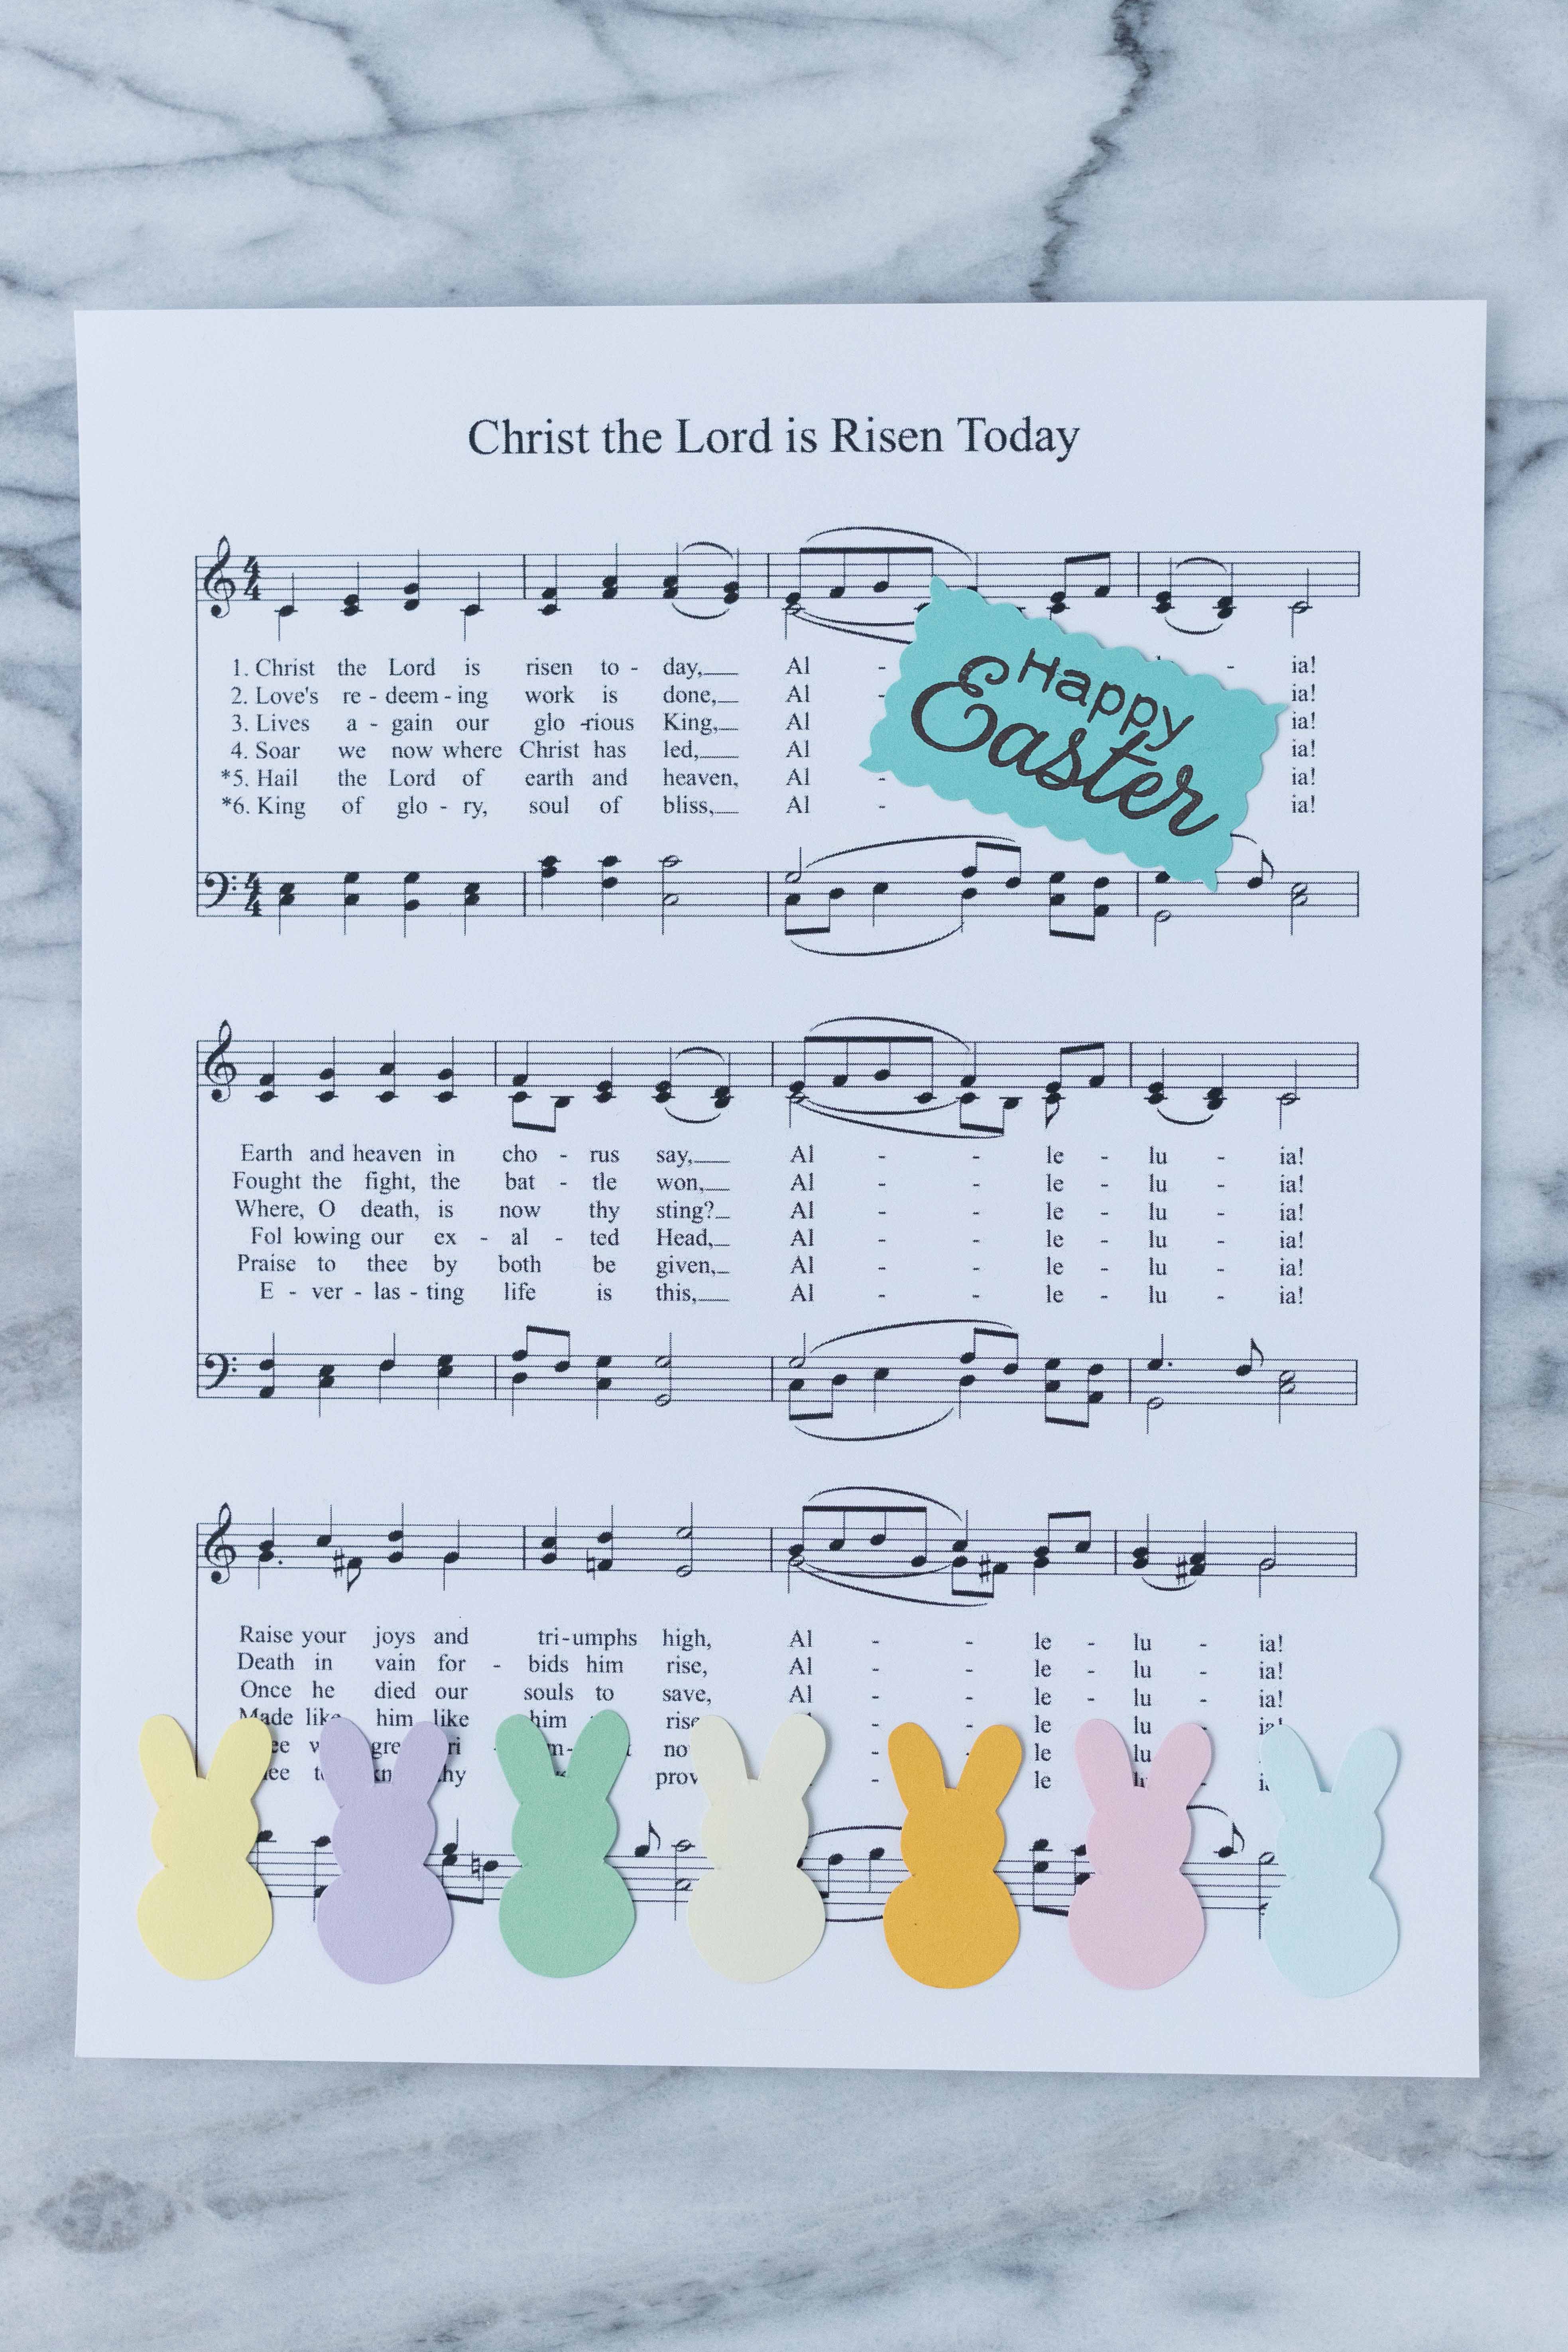
Lay out the “Happy Easter” and bunnies on your sheet music. Experiment the positioning of the different elements until you get it just the way you like.
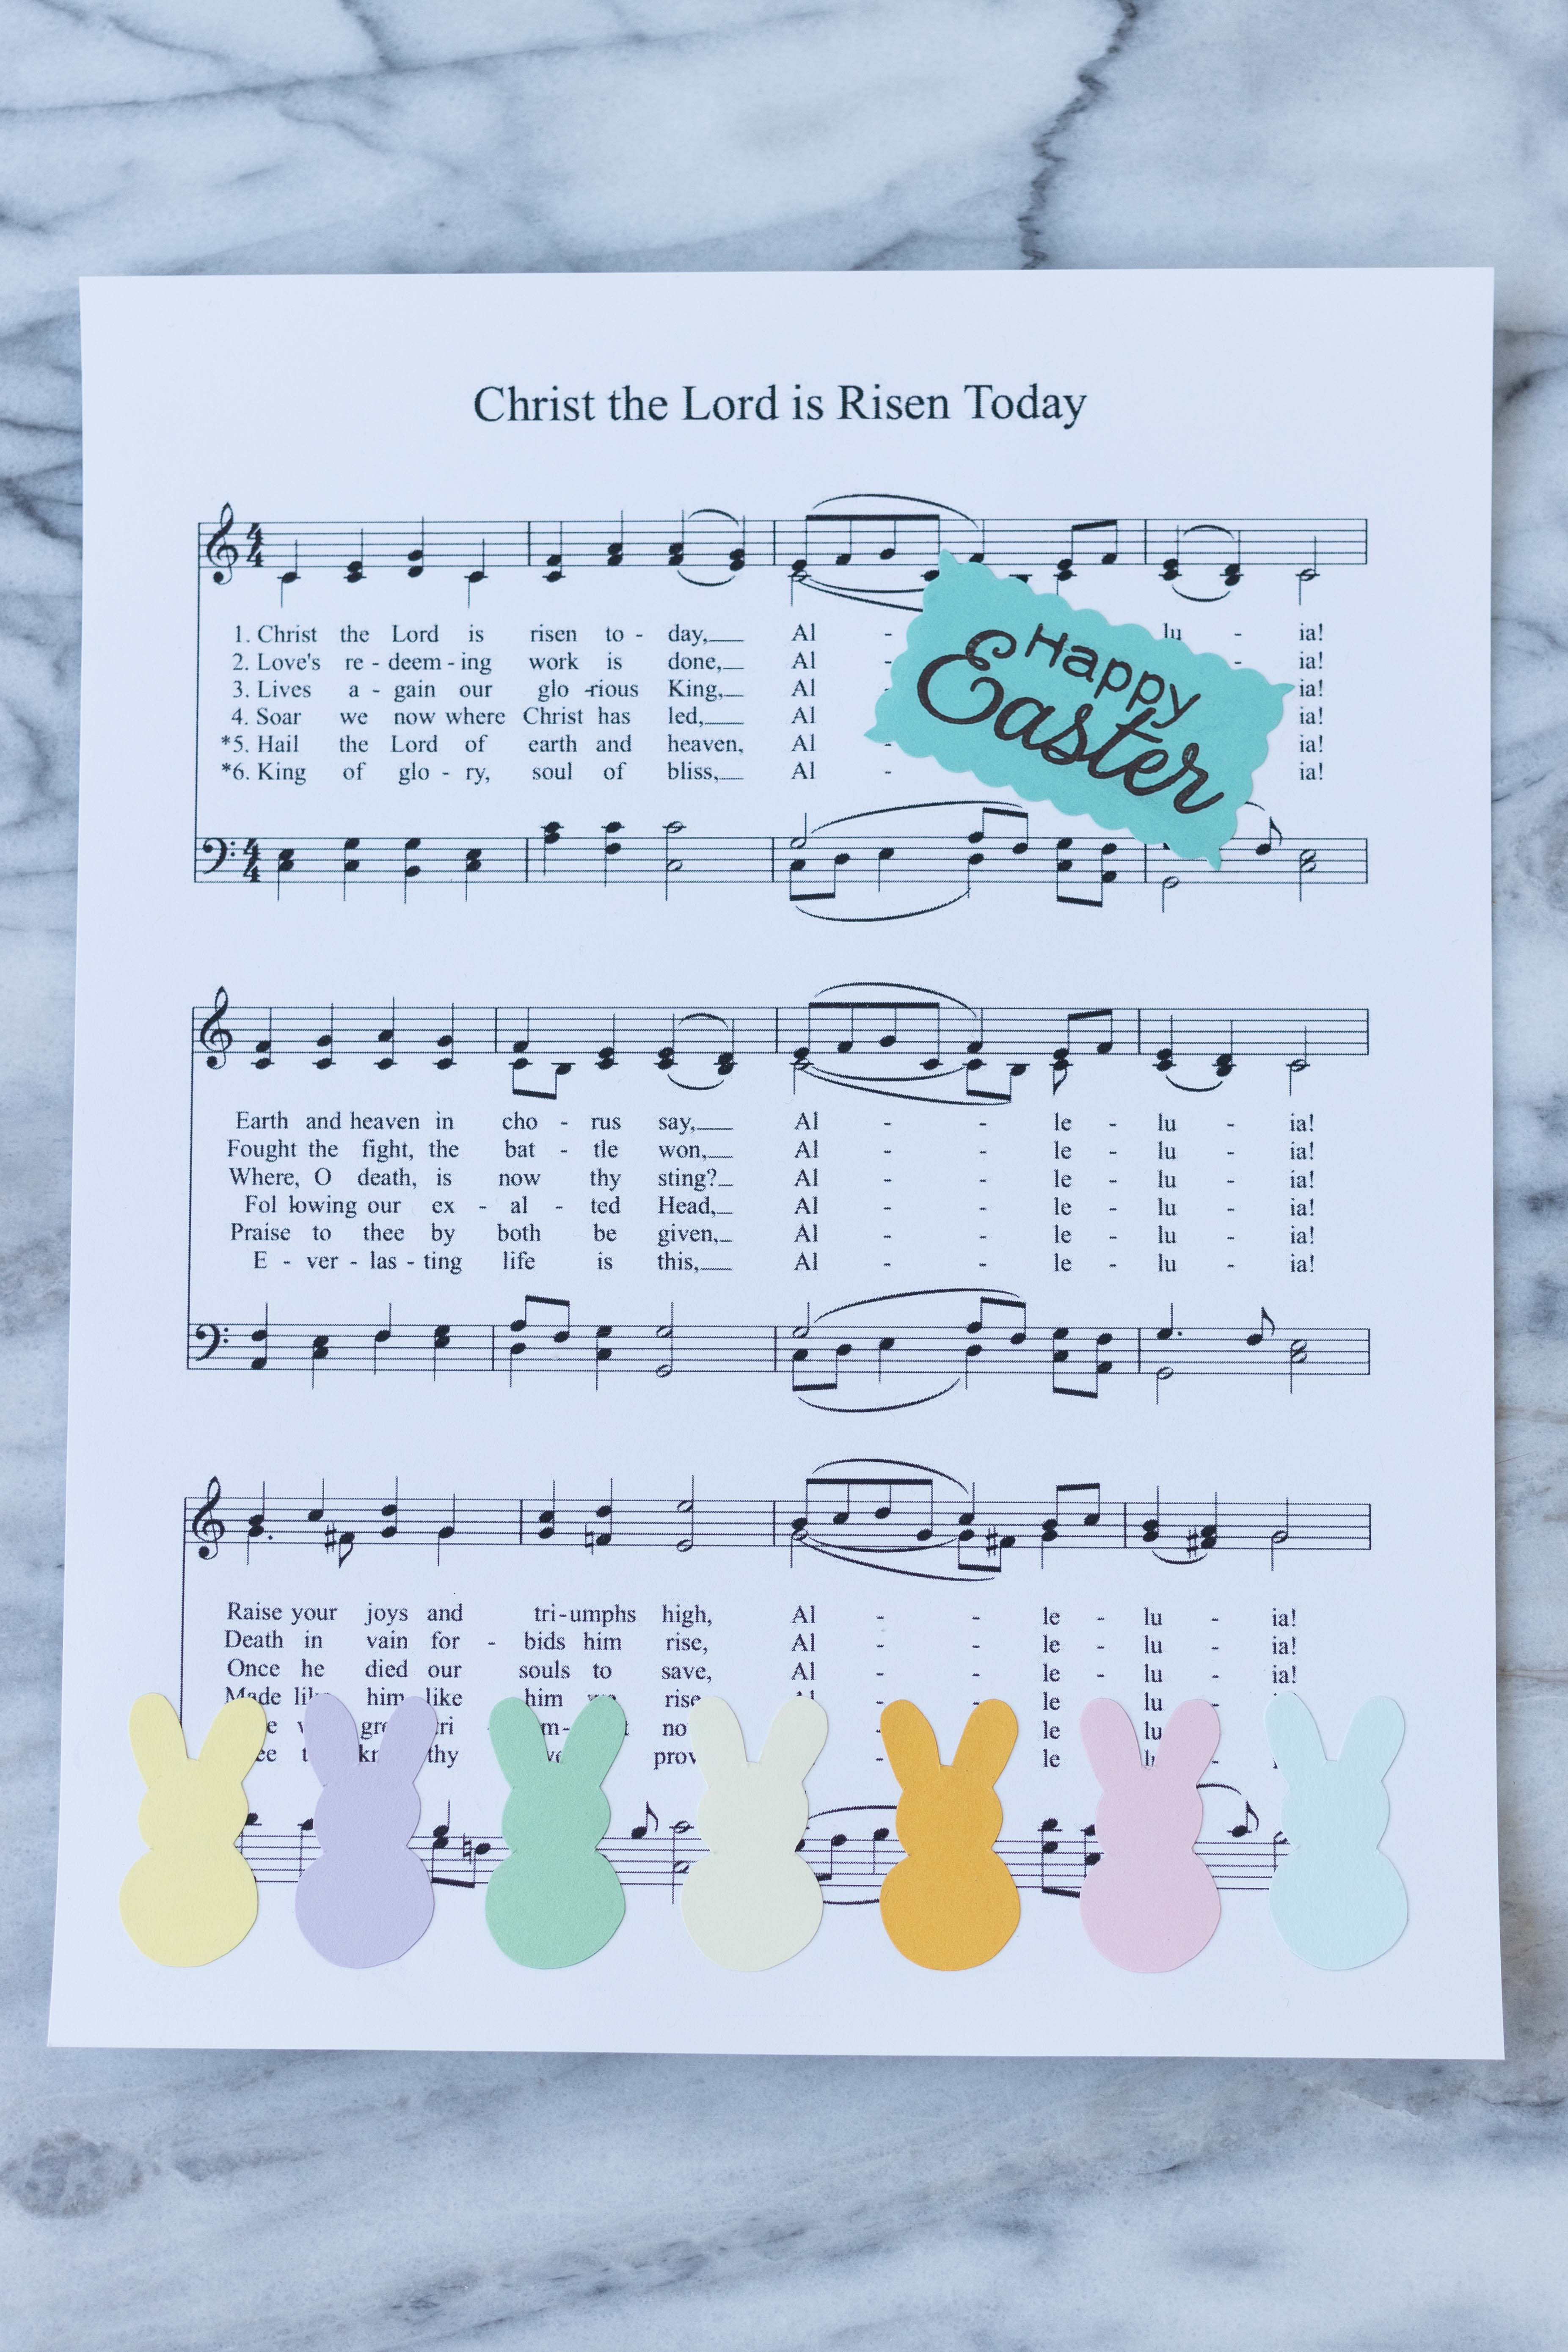
Using your Scotch Scrapbooker’s Glue or other paper glue, secure your “Happy Easter” and bunnies to the sheet music. I glue 1-2 pieces at a time and allow them to dry (it takes just a minute or two) before gluing more components to minimize wrinkling.
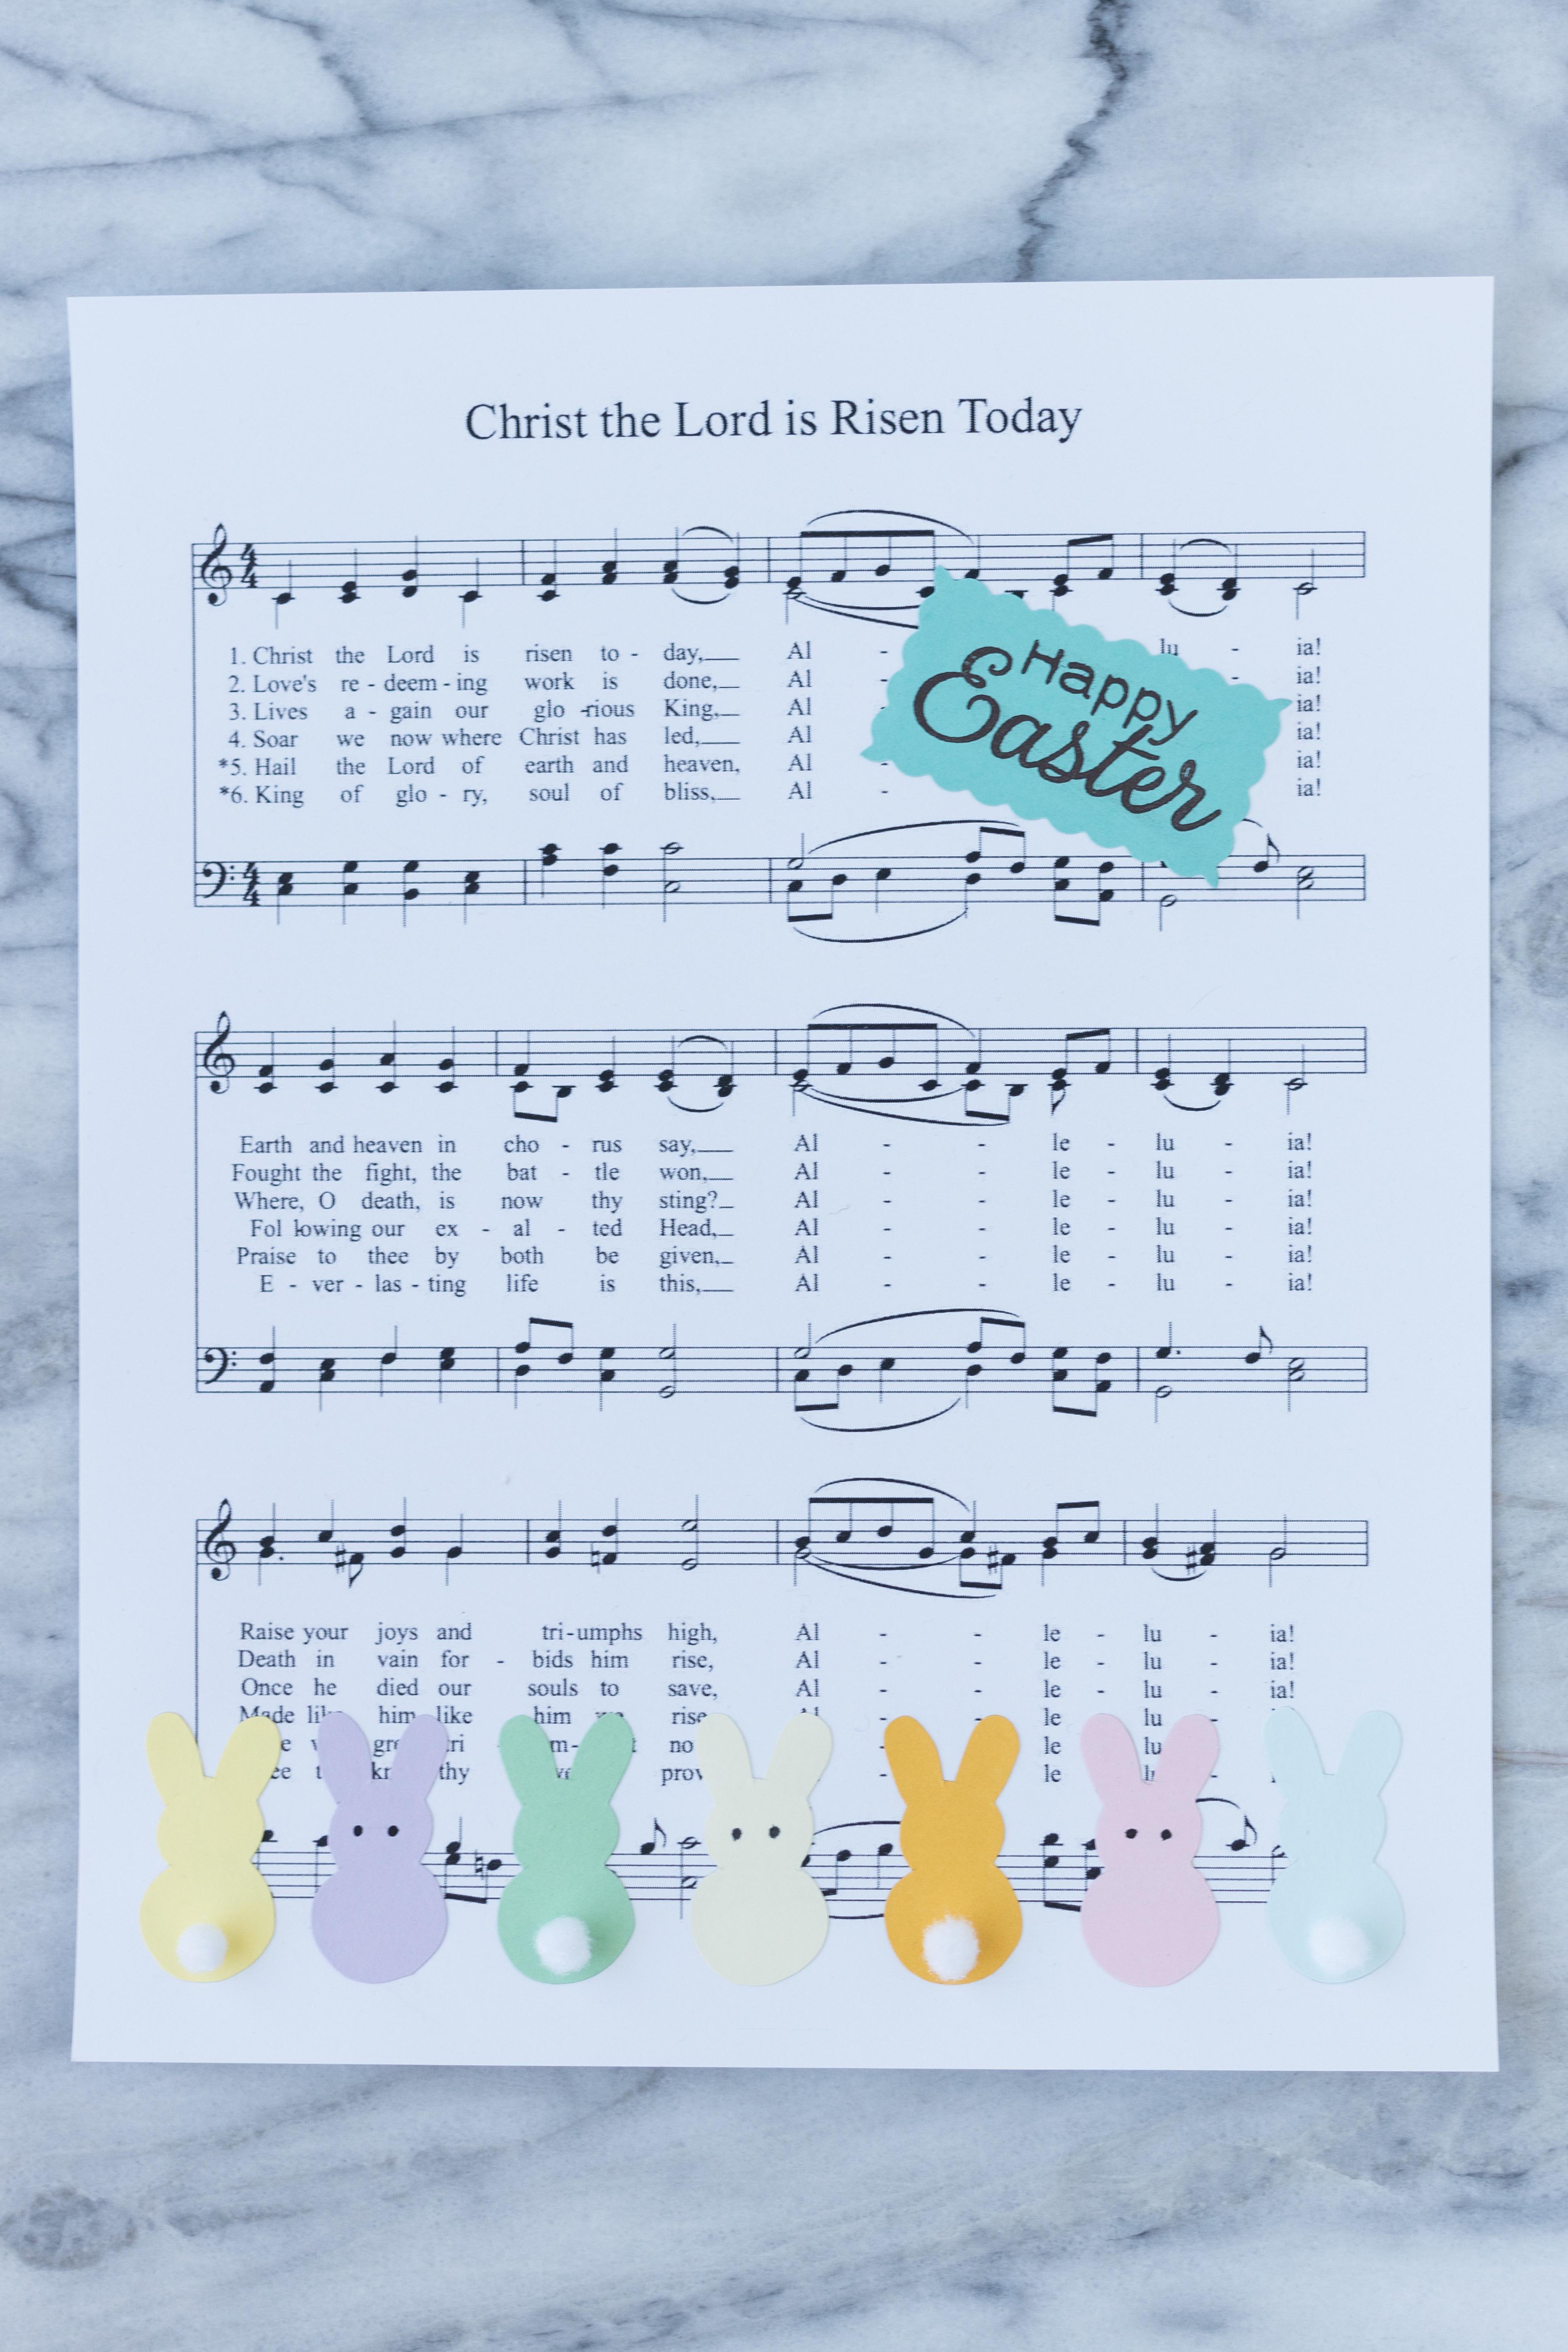

Using the tacky glue, add pom pom tails to half of the bunnies. You need a very small amount of glue for the pom pom tails. Using the black gel pen, add eyes to the other half of the bunnies.
Cut a piece of cardboard to size to layer in your frame between the backing and sheet music. As you’re not using the frame glass, having an extra layer will help keep the music secure in the frame.
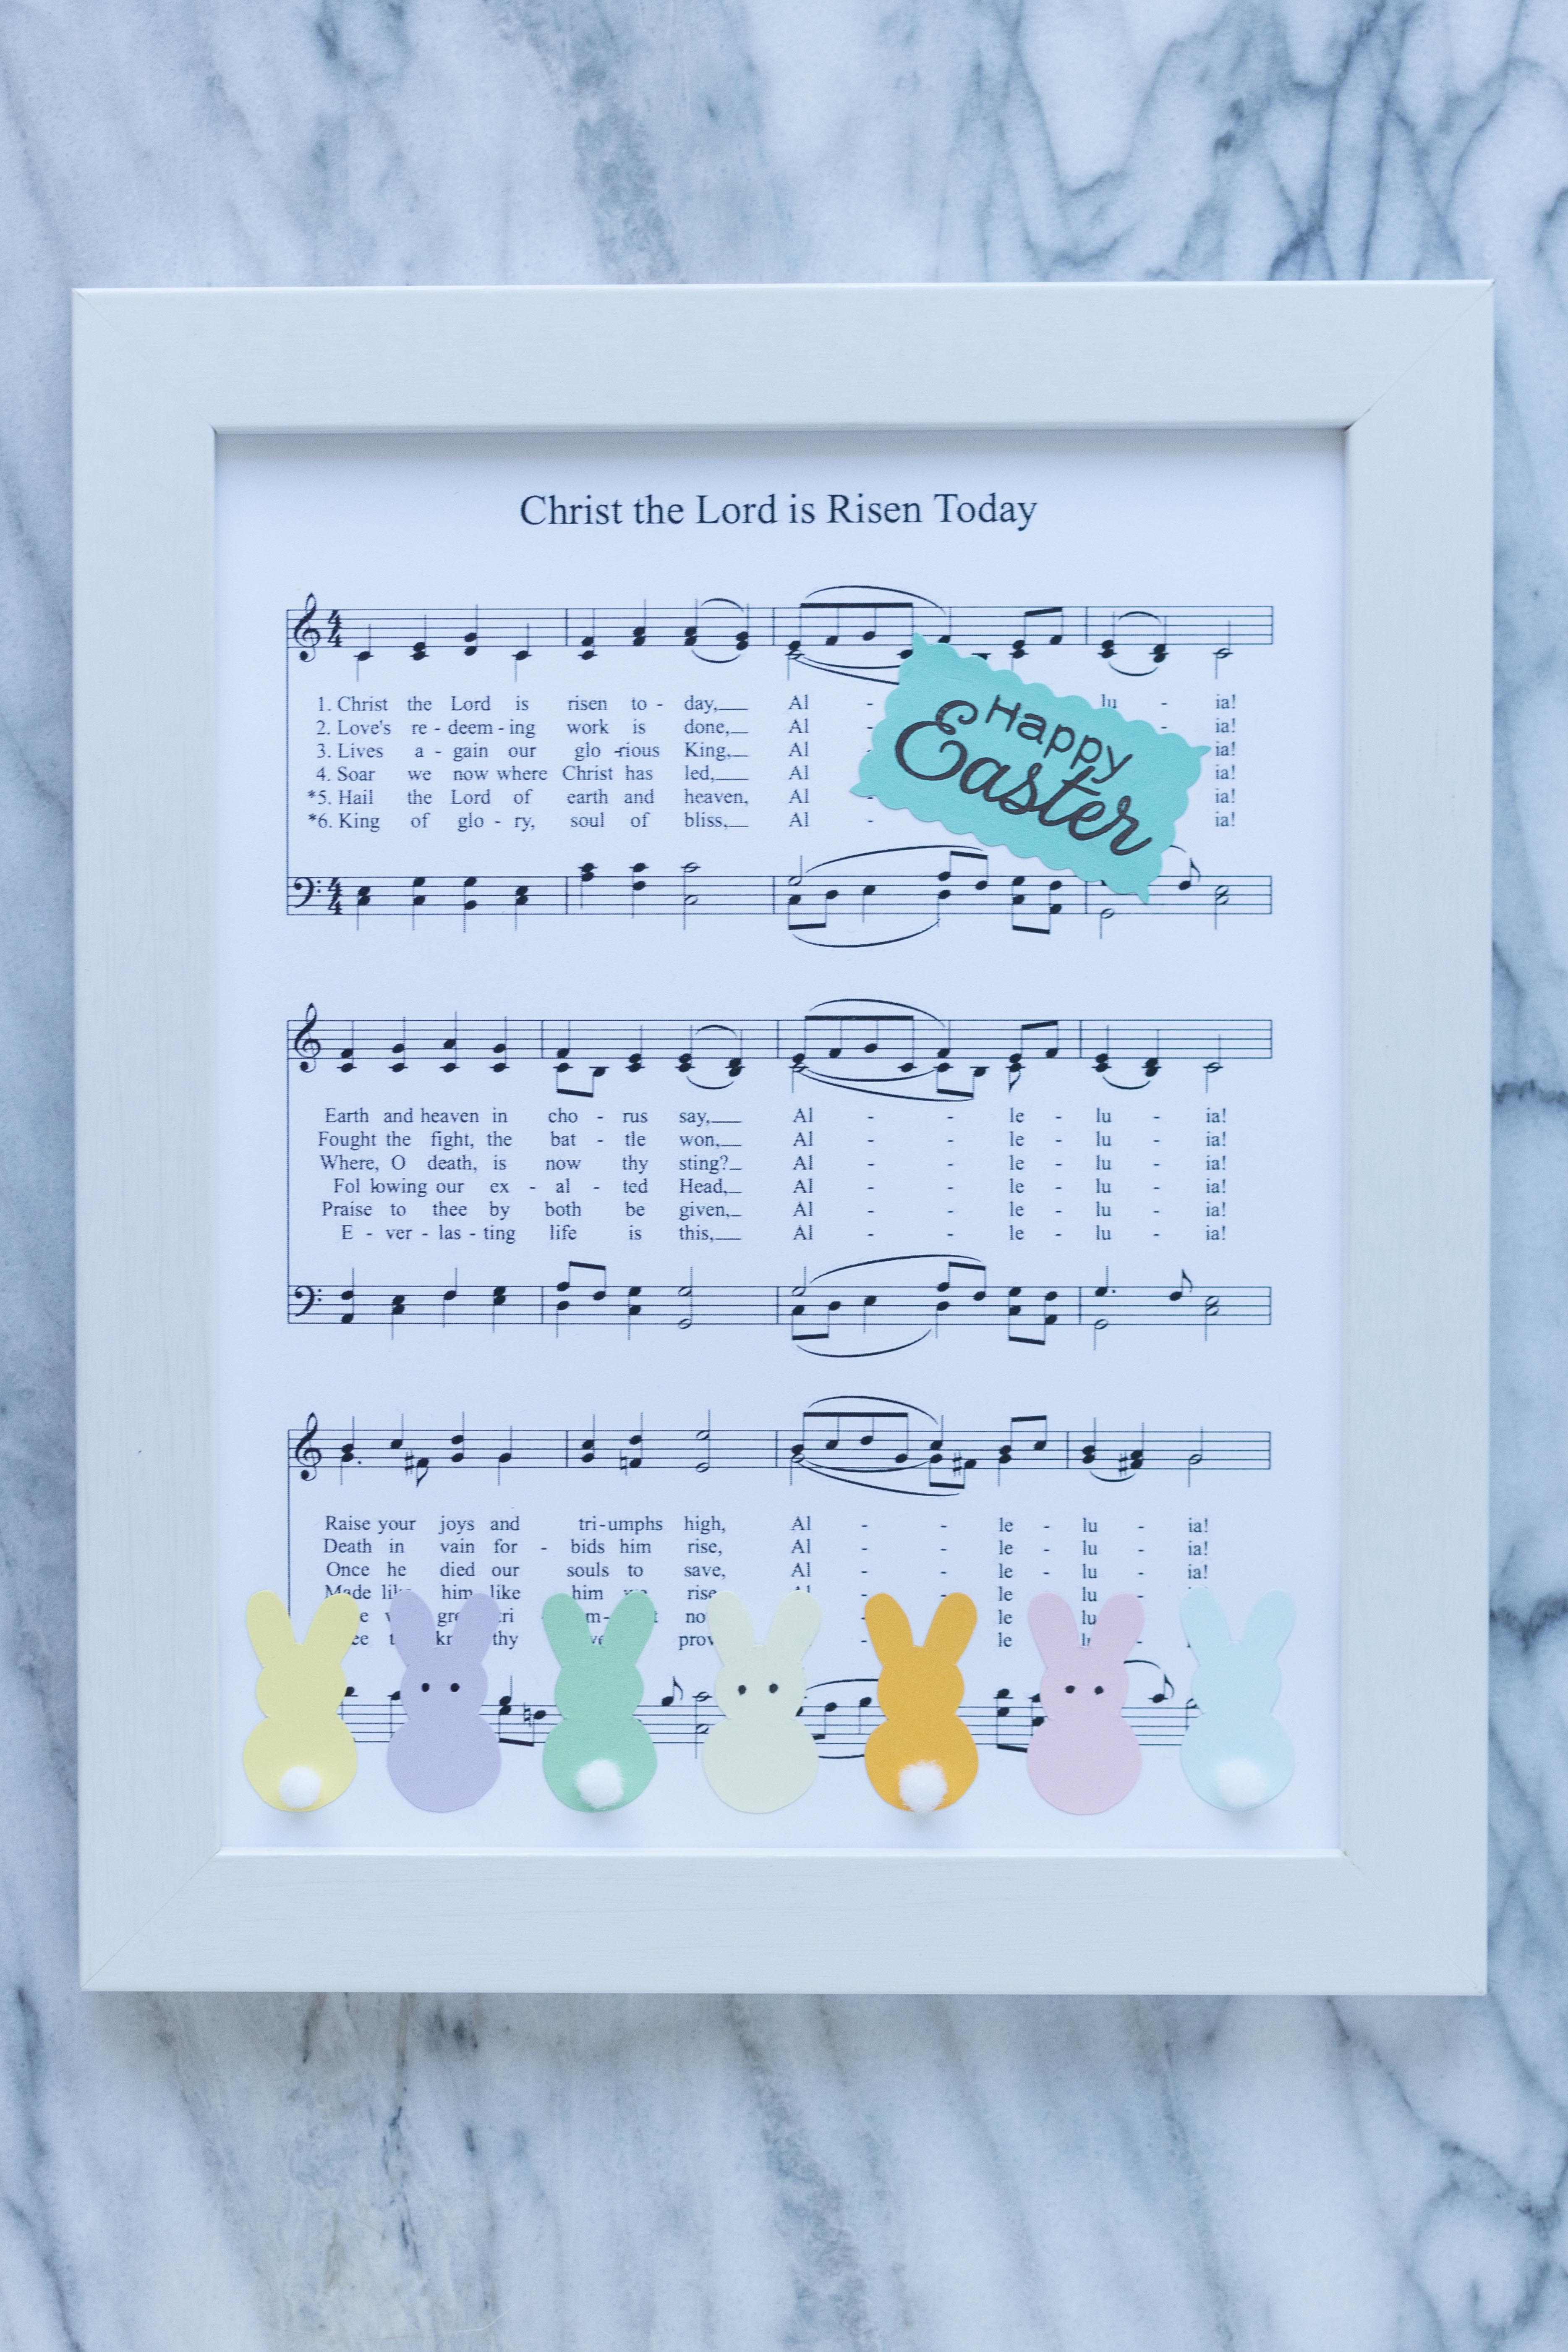
Stack the backing, cardboard, and sheet music in the frame.
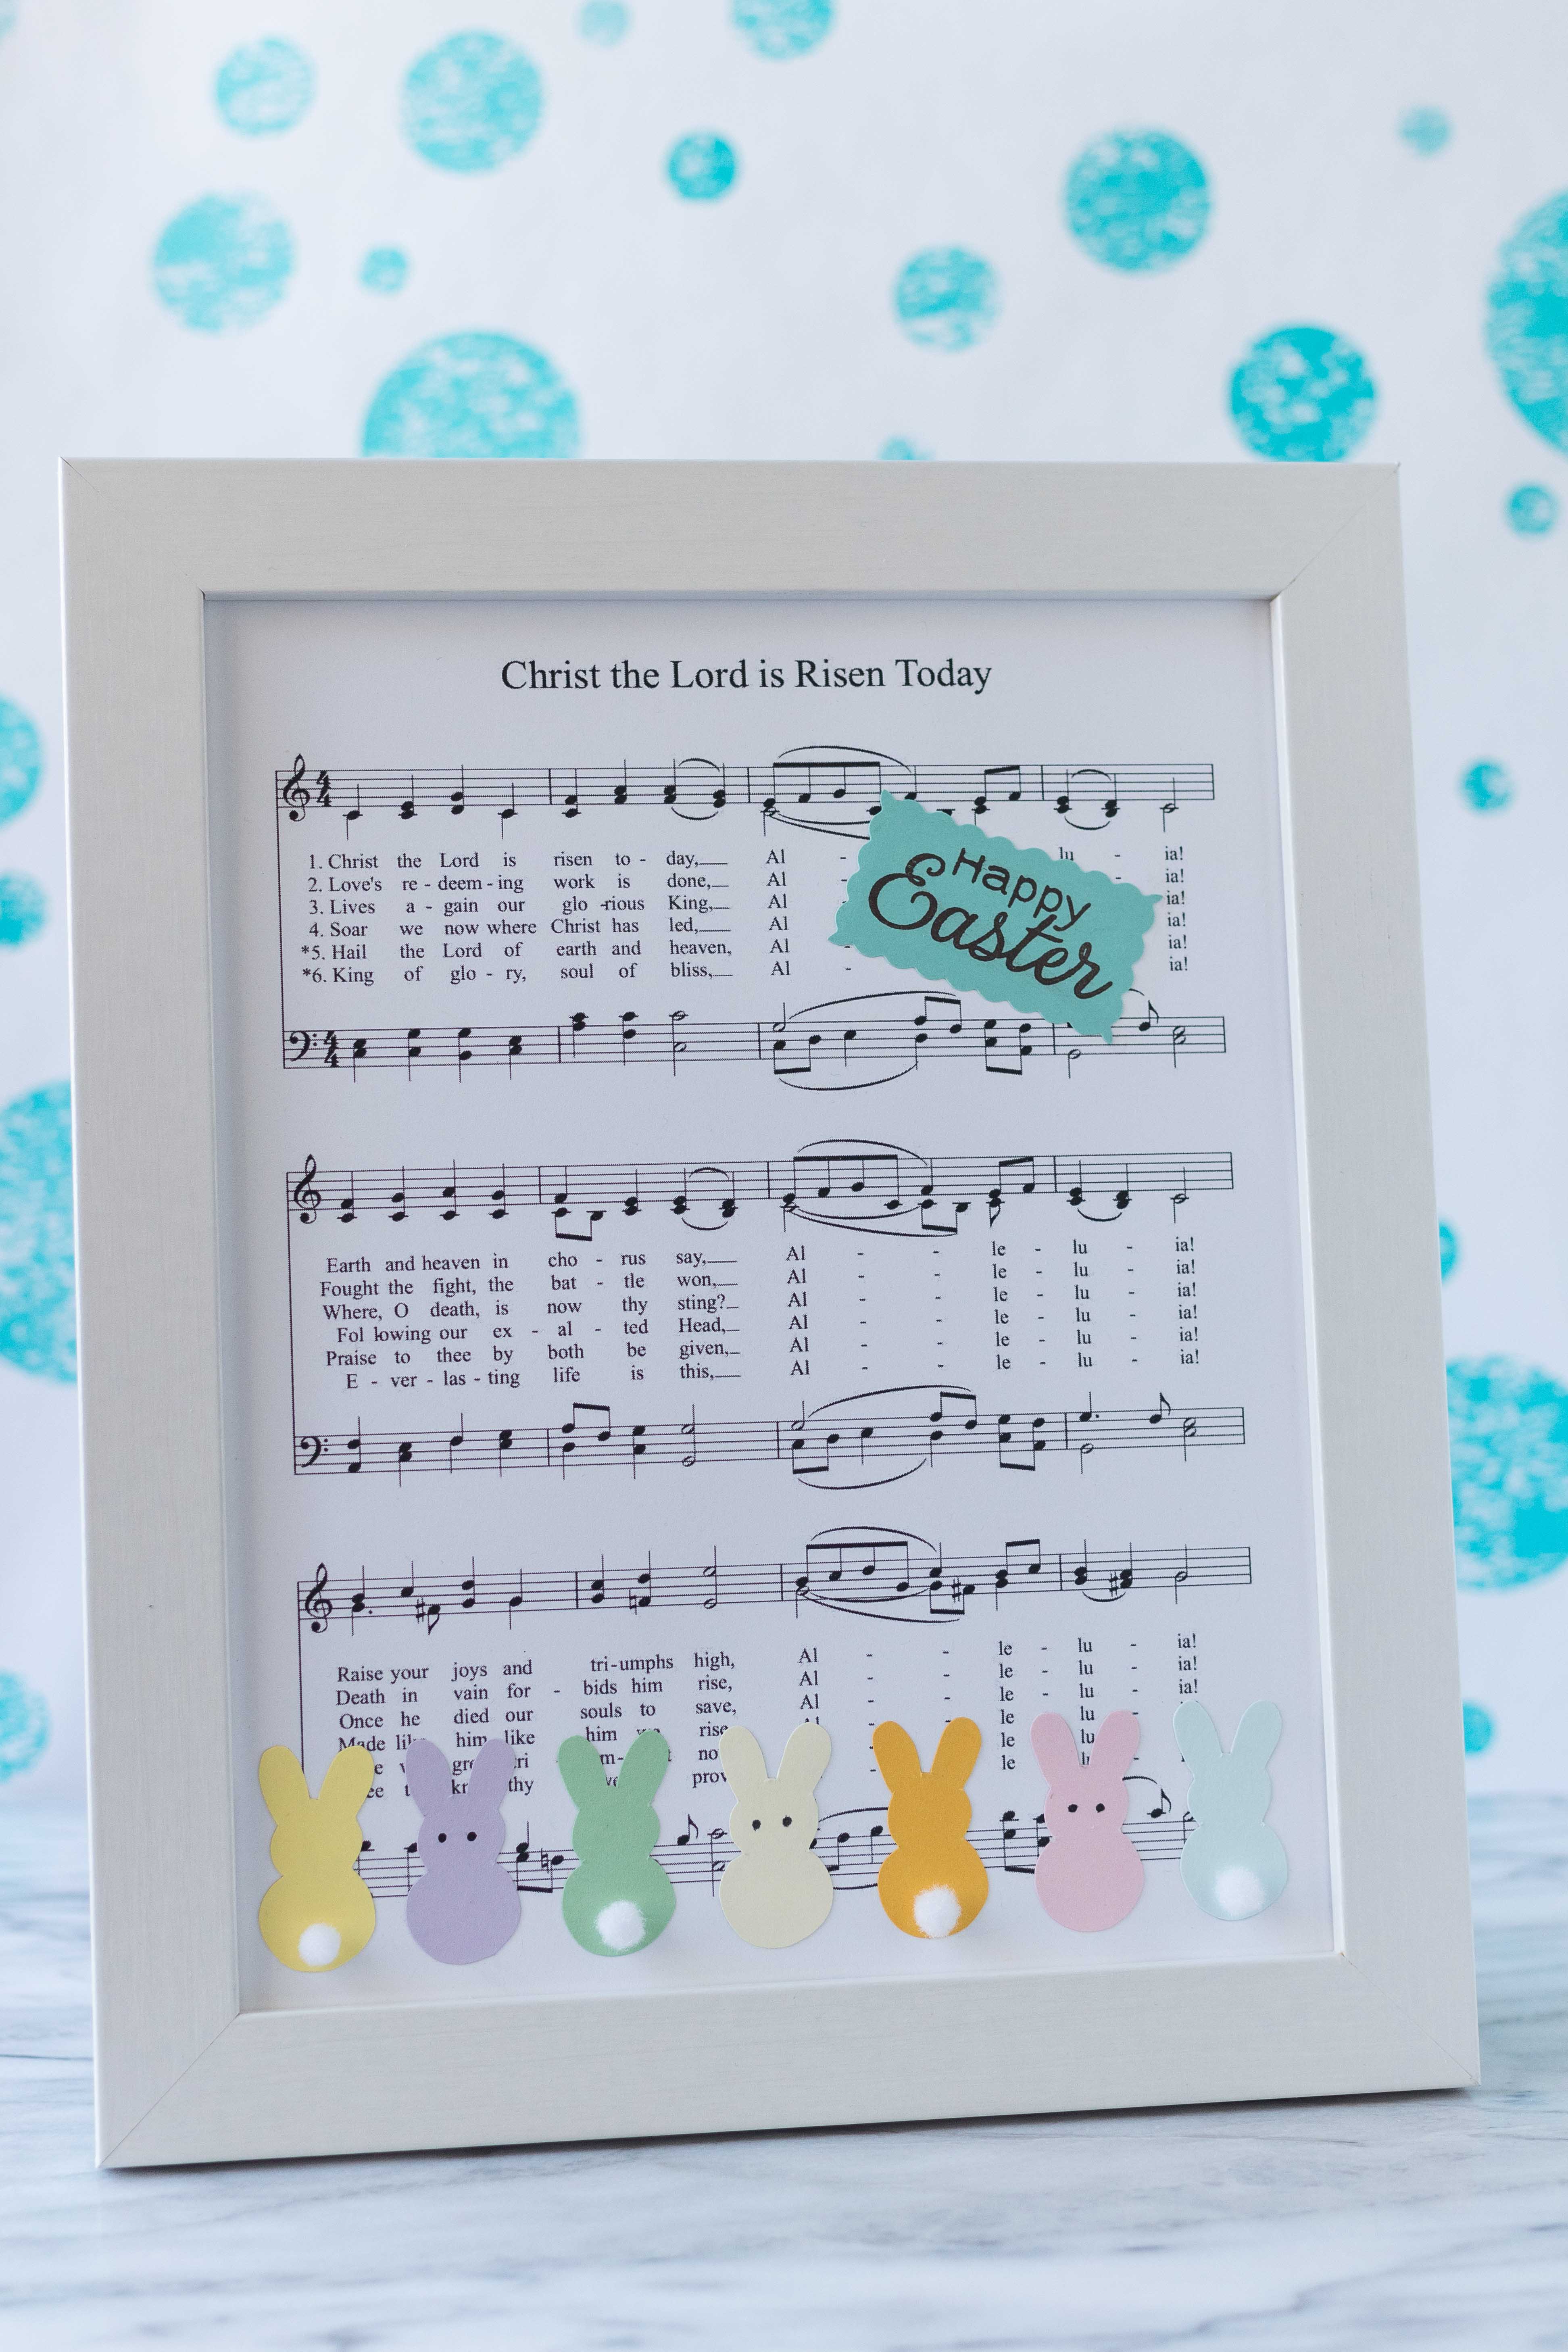
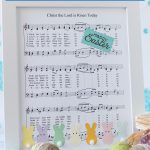
You’re ready to display your new DIY Easter sheet music wall decor!
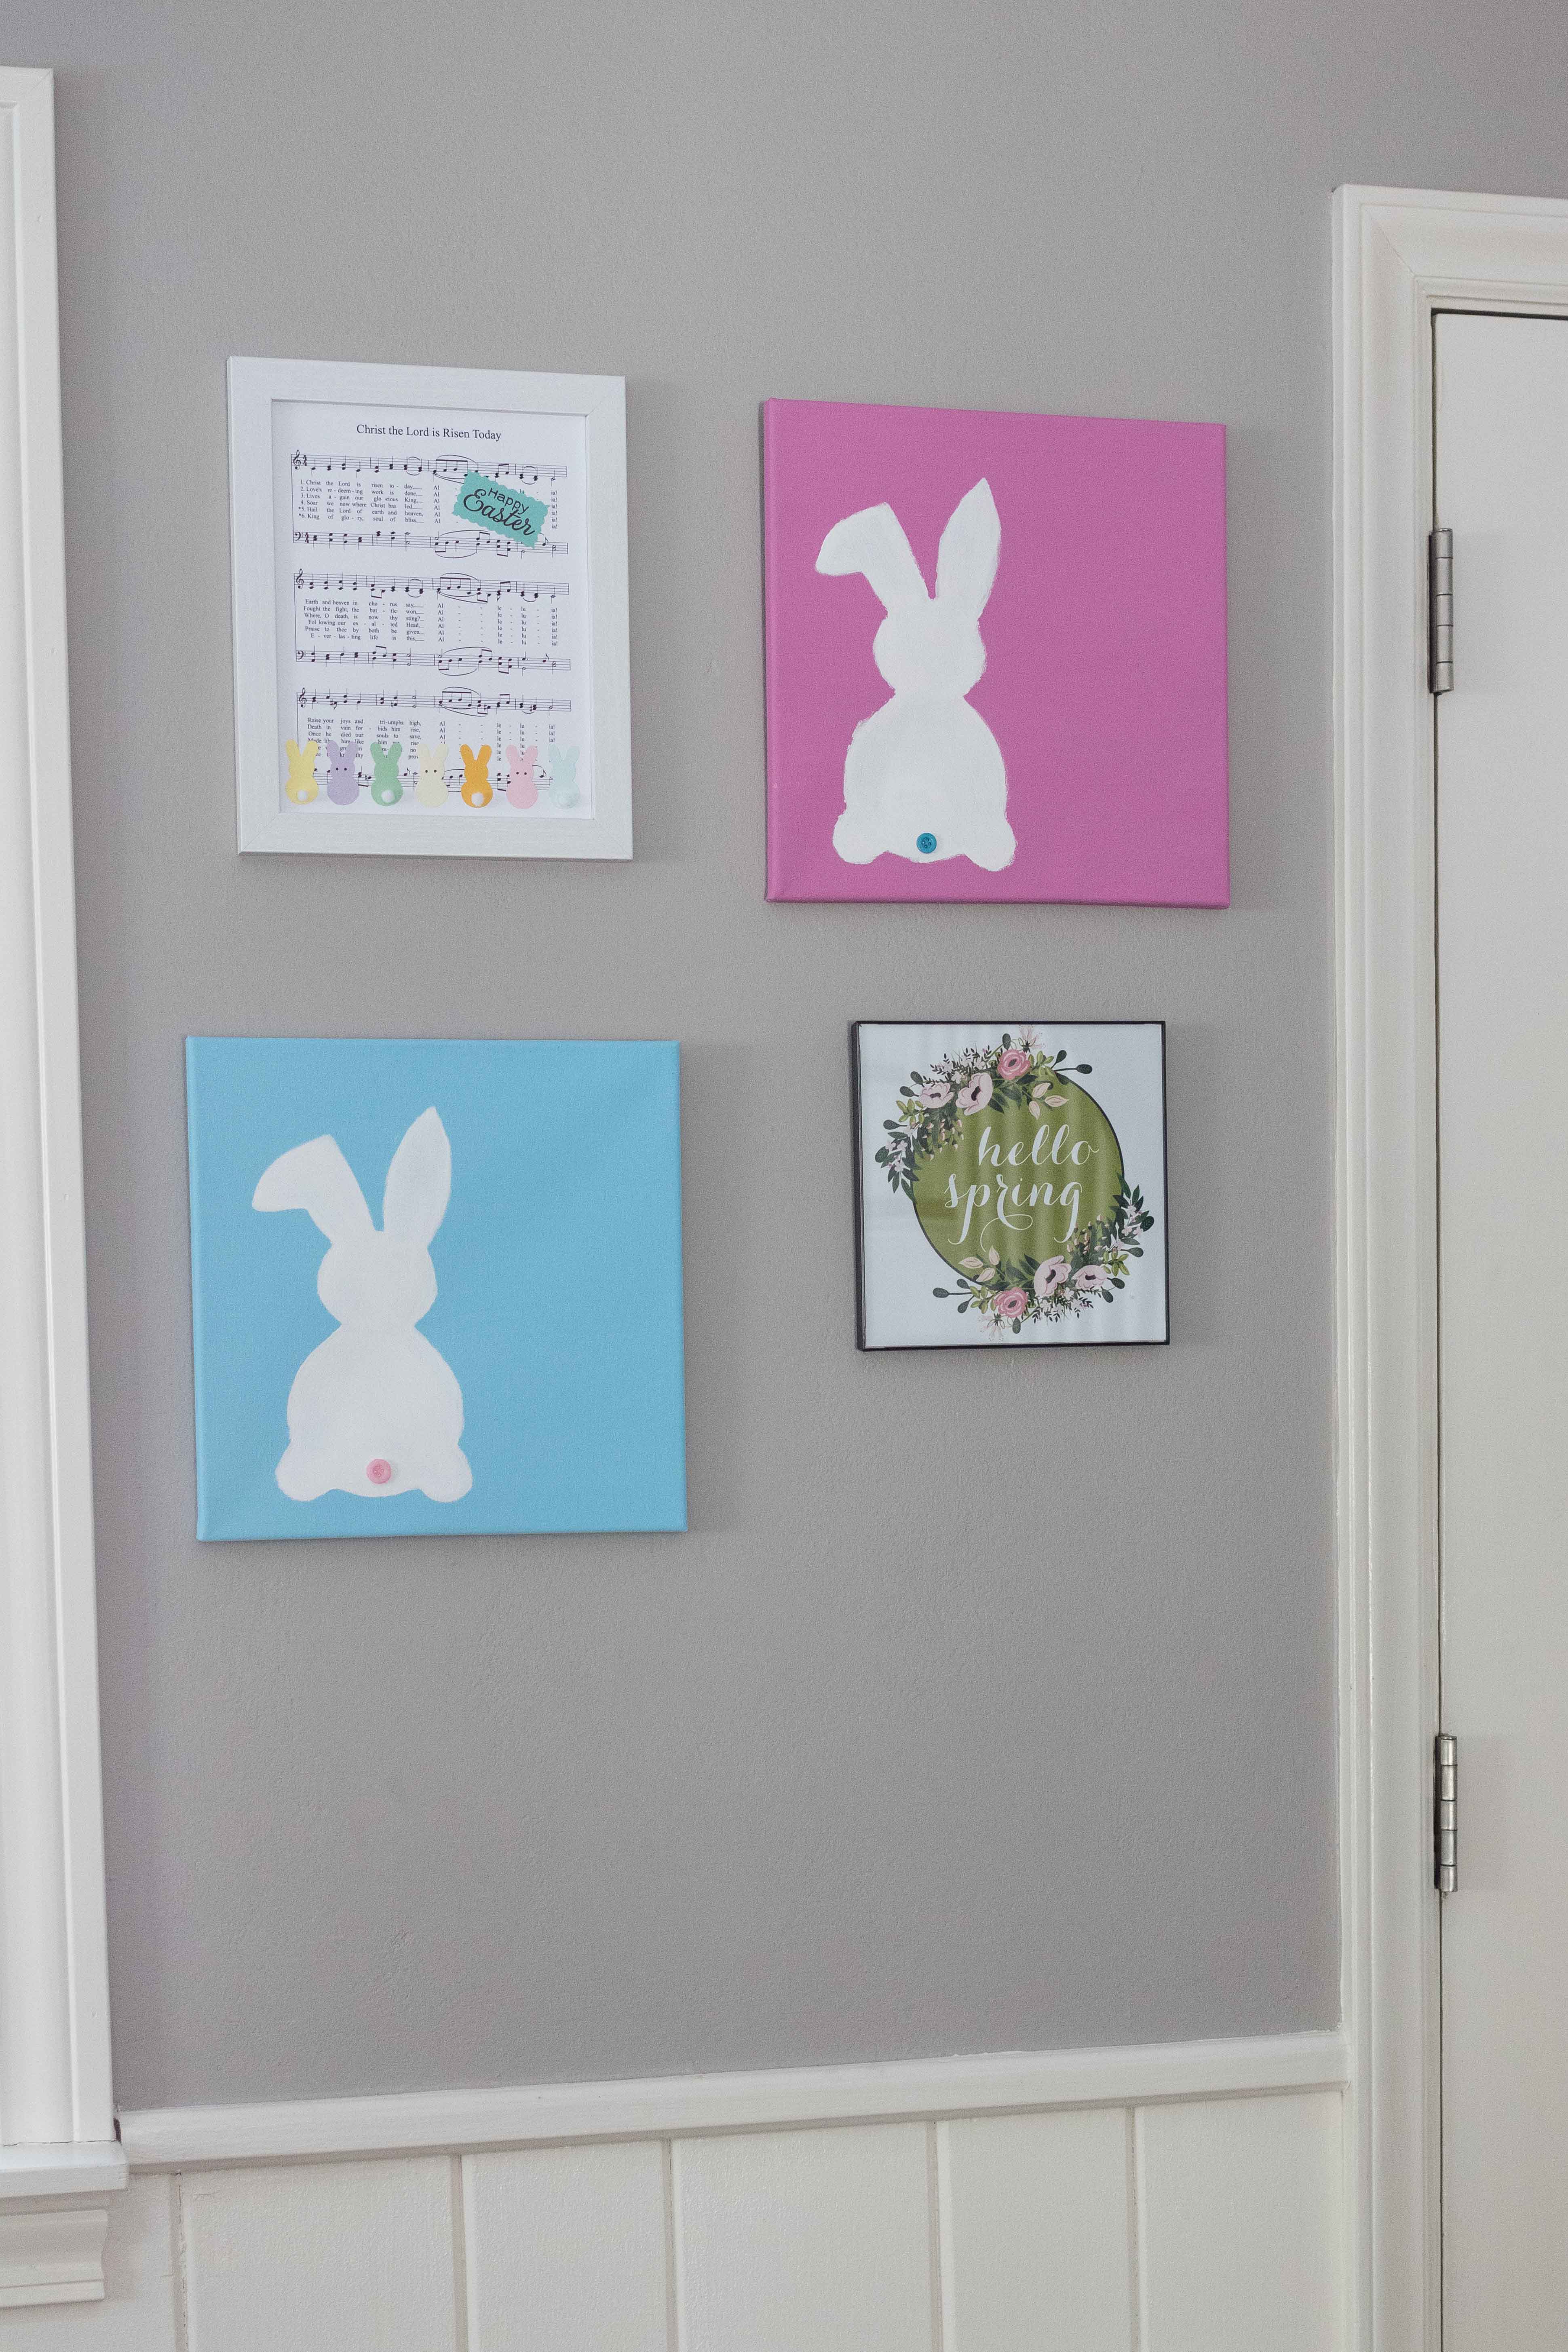
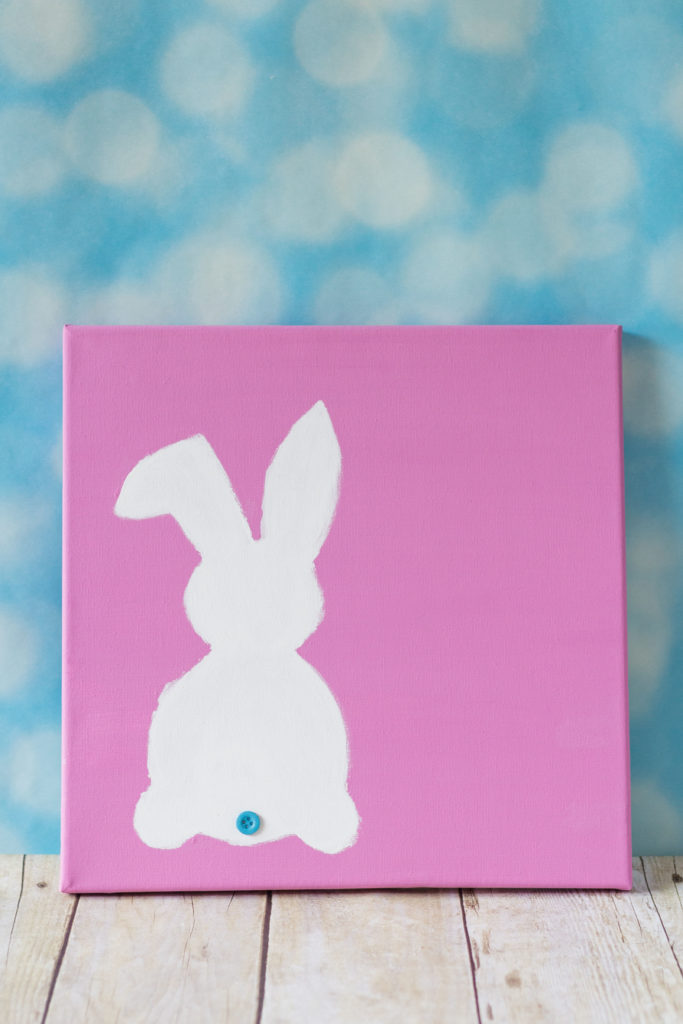
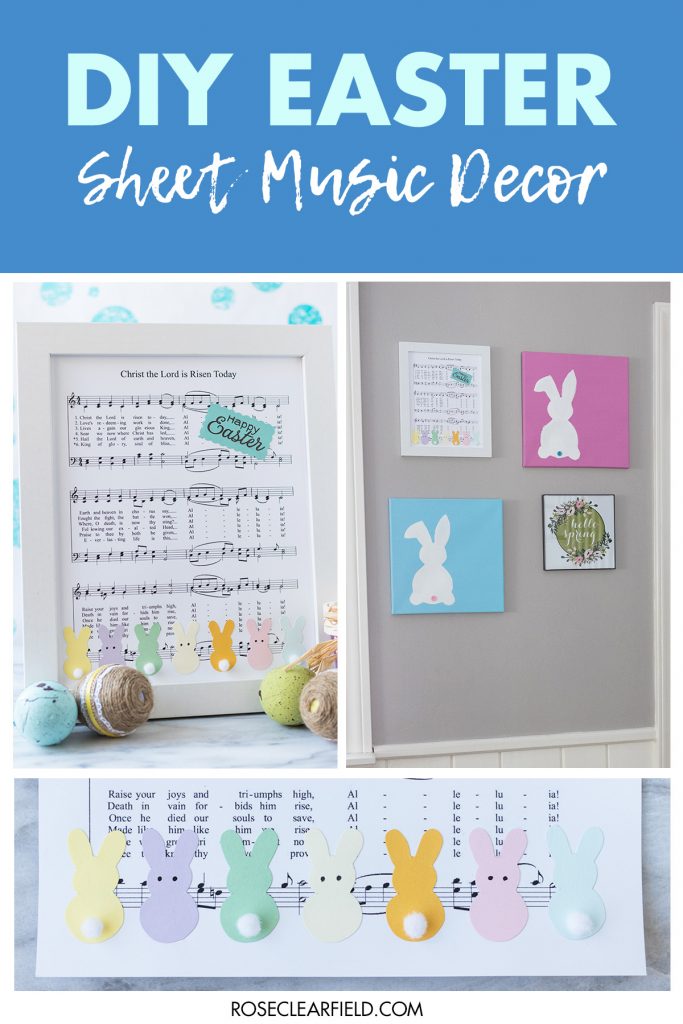
Here’s my newly created sheet music decor in my entryway, alongside my Easter bunny canvases and a free spring printable (I’ve rounded up more over here). I switch up this area of the entryway regularly for different seasons and holidays.
I originally envisioned the DIY Easter sheet music wall decor as a 5×7 framed piece. While I created the tutorial with an 8×10 frame, I made a smaller version as well. Landscape orientation works better for a smaller frame, as it’s a better fit for the layout of the music and it allows you to fit more bunnies.
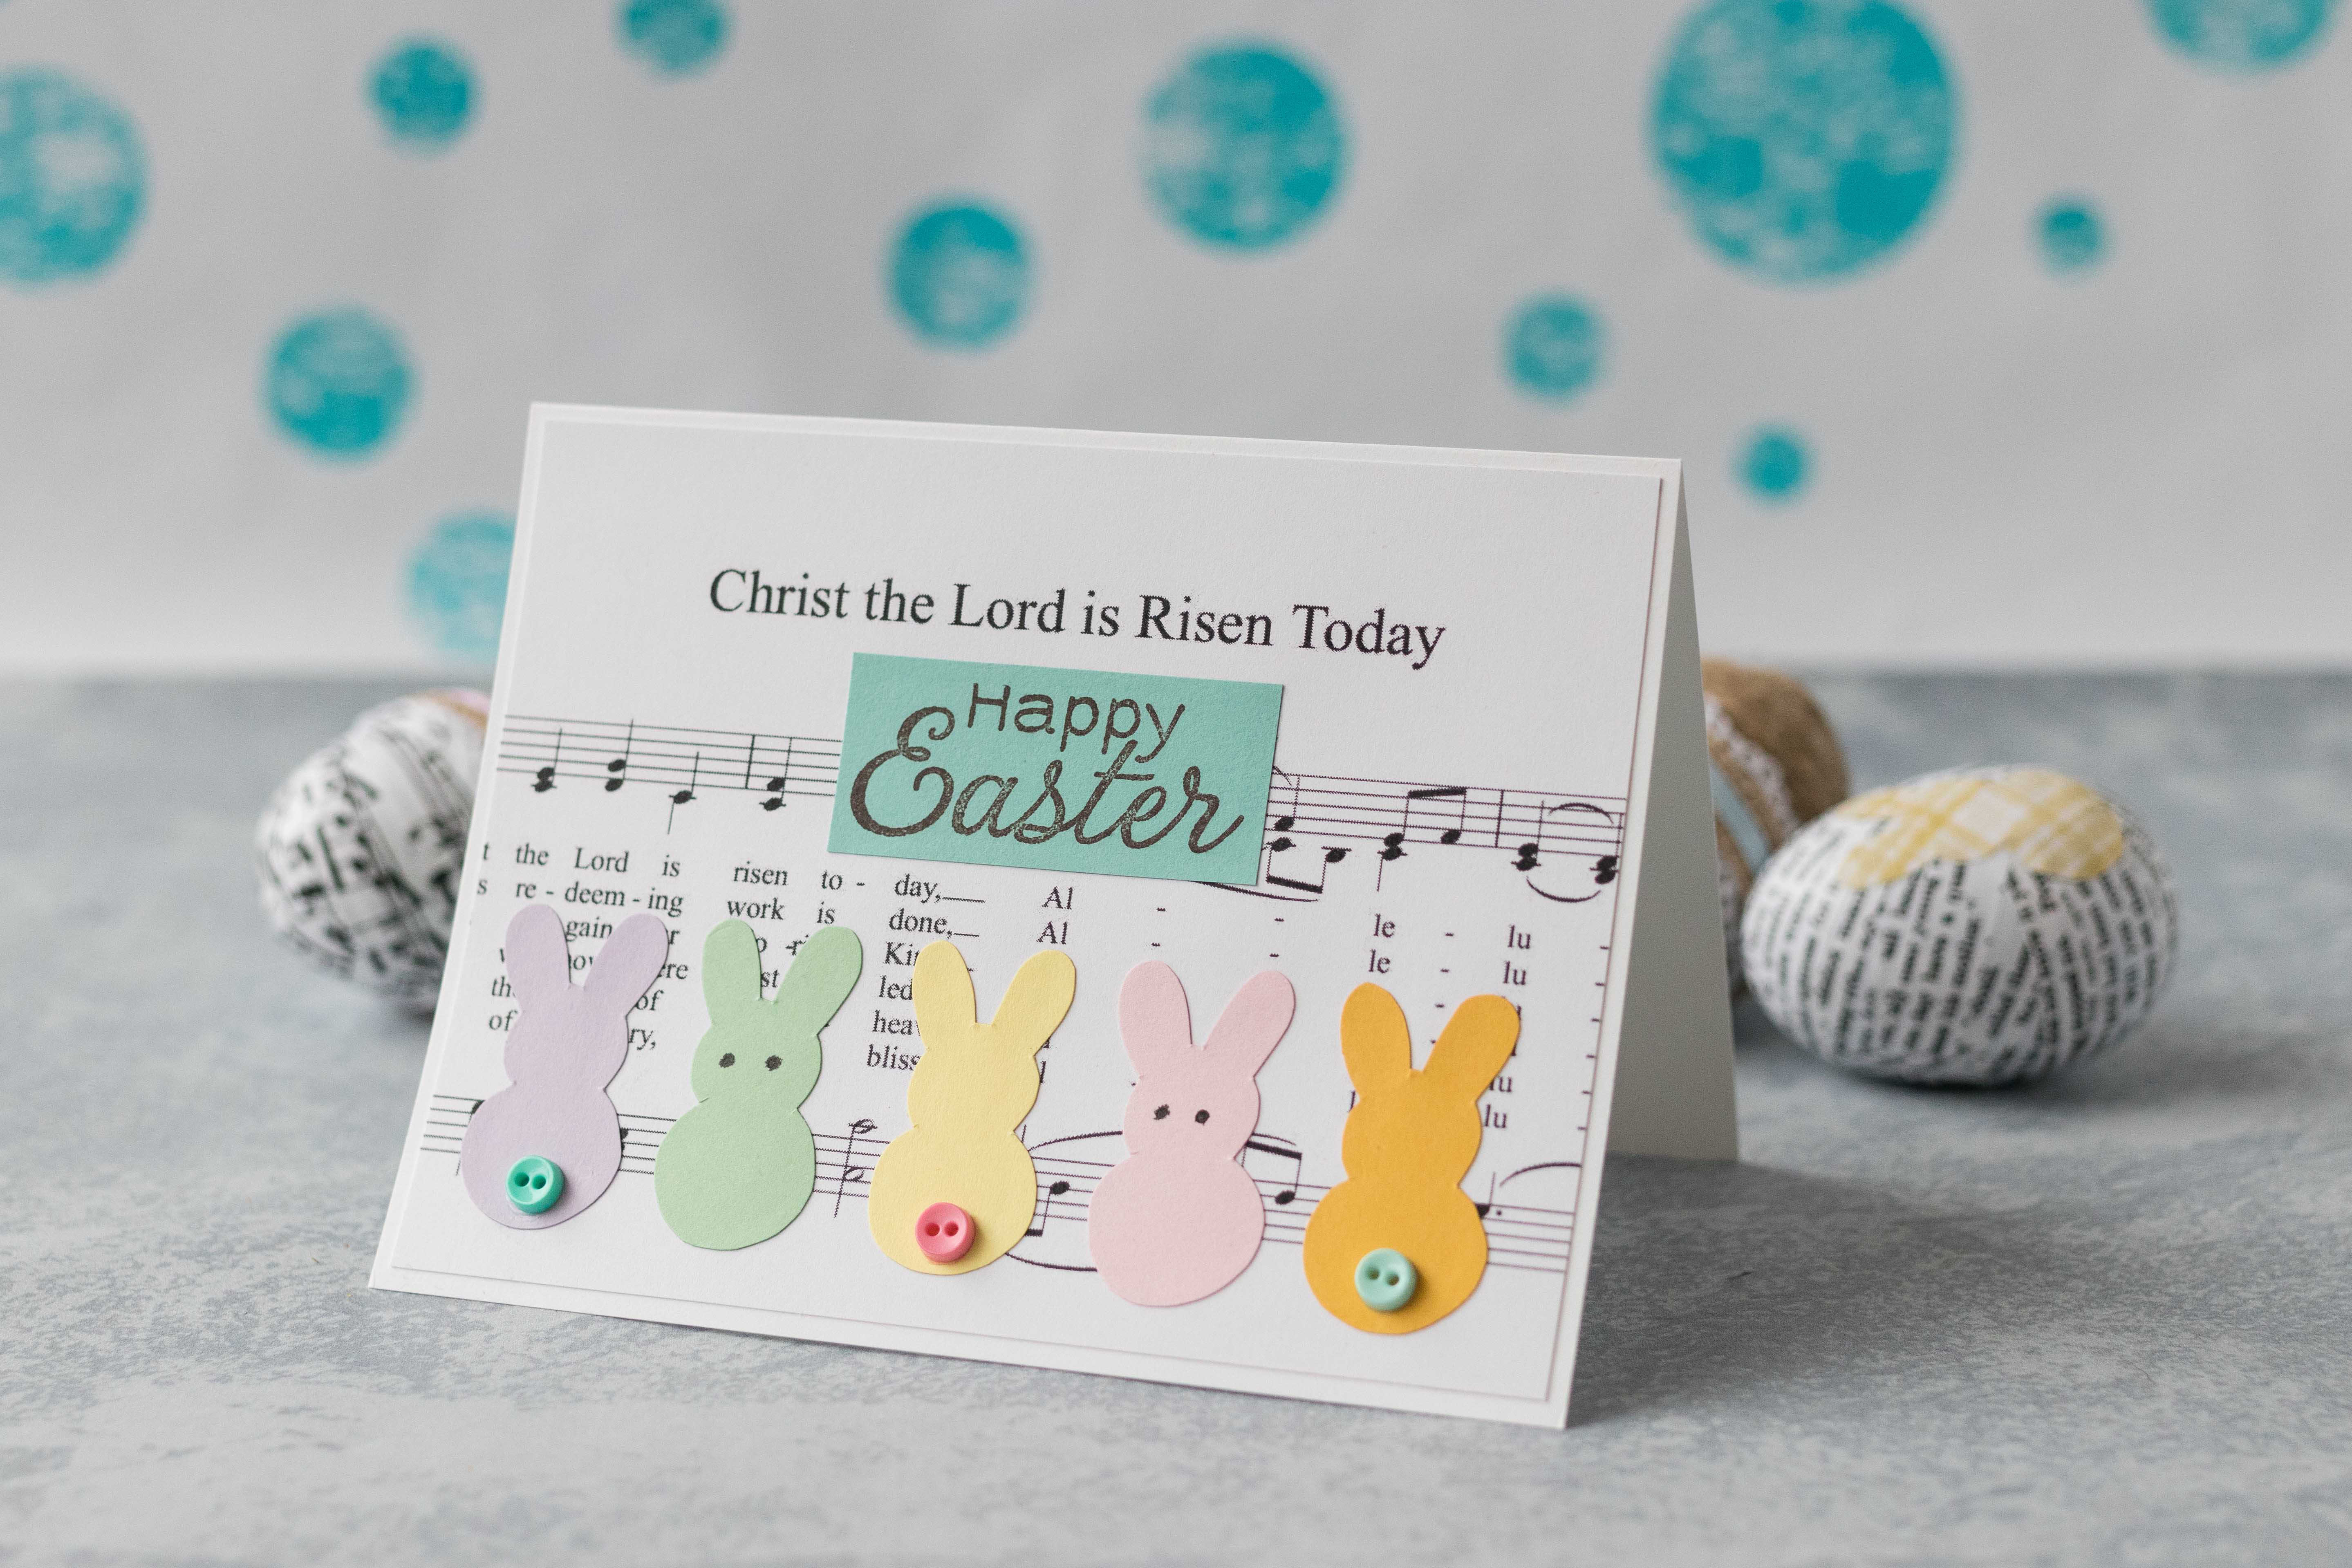
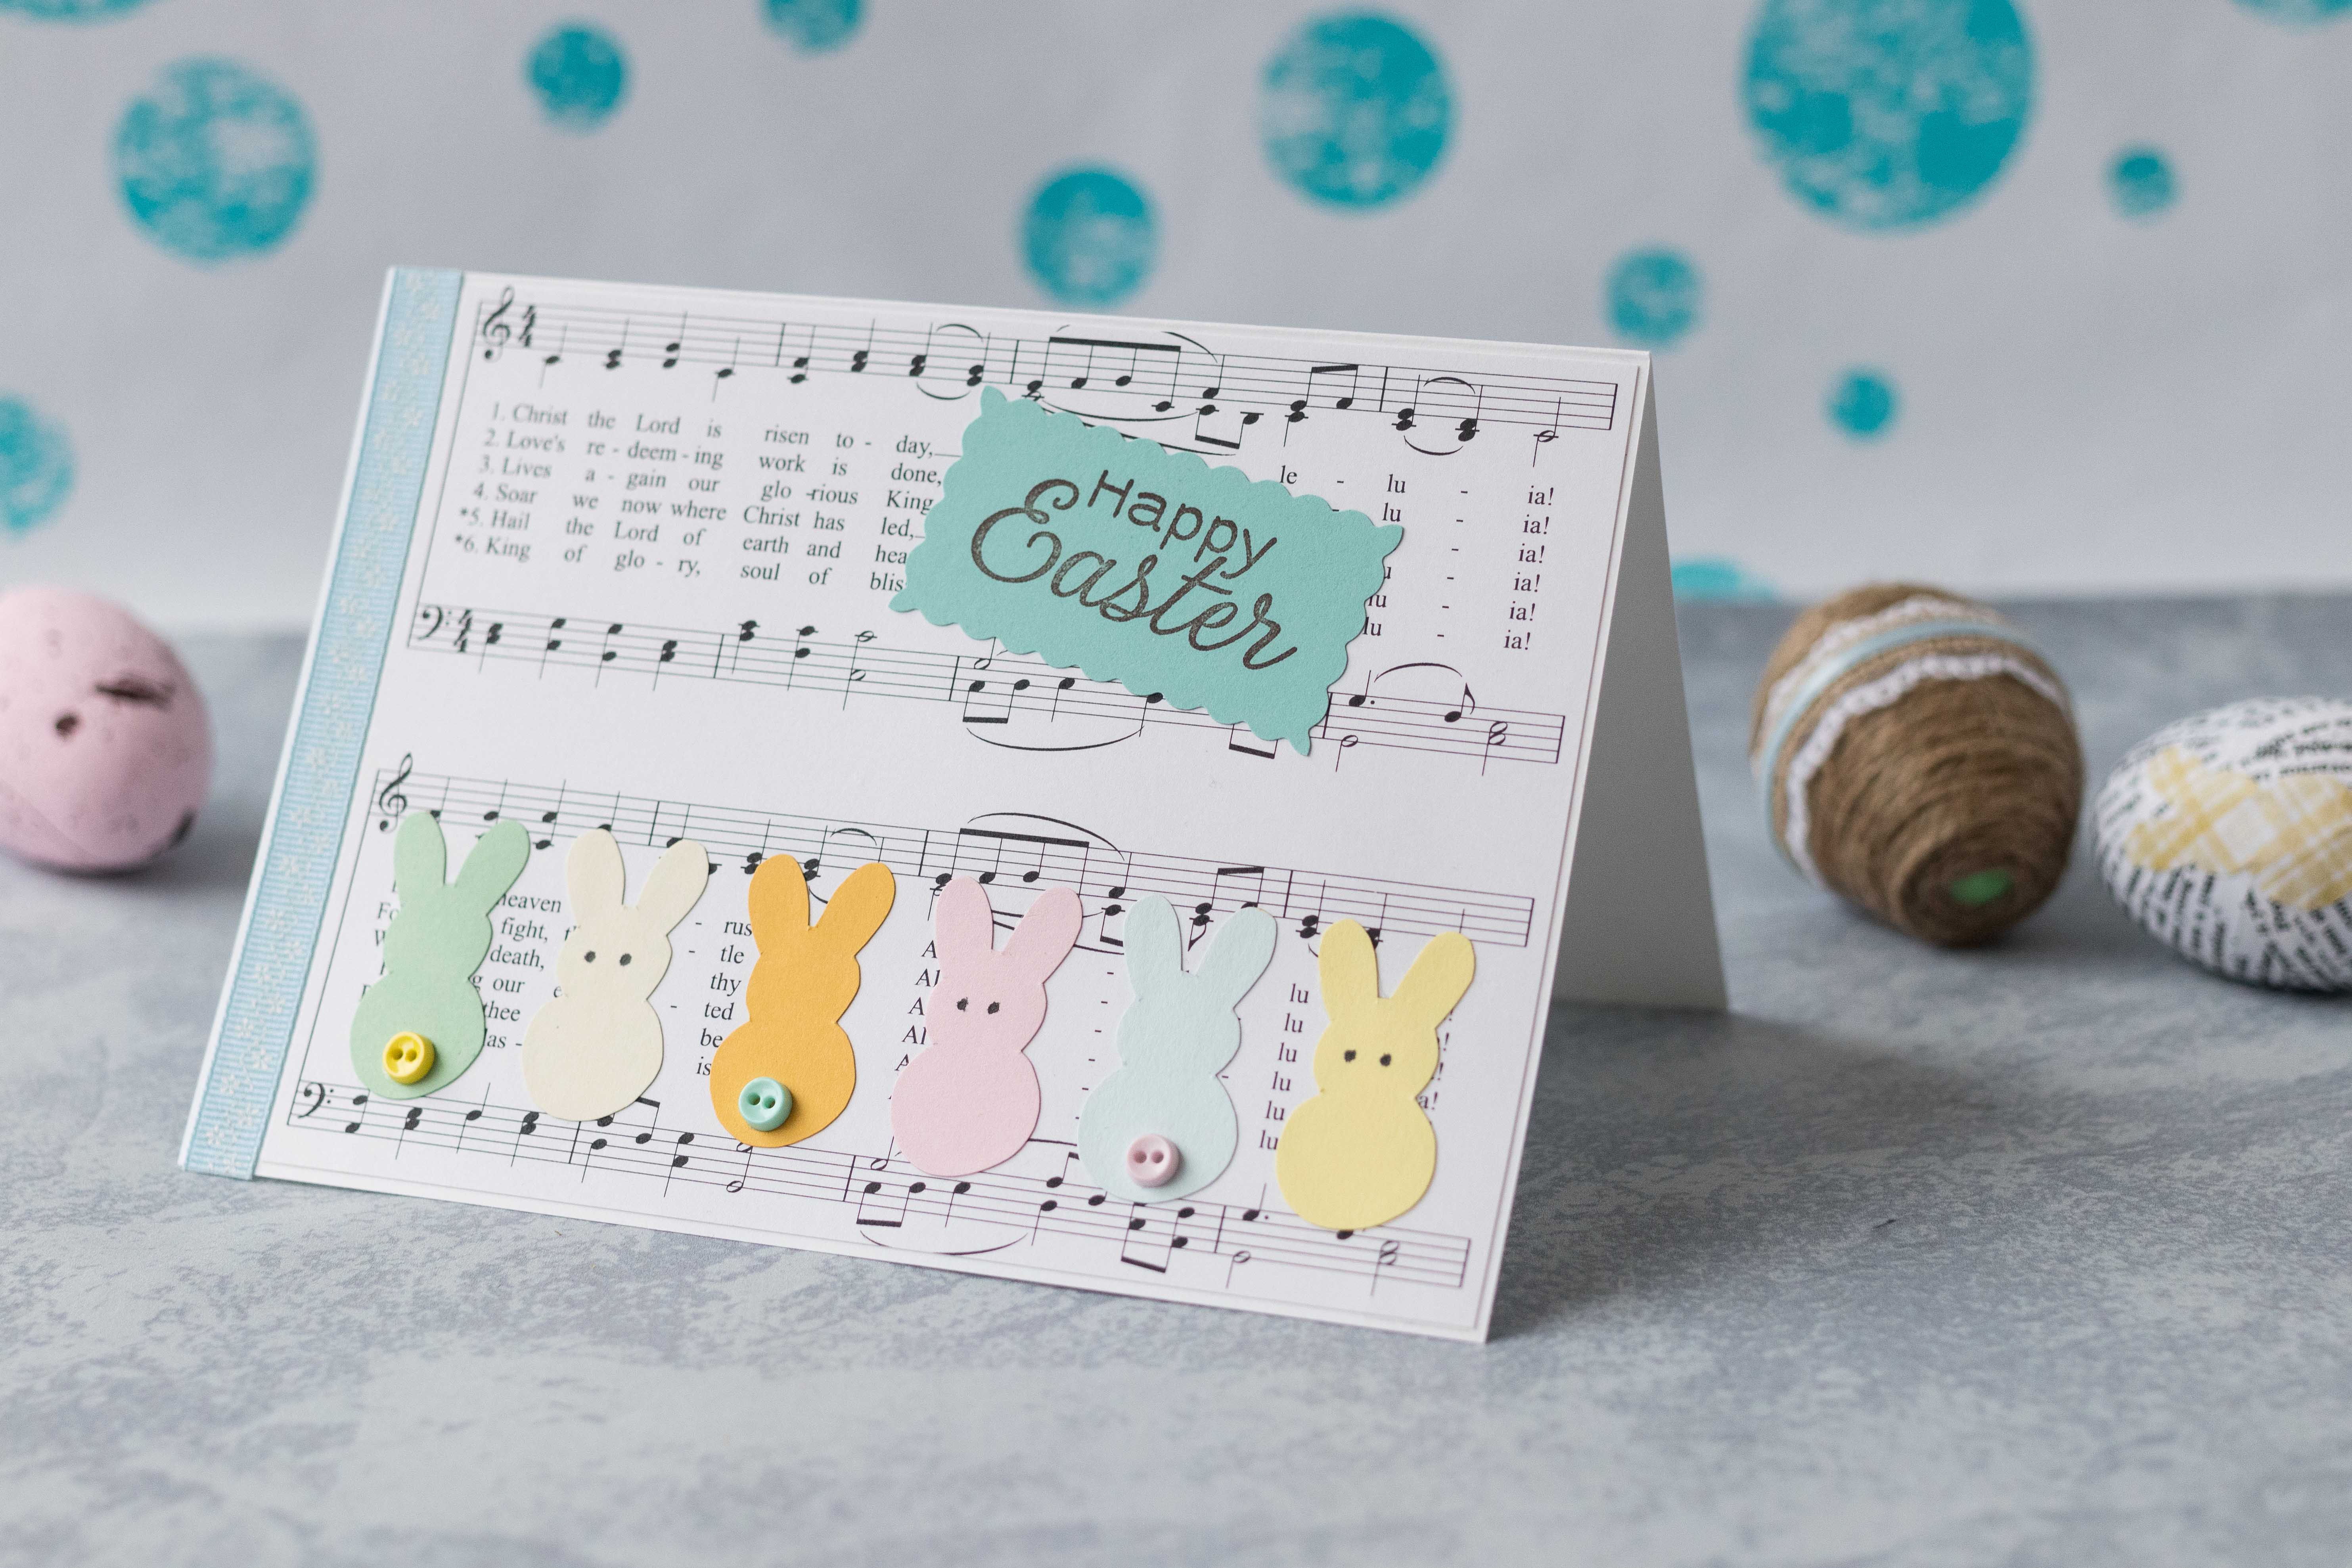
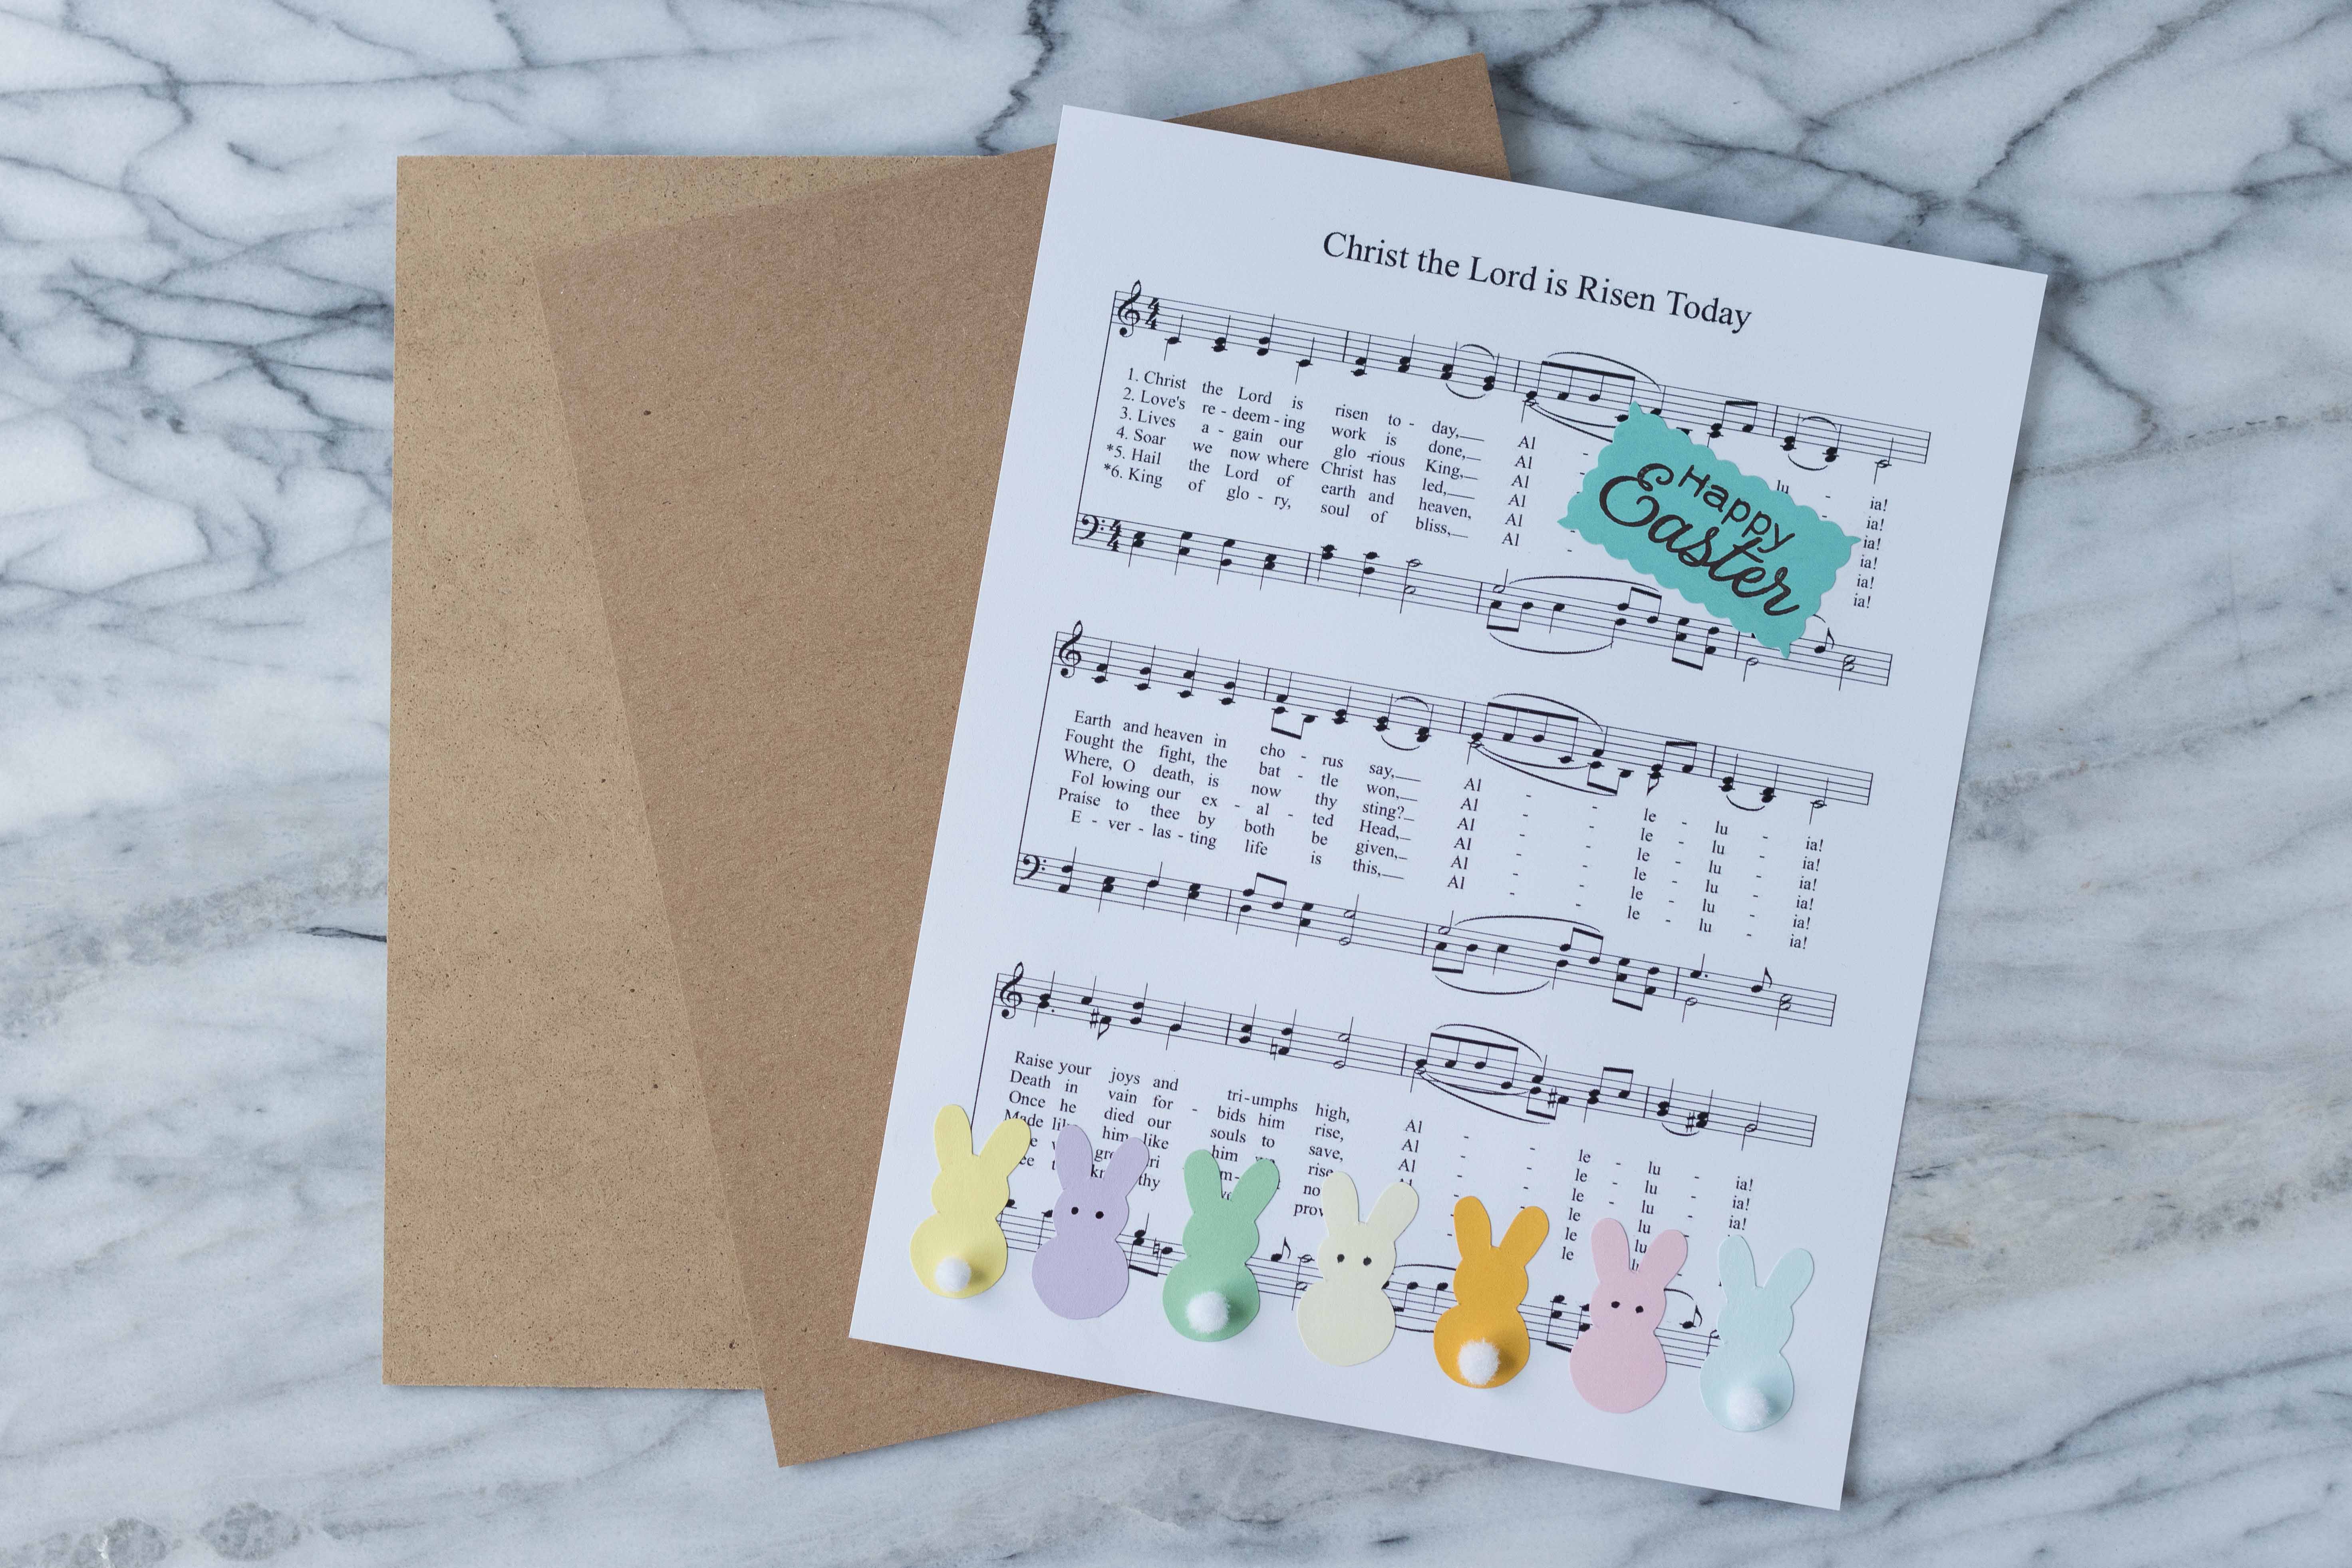
I also created DIY Easter greeting cards with this same design concept in a couple of sizes: A2 and A7. The only change that I made for the greeting card designs is that I used tiny buttons for the tails instead of pom poms because they lay flatter. If you’re looking for more sheet music greeting card ideas, I have another one in my simple DIY Easter cards post.
[Disclaimer: There are a few affiliate links in this post. Thanks for your support!]
Did you make the DIY Easter sheet music wall decor?
I want to see it! Tag your images #RoseClearfield on Instagram or Twitter or post a photo to my Facebook page.
Pin this post for easy access to the Easter sheet music wall decor tutorial later!
My collection of free printable vintage hymns for Easter are perfect for this DIY sheet music Easter project!