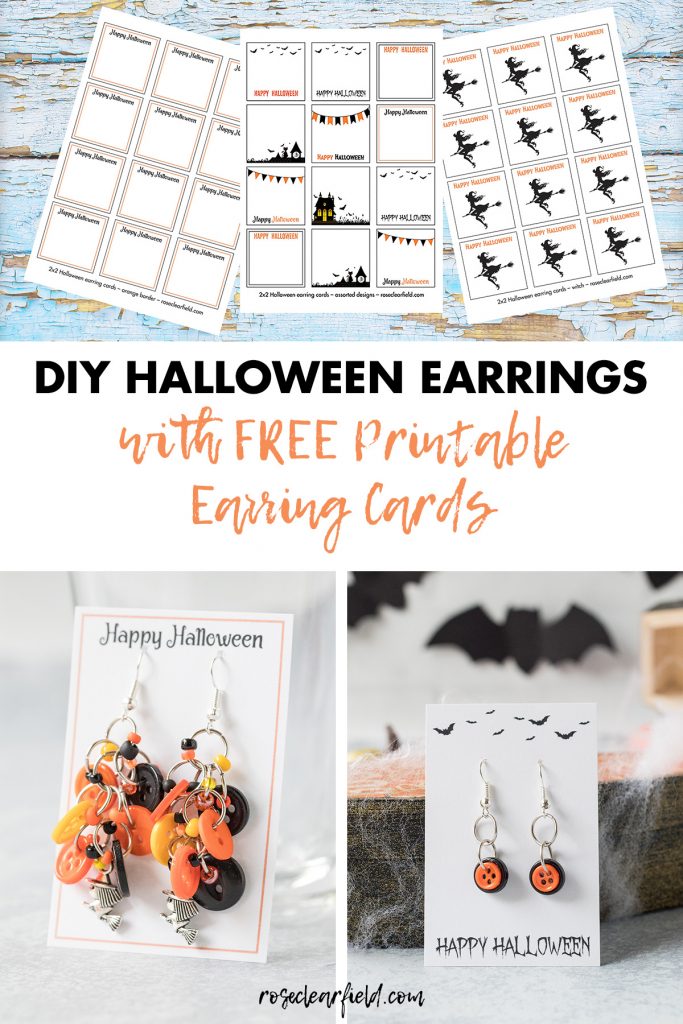

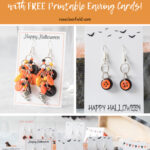
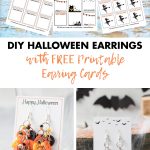
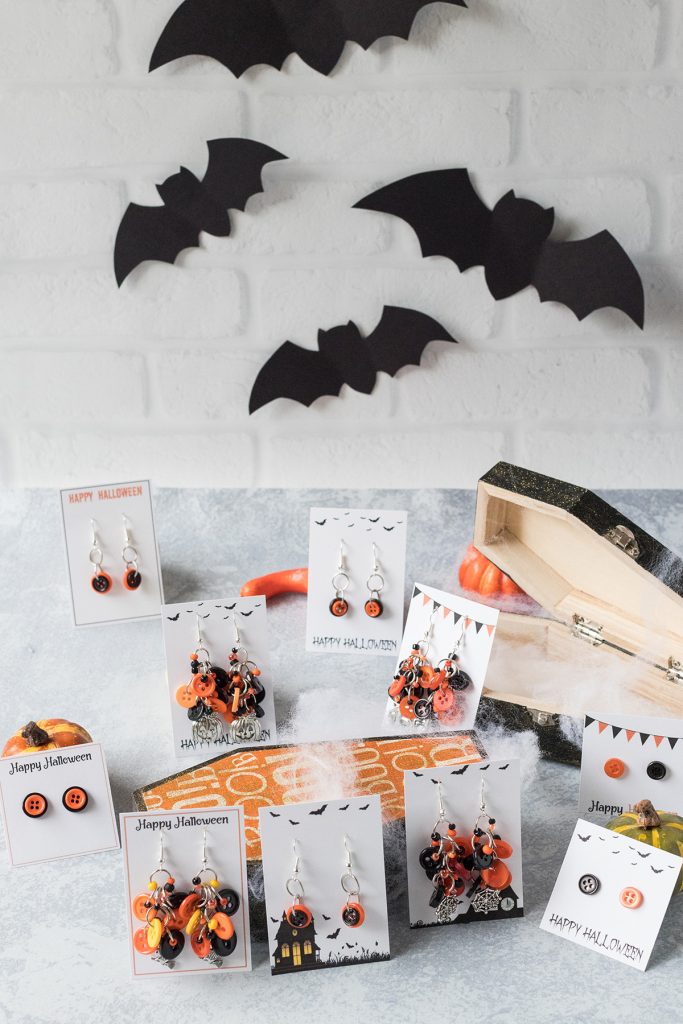
I have the DIY Halloween earrings with free printable earring cards that you need for the upcoming holiday. Homemade holiday earrings make a perfect quick teacher gift or easy Halloween party favor!
A decade ago, I experimented with a few button jewelry designs. Button bracelets and earrings quickly become a staple in my Etsy jewelry shop and remain some of my best selling items. Over the past ten years, I’ve made a ton of button earrings and refined a few favorite designs. I’m showing you how to make my iconic button dangle earrings as well as a few other button earrings that I love, all with fun Halloween colors and charms.
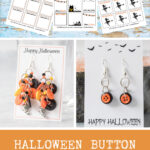
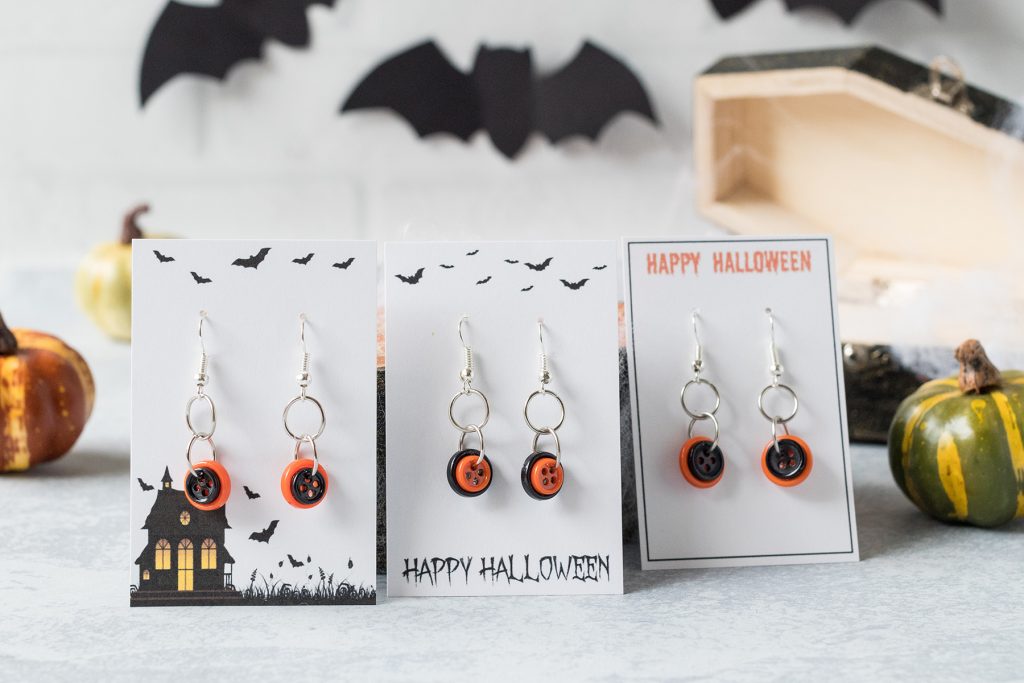
I’ve also created a dozen Halloween printable earring cards in two sizes – 2×2 and 3×2. Custom earring cards you can print at home are perfect for turning your new handmade earrings into quick Halloween party favors or easy teacher gifts.
Make your own Halloween earrings
I firmly believe that jewelry making doesn’t need to be complicated or expensive. I’ve worked hard to create jewelry designs on a budget with basic supplies. The only jewelry tool you’ll need for the following DIY Halloween earrings is a basic pair of needle-nose pliers.
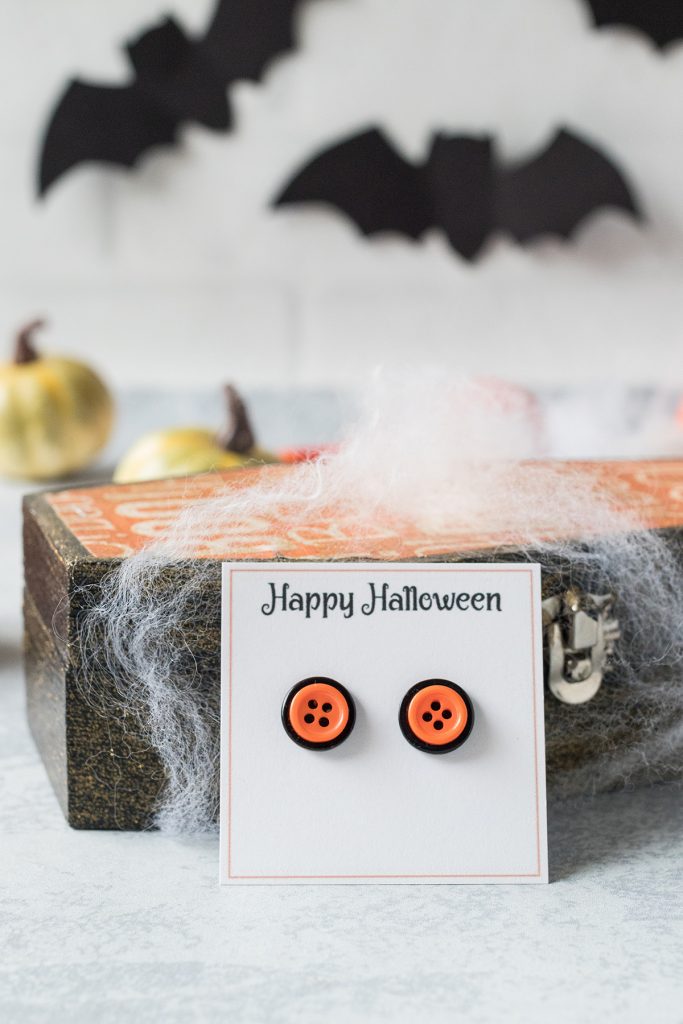
Button post earrings
To make the button post earrings, you’ll need two earring posts, two earring butterfly nuts, and two or four buttons. If you opt for the stacked button designs, the two-button sizes need to be able to stack together comfortably. Typically, the larger buttons I use are 1/2″ in diameter or smaller.
- If you’re using four buttons, use E-6000 or another strong adhesive to glue the two pairs of buttons together. Allow to dry and set fully for at least 24 hours.
- Use E-6000 to glue the buttons to the button posts. Place upside down with the button posts facing up to dry. Allow to dry and set fully for at least 24 hours.
- Attach the earring butterfly nuts to each earring post.
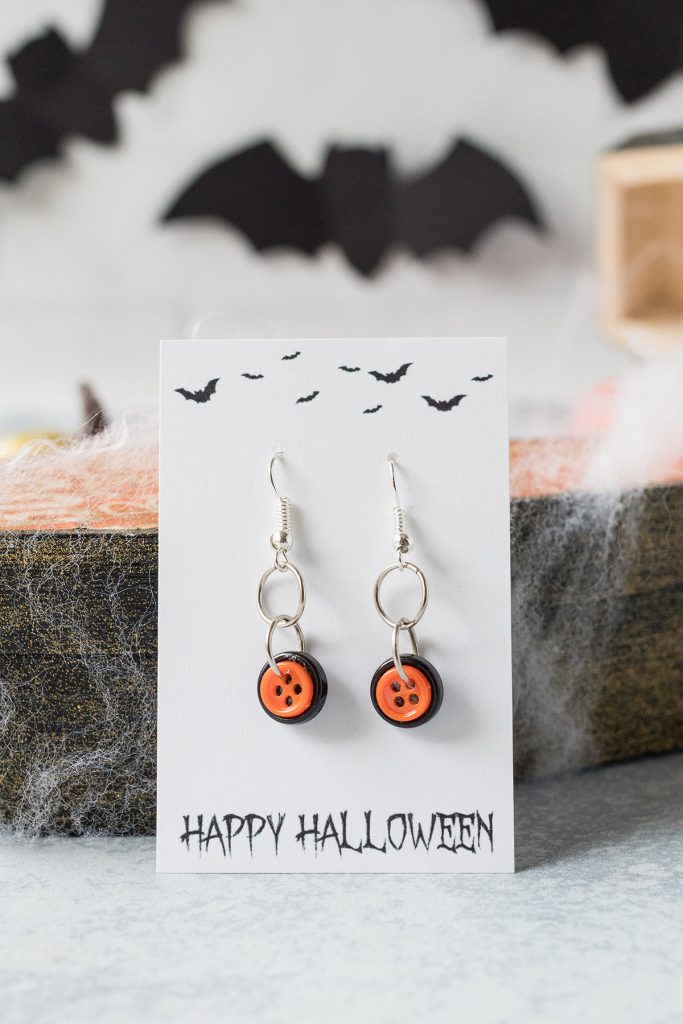
Simple button dangle earrings
To make the simple button dangle earrings, you’ll need two ear wires, two earnut safety sleeves, four 9mm jump rings, and four buttons. The two-button sizes need to be able to stack together comfortably. Typically, the larger buttons I use are 1/2″ in diameter or smaller.
- Use E-6000 or another strong adhesive to glue the two pairs of buttons together. Line up the holes for the two pairs of buttons. Leave one pair of holes free of glue so that you can fit a jump ring through it easily. Allow the adhesive to dry and set fully for at least 24 hours.
- Open one jump ring with your needle-nose pliers. Work it into one of the button holes. Close the jump ring.
- Open one more jump ring. Slide an ear wire onto it. Attach the second jump ring to the first jump ring with the button.
- Repeat steps two and three to make the second earring.
- Attach the earnut safety sleeves to the back of each ear wire.
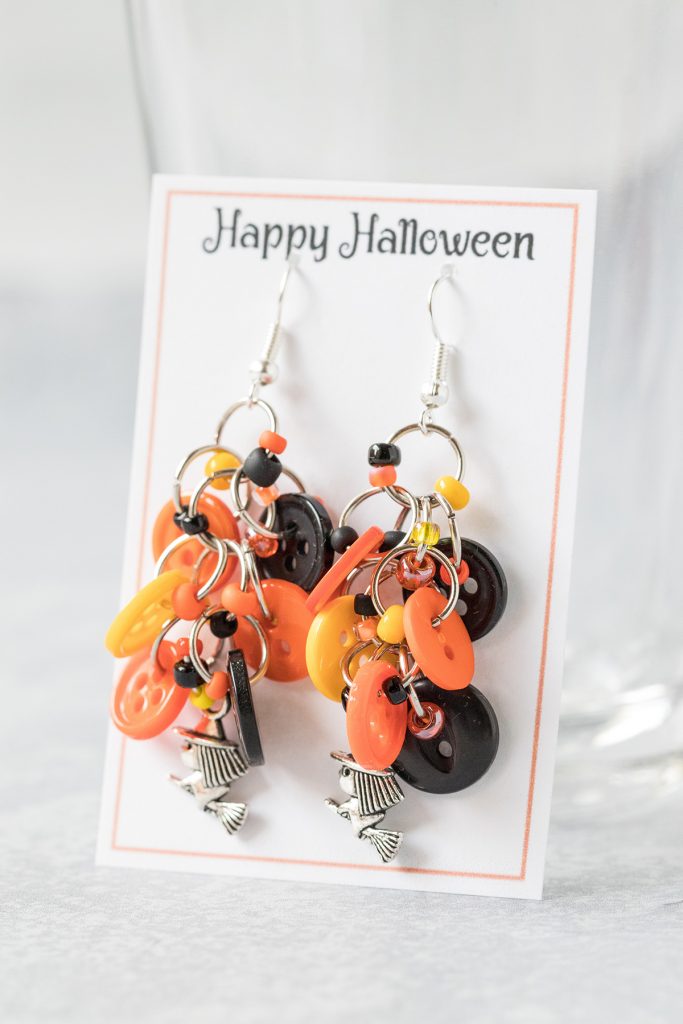
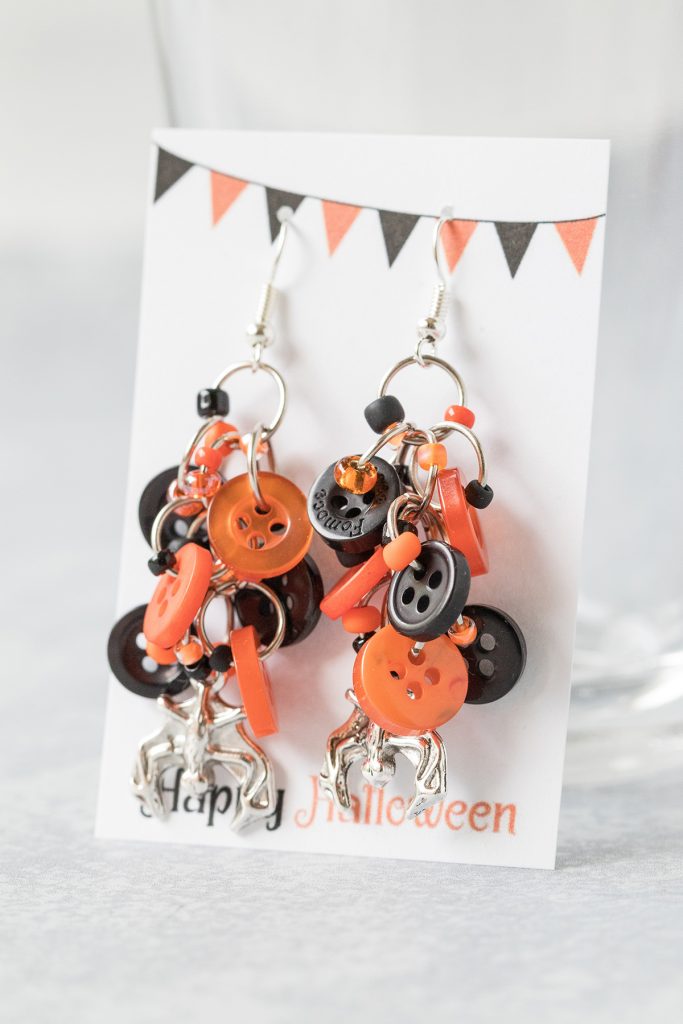
Detailed button dangle earrings
The final design I’m sharing here is the type of button earrings that I make the most for my Etsy shop. It’s an original design that I’ve spent years perfecting. I say detailed as opposed to complex because these earrings aren’t hard to make. You don’t need much jewelry making expertise or any tools beyond a basic pair of needle-nose pliers.
I’m sharing the full tutorial in a separate PDF because including the entire step-by-step instructions here would make for too long of a post. I also wanted to make the instructions for this particular design easier to print, so you can refer to it while making your earrings without starring at a tiny phone screen. Additionally, creating a separate PDF allows me to address a few frequently asked questions about button jewelry, such as where I buy my buttons and other jewelry supplies.
Grab the complete instructions for my detailed button dangle earrings!
>> [FREE button dangle earrings instructions!] <<
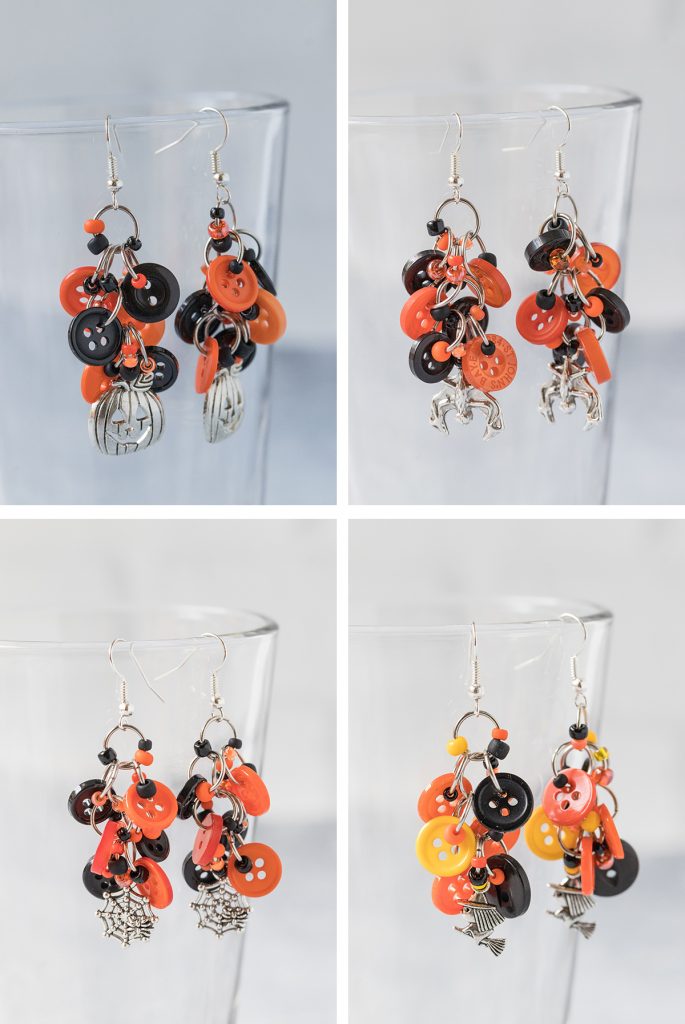
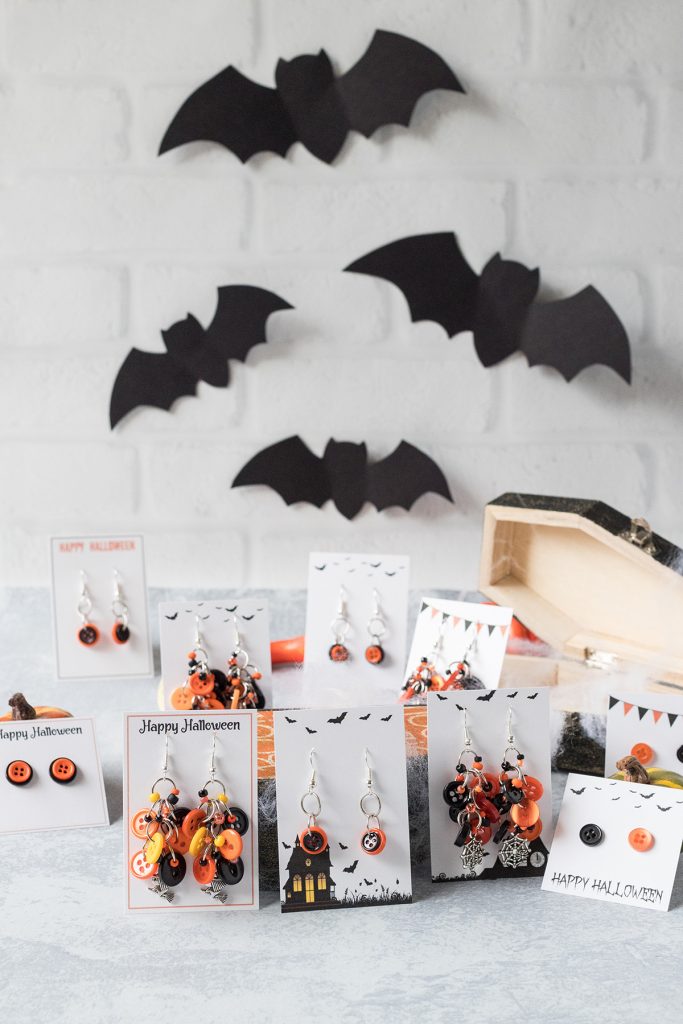
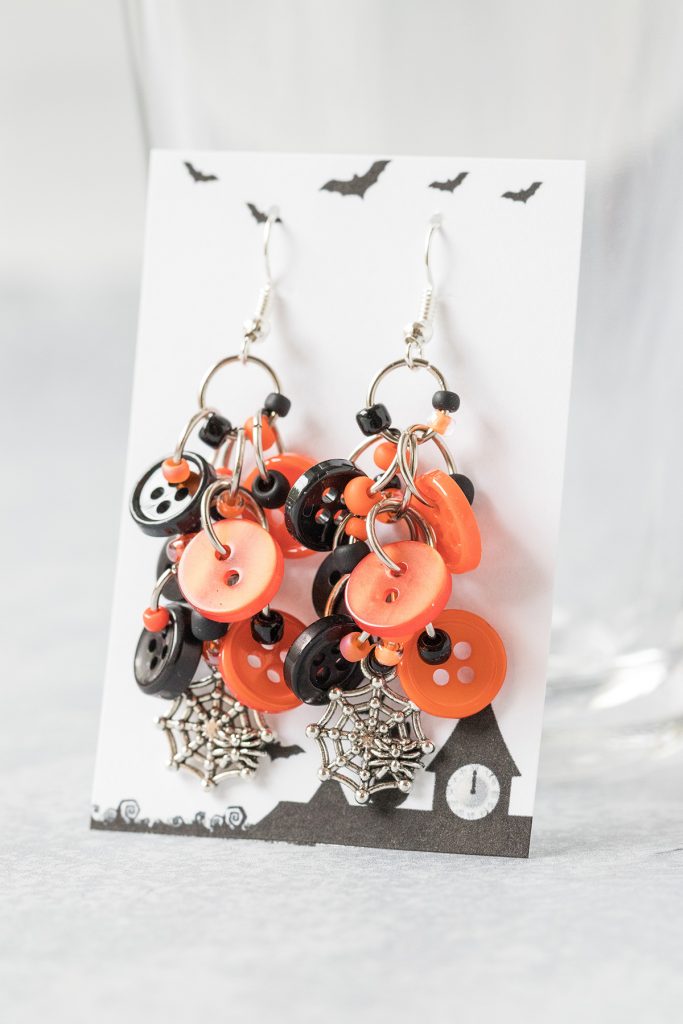
I’ve created several different Halloween versions of my button dangle earrings to give you lots of inspiration for your own designs. You can see how switching up the color palette, button sizes, and charms alters the final aesthetic.
Additional DIY Halloween earrings supply notes
I purchased all of my Halloween charms – spiderwebs, bats, witches, and pumpkins – from SparklingSistersJS on Etsy. I have bought a number of jewelry supplies from her over the years and always been very happy with the quality. Her inventory is subject to change at any time without notice. If you’re having trouble finding Halloween charms in her shop or elsewhere, let me know, and I’ll do my best to help.
Currently, I buy my jump rings from Fire Mountain Gems and the majority of my buttons from MellowMoonSupply. I have even more information about my favorite jewelry supplies in the above free button dangle earrings instructions PDF.
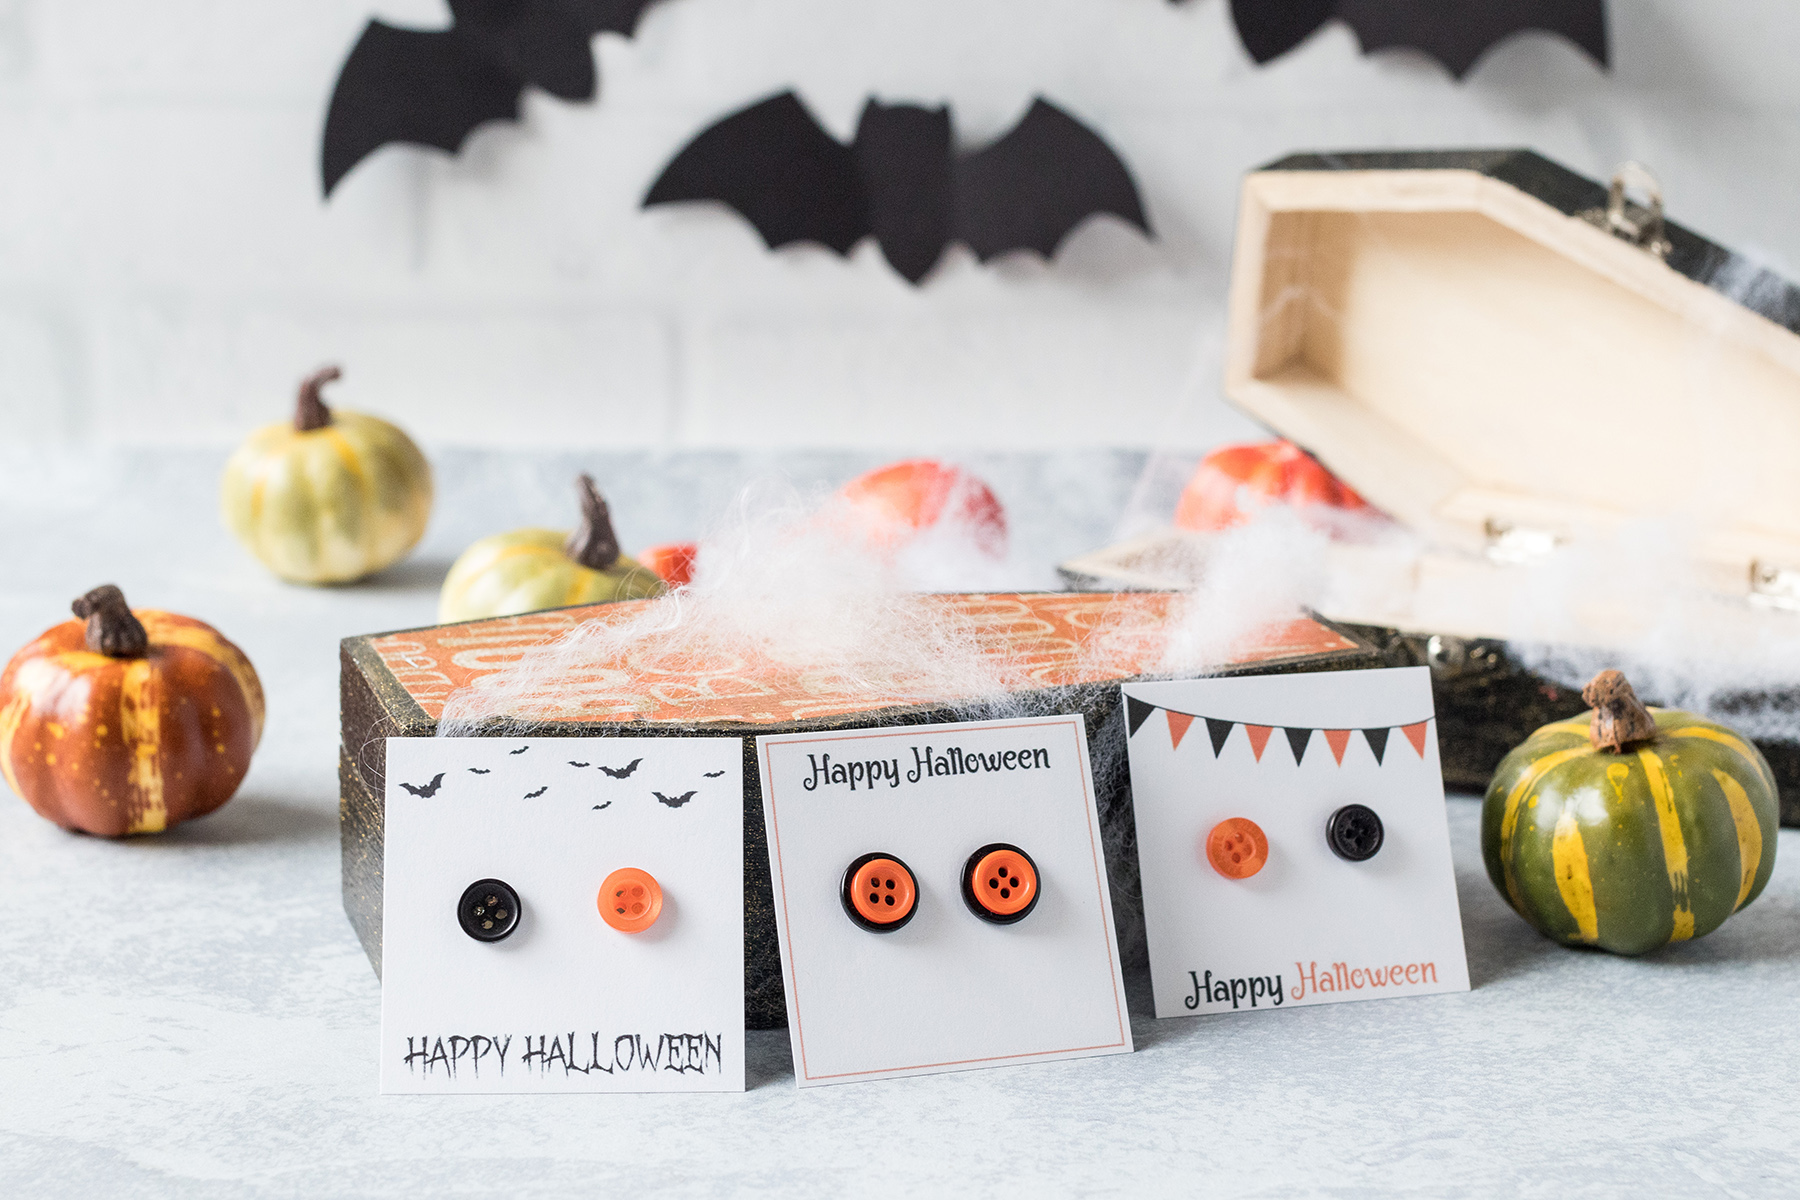
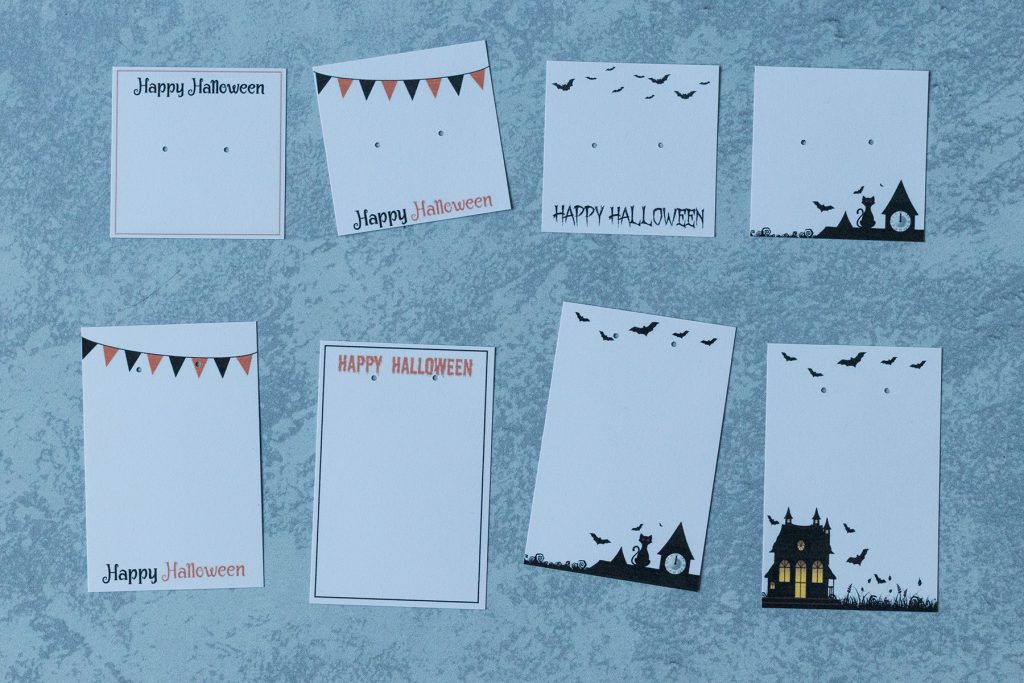
Free printable Halloween earring cards
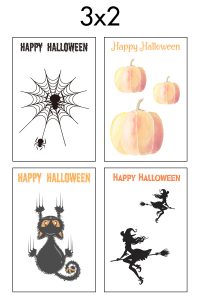
DIY Halloween earrings aren’t complete without Halloween-themed earring cards! I’ve created 12 earring card designs in two sizes, 2″x2″ and 3″x2.” 2×2 cards are perfect for post earrings, while 3×2 cards are great for dangle earrings.
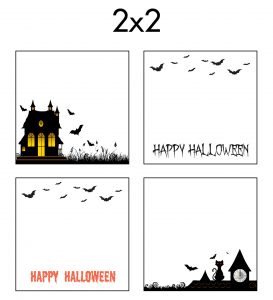
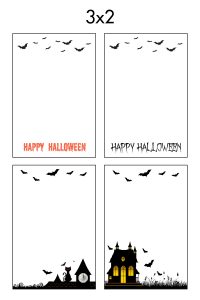
I have four full card designs featuring spiderwebs, pumpkins, black cats, and witches. Then I have eight card designs with Halloween-themed borders and colors and a few smaller designs, including bats and haunted houses. You’re sure to find something that fits your personal preferences and the style of your earrings.
The download links are for full-page PDF files with single designs. Each 2×2 earring card PDF contains 12 earring cards. Each 3×2 earring card PDF contains six earring cards.
I also have a few pages with assorted designs, so you can easily create Halloween earring cards with multiple designs without printing lots of pages. If you’re interested in a specific combination of cards on a single page, don’t hesitate to ask! I’m happy to create something for you.
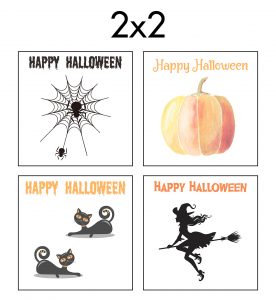
2×2 and 3×2 Halloween full design earring cards
Witch(es) riding broom(s) – 2×2 | 3×2
Assorted page with multiple designs – 2×2 | 3×2
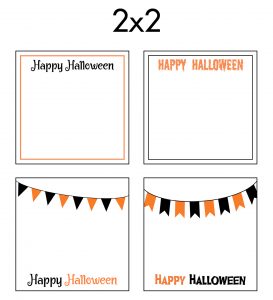
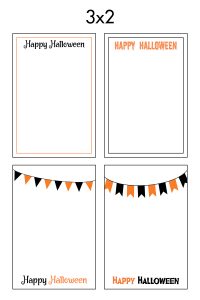
2×2 and 3×2 Halloween border design earring cards
Black cat and clock tower – 2×2 | 3×2
Assorted page with multiple designs – 2×2 | 3×2
Printing, cutting, and punching Halloween earring cards
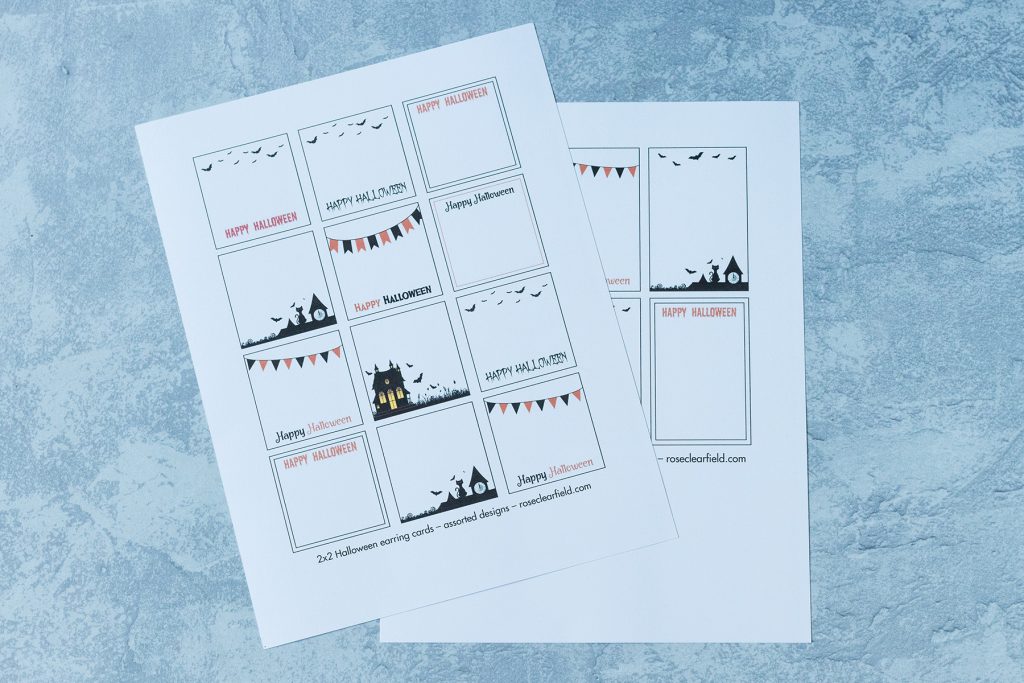
All of the earring card download pages are standard 8.5 x 11 size. I highly recommend printing the earring cards on white cardstock or other thick, light-colored paper. They will not hold up with regular printer paper. You can also send the earring card pages to the printer of your choosing, such as FedEx, Costco, or Office Max.
For home printing, if there is a scale drop-down menu on the print screen, choose the “actual size” option. “Fit to size” will print smaller than the intended size, which is not ideal.

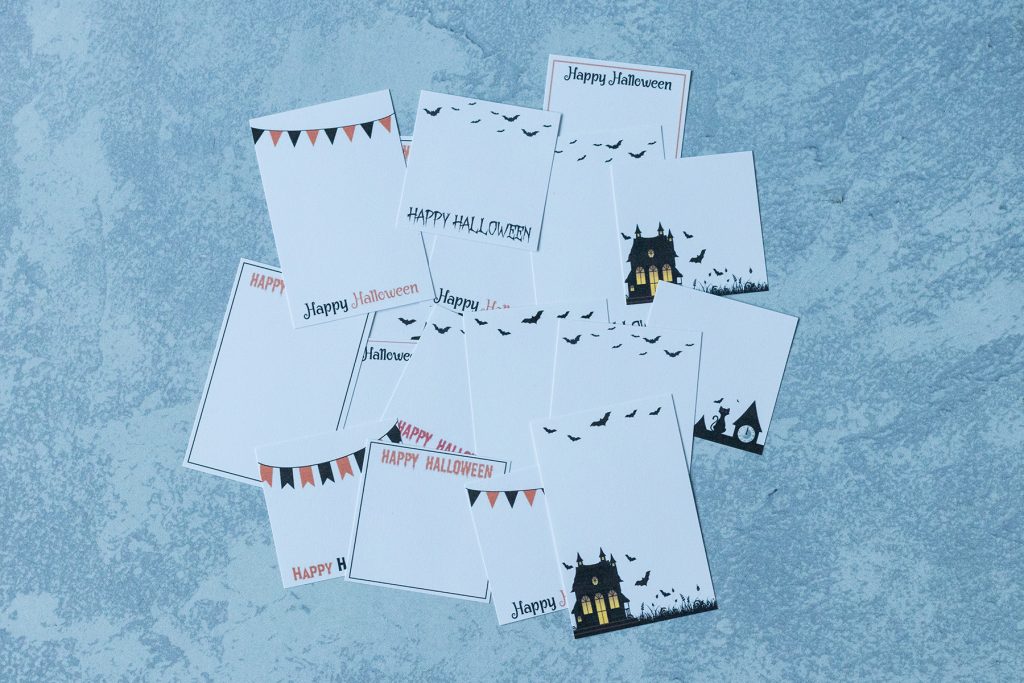
Once you’ve printed your earring cards, you’ll need to cut them apart and punch holes for the earrings. For professional results, cut your earring cards with a paper cutter. I’ve been using the linked paper cutter for years and can’t recommend it enough. The black lines will help you determine where to cut. Aim to cut just past the black line, so there is no line remaining, but you don’t cut into the borders/text/designs.

Finally, you’ll need to punch holes in the earring cards so that you can attach the earrings. One of the advantages of making your own earring cards is that you can customize the hole locations for a given pair of earrings. I use a 1/16″ circle hand punch. The hole size is ideal for standard earring post and earring wire sizes.

I would love to see your DIY Halloween earrings and printable earring cards!
Tag your images #RoseClearfield on Instagram or Twitter or post a photo to my Facebook page.
Pin this post for easy access to the DIY Halloween earrings and printable earring cards later!