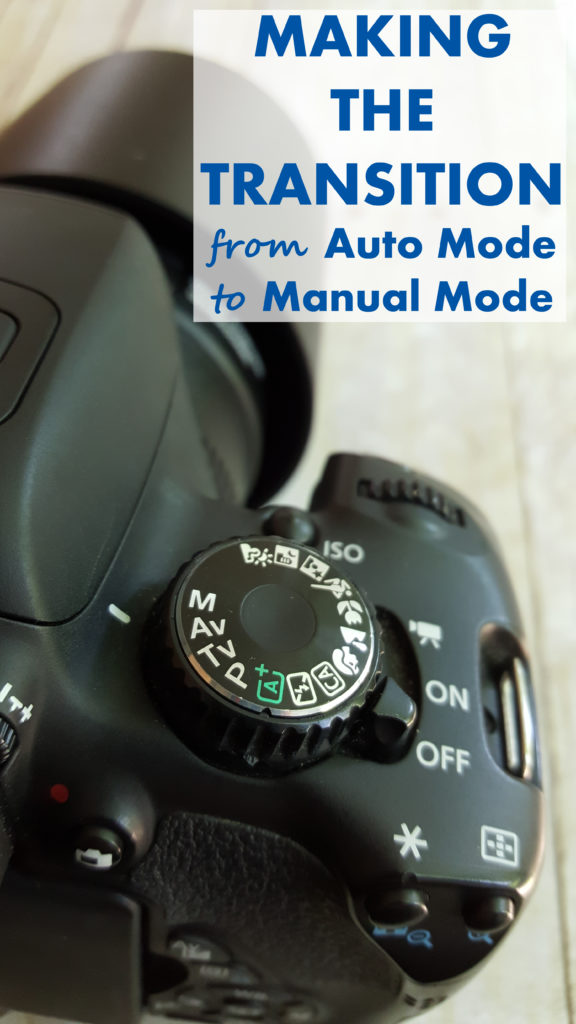
For most beginner or amateur photographers, making the transition from Auto Mode to Manual Mode is scary. You’ve heard the terms ISO, aperture, and shutter speed before, but you don’t really know what they mean and you definitely don’t understand how they work together. It’s tempting to leave the camera on Auto mode all the time because you believe the camera will make better settings choices than you will. However, as you begin to learn your camera settings, you’ll quickly start making better choices, ultimately creating higher quality images. It’s not an easy process to learn Manual camera settings, but it’s well worth the investment.
And yes, I understand that it’s really hard and often really frustrating. When I first bought a DSLR, I had very little understanding of Manual camera settings. It’s taken me years of practice and a lot of trial and error and mistakes to feel comfortable with Manual mode. (And believe me, I still make plenty of mistakes.) It wasn’t until I started shooting in Manual mode the majority of the time that I really started to appreciate the power and freedom of Manual mode. Start taking the plunge today, and I promise you that you’ll be glad you did.
Please keep in mind that I am not a professional photographer. I am simply sharing tips that have worked for me and other photographers I know for making the transition from auto mode to manual mode. I hope that they will be of help to other photographers, too.
Learn everything that you can about Manual camera settings
Learning as much as you can about ISO, aperture, and shutter speed and how these three elements work together as the “exposure triangle” will help you start adjusting the settings yourself. There are lots of free resources available online, such as this article from Fstoppers. I have also learned so much about the exposure triangle from Tasty Food Photography and Photography Demystified: Your Guide to Gaining Creative Control and Taking Amazing Photographs. ISO, aperture, and shutter speed as complex concepts, especially when you try to manipulate them at the same time. You may need to revisit exposure triangle resources over and over again before the terminology feels natural.
Start paying attention to your settings while shooting in Auto mode
If you’re shooting with a DSLR camera, the settings will display in the viewfinder when you press the shutter button halfway. If you haven’t been paying attention to the settings, start paying attention. While your camera won’t always make the best settings choices, its choices will be a general guide for varying light conditions and common photography environments in your life (i.e. a nearby park).
If you’re shooting with a smartphone and haven’t adjusted any of the settings yourself, most likely you’ll have to open the photos in an editing program to view the settings, which isn’t very helpful for learning to make adjustments on the fly. Pay attention to the quality of the photos and think about how you could adjust the settings to improve problem areas. For example, if a photo is too dark, you may be able to adjust the ISO to create a brighter image.
Start using your settings as a guide for shooting in Manual mode
When you’re first shooting Manual mode, you may not have any idea what settings to use, which is very overwhelming. Take a test shot in Auto mode, and then view the image with the settings information. (If you don’t know how to pull up the settings information in your photo viewer, consult your manual.) Say the camera selected ISO 200, f/4.0, shutter speed 1/125, and the image turned out a little darker than you’d like. Switch to Manual, dial in these settings, and then adjust from there. Most likely this process will be much easier than it would be to dial in the settings all on your own.
Again, the process of using the settings as a guide isn’t very helpful for smartphone shooters who are still using a full Auto mode. Again, you should pay attention to the final images the camera produces in Auto mode and start making manual adjustments as needed.
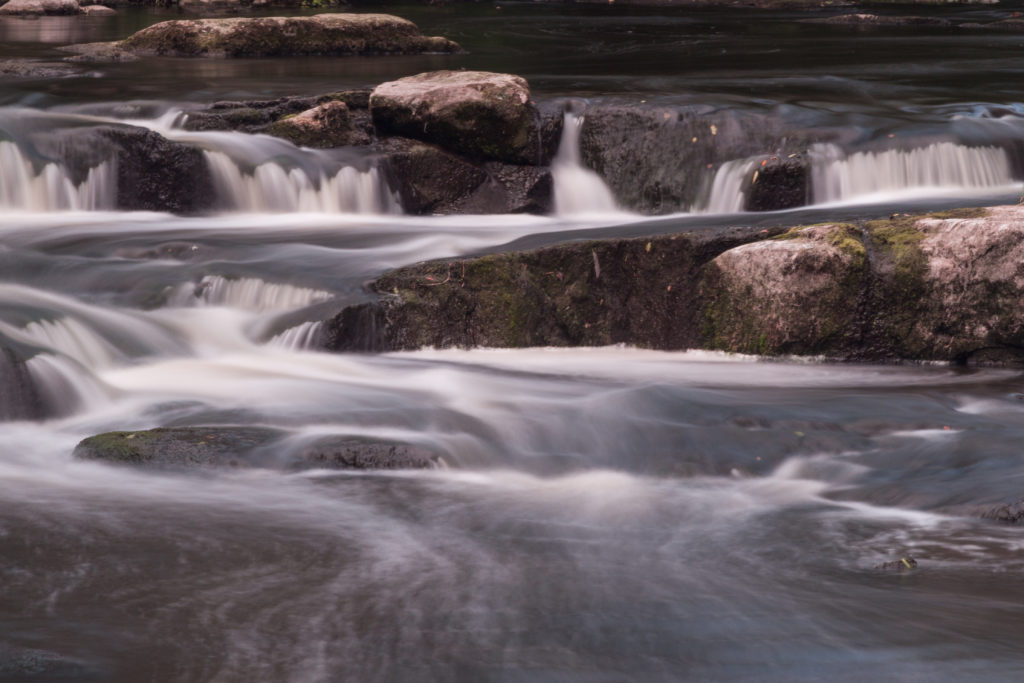
Waterfall in Cedarburg, WI, ISO 100, f/22, 5 seconds
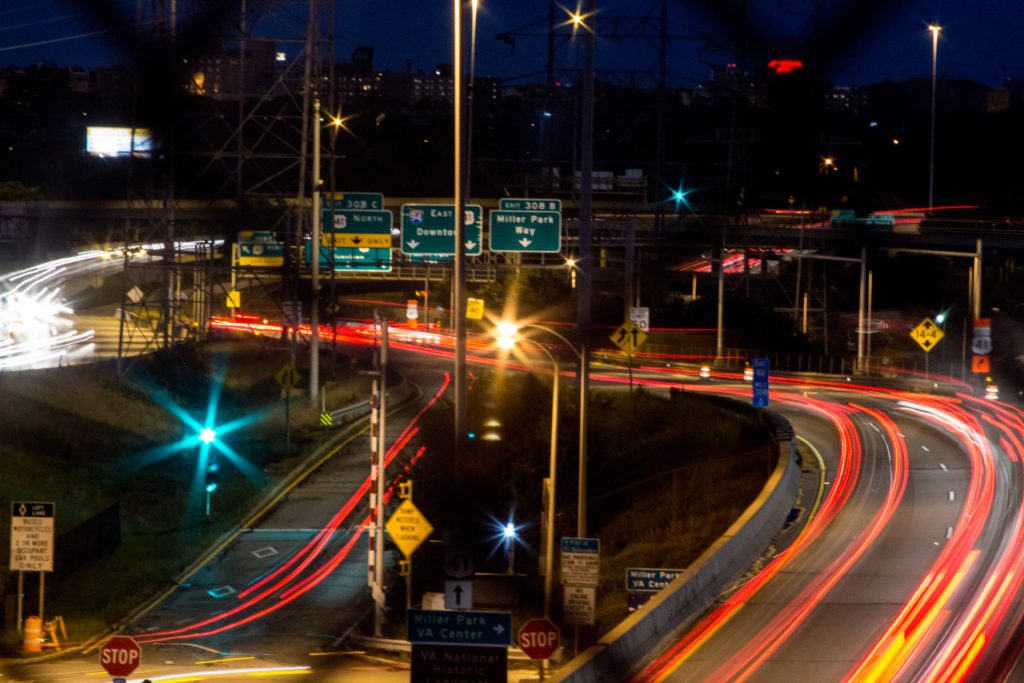
I-94 Bridge, ISO 800, f/22, 6 seconds
Attempt shots that require you to use a Manual mode
Typically cameras do a pretty good job shooting in Auto mode when there is ample light. However, certain types of shots simply aren’t possible in Auto mode, namely long exposures. The camera may choose a shorter shutter speed to fit the current light conditions, but it will never choose a shutter speed long enough to create either of the long exposure effects I’ve created above. Initially, you may be satisfied shooting in shutter priority mode and letting the camera set the ISO and aperture for your long exposures. Over time, start challenging yourself to set the ISO and aperture as well for your long exposure shots. As long as you have a tripod, you can even shoot long exposures on your smartphone!
Shoot in Manual mode in controlled light settings
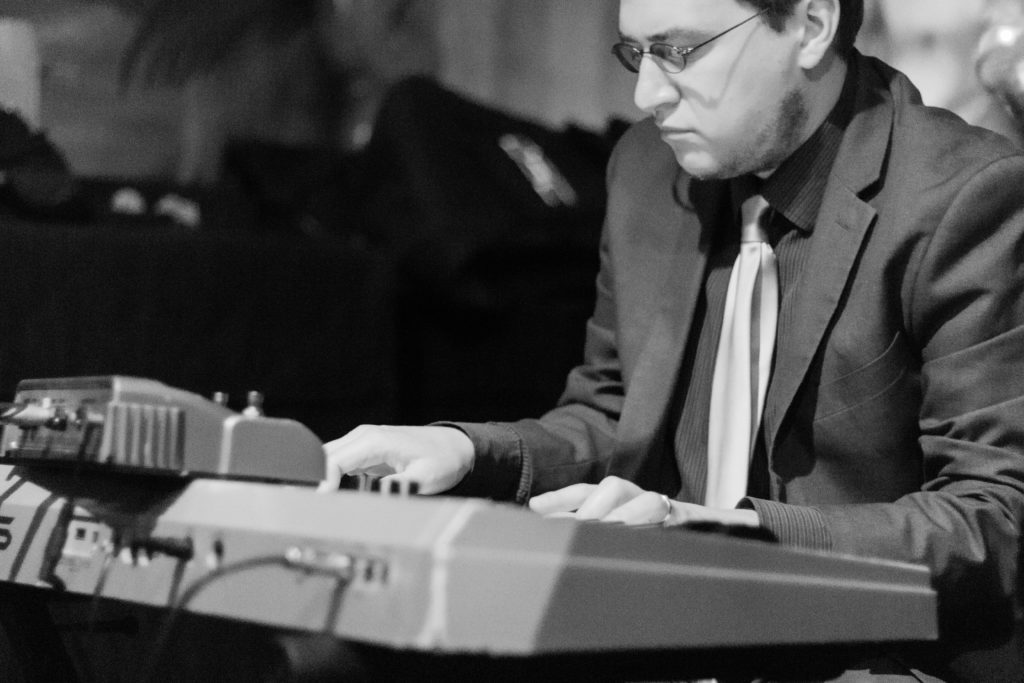
Shooting in Manual mode in a controlled light setting is MUCH easier than shooting in Manual mode when the light levels change constantly. For example, taking pictures of a band in a dark nightclub or shooting product photos with a lightbox is much easier than taking pictures while at the zoo on vacation. Your light levels aren’t going to vary much, if at all, in the lightbox or at the nightclub, which means you can determine your settings and then make minimal adjustments. In comparison, at the zoo, you’ll be wondering in and out of buildings and shooting animals in full sunlight, shadowed light, and interior settings, which requires adjusting your settings constantly.
Seek out opportunities to practice Manual mode on your own or with fellow photographers
It’s awesome to spend time at a museum with your family or enjoy a picnic with friends at the park. However, gatherings with family and friends aren’t always conducive to early practice with Manual settings. Your family may get frustrated when you start lagging behind at the zoo or you may miss whole chunks of conversation with friends at the picnic because you’re too busy fiddling with your camera. Eventually, you’ll get to the point that you can adjust your settings fairly seamlessly. However, until you do, keep the camera in an Auto or semi-Manual (i.e. shutter priority) mode during social gatherings or special events and practice Manual mode when you’re by yourself or with fellow photographers.
Finally, at some point, you just have to dive in and start shooting in full Manual mode, at least for short periods of time, even if you don’t feel ready. There will be a lot of trial and error, and you’ll make a lot of mistakes. That’s okay! I owned a DSLR camera for three and a half years before I felt comfortable shooting in full Manual mode most of the time, and I still make a lot of mistakes.
Do you have any tips for making the transition from Auto mode to Manual mode? Feel free to leave them in the comments!
More photography resources:
Photography 101: Never Stop Learning
Why I Don’t Watermark My Photos
10 Tips for Better Beach Photography

