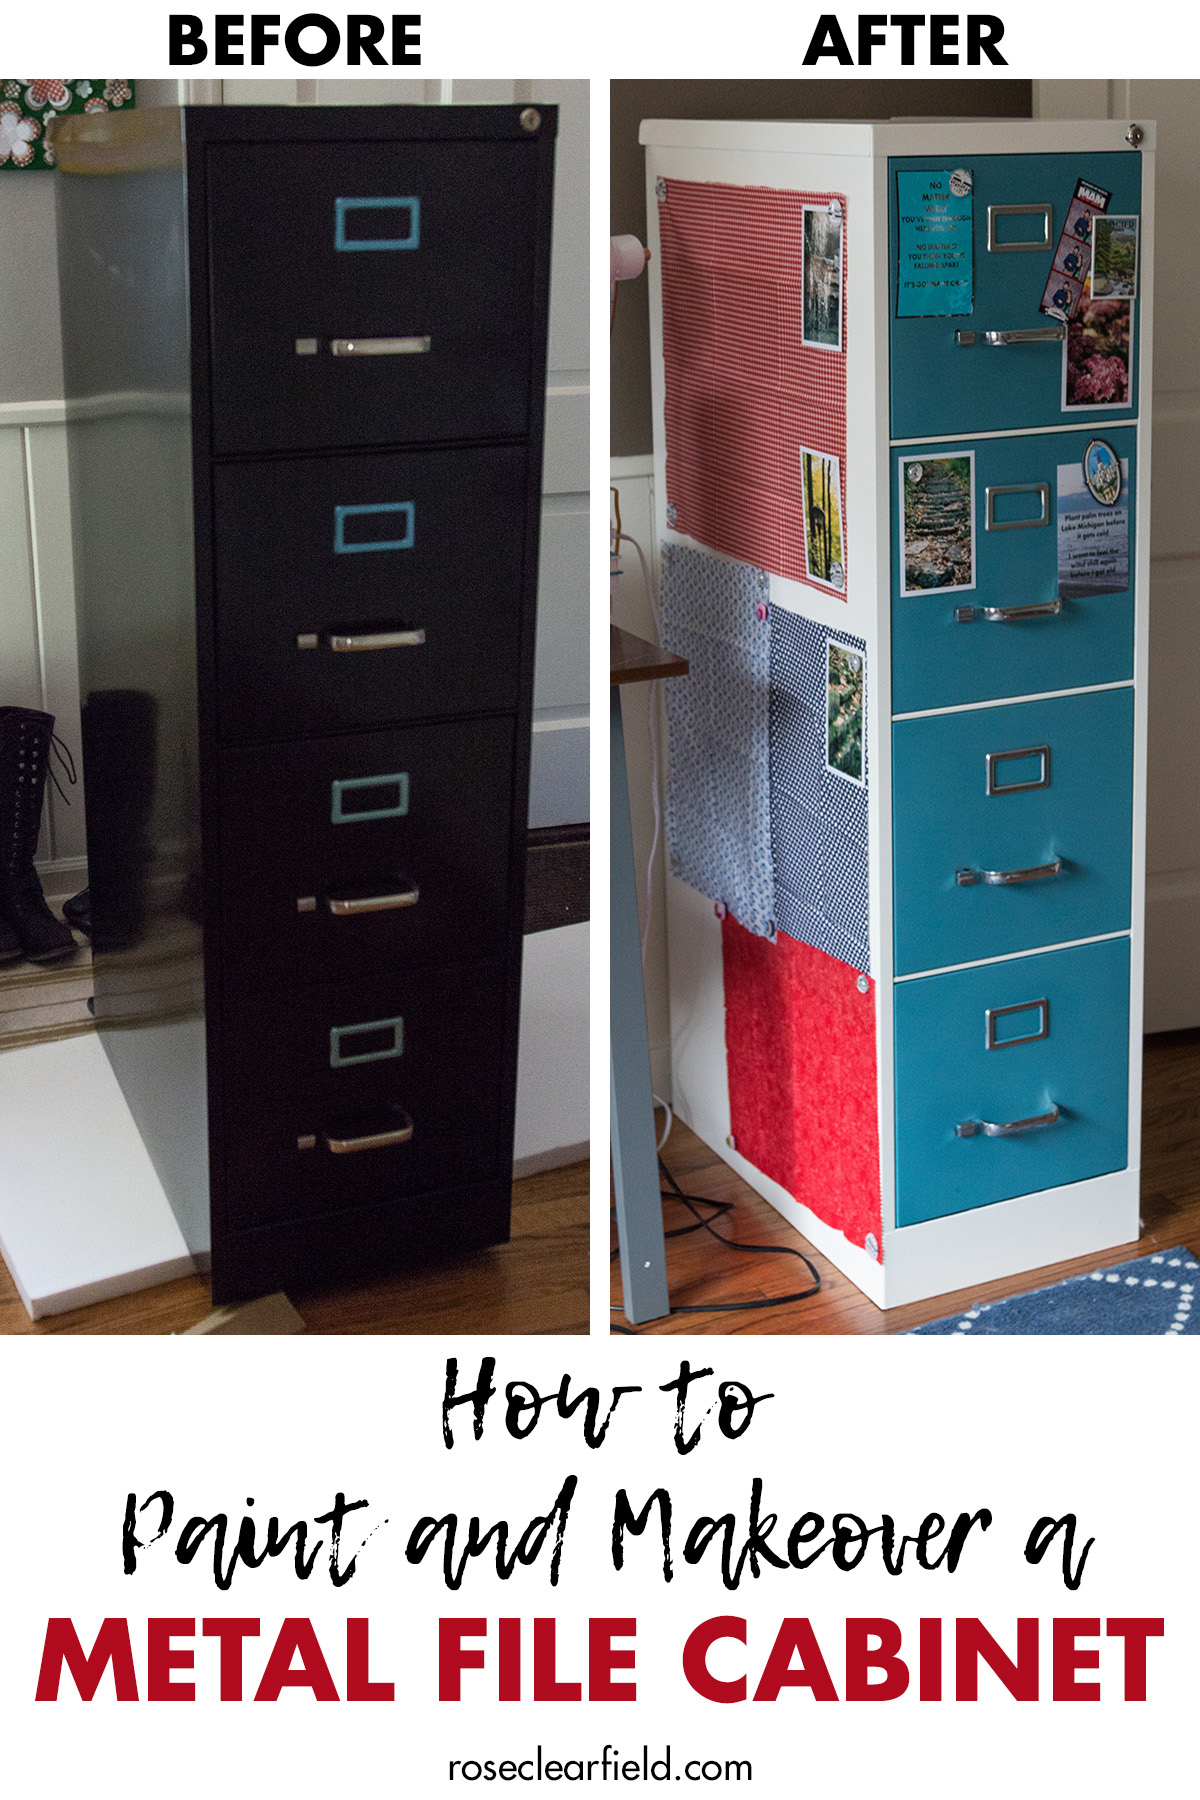
Painting and making over a metal file cabinet is an easy, fun way to transform an ugly black cabinet into a beautiful, decorated cabinet. It’s perfect for a classroom or home office.
I was way overdue for a four-drawer metal filing cabinet. For years, I’ve been cramming tons of important paperwork in a two-drawer cabinet and leaving everything else (like my old teaching files) in boxes. But every time I went to purchase a cabinet, I hesitated because black metal filing cabinets are so ugly. Every attractive filing cabinet I’ve found has terrible reviews. So I’ve kept making do with my two-drawer cabinet.
BUT. You can paint and decorate a file cabinet. Two years ago, I’d never painted anything larger than a 16×20 canvas by myself. Now that I’ve painted multiple rooms and pieces of furniture on my own, I’m less afraid to tackle bigger painting projects. I finally bit the bullet and got a filing cabinet, fully prepared to paint it and make it look attractive for my office.
Supplies for a file cabinet makeover:
- New or old file cabinet. I purchased this file cabinet. (Order it online and get a few percent back with Ebates!)
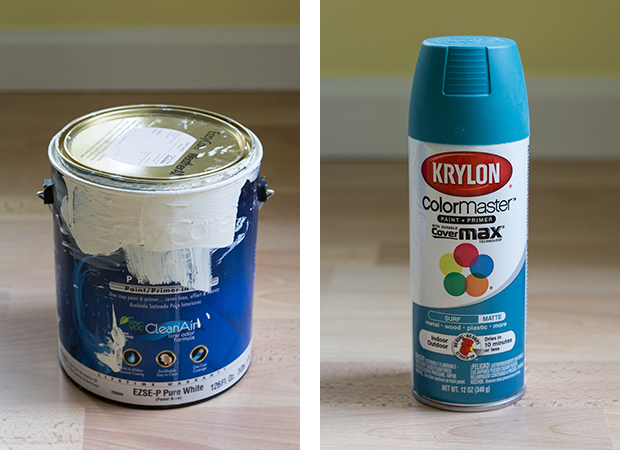
- One quart acrylic latex paint. I used True Value’s Baby Chick, satin finish. (The pictured can is a gallon because I’ve used this paint color for multiple home projects. But a quart is plenty for this project.)
- Two cans spray paint. I used Kylon’s Surf, matte finish.
- Small foam roller paintbrush.
- Painter’s tape.
- Decorative items for the file cabinet (i.e., fabric, magnets, photos, etc.).
You’ll also need some large cardboard sheets, paint canvas, or other protective covering for the garage floor or ground. I cut up the file cabinet box.
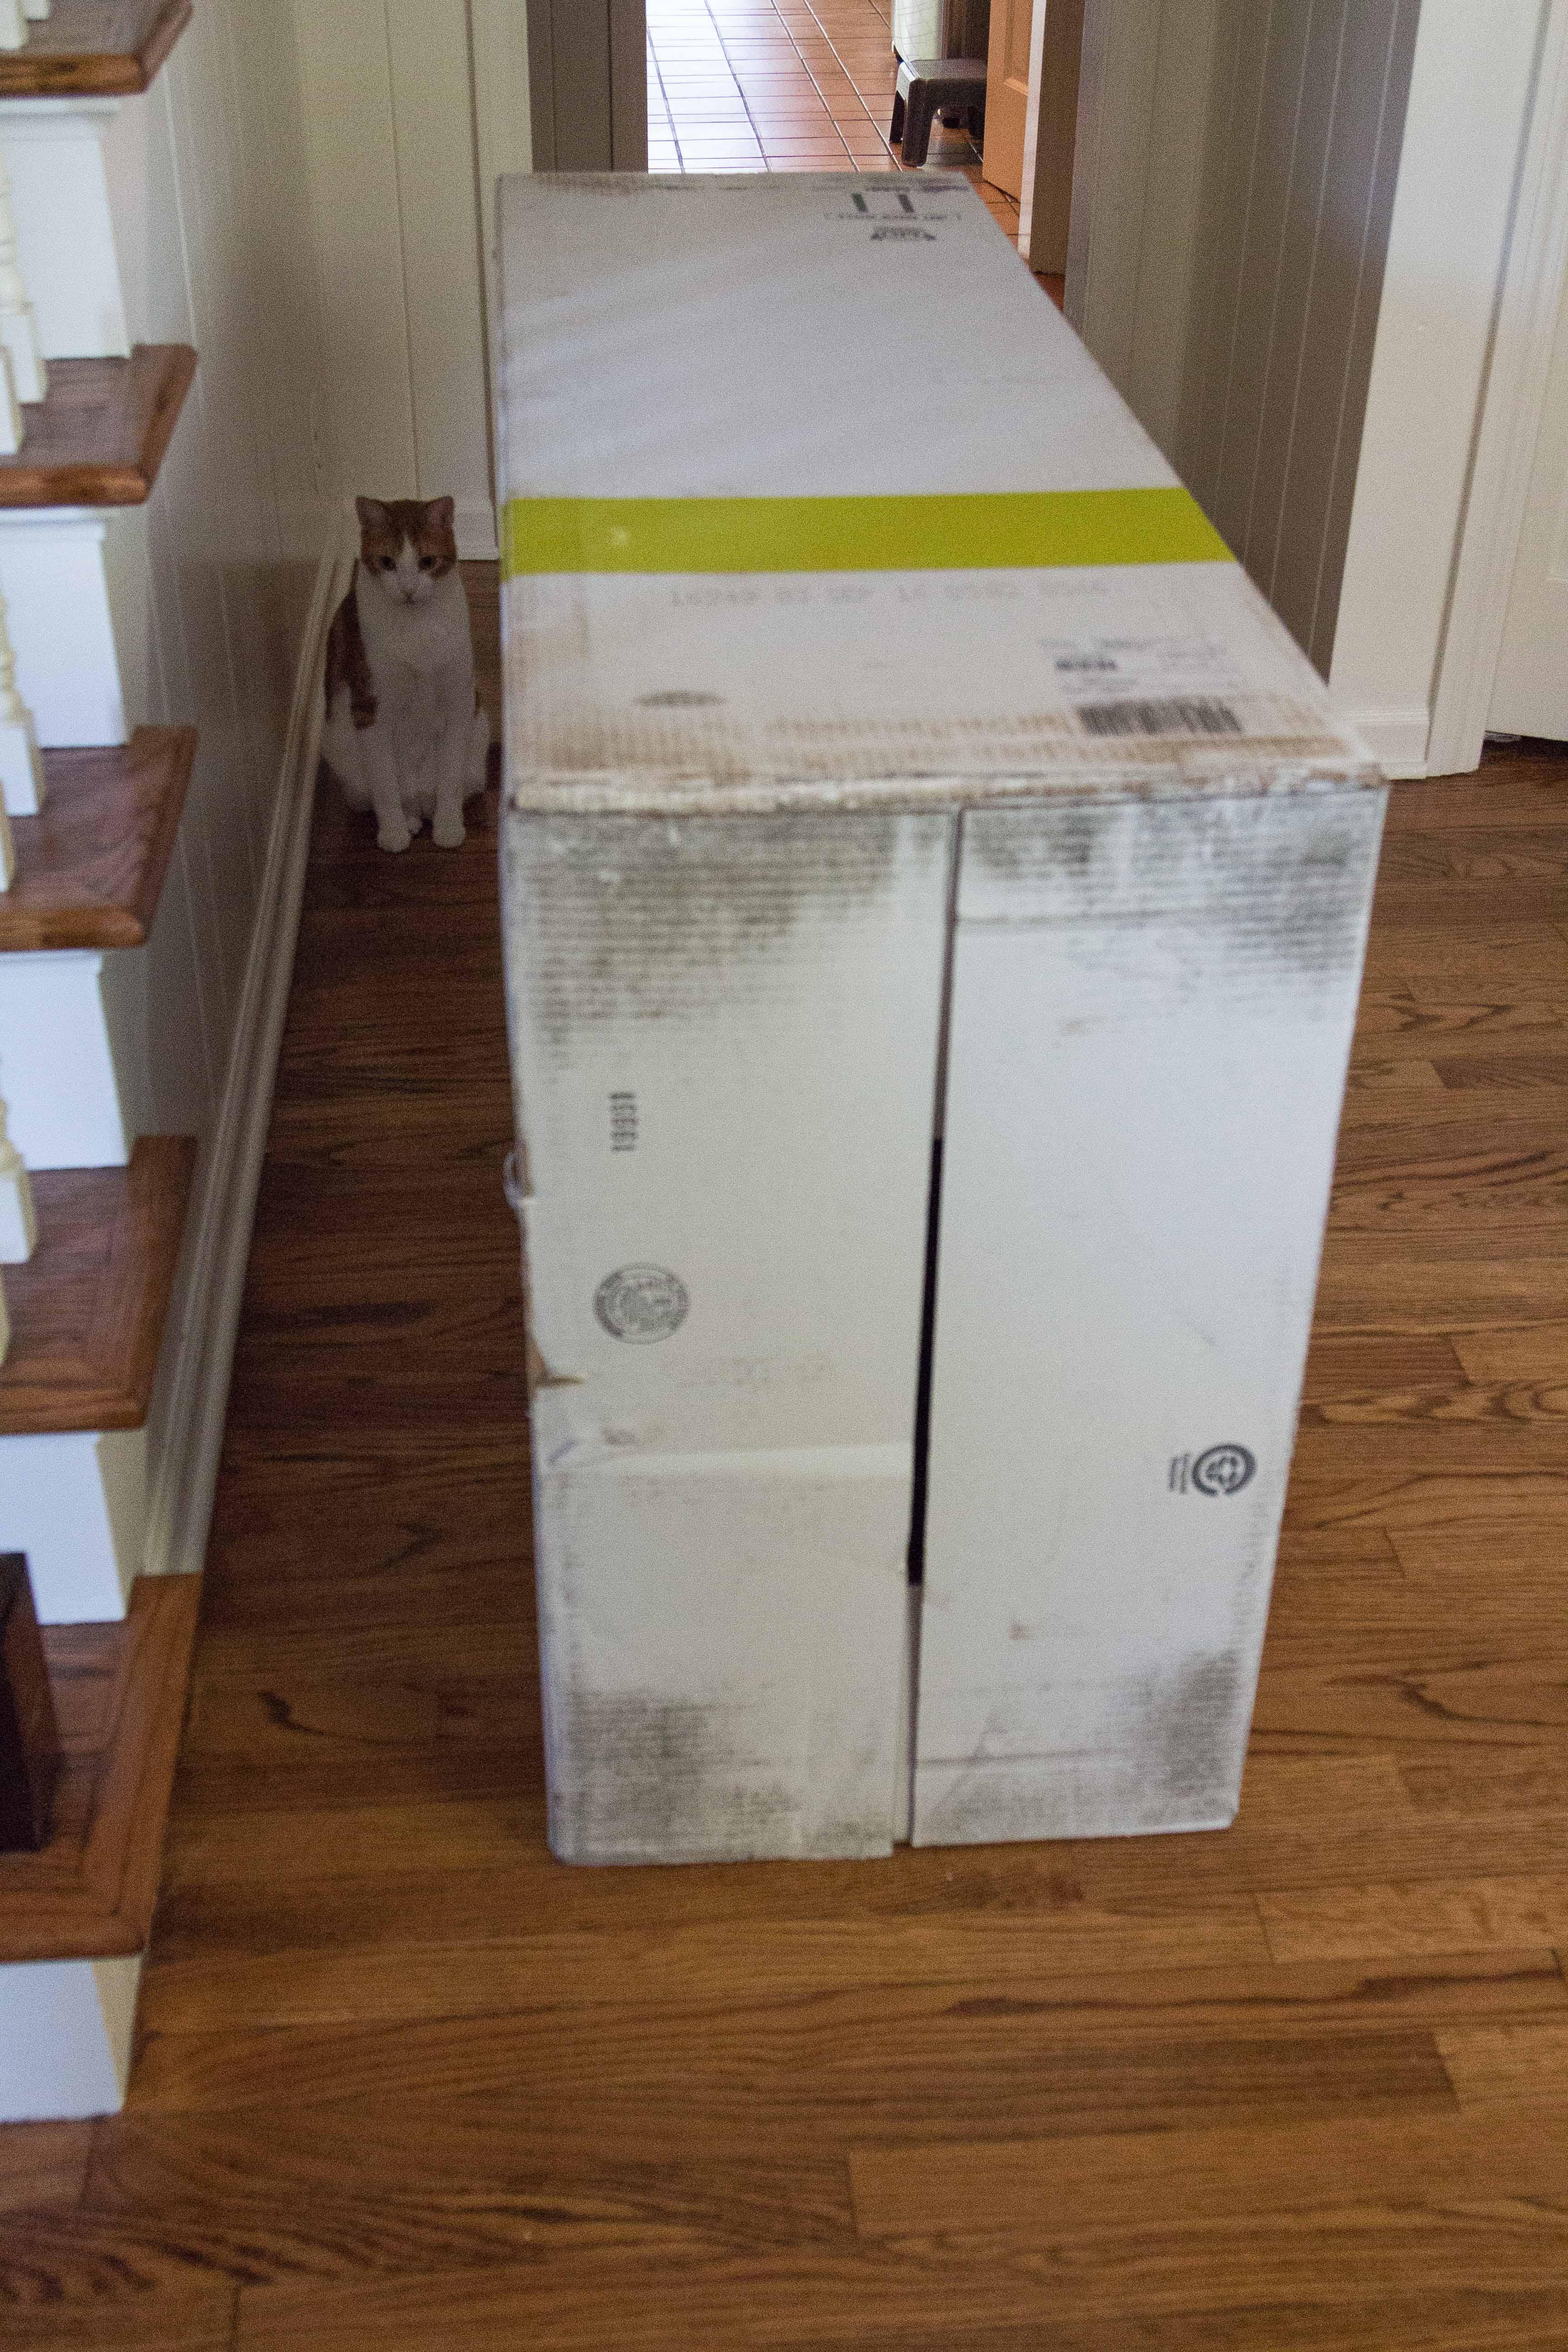
Here’s the new file cabinet in our entryway. See my little photo bomber?
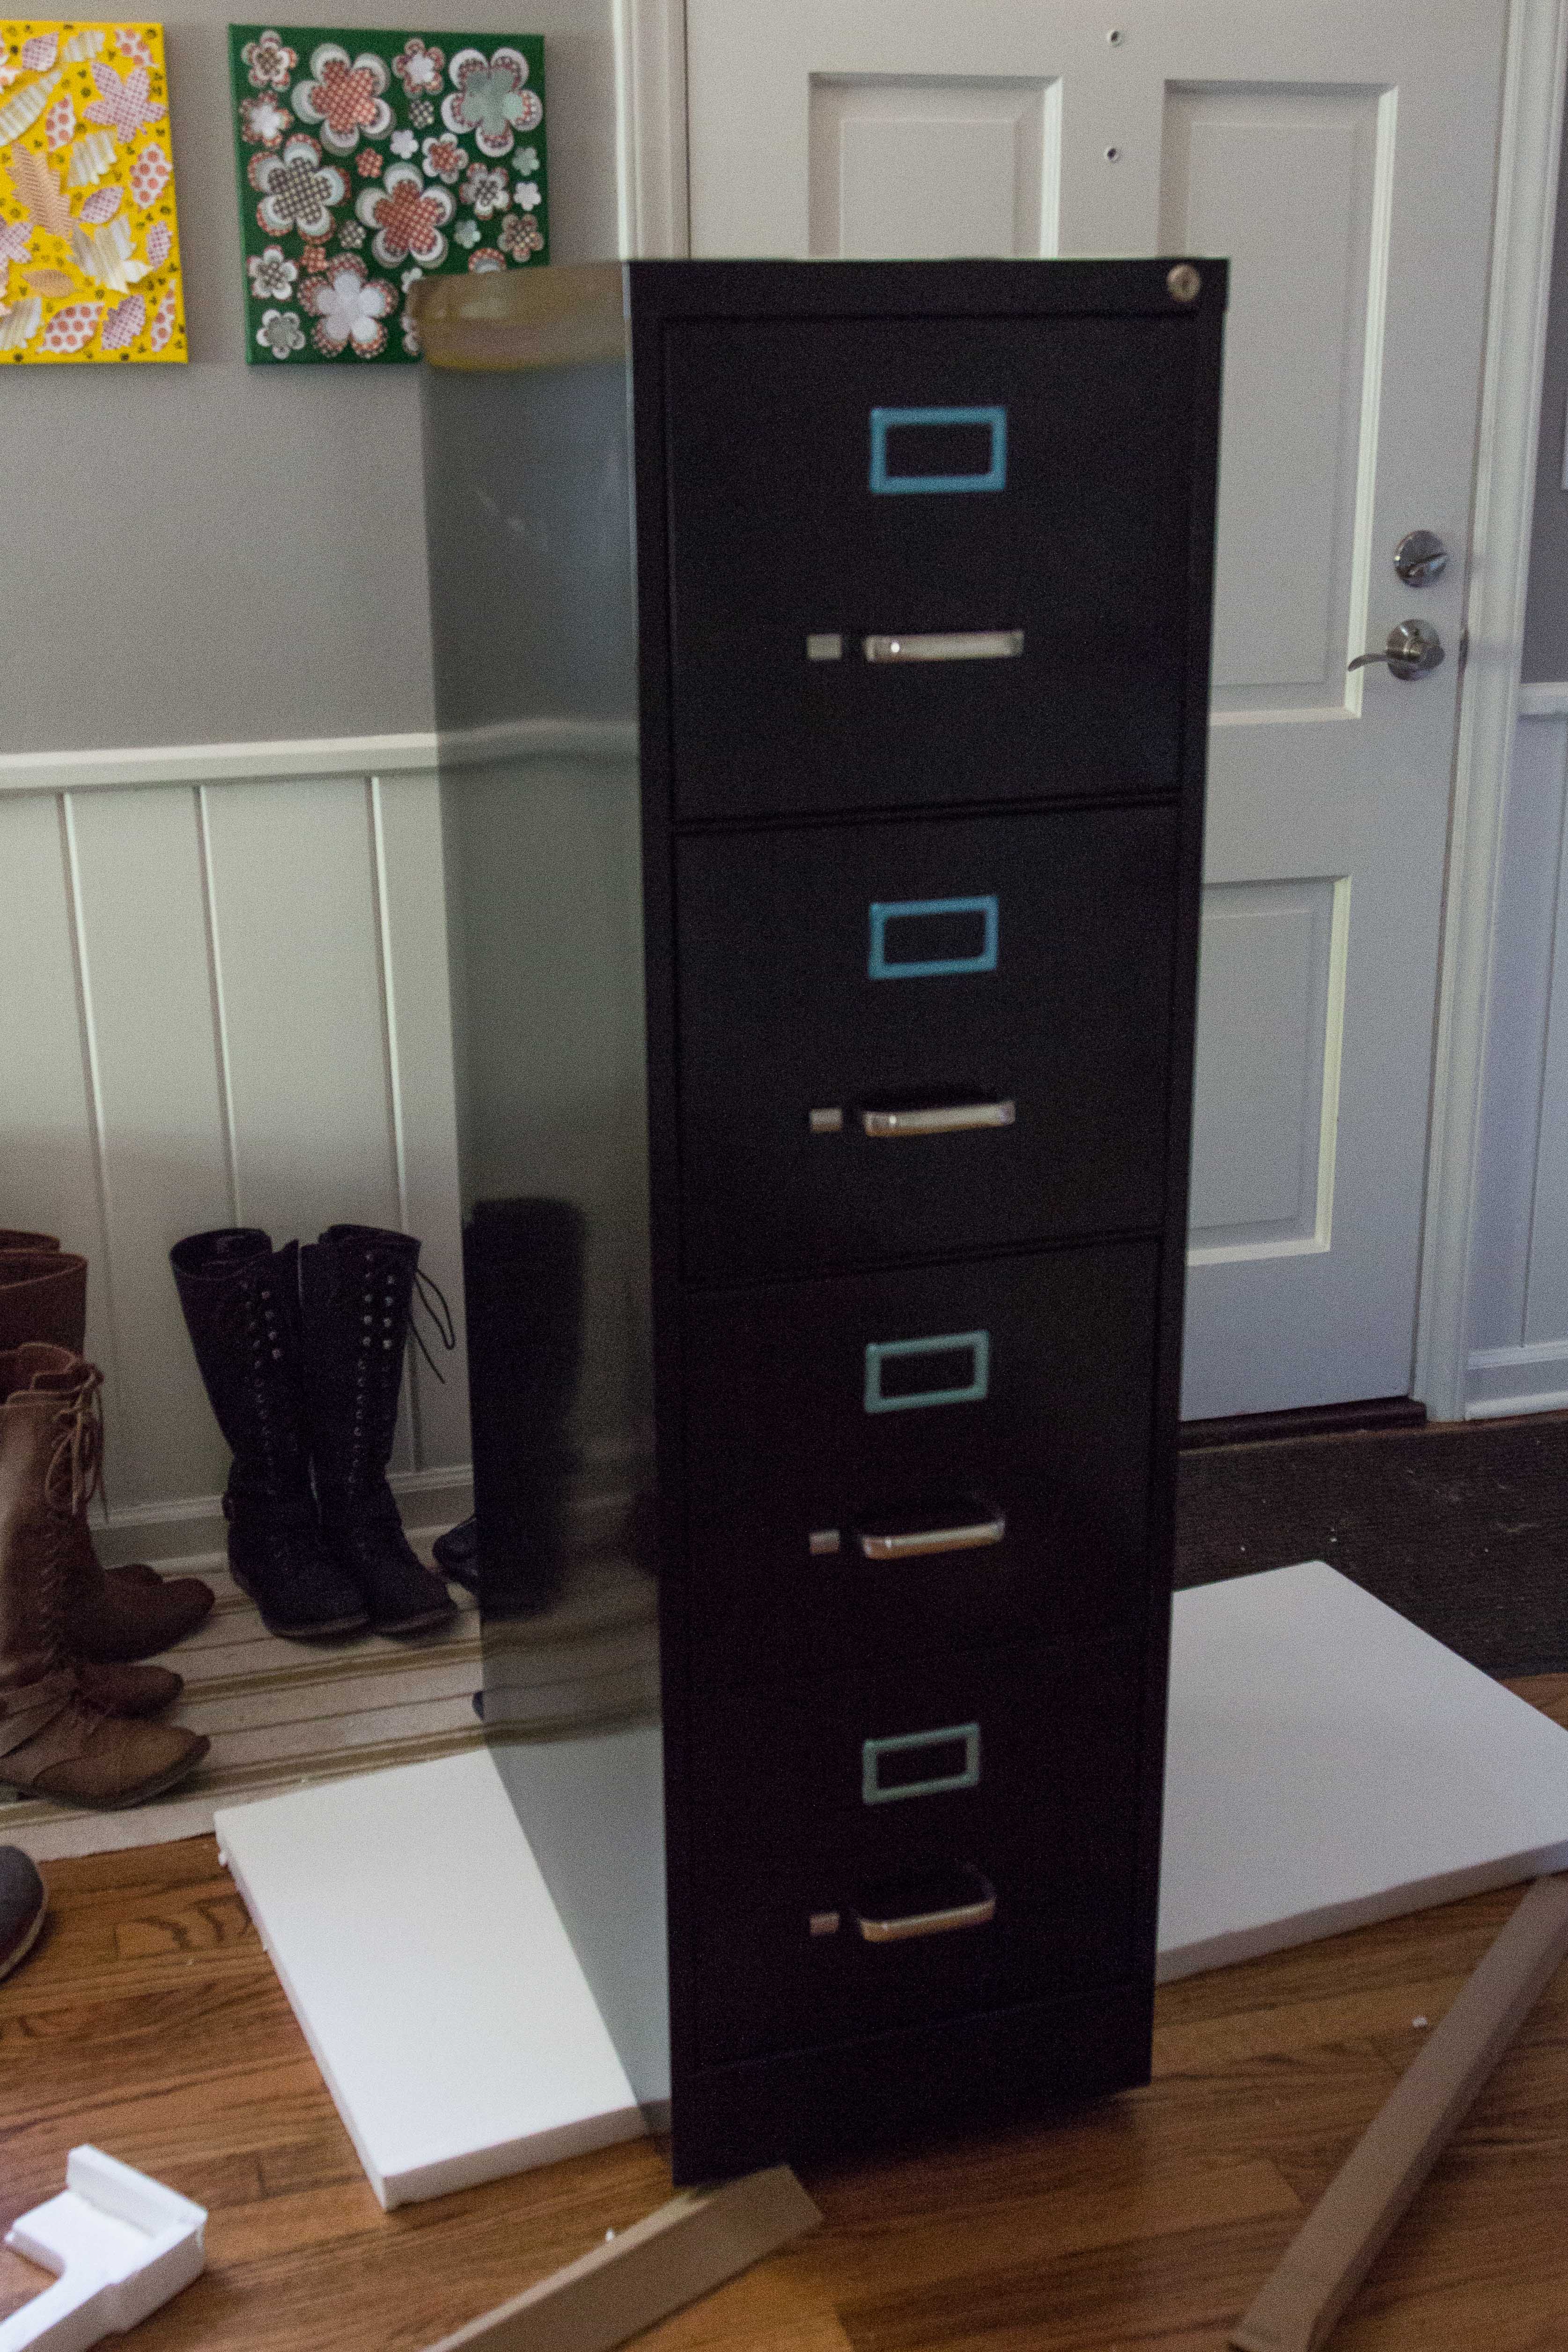
If you’ve bought a new file cabinet, take it out of the box. Remove the large Styrofoam pieces and any plastic coverings.
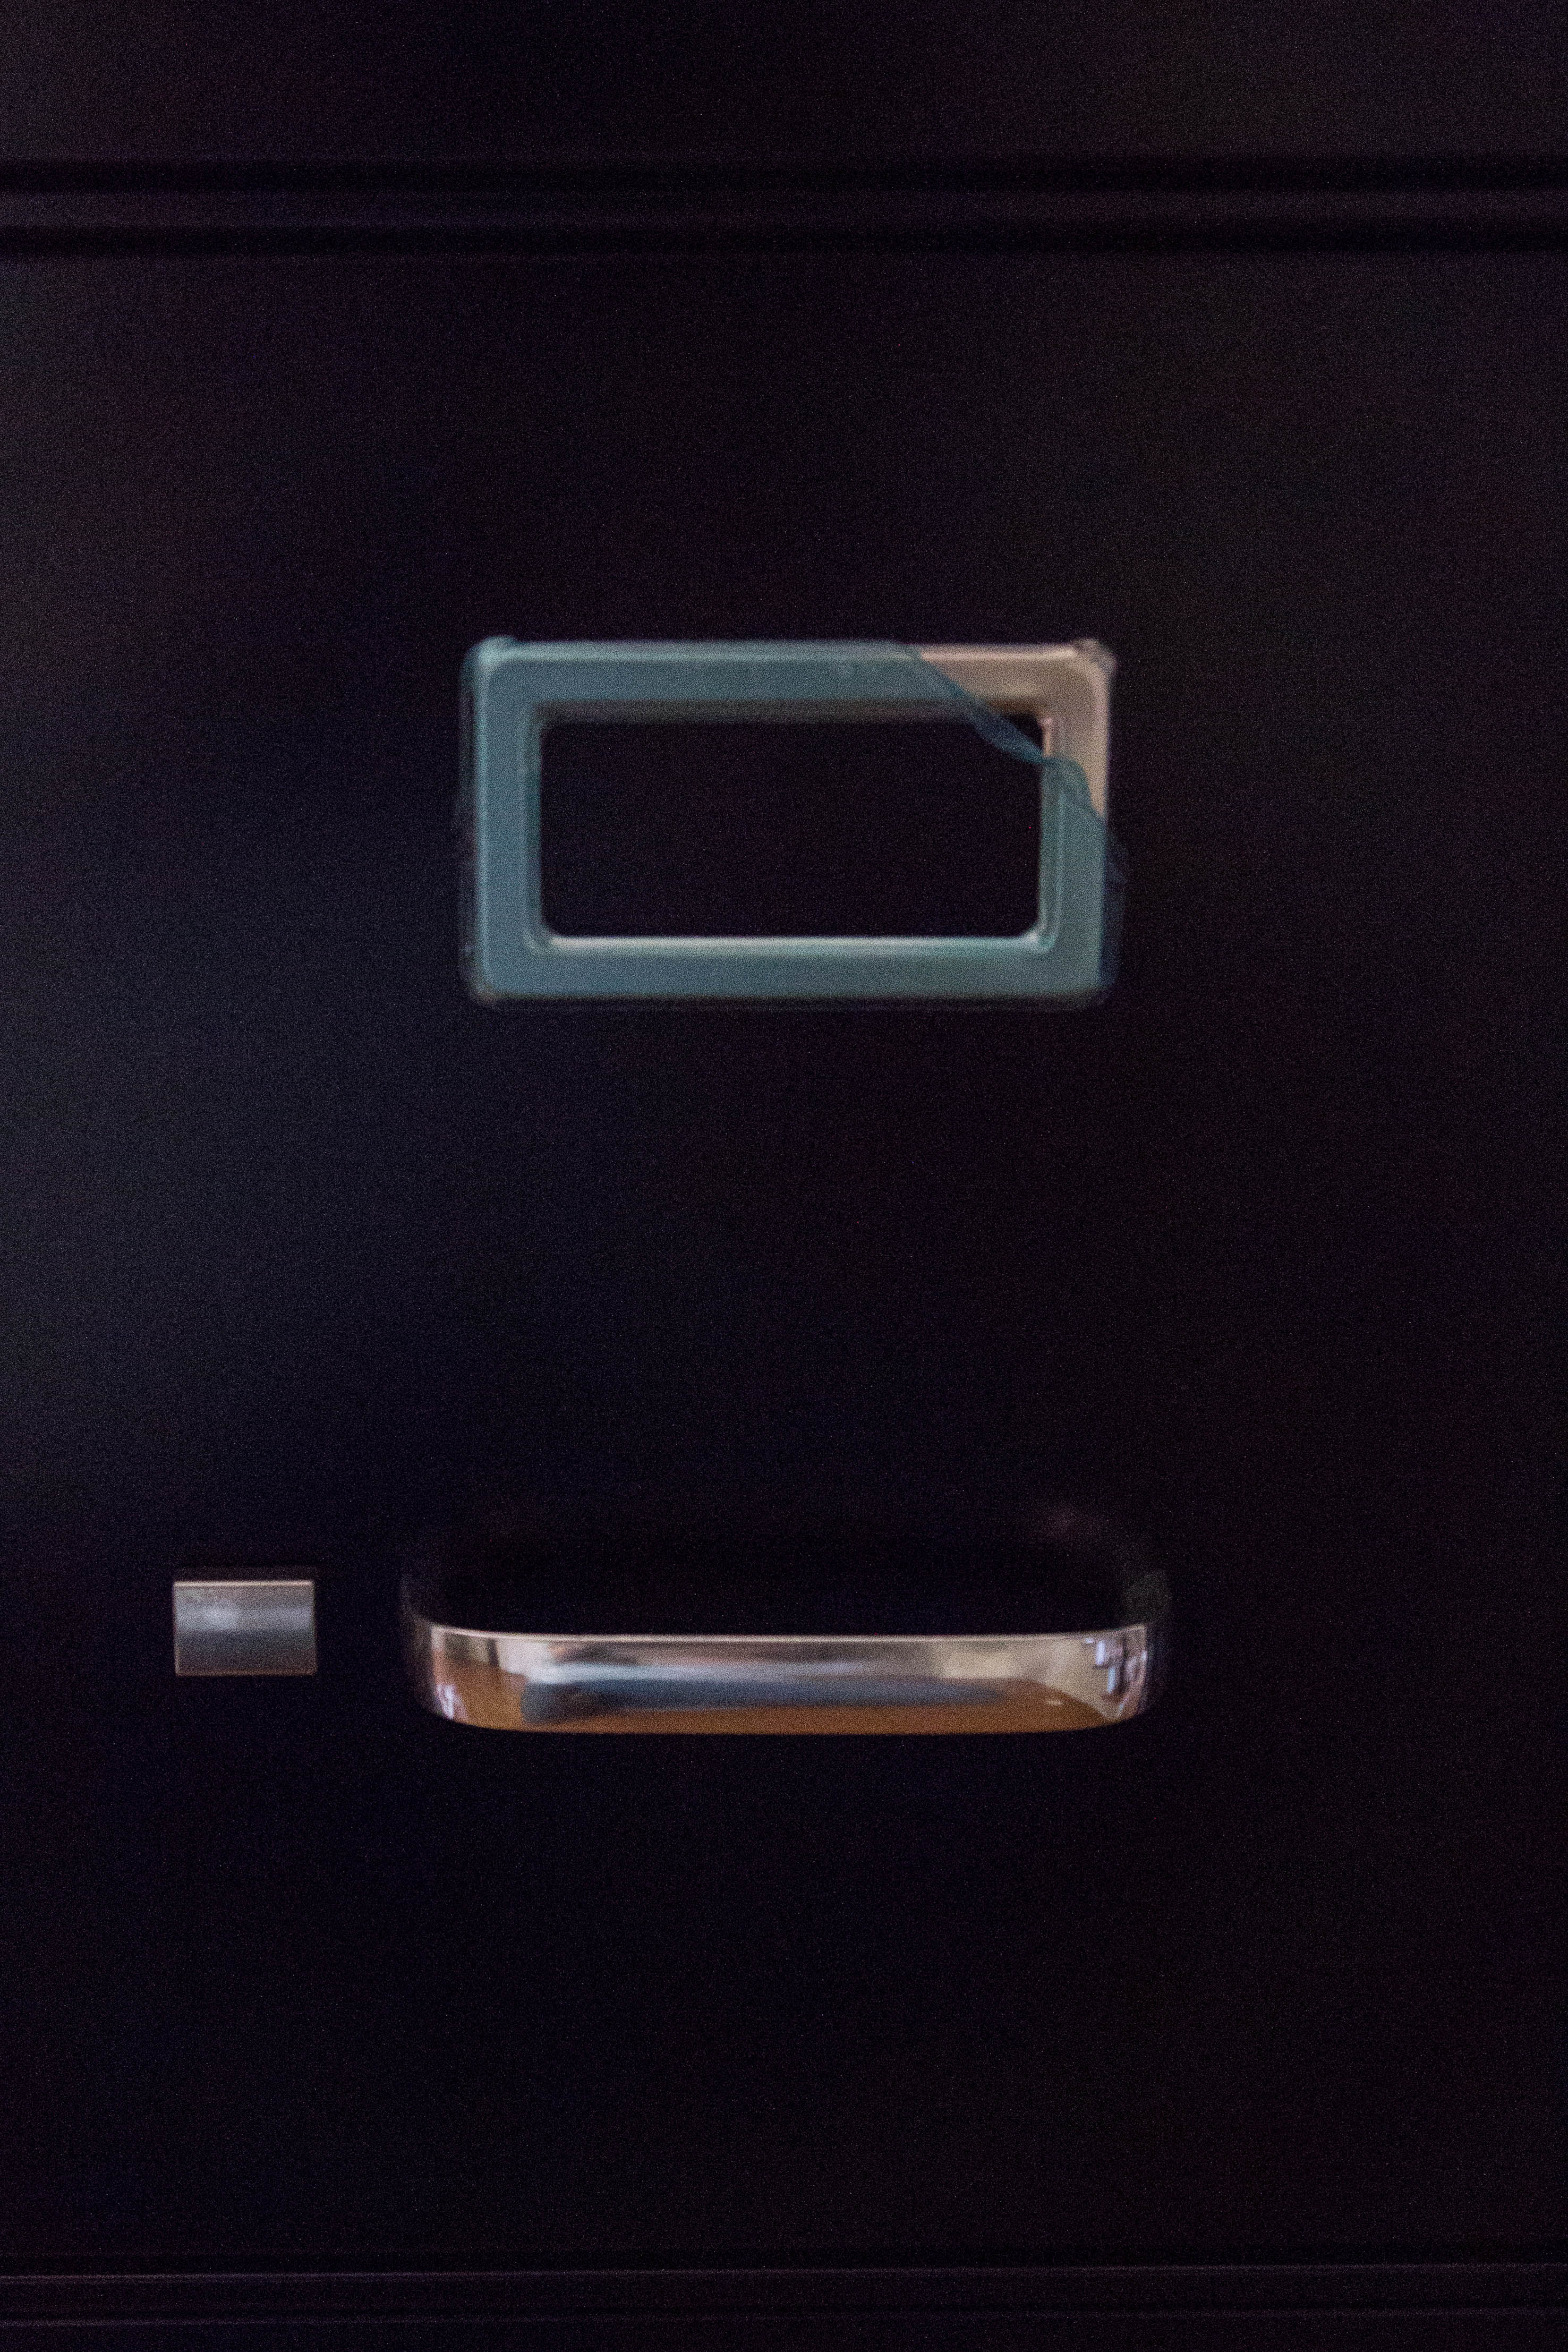
My cabinet had protective coverings on the label plates. I left these coverings on until I was finished painting.
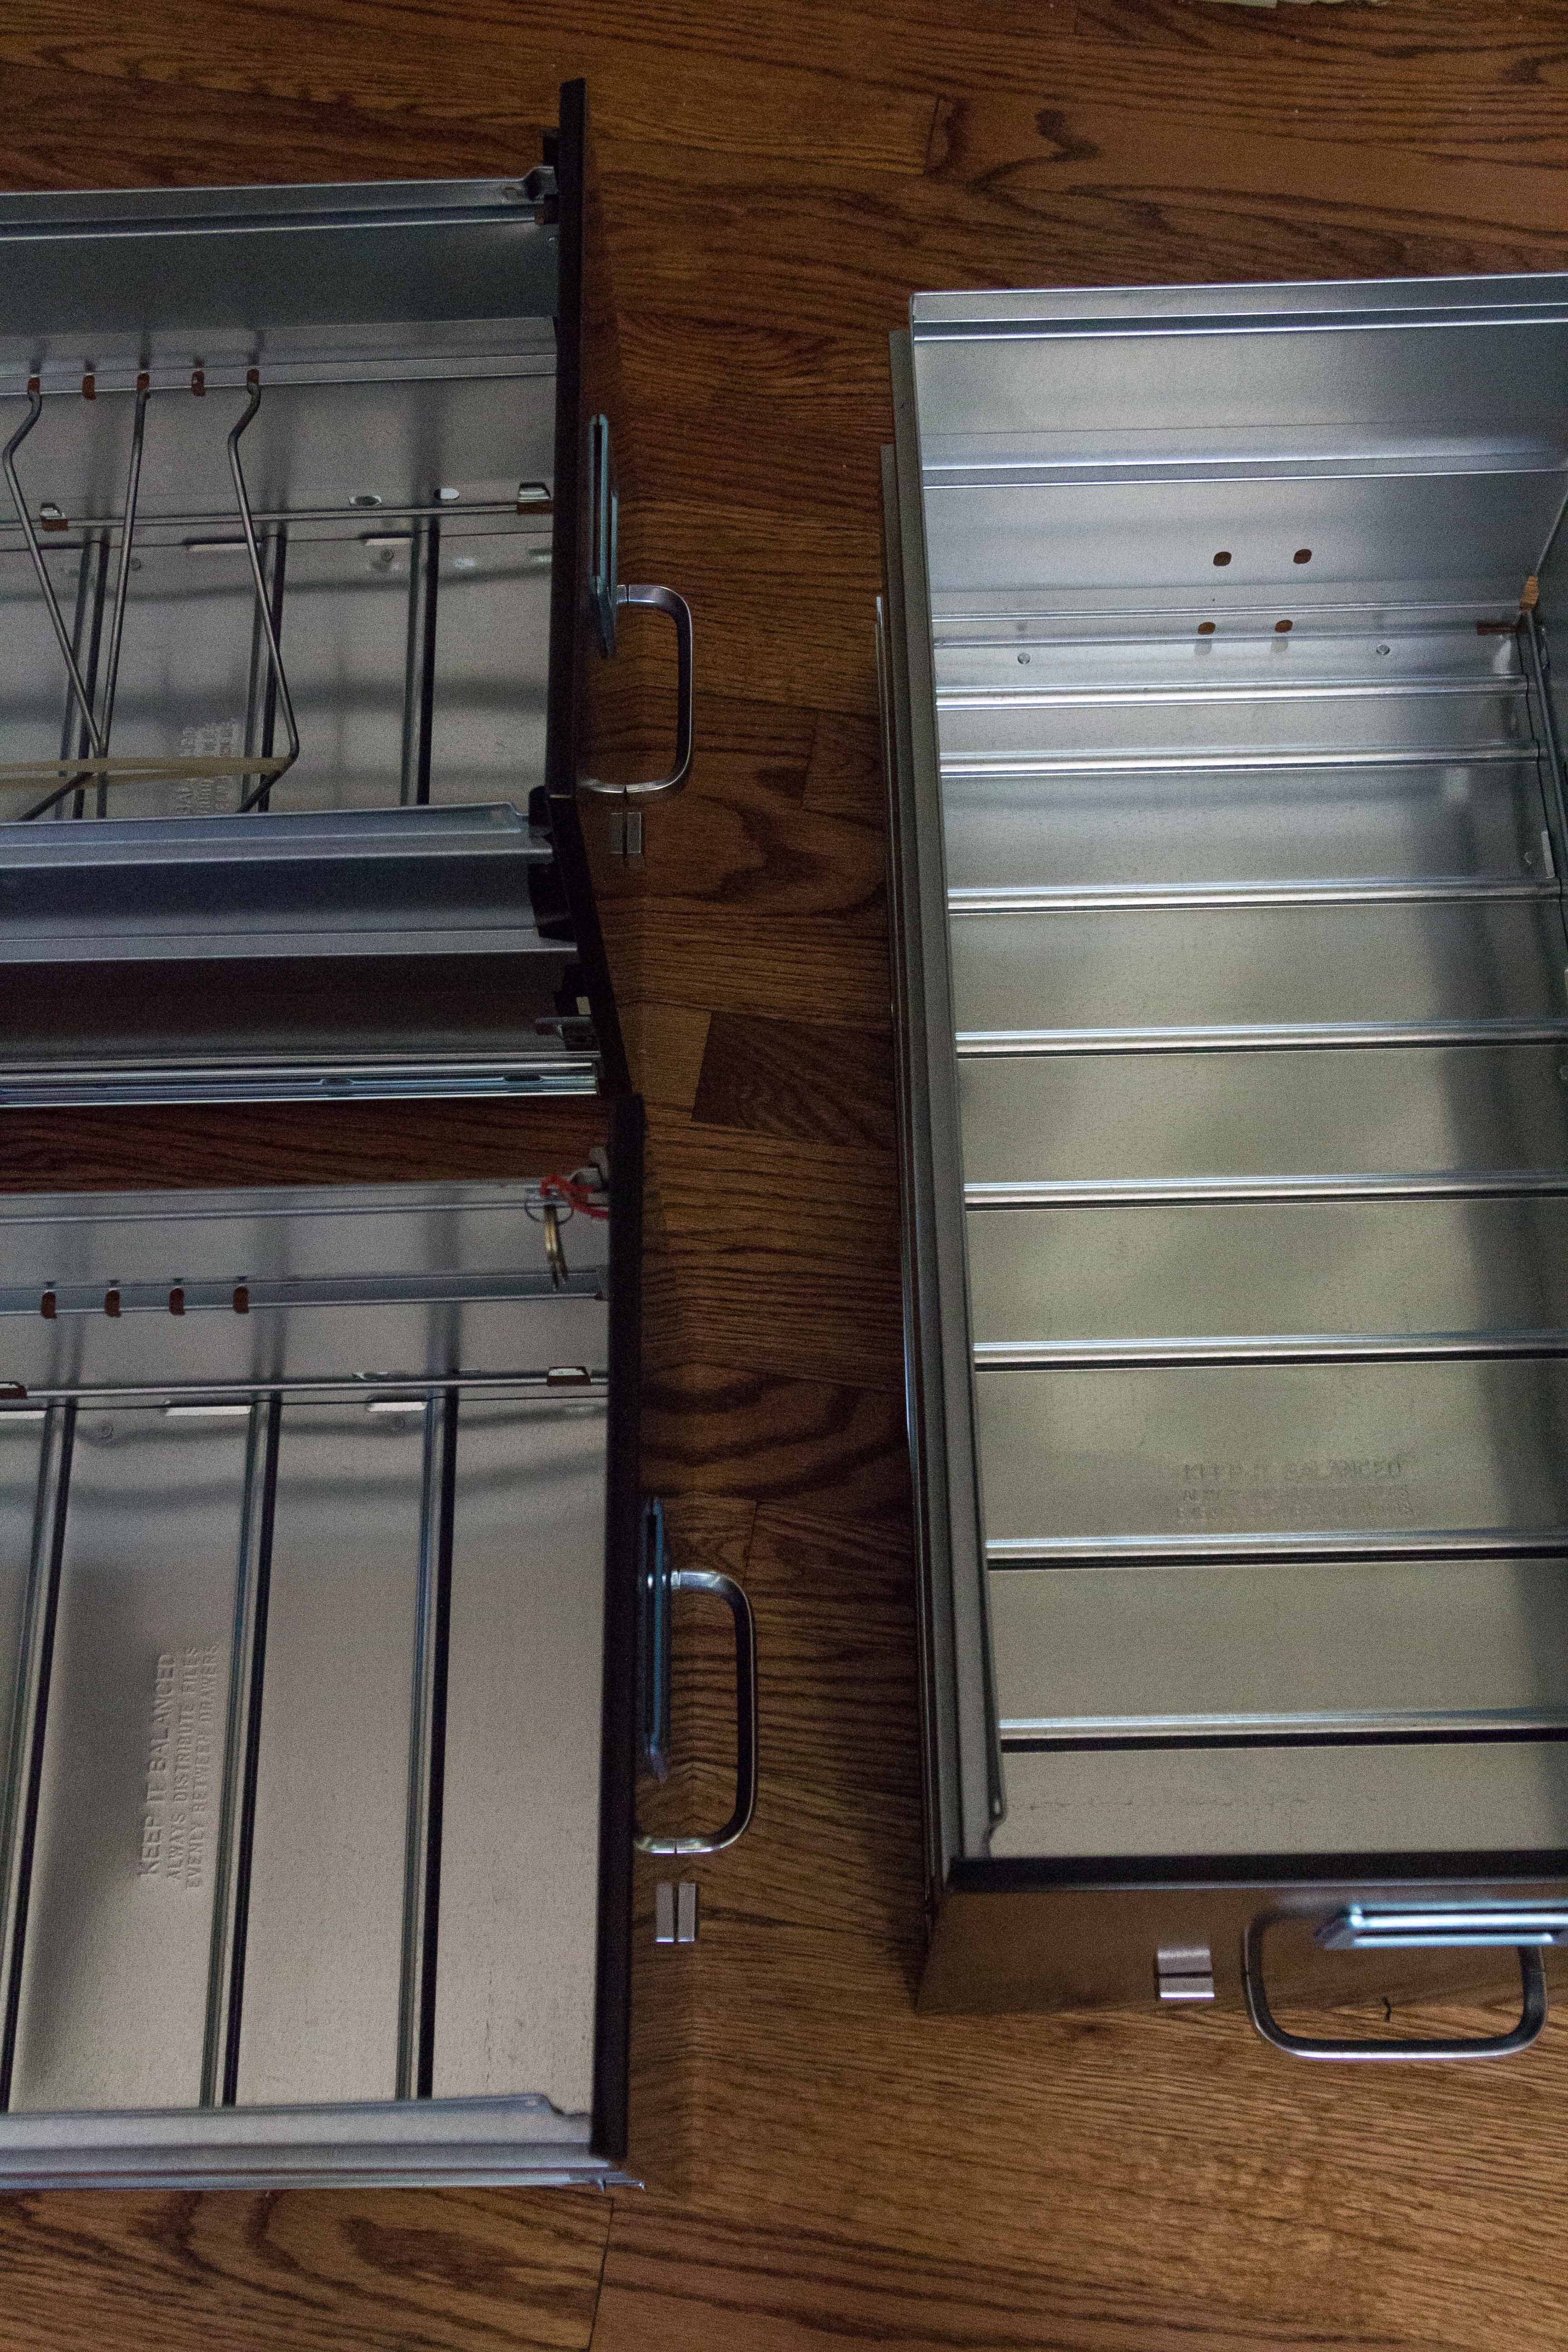
Take the drawers out of the cabinet. This task was easier said than done. Unfortunately, I couldn’t find a great tutorial either. You may have to experiment a little bit to figure out how to remove them.
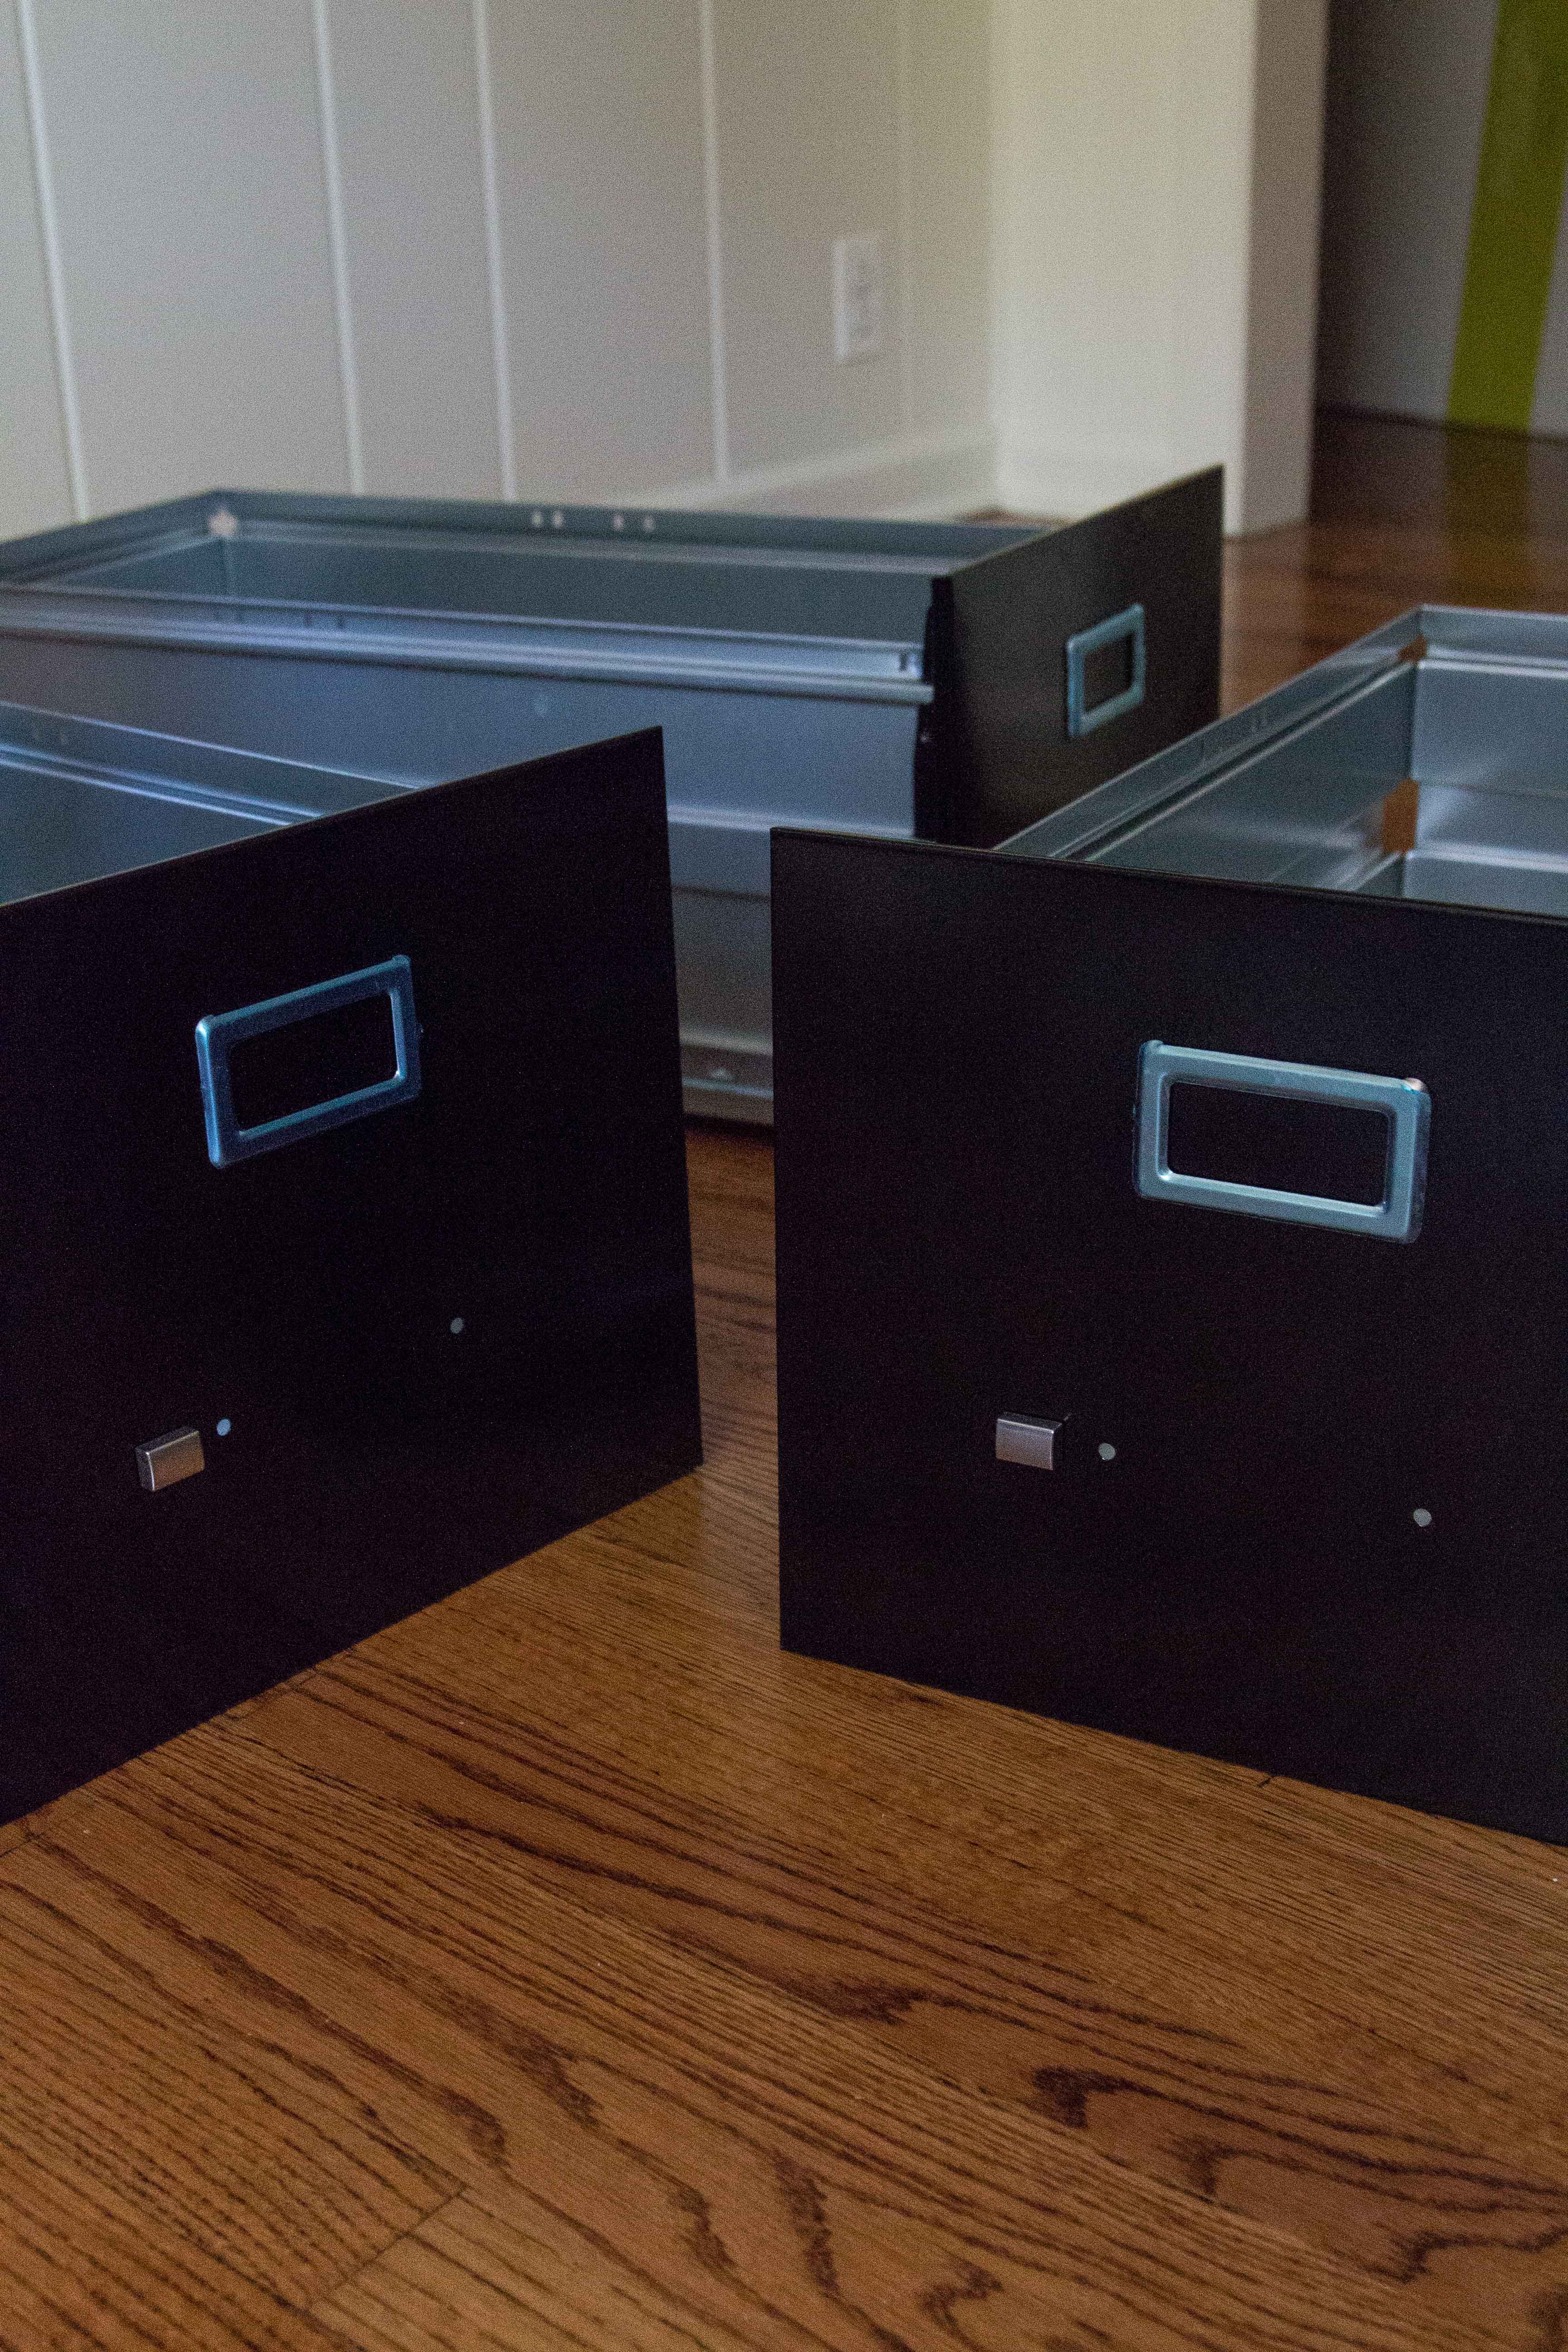
Remove the drawer handles. This task was pretty straightforward. I used a large flathead screwdriver because the screws were in pretty tight, and a Phillips head would have stripped them.
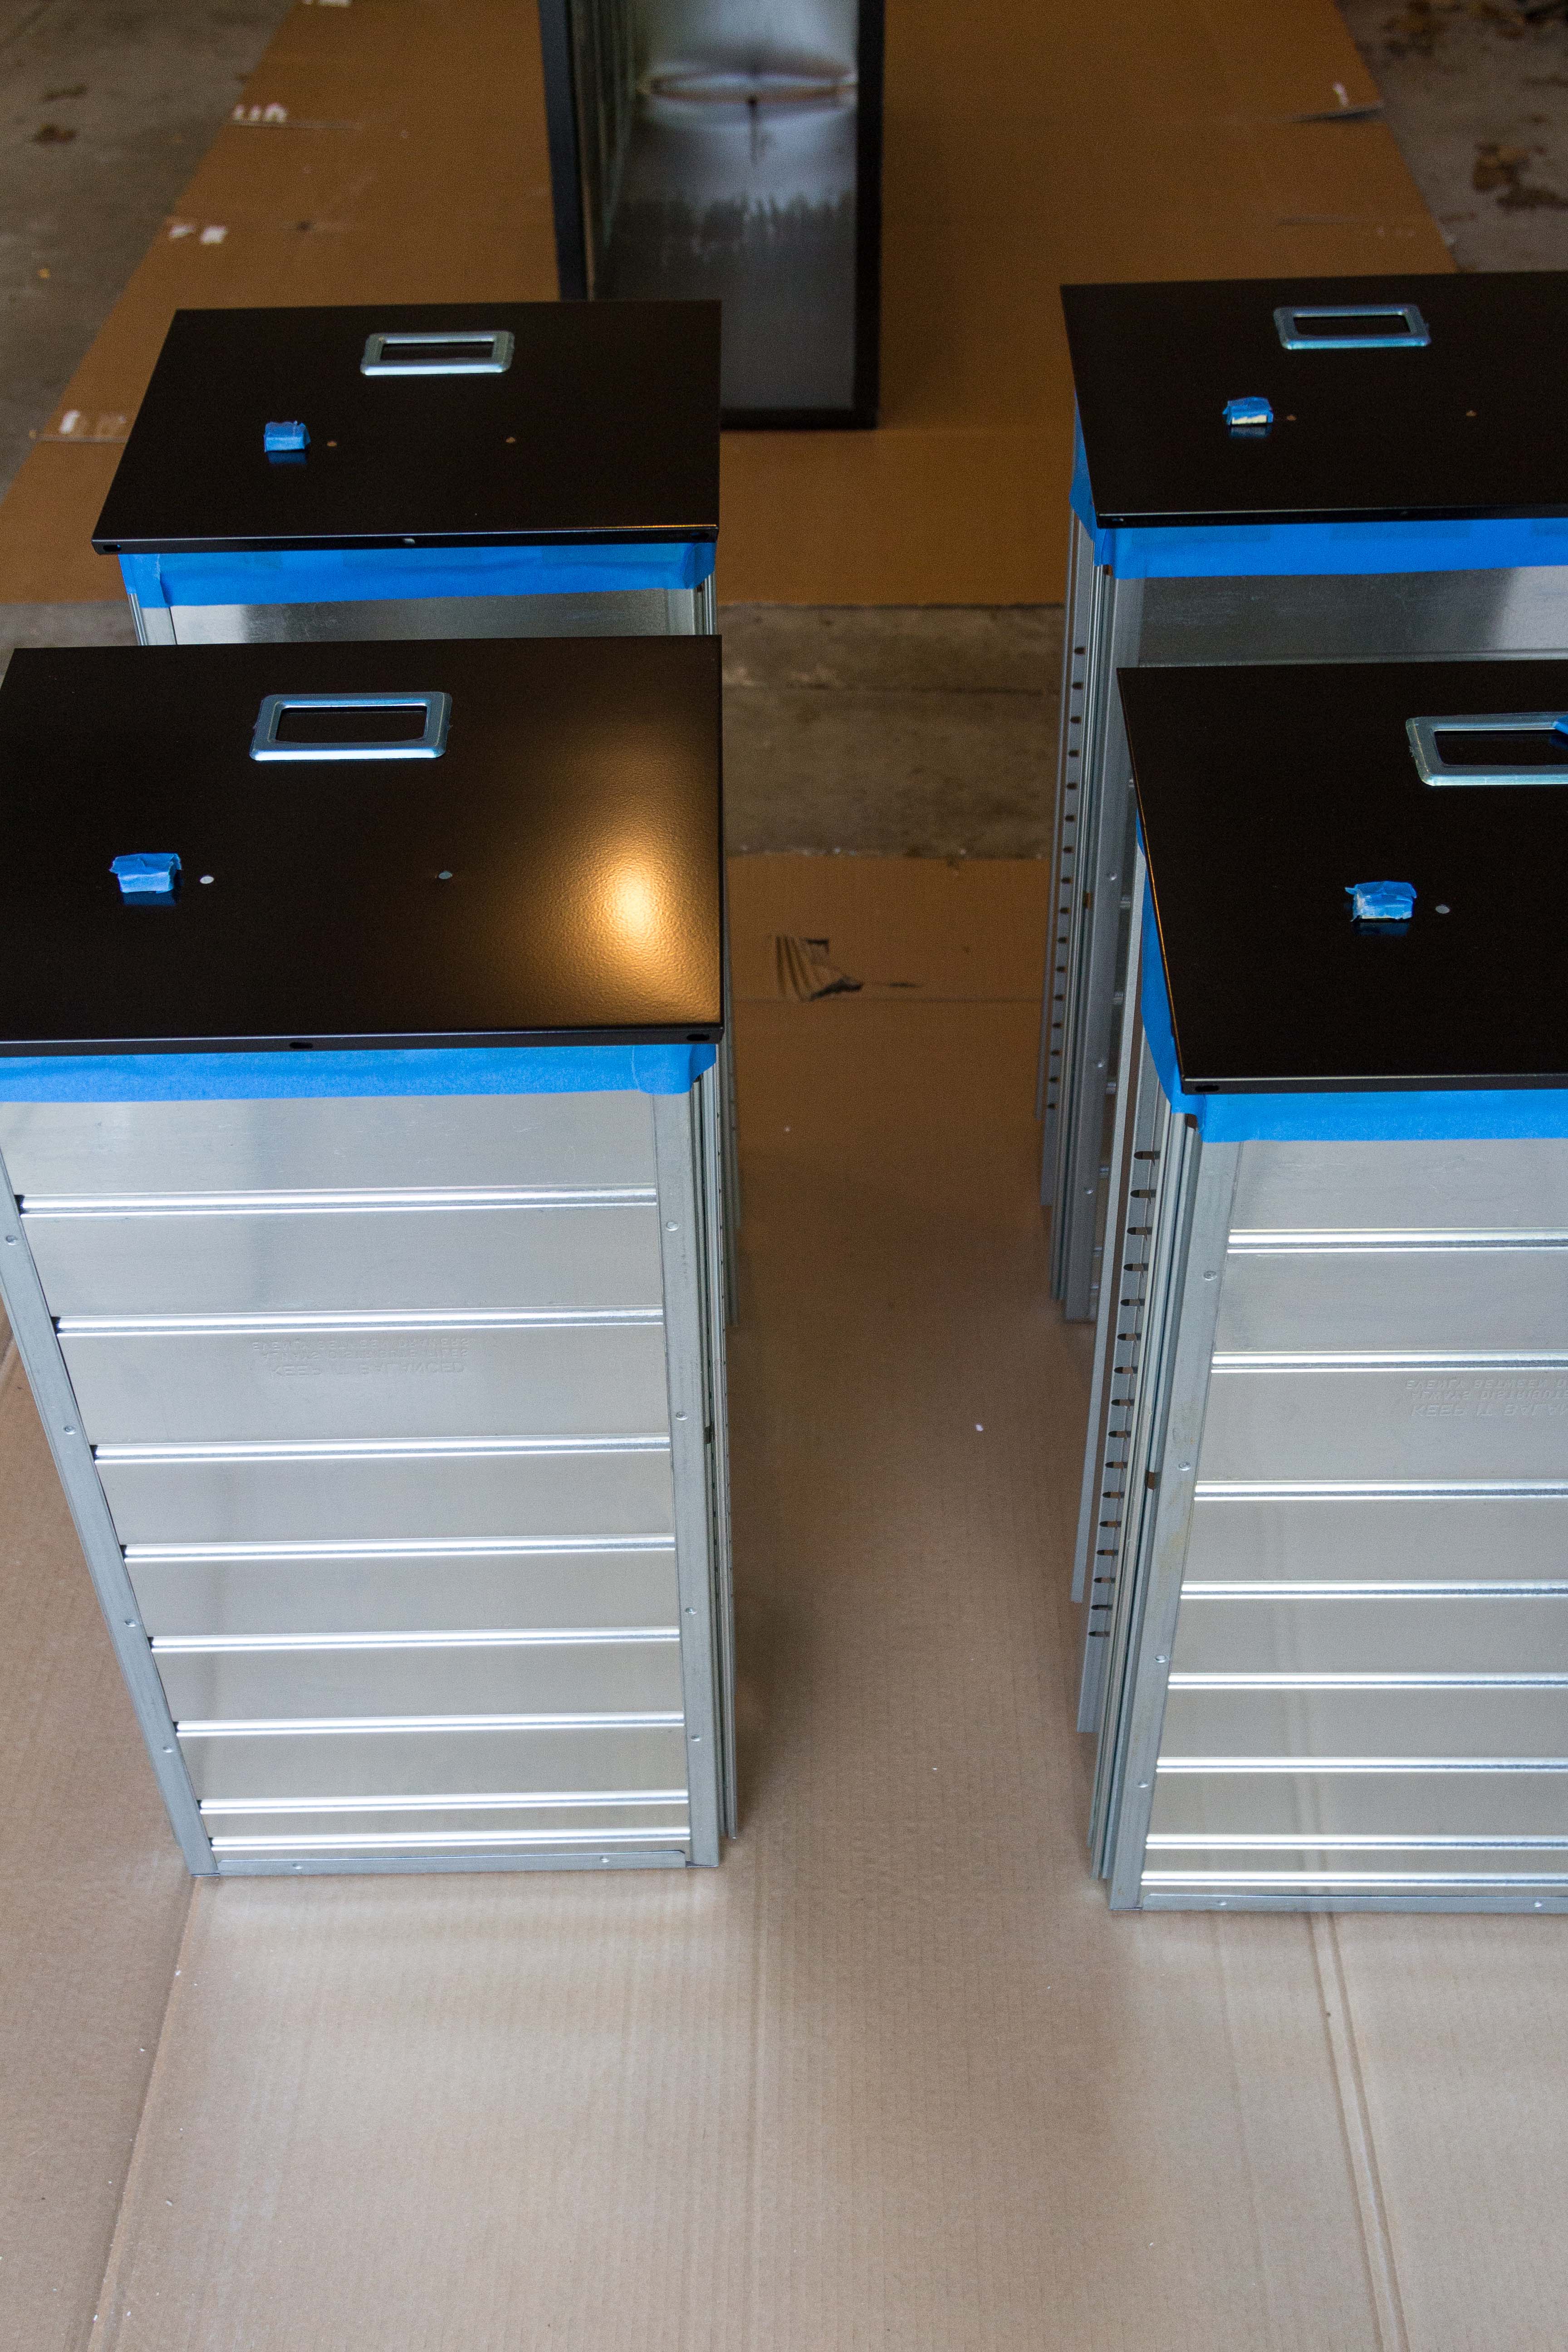
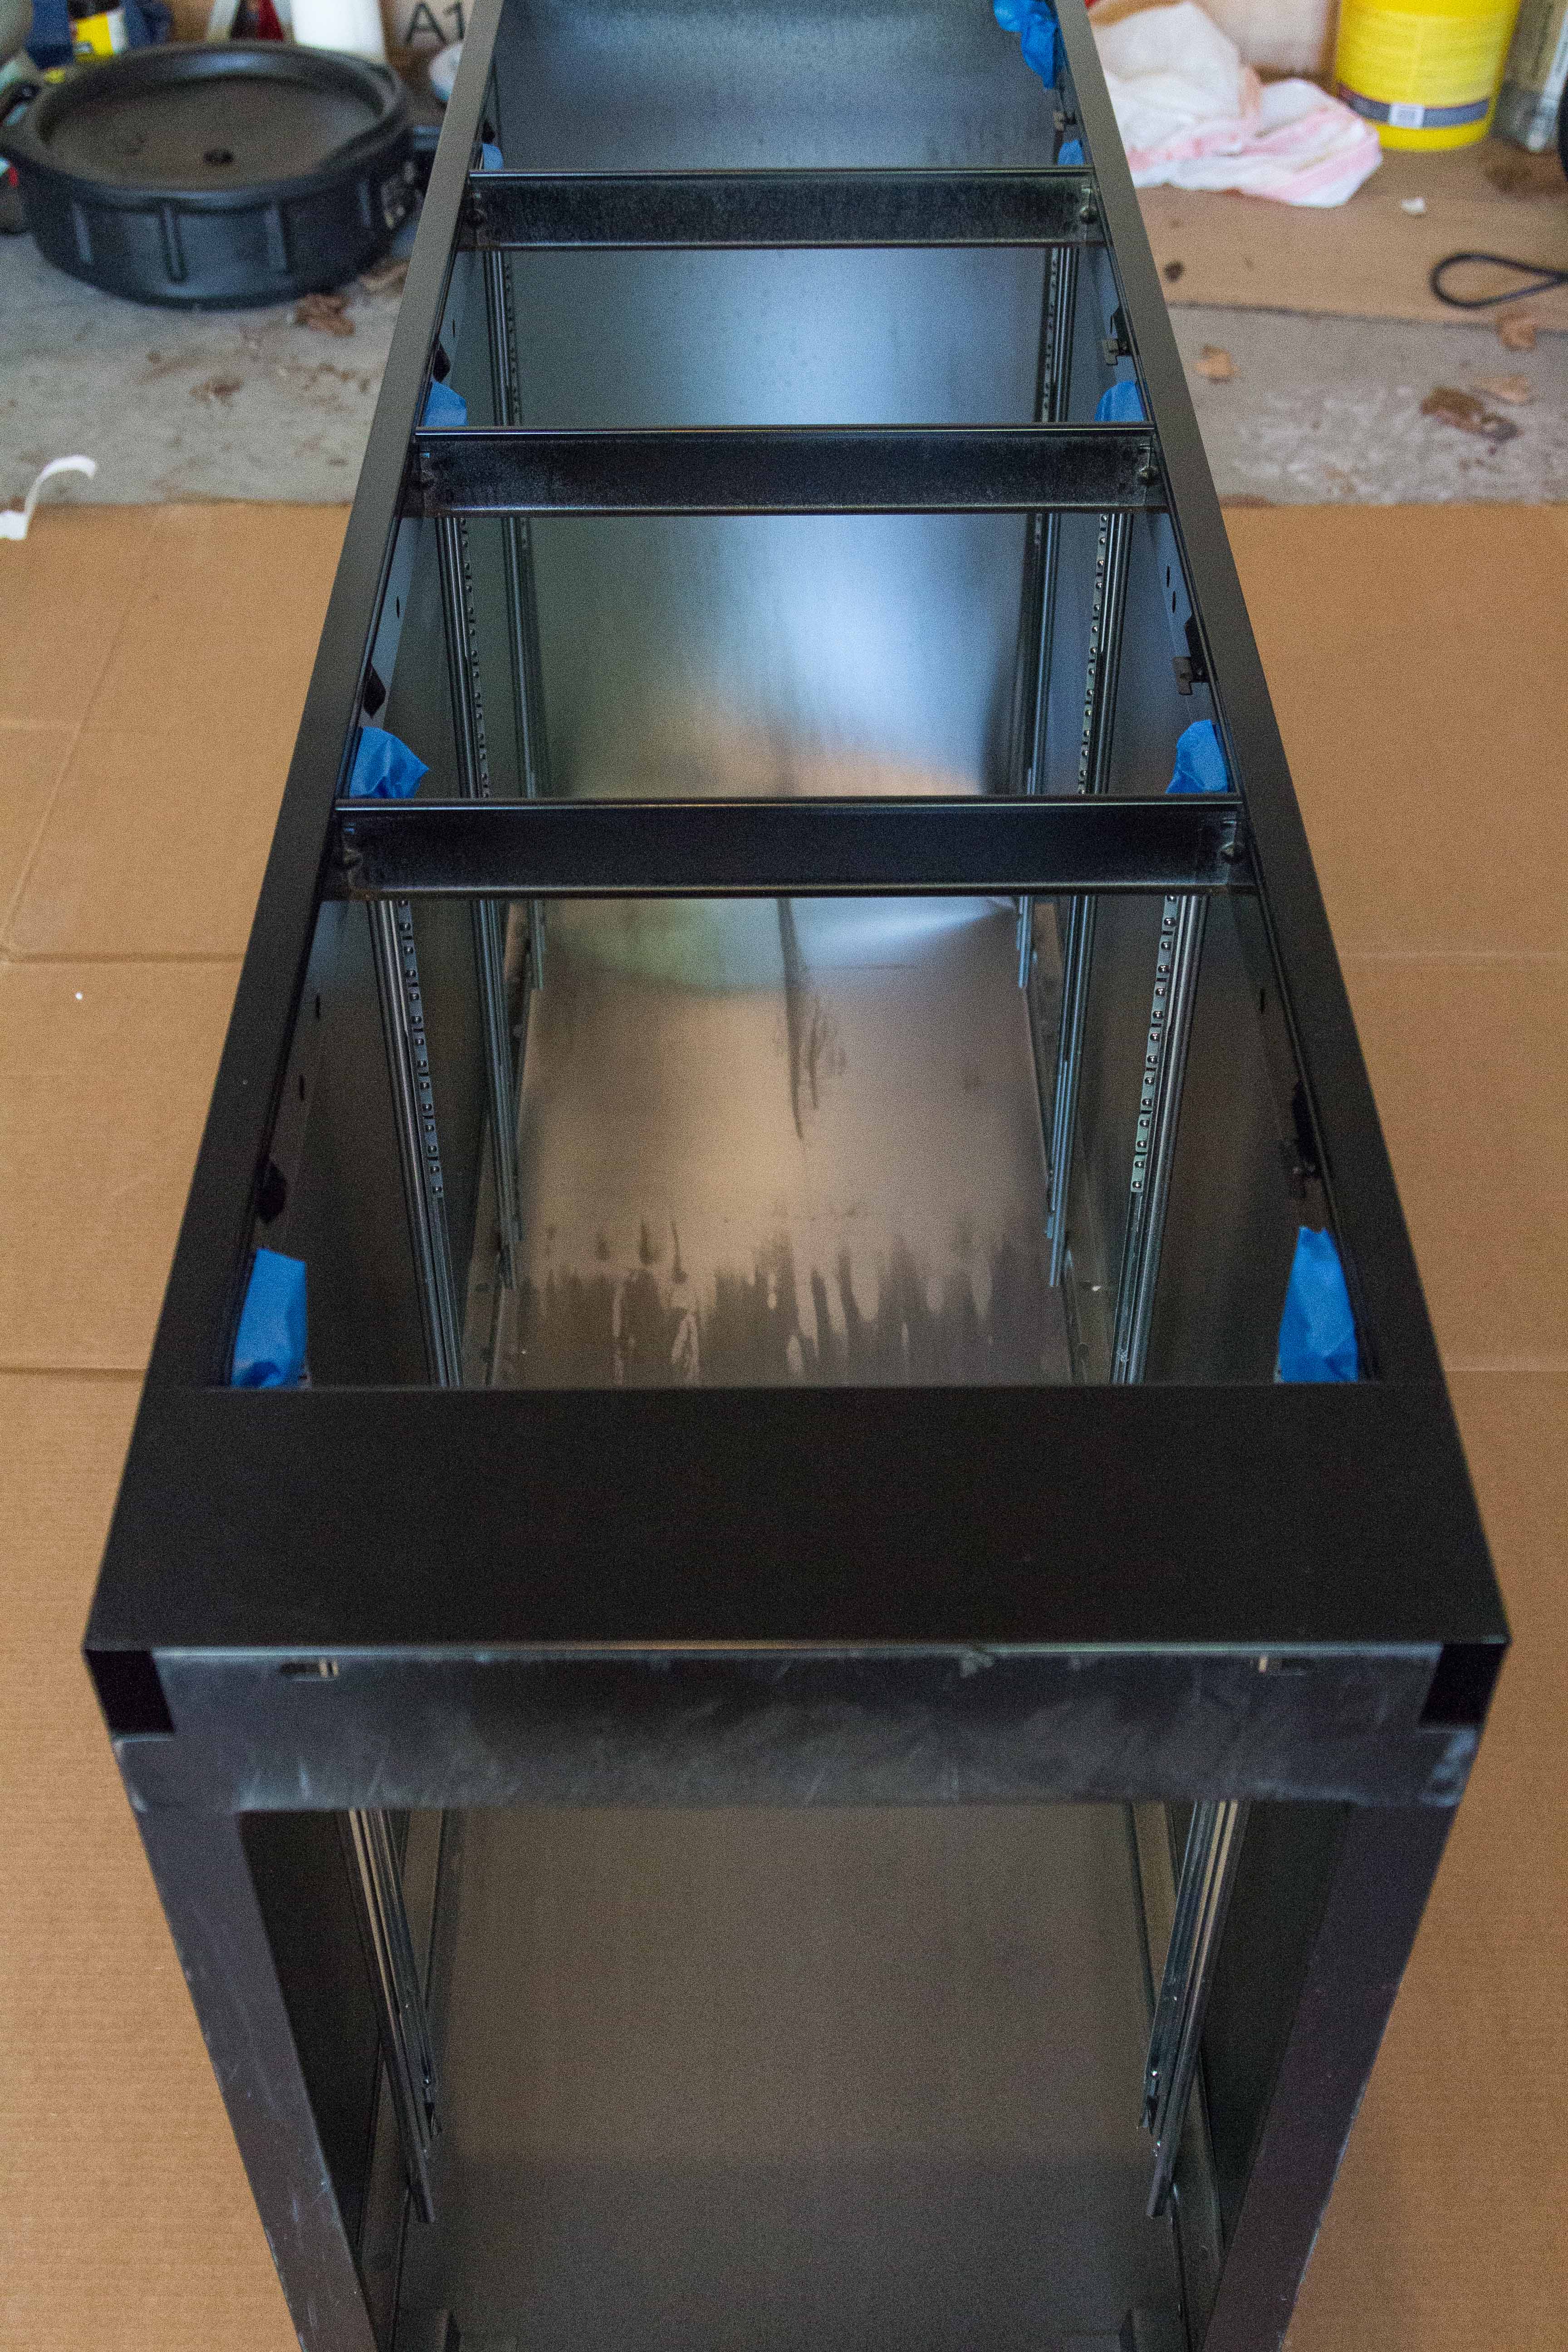
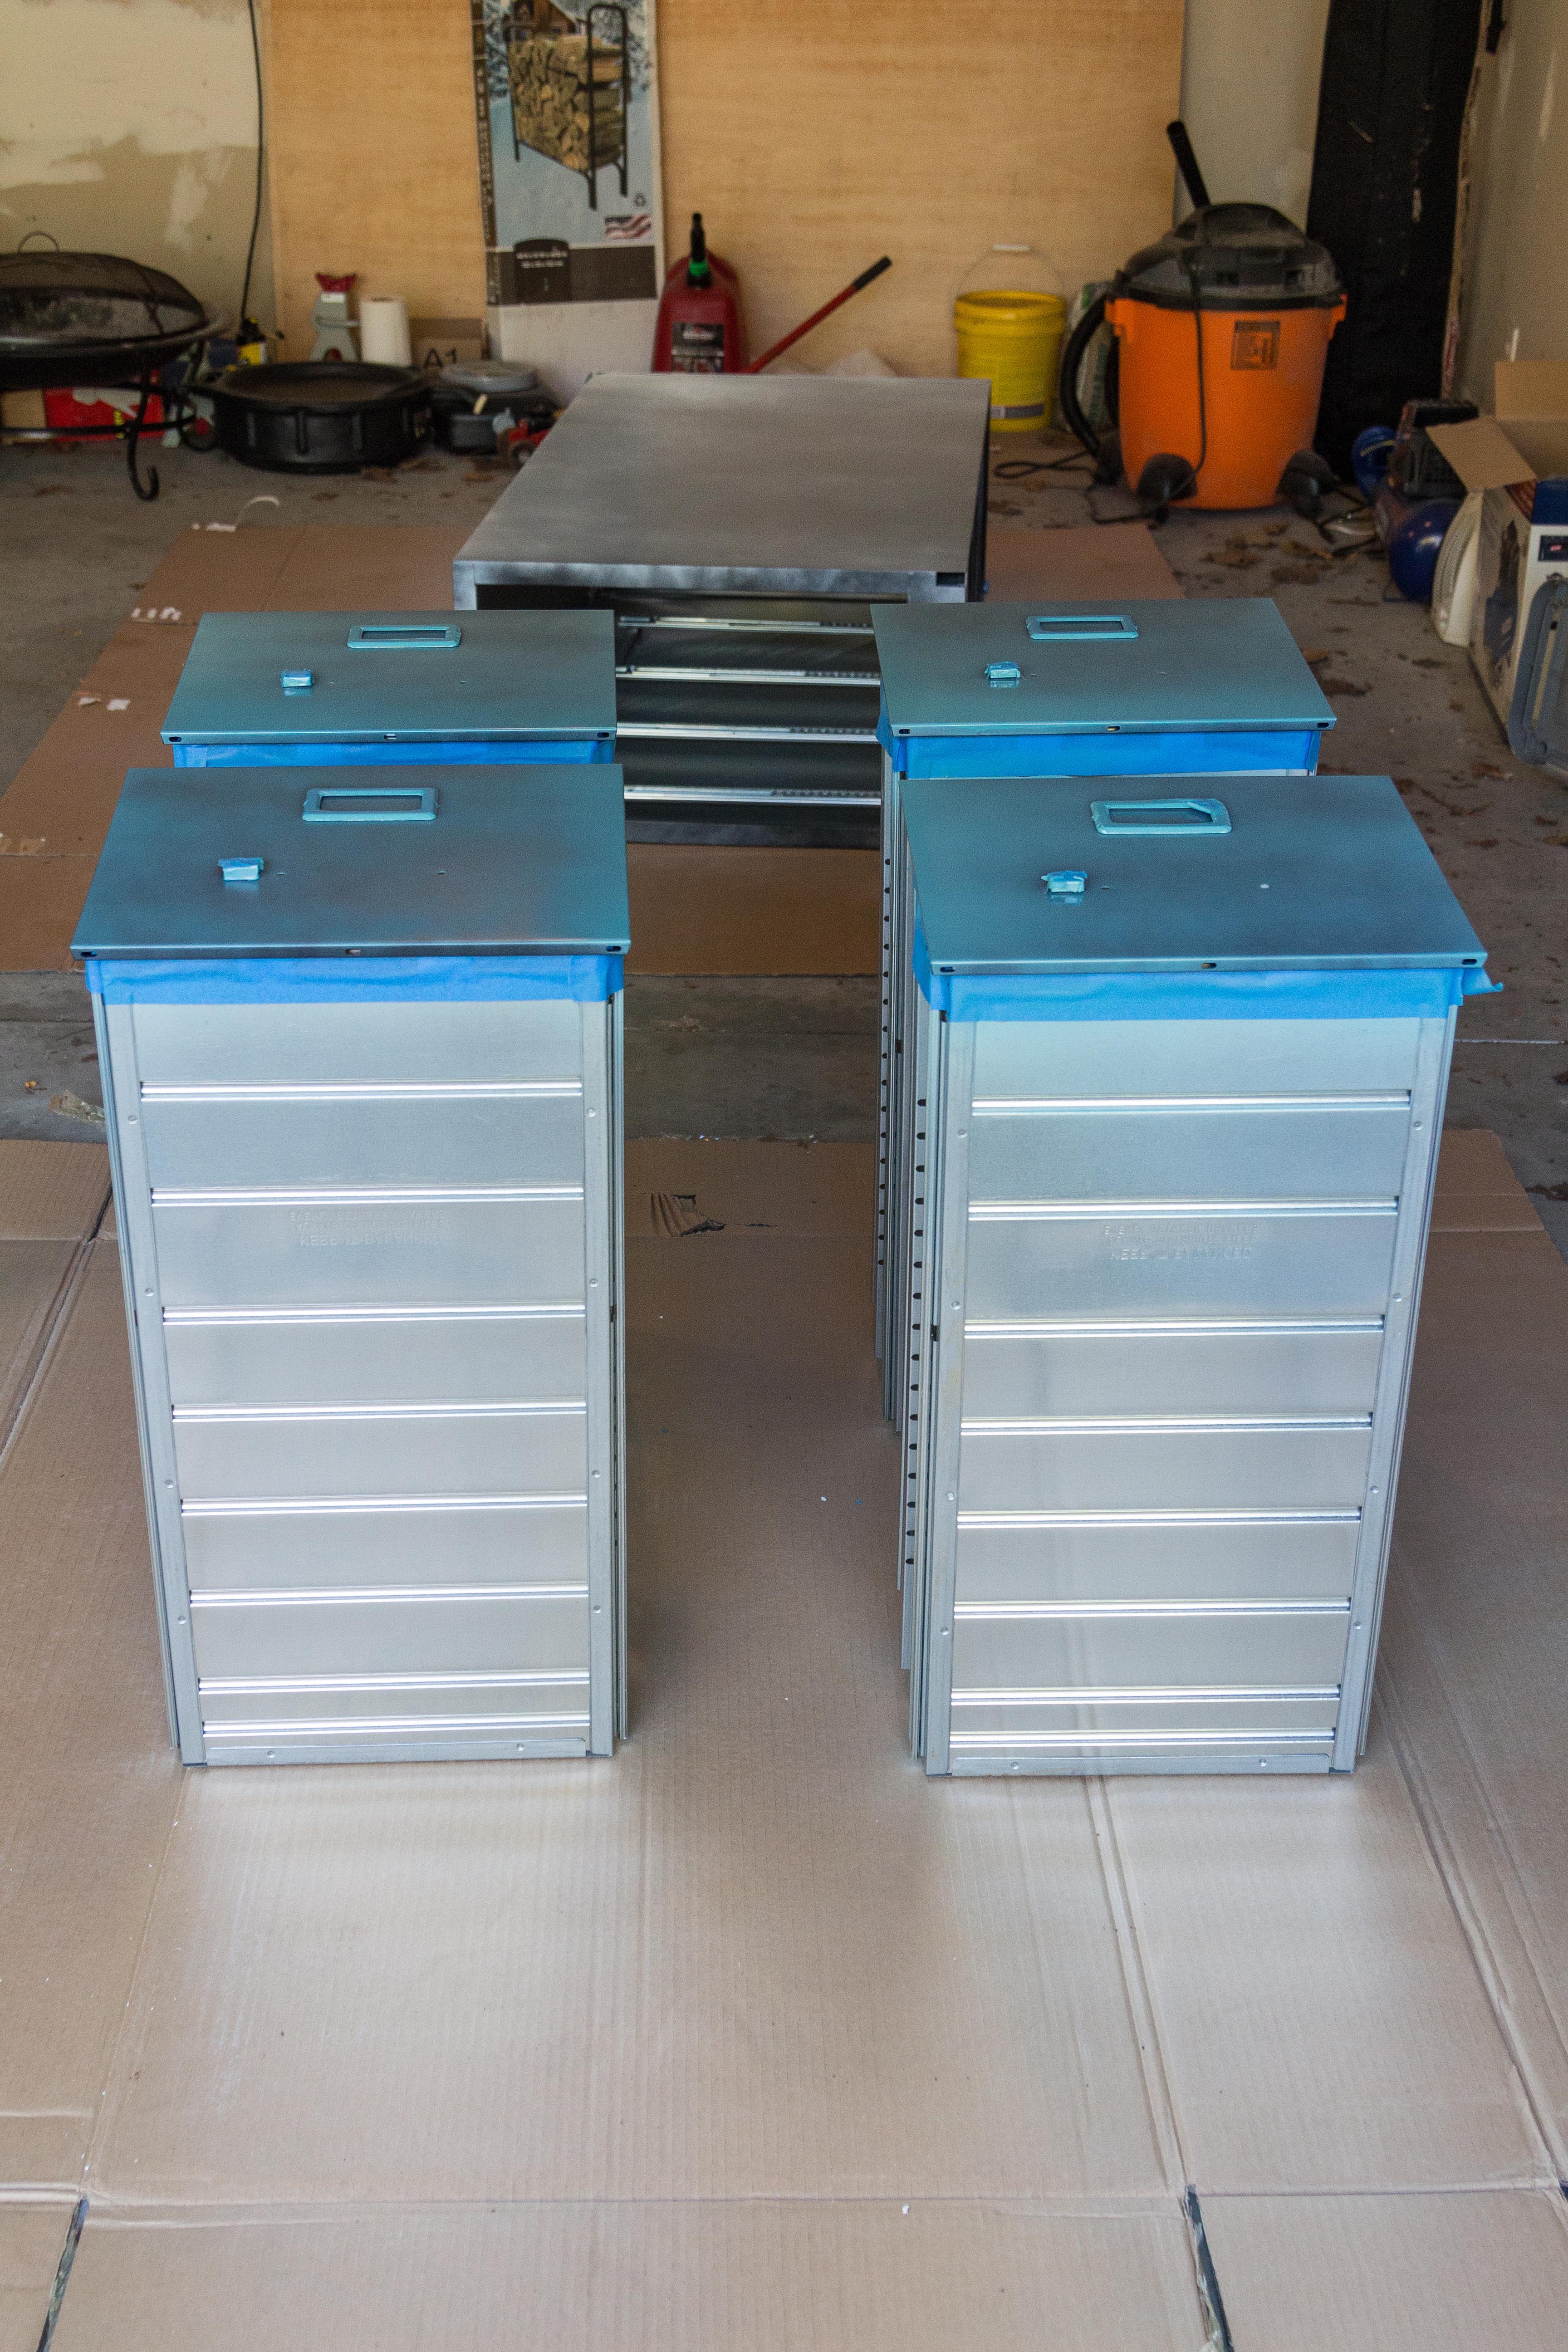
Lay down your cardboard or other protective covering on the garage floor, driveway, or other flat surface in a well-ventilated area. Transfer the file cabinet base and drawers to the work surface. Tape off the edges of the unpainted areas so you don’t get paint all over the inside of the file cabinet.
Start painting! The picture below is midway through the painting process. I did 3 coats of paint for both the base and drawers plus a few touchups. The color of the file cabinet and the paint will dictate the number of coats you need.
When you’ve finished painting the cabinet, reattach the drawer handles, remove the painter’s tape, and slide the drawers back in place.
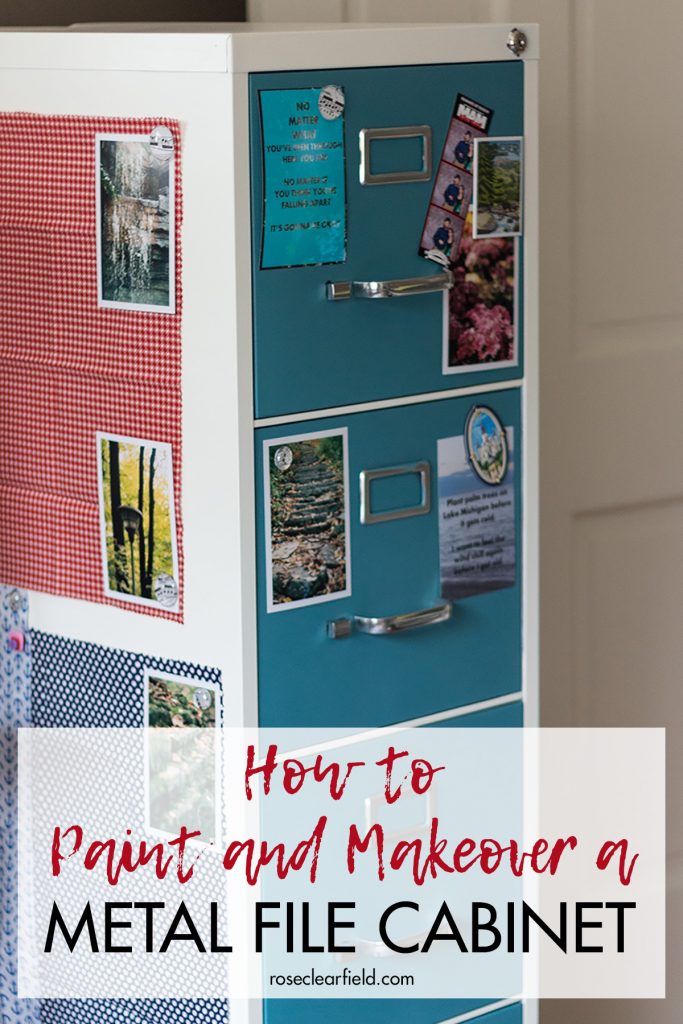
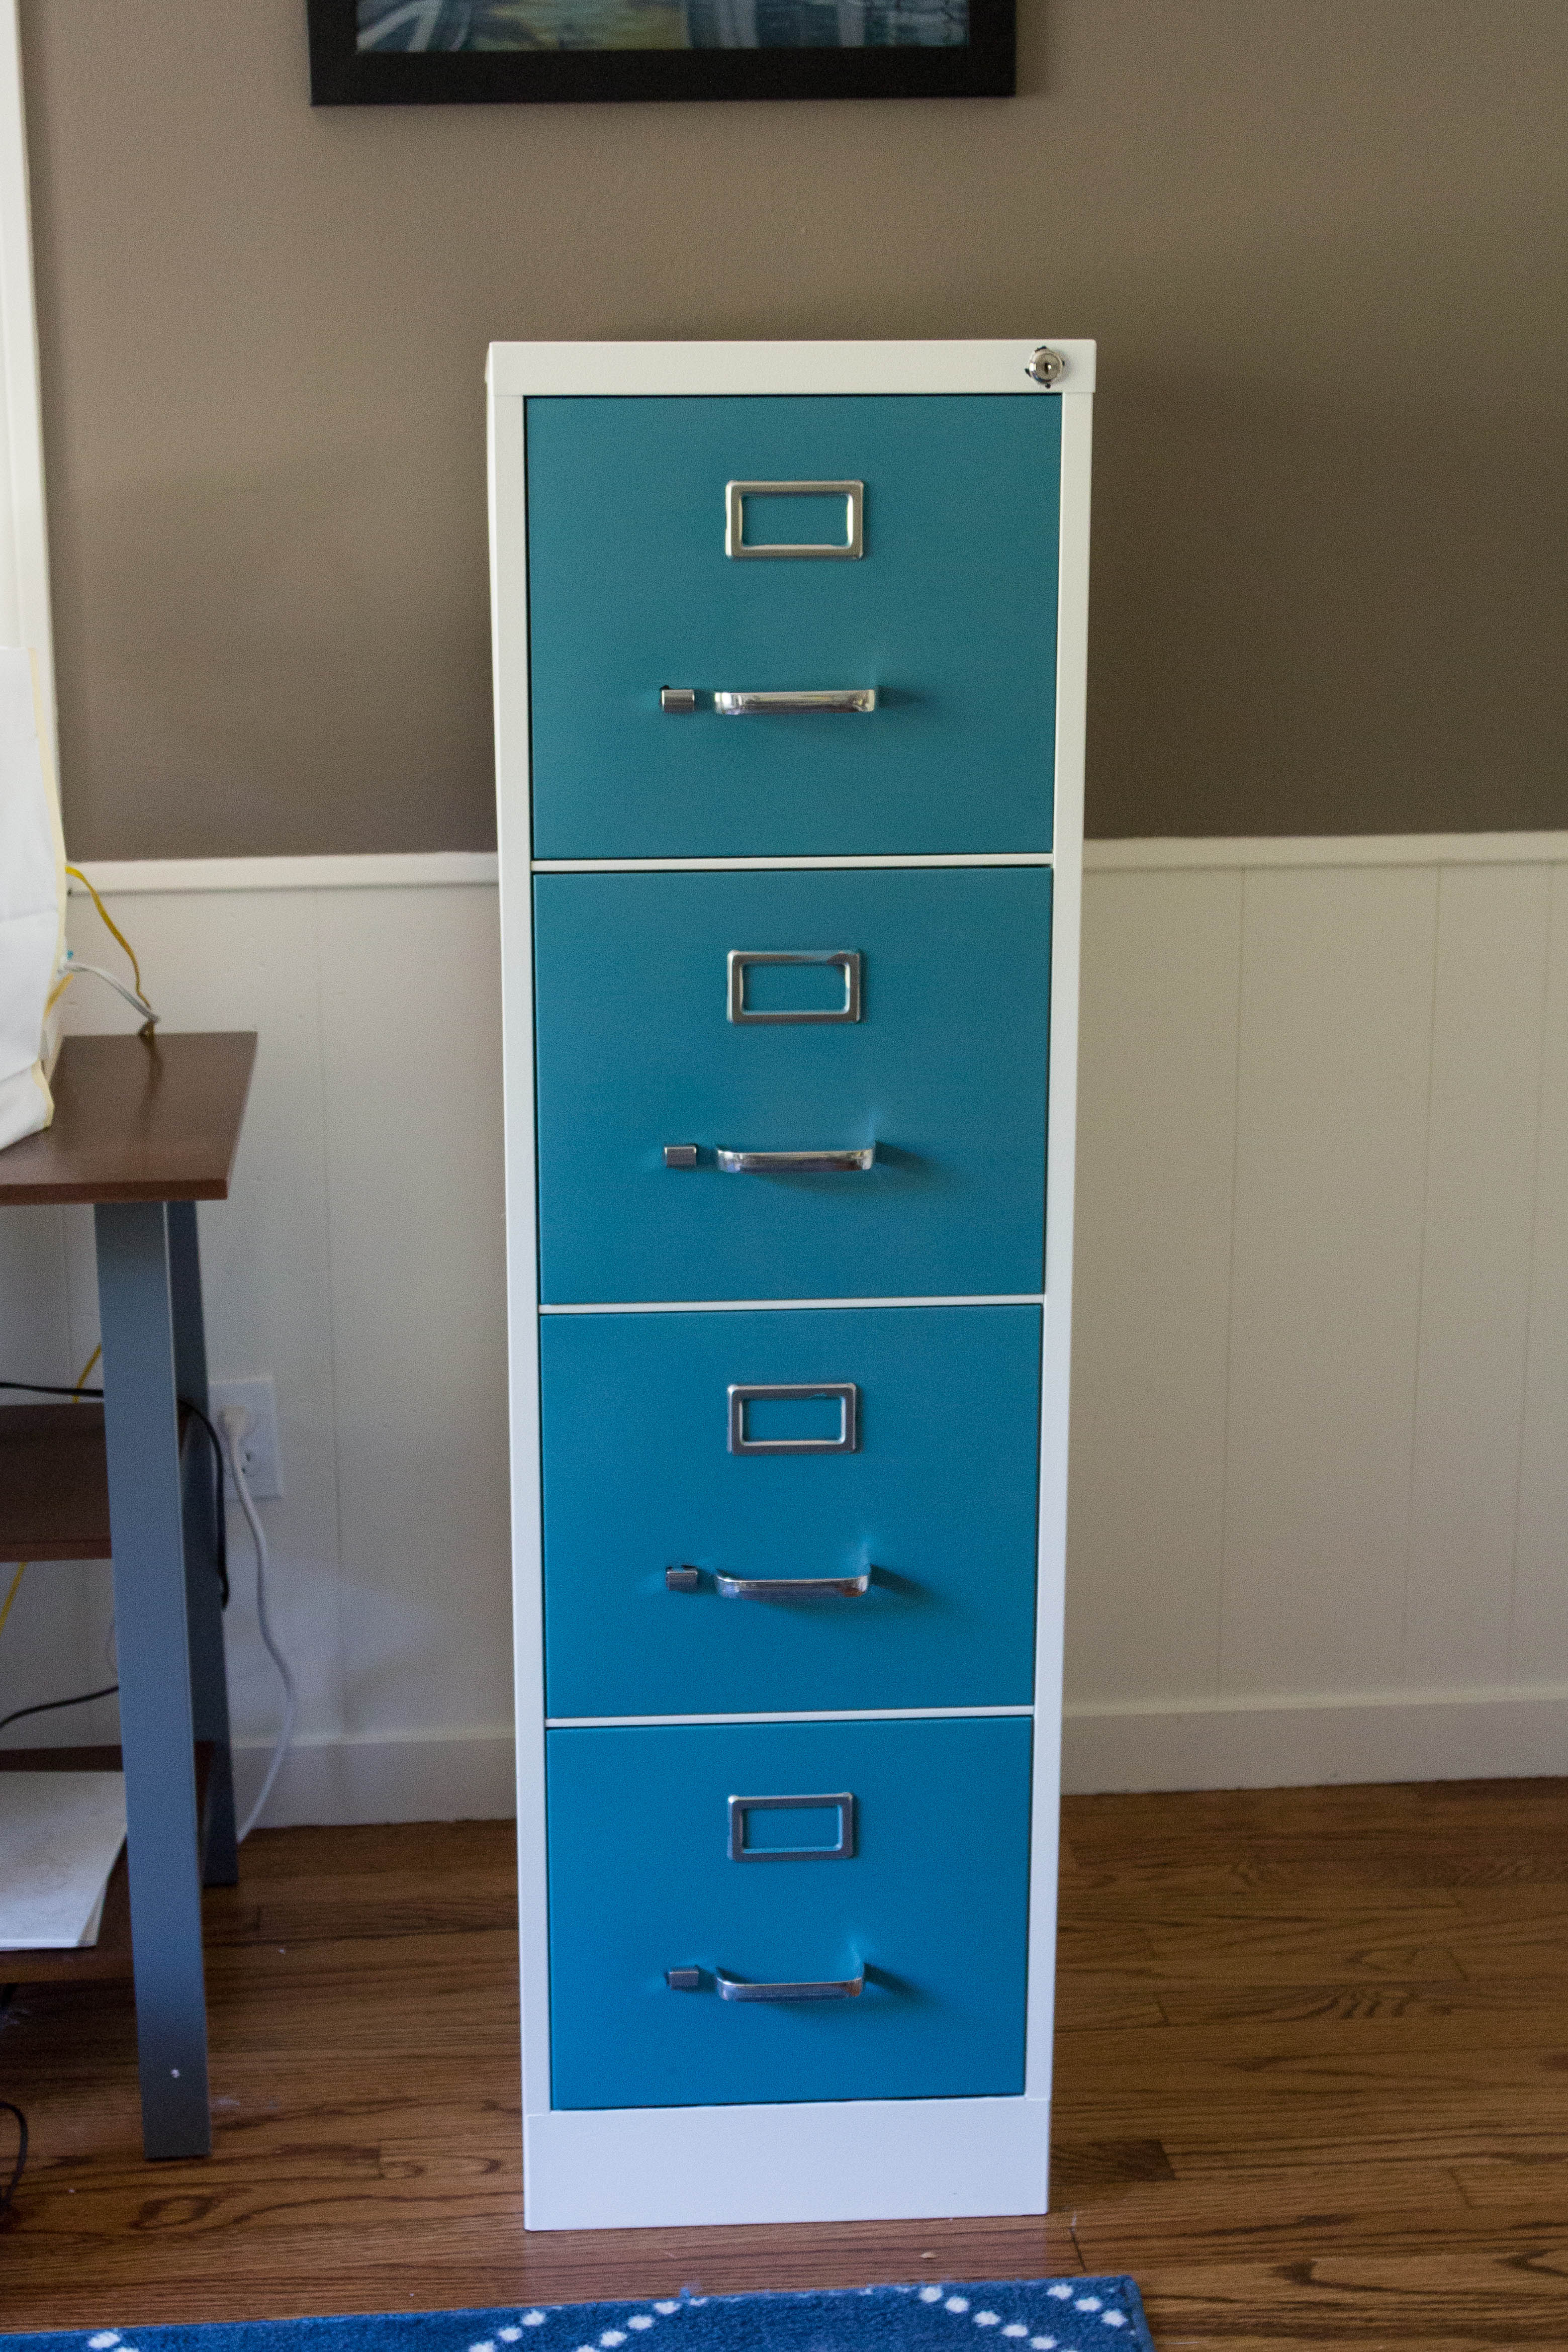
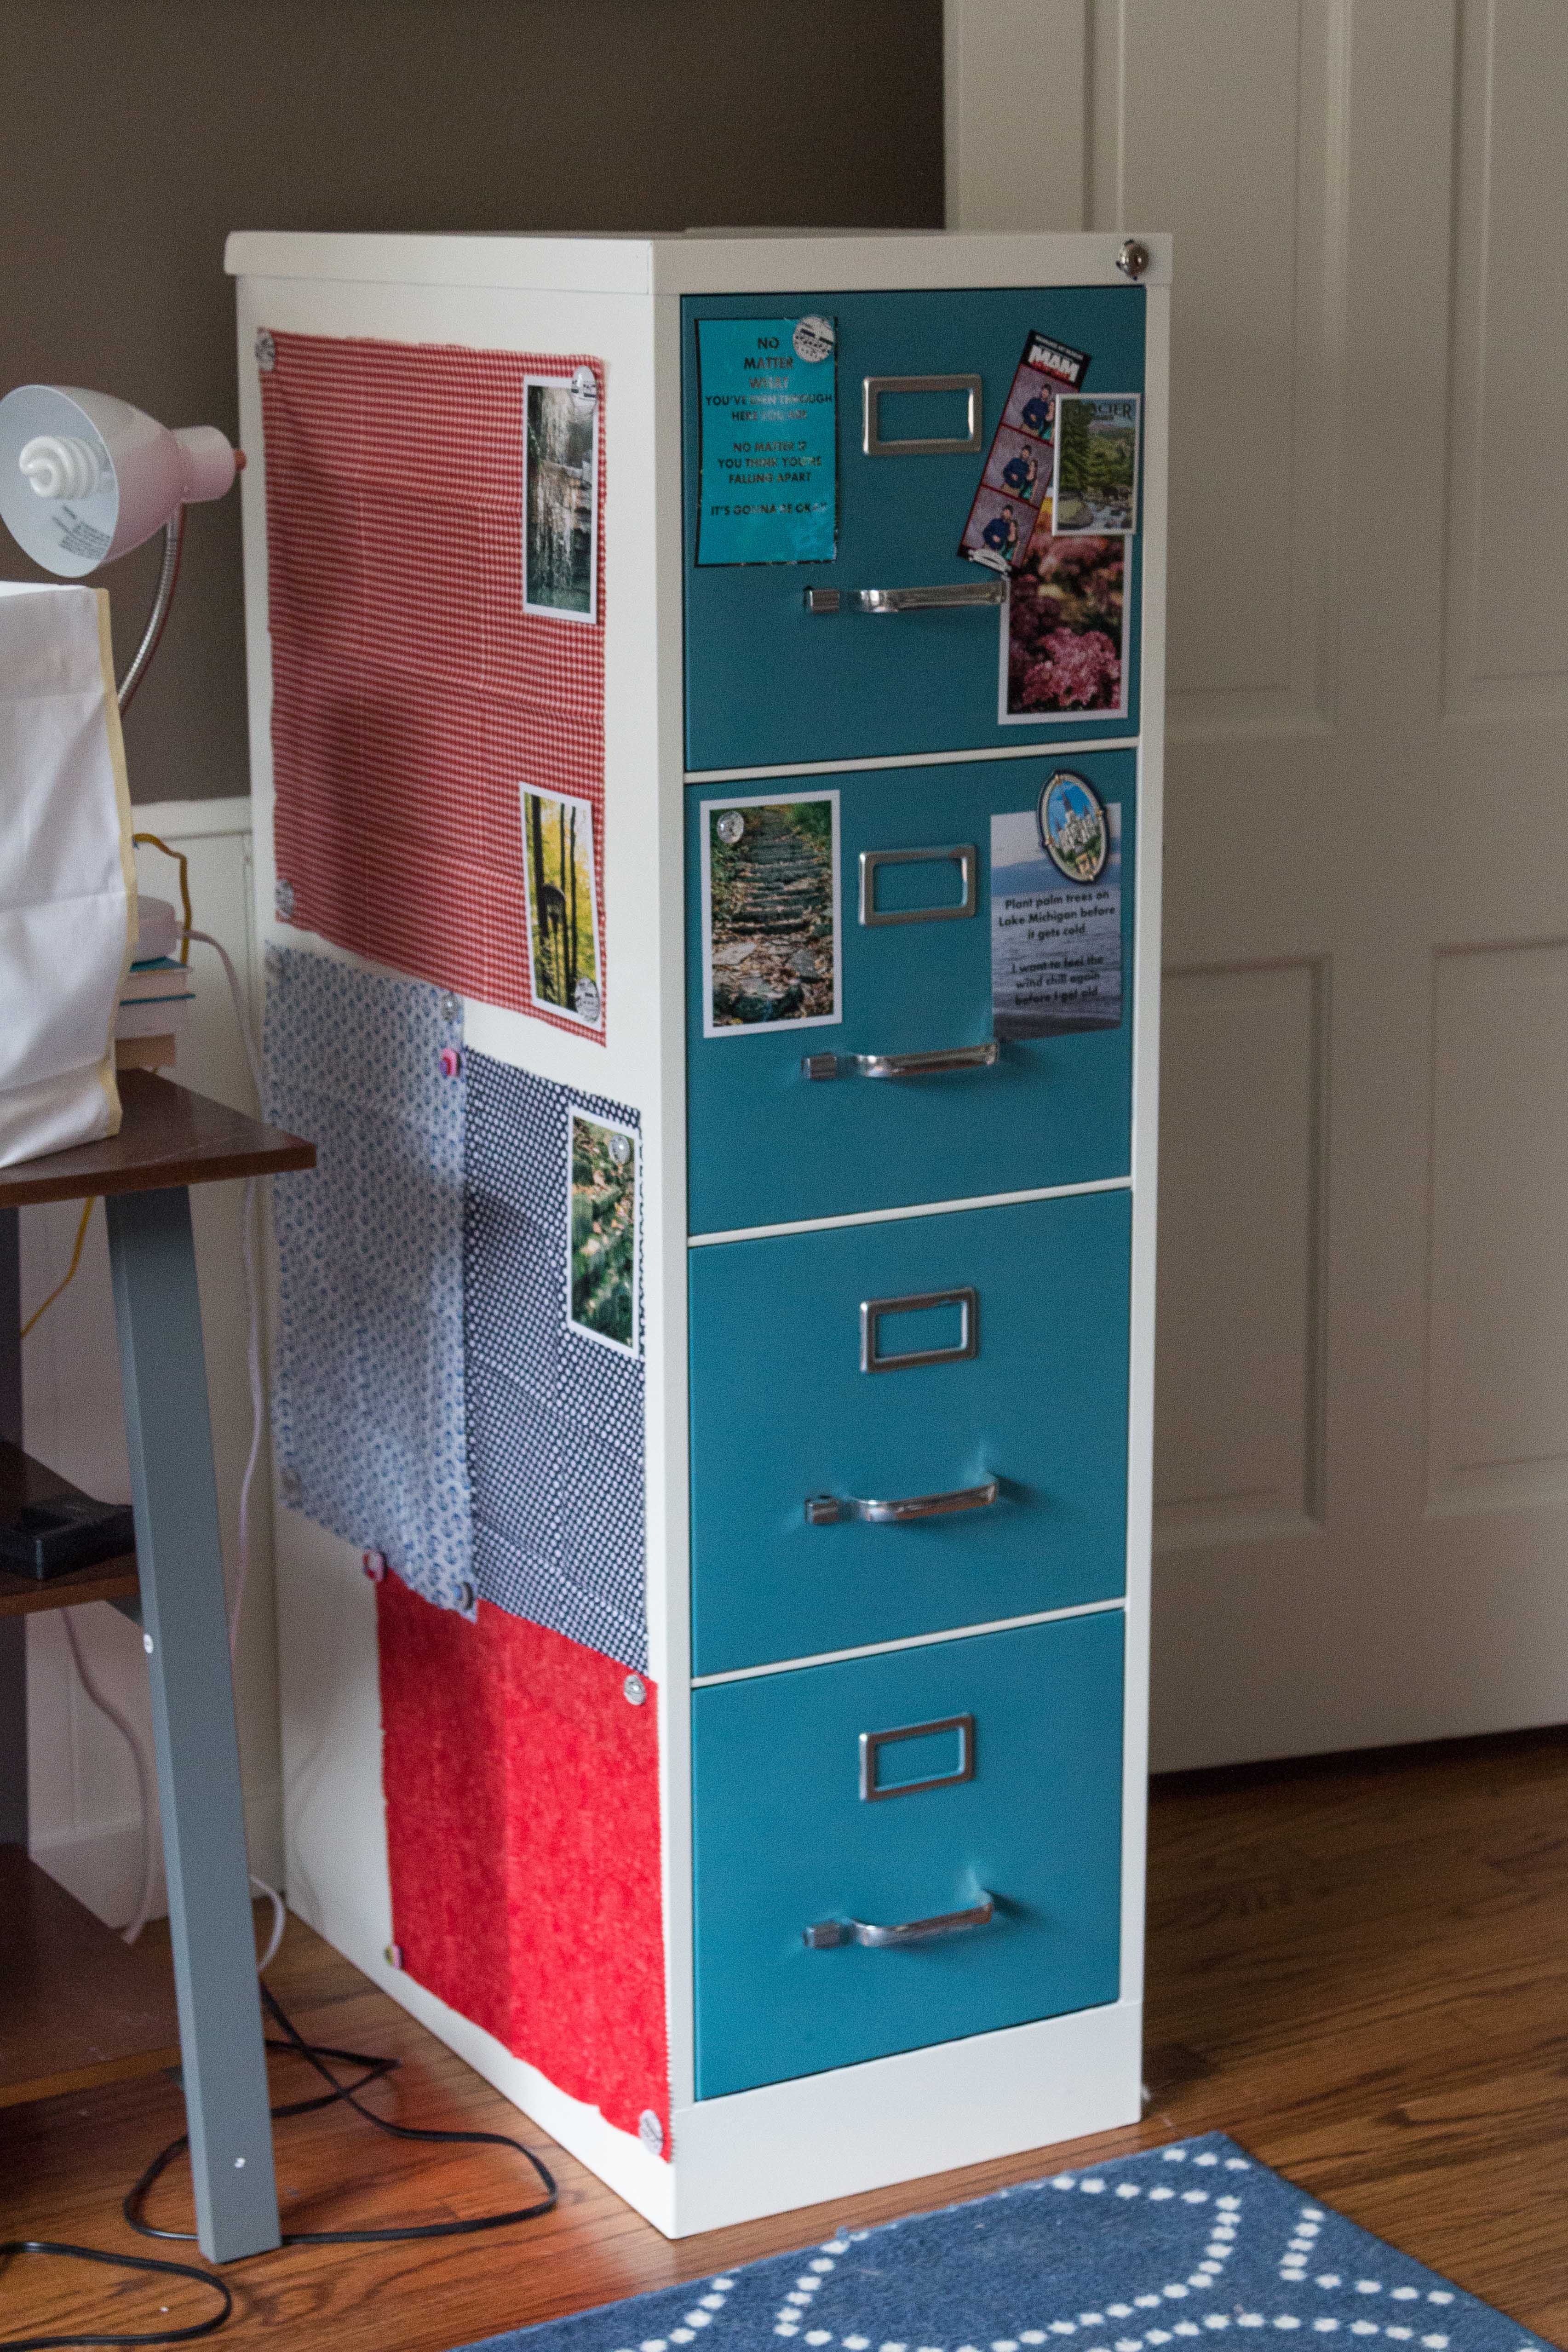
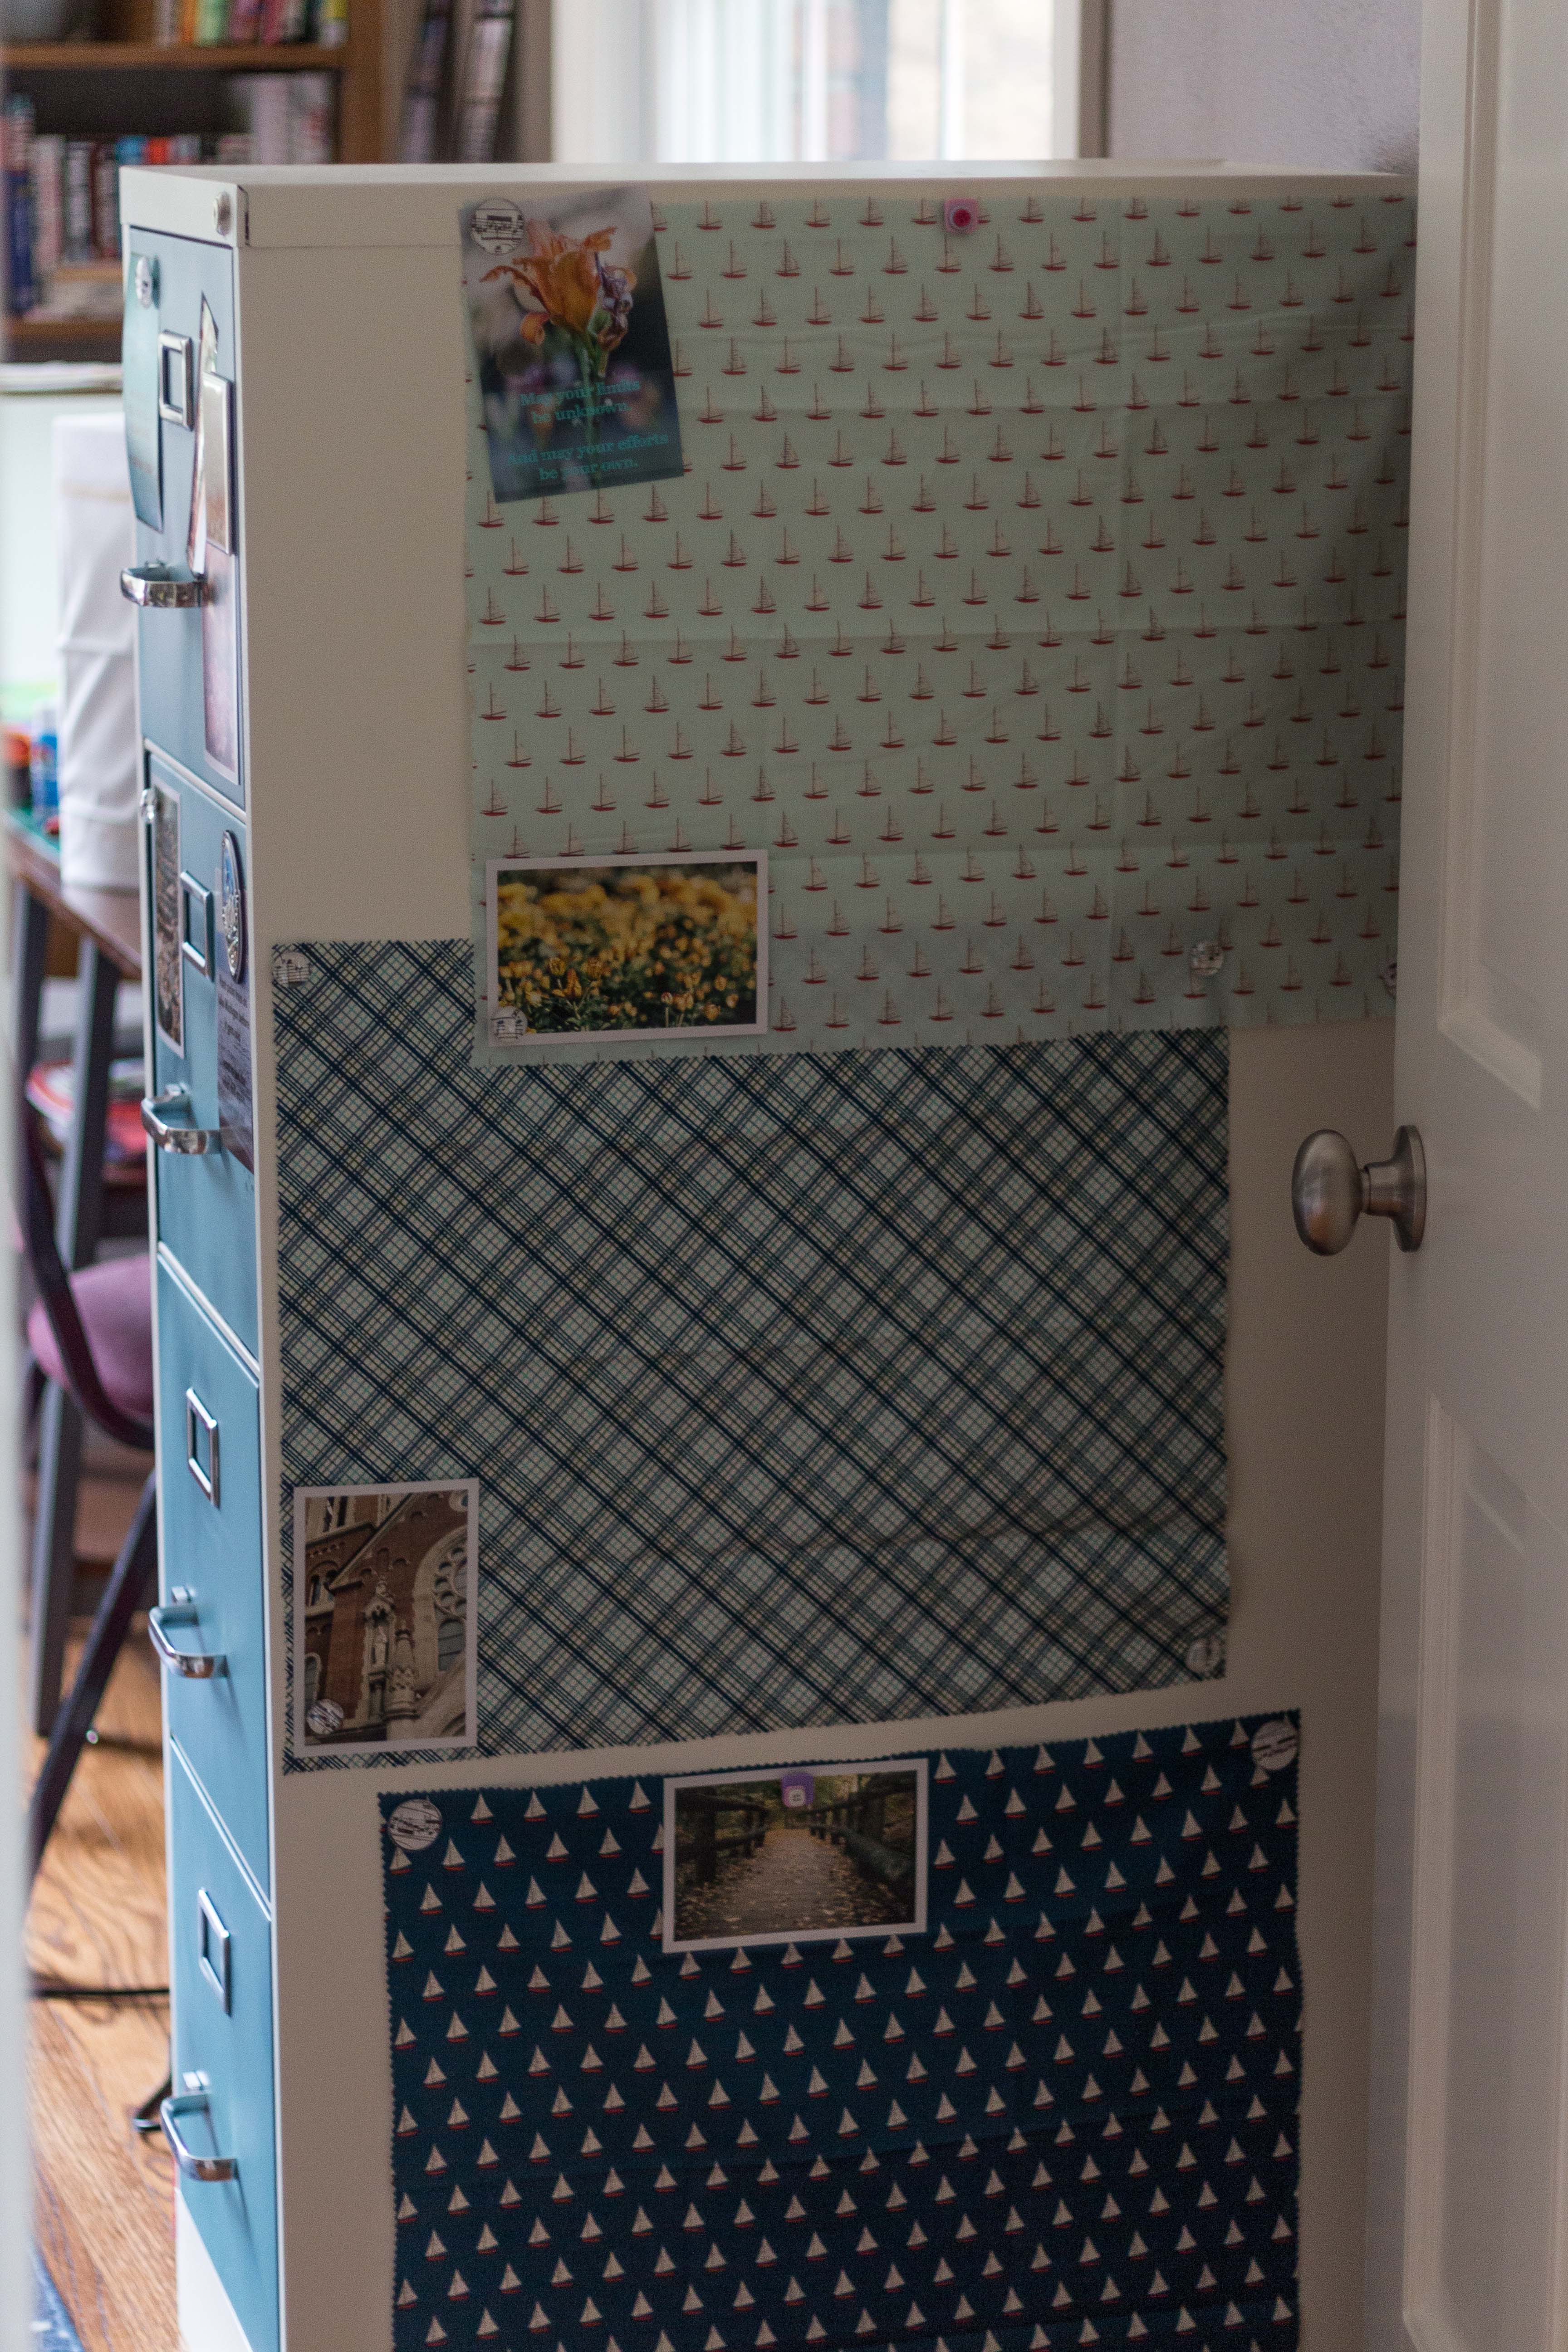
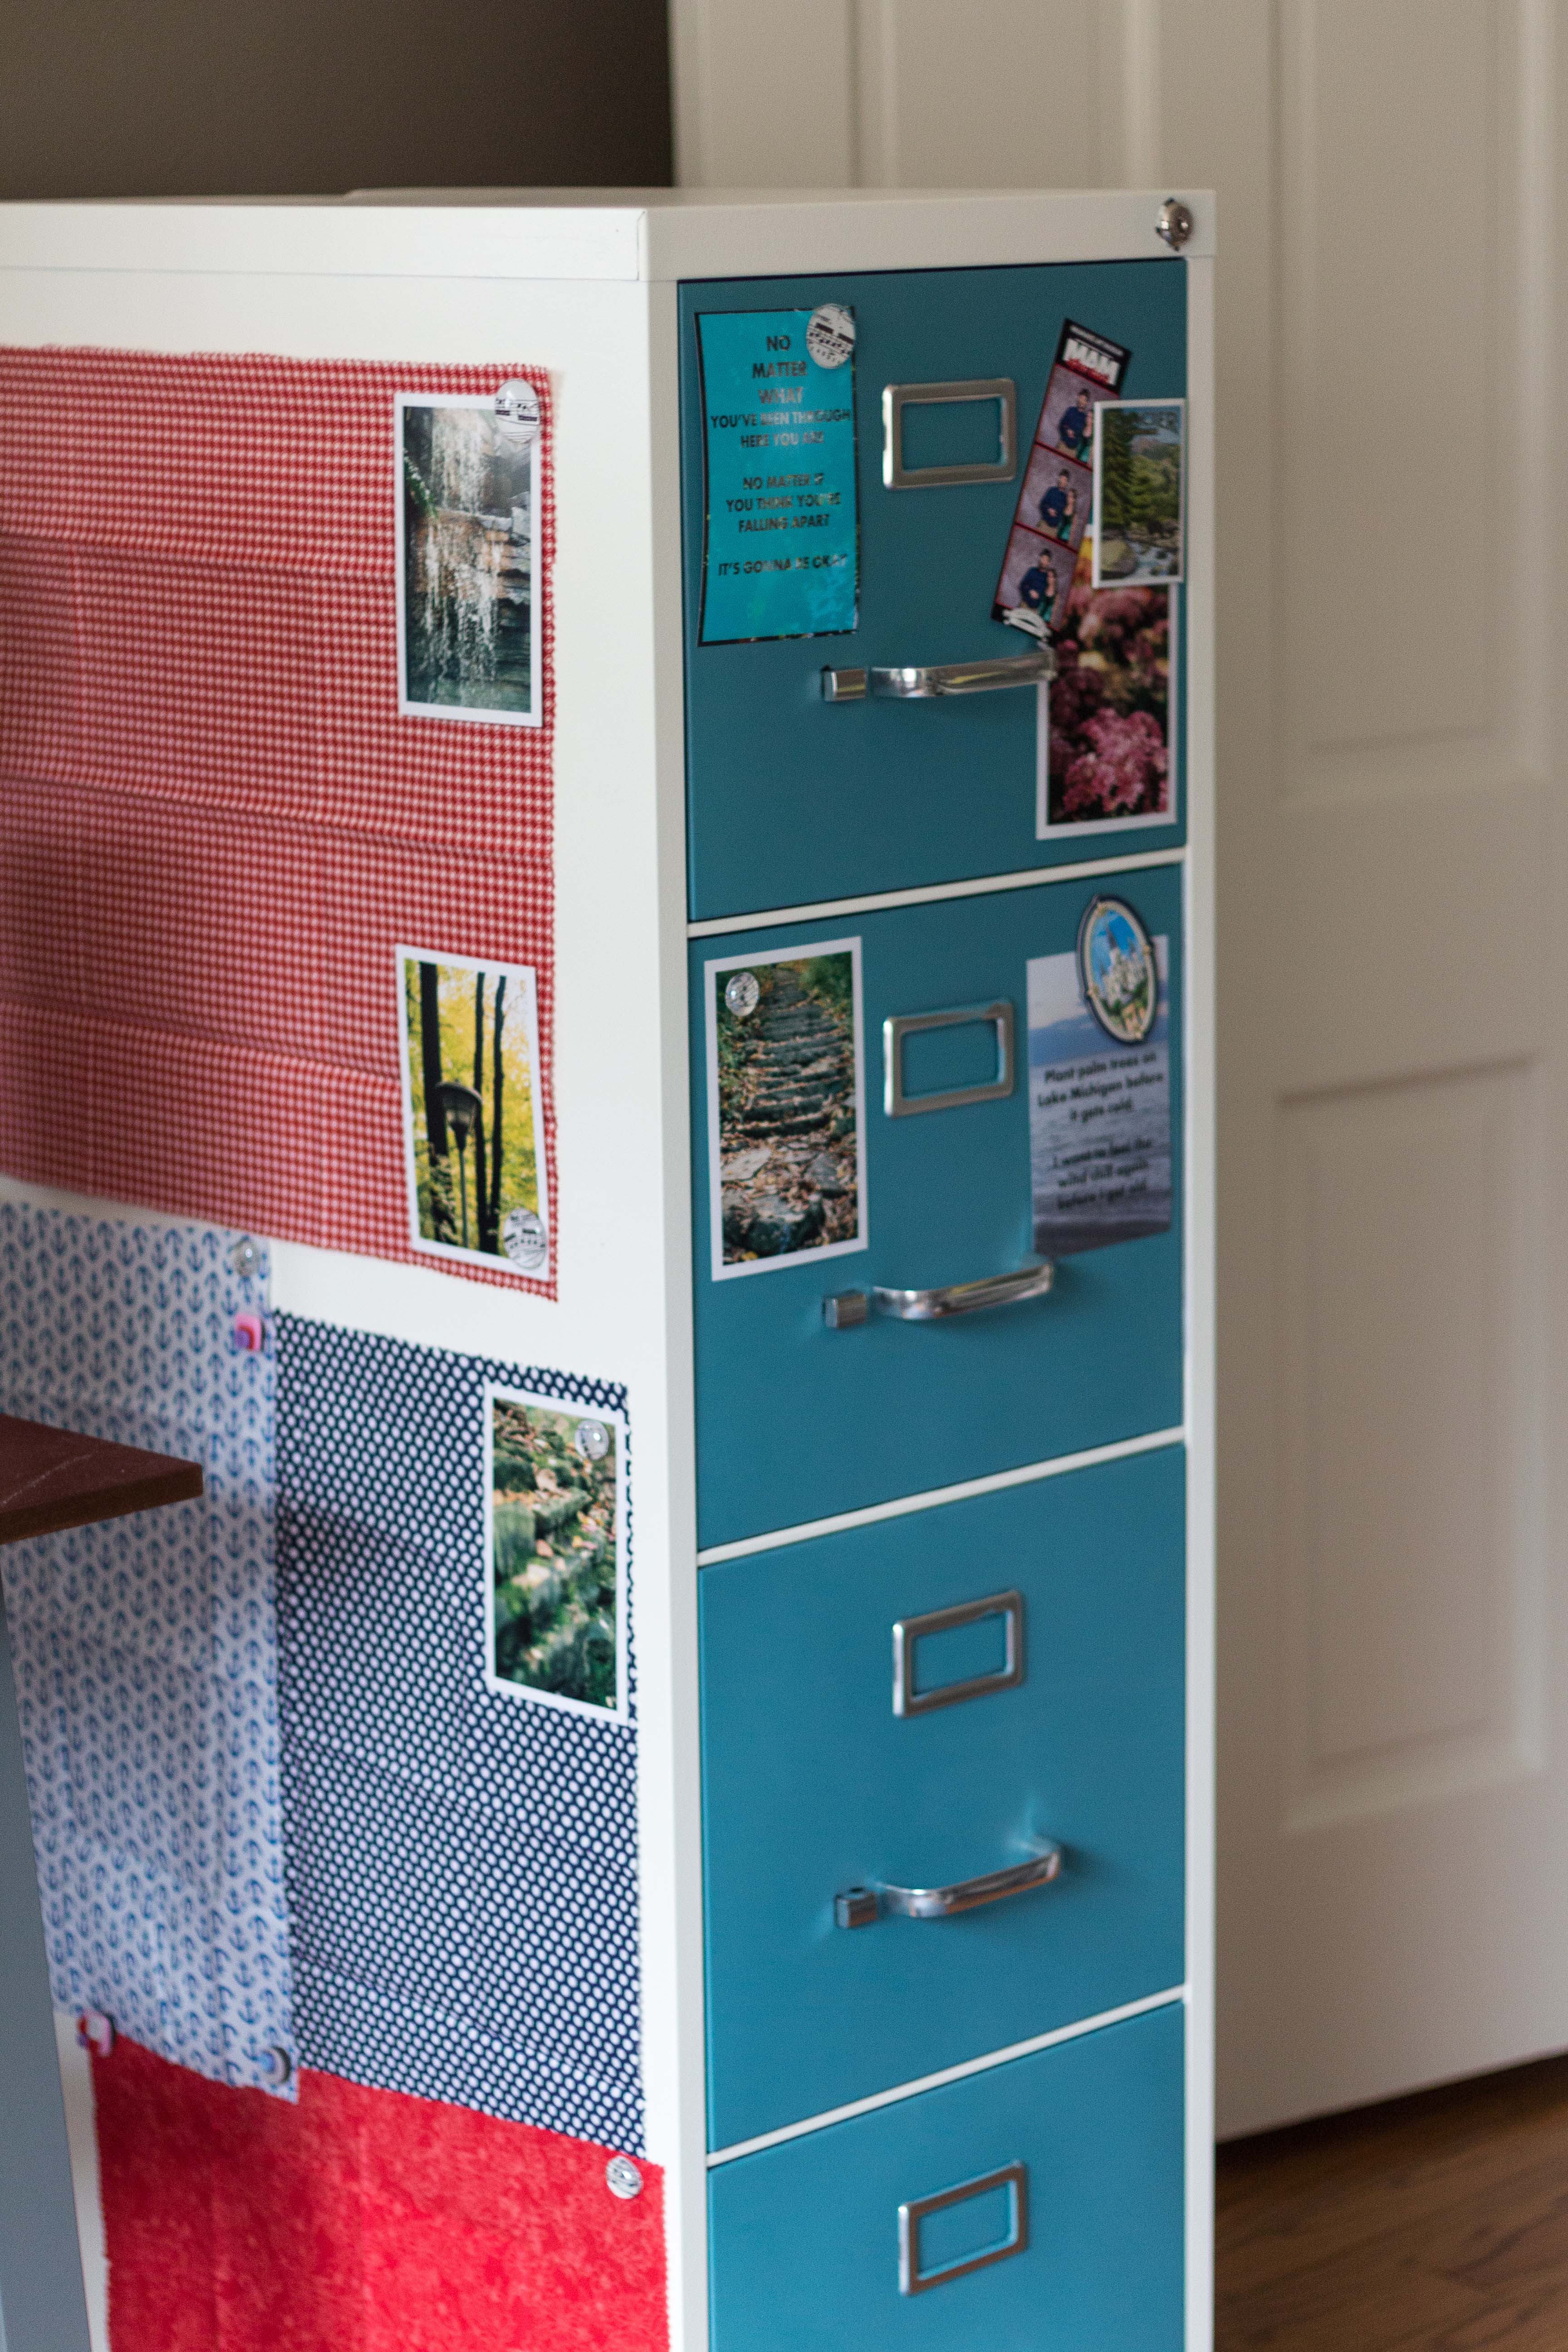
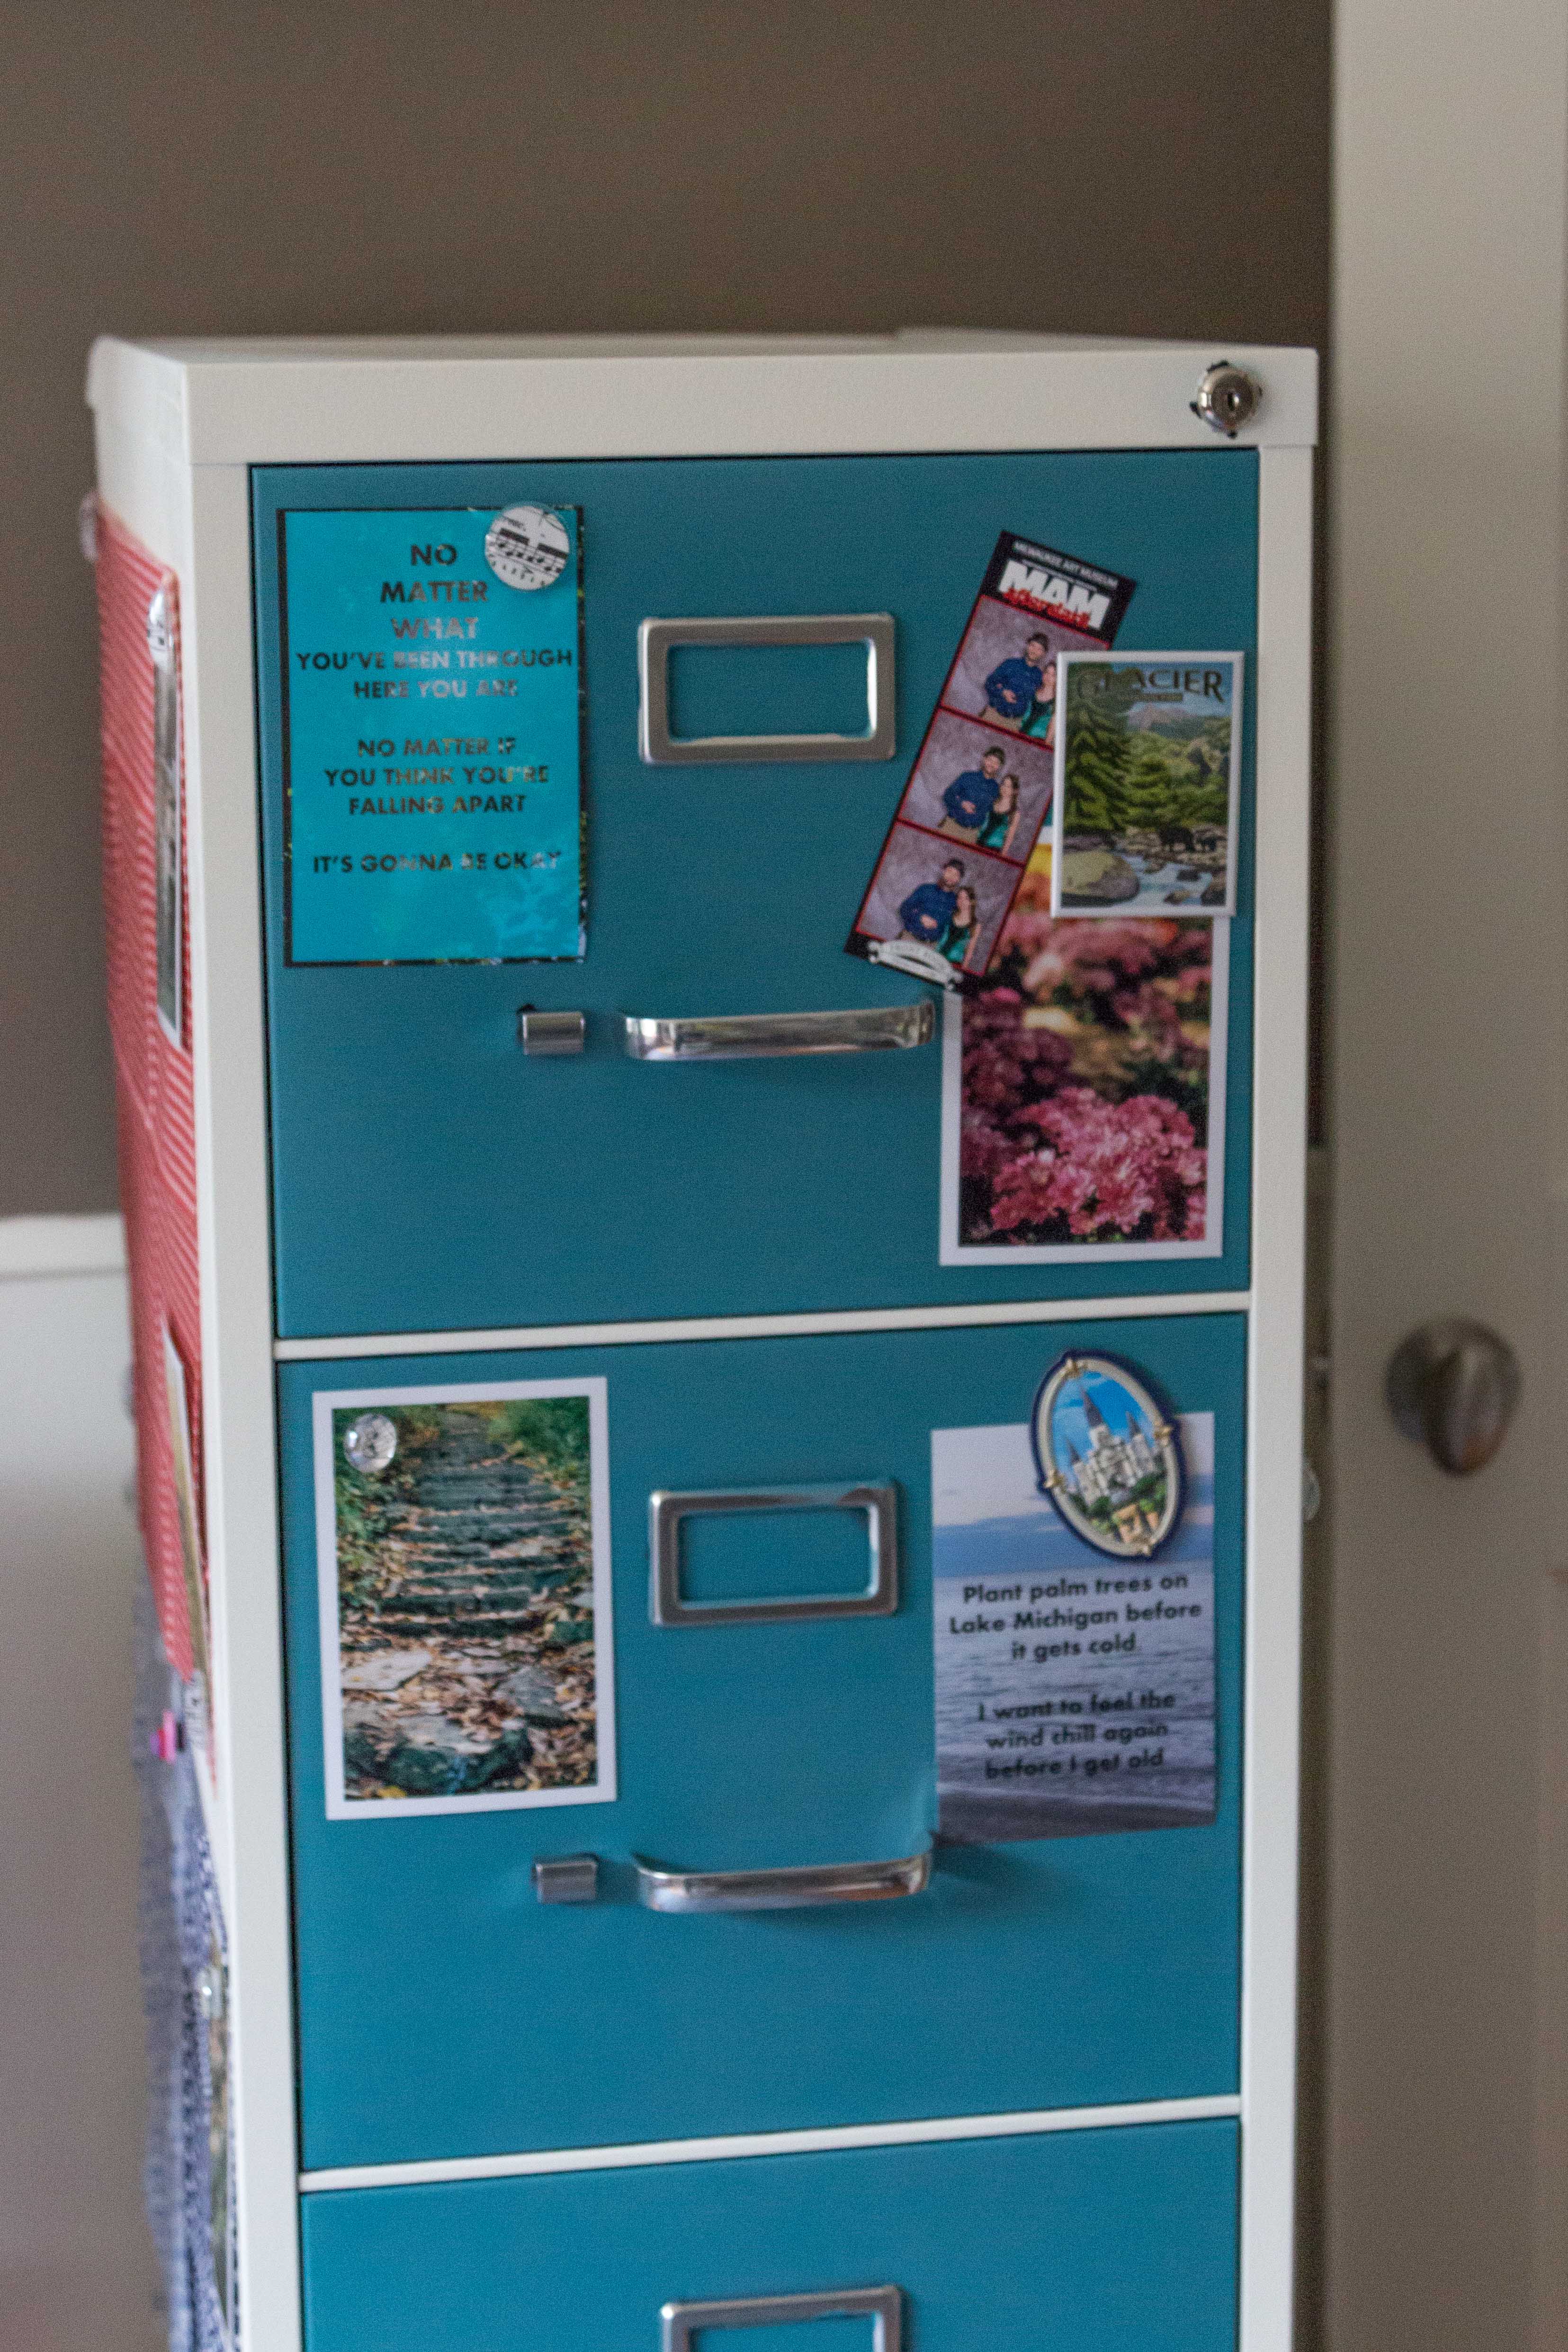
Painting the file cabinet makes such a big difference. Instead of having a big black hole in my office, I have a lovely, bright organizing unit. After painting the cabinet, I decided to add a few decorative elements.
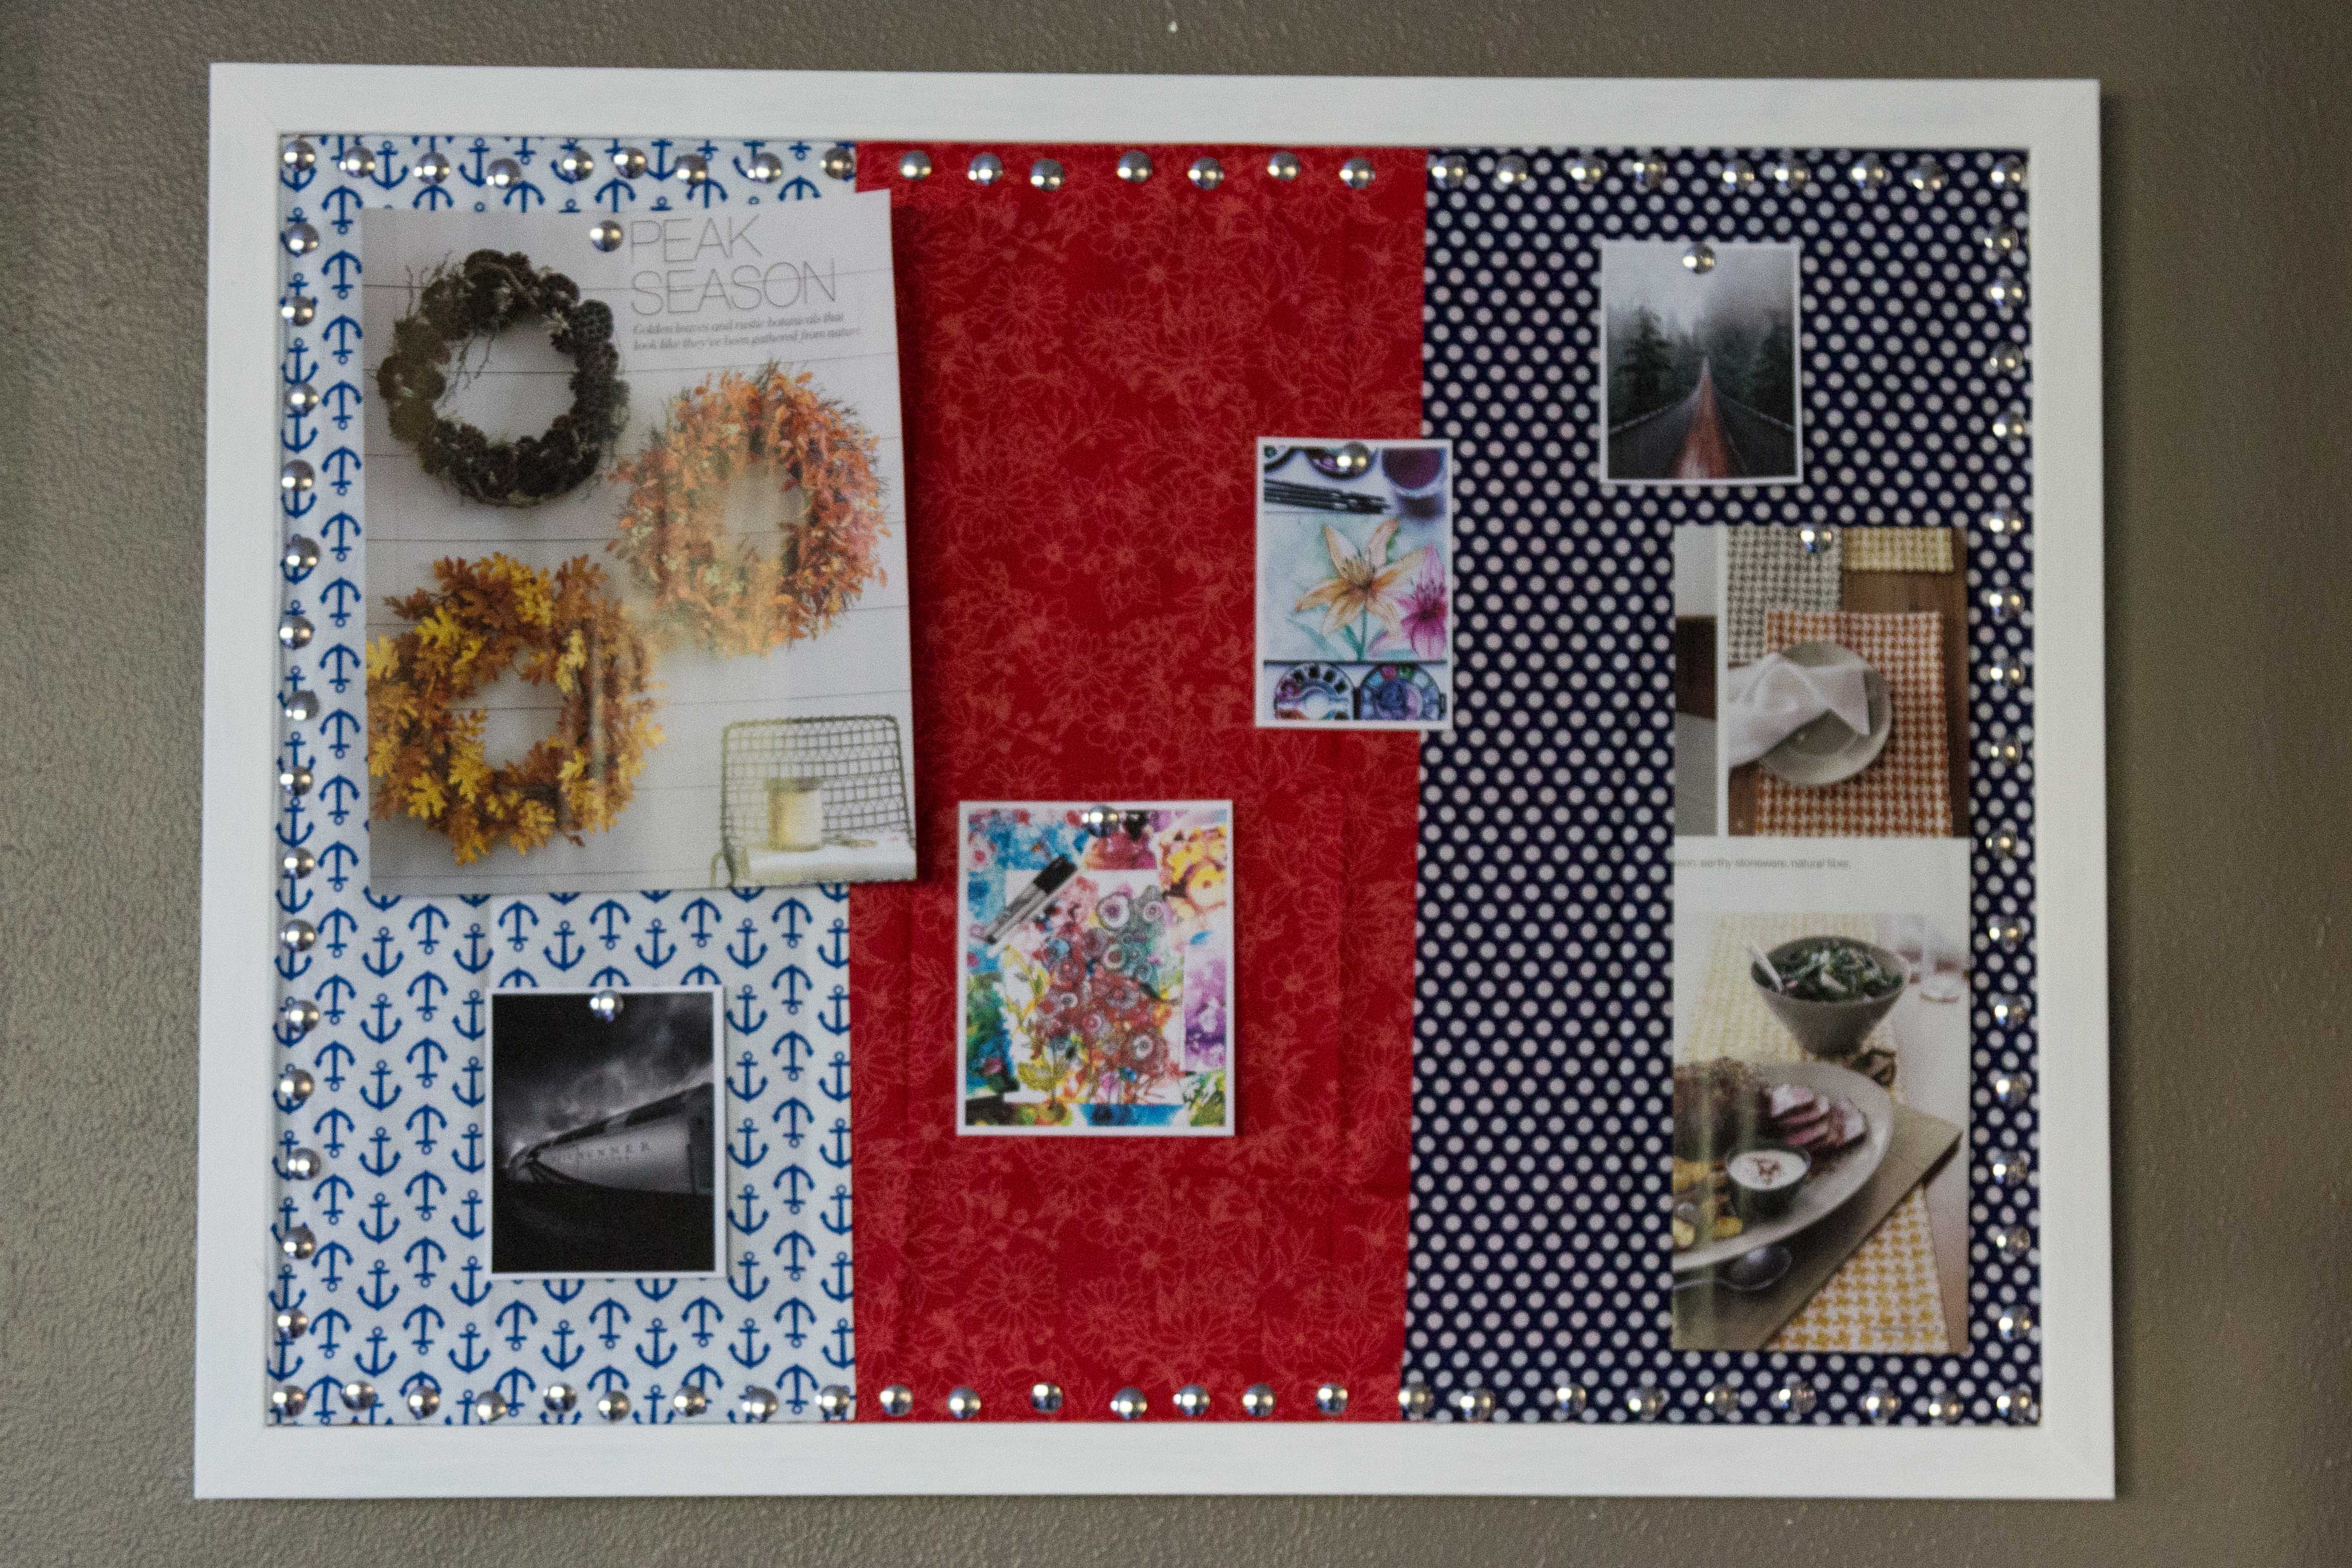
The large squares are fabric. Some of them are from Jo-Anns, left over from my inspiration cork board. The other fabric squares are this nautical fat quarters bundle from PhatQuarters. We live half a block from Lake Michigan and love incorporating a few subtle nautical elements into our home (remember the guest bedroom?). I finished the edges with pinking shears.
I’ve also added a handful of button and music magnets and a selection of photos. I talk more about my button magnets here and explain how I make my music magnets here. I also have a couple magnets from our recent trips to Montana and New Orleans. A few of the photos are favorite 2016 photos with text overlays of favorite song lyrics. The rest of the photos are from my test roll with the Canon AE-1. I can’t even tell you how excited it makes me to have some prints of photos I shot with a film SLR camera.
I’m so happy with the final result. My file cabinet blends right in with the rest of my office, and I have all of the storage space I need for my files.
Save the project on Pinterest to make it later!
Have you ever painted or made over a file cabinet?
I’d love to hear your best tips and tricks for this process!
Continue your office makeover with a
DIY fabric covered inspiration board.
[Disclaimer: There are a few affiliate links in this post. Thanks for your support!]
More DIY Projects:
DIY Vintage Sheet Music Botanical Coasters
DIY Scrabble Tile Picture Frame
Check out my DIY section for all of my tutorials!





Very cute! I love the blue color you selected, and adding fabric squares on the outside is a great way to spruce it up even more. I’m sure getting the drawers out is a huge pain since those drawers are usually designed with extra safety features to keep them from falling out!
Thanks so much! Yeah, it’s just not very intuitive, and I couldn’t find a tutorial to help me. I’m glad they don’t come out easily, though!
Oh my goodness, I love this so much! We are moving soon and I want a fresh start for my craft room, and this is just the recipe to truly make it mine!!!
Thanks! That’s awesome! If you make over a file cabinet, please send me some pictures. 🙂
This turned out great! Love the color combo choice too 😉
-Clarissa @ The View From Here
Thanks so much!
This looks awesome!! So much better than the original!
Thanks, Lorrin!
This is a great DIY project, I love getting to hear about other people’s DIYs!
Thanks for sharing!
Thanks, Dana!
You made this so easy to follow along. I was able to update my filing cabinet by following your procedure. I love the new look. Thanks.
I’m so glad to hear it! Enjoy!!