
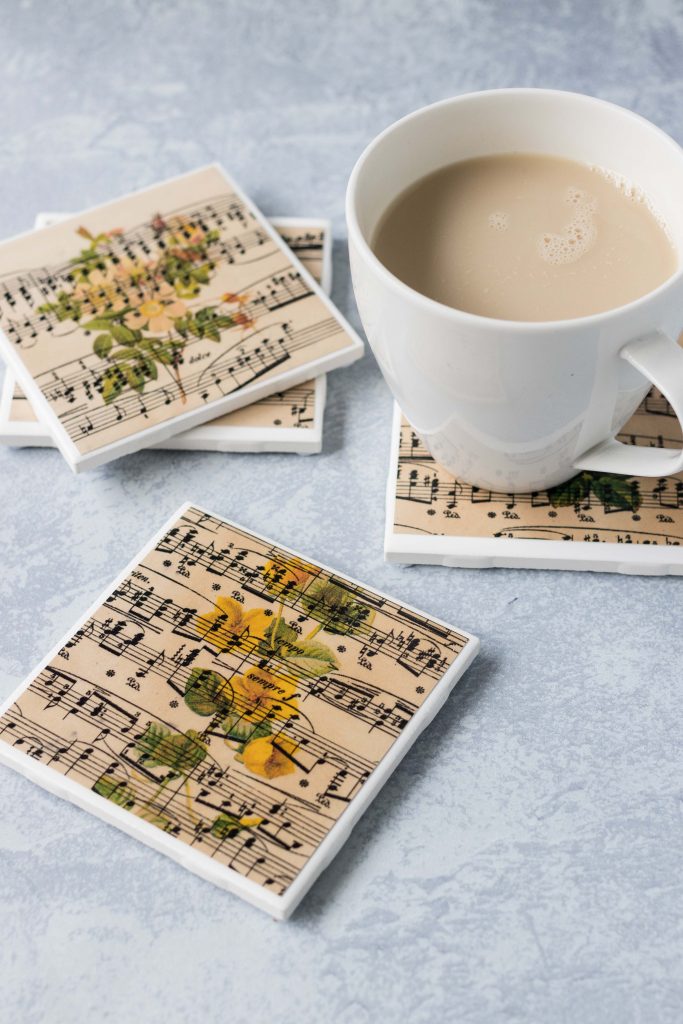


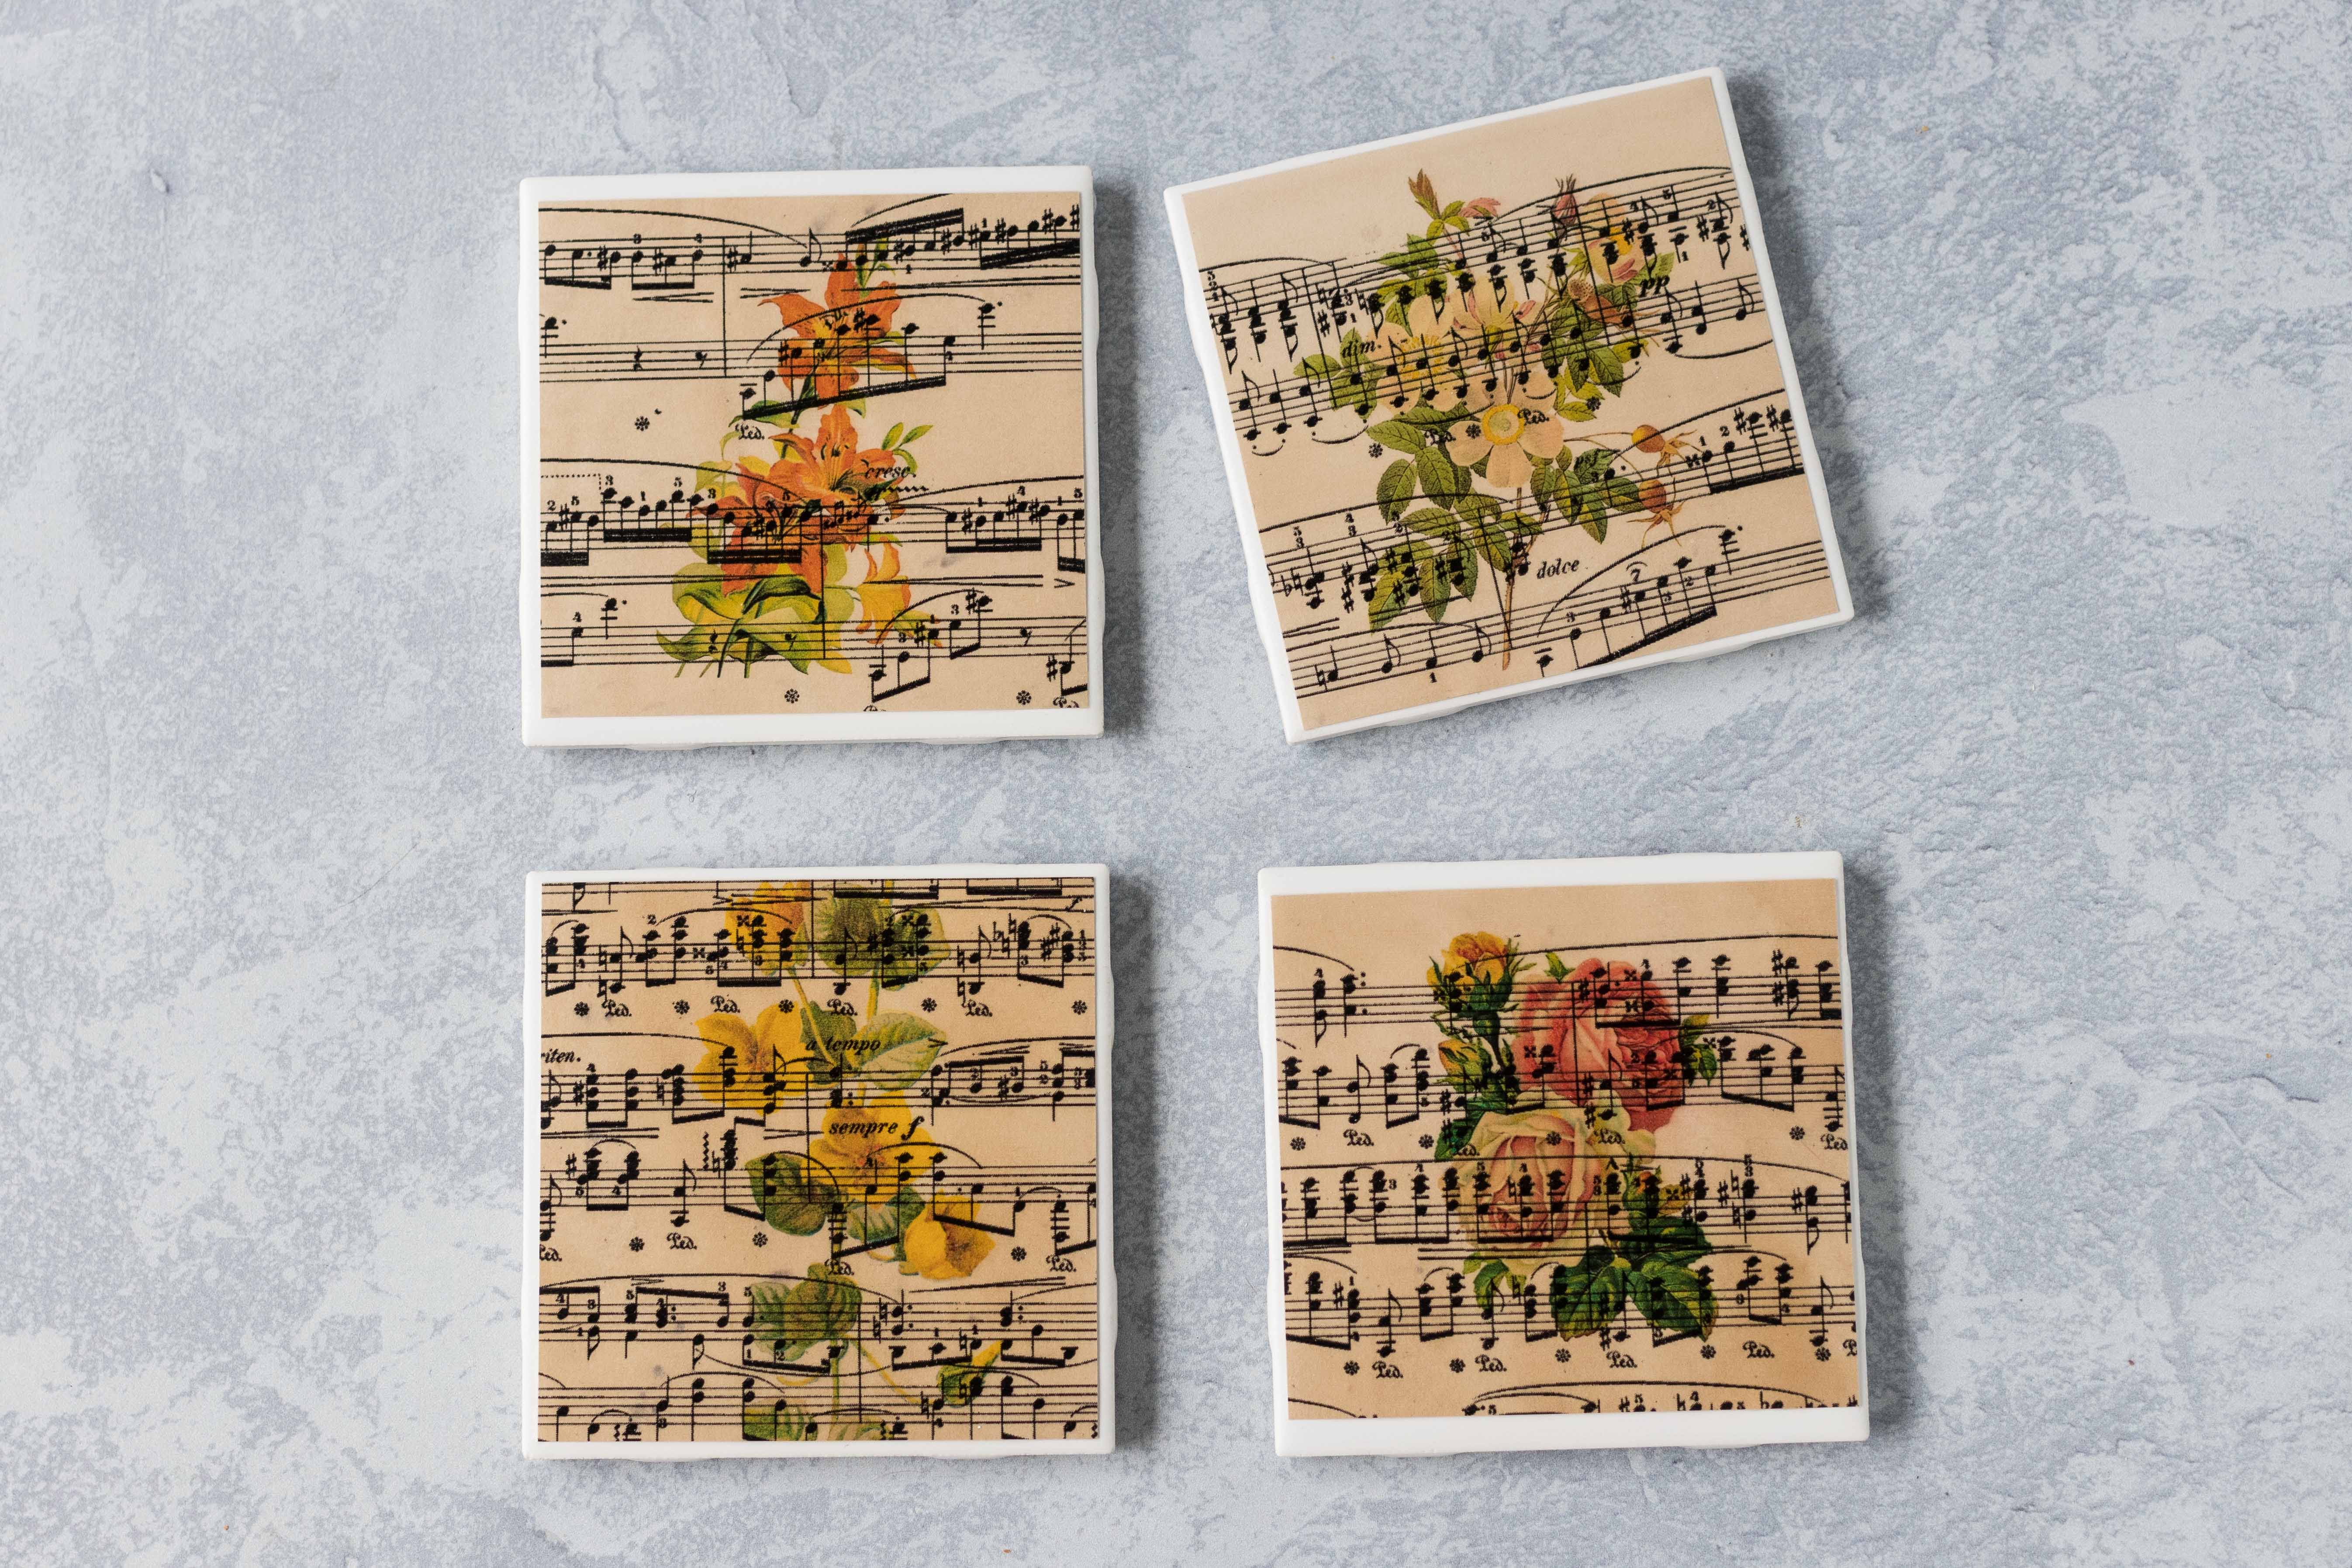
I’m having a moment with vintage sheet music and created my own version of the popular handmade ceramic tiles, making DIY vintage sheet music botanical coasters.

There are a ton of tutorials for scrapbook paper or photo tiles, which look nice but have been overdone. I wanted to use sheet music instead and then up the concept a notch. So I antiqued my sheet music and printed over it with vintage botanical images. I am a little obsessed with the vintage sheet music and botanicals pairing and know that you’ll love it as much as I do.
Supplies for DIY vintage sheet music botanical tile coasters
- Four 4.25″ x 4.25″ ceramic white, cream, or biege finish tiles, available at any hardware store
- Two pages of vintage sheet music or two sheets of white card stock to antique brand new printed sheet music
- Coffee or other antiquing medium of your choosing
- Pastry brush and hair dryer for the antiquing process
- Color ink-jet or laser printer
- Paper cutter
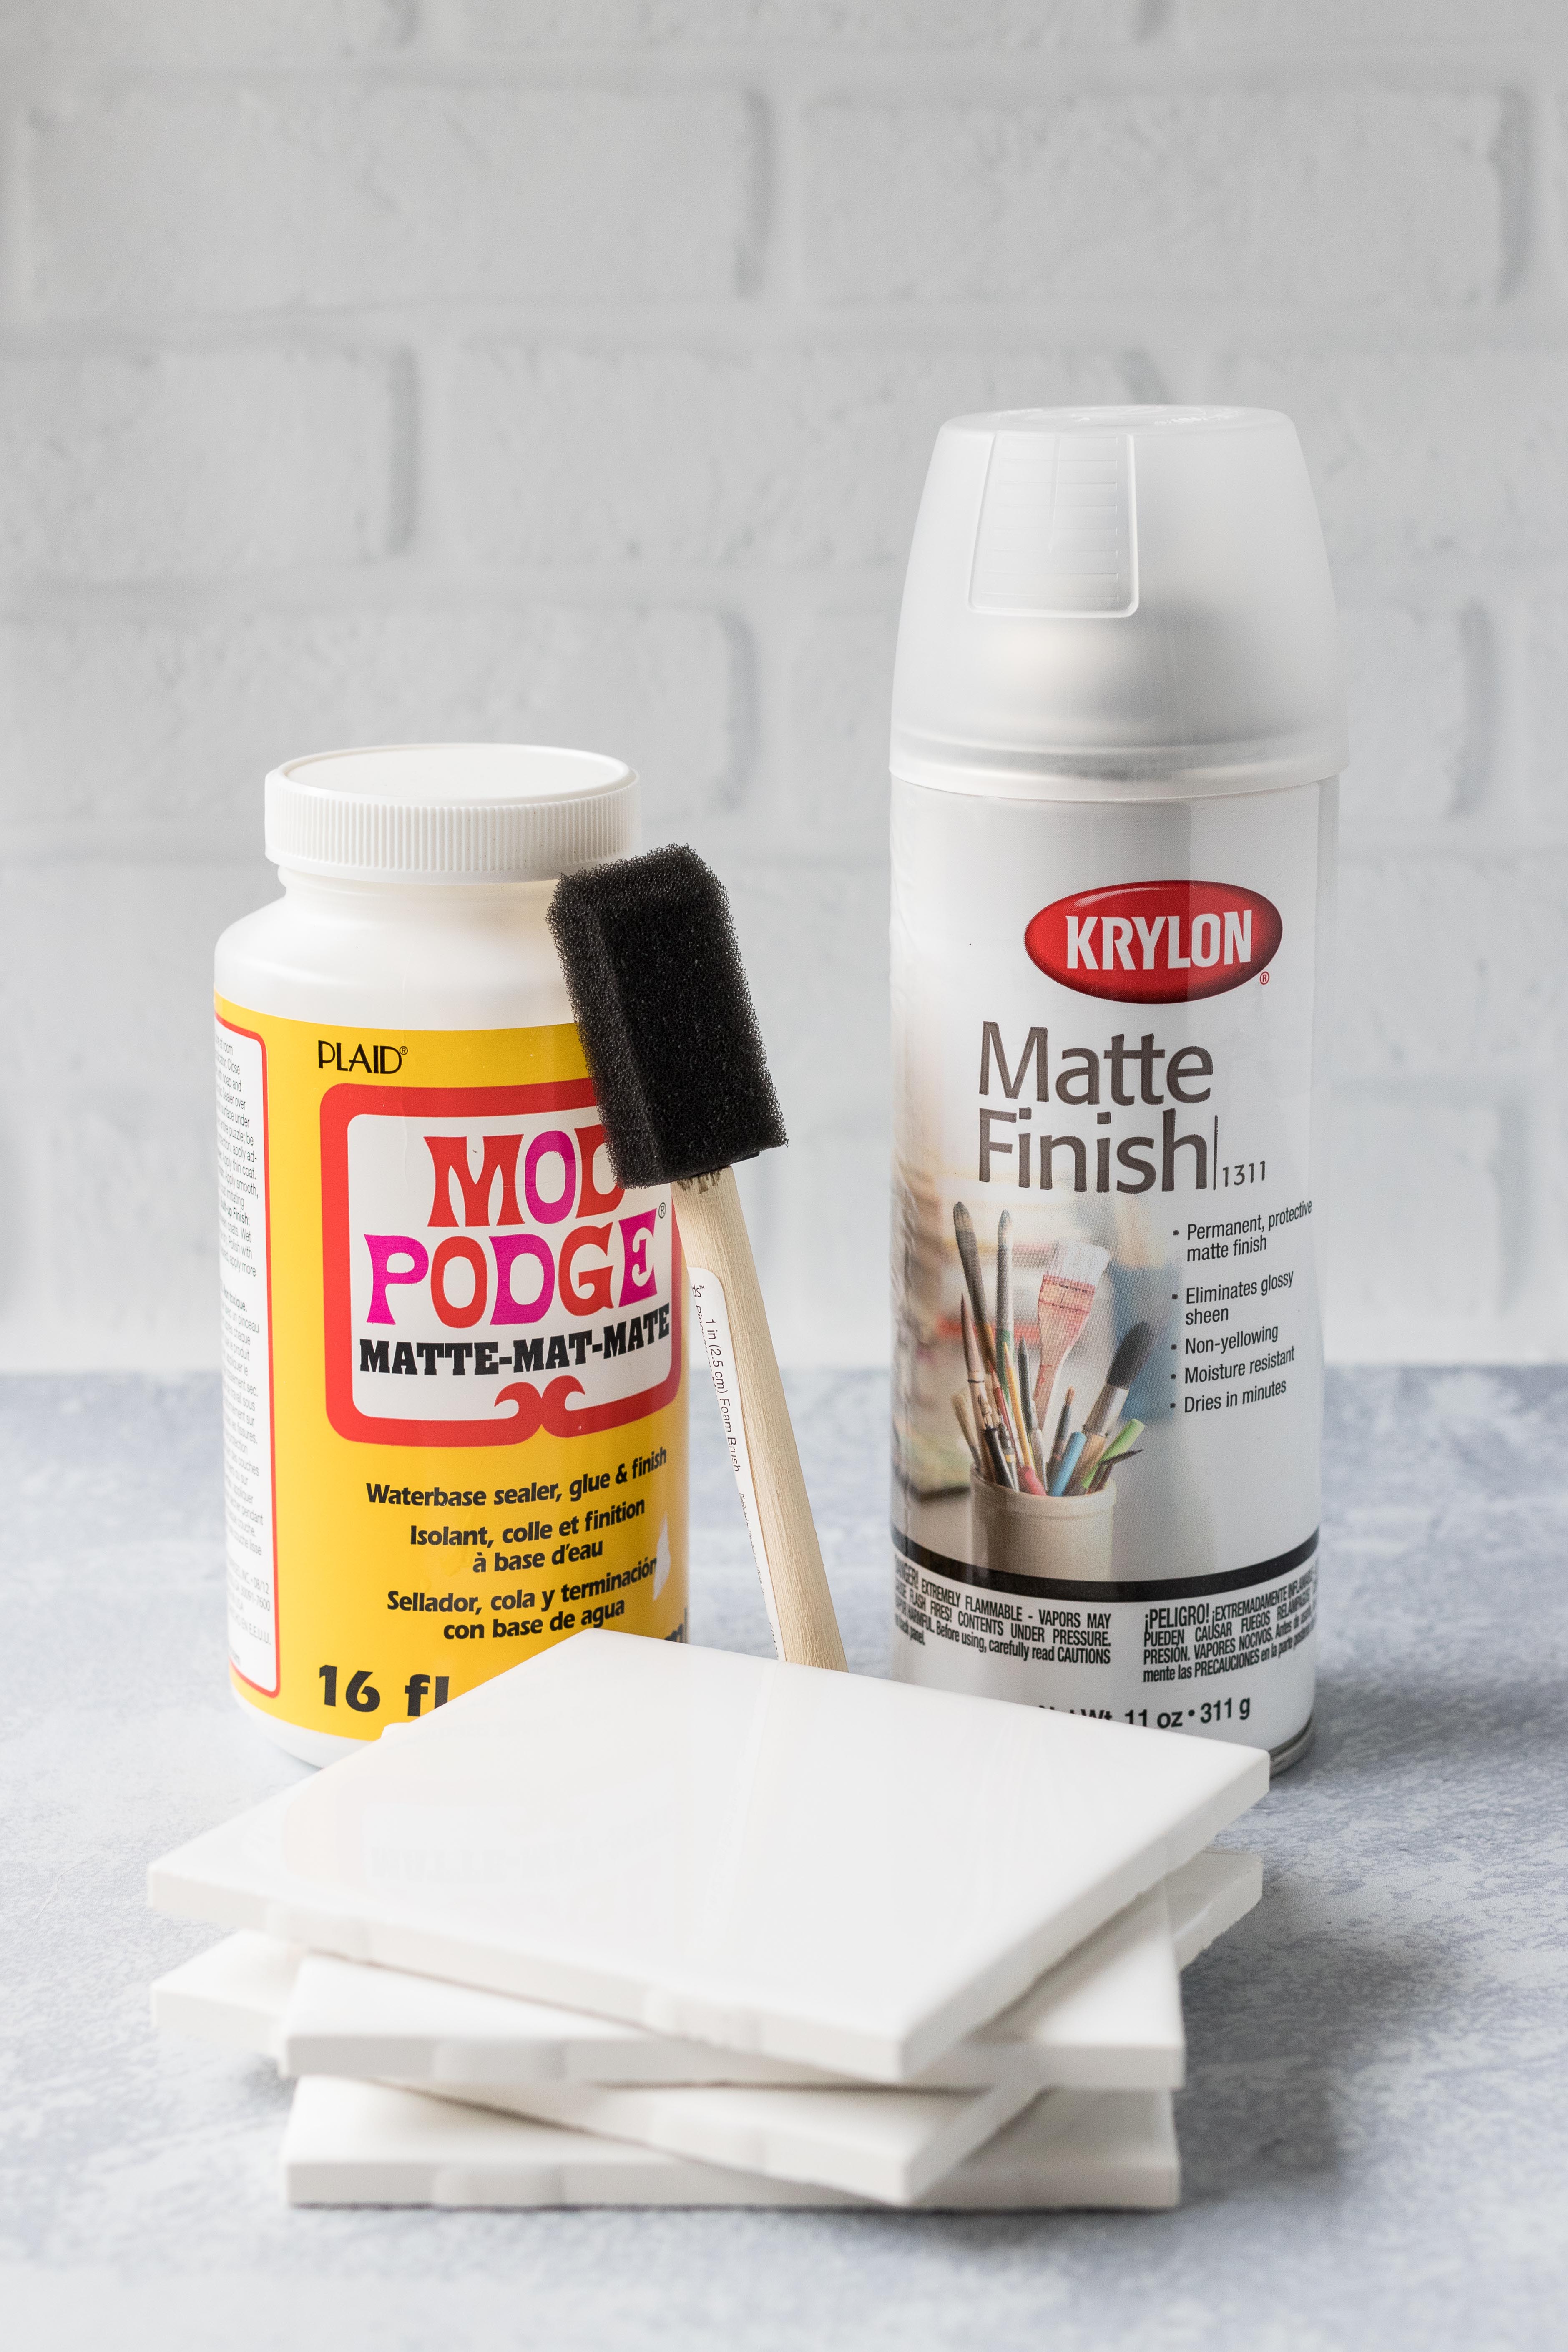
- Mod Podge
- Small foam brush (I use a 1″ foam brush, which is what I’ve linked here)
- Four botanical PNG files (my sources are linked below in the notes)
- For drink coasters: cork or felt circles (four circles for each tile) or square cork backing (one for each tile) and tacky glue
- For wall art: sawtooth hangers (one for each tile) and E-6000 adhesive
- Spray acrylic (I like a matte finish for the vintage aesthetic)
Notes:
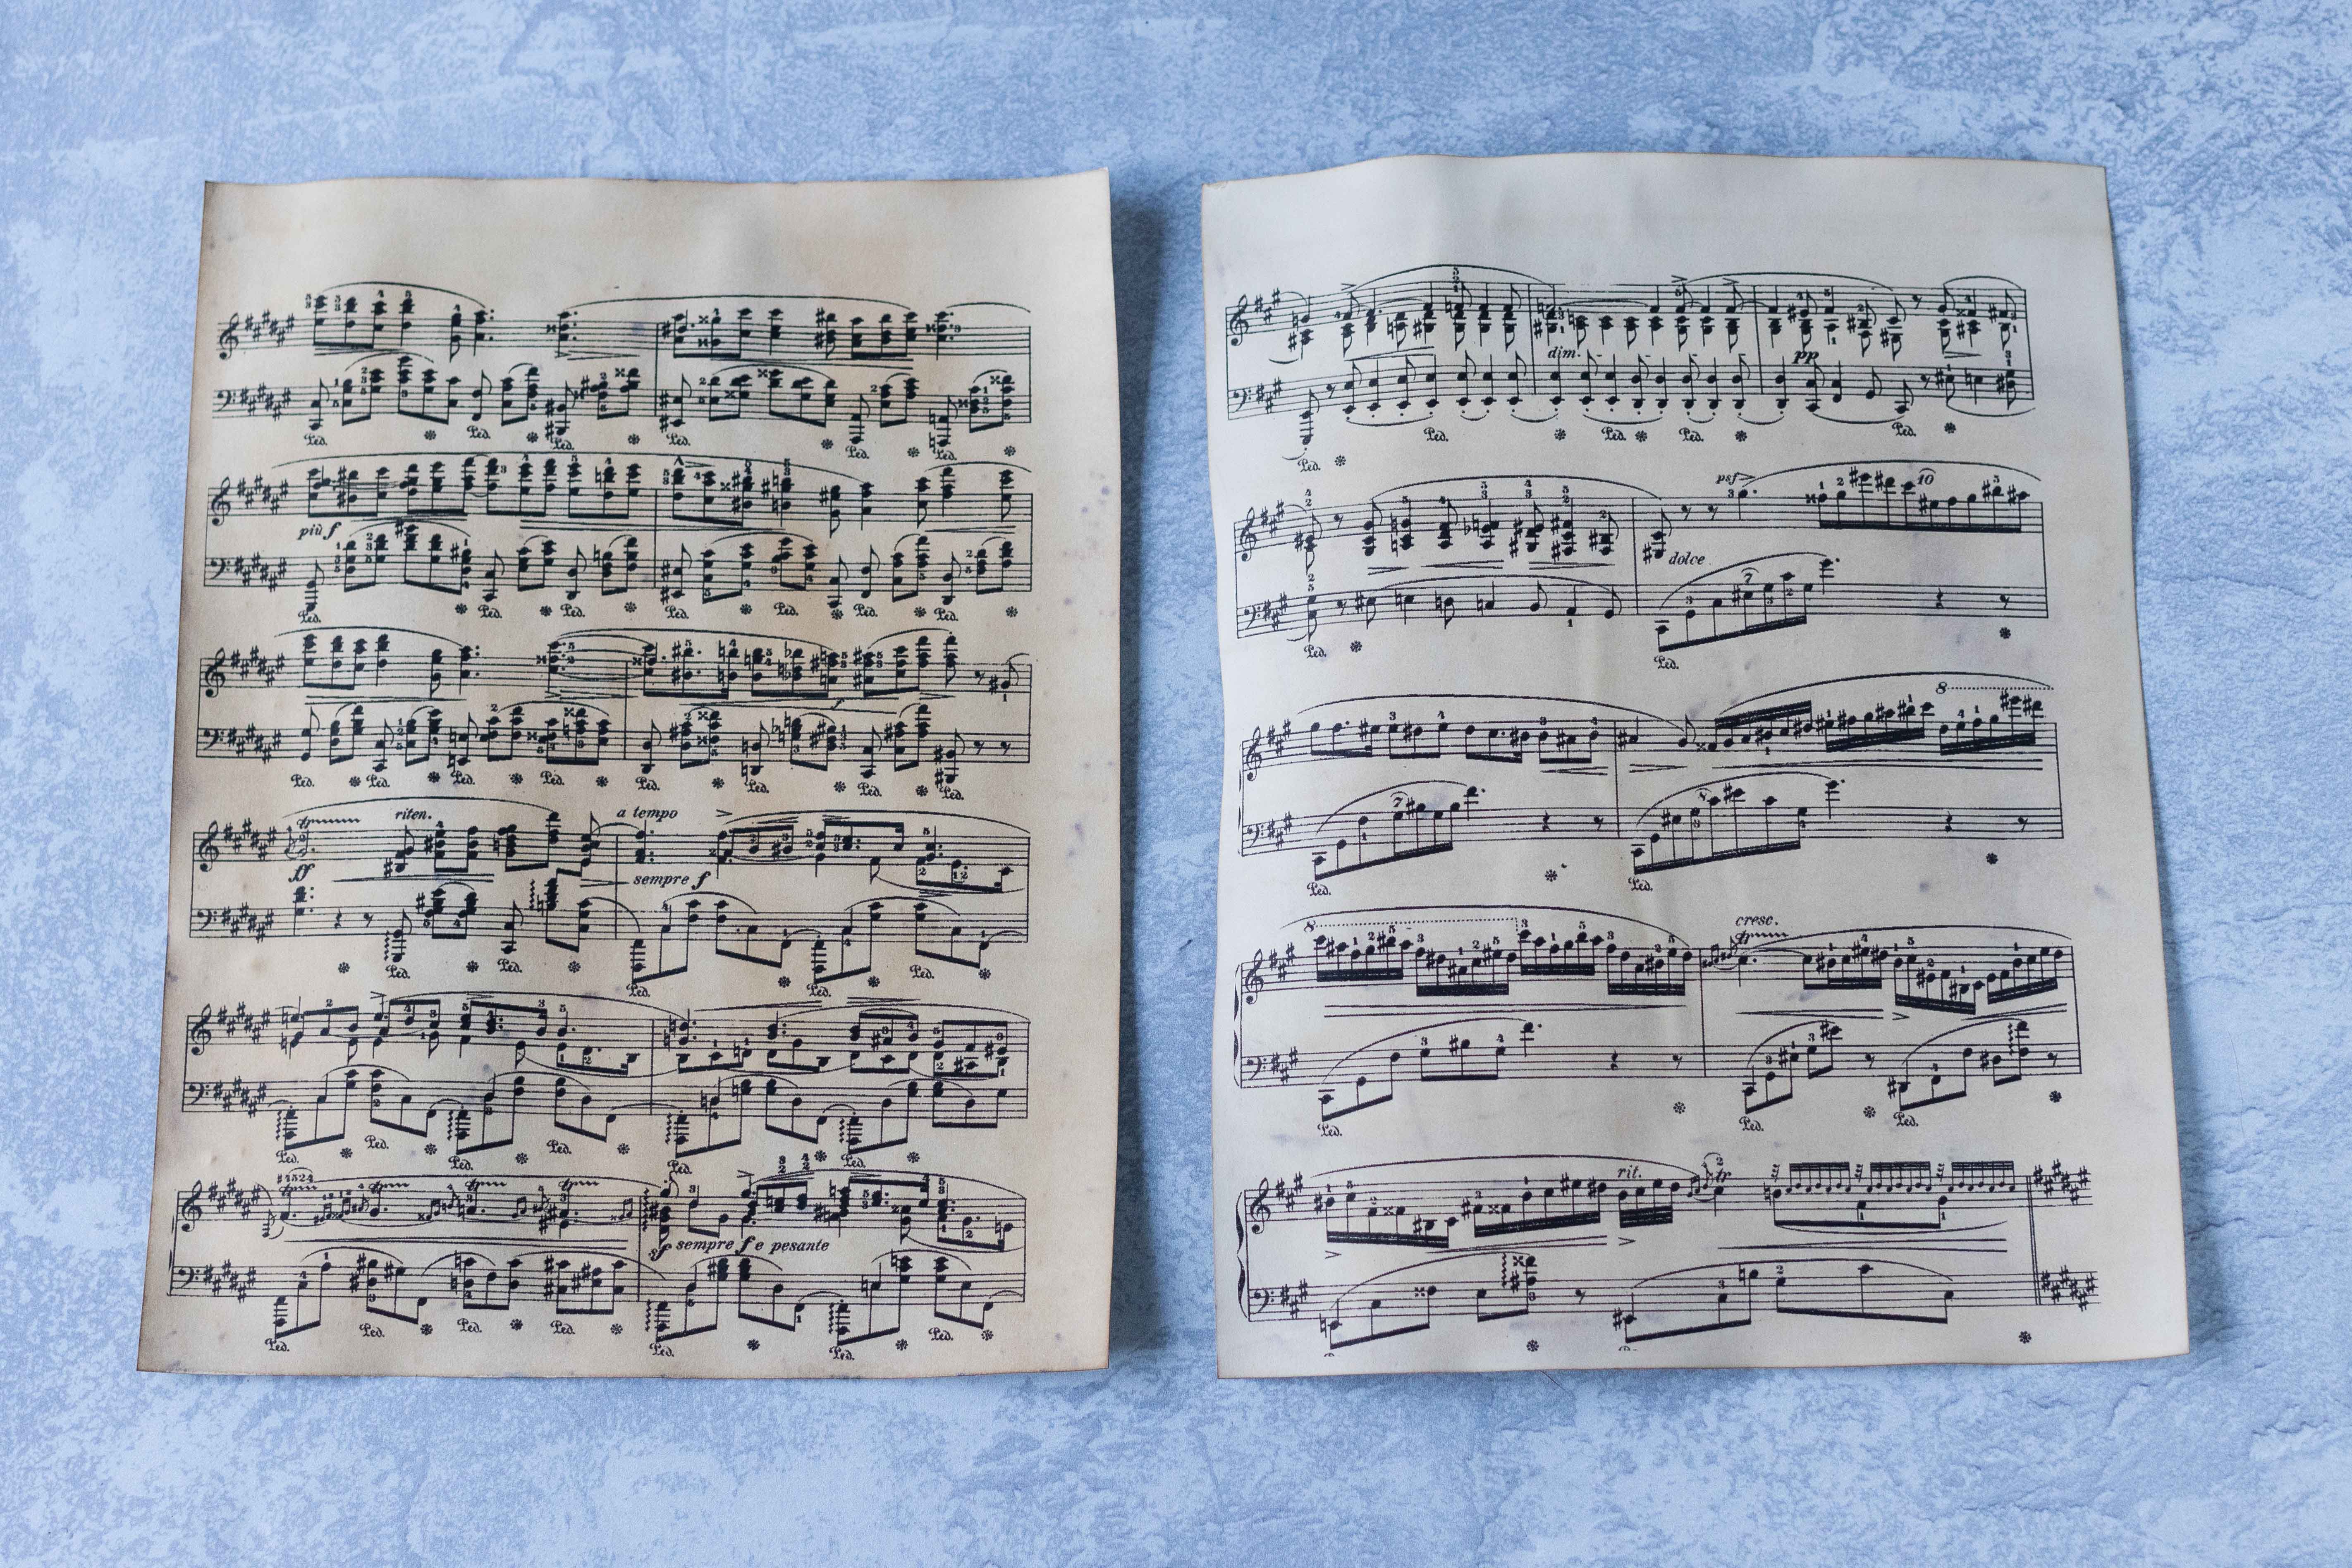
You can use any type of sheet music for your vintage sheet music botanical tile coasters. I create the vast majority of my sheet music crafts with Chopin pieces printed on white card stock. For this tutorial, I antiqued brand new sheet music.
Any botanical PNG files will work for your DIY vintage sheet music botanical tile coasters. Here are the four botanical images I used for this tutorial: 1 // 2 // 3 // 4.
If sheet music isn’t your speed, vintage botanicals pair beautifully with antique book pages. I have a few free printables sets that work perfectly for these coasters.
- 50 Free Vintage Dictionary Page Printables
- Free Printable Vintage Hymns Sheet Music
- Free Vintage French Primer Book Pages and Illustrations
Instructions for DIY vintage sheet music botanical tile coasters

Collect your vintage sheet music or print the sheet music of your choosing on white card stock. You’ll need two sheets of music to make four 4.25″ x 4.25″ tiles. If you’re printing with a laser printer, your sheet music is ready for crafting. If you’re printing with an ink-jet printer, give your sheet music a couple coats of spray acrylic before proceeding.
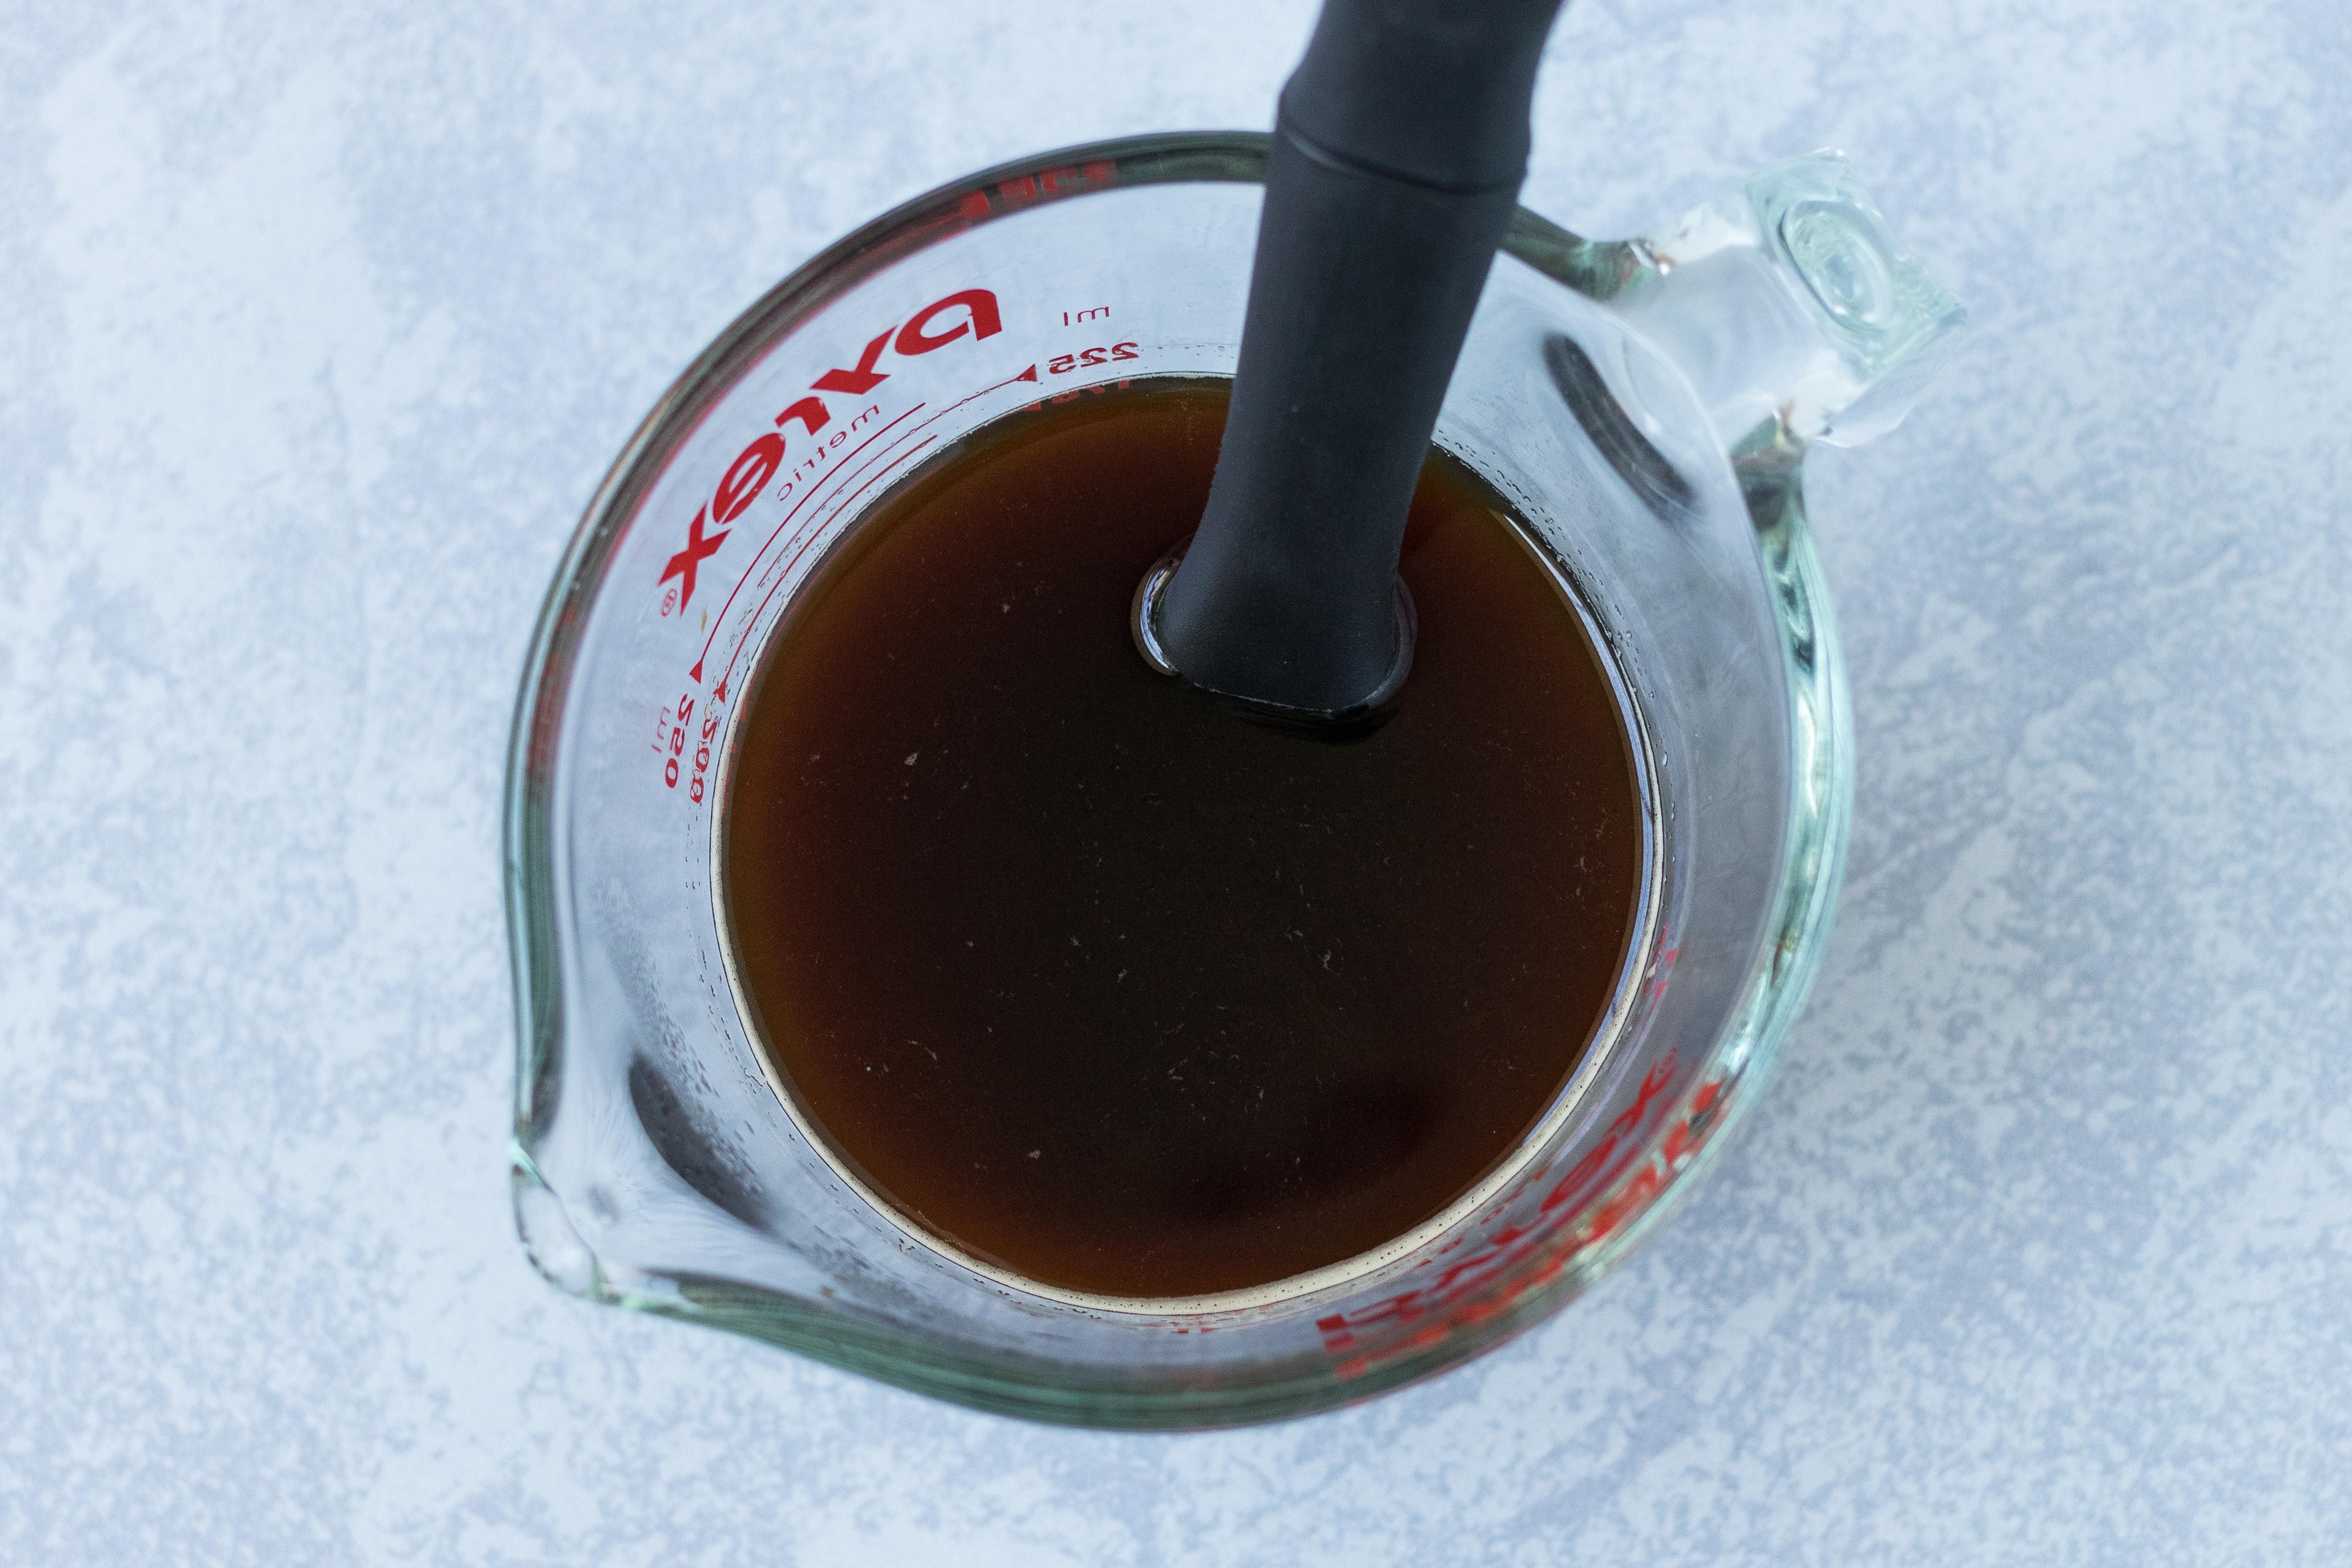
When you use brand new sheet music, you’ll have to antique it before you create your tiles. I cover the process of making new paper look old in extensive detail. For my coasters, I wanted a medium vintage aesthetic and flat paper with minimal wrinkles and creases. As such, I opted for coffee as my dying medium and the hair dryer drying technique.
For the antiquing process, spread your sheet music on a cheap cookie sheet or other craft-friendly surface. Using a pastry brush, apply the coffee to the sheet music liberally. For optimal results, set your hair dryer on low with high heat. If you have a concentrating nozzle, attach it to the hair dryer. Dry the newly antiqued music, flipping the paper over periodically to help it dry evenly and flatly. It takes 10-15 minutes to dry the paper fully using a hair dryer.
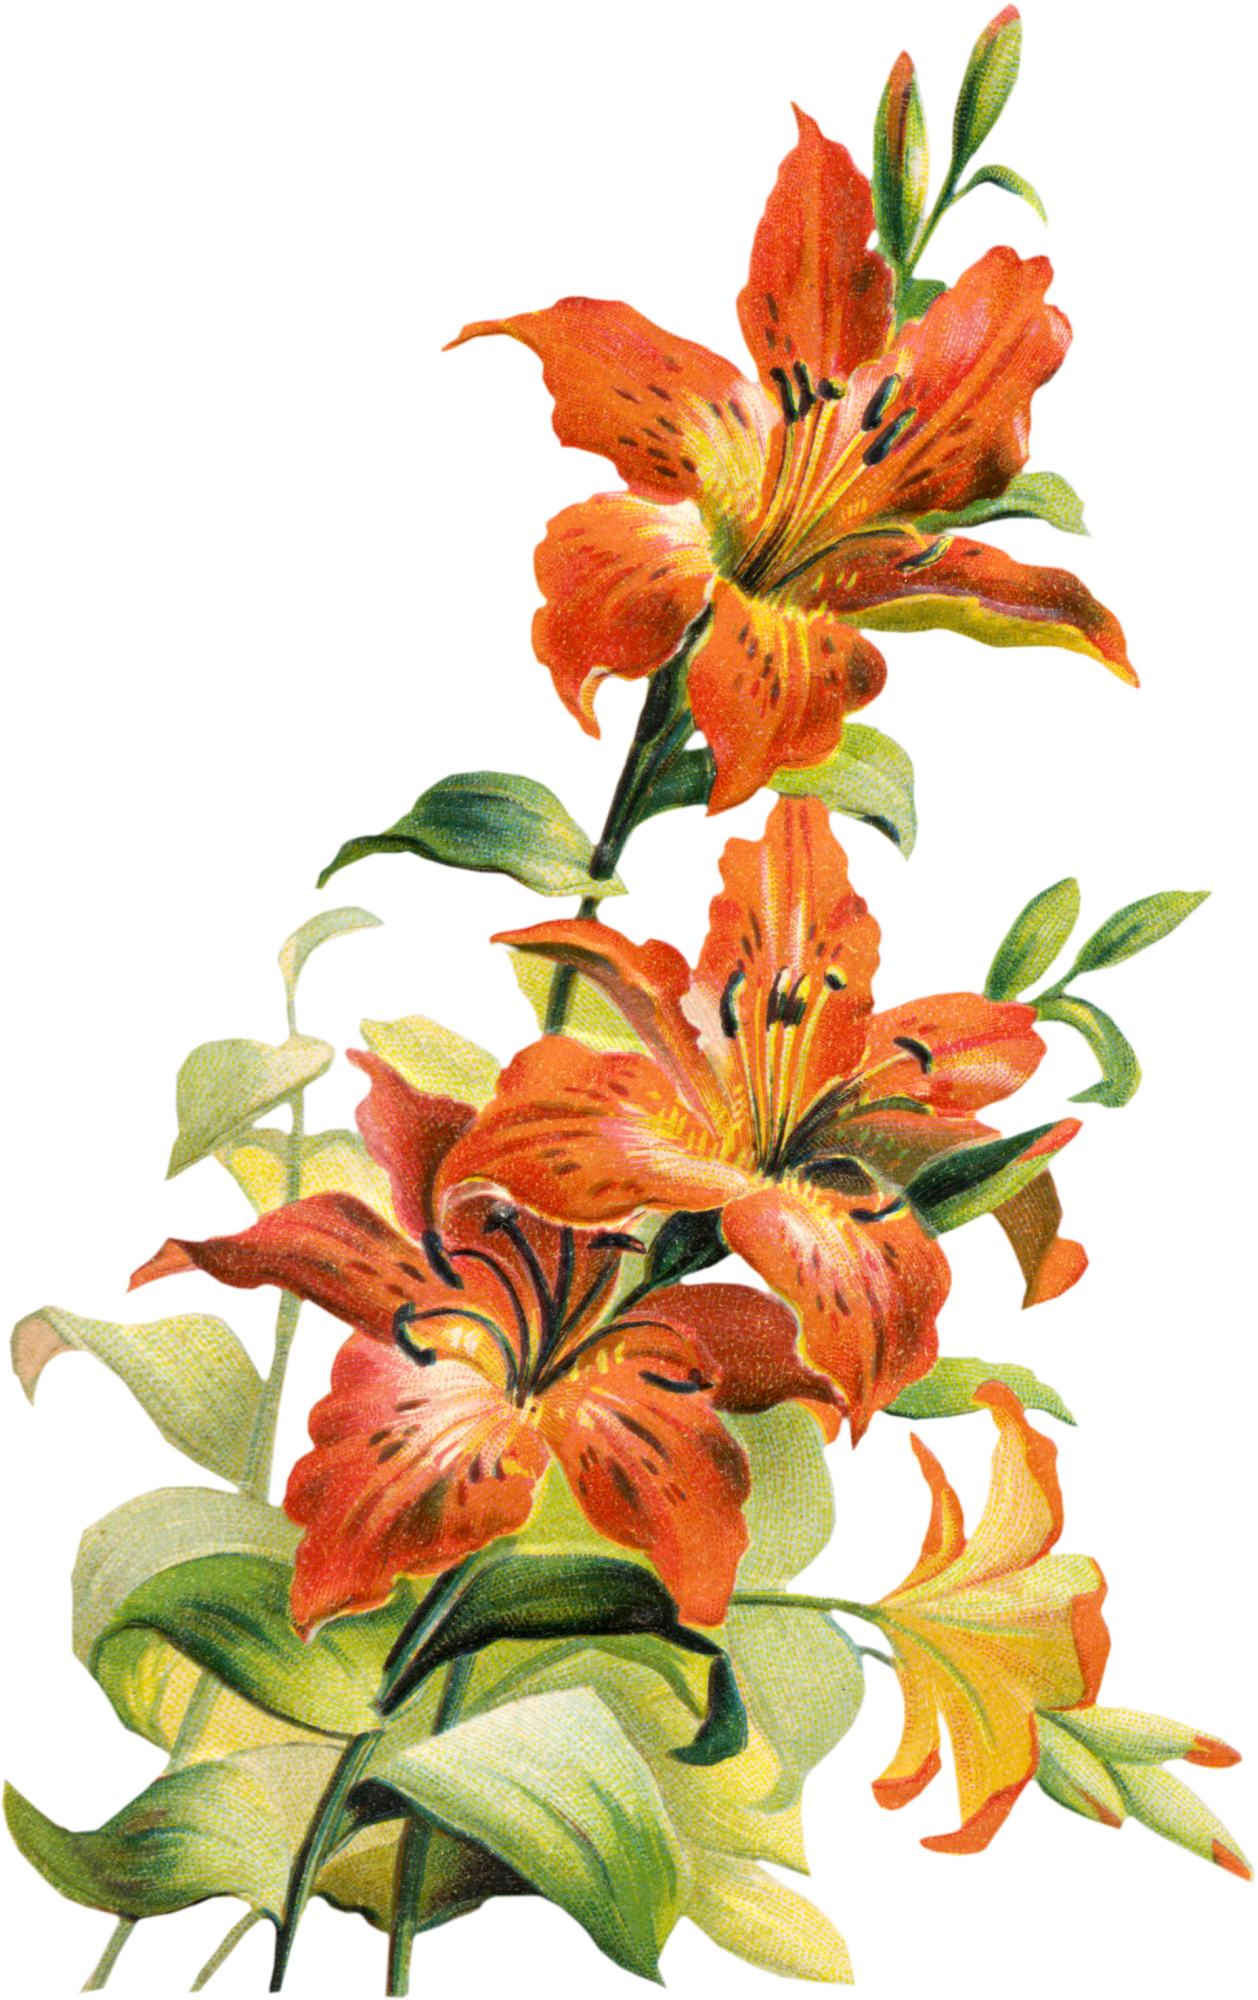
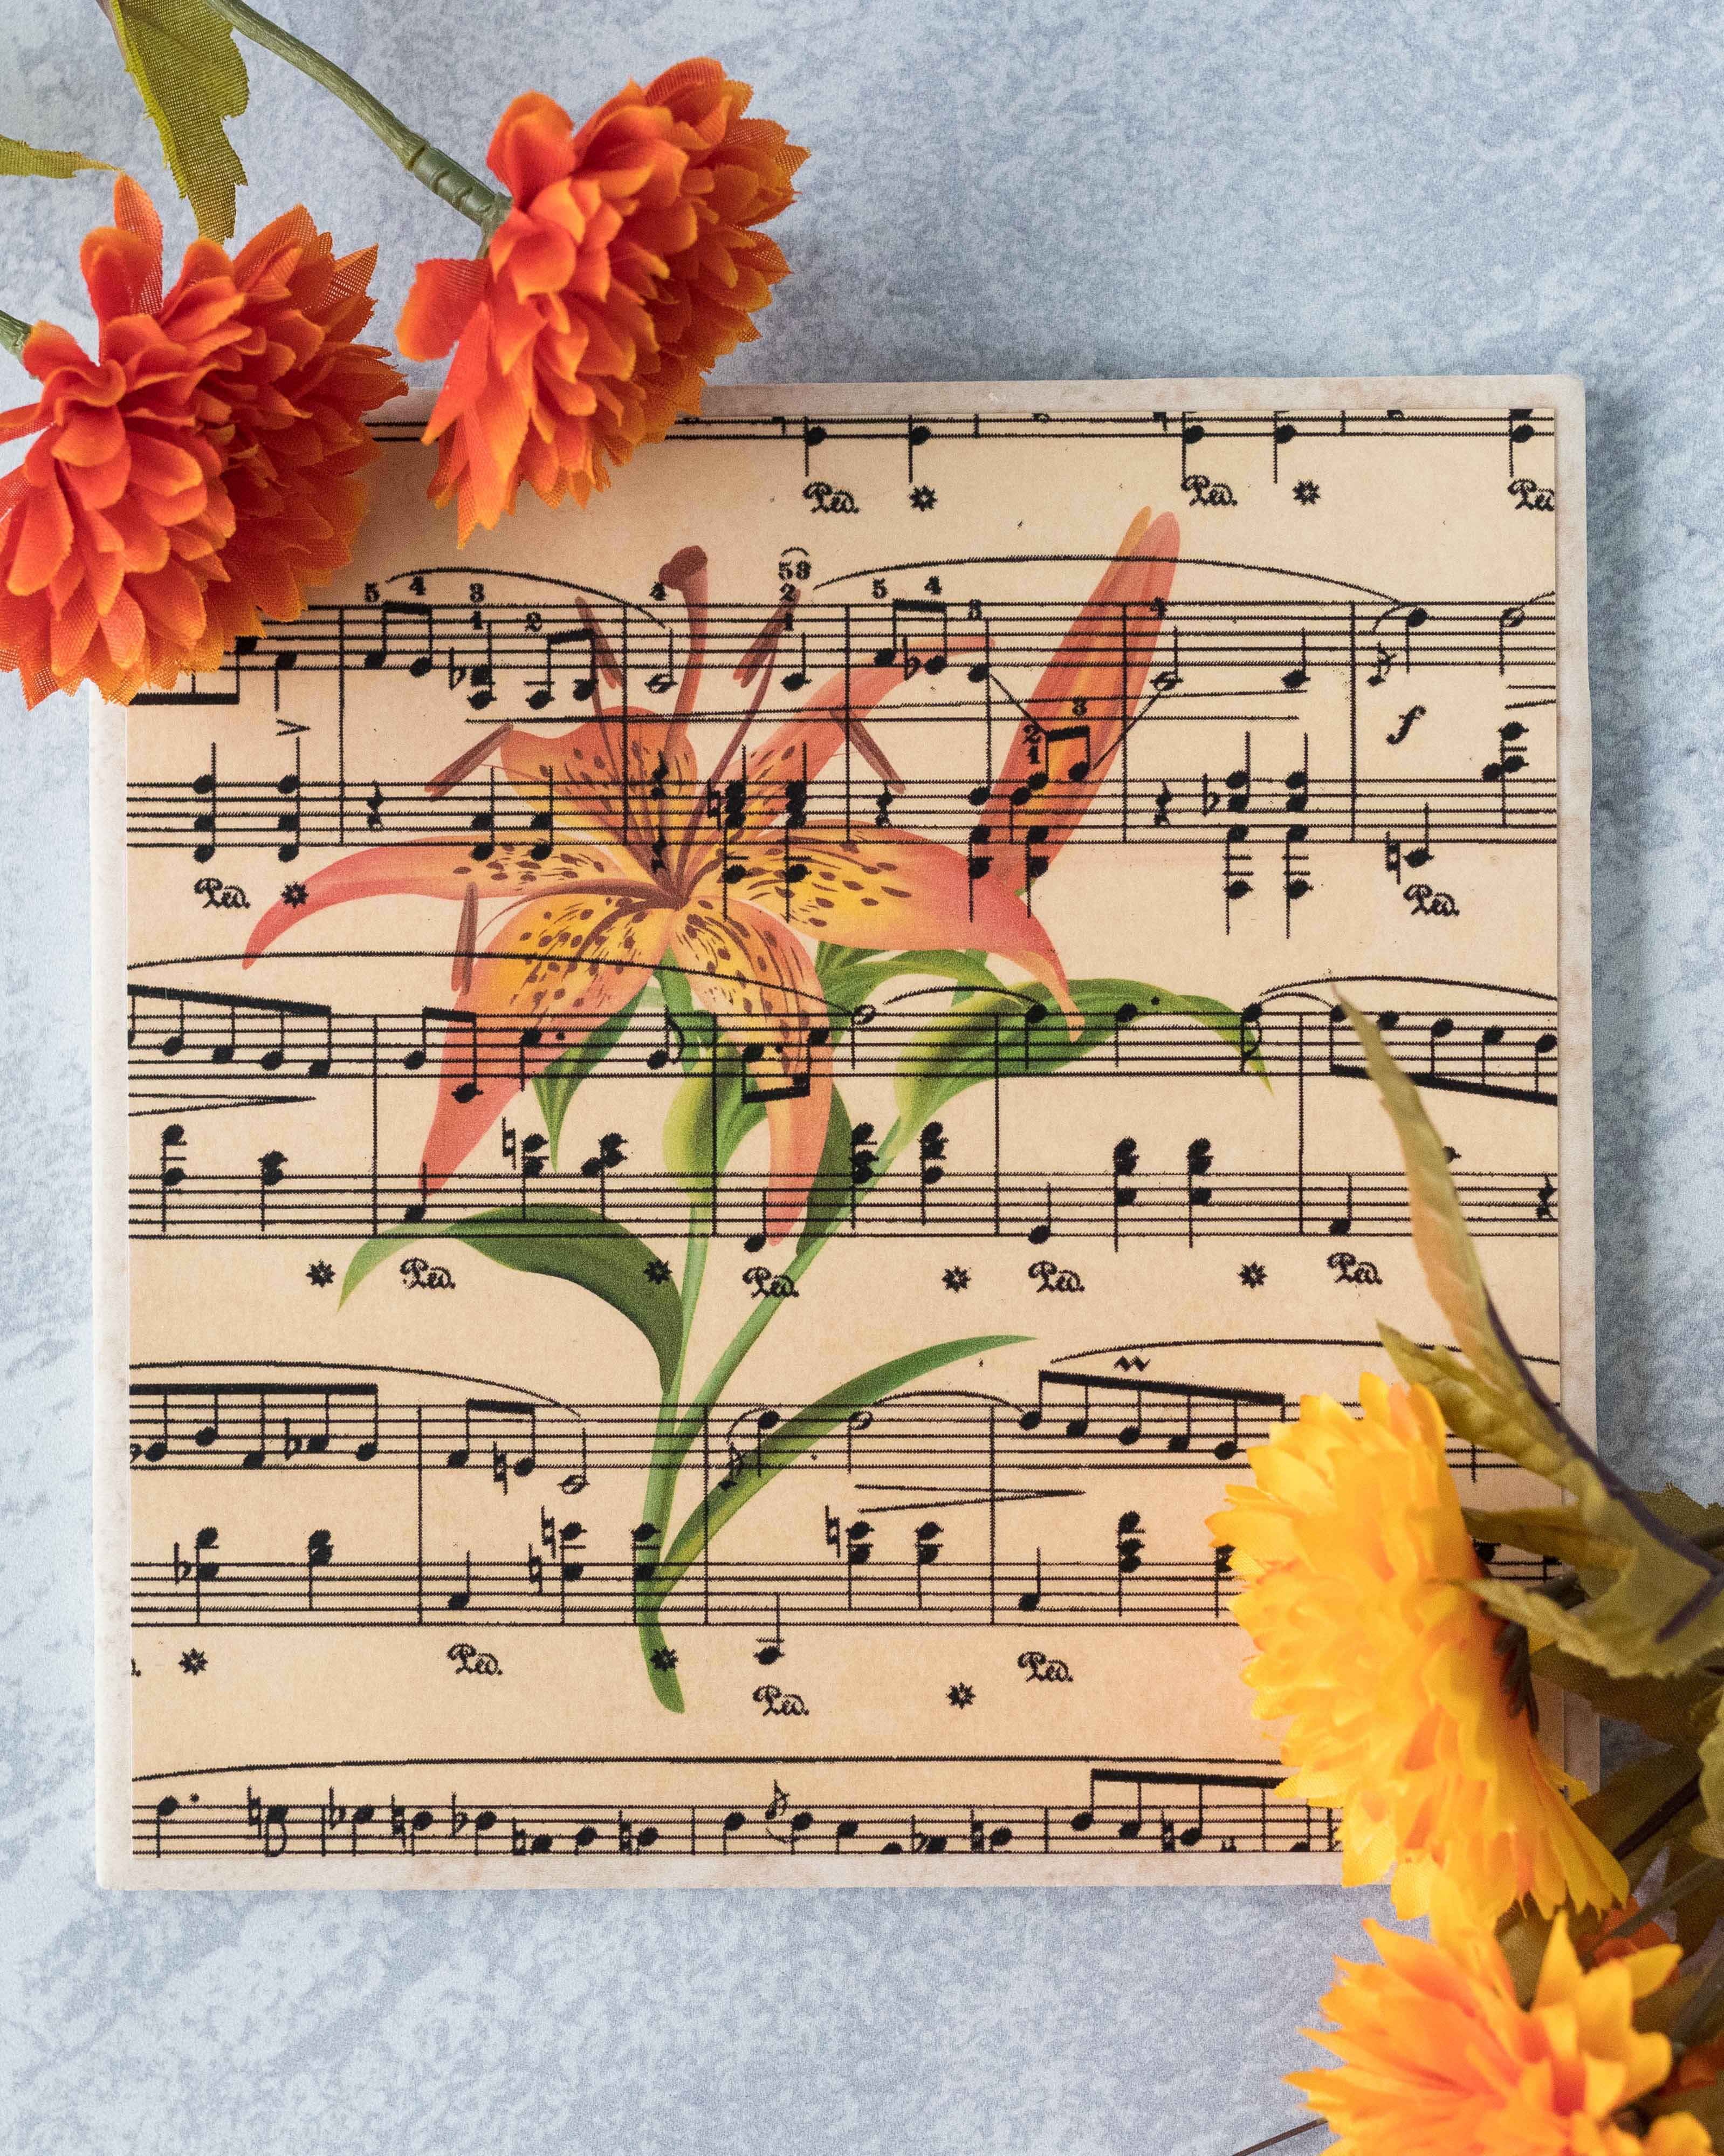
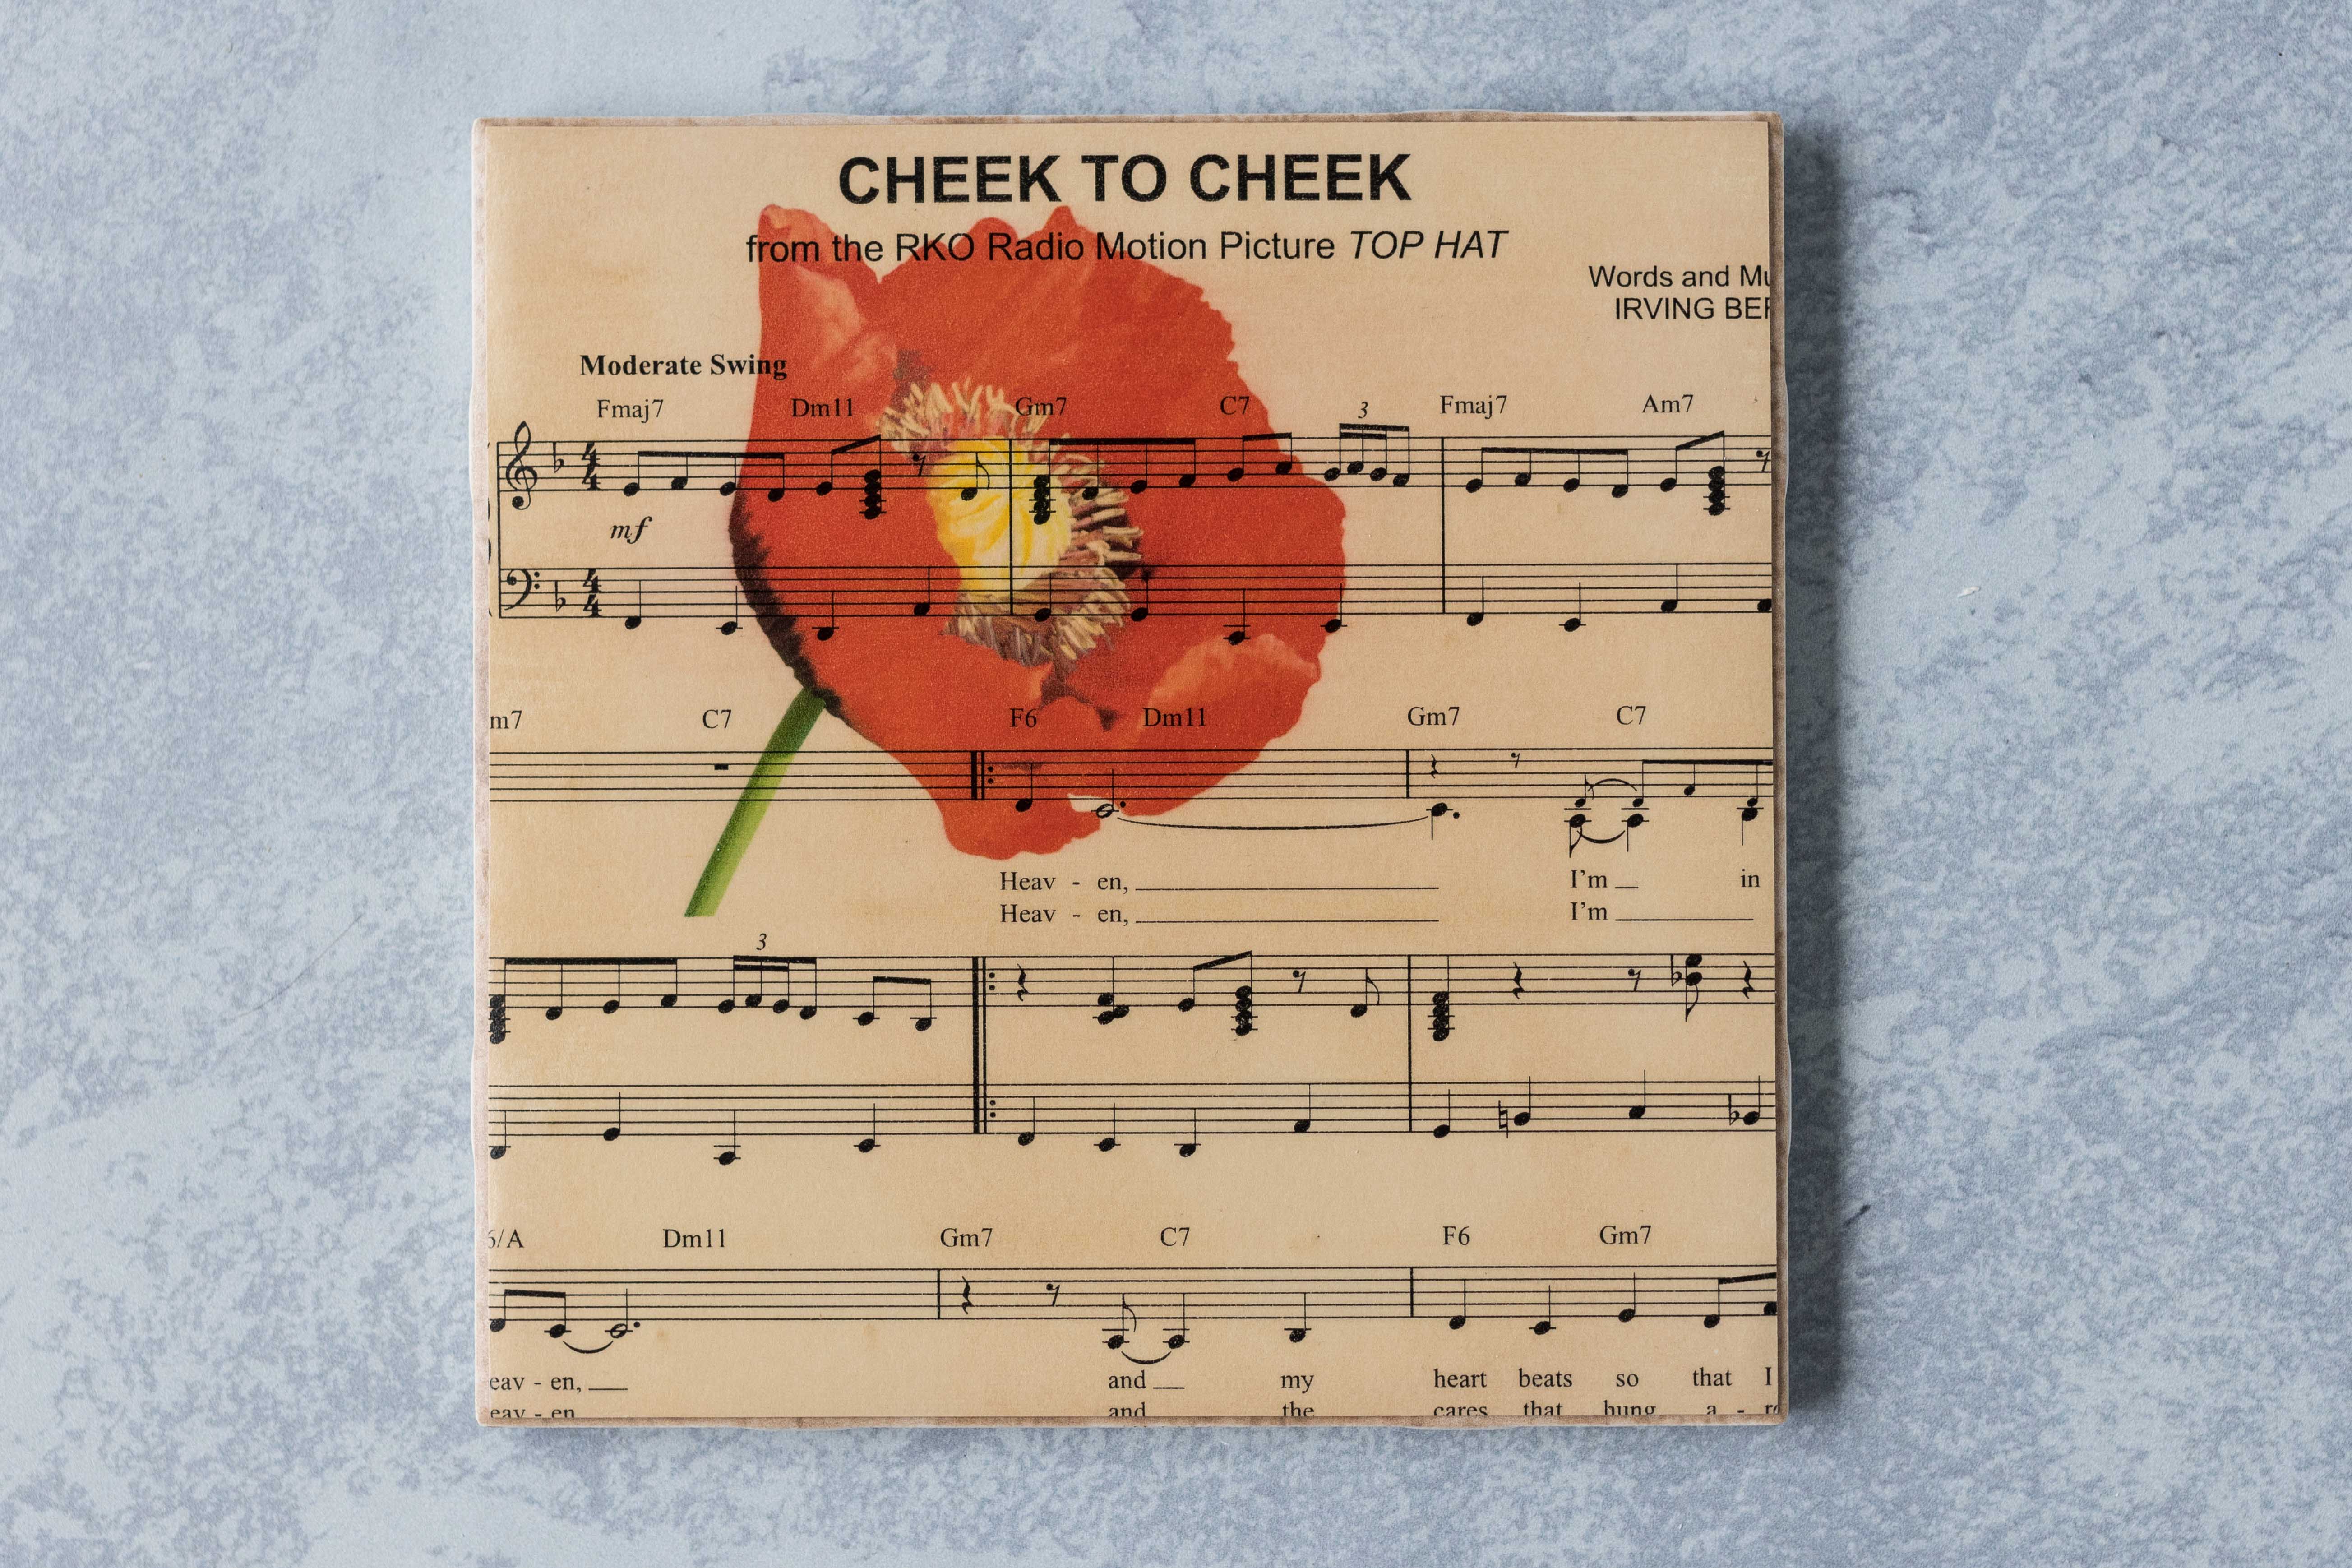
One of the botanical PNG images I used for my DIY vintage sheet music botanical tile coasters. [Source]
Choose your botanical PNG images. Using PNG files ensures the backgrounds will be transparent and the florals will print seamlessly over the sheet music. I simply searched for “free botanical png” in Google images to find the files I wanted.
When you have your botanicals selected and downloaded, create a new Microsoft Word document.
- Insert your botanical images. (Insert > Pictures)
- Resize the images one at a time, choosing a width of 3.75″ for optimal fit on your coasters. (Double click on an image to bring up the dimensions. Enter a new width.)
- Space the images, so you have two images per page with two pages total.
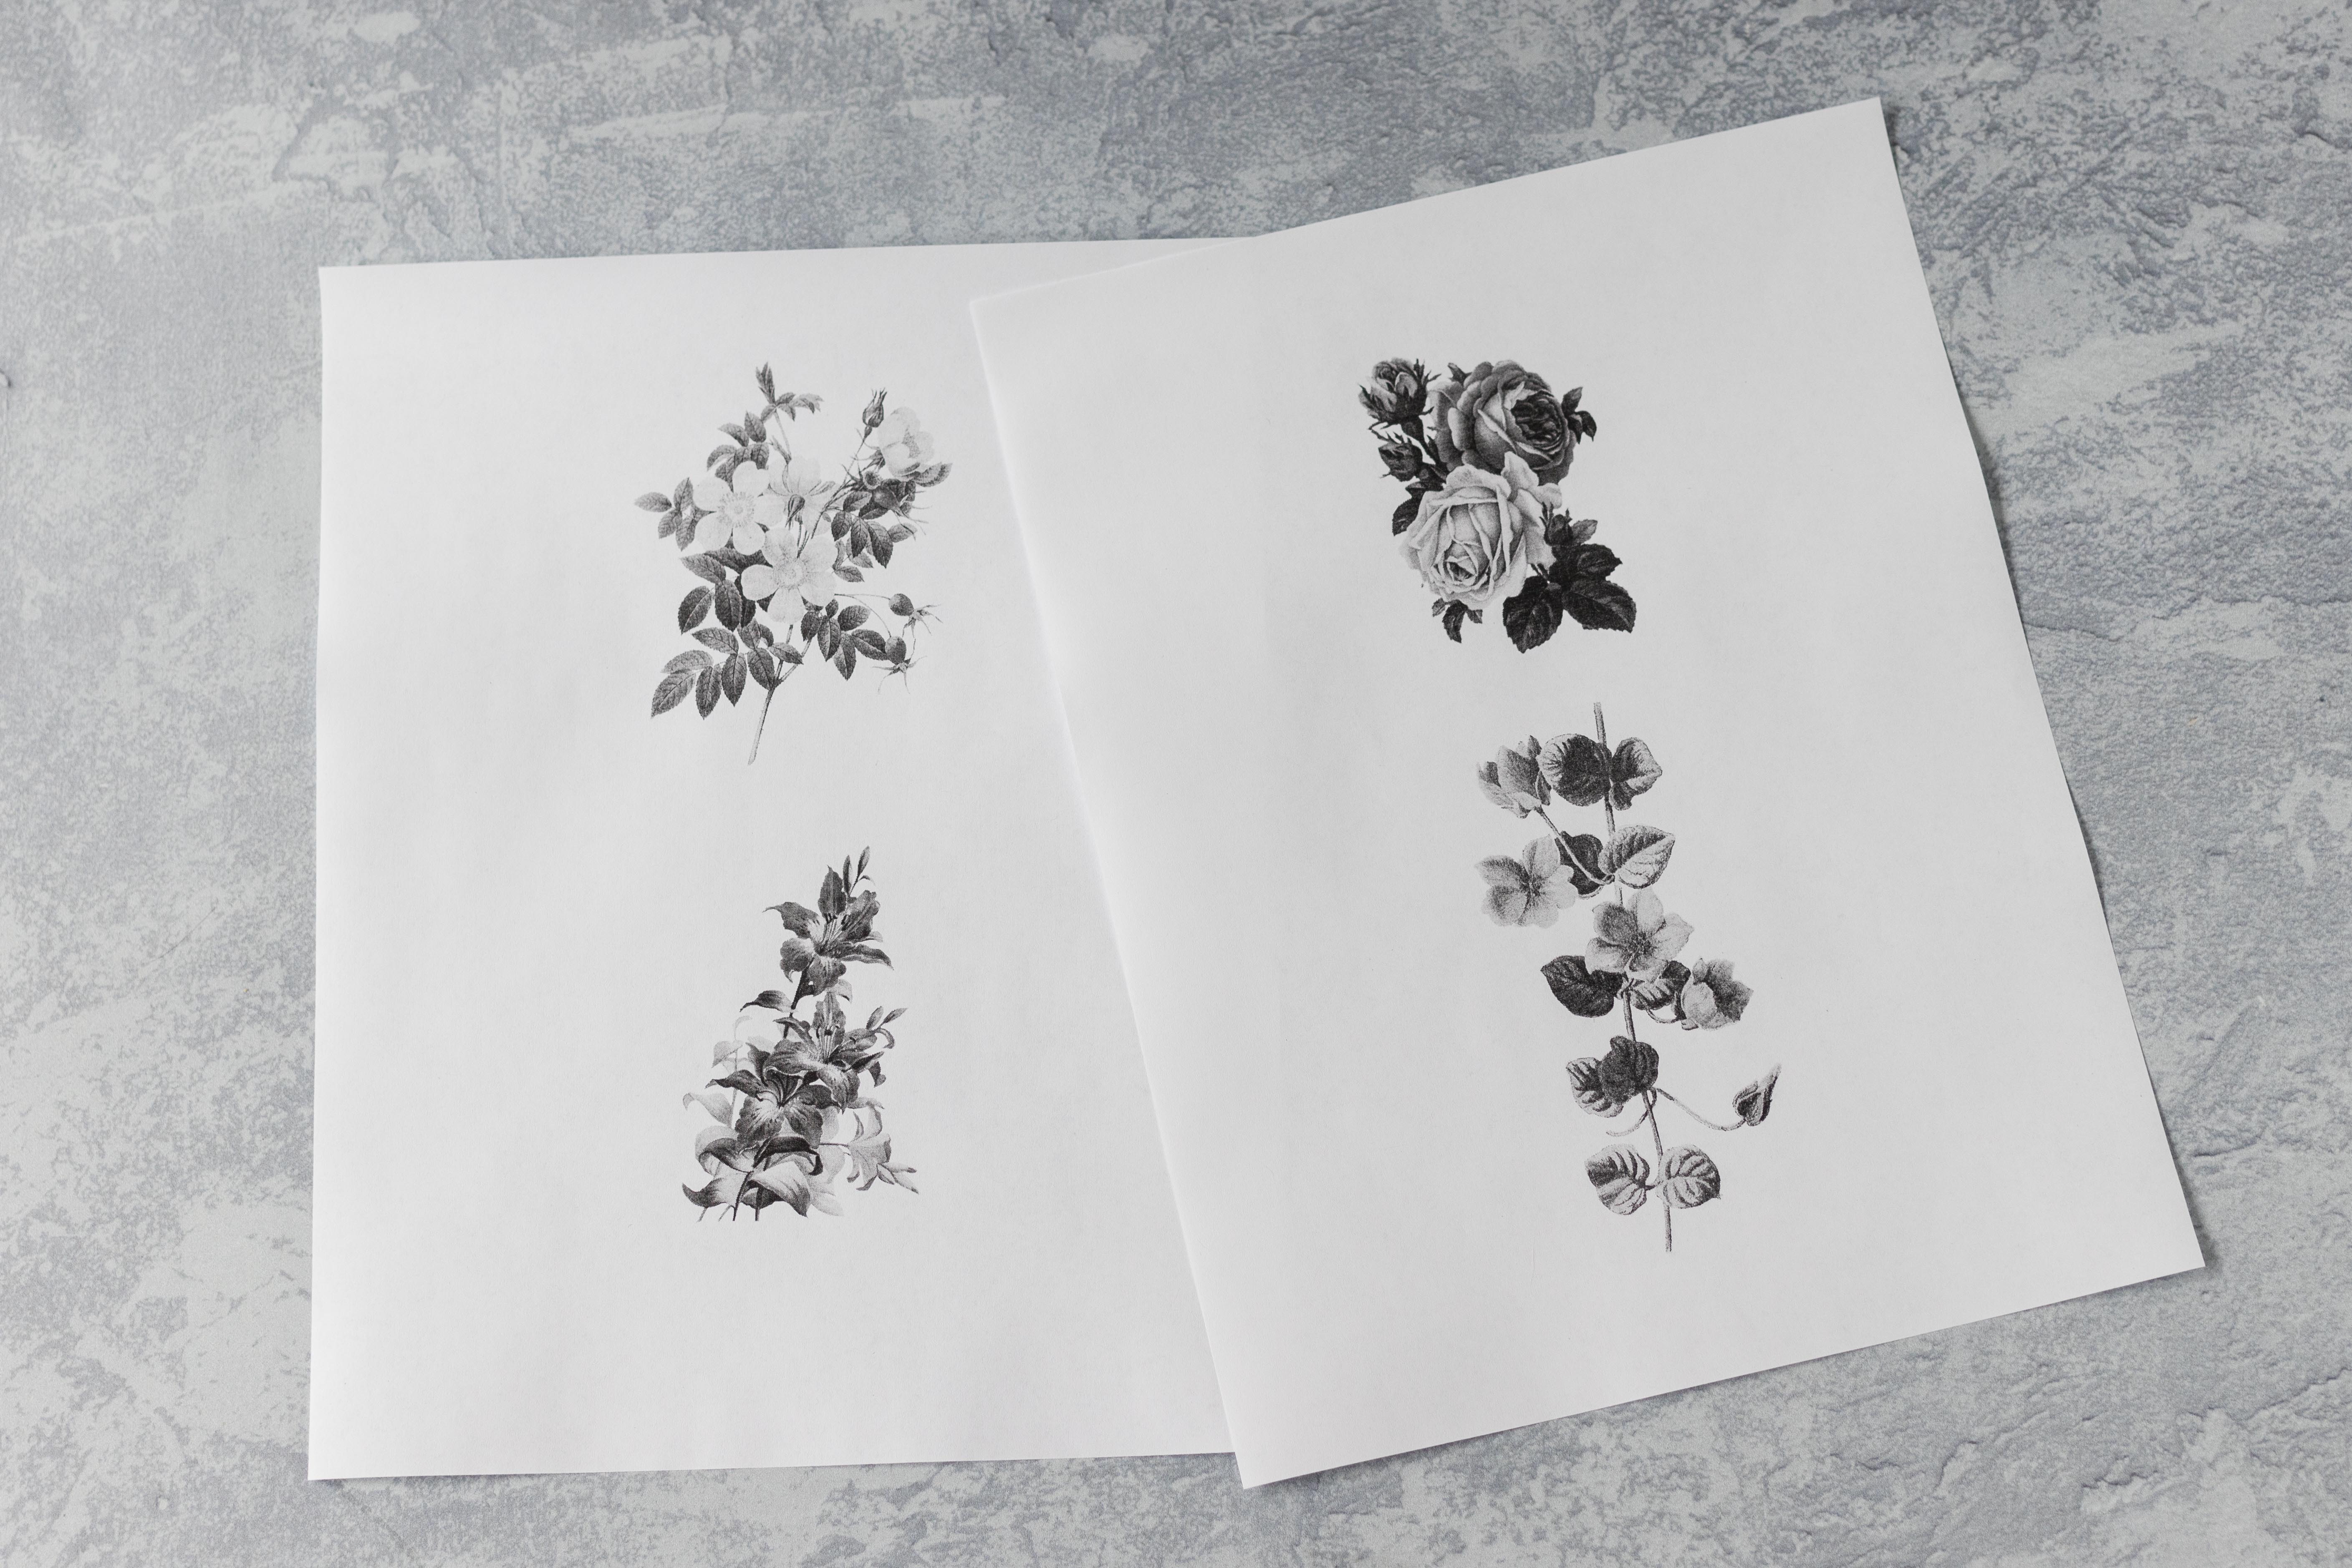
I recommend printing the botanical images in black and white on plain white paper first. See how the sizing and spacing looks when you lay the flowers over your sheet music, and make adjustments as needed. Once you’ve printed the images on your sheet music, you’ll have to start over with new music if you don’t like the sizing and spacing. So it’s important to get the images just right the first time around.
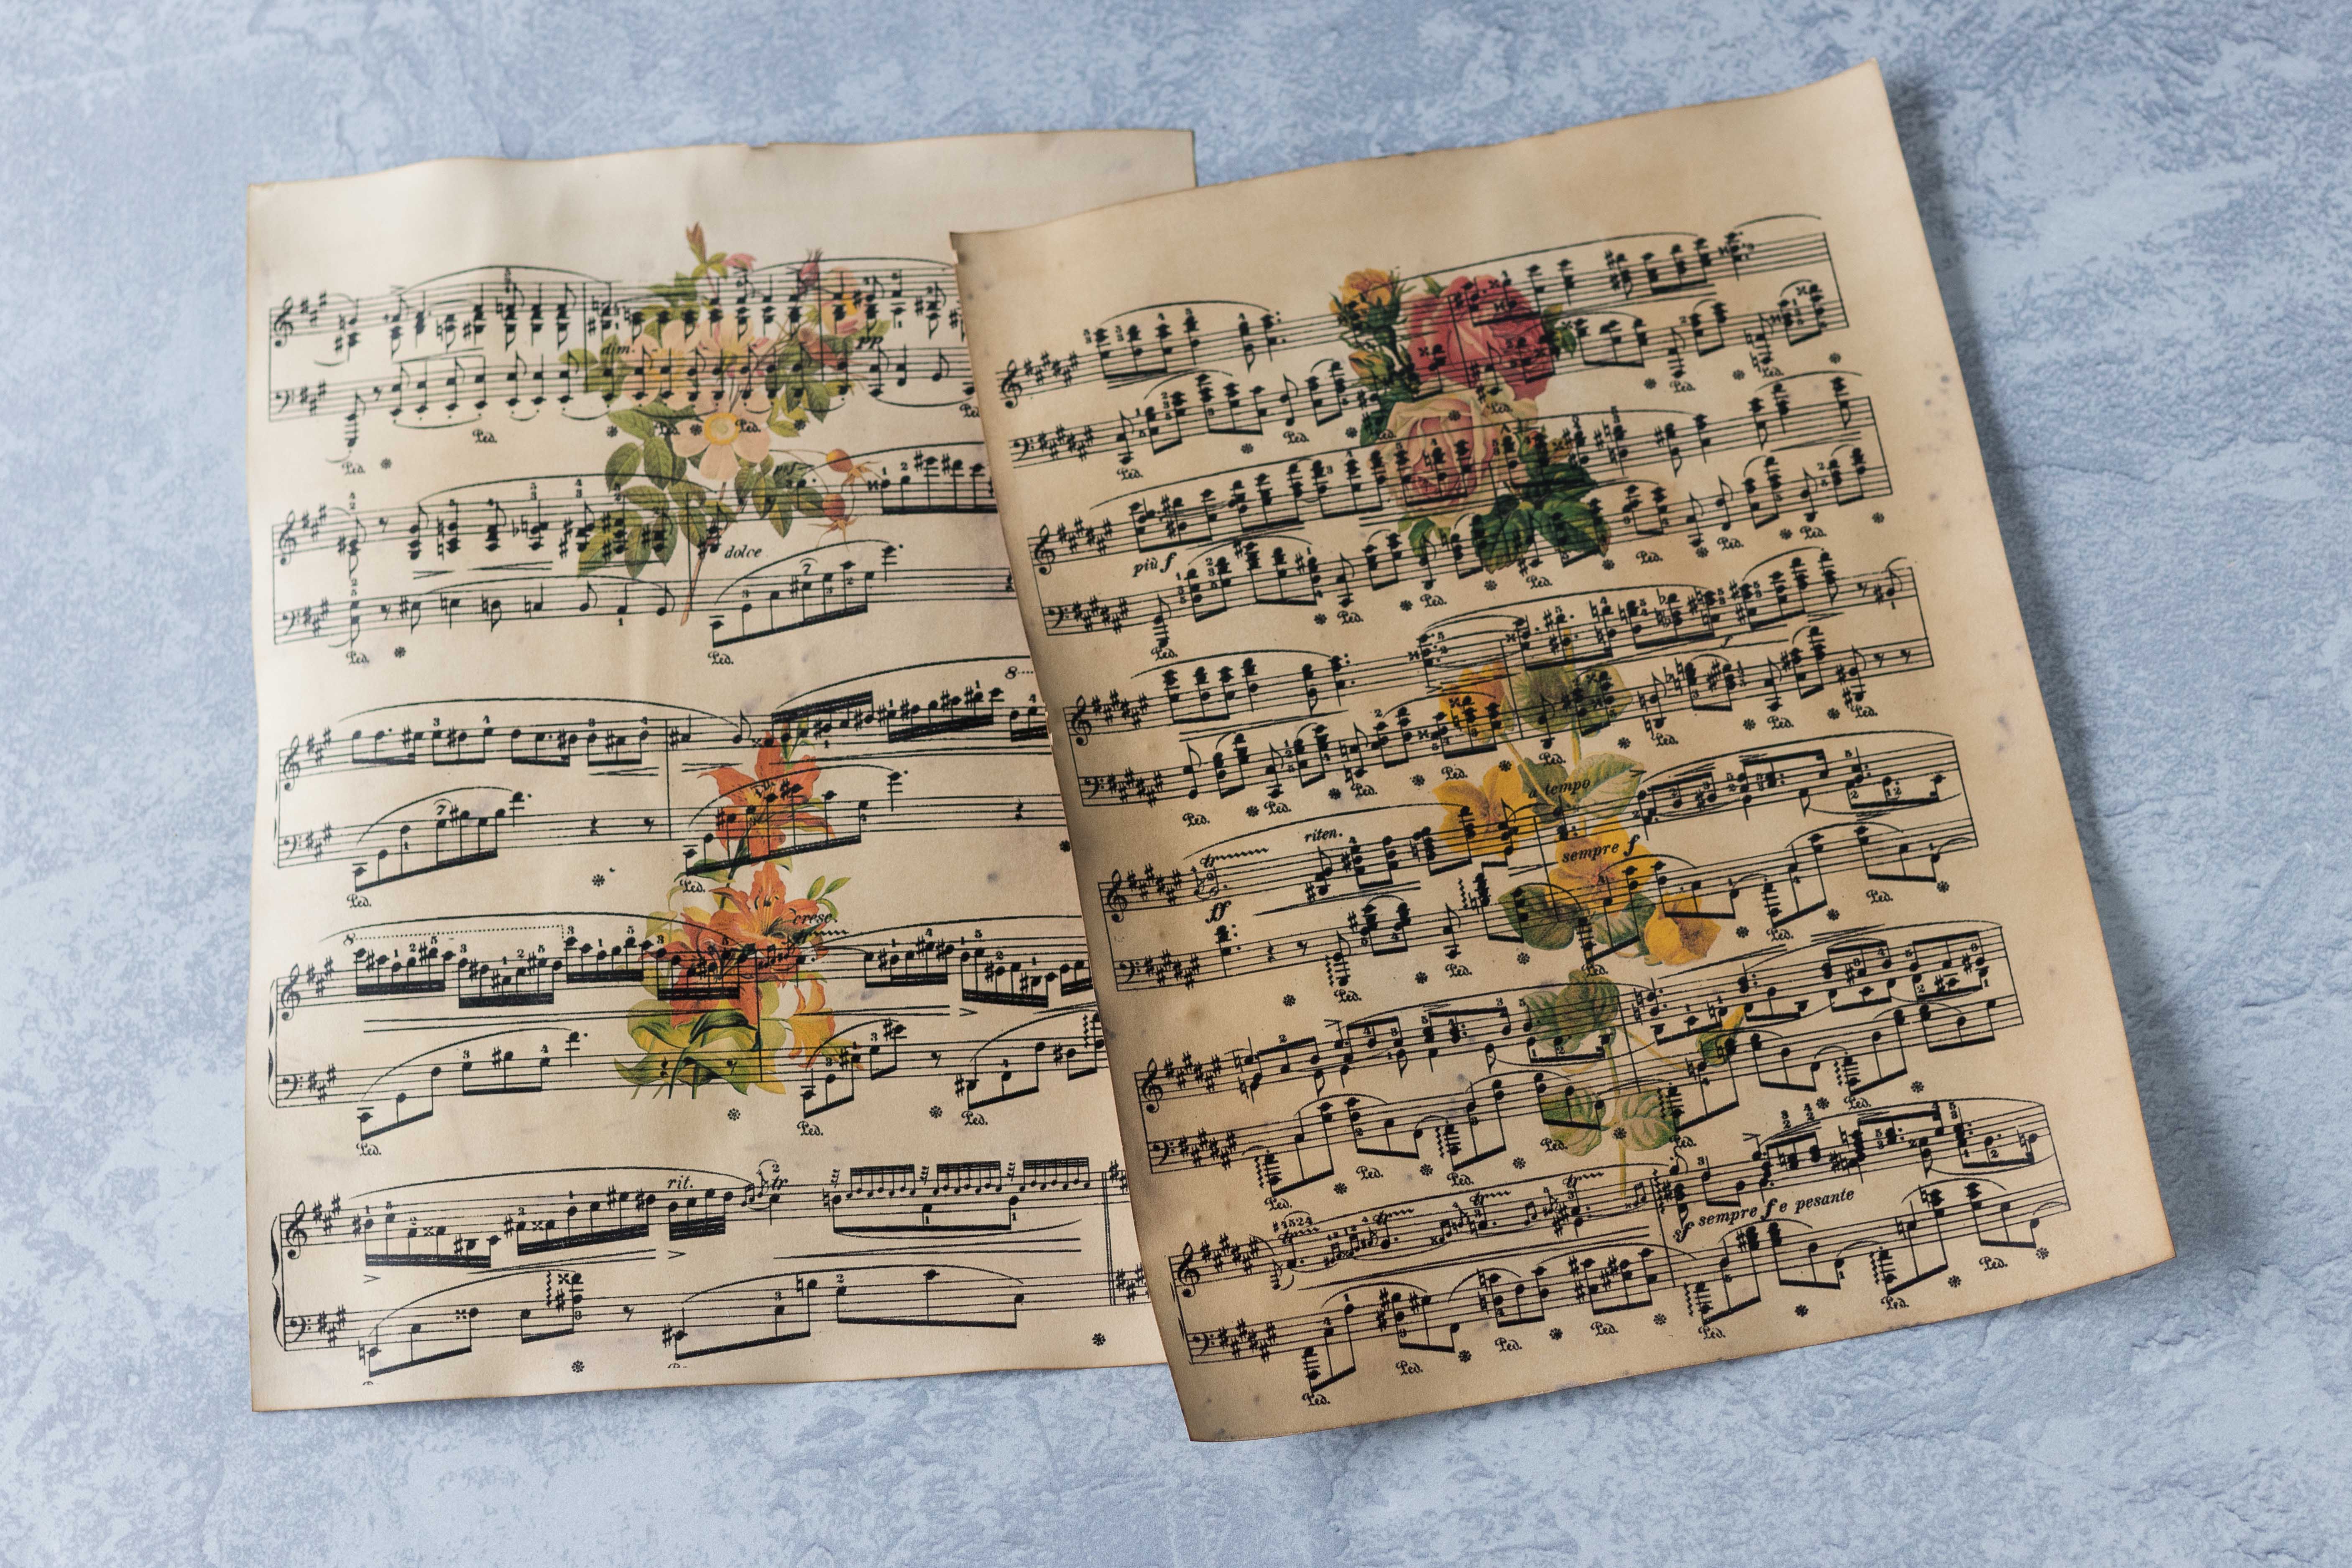
When you’re happy with the sizing and spacing of your images, load the antiqued sheet music in your printer. Choose the best print quality available and print the images in color. If you’re printing with an ink-jet printer, repeat the spray acrylic process before proceeding.
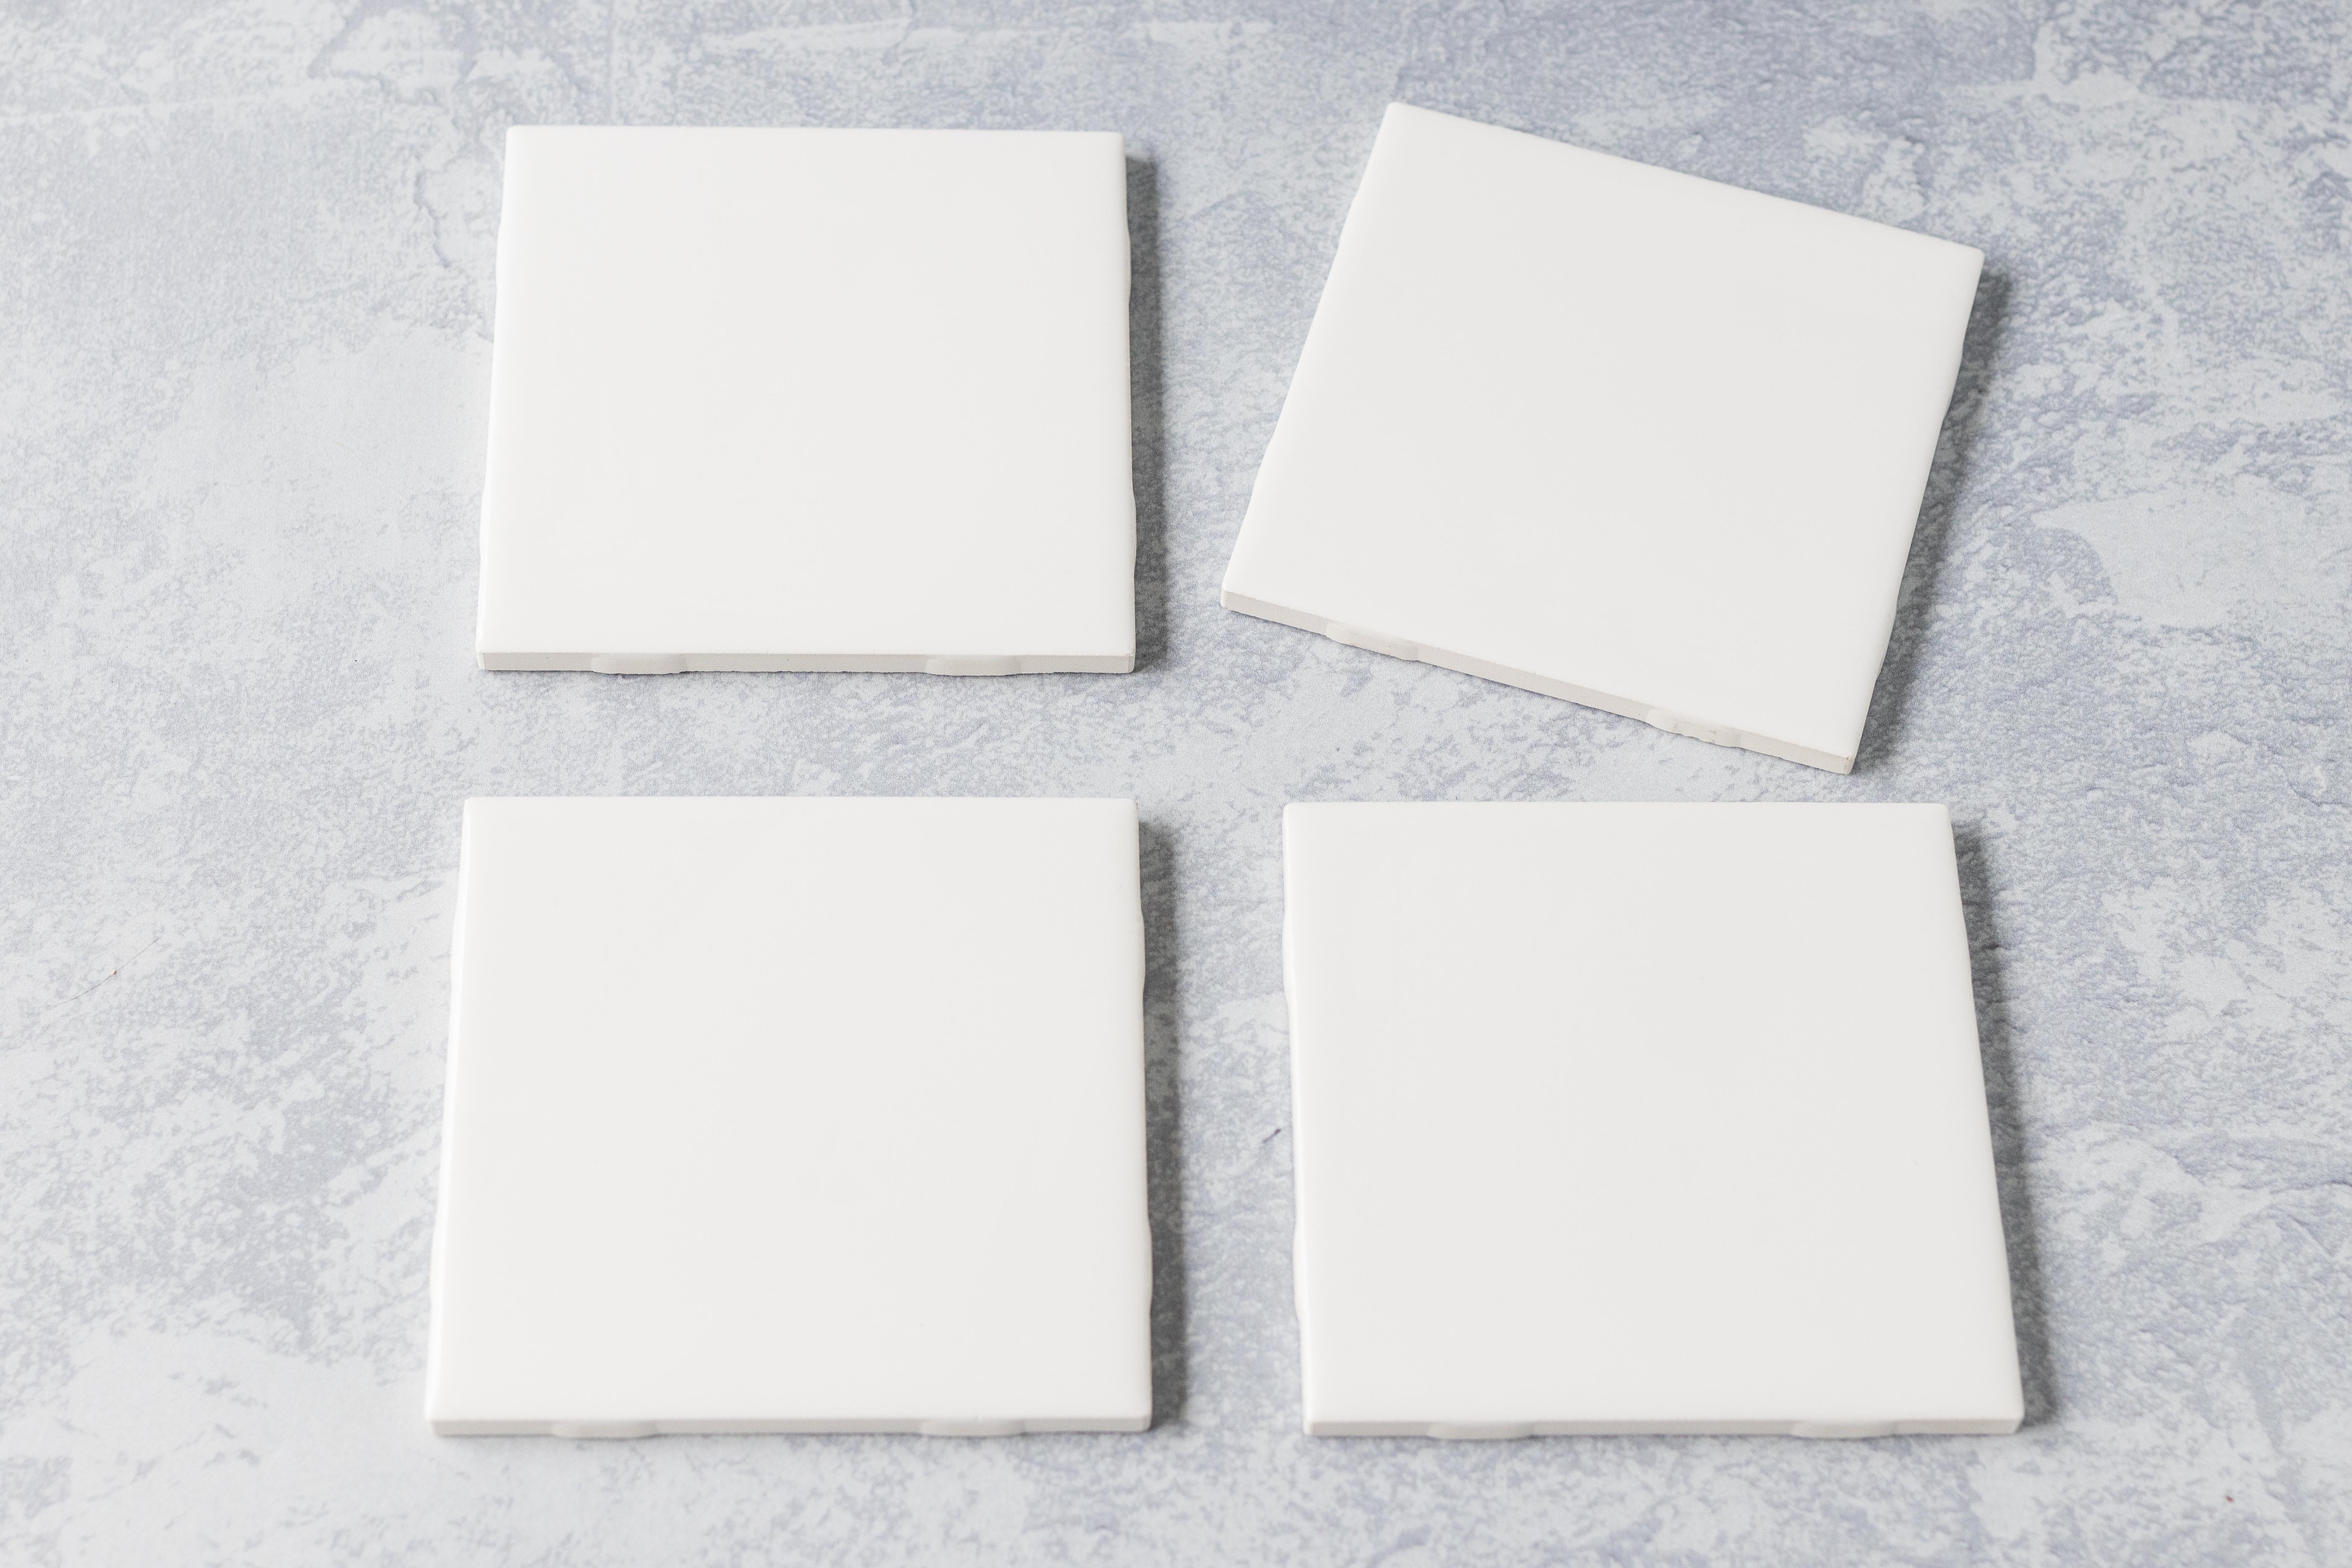
Gather your ceramic tiles. Lay them flat. Using a wet paper towel, wipe them down thoroughly to remove any dust and debris. Allow them to dry completely.

Using a paper cutter, cut your sheet music botanicals to size for the coasters. It’s up to you if you want to square them off precisely or leave a little border. I don’t make exact measurements when I cut sheet music for handmade tiles. For this tutorial, I purposely cut two botanicals slightly shorter than the other two botanicals.
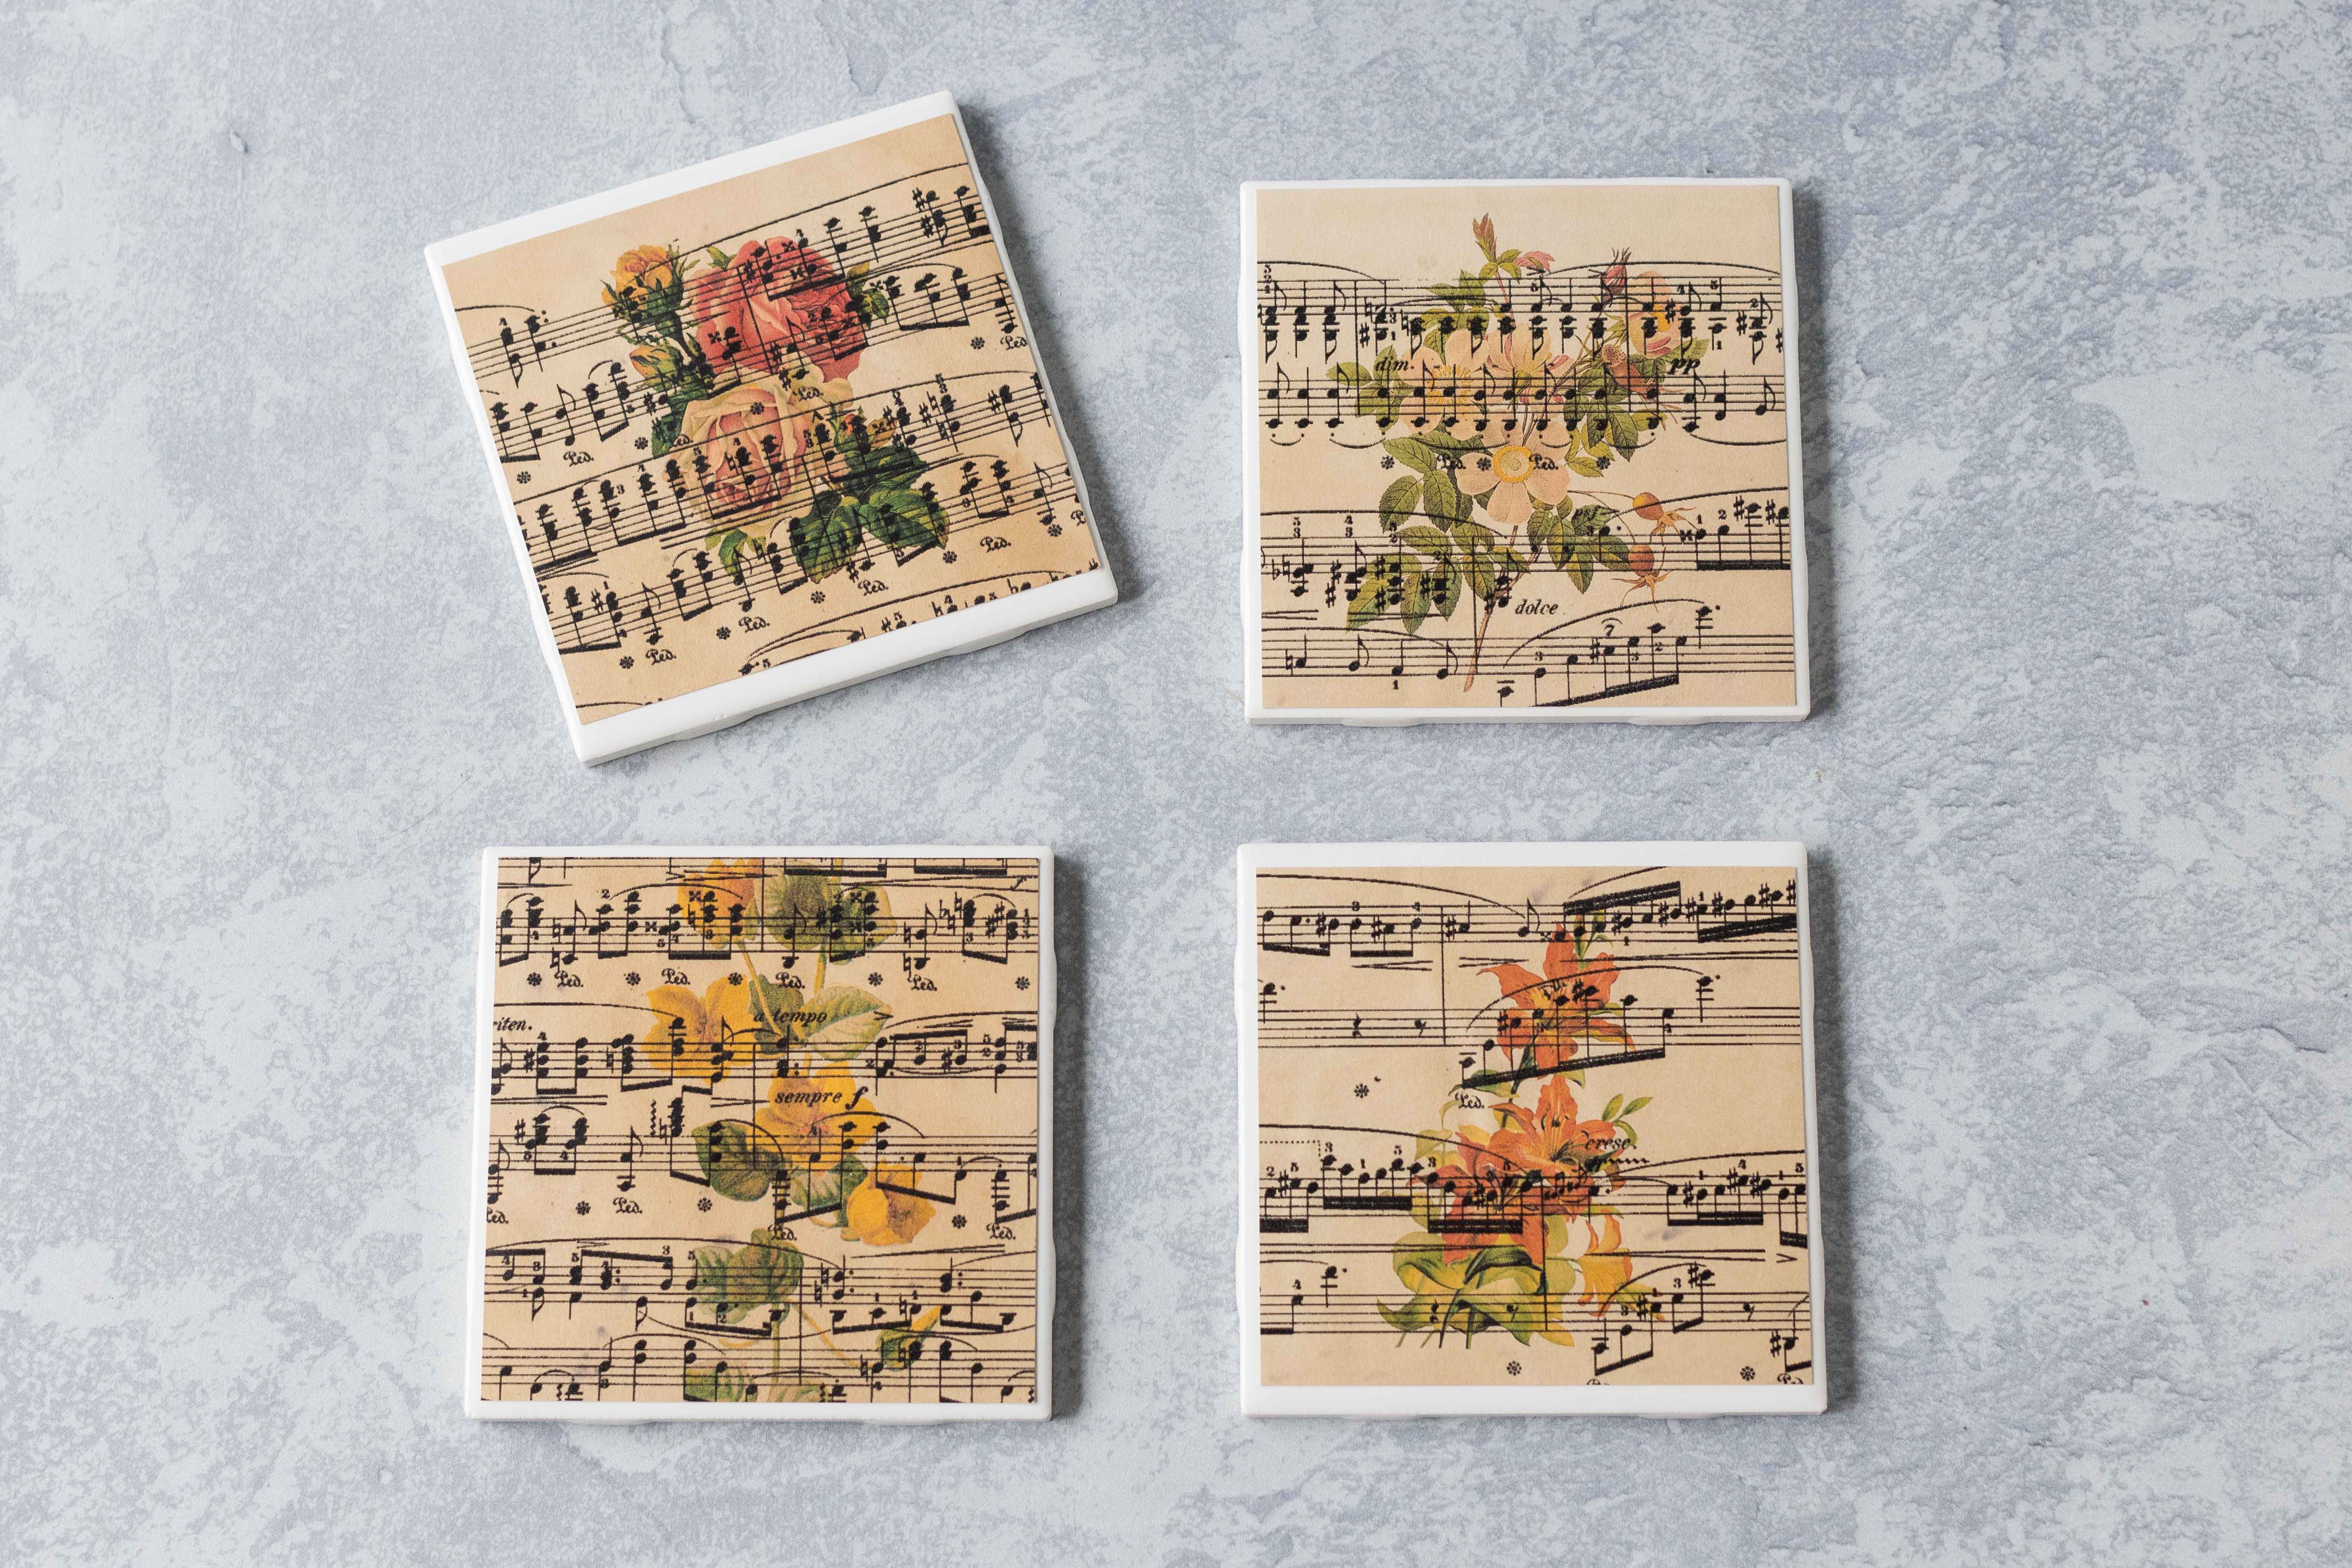
Using the foam brush, apply a thin layer of Mod Podge to the back of each botanical, taking care to smooth out any wrinkles and air bubbles. Adhere the botanicals to the coasters. Allow them to dry completely.

Apply a thin layer of Mod Podge to the top of each coaster, again taking care to smooth out any wrinkles and air bubbles. Allow the coasters to dry completely. Repeat the process with one more layer of Mod Podge.
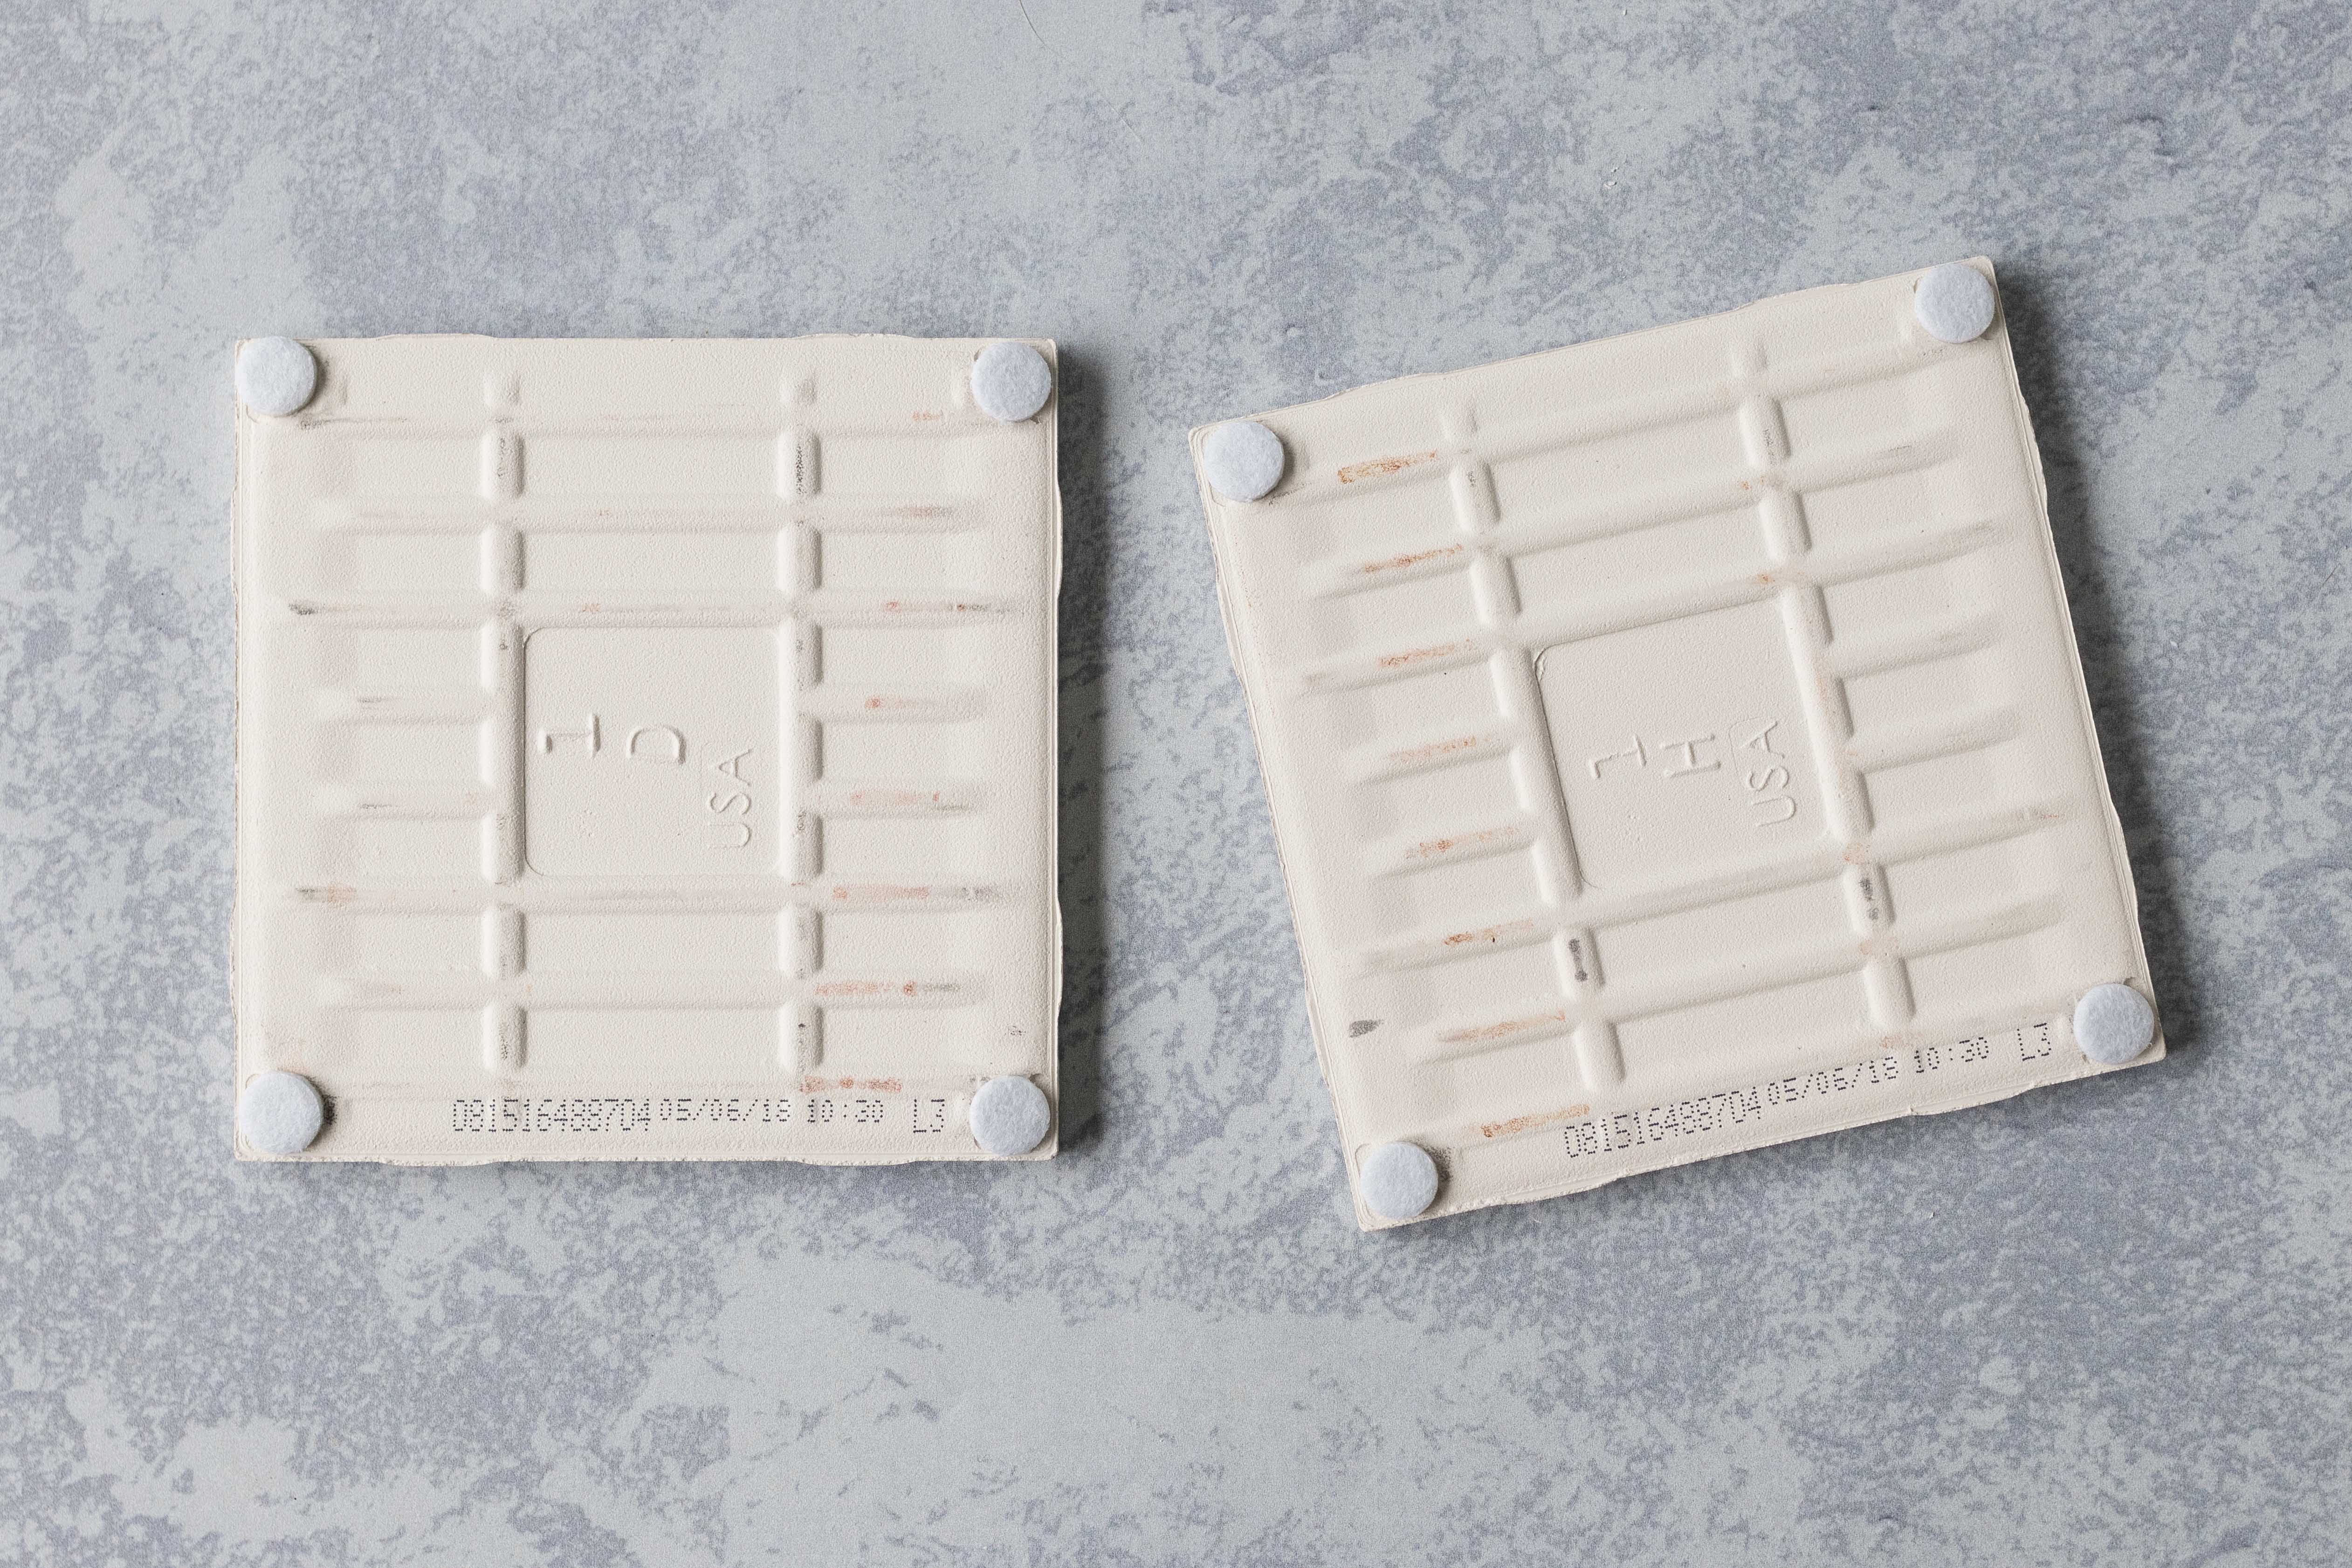
If you’re using your DIY vintage sheet music botanical tile coasters as drink coasters, attach cork or felt circles or cork backing to the backside of each coaster. Even when the cork or felt circles have adhesive backing, I like to secure them with tacky glue. Allow them to dry completely.
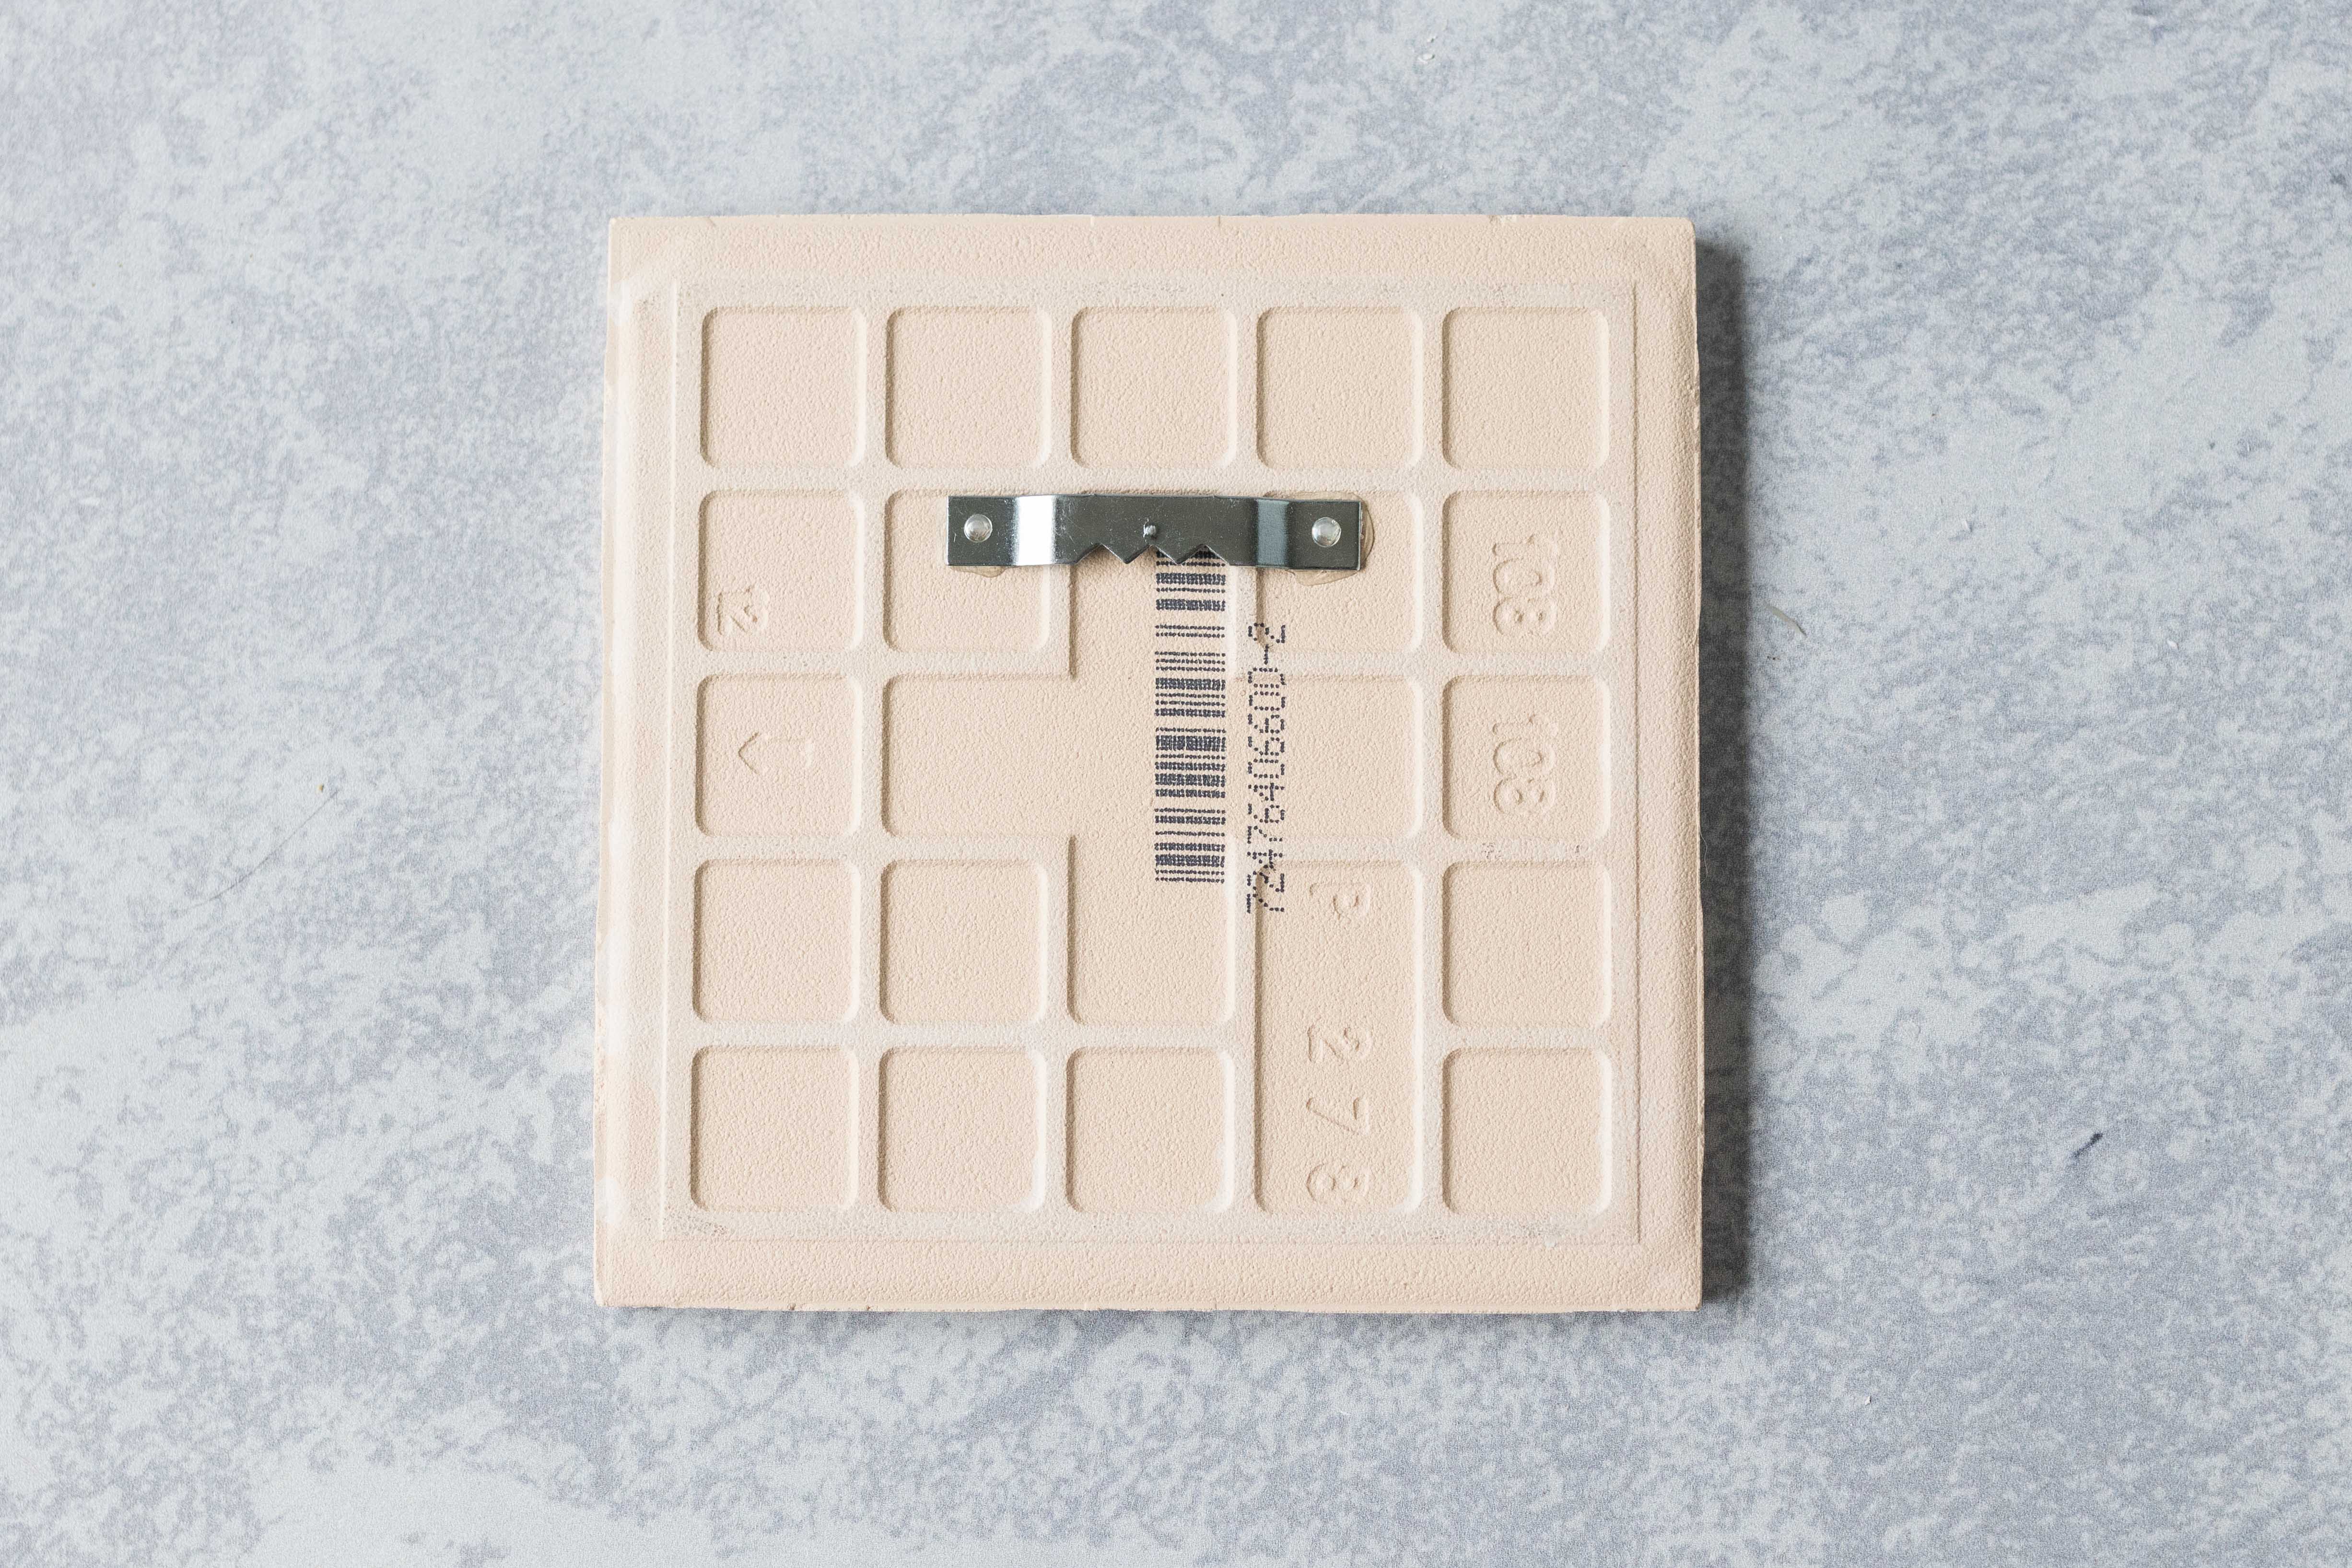
If you’re using your coasters as wall art, attach a sawtooth hanger to the backside of each coaster. I use E-6000 for my sawtooth hangers, as it’s really important that the hangers are well secured for wall displays. Allow them to dry completely overnight.
Apply a final couple coats of spray acrylic to each tile to waterproof them.
You’re ready to use your new DIY vintage sheet music botanical tiles as drink coasters or as wall art!

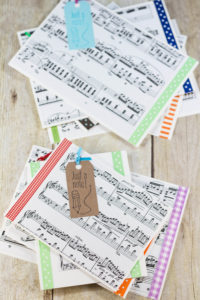
Sheet music tile variations
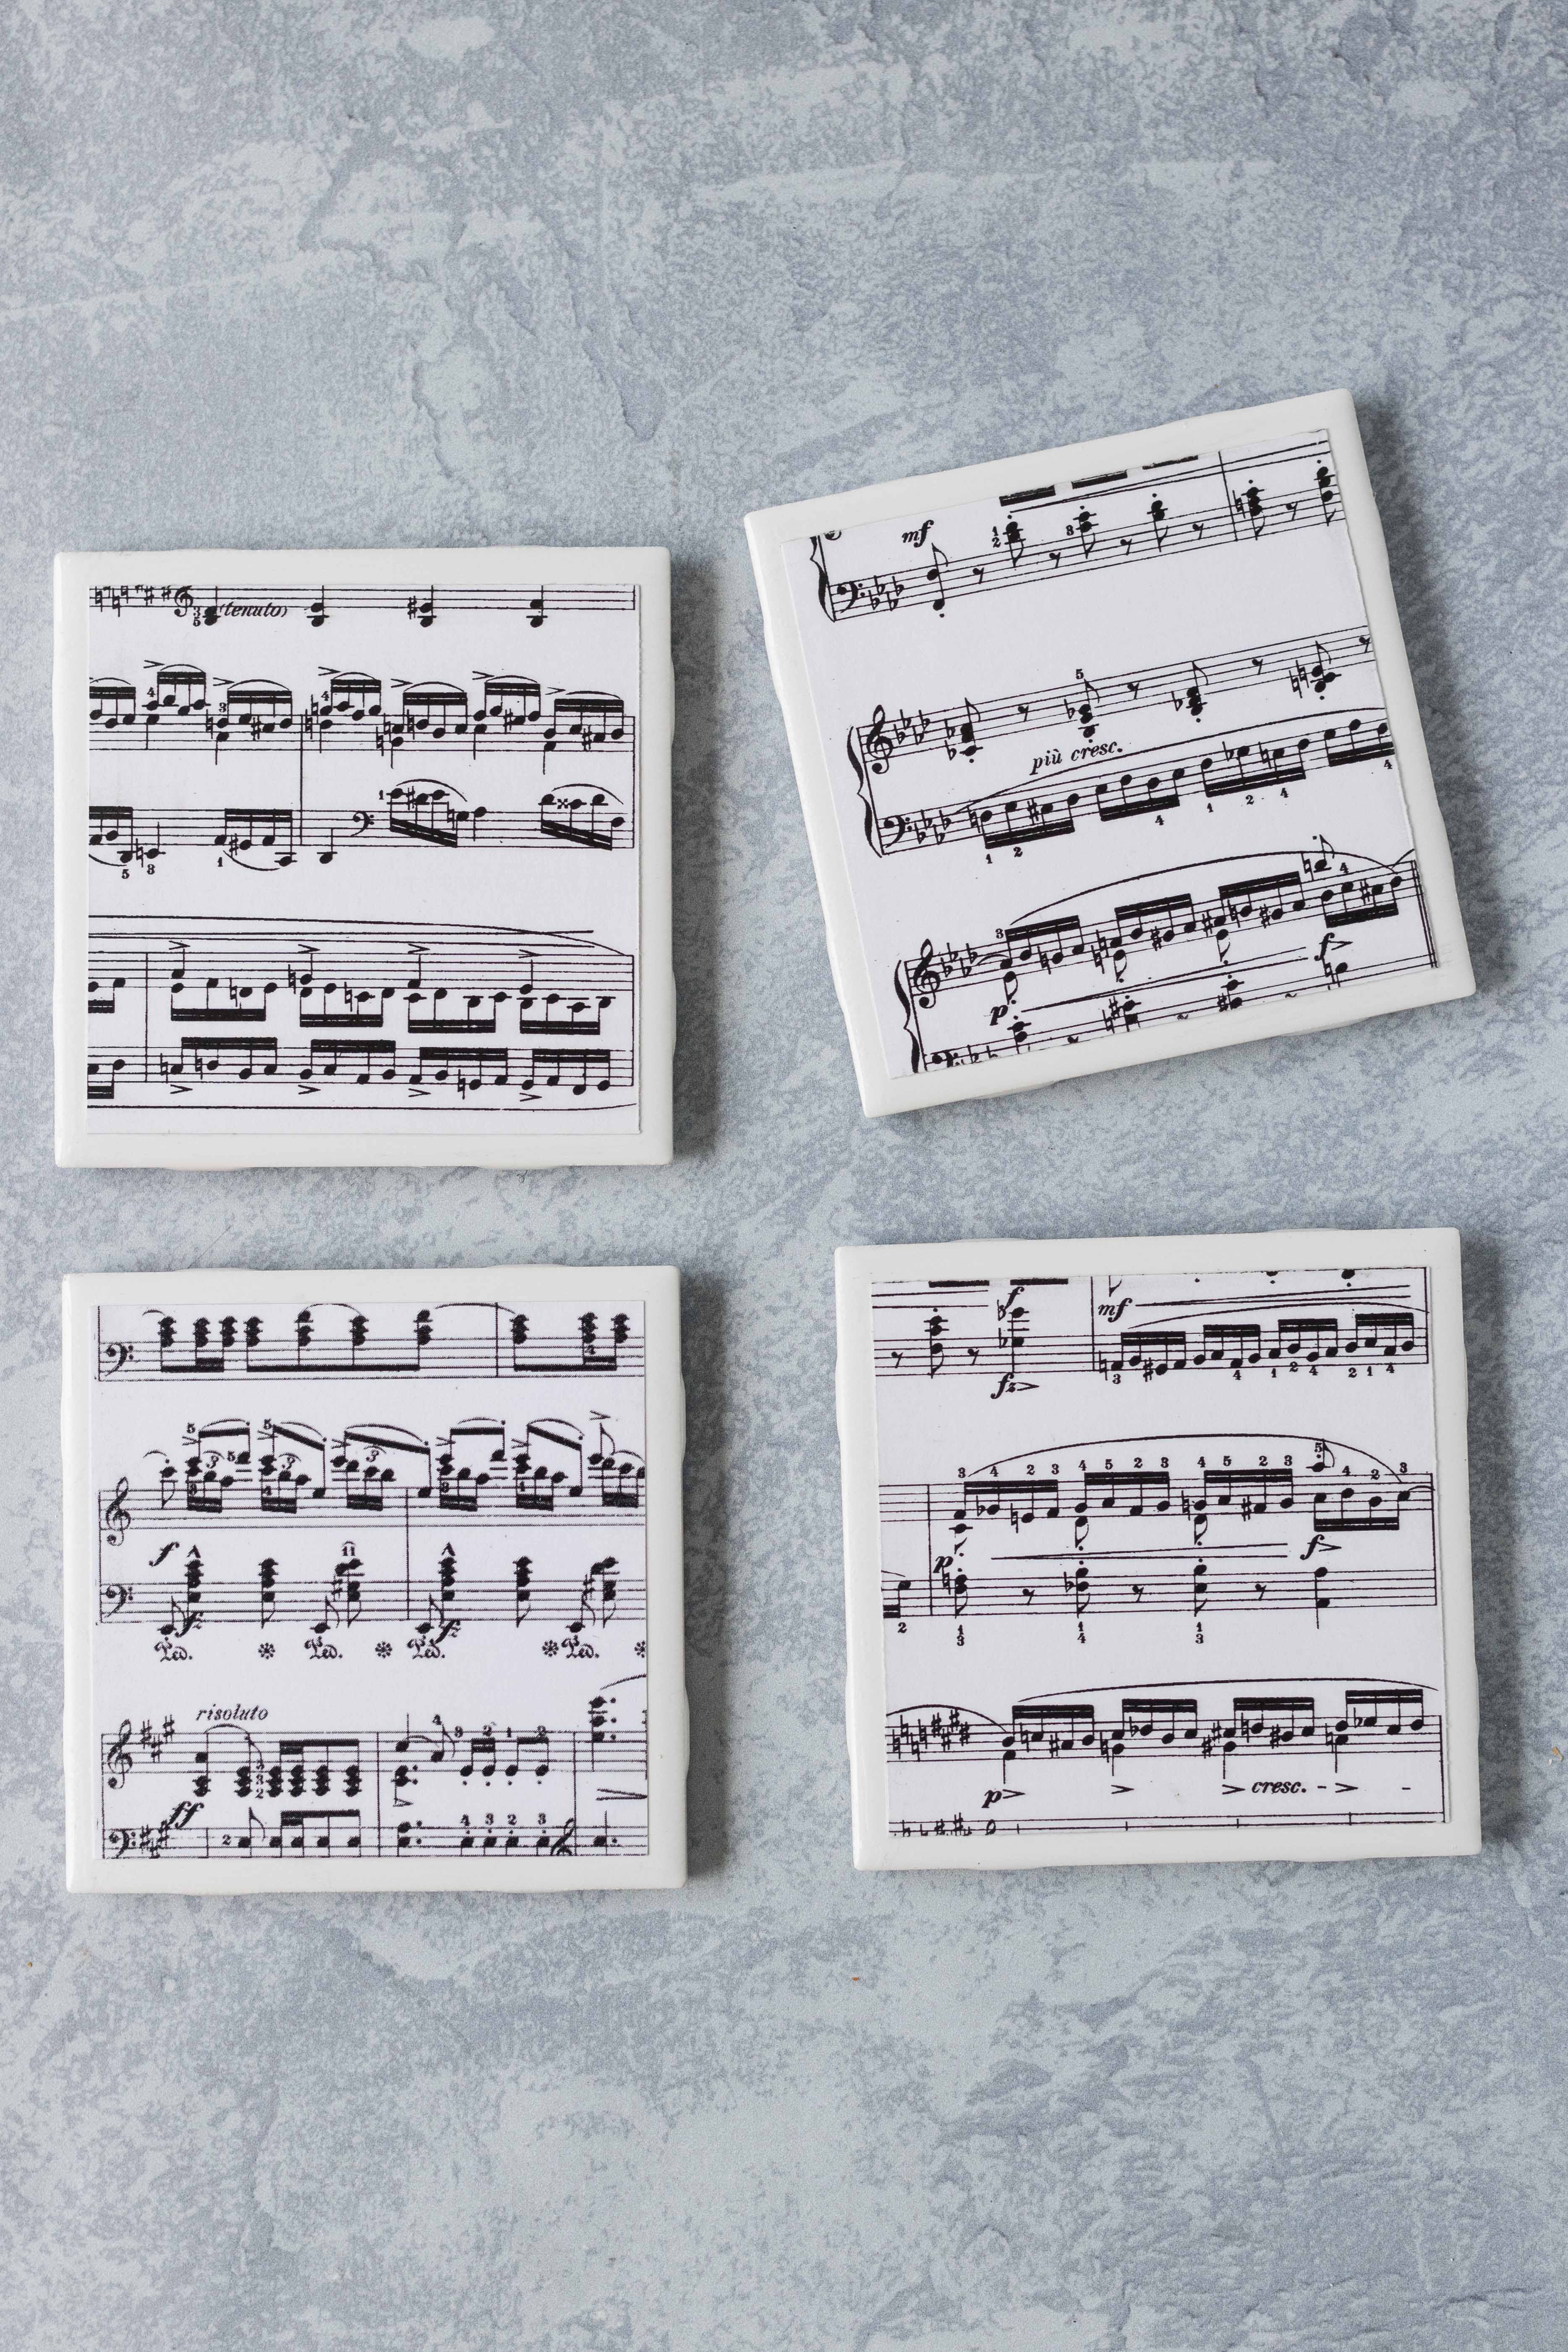

I love the look of tile coasters with brand new white sheet music as well.

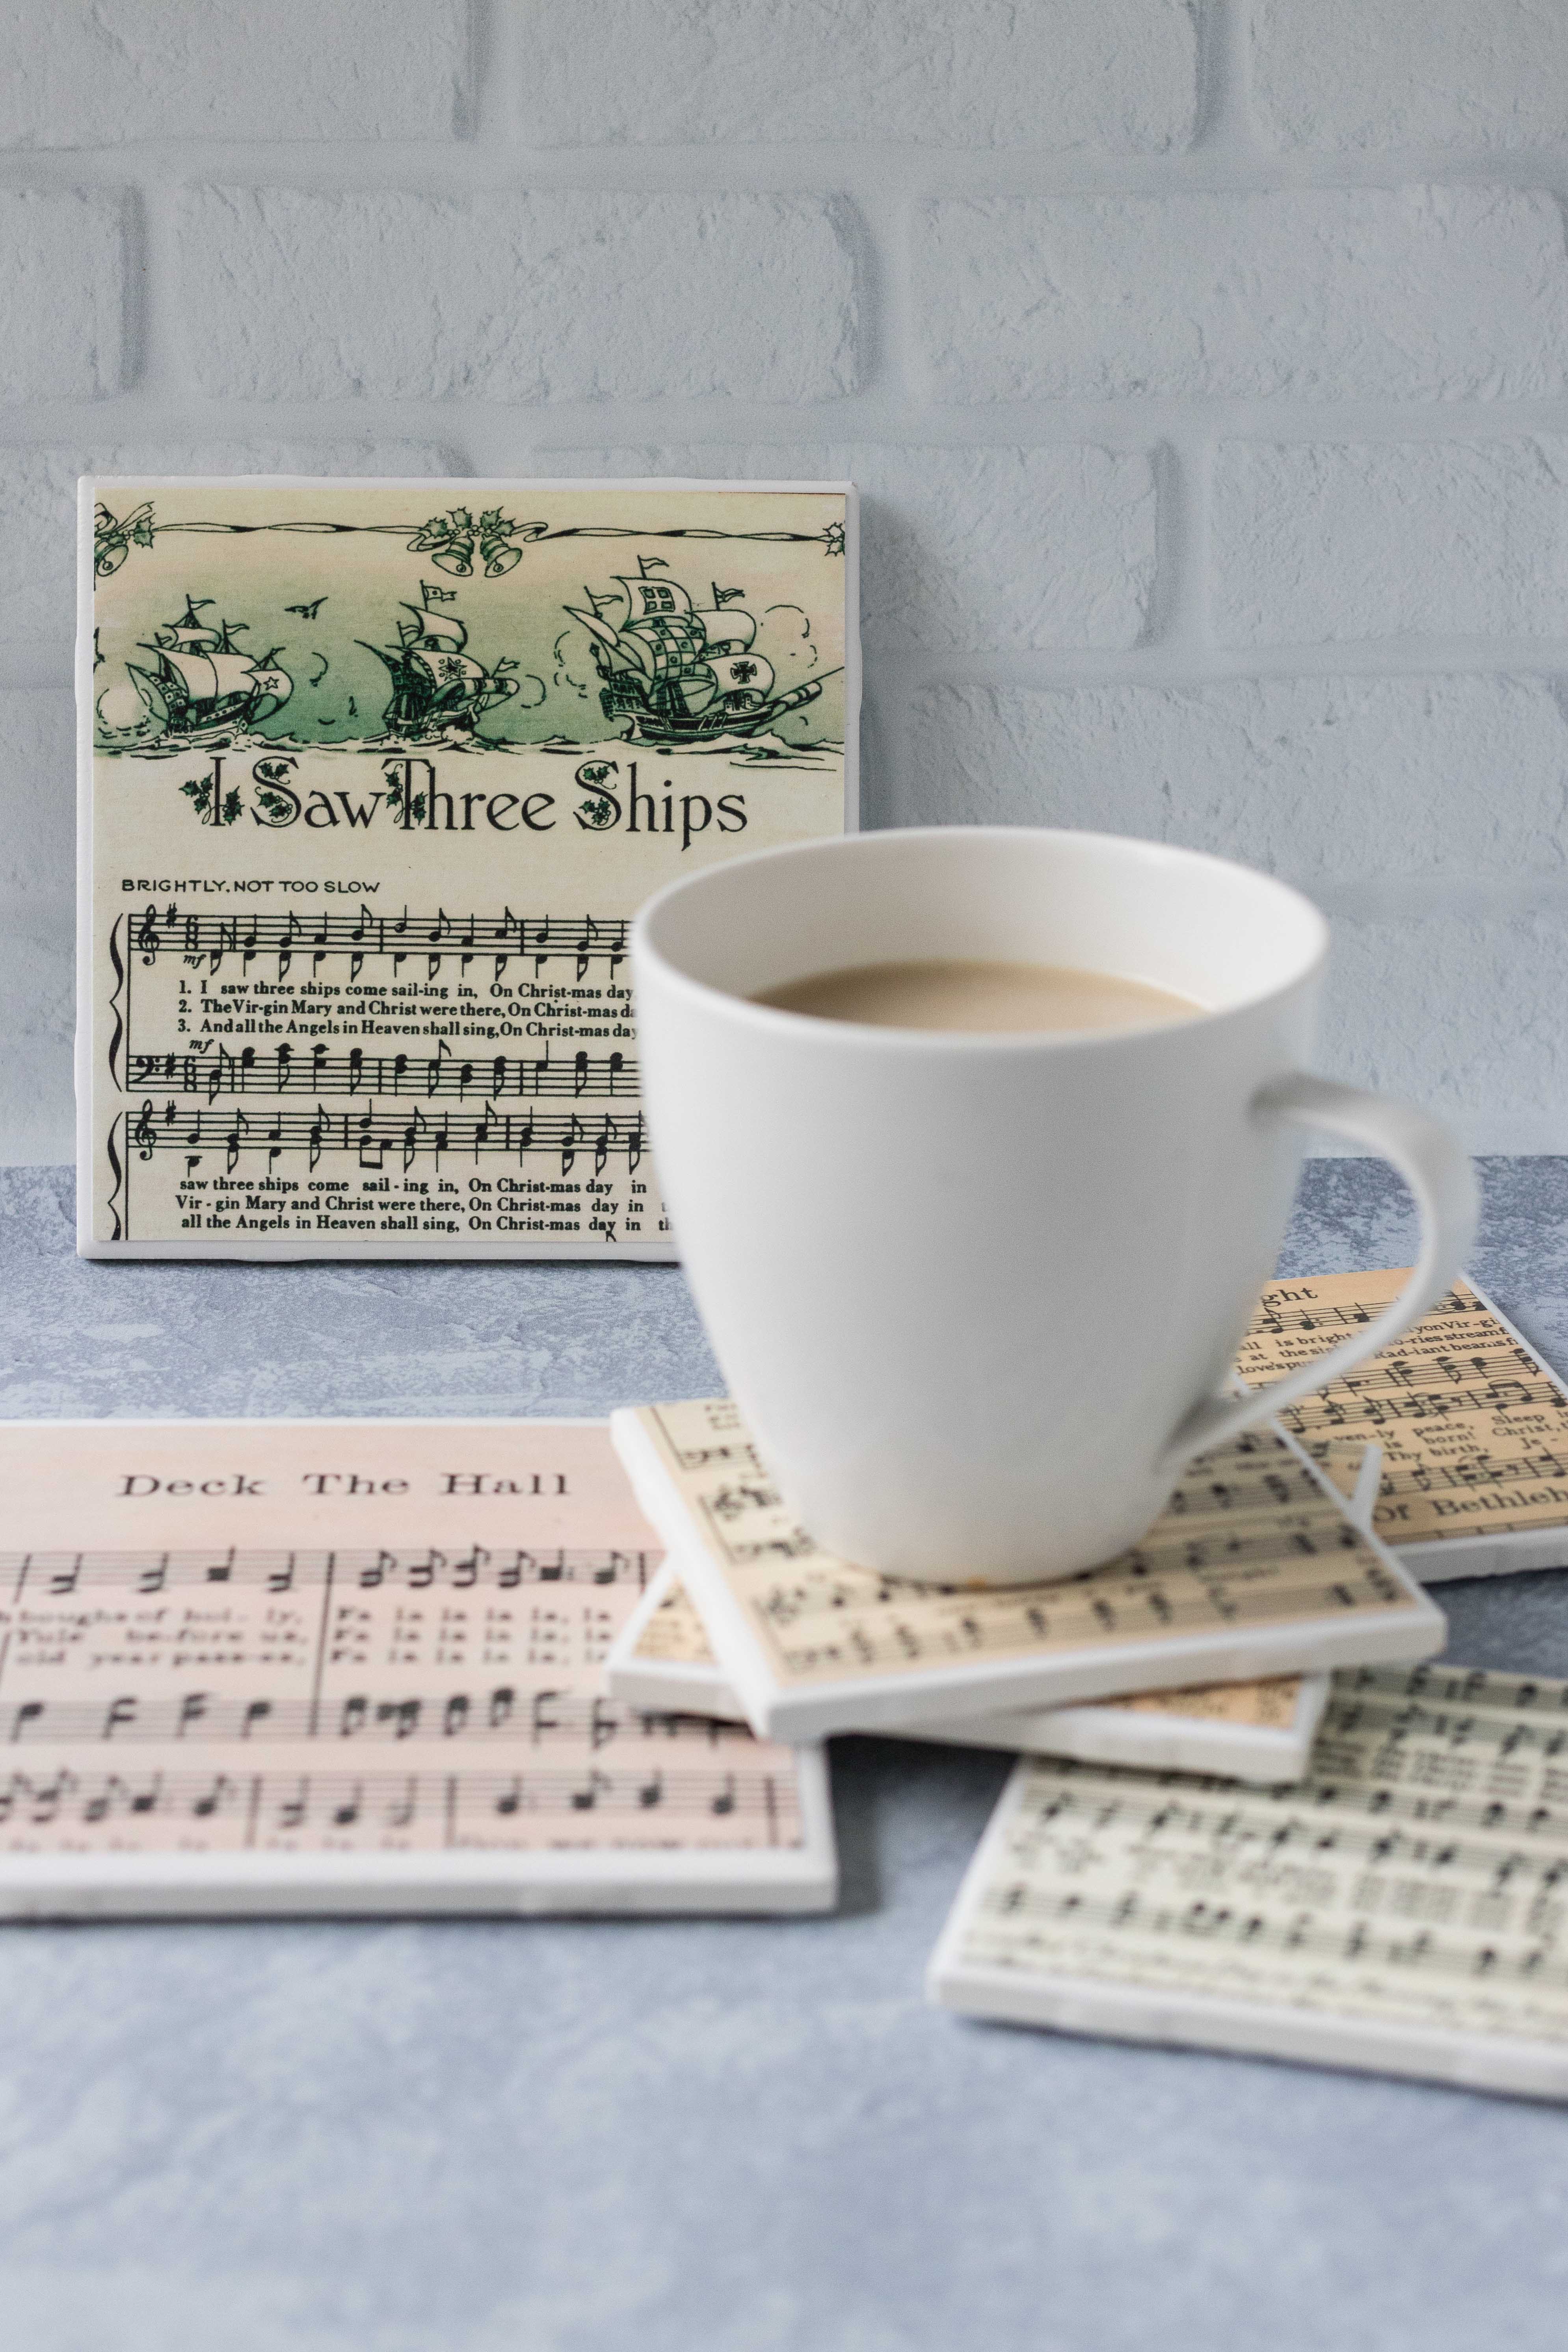
I have also created quite a few sheet music tiles with Christmas music. Grab your antique sheet music from my collection of free printable vintage Christmas sheet music hymns.
The first DIY vintage sheet music botanical tile I created.
A custom tile I created for a friend with her choice of music and floral image.
I have made a handful of DIY vintage sheet music botanical tile coasters on slightly larger 6″ x 6″ tiles as well. I love the larger size for tiles that you’ll use as trivets or display as wall art as opposed to use for drink coasters.
To create 6″ x 6″ sheet music tiles with botanical images, size your images to a width of 5.25″ and plan to print one image per piece of sheet music.
[Disclaimer: This post contains a few affiliate links. Thanks for your support!]
Did you make the DIY vintage sheet music botanical tile coasters?
I want to see them! Tag your images #RoseClearfield on Instagram or Twitter or post a photo to my Facebook page.
Pin this post for easy access to the DIY vintage sheet music botanical tile coasters instructions later!

More DIY sheet music projects:


For even more craft projects, head to the DIY section of my blog.