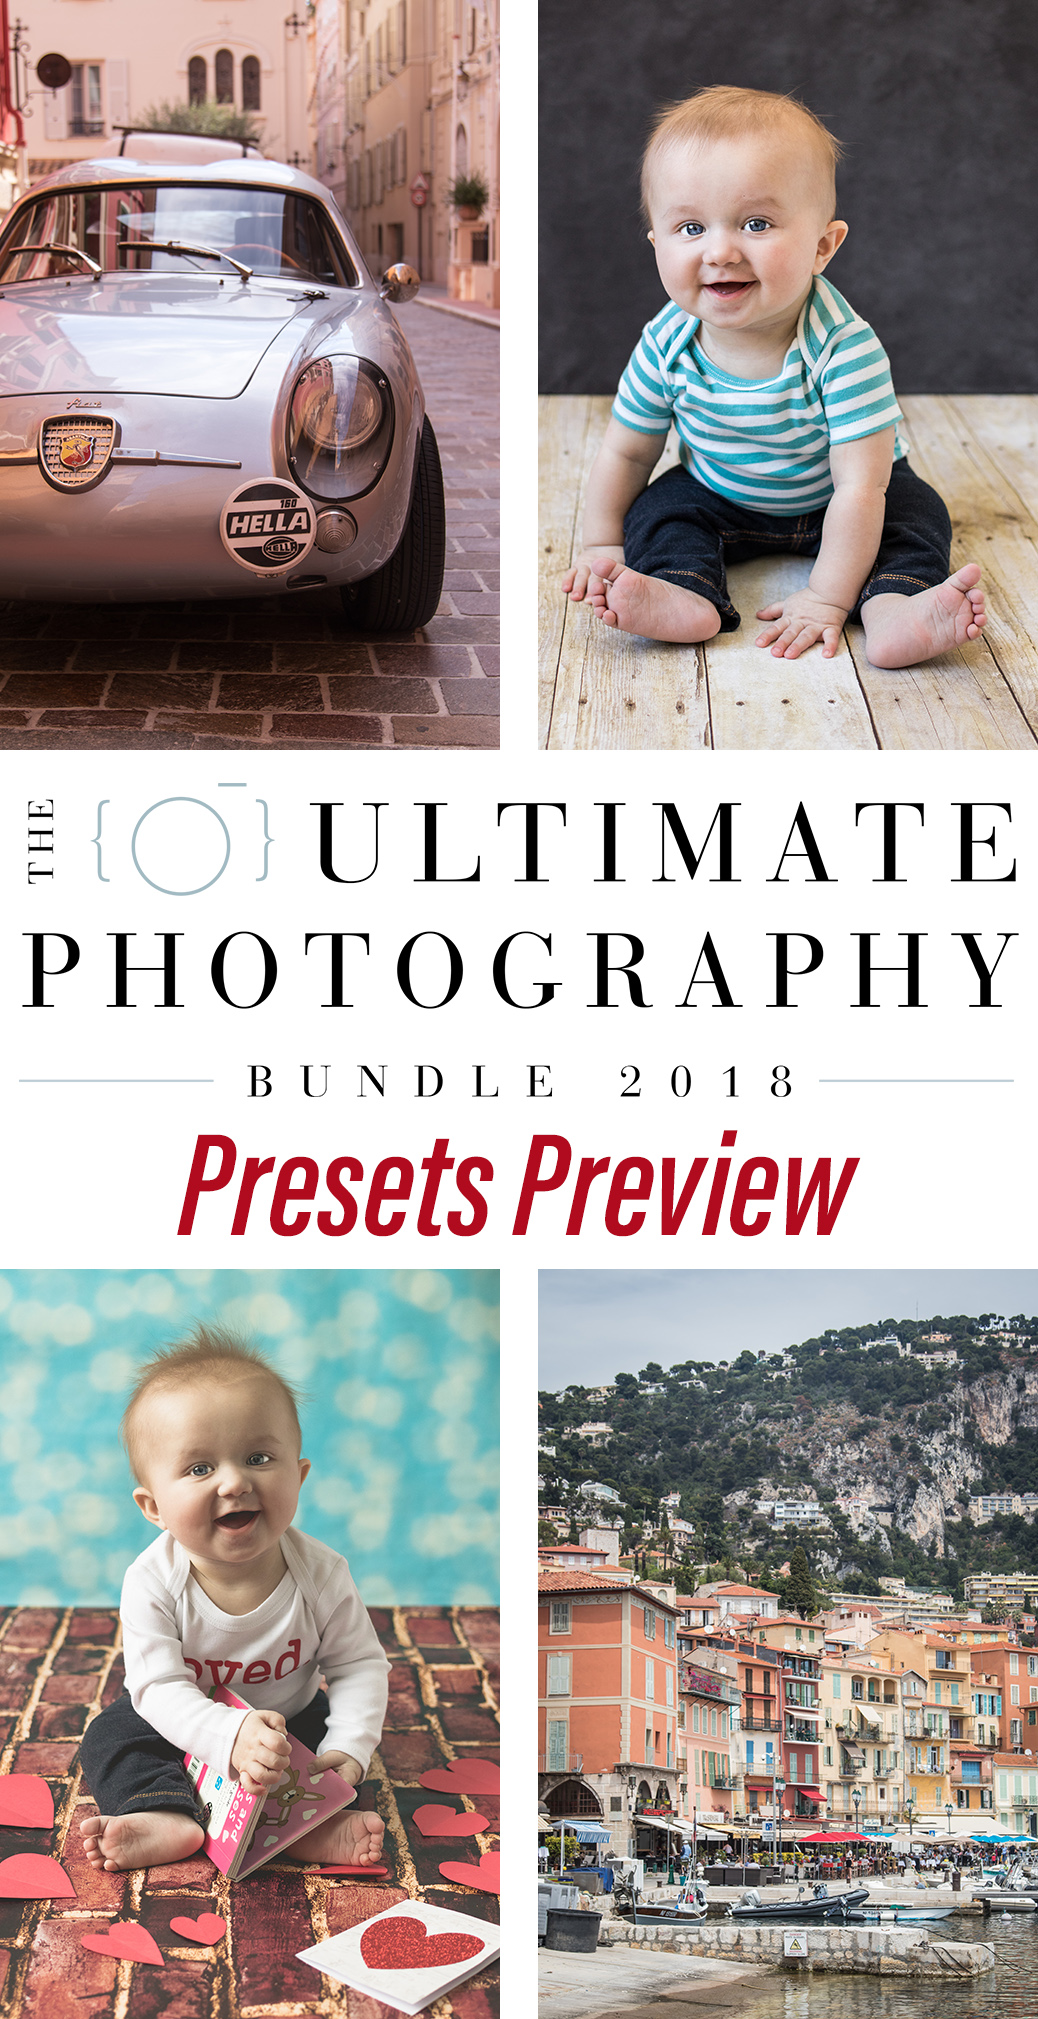
In yesterday’s post about the Ultimate Photography Bundle 2018, I promised that today I’d share just a few of my favorite presets from the bundle. The Ultimate Photography Bundle 2018 contains six different preset packages, totalling over 500 presets. The presets alone are well worth the price of the bundle. Yesterday I shared just one of my favorite edits with the new pre-sets. Today I’m sharing more edits and talking about exactly how I created these final images with the new presets.
Cole’s Classroom Light & Airy Lightroom Presets – Peachery
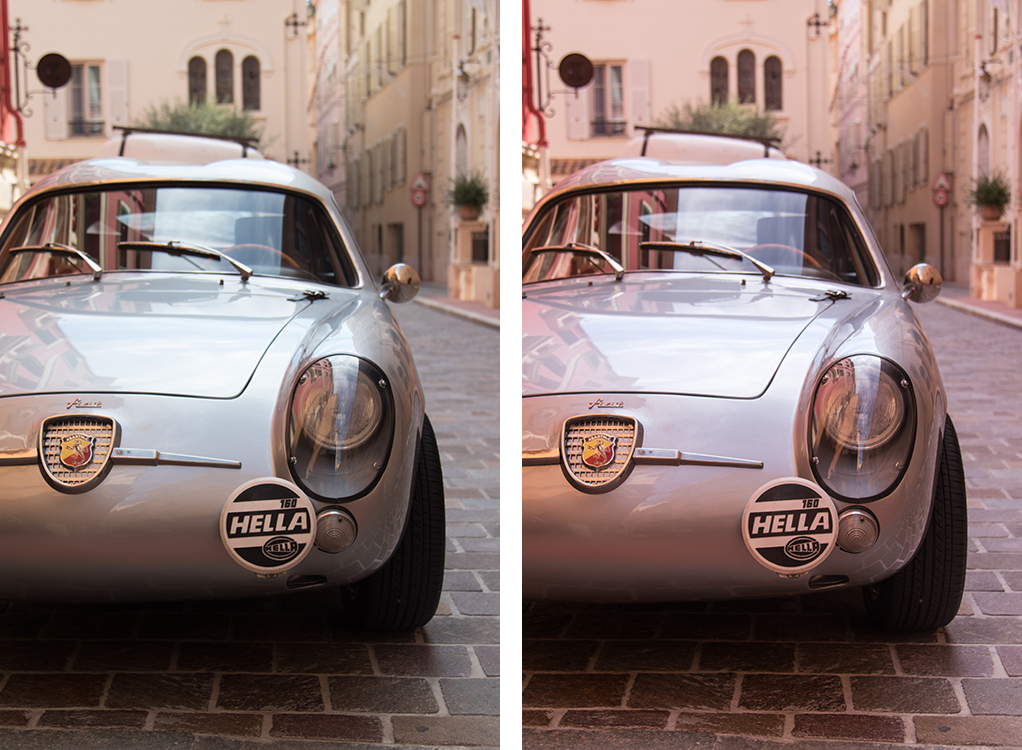
Arguably, this picture of a Fiat in Monaco is the best picture I took on our Mediterranean cruise last year. It was one of those rare occasions when you know immediately that you’re creating a great shot and can’t wait to see the results in Lightroom. I’m really happy with the original composition and only wanted to do a little tweaking to boost the color and clarity. The peachy preset gives the image such a nice glow so effortlessly.
I adjusted the highlights, shadows, and black clipping to tone down the image slightly from the original pre-set. I also defaulted to my standard clarity, vibrance, and saturation settings because I wanted more clarity and saturation than the original pre-set.
Richard Schneider’s Landscape Photographers Lightroom Presets – Looking Back
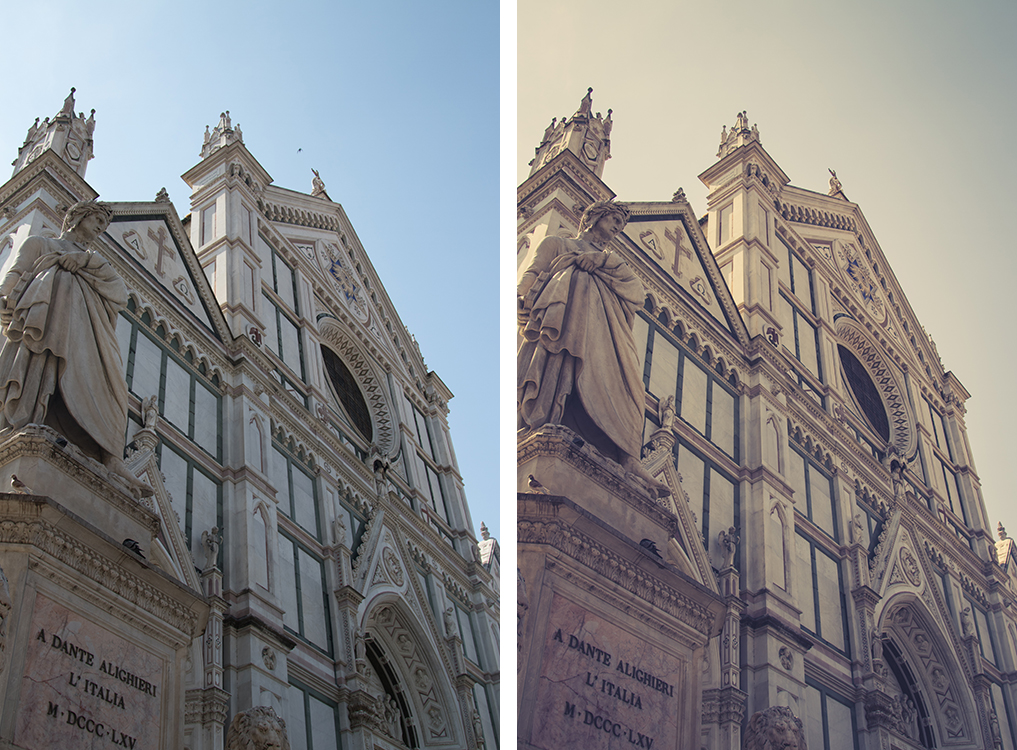
I would never edit an entire set of images with this type of preset because it’s a little overedited for my taste. But I love playing around with a select number of images to produce a certain aesthetic. The Cattedrale di Santa Maria del Fiore in Florence, Italy seemed like the perfect subject for this slightly retro, aptly named Looking Back preset.
The biggest changes I made from the original preset were to enhance the sky slightly (I have several of my own sky adjustment brushes) and bring up the shadows, so the bottom left corner of the image isn’t so heavily shadowed.
Richard Schneider’s Landscape Photographers Lightroom Presets – Take It Easy
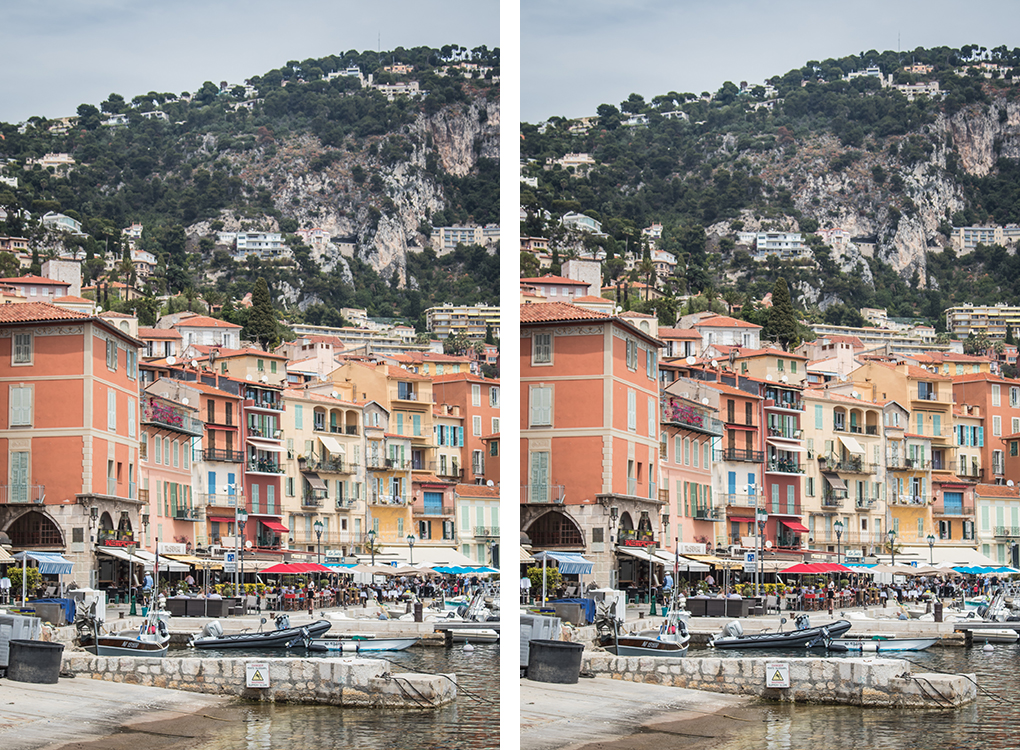
Take It Easy is the most subtle of the pre-sets I share in this post and is just what I wanted for this image. The colors in the buildings are vivid, and there’s a lot of detail in the hills above them. I didn’t want to overblow it with a ton of saturation, contrast, or clarity. Almost all RAW images need a little sharpening, and Take It Easy provided the right amount. I stuck to the original pre-set pretty closely here.
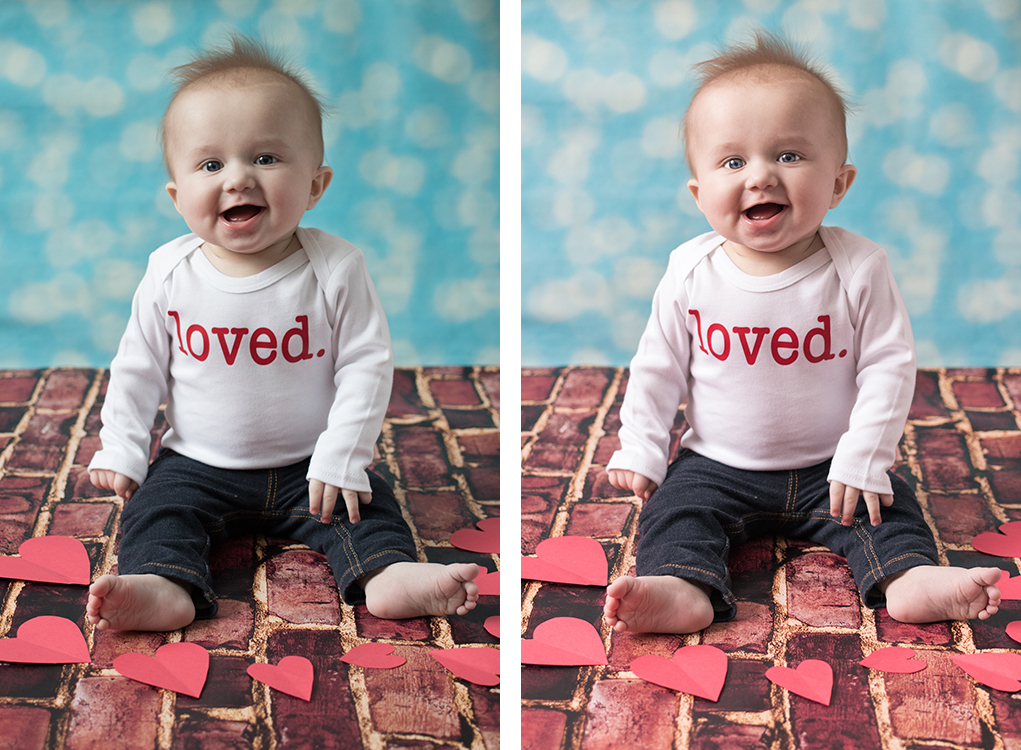
Cole’s Classroom Crisp & Clean Presets – Color – JERF
Photographing Tommy has pushed me way outside of my comfort zone. I really cut my teeth on DSLR photography shooting styled setups (for Etsy and my blog) and taking pictures around the greater Milwaukee area (beaches, iconic buildings, etc.). Until recently, I hadn’t photographed a lot of people. For this type of photo, I would apply my typical edits and call it good because that’s really all I know how to do. The photo would look great but not amazing. The JERF preset really gives it a professional finish.
One reason I love trying new presets is it forces me to consider Lightroom settings combinations that I don’t usually use. For example, unless a photo is really overexposed, my first inclination is to boost the highlights and white clipping slightly. Always. The JERF preset brings the highlights and white clipping down slightly. Paired with boosted contrast and clarity, the result is so fabulous.
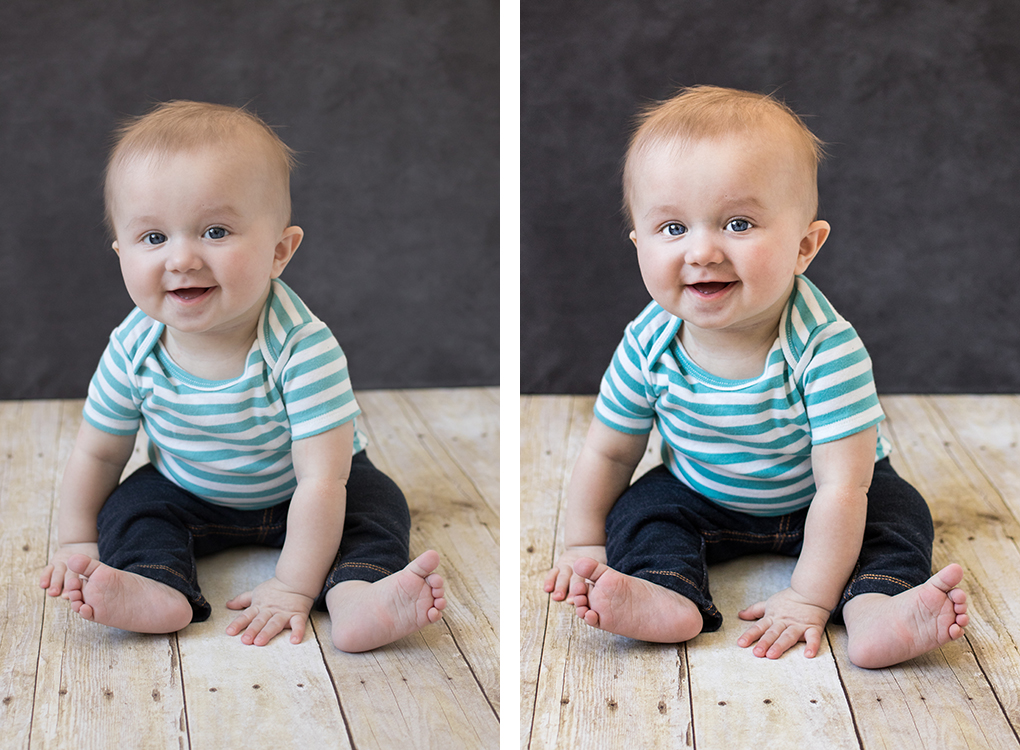
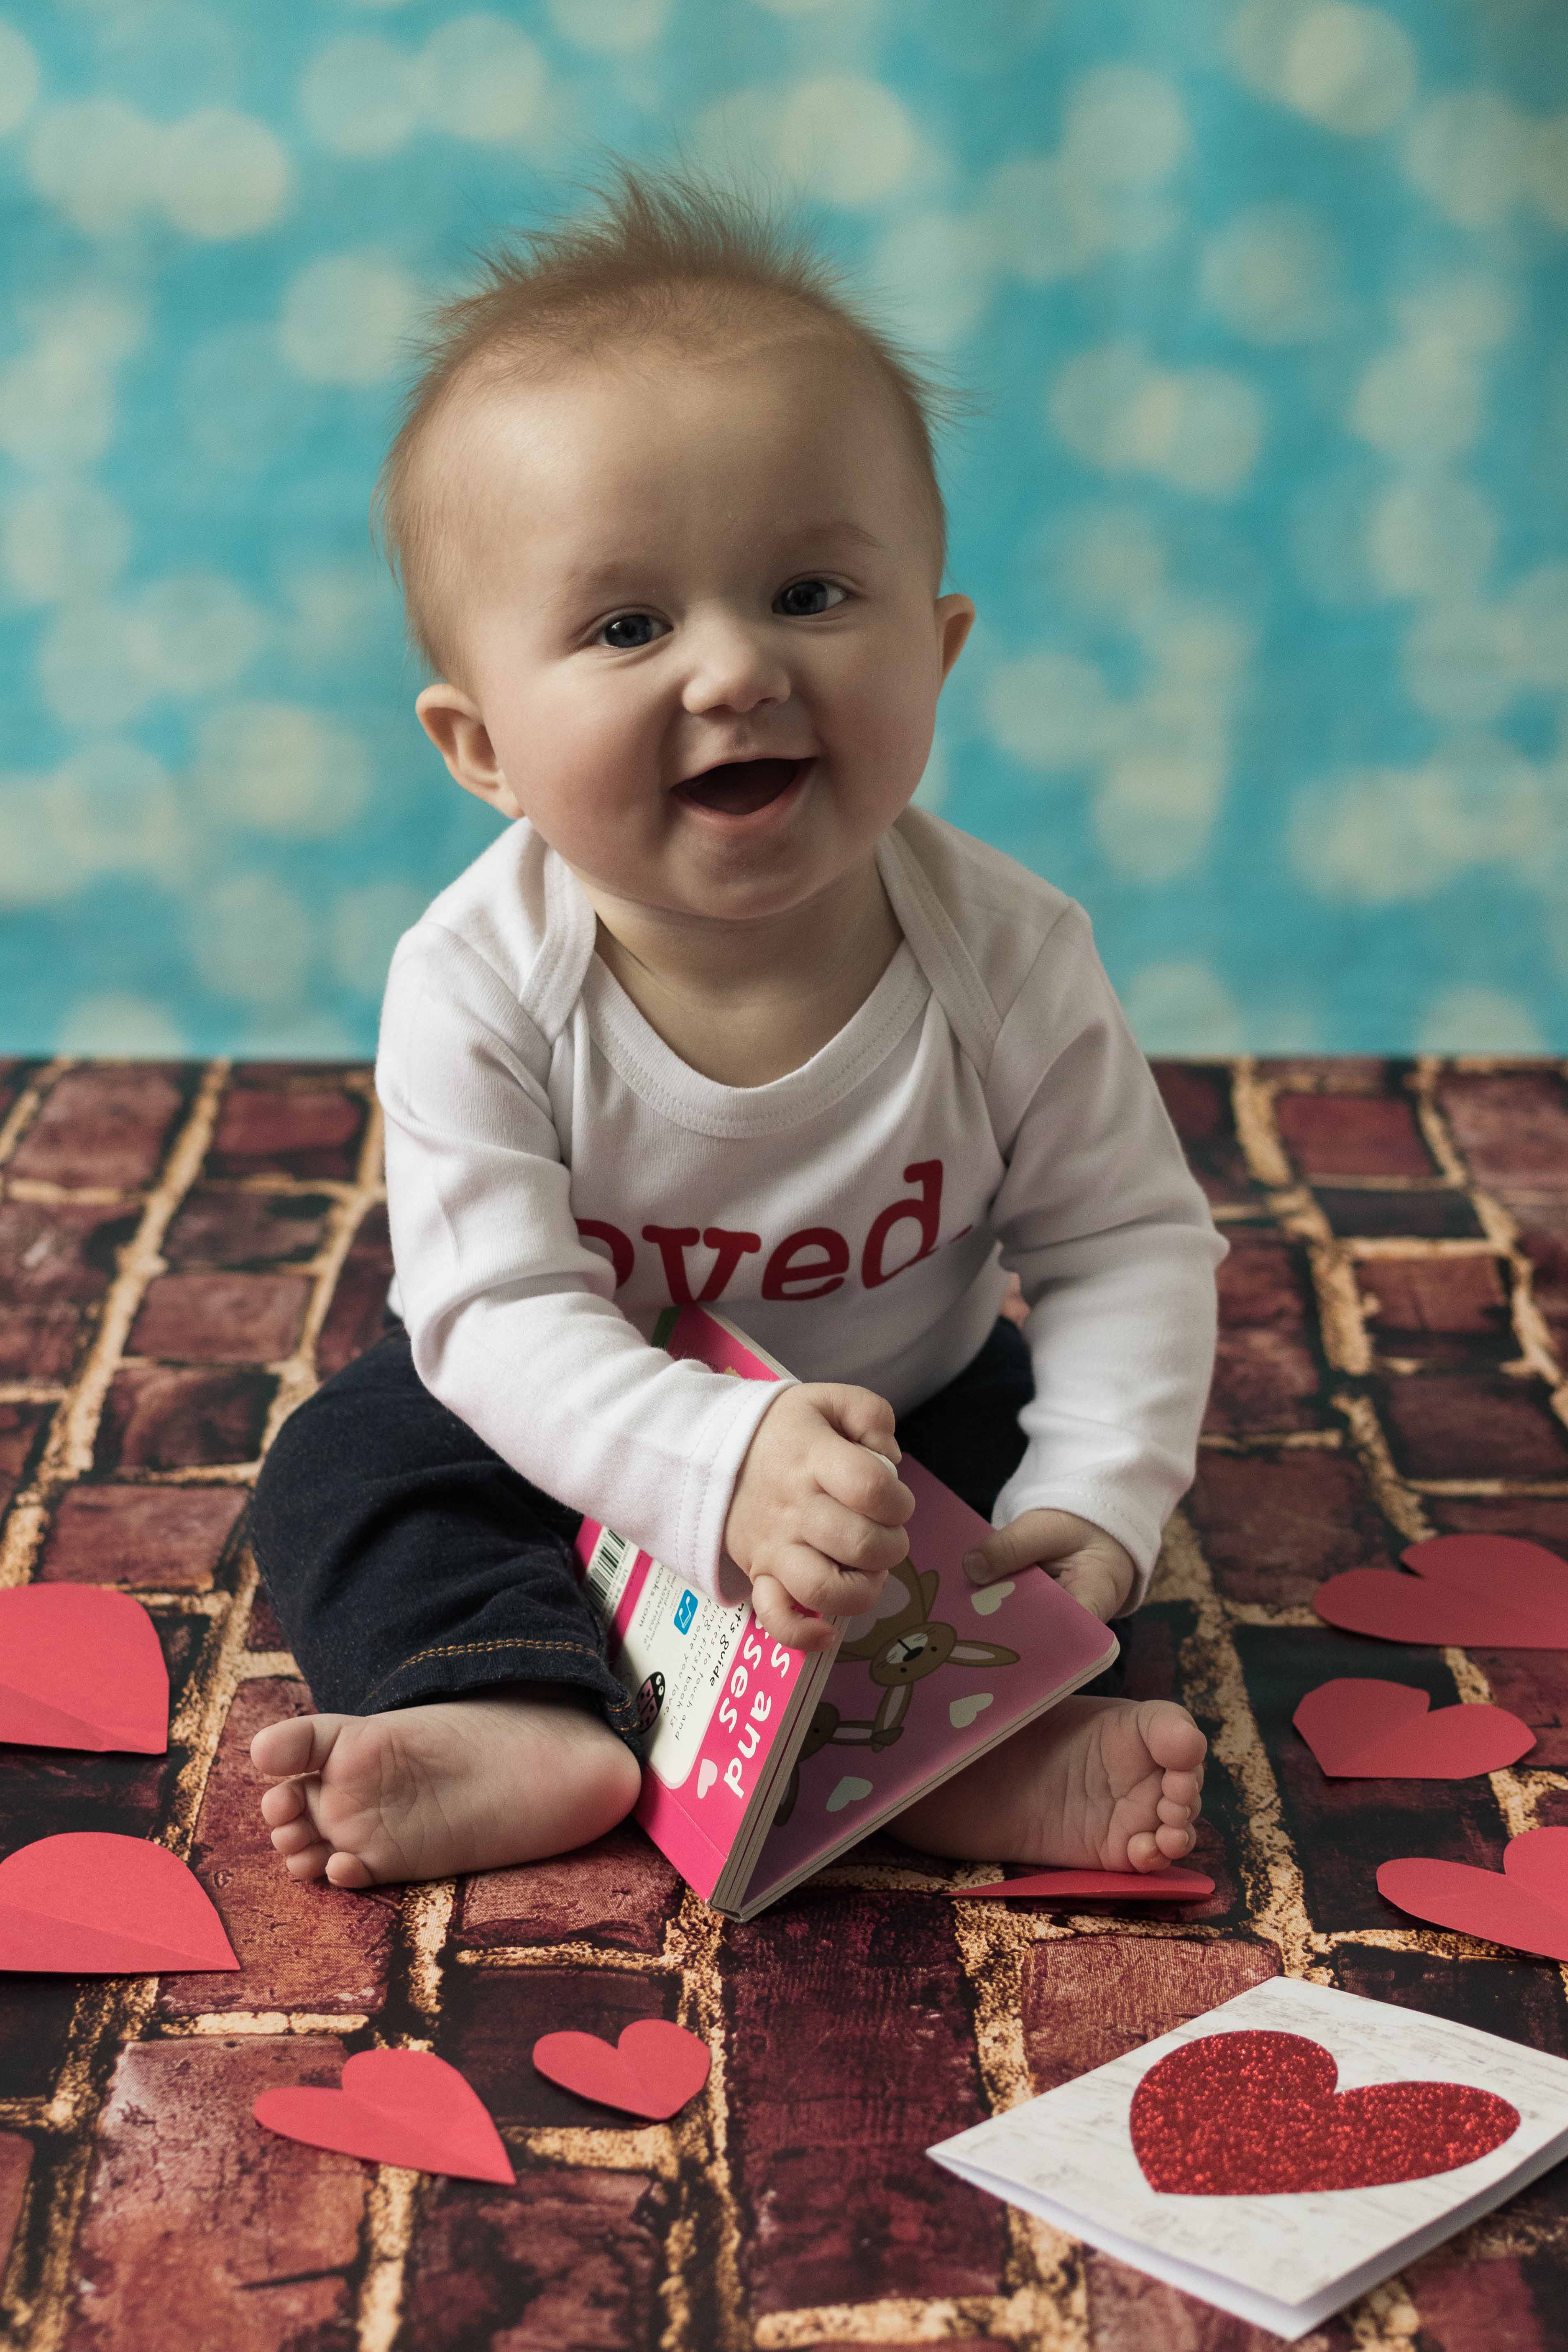
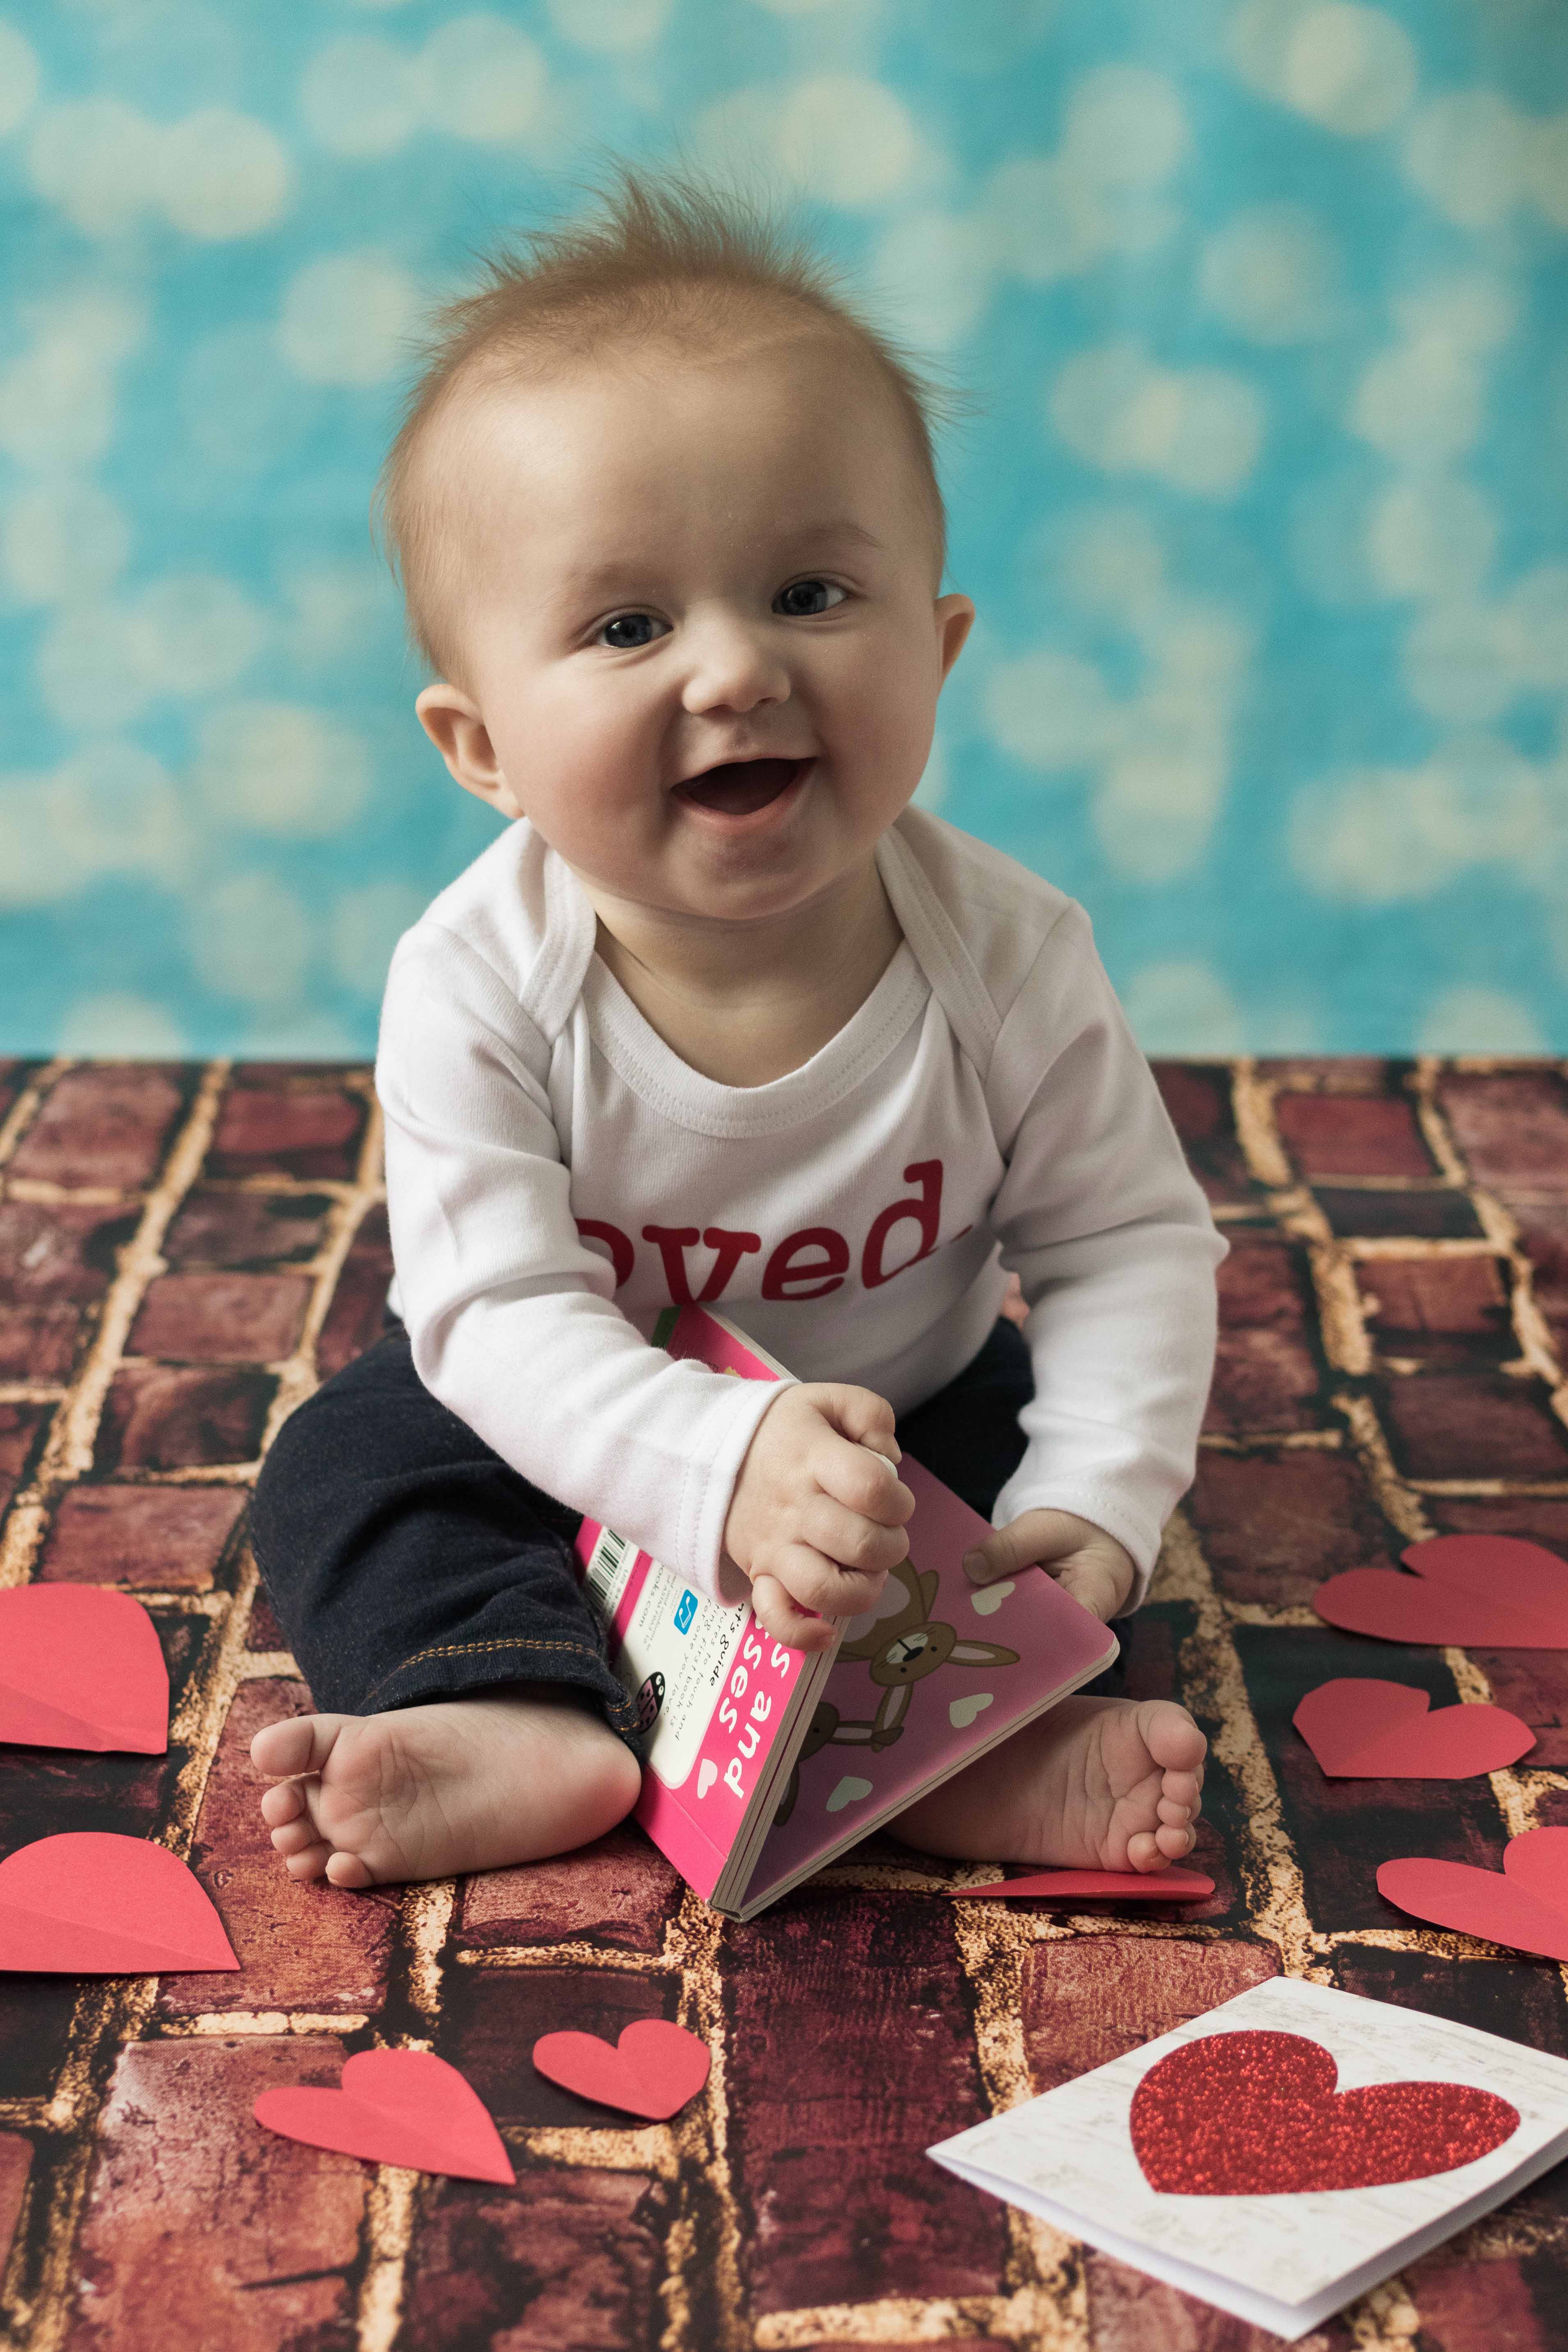
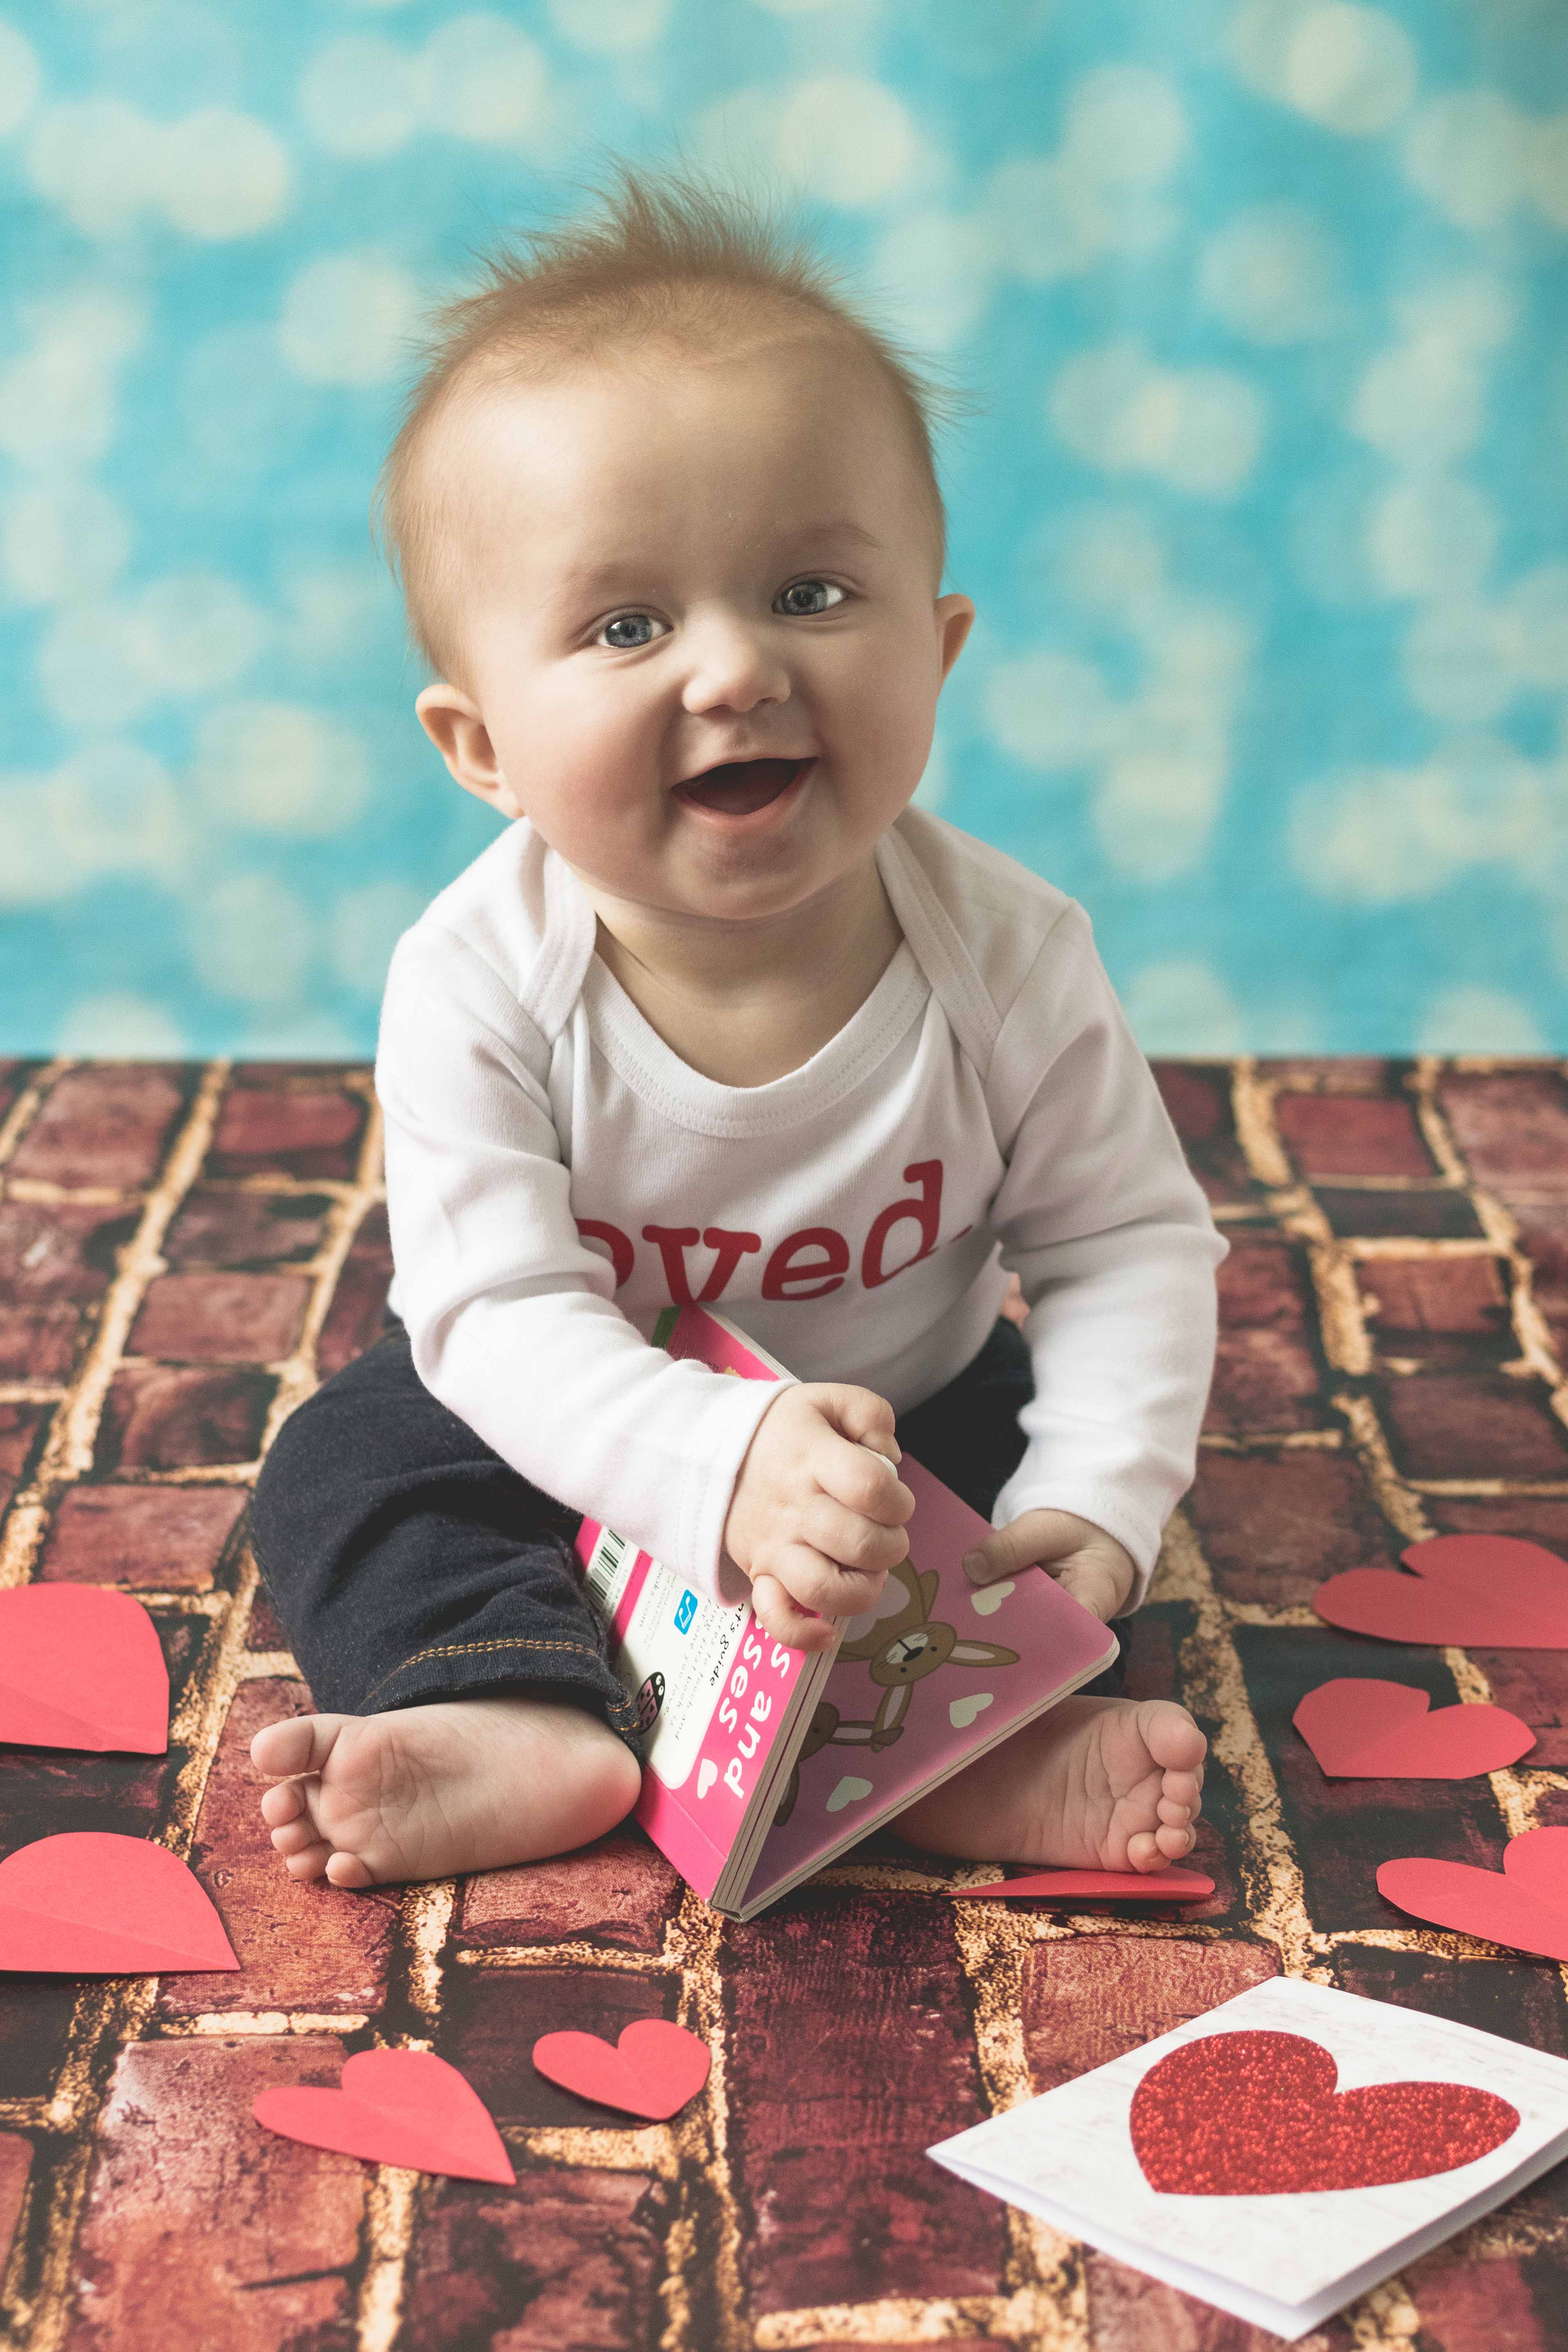
Cole’s Classroom Light & Airy Presets – Rosey Cheeks
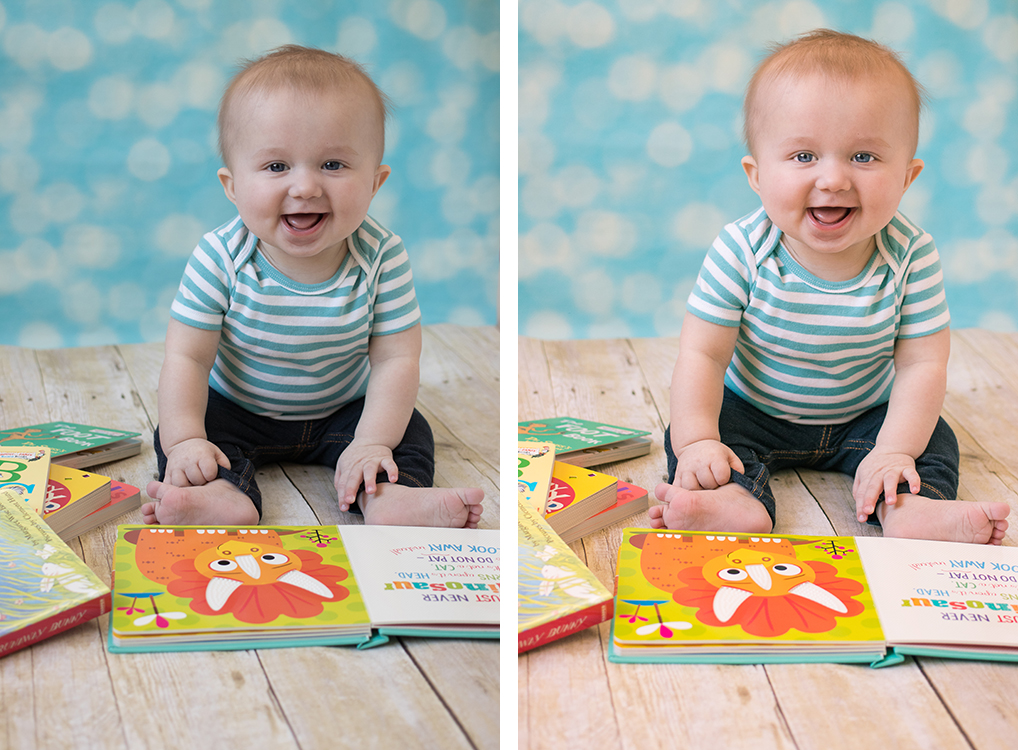
Cole’s Classroom Light & Airy Presets – Greenie
The JERF preset is basically everything I want in a portrait photography finish. But I wanted to try a few other presets on recent Tommy portraits. I love the Rosey Cheeks preset for the Valentine’s shoot because it boosts the red hue without overdoing it. And I love the Greenie preset for the books shoot because it makes the colors pop. For such a fun shot, I wanted to heighten that aesthetic.
As you can see, the Cole’s Classroom Light & Airy package base presets are great as is. However, the Light & Airy Presets package offers three steps of presets to finetune your images even further. I only used the base presets for the previous two edits. In this final edit, I’m going to take you through what you can do with the three steps.

Here’s the original RAW image, straight out of the camera.
1. I applied my own base pre-set to do some basic cleanup. When I import all of my images into Lightroom, I apply this pre-set automatically. I also straightened and cropped the image slightly.
2. I applied the Light & Airy Preset Step 1: Golden Hue.
3. I applied the Light & Airy Preset Step 2: +.25 Exp Adjust.

4. I applied the Light & Airy Preset Step 3: Matte Effect +.

5. The key adjustment I wanted to make to this image that I wasn’t going to get with the presets was to brighten the eyes. Tommy’s eyes are dark and almost always need lighting in post. They are still a little darker than I’d like here. I knew that in the next step I would boost the shadows, which would lighten the eyes to my desired level.
6. I finished the edit with a few final tweaks. When you use presets, you get the strongest final images that most closely match your editing style when you do a little tweaking. I brought up the shadows and highlights and brought down the contrast and black clipping. I also brought up the exposure a little more. In step #3, I could have boosted the image more with a Step 2: +50 Ex Adjust. But I didn’t know I’d want it that high until further into the editing process.
Here’s a before and after comparison.
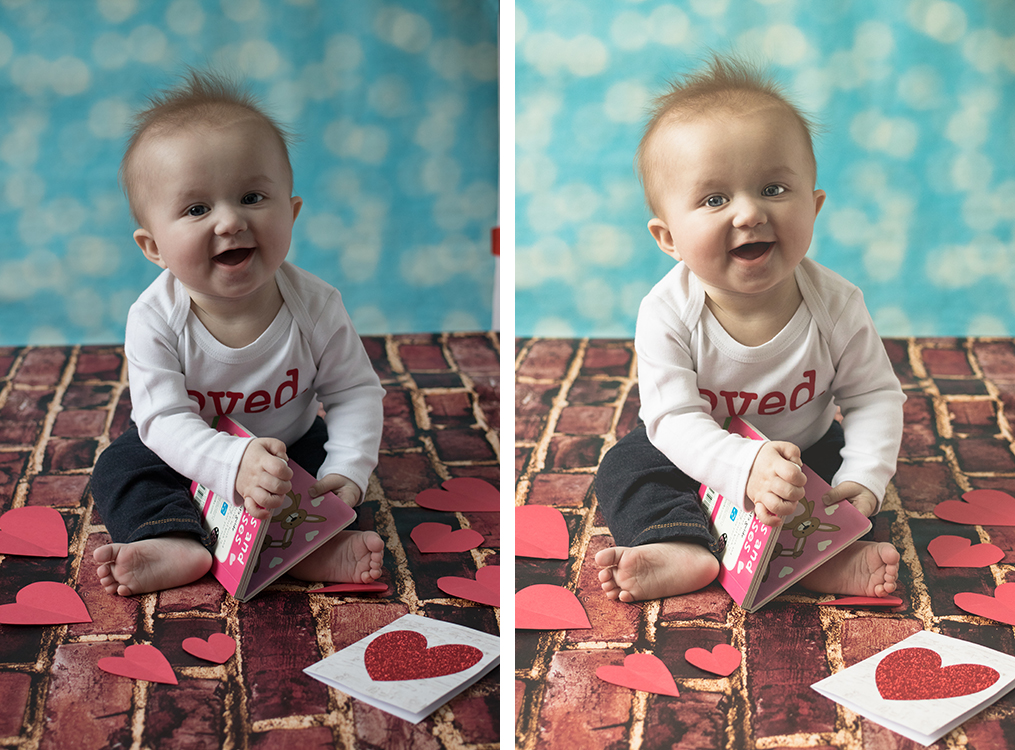
I absolutely love this final image. It’s simple and clean with the right tones for the subject matter. I’m sure it’s apparent in my general editing technique that I LOVE matte finish. I can’t wait to play around more with the Cole’s Classroom matte presets.
In the above edits of the images of my son, I used a brush to lighten his eyes. I’ll be honest: I used my own brush because I already had one and hadn’t delved into Gavin Gough’s presets yet. But the Ultimate Photography Bundle 2018 presets include a wealth of portrait tools, including eye brushes. Gavin Gough’s Color and Monochrome Portrait tools include separate brushes for eye whites and irises, allowing for precision finetuning, taking your images to a professional level. If you do any sort of portrait photography, hobbyist or professional, check them out.
Needless to say, with over 500 presets, I’ve barely scratched the surface here. I’ll spend the next several years exploring the Ultimate Photography Bundle 2018 presets in full.
The Ultimate Photography Bundle 2018 is available February 26-March 2. Once the sale is over, the bundle is gone forever, so don’t wait to purchase your copy. In addition to the wealth of amazing presets, the bundle includes 26 ebooks, 21 ecourses, one membership site, and five bonus credits/free trials.
If you purchase the Ultimate Photography Bundle 2018, I’ll send you a FREE copy of my ebook: Jewelry and Other Small Item Product Photography: Tips, Tricks, and Advice to Help You Take Stellar Product Photos. Email your receipt to randomcreative28 at gmail dot com with the subject “Ultimate Photography Bundle 2018,” and I’ll send over my ebook.
Are you a blogger interested in promoting the Ultimate Photography Bundle 2018 and other Ultimate Bundles?
Joining the Ultimate Bundles affiliate team gives you first access to Ultimate Bundles (at a discounted price!) and a wealth of resources for promoting the bundles, including banners, link & swipe copy, and social media promotion. It’s absolutely free to become an affiliate. Sign up today!
Did you purchase the bundle?
Have you checked out the Ultimate Photography Bundle 2018 presets?
Let me know what you think! I’d love to see a few of your images.
[Disclaimer: I purchased my copy of the Ultimate Photography Bundle 2018 at a discounted price through the Ultimate Bundles affiliate team. I receive a commission on all Ultimate Bundle purchases and new affiliate signups. All opinions about Ultimate Bundles content and the affiliate program are 100% my own. Thanks for your support!]
More photography resources:
10 Steps to Improve Your Food Photography
How to Take Great Pictures in Low Light Without a Flash