
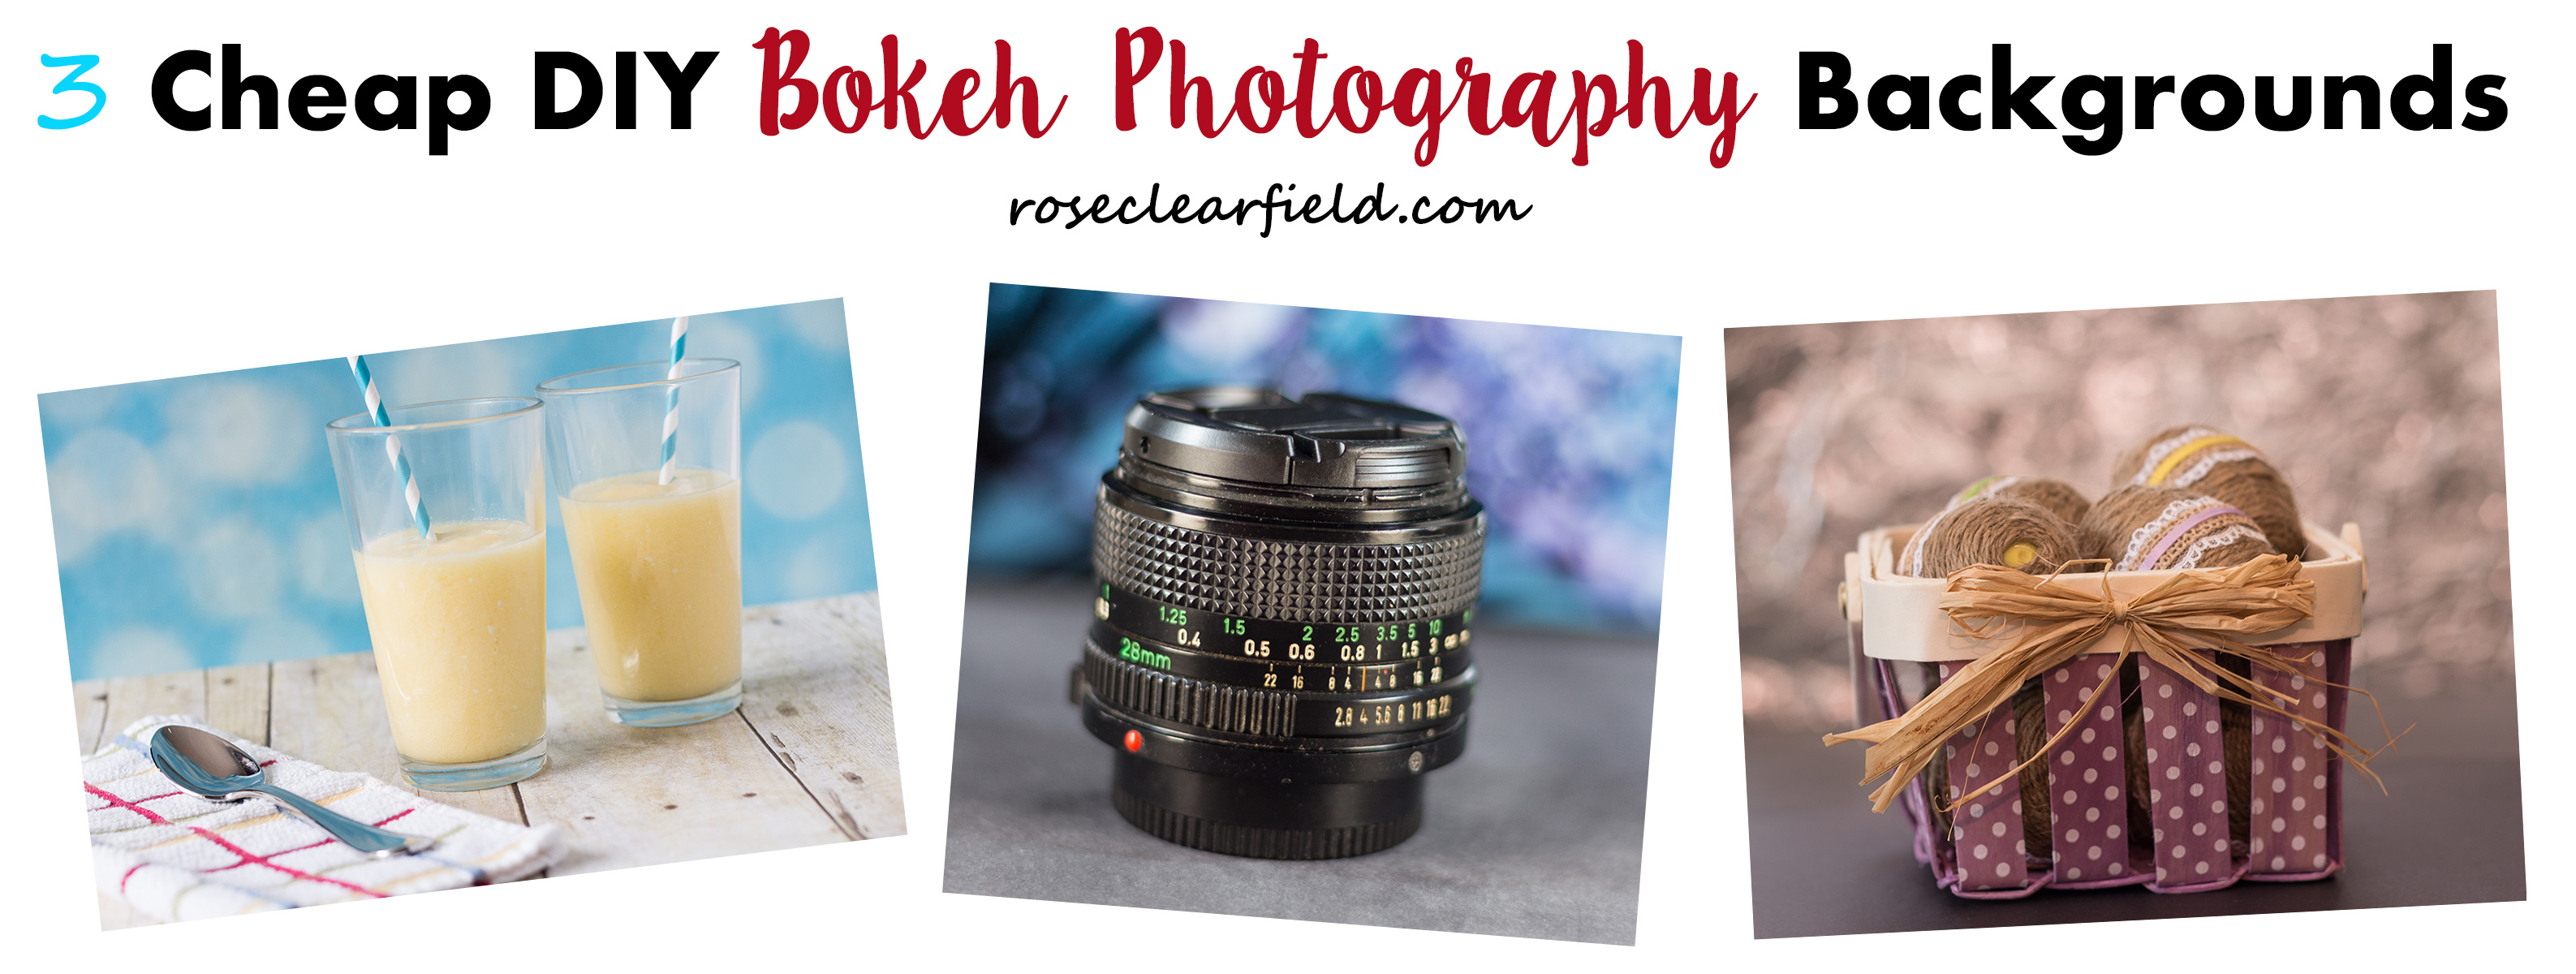
Bokeh comes from the Japanese word meaning blur or haze. It refers to the aesthetic quality of the blur produced by a lens in the parts of the image that are out of focus. Many people invest in DSLR cameras because they love the look of bokeh and want to produce it in their own images. A DSLR camera is an ideal tool for creating images with beautiful bokeh, particularly when you use a prime lens like the 50mm f/1.8. However, you do not need a DSLR camera or any other expensive technology for these cheap DIY bokeh photography backgrounds.
Printed paper
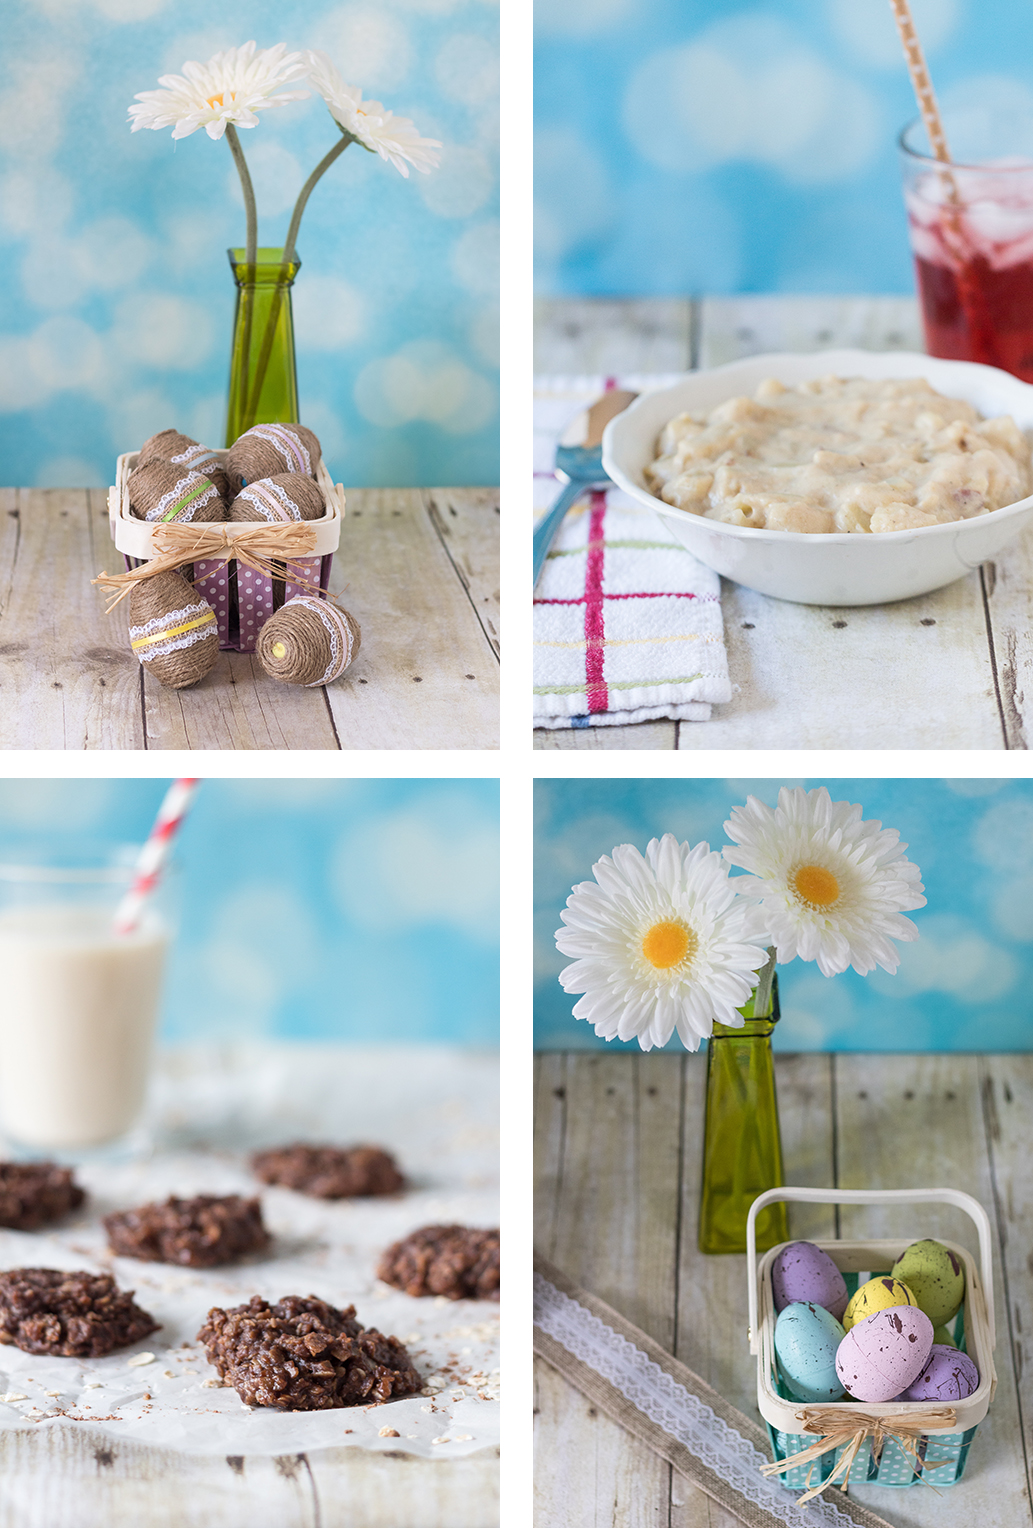
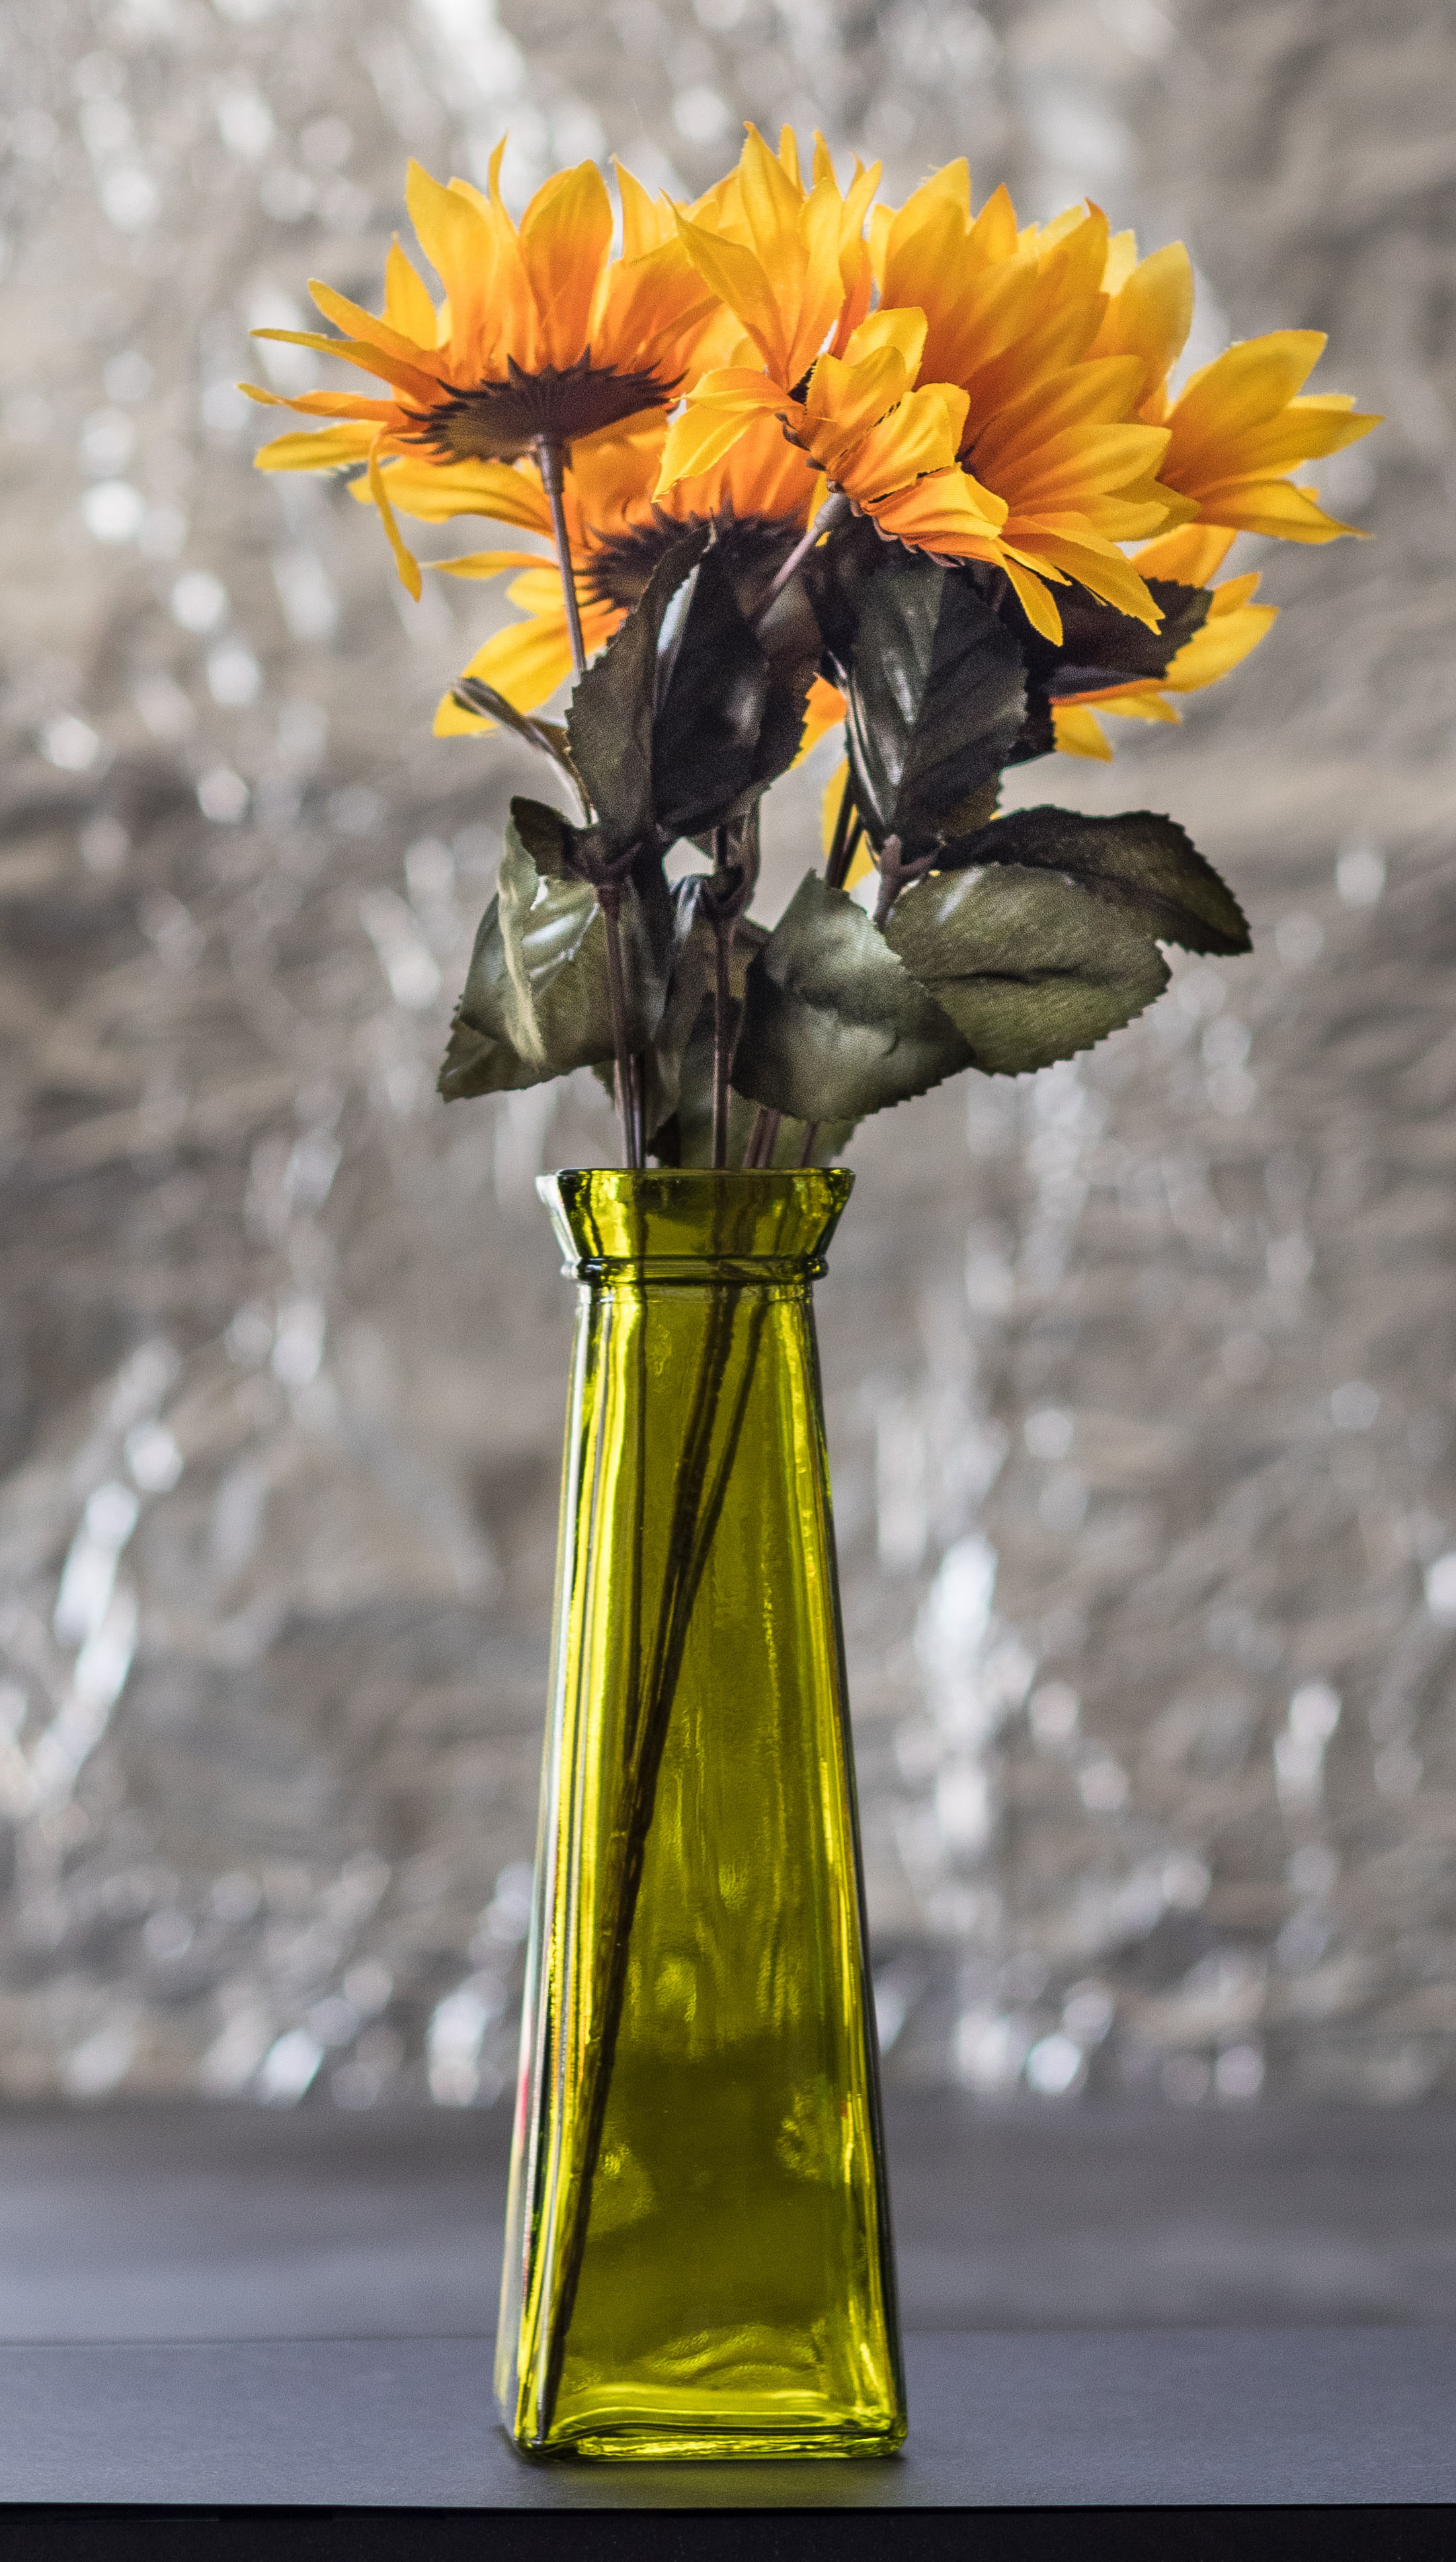
Lately, I’ve been gathering a bunch of new photography backdrops and props for a blog photography hacks resource. (If you love the DIY bokeh photography backgrounds in this post, get excited for this new resource!) Among them, I picked up a bokeh blue photography paper. I wasn’t sure about blue, particularly for recipes. But I really love the blue shade, especially for spring. This pattern is also available in gold, gray, and red. Each roll is 4′ x 12′, which is a lot! You’ll have enough to keep you going for several years of photo shoots.
Currently, to display my printed bokeh paper, I have it clipped to a piece of white foam core. I picked up the clips and white foam core for $2 total at the dollar store. Yes, they are super cheap, but they get the job done. You only see the bokeh paper, so it doesn’t matter that the foam core isn’t the best quality. I either prop it against a window or hold it up with a couple of spare paint cans.
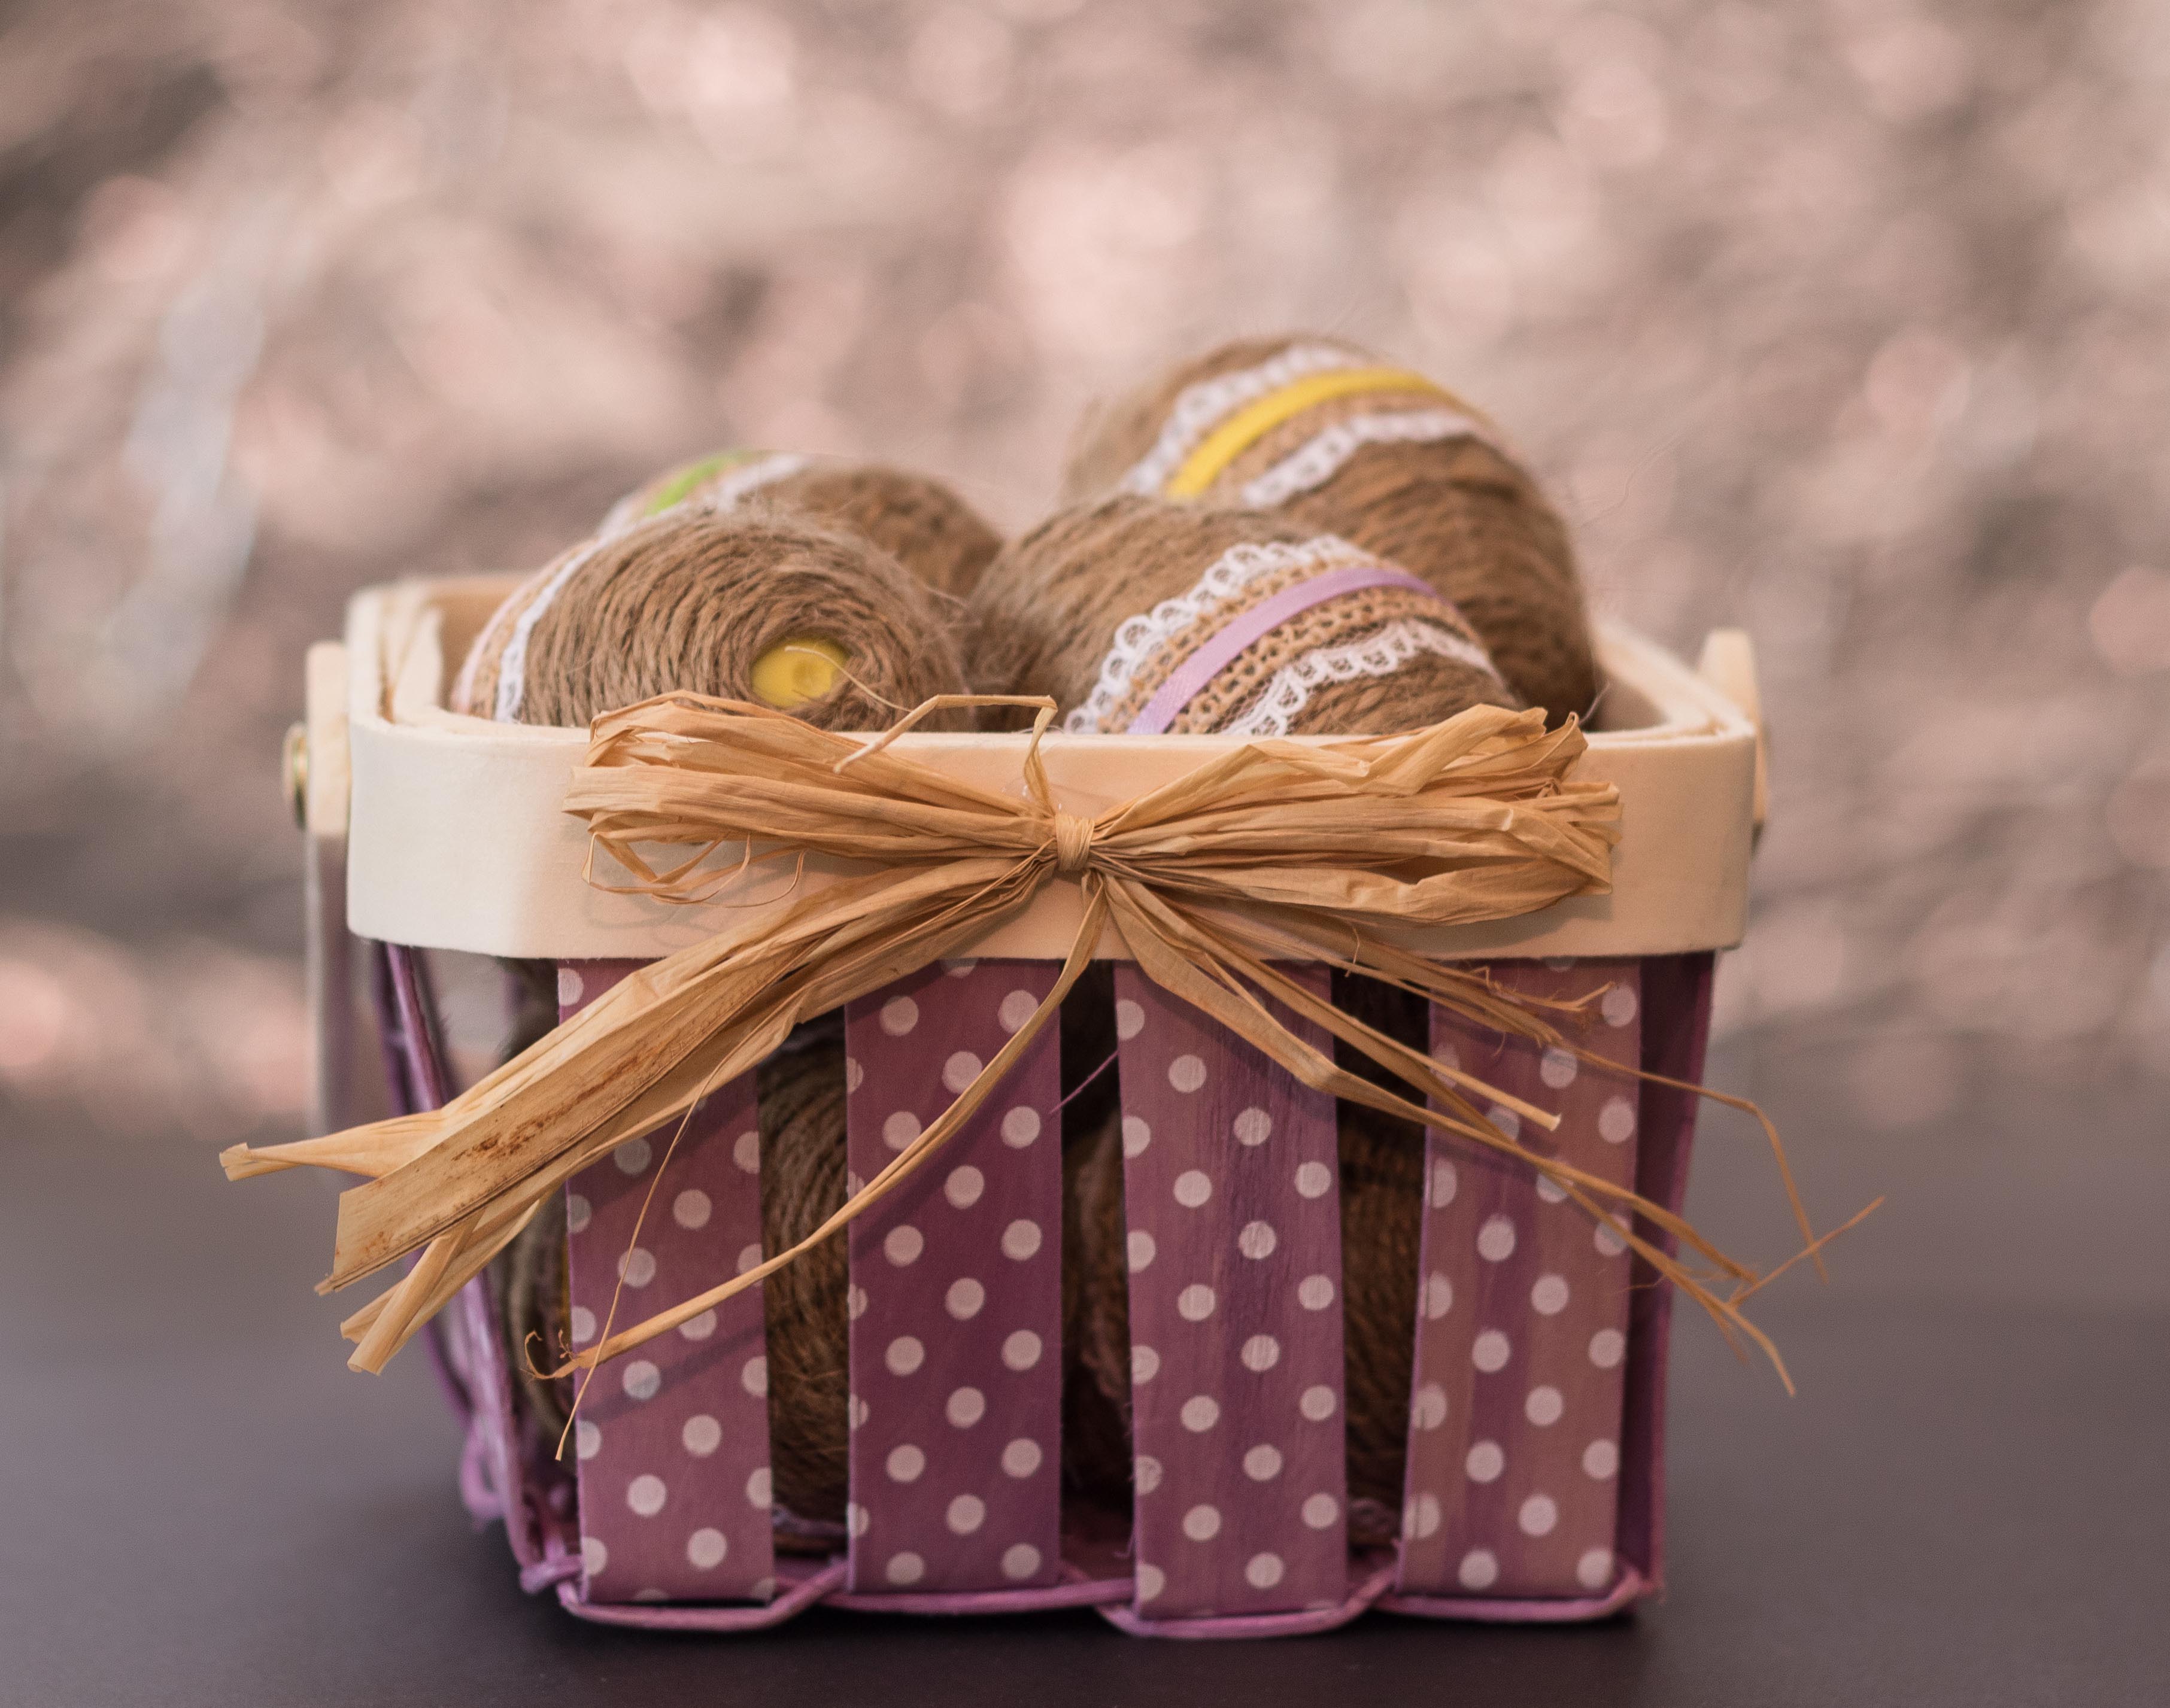
Posts with printed paper bokeh background shots: twine wrapped plastic Easter eggs | no-bake chocolate oatmeal peanut butter cookies | baked potato soup
Laptop
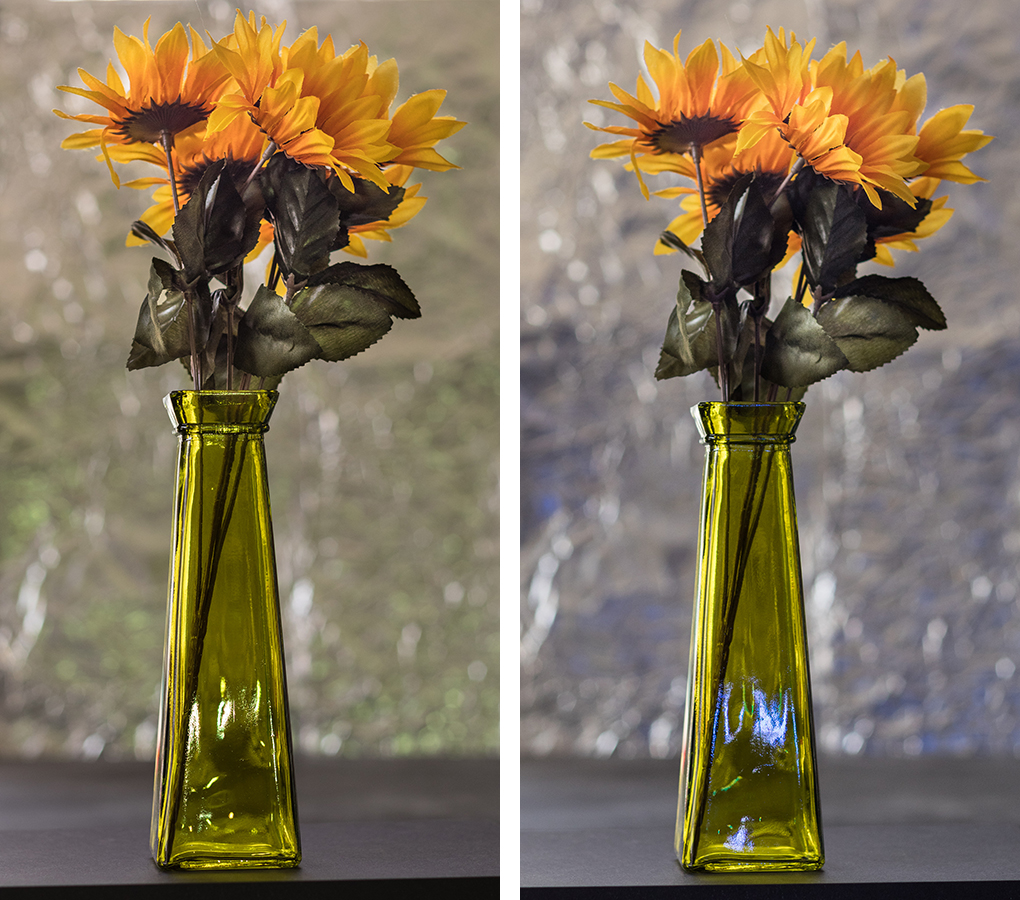
You can actually use any computer screen to create a bokeh photography background. I’ve found that it’s much easier to create a setup with a laptop. To create this image, I simply placed one of my chalked black foam core boards on top of the keyboard, and I was good to go. You’ll have to put more effort into arranging a desktop screen, so the items you’re photographing are at the right height in front of it.
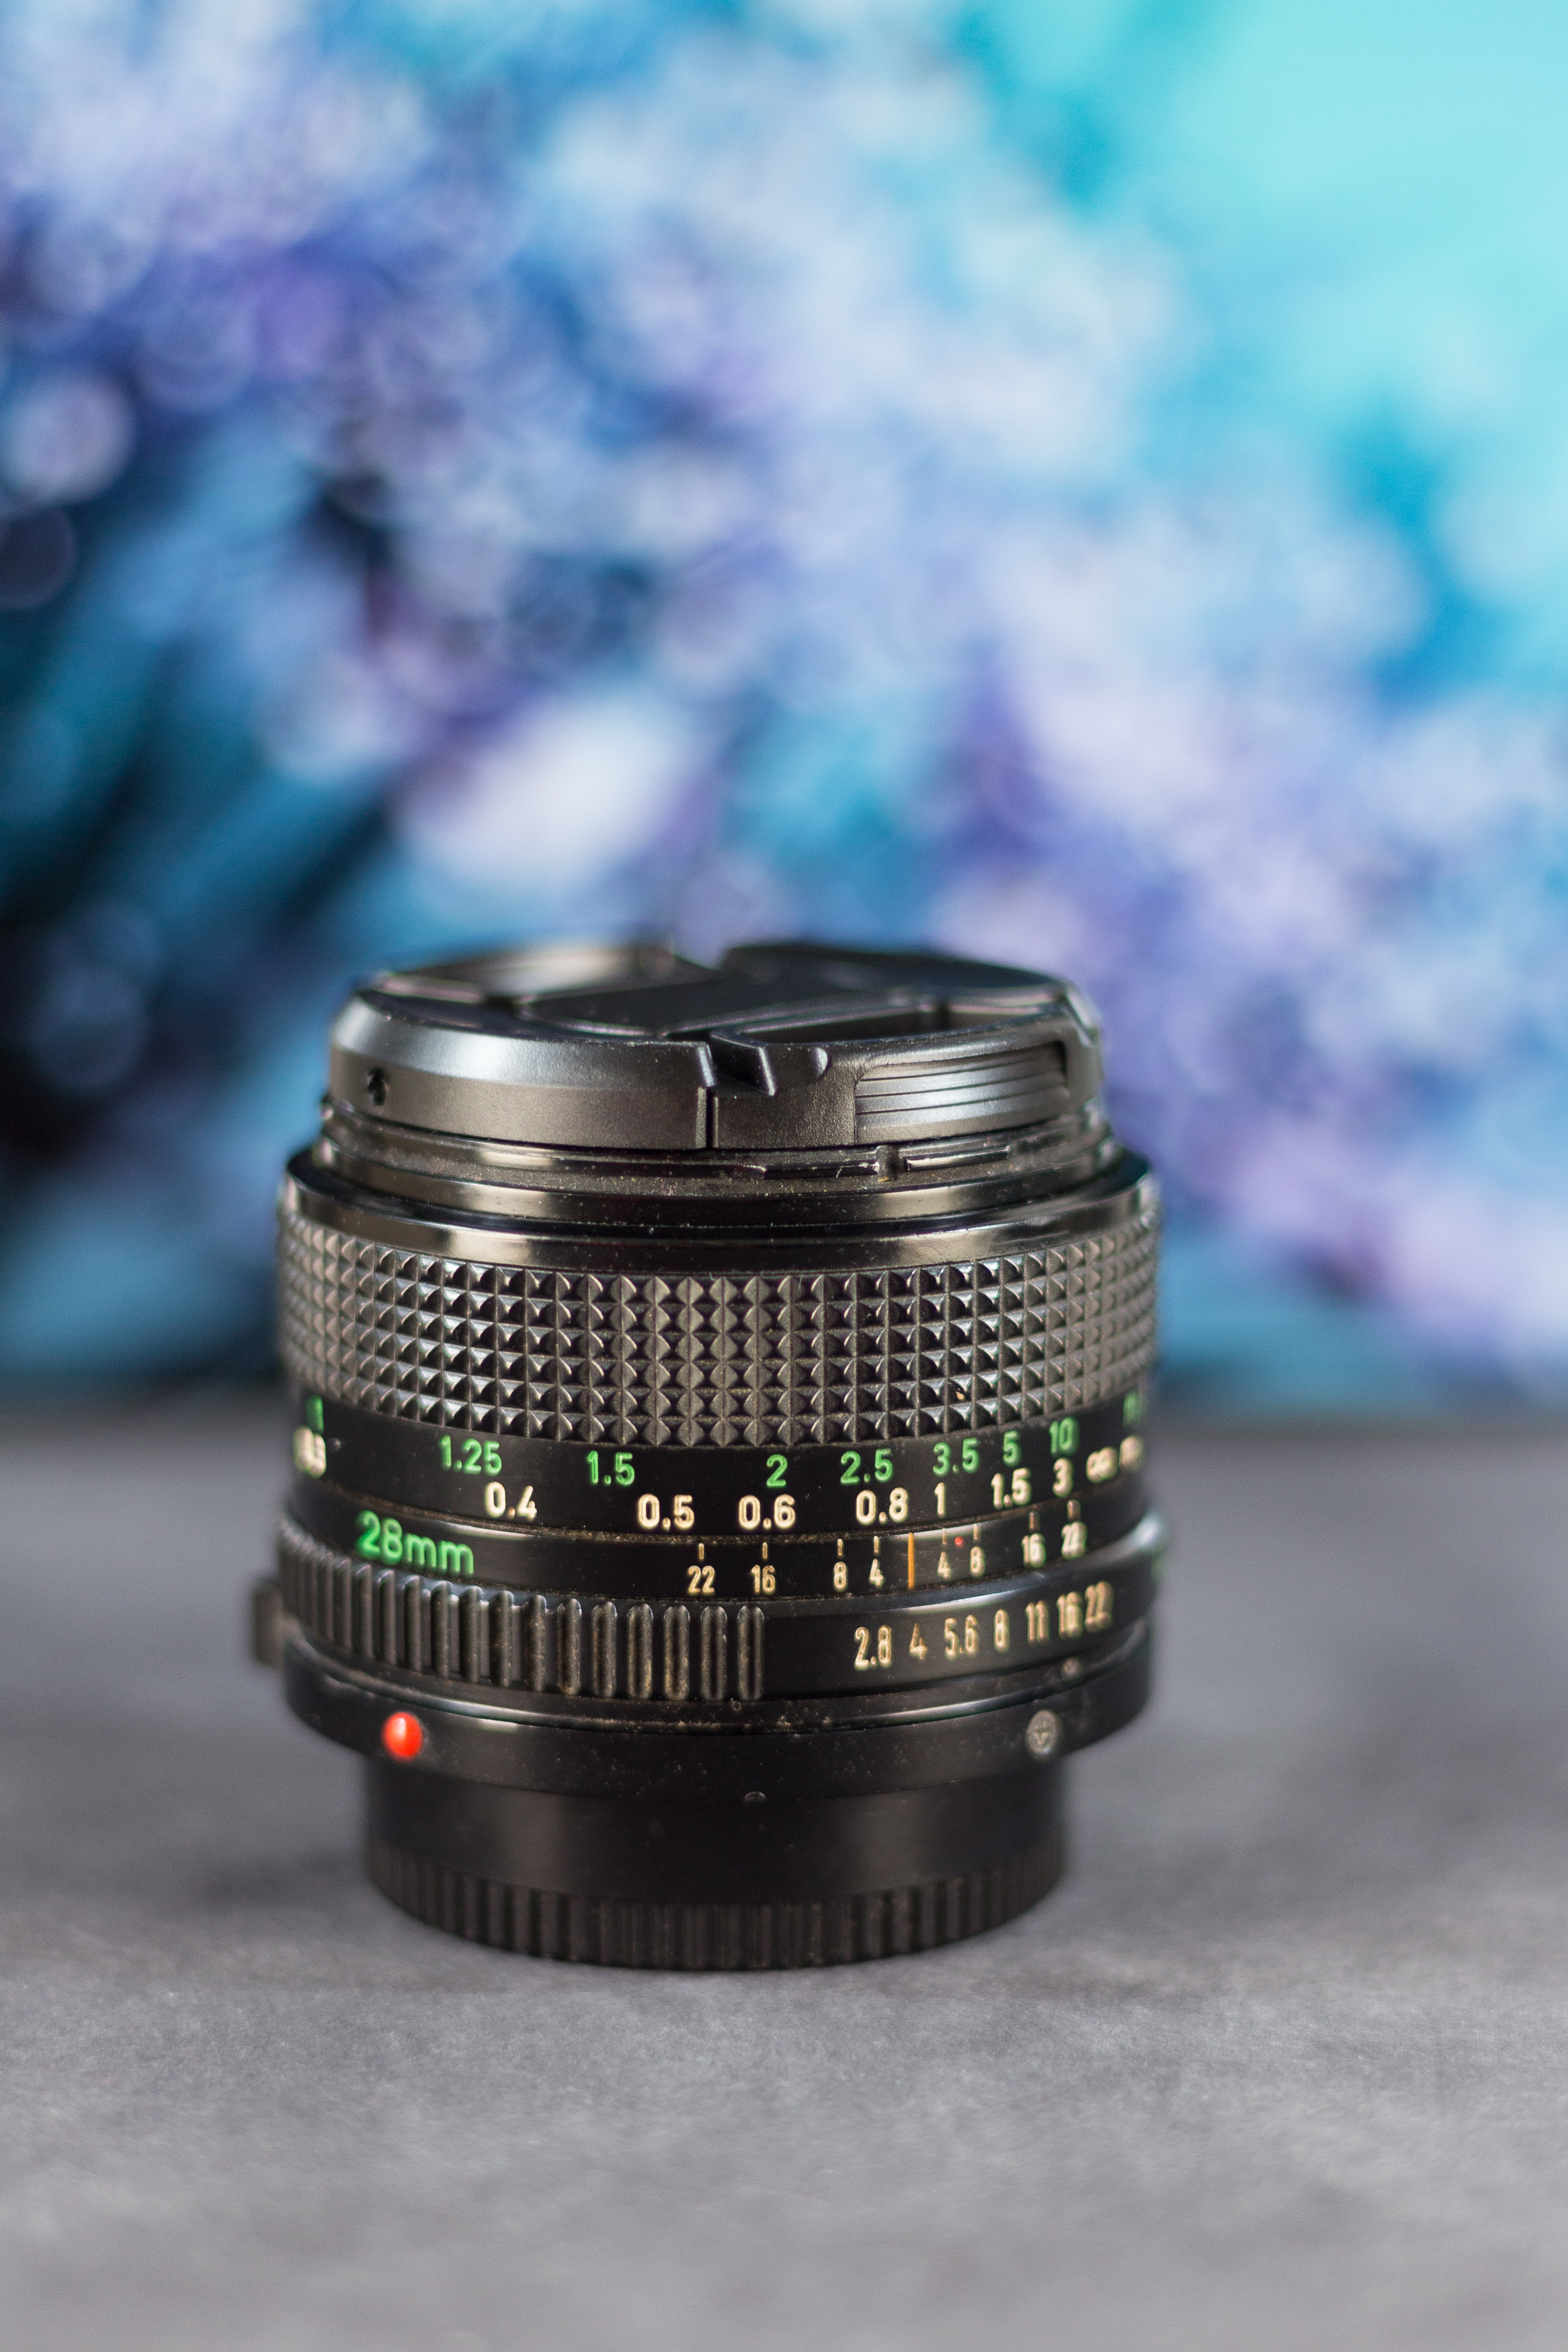
It will take a bit of effort to find a photo that produces nice bokeh and doesn’t distract from the subject. If you don’t use one of your own photos (which is fine), make sure to choose a legal photo, especially if you’ll be displaying the final image publicly (i.e. on your blog). I used this photo from Pexels (one of my favorite legal image sites) to create the image above.
Once you have an image to use as a background, open it in Windows Media Player. Press F11 or Fn + F11 to display it in full screen. When you’re finished taking pictures, press Escape to get out of full screen. Typically, I put the image I’m using for laptop bokeh into its own folder so I don’t run into issues with auto play in Windows Media Player. Windows 10 users can follow this simple tutorial to turn off auto play.
Most likely you’ll need to use another light source to illuminate your subject. The computer screen won’t provide adequate lighting. On a bright day, natural lighting may work great. Don’t be afraid to bring in an artificial light source if needed.
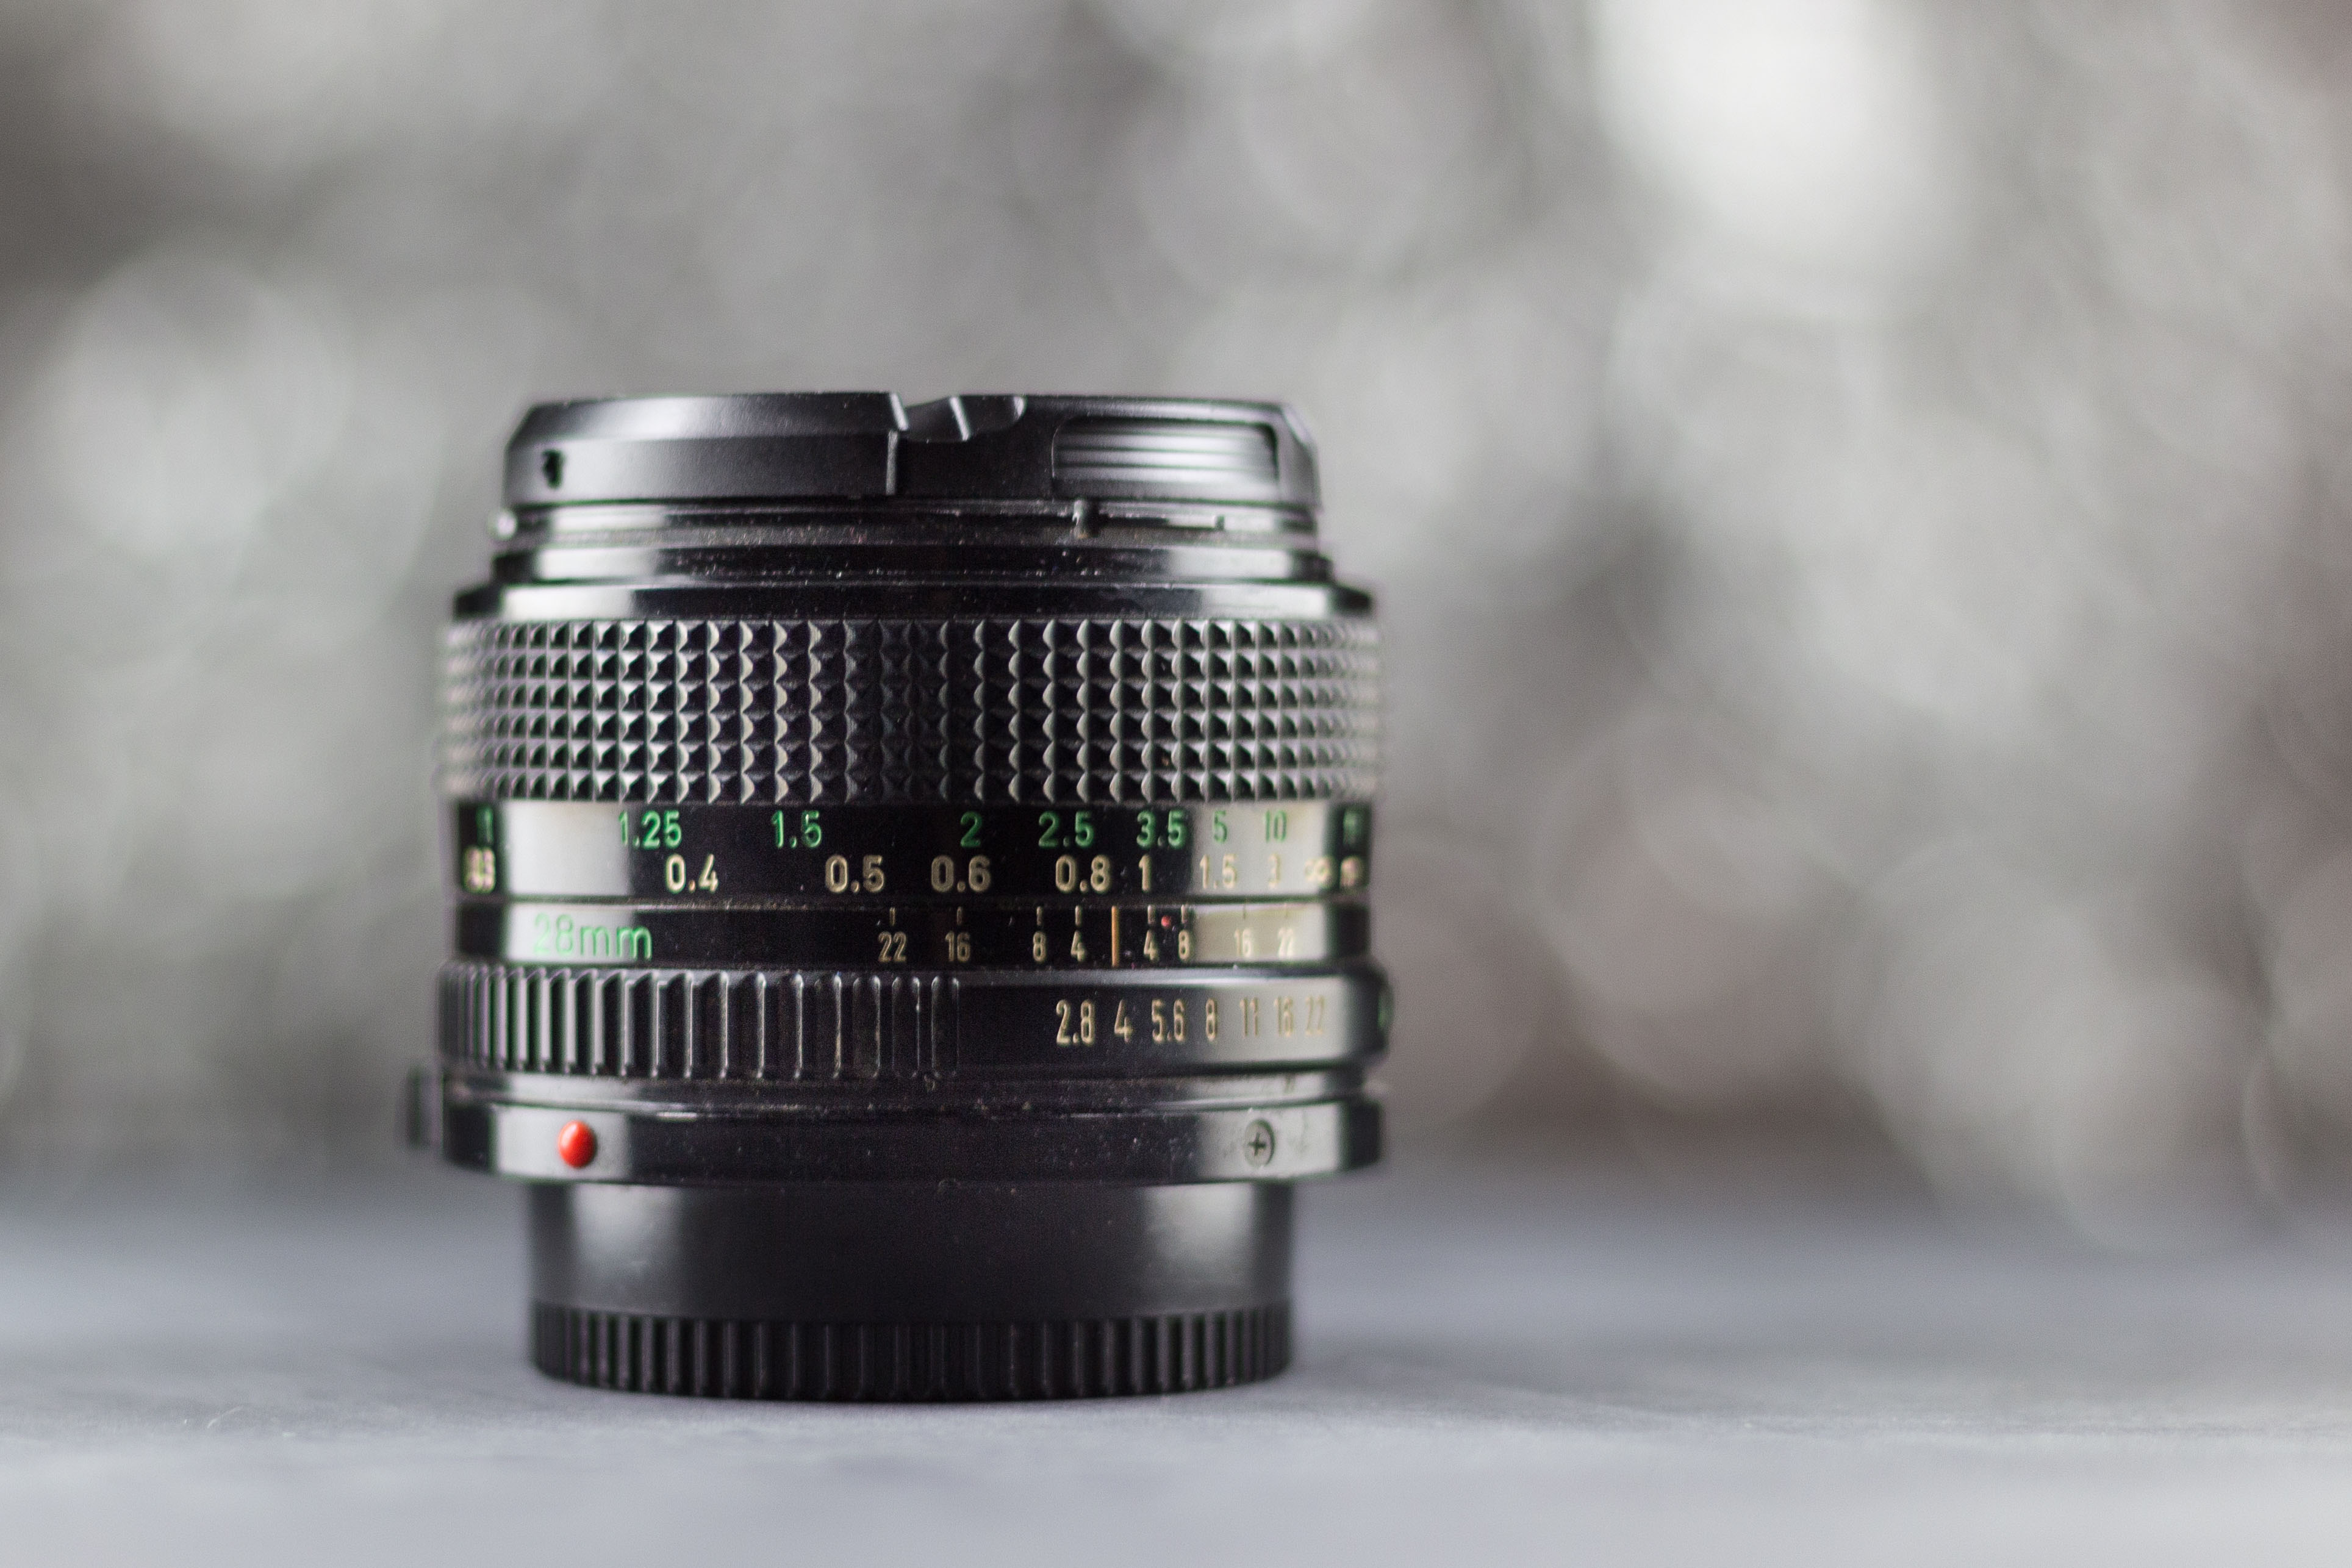
Aluminum foil
I posted a sneak peek of my aluminum foil bokeh background on Instagram a while back. Yes, I created this bokeh with ordinary aluminum foil! I covered the back side of one of my black chalk finished foam core boards with foil. It makes for a small but effective bokeh background. There are a couple tricks for creating bokeh with aluminum foil.
- Crumple your aluminum foil slightly. If the foil is too smooth or too crumpled, you won’t get nice bokeh.
- Place some distance between your subject and the foil backdrop. I explain more about my bokeh background set up in this DIY bokeh tutorial.
Aluminum foil is a great place to start because it’s so inexpensive and most likely you already have it at home. Many people also like to use silver wrapping paper. If you like this technique, I encourage you to pick up both materials and experiment with them to determine which one you like better.
One of the neat aspects of the aluminum foil backdrop is that you can change the color with a Speedlite and gel filter. (I’ve linked the Speedlite and gel filters I own. There are many other options out there as well. Please don’t feel limited to my suggestions!) Simply attach the Speedlite to your DSLR camera and add the gel filter of your choosing. You can even combine multiple filters to fine-tune the color cast. There are multiple ways to attach a gel filter to a Speedlite, all of which are pretty hack-y, which seems fitting for this post. I flip down the built-in catch light panel to secure my gel filters.
I like the smooth subtle bokeh I’ve created in the aluminum foil backdrop images I’ve created. With the right lighting on your backdrop and subject, you can create chunkier, brighter bokeh. I love bold, chunky bokeh, too. The aesthetic you’re trying to create will determine which type of bokeh works best for the shot.
[Disclaimer: There are a few affiliate links in this post. Thanks for your support!]
Do you have any favorite DIY bokeh photography backgrounds?
What other photography hacks do you use for your backdrops?
More photography resources:
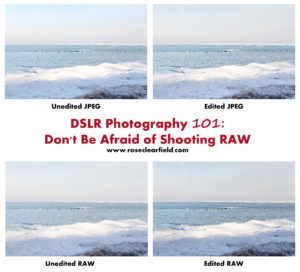
DSLR Photography 101: Don’t Be Afraid of Shooting RAW

Photography 101 for Bloggers: Take and Edit Better Photos

Why I Don’t Watermark My Photos
