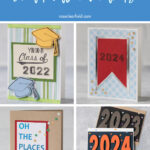
Simple DIY graduation cards add a meaningful touch to any graduation gift. They’re also perfect for gift cards and monetary gifts.
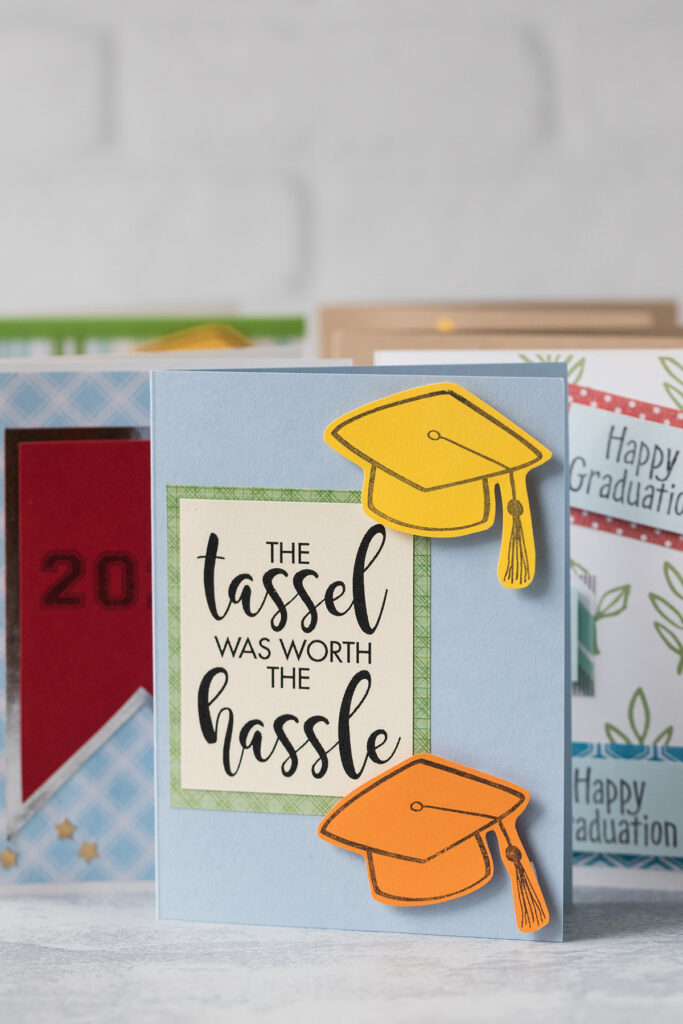
Including a homemade card with a gift adds a personalized touch for any occasion. Graduation is no exception. Handmade cards are also ideal for packaging gift cards and monetary gifts, which is perfect for graduation presents.
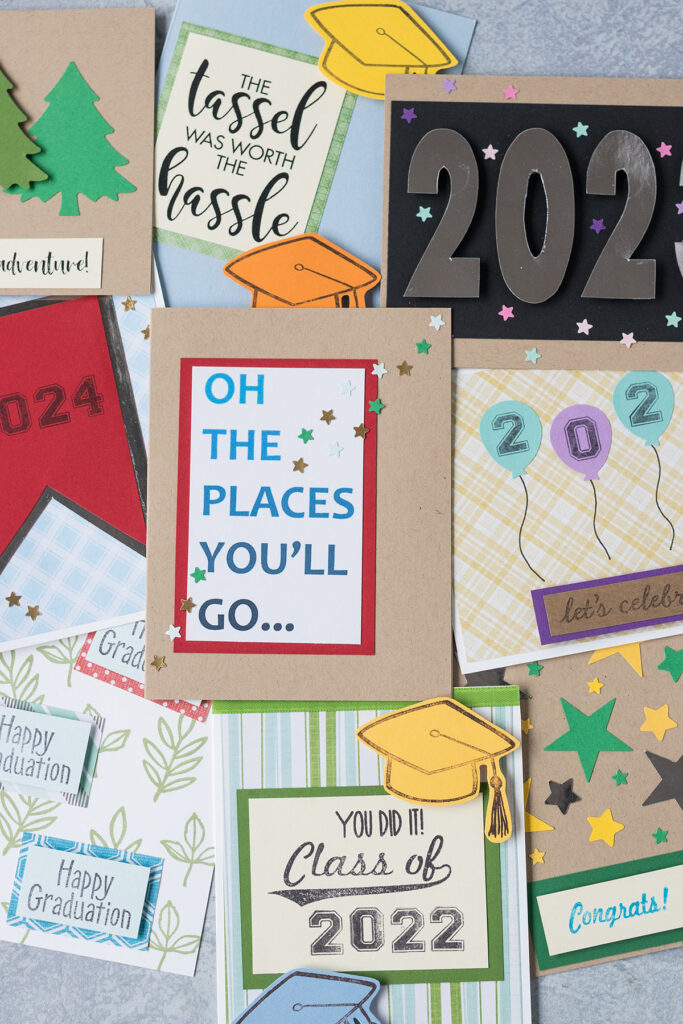
I’ve created 10 simple DIY graduation card designs with lots of classic messages and images. There are so many ways that you can personalize graduation cards for recipients’ schools and interests with different color combinations and custom details, such as hobbies, passions, and majors. The samples that I’ve created here are just a few possibilities. I’d love to see what you do with your own DIY graduation cards!
I have a post all about the basic greeting card supplies and tools that I use to create all of my graduation cards. It covers many of the materials that I mention here, such as card stock, ink pads, and a paper trimmer. There are a few specific stamps that I used for my graduation cards, which I mention below. I’ve also created a number of free printable templates to keep the card-making process as easy and stress-free as possible. I link the templates after each card.
Unless noted otherwise, I create all of my greeting card templates for A2 size cards, as it’s such a universal card size. If you’d like images or graphics for different card sizes, please let me know! I’m happy to offer templates in additional sizes.
Graduation stamps
I used The Stamps of Life set of clear graduation stamps for many of the cards. I’m very happy with the variety and quality.
Please note that it only includes one stamp for each number. So, if you’re stamping a year like 2022, you’ll have to use the same 2 stamp for each 2 in the date. You can’t make the full year 2022 on an acrylic block and stamp it all at once.
There are several designs in this set where I stamped the full year one number at a time straight across. It isn’t difficult, just requires a little more time. Practice on scrap paper first before stamping on your good card making paper.
I also used the happy graduation stamp from the Hero Arts Celebrate Everyday clear stamps set. I have used this set often for many different types of greeting cards. If you make a lot of cards, I know it will be worth the purchase for you, too.
You’ll need a set of acrylic blocks for these clear-mount stamps. They’re a good investment for anyone who is serious about making greeting cards, as most clear stamps are better quality than commercially-produced wood-mounted rubber stamps.
Tiny star punch
The other special supply that I used for my handmade graduation greeting cards is a 1/4 inch star punch. It actually comes in a set with a 1/4 heart punch. I know that it seems like sort of a niche item. But I have used these punches for so many homemade cards and other DIY projects. You’ll find yourself reaching for them often.
Large graduation year
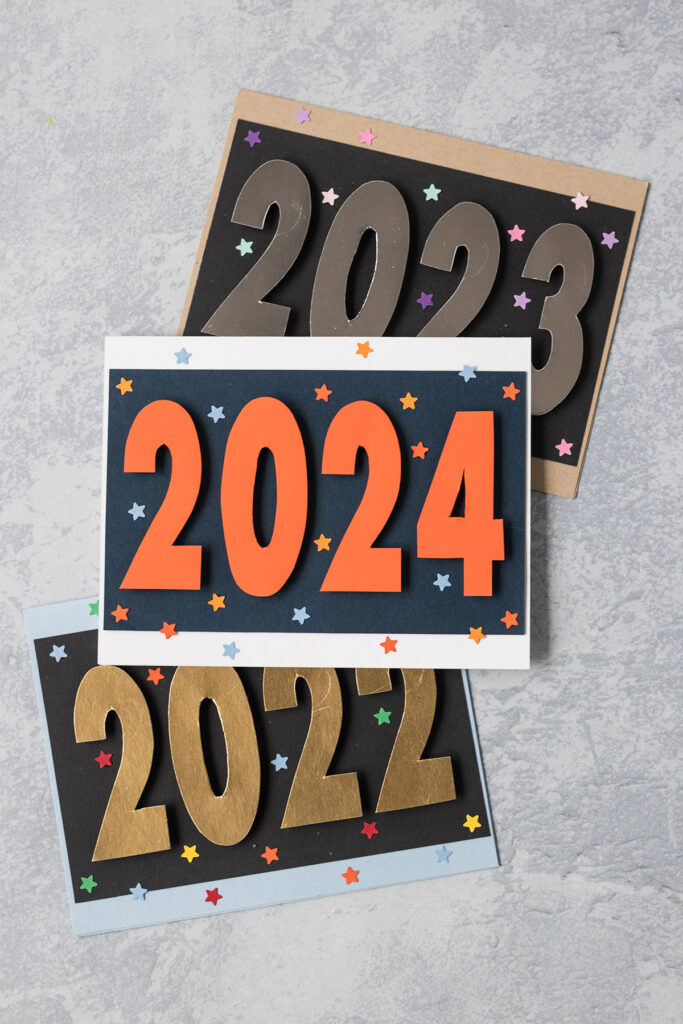
Usually I save the most fiddly design for last. But I’m starting with the design that requires printing, tracing, and cutting numbers, as it’s just such a classic concept.
Please note that one of the biggest ways that I keep my greeting card designs simple and affordable is I don’t use a die-cutting or electronic cutting machine. But you certainly can for your numbers.
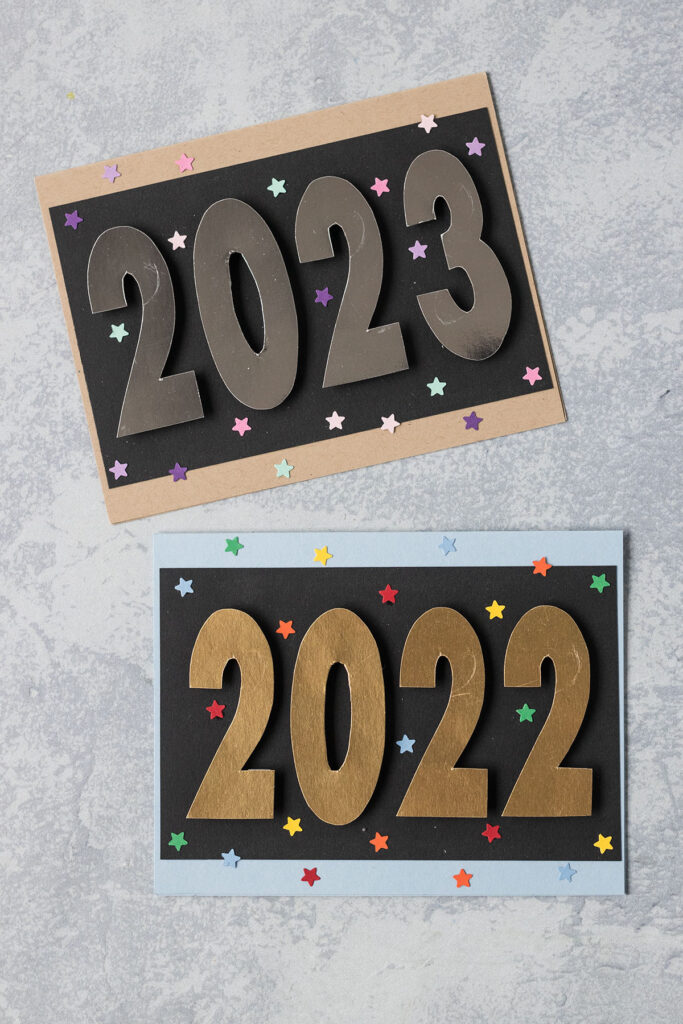
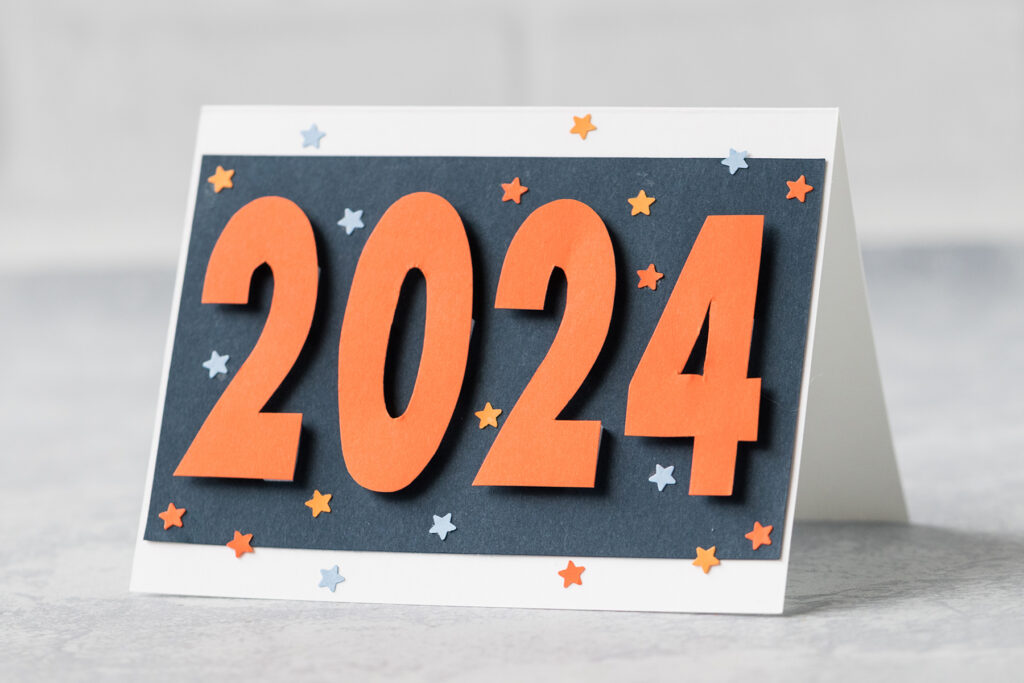
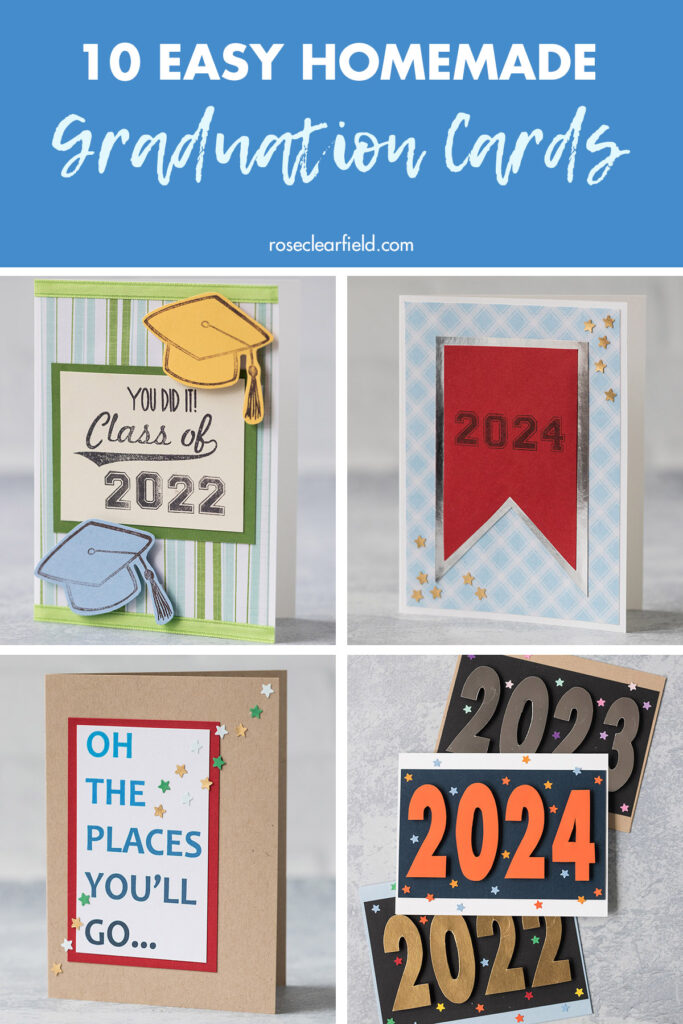
There are so many different ways that you can customize the color schemes for these large number cards. I created two versions with metallics and one version with a popular school color pairing.
To keep you set for a while, I have free printable templates for the years 2022 through 2025.
I strongly recommend printing the templates on regular printer paper and then tracing them on medium-weight cardboard. It’s much easier to trace numbers using cardboard.
Used 1/2 inch foam mount squares for the numbers and cut them in half to fit on any part of the numbers without showing.
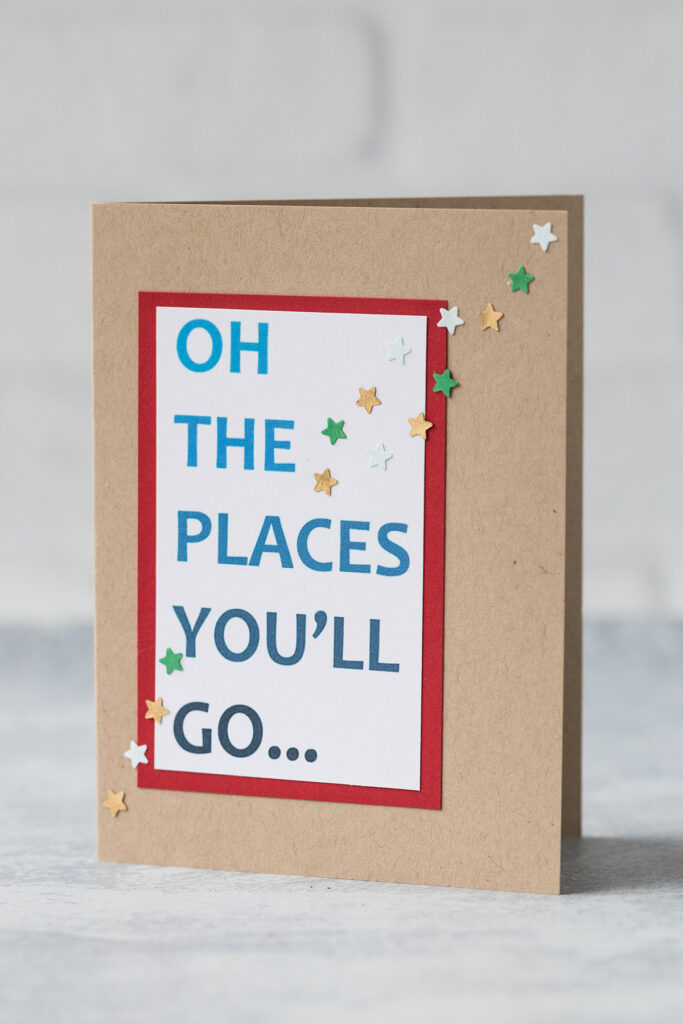
Oh the places you’ll go
“Oh, the places you’ll go” is such a timeless graduation card message. I love the blue ombre aesthetic for the words. If you’re interested in a single color or different ombre palette, please let me know! I’m happy to create additional templates.
I used a dark red layer behind “oh, the places you’ll go” and finished the design with tiny star punches in green, pale blue, and gold.
[“Oh, the places you’ll go” blue ombre A2 size]
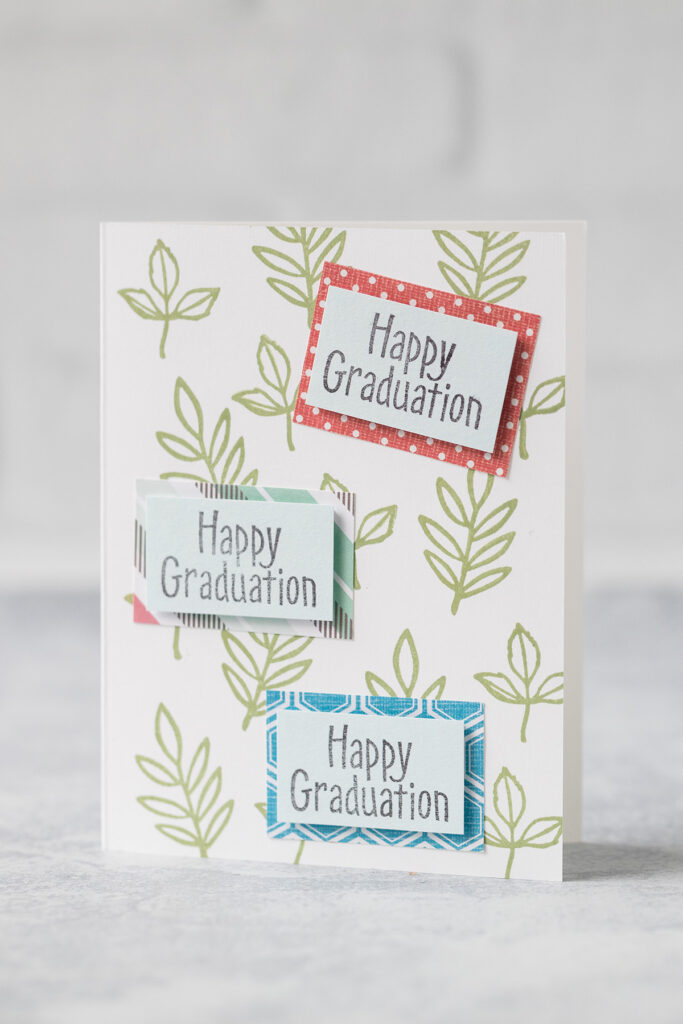
Happy graduation with leaves background
I created a leaf background using two different stamps from one of my favorite stamp shops, ModernMakerStamps. Search “olive branch” in her shop to see a similar stamp that’s currently available. I love leaves and think that they make a great background for so many different types of cards. But you can easily change up your background as you like. Then I stamped “happy graduation” three times and paired each one with a different scrapbook paper. I foam mounted the “happy graduation” messages.
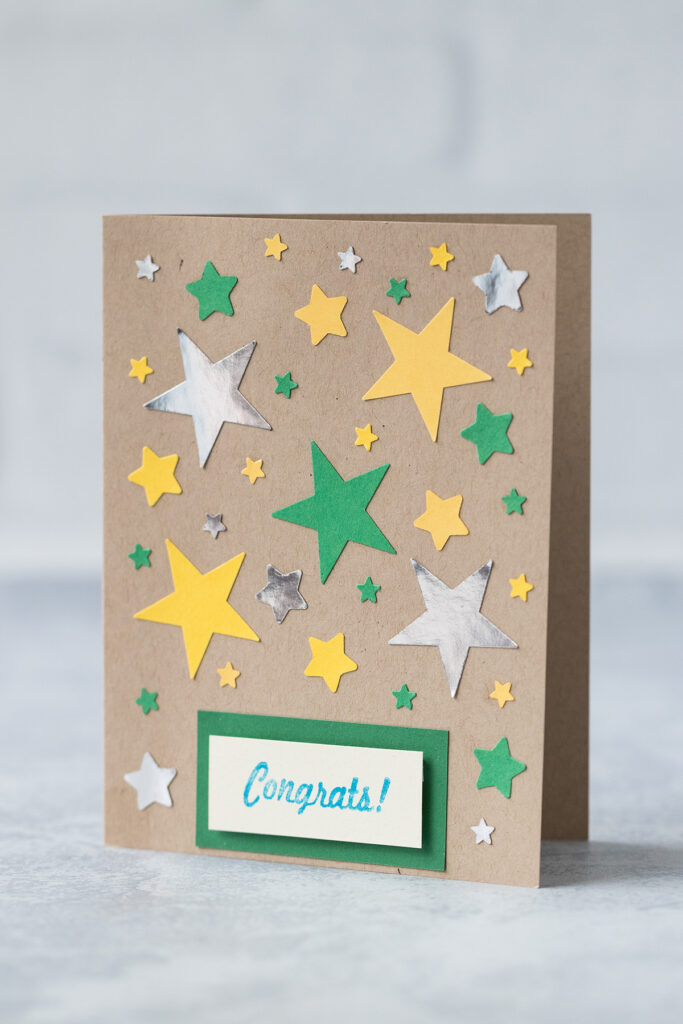
Congrats with lots of punched stars
I used three different sized star punches to create this graduation card design – the tiny punch I linked above, an approximately 1/2″ star punch (I’m linking a similar one), and a 1 1/2″ star punch. If you’re using stars less than 1″ for a craft project, I highly recommend using a punch, as it’s so quick and much less tedious. If you’re using stars larger than 1″, you may prefer to use star templates.
To create this sort of greeting card design, I punch a handful of stars and arrange them on my card. From there, I’ll decide if I need more stars or not and adjust the design accordingly.
I paired the stars with a “congrats” stamp that I foam mounted on a green background.
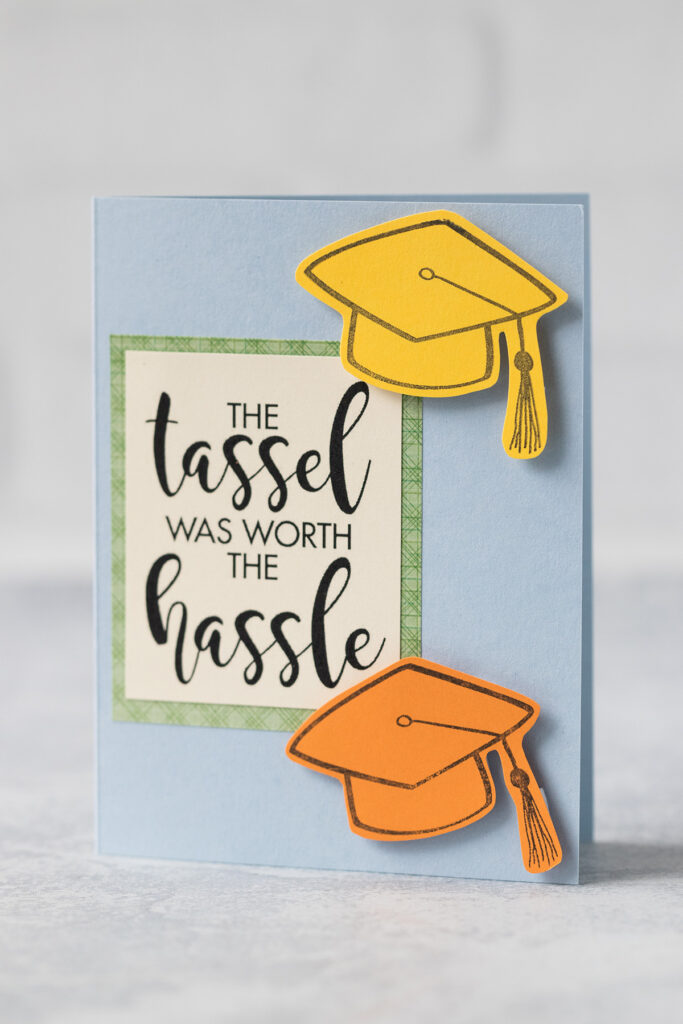
The tassel was worth the hassle
“The tassel was worth the hassle” is a little corny but so much fun for a graduation card. I used my own font combination, which I’m linking below, and paired it with a green plaid background and a couple of stamped graduation caps. I foam mounted the graduation caps. This is another greeting card design where you’ll want to cut the foam mounts in half, so they don’t show, especially on the tassel.
[“The tassel was worth the hassle” A2 size]
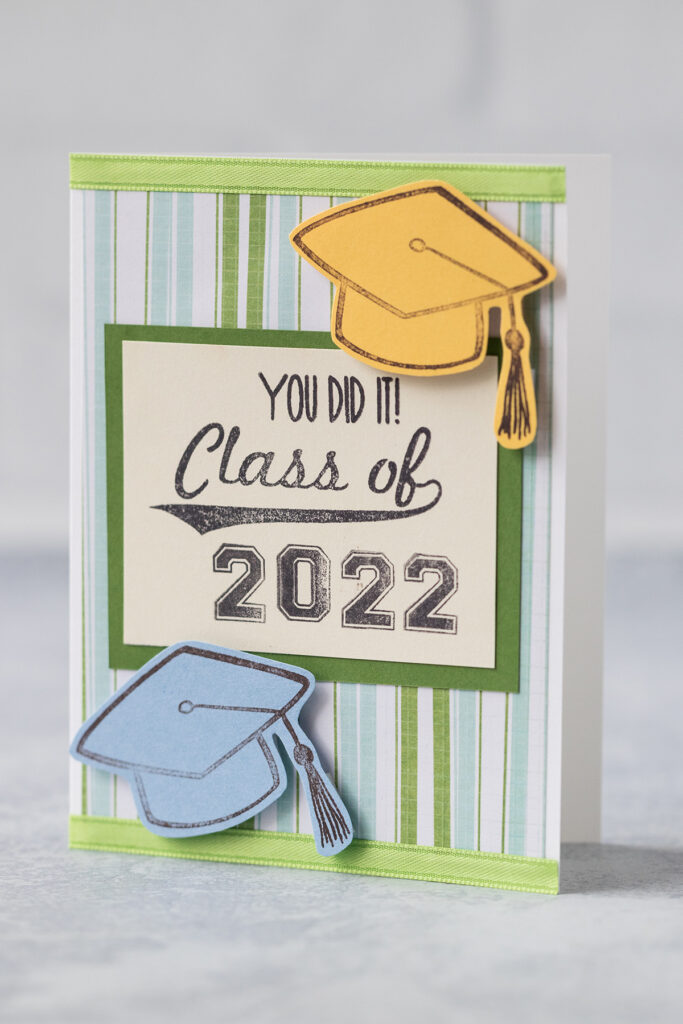
You did it class of x with graduation caps
I absolutely love the vintage aesthetic for the “class of” stamp that is part of my graduation stamps set. I paired it with the “you did it!” stamp from the same set and finished it with the numbers, also from the same set. As I mentioned at the beginning of the post when I linked the stamps, the set only includes one of each number, so you have to add the year separately at the end. I recommend practicing the stamped component on scrap paper before using your good paper for the card.
I finished the card with a couple of foam-mounted stamped graduation caps and added ribbon borders to the top and bottom of the background paper. 1/2″ width ribbon or narrower will work well here.
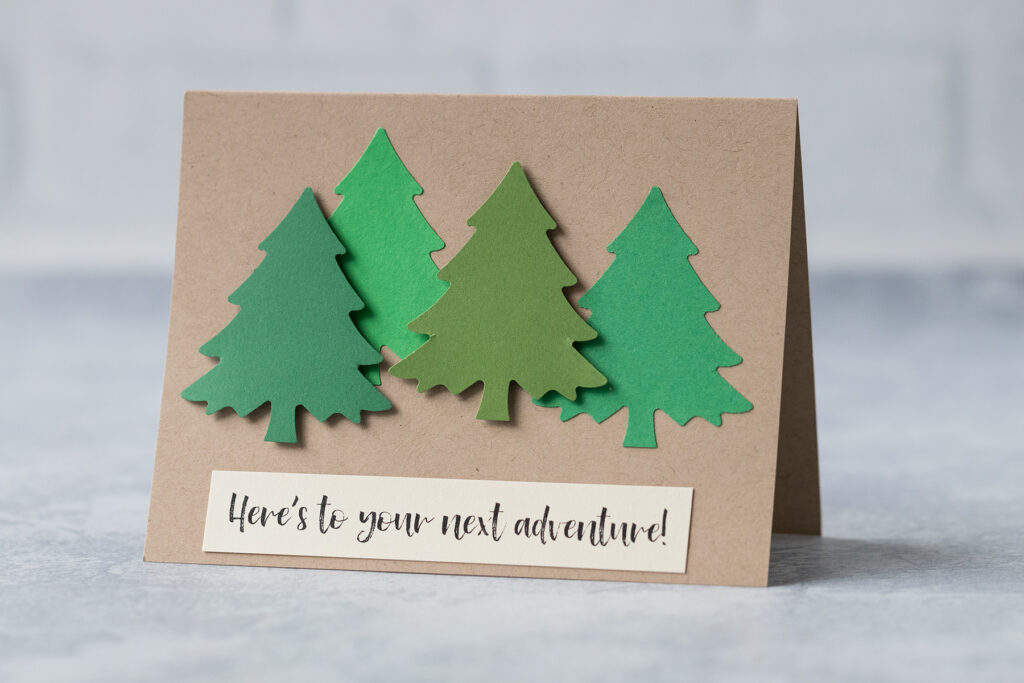
Here’s to your next adventure
I wanted to create one design in this set that was fitting for graduation but didn’t feature happy graduation, the graduation year, or school colors.
“Here’s to your next adventure” is perfect for so many different types of pursuits following graduation. I kept it simple with a set of large pine trees. You can easily customize the theme of this card for the particular recipient, for example, with a map or a specific activity. I foam mounted a couple of the pine trees to give the design a little dimension.
[“Here’s to your next adventure!” A2 size]
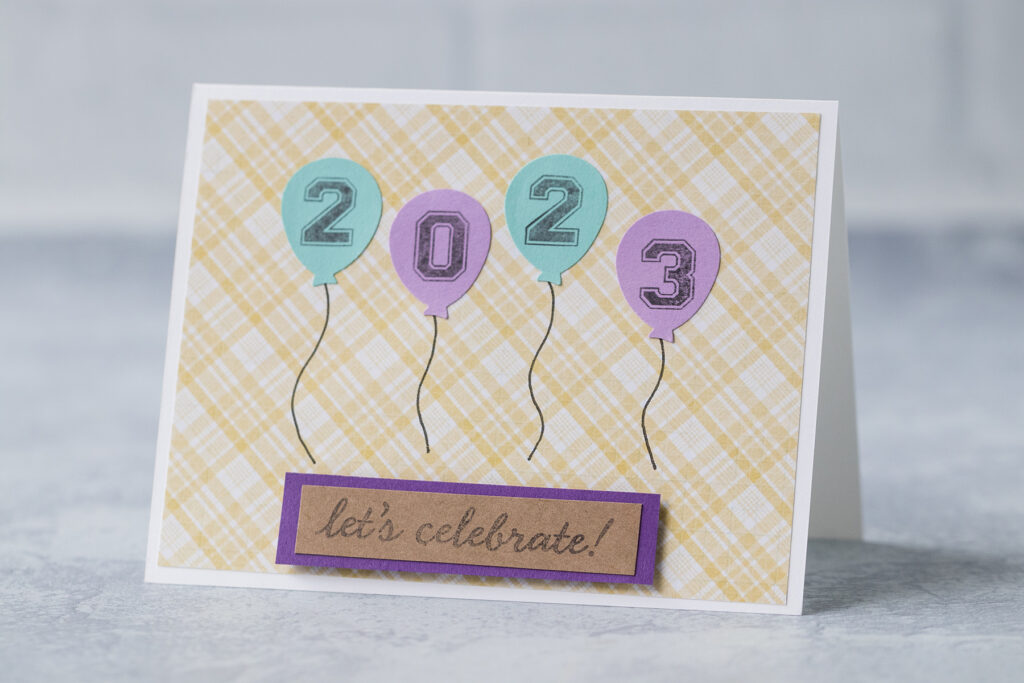
Let’s celebrate with the class year on balloons
The SlimLock medium balloon punch pairs perfectly with the numbers in my graduation stamp set. Of course, you can adjust accordingly if you own different balloon punches and/or number stamps. You can also cut out your own balloons to fit with specific number stamps. I paired the balloons with a “let’s celebrate!” stamp with a purple background layer that I foam mounted onto the yellow plaid background.
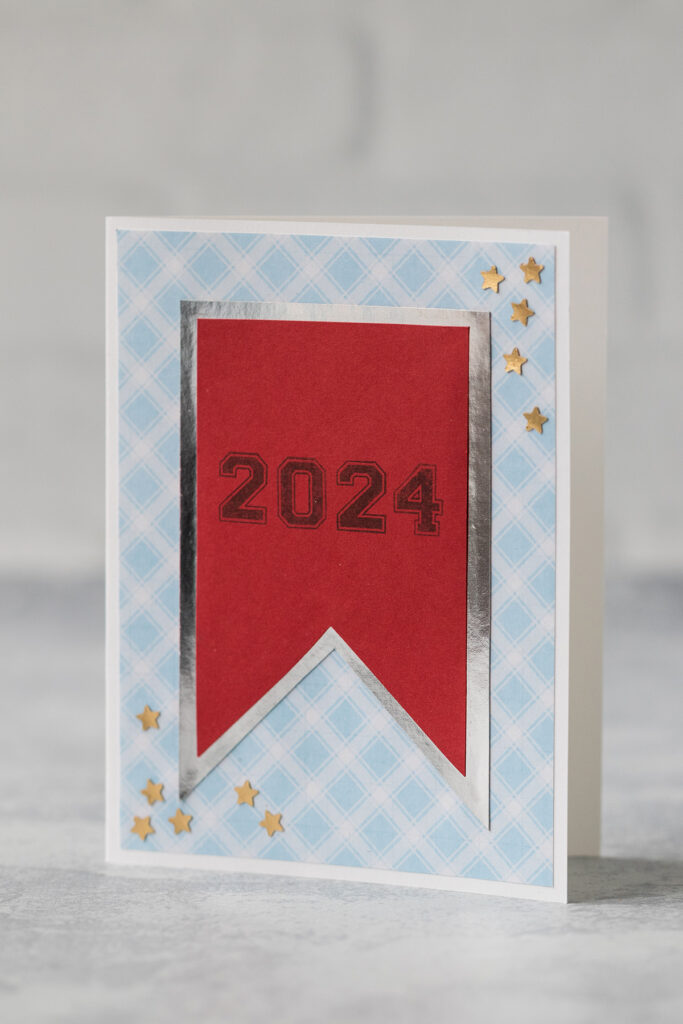
Banner with the graduation year
A swallowtail banner with the graduation year is another timeless aesthetic that will never look out of style. I used the swallowtail banner outline from Nice PNG as my guide for cutting a banner and then a background banner piece. I finished the card with a blue plaid background and tiny gold stars.
Bunting with the graduation year
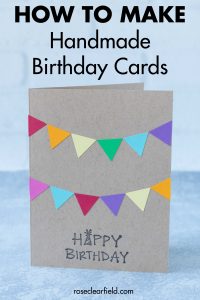
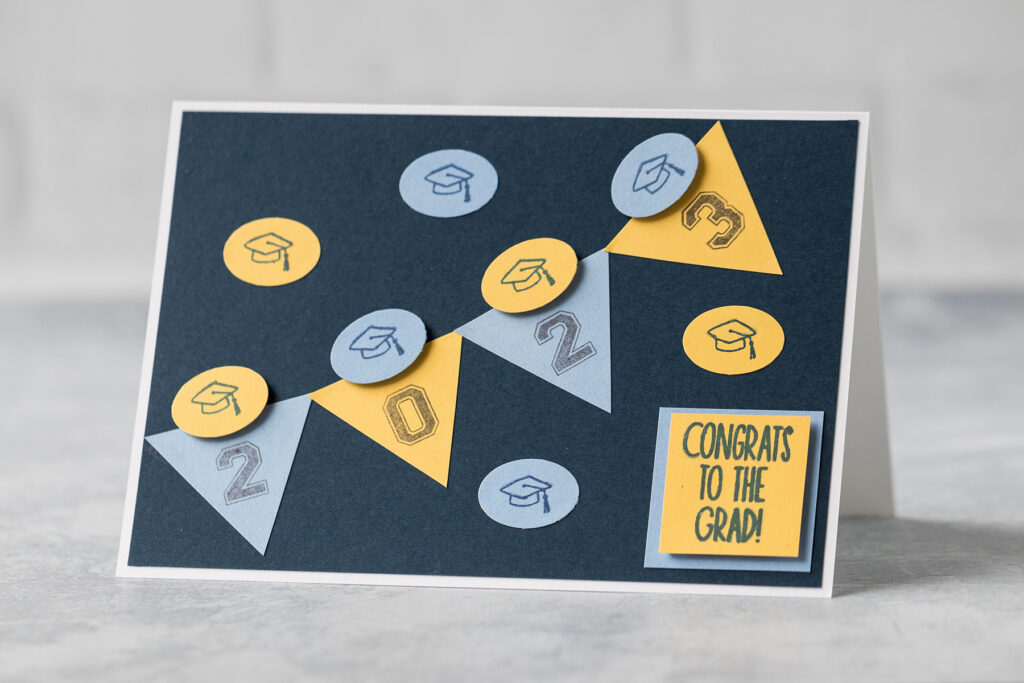
I love the bunting strung across the card look. I first used it for a birthday card and now for a graduation card. The bunting card is the only A7 card design in the set. The numbers stamped on the bunting were simply too big to fit on an A2 card. I completed the card with stamped graduation hats and a “congrats to the grad!” message. I foam mounted the graduation hats above the bunting and the “congrats to the grad!” message.
[Disclaimer: There are a few affiliate links in this post. Thanks for your support!]
Did you make one or more of the simple DIY graduation cards in this post?
I want to see them! Tag your images #RoseClearfield on Instagram or Twitter or post a photo to my Facebook page.
Pin this post for easy access to the simple DIY graduation cards later!
