I am a huge believer in creating the best photos you can with the best equipment you can afford. Learning how to take better blog photos with your phone can be a huge asset for your blog photography.
Great photography is such an important part of creating, growing, and maintaining a successful blog. Blogging is extremely competitive with hundreds of individuals launching new blogs each month. Creating stunning images that reflect your brand is critical for setting yourself apart from the crowd.
It’s easy to get overwhelmed browsing successful blogs and think you’ll never take pictures anywhere near that good. I see so many bloggers who give up on the notion completely and resort to one of two strategies.
Getting by with the same mediocre smartphone or auto mode DSLR shots they’ve been using for months or even years.
Relying exclusively or nearly exclusively on generic stock photos.
Poor quality or average photos don’t cut it. I know it sounds harsh, but it’s true. And turning to stock photography, even really good stock photography, isn’t the answer.
But my photography is terrible. I’m paying to use high-quality stock photos. Why isn’t that a good strategy?
An occasional stock photo on a blog is okay. But you’re not creating your own brand by adding the same 3-4 fonts and colors to stock images for all of your blog posts. Again, I know a lot of people don’t want to hear this strategy isn’t a good move. I think the following examples will drive home the importance of using your own, high-quality photos to build your blogging brand.
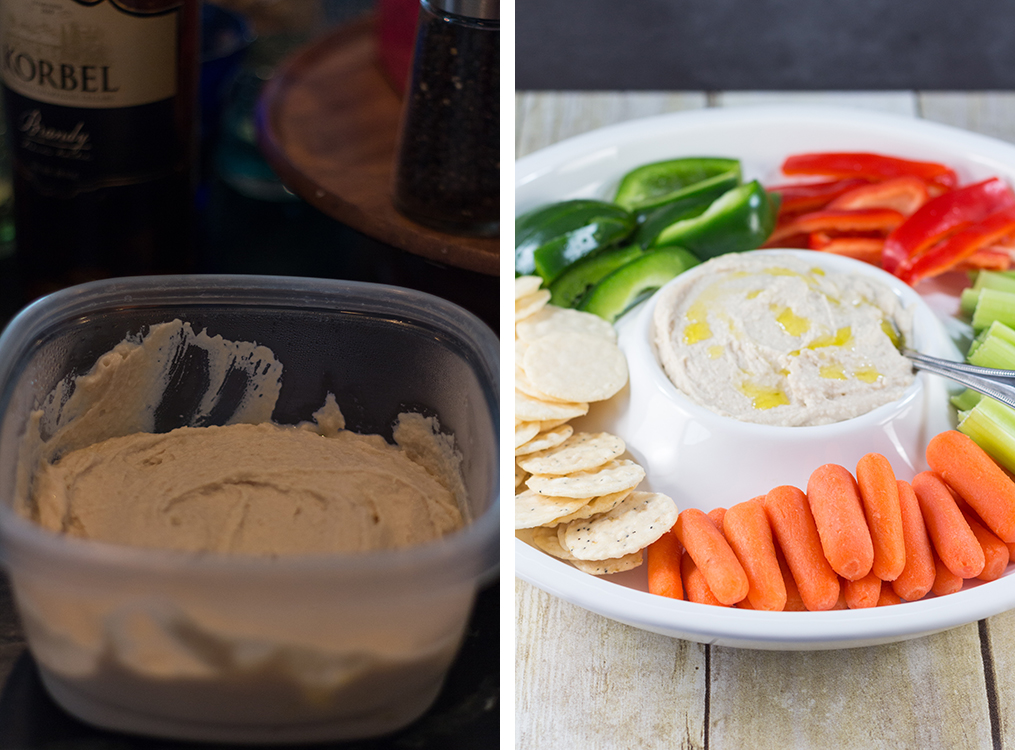
The first photo is a quick shot of homemade hummus, straight out of the camera. I used a DSLR camera. Case in point that the camera doesn’t take good pictures. The hummus is in a Tupperware container in unflattering yellow kitchen lighting. There are several distracting elements in the background. The second photo is a shot of the same homemade hummus. Yes, the exact same batch of hummus. And I used the same DSLR camera. The hummus is in a chip and dip platter, surrounded by sliced veggies and crackers. I added a spoon and drizzle of olive oil to give the shot a more polished, professional aesthetic. I also took the second photo with artificial natural daylight bulbs so it’s well lit with flattering light.
Anyone can take the first photo. It’s mediocre at best, and it will never get noticed among the competition. The second image is strong with a great composition, good lighting, and lots of detail. It will stand out on Pinterest, Instagram, and Yummly.
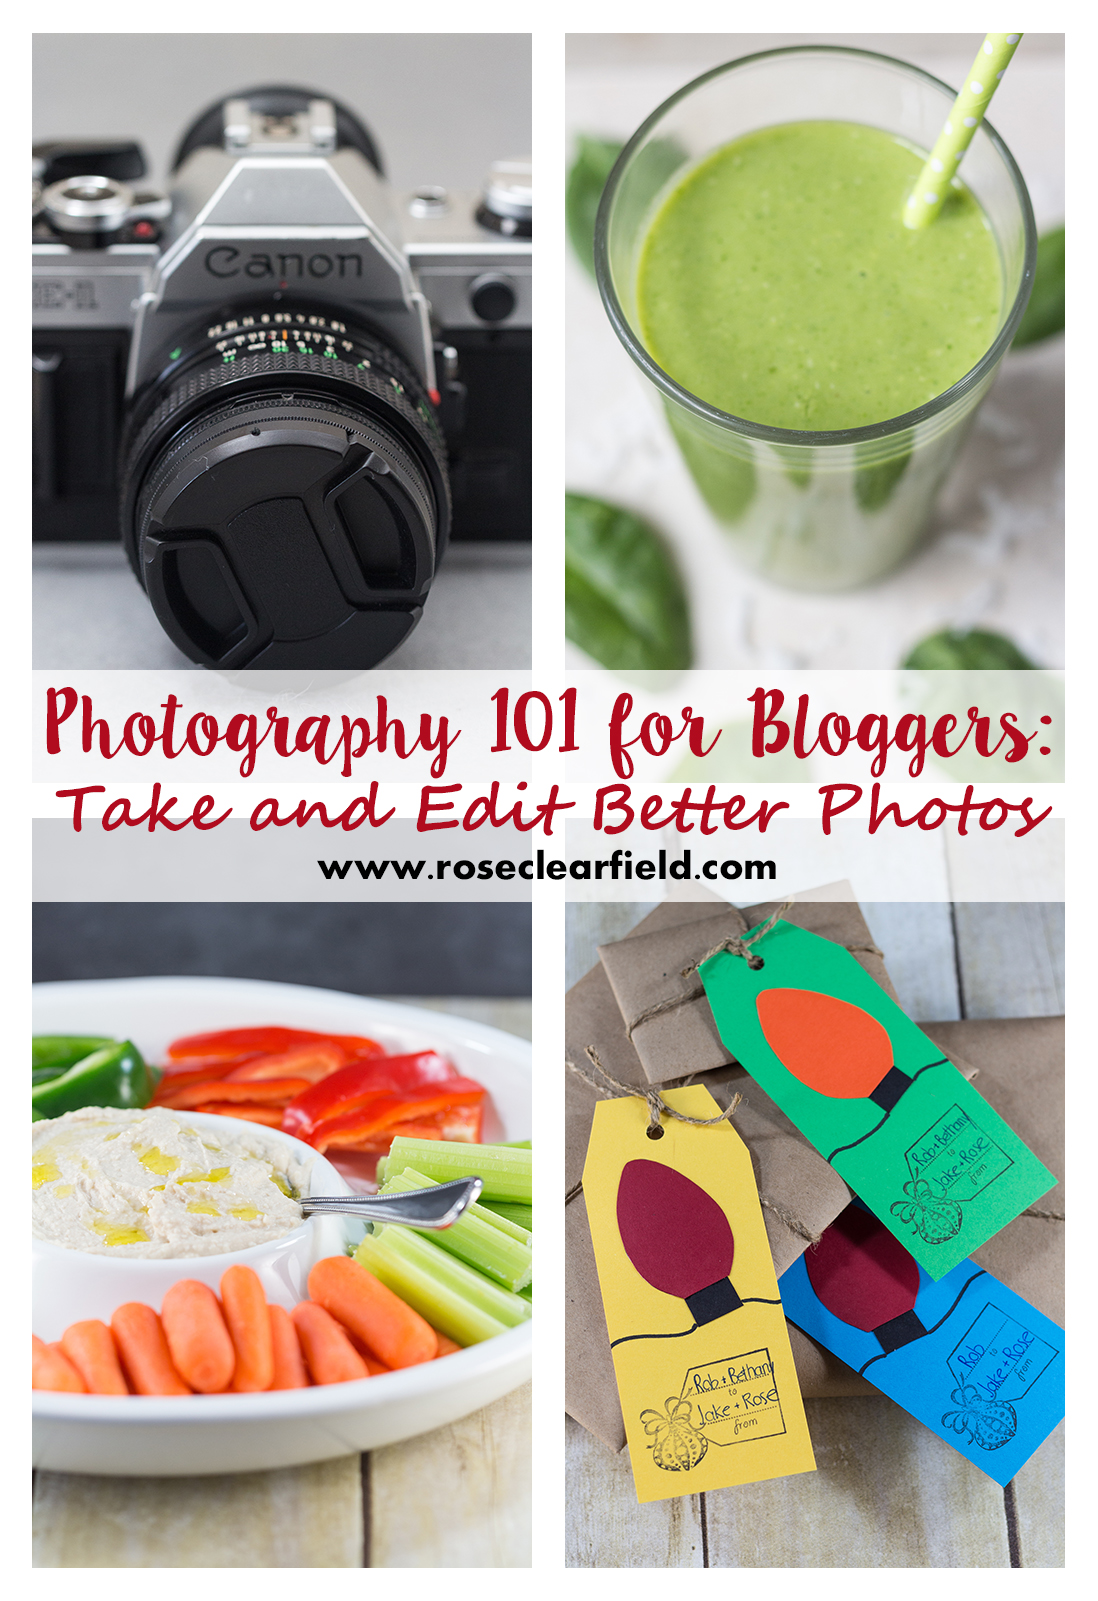
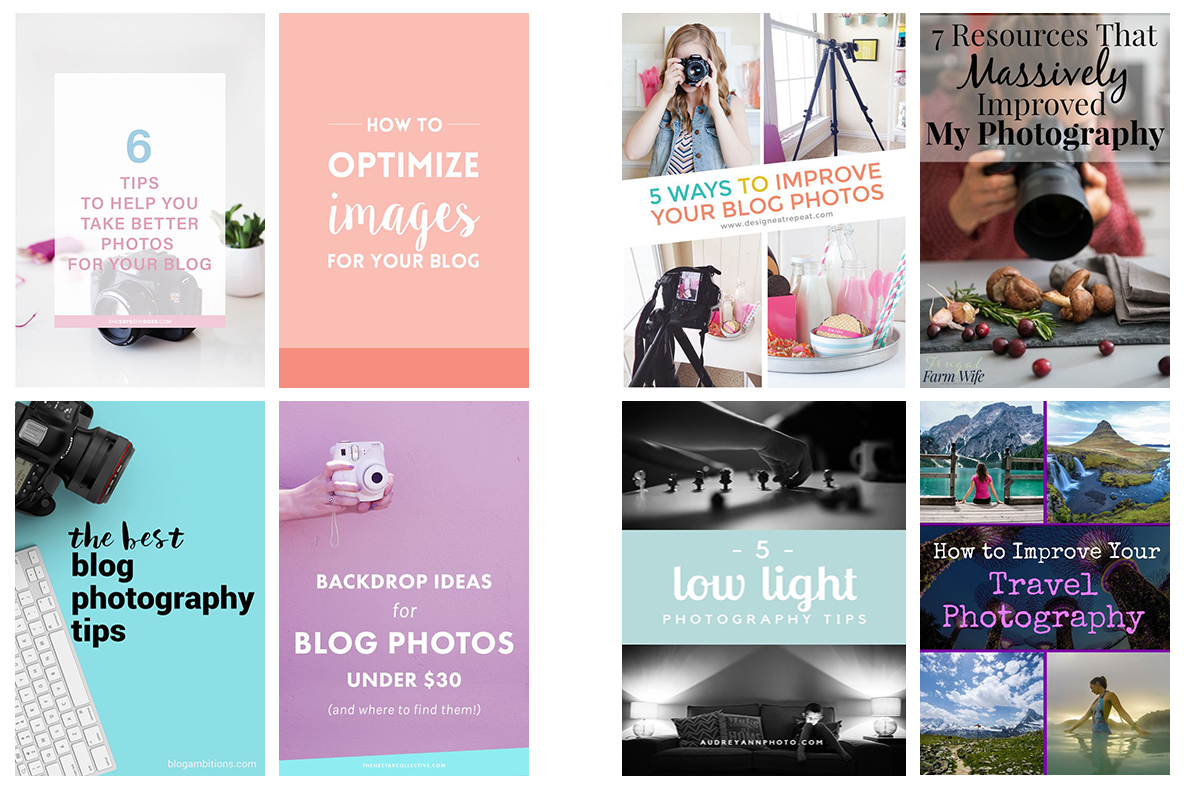
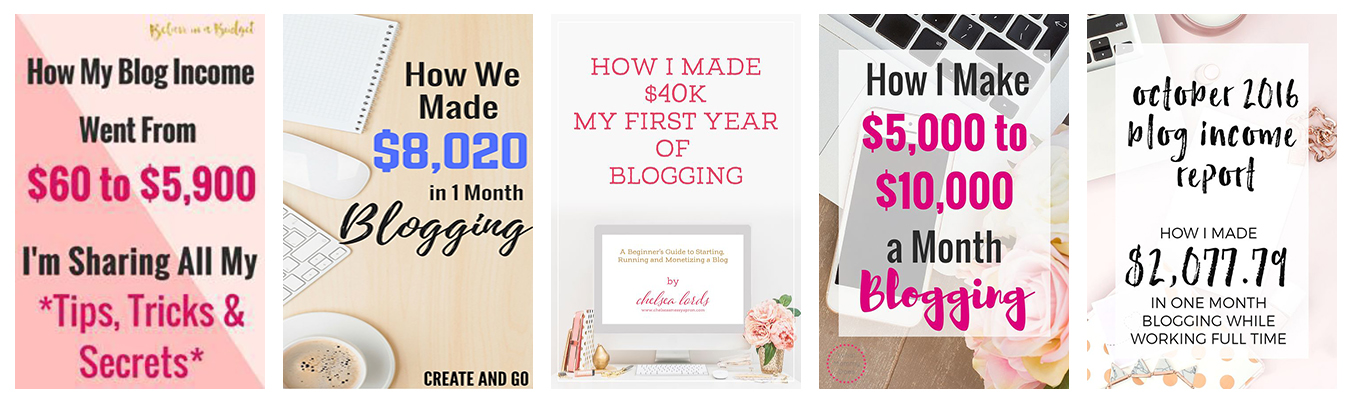
The above photos are header images bloggers have created for posts about improving your photography. The photos on the left are header images using stock photography or what might as well be stock photography because it’s so generic. Anyone could have created the images on the left. They give me no confidence in the bloggers’ photography skills. They also provide zero clues about the blogger or the brand of the specific blog. The photos on the right are header images using the bloggers’ own photos. All of these graphics are well branded without being obnoxious and feature high-quality images the bloggers shot and edited themselves.
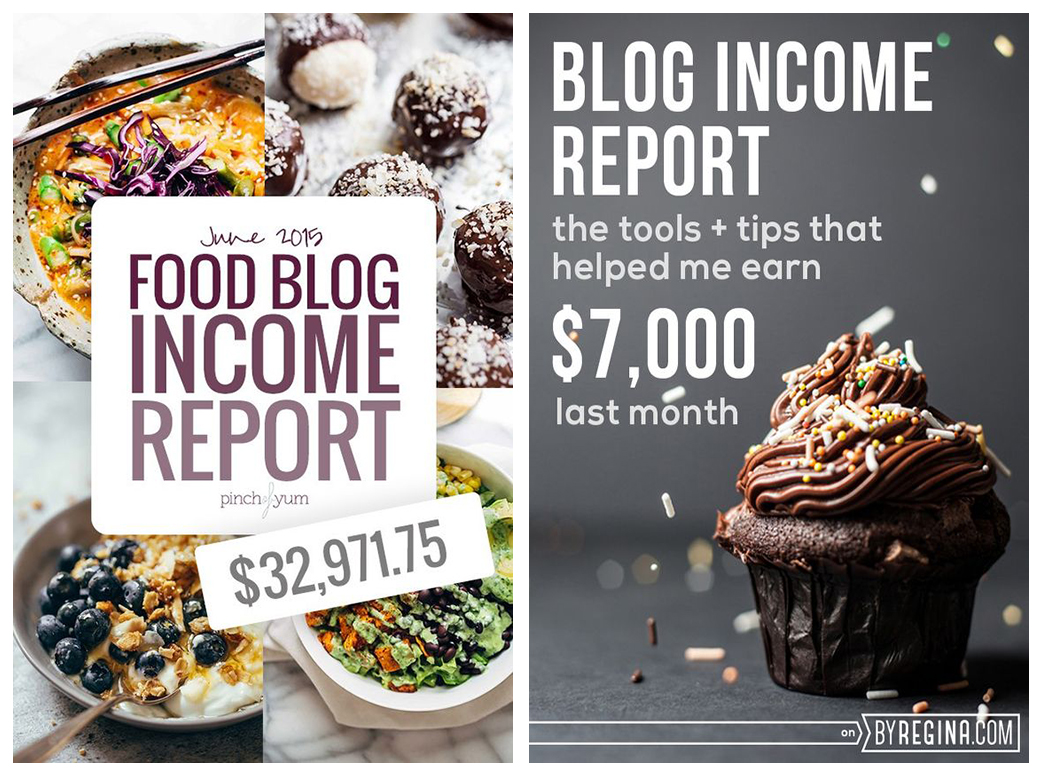
My final example is header images for blog income reports. The upper images are strong headers that represent the blogs’ styles accurately. The lower images are just a few of the hundreds of stock images with text bloggers have used for their income reports. I sorted through 100 images on Pinterest to find the two strong examples. Learning to create these types of images is huge for your blog brand.
I’m not a photography expert or an expert in blog photography or blog branding. I don’t pretend to have all the answers about photography or to create the most amazing blogging images. I’m still learning so much and know there are so many photographers who blow everything I do out of the water. But I’ve learned a lot about taking and editing photos and have made a few key purchases, all of which has helped me take my photography skills to where they are today.
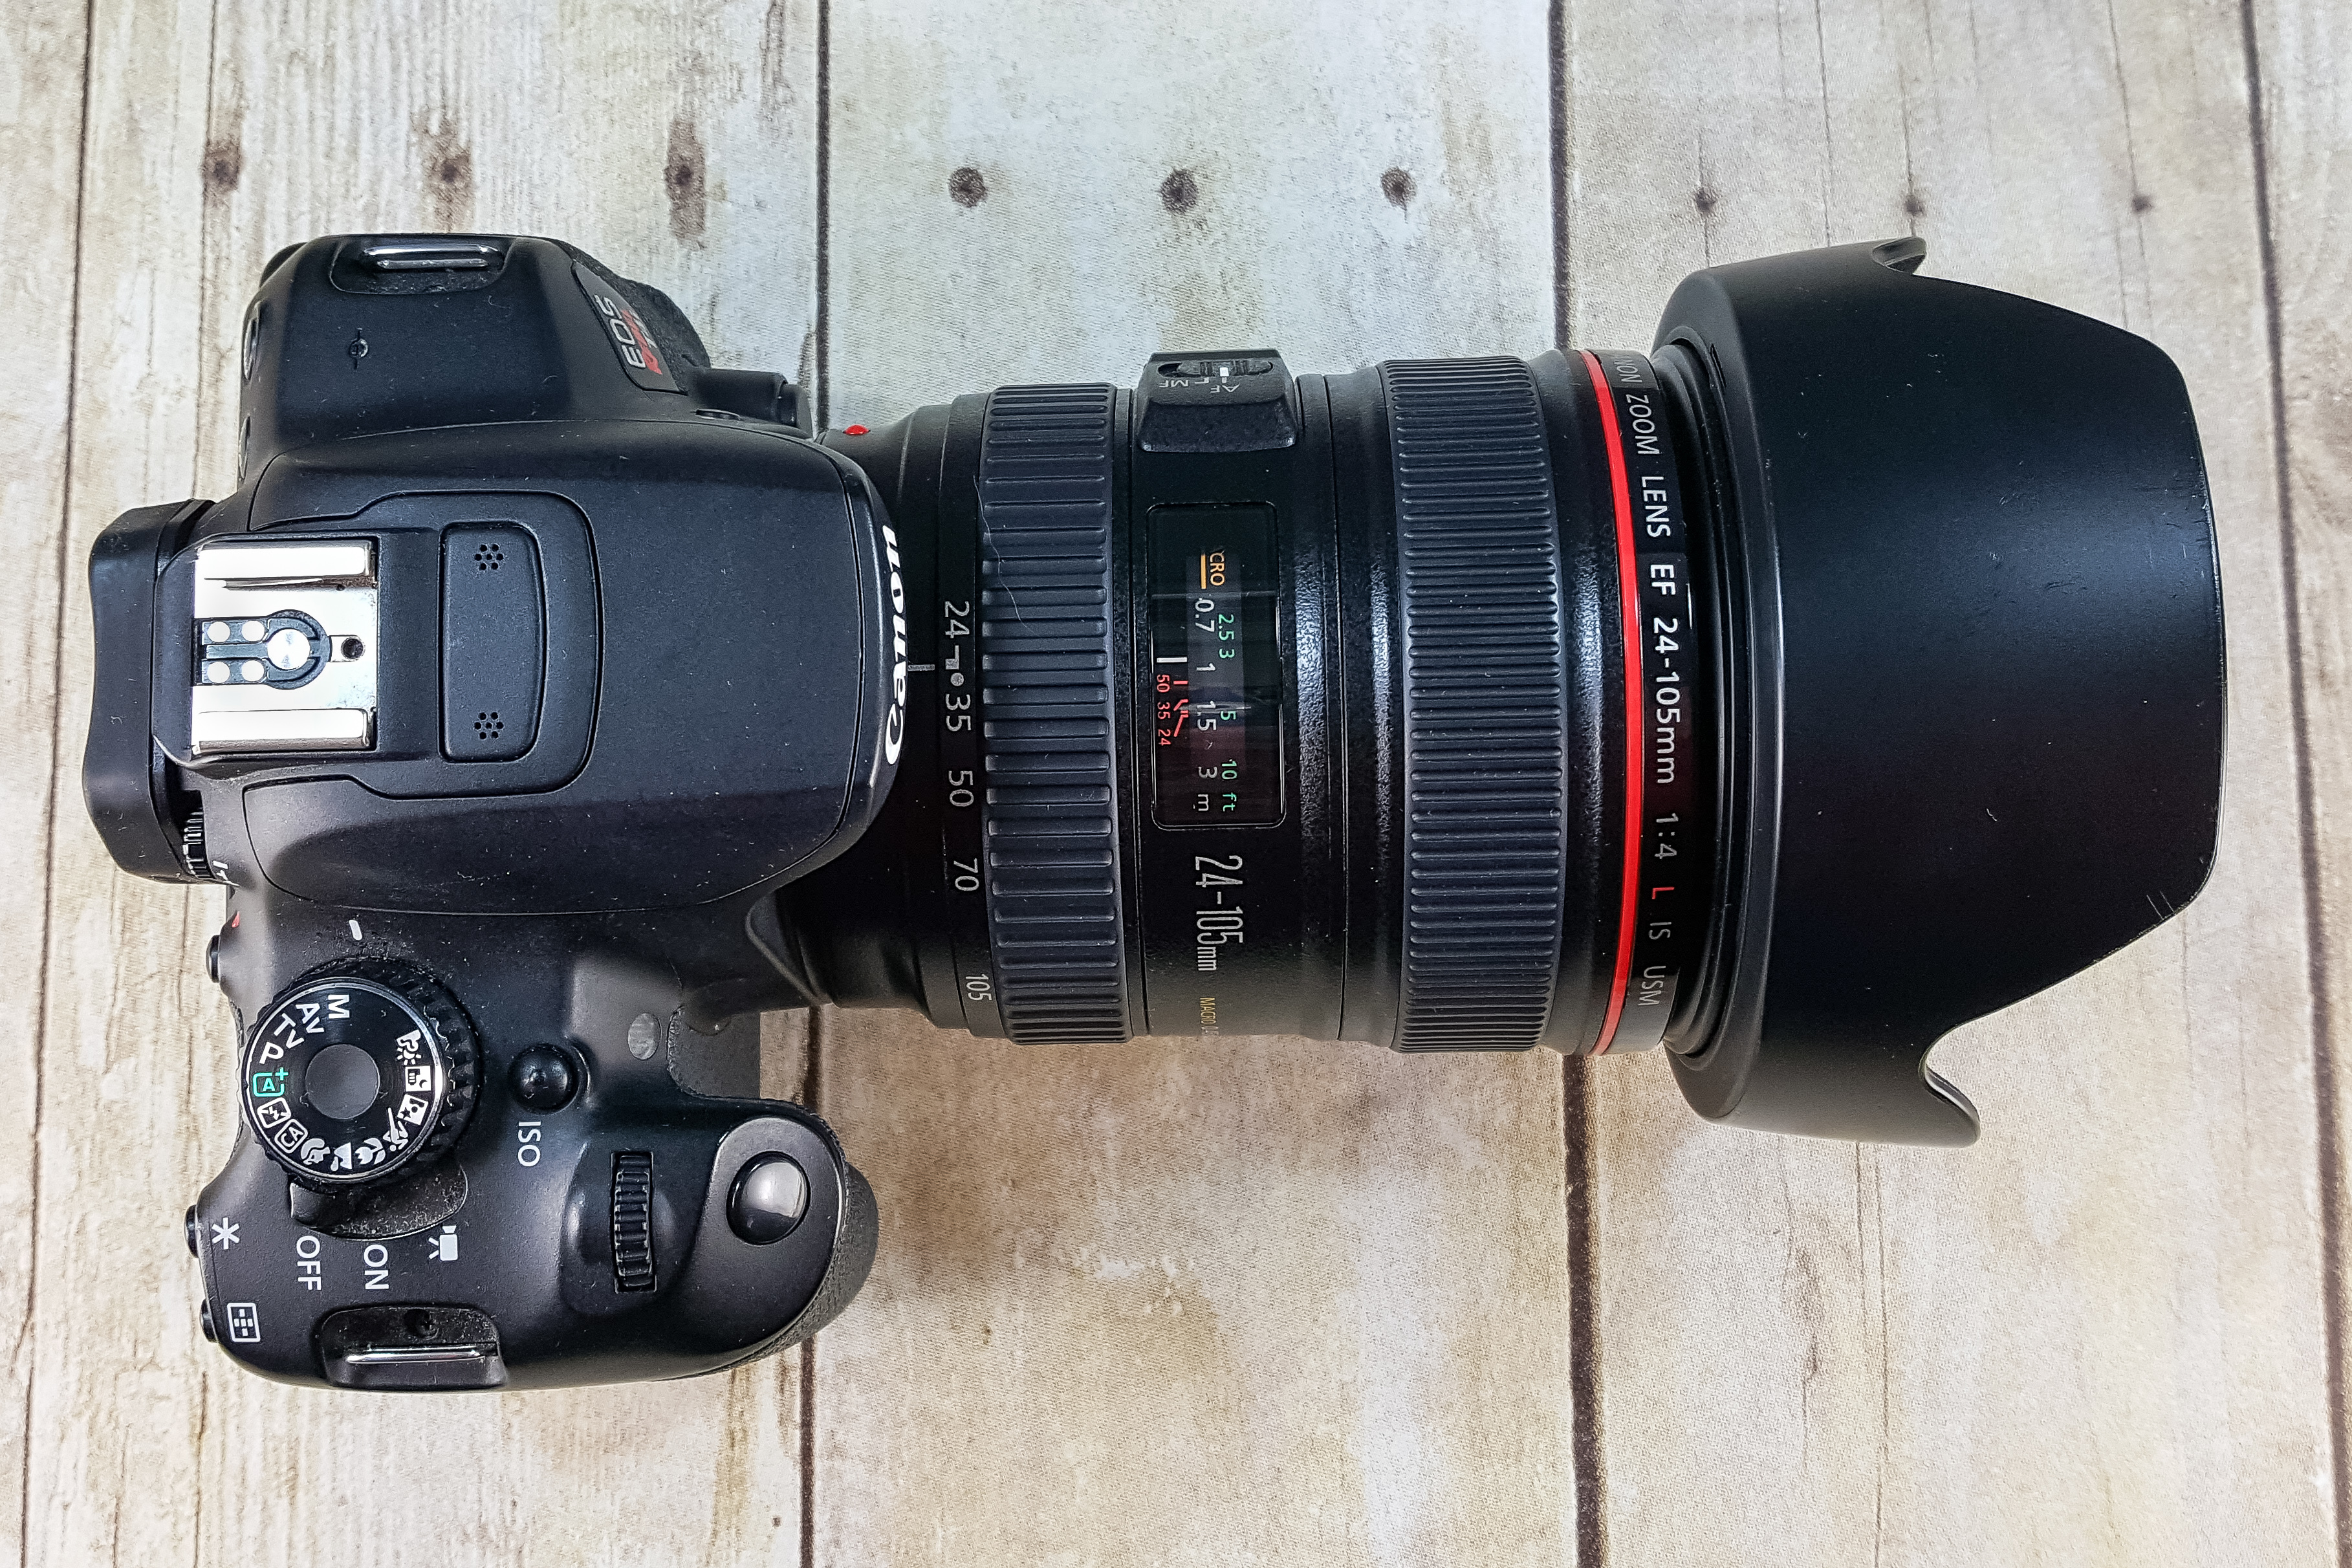
Invest in a DSLR camera
A DSLR is a major purchase, especially when you’re brand new to blogging. But it will help you achieve results that simply aren’t possible with a smartphone camera. Yes, smartphone technology has come a long way. And yes, there are lots of photographers creating amazing images, all with their smartphones. As a blogger, there’s nothing wrong with creating an occasional social media post or even blog post with exclusively smartphone images. But you’ll be able to achieve so much more with a DSLR.
I’ve been shooting with Canon cameras since 2010 and can’t recommend them enough. Canon offers consistent, high-quality cameras with impressive battery life and an extensive selection of lenses. For beginner DSLR users, I recommend a Canon t6i or 80D. Purchasing the 50mm f/1.8 along with the camera body and kit lens will open up a whole new world of shooting potential for your blog. From there, you’ll be able to figure out what type of lenses are the best fit for your photography style and blog content. You can read more about the current camera equipment I shoot with over here.
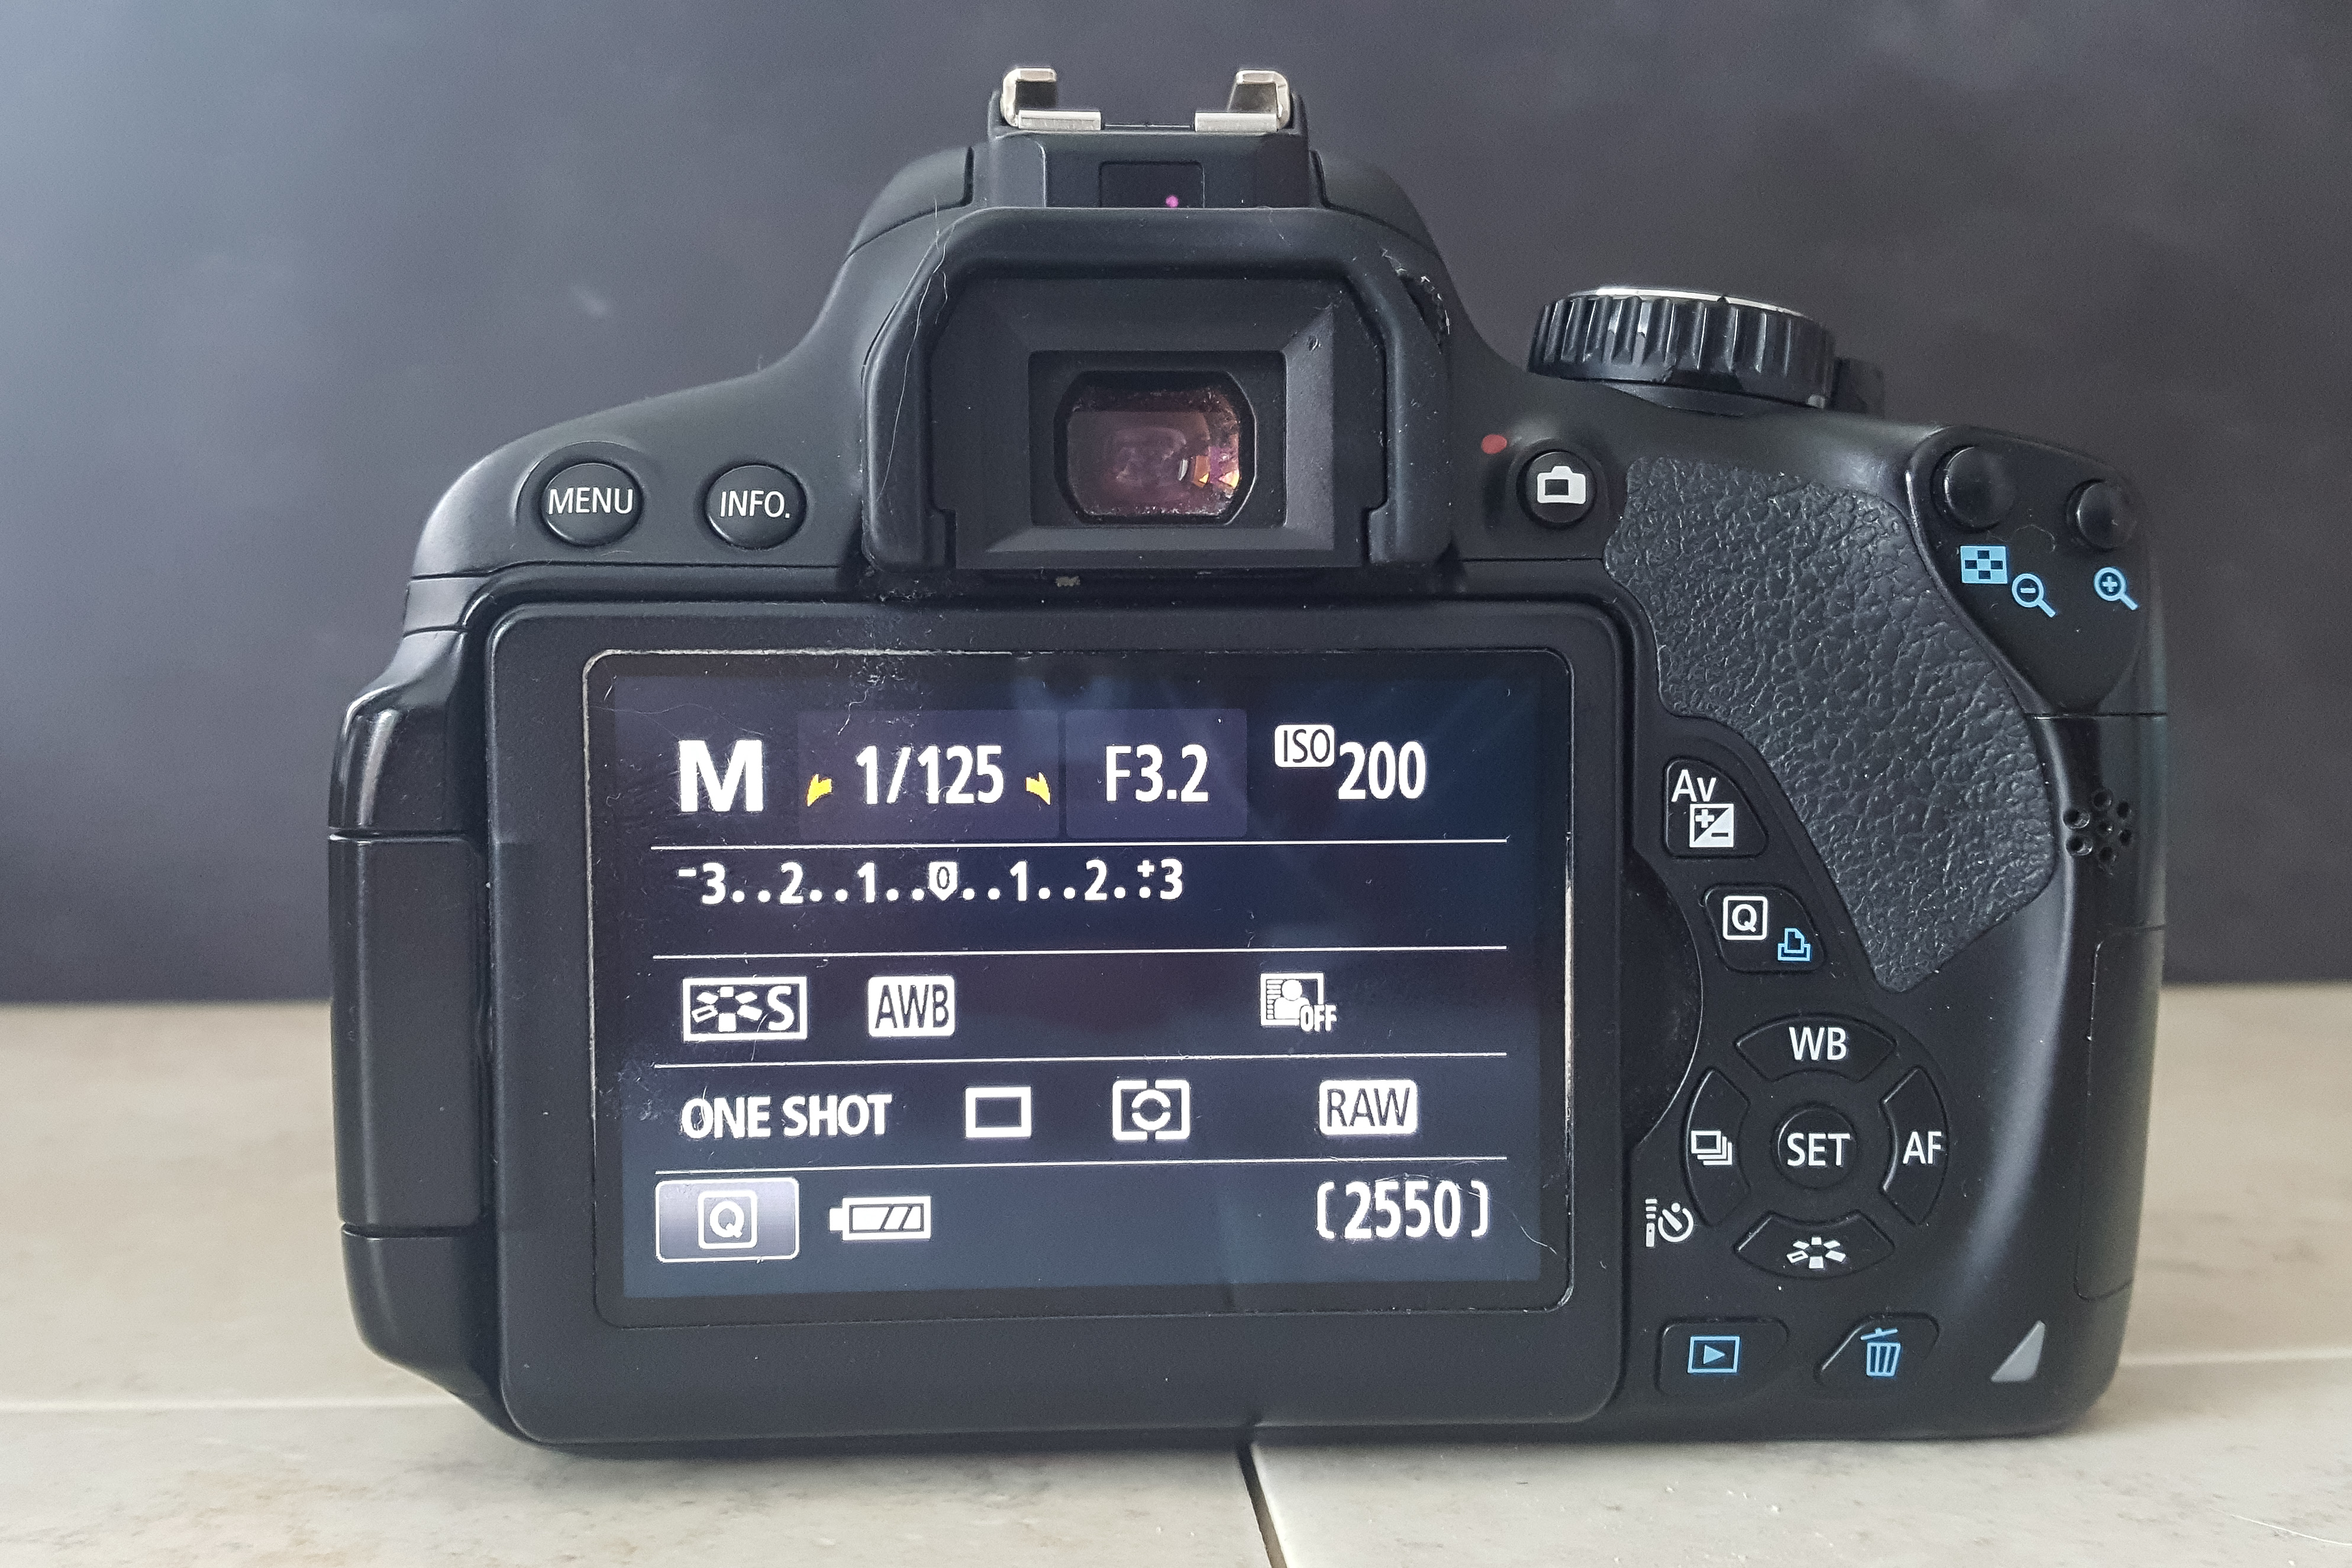
Learn your camera settings
Regardless of the type of camera you’re using for your blog photography, you should learn everything you can about that camera. Whether you’re shooting with an old smartphone or a brand new high-end DSLR, learning the camera settings will make a huge difference in your photography. I see so many bloggers using a DSLR with a kit lens on Auto Mode, and the photos don’t really look any different than smartphone photos. There are tons of free articles that explain camera setting basics. I also explain camera setting basics in full detail in my product photography ebook, which is a great resource for anyone just starting to learn the ins and outs of styled shoots. Additionally, I recommend Pinch of Yum’s Tasty Food Photography (which is a great resource for all bloggers, not just food bloggers).
Invest in the Adobe Creative Cloud Photography Plan
Once you’ve invested in better photography equipment, it’s time to invest in better photography editing equipment. Most people don’t realize the vast majority of photos they see in print and online publications are edited. Editing is not cheating. It helps you turn your good photos into great photos. If you’re already editing your photos with a free program, such as Google Photos or Picmonkey, that’s a great start. Learning to crop and complete a simple light adjustment makes a big difference. You can use a free program to add text and borders to create header images and other blog graphics for sharing posts on social media.
When I first got serious about photo editing, I bought Lightroom outright. You can still purchase Lightroom on its own. However, Adobe now offers subscription plans for all of their software. I switched to the Creative Cloud plan in mid-2016 so I could upgrade from an outdated version of Photoshop Elements to the full Photoshop and upgrade to the current version of Lightroom.
Adobe’s Creative Cloud photography plan is $9.99/month and includes Lightroom and Photoshop, two powerful software programs for editing images and creating blog graphics. They allow you to do so much more than you’ll ever be able to do with a free editing program. Subscribing to the cloud plan gives you access to all of the latest software updates, eliminating the need to shell out $150-$300 every few years when a new version is available. Since 2013, I’ve been primarily using Lightroom for editing and Photoshop for resizing images and creating blog graphics. I was nervous about taking the plunge and adding another monthly fee to our budget, but I’ve never looked back. I use both programs every single day I’m working on my blog.
Gather a set of basic backdrops and styling props
Of course, there’s no limit to the amount of money you can spend on photo backdrops and styling props. But you can start building a basic collection on a very small budget. Most likely you already have a few items at home you can start using today.
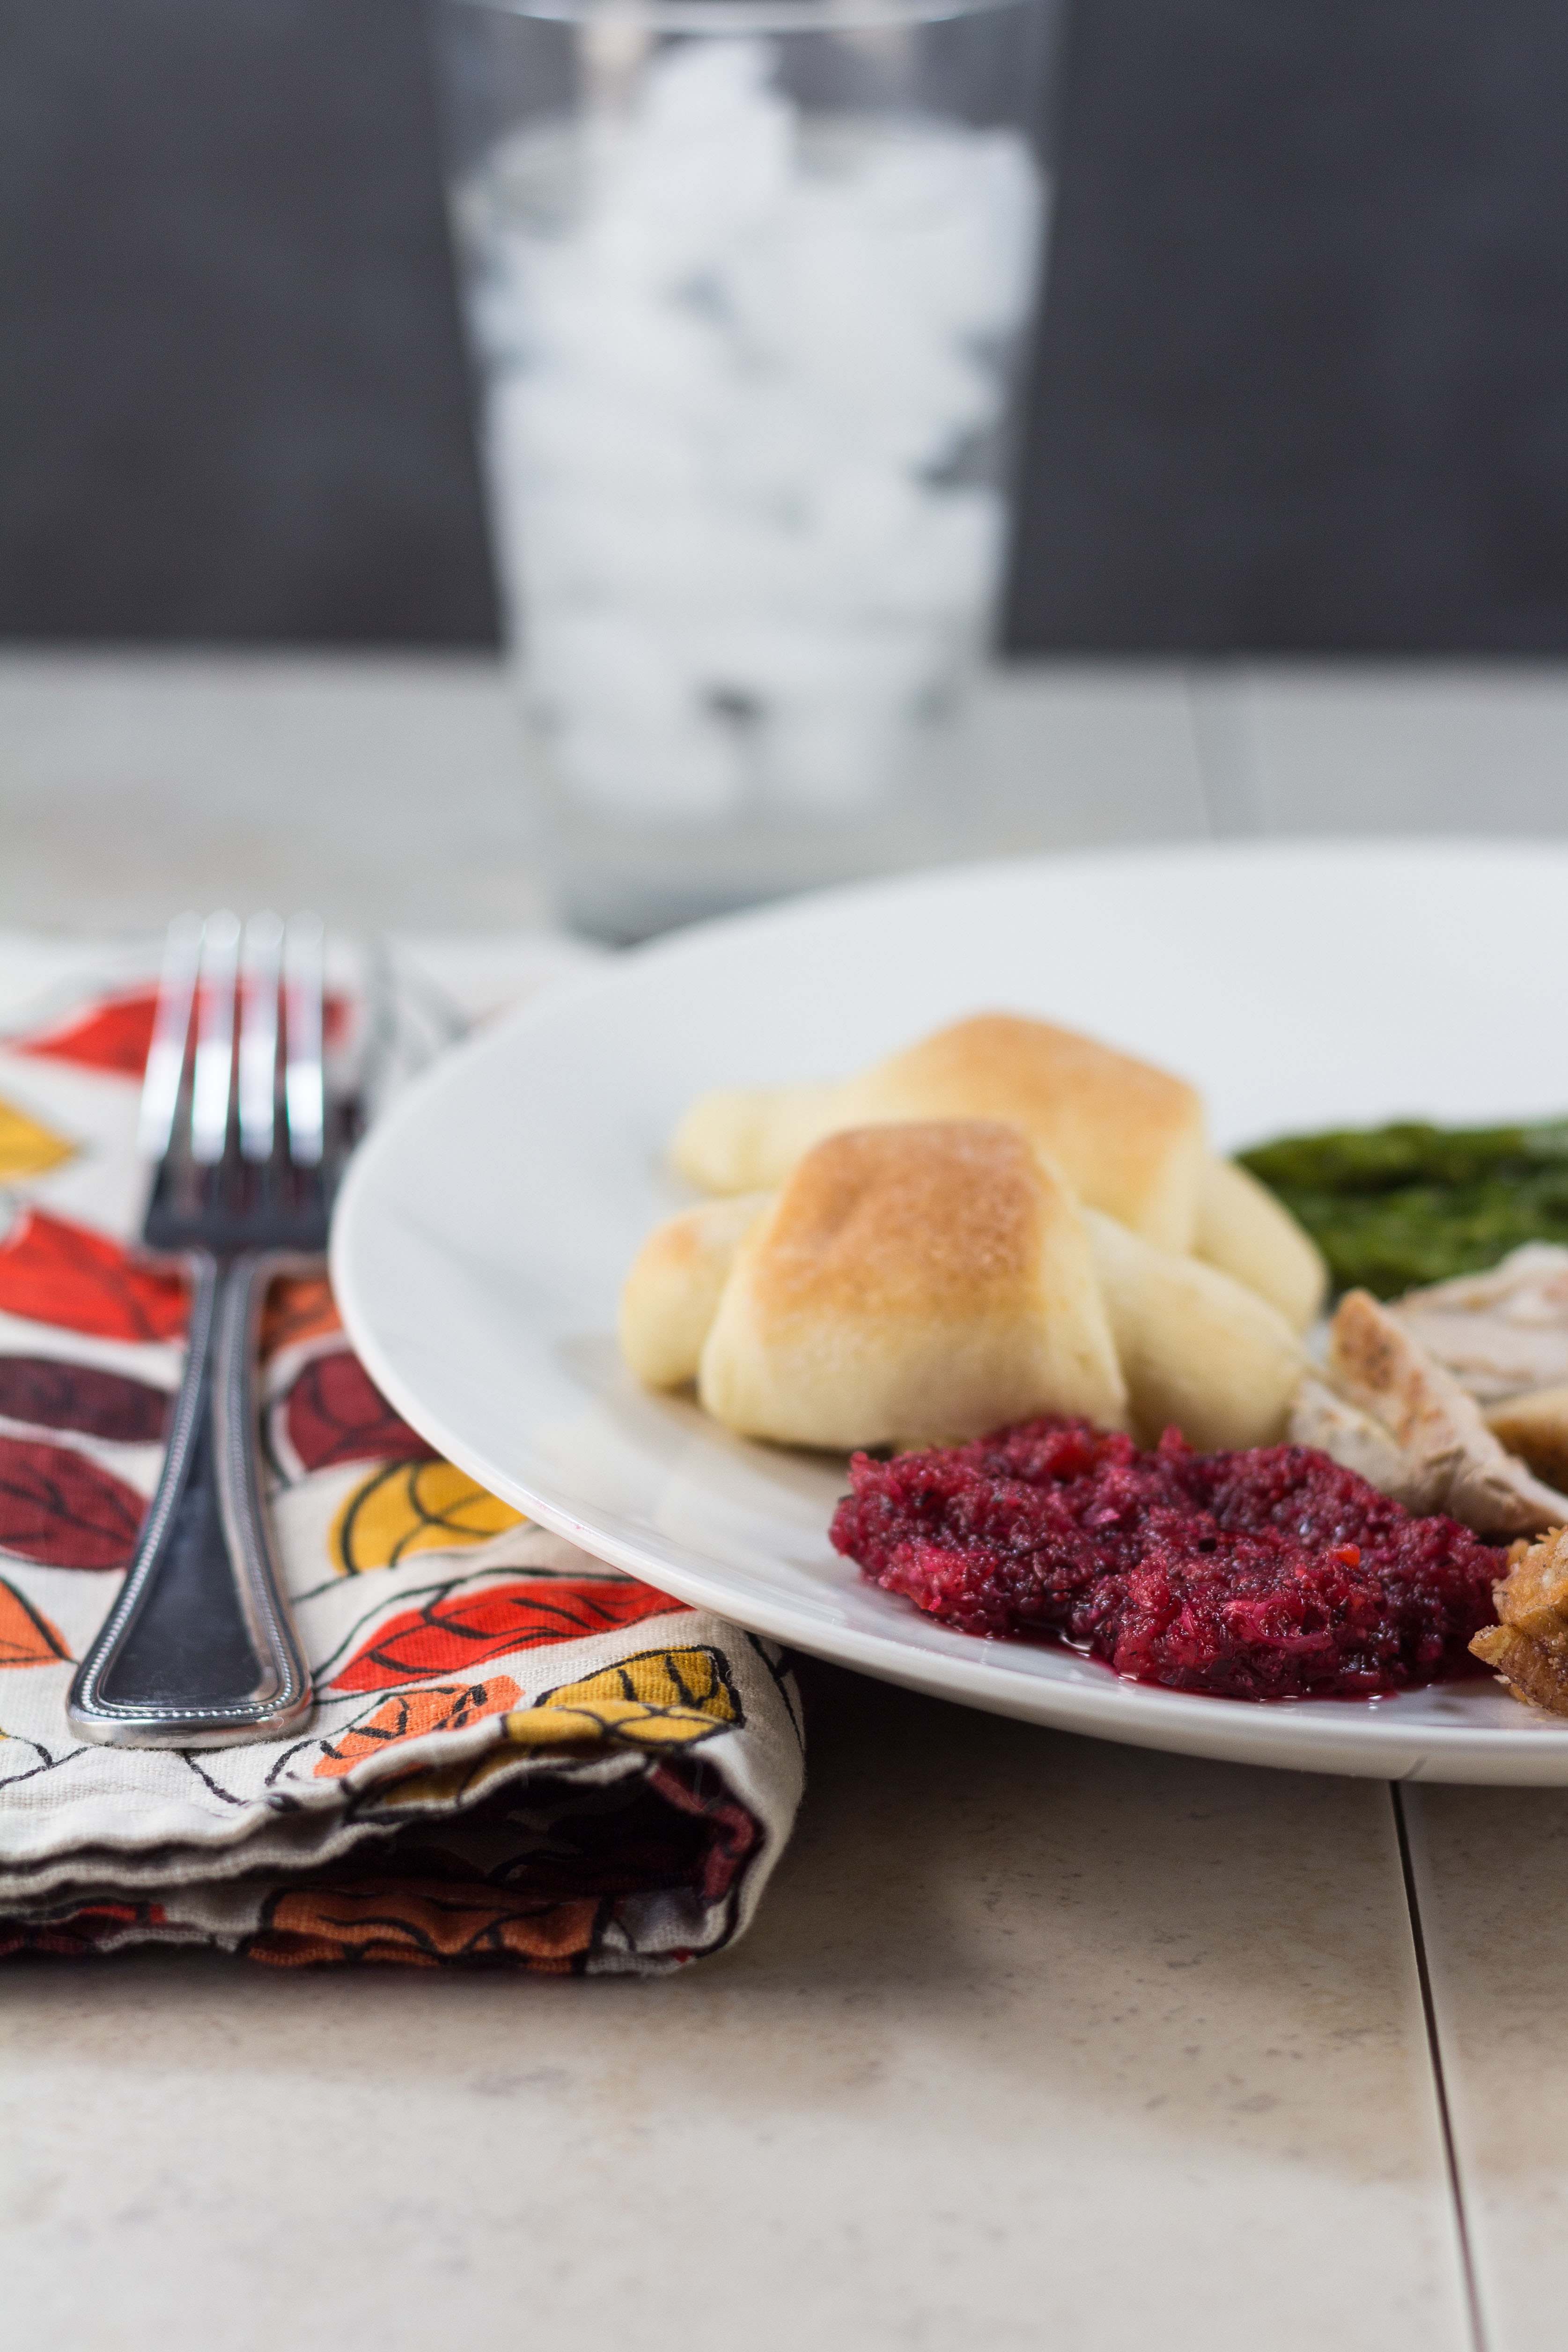
Backdrops and styling props give your photos a professional finish. The above example is from my buttery crescent dinner rolls post. For my backdrops, I used a few tiles I got from Home Depot and my black chalk poster board, which is just black foam core with white chalk detail. For this recipe post, I used a couple different plates to style the rolls (click through to see the other plate) as well as a fork, towel, water glass, and pumpkin. I got the backdrop supplies for less than $10 and picked up the pumpkin for $2. I already owned everything else. You can read more about my go-to backdrops here and here.
For shoots against natural backgrounds, pay attention to distracting elements. From stray mail on the kitchen counter during a recipe shoot to a branch intersecting with a person’s head during a fashion shoot, distracting elements make a well-composed photo look merely average. Courtney’s Stitch Fix Review #1 is a great example of a shoot against a natural background without any distracting elements.
Shoot in natural light or with daylight bulbs
I know there’s endless debate about shooting in natural light versus artificial light. Many bloggers swear by natural light and will never use artificial light. There’s no question natural light is amazing. But there’s nothing wrong with using artificial light either. Numerous professional photographers use artificial light and achieve amazing results. I urge you to experiment with both types of lighting to figure out what works best for you.
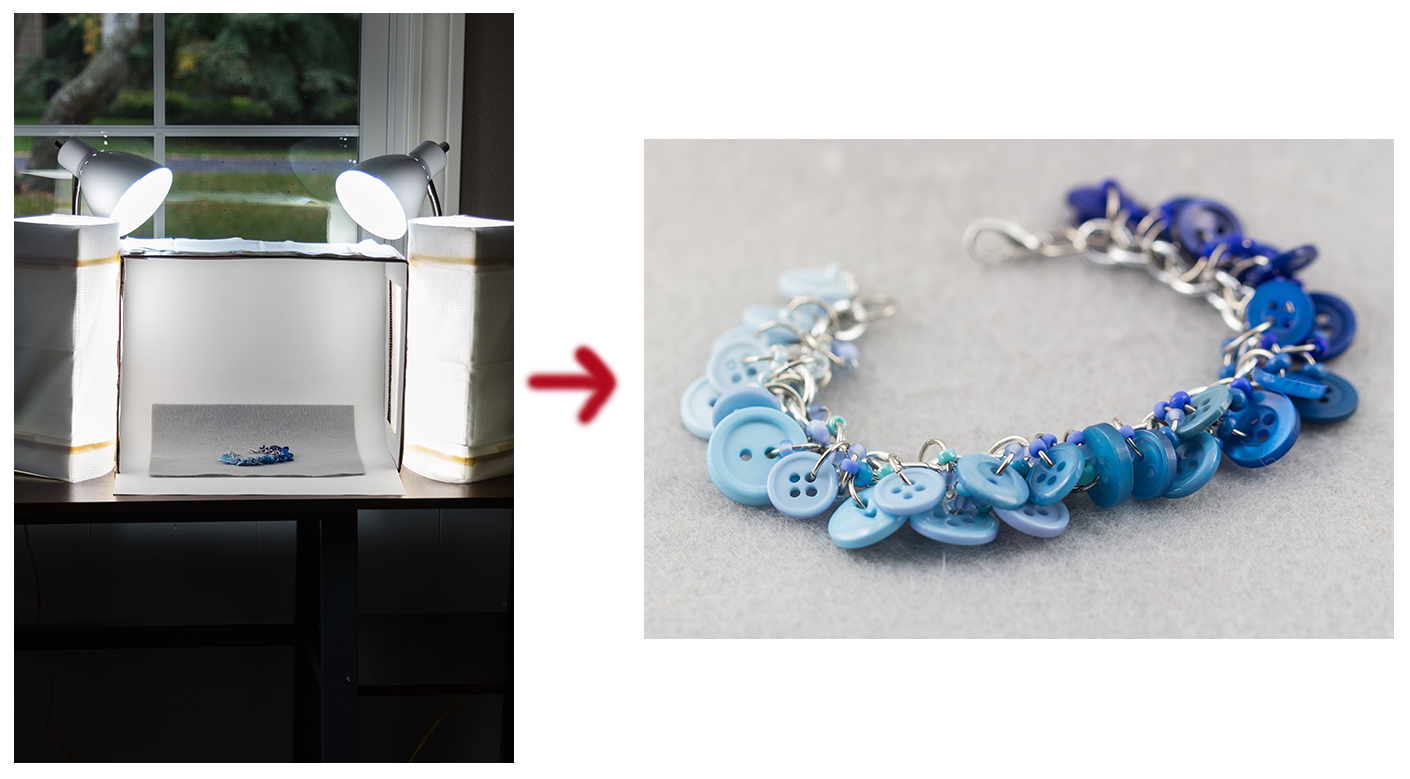
When you aren’t shooting with natural light, shoot with daylight bulbs. I shoot with natural light as needed for certain types of post, such as home tours. The rest of the time, I use the lighting setup pictured above, which I outline in my DIY photography lightbox tutorial post. I have two desk lamps with 60W daylight bulbs and two DIY Lowel lights with 100W bulbs. I use these lights with the lightbox and for larger shoots. This combination of lighting enables me to keep my ISO levels at 100 or 200 to create detailed, bright images.
Start shooting and editing with Pinterest in mind
For most bloggers, Pinterest is a huge traffic source. Creating high-quality vertical images greatly increases your odds of getting lots of repins. You don’t have to shoot all your blog images in portrait orientation. But you should have at least one or two vertical images in each post that will make great pins. It takes time and practice to get in the mindset of shooting and editing with Pinterest in mind, but it’s well worth the effort.
If your strongest image is a horizontal or landscape orientation image, consider creating a vertical Pinterest graphic that includes the horizontal image. The above example is a graphic I created for my DIY paper Christmas lights tutorial that includes a horizontal image of the finished paper lights.
Learn from the best
One of the best ways to improve any type of creative skill is to learn from the best. As you read blog posts from bloggers you really admire, pay attention to what makes their photos so great. Don’t blatantly copy favorite bloggers’ photos but consider what makes their images strong and use those assets to improve your own photography. For example, if a food photographer creates strong compositions with well-placed props, think about how you can use props in your own recipe shoots.
Strive to keep improving your photography
As a creative, it’s way too easy to stagnate with your skills. It’s good to have confidence in your photos and feel that you’re creating images that enhance your written content. It’s not good to fall into the mindset that your photos are good enough so you don’t need to work on your photography skills anymore. You should always strive to keep taking and editing better photos for your blog. From week to week or even month or month, you may not notice any difference in your photos. But when you look back at your photos from six months or a year ago, you’ll be surprised how far you’ve come with your photography skills.
[Disclaimer: This post contains a few affiliate links. Using these links to purchase products and sign up for services is a simple way to support my blog without costing you anything extra. Thanks!]
Do you have any additional photography tips for bloggers?
Share your insight in the comments!
[Disclaimer: I will receive compensation for writing this post. Many of the links are affiliate links. All opinions are 100% my own.]
Some of you may remember me mentioning Grammarly back in the fall. I didn’t start using the Grammarly app until shortly after I’d started this blog in June. It blows my mind that I spent years and years freelance writing without this app. It’s been a complete game changer. I have always prided myself on taking grammar seriously. But Grammarly has helped me fine tune my grammar, taking my skills up a notch and helping me make a lot fewer errors.
How does it work?
Grammarly is the world’s most accurate grammar checker. And it’s free! Signing up for a new account is simple and straightforward. Once you have your account, most likely you’ll want to take the following two steps.
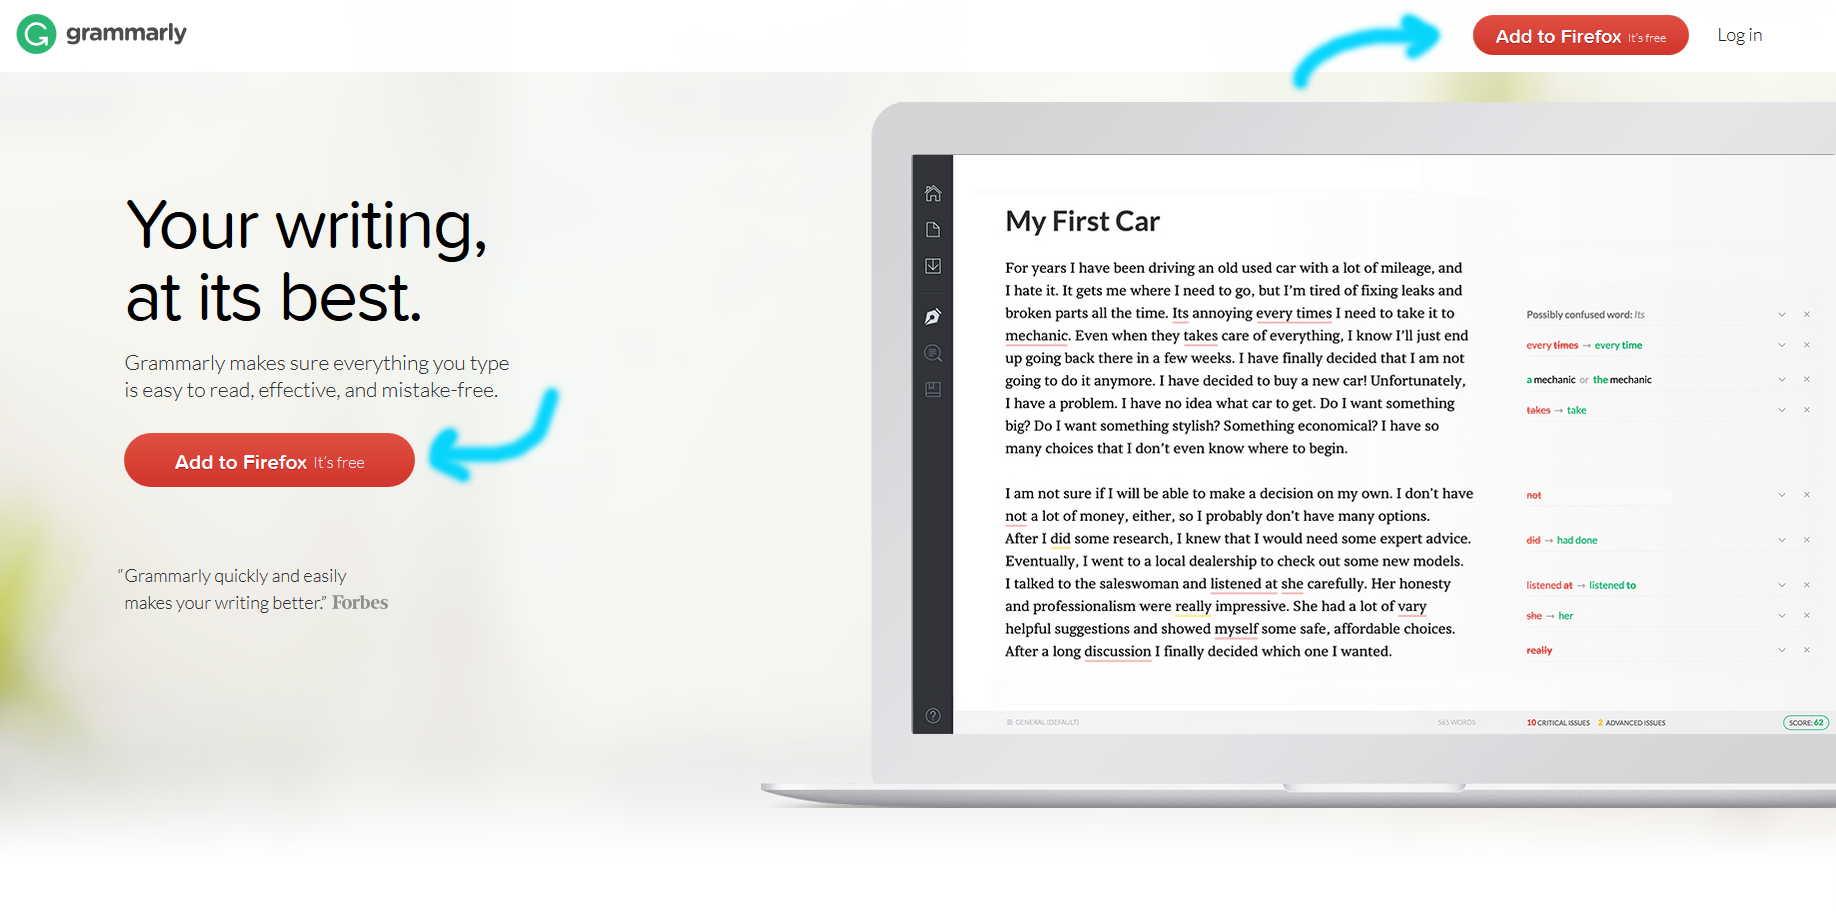
Add Grammarly to Firefox. I rely on Grammarly in Firefox to proof my blog posts, emails, social media posts, and much more. On the main Grammarly page, you’ll see a couple of red buttons with the text “Add to Firefox. It’s free.” Click on one of these buttons and follow the instructions to add the Grammarly plugin to Firefox. You can also download the Firefox plugin directly from Mozilla.
Add Grammarly to Microsoft Office. I complete the vast majority of my freelance writing work in Microsoft Office. It’s critical that this content is polished and professional. The free Grammarly Microsoft Office plugin is available right here.
(optional) Add Grammarly to Windows. Personally, I don’t use the Grammarly Windows plugin, but it’s another great option Grammarly offers for their proofreading services. Grammarly Windows is available right here. Once you’ve installed it, you simply drag a document you’d like to proofread into Grammarly.
But I can run the spellchecker program in Microsoft Office and WordPress. Plus, as a blogger, I believe my writers relate to my conversational writing style, which means grammar isn’t very important. Why should I run Grammarly, too?
First, a conversational writing style isn’t ever an excuse for poor grammar. Yes, for most blog writing styles, it’s okay to use the occasional sentence fragment, run-on sentence, sentence that ends with a preposition, etc. It’s not okay to make basic grammatical mistakes, such as using “there” instead of “they’re.” It’s not okay to skip proofreading. Publishing without proofreading means you’re probably going to have words misspelled, words missing from sentences, and whole phrases or sentences repeated from a sloppy copy and paste. I wish I were exaggerating, but I see these type of mistakes from bloggers pulling in six- and seven-figure monthly views all the time. Proofreading your work and running a basic spell check before hitting publish is really important. Running Grammarly is even better.
Second, Grammarly offers a lot more than the basic spellcheck you’ll find in Microsoft Office or WordPress. I leave on the Office spelling and grammar checks, which means I see how much more Grammarly catches. The first time you run both programs after writing a post or article, you’ll be blown away.
Grammarly corrects more than 250 types of grammatical mistakes as well as numerous contextual spelling errors and poor vocabulary choices. The more you’re aware of the common errors you make while writing, the more likely you are to catch your mistakes and correct them before Grammarly does.
Is it worth upgrading to Grammarly premium?
Grammarly Premium offers over 100 additional grammar and spelling checks as well as vocabulary enhancement suggestions, genre-specific writing style checks, and plagiarism detection. The plagiarism detector scans over 8 billion web pages.
If you’re brand new to Grammarly, I recommend trying the free version. You’ll get a feel for the app and decide if it fits your writing style and needs before you put down any money. You can upgrade at any time. I took advantage of a Cyber Monday sale and purchased Premium for about 60% off. Once you’re a Grammarly user, you’ll get notifications of sales and can wait for a discount for your upgrade. As of writing this post, I’ve been using the Premium version for about a month and have been really happy with it. For the amount of writing I do weekly, I feel the upgrades are worth it.
Does Grammarly offer any nerdy writing and grammar statistics?
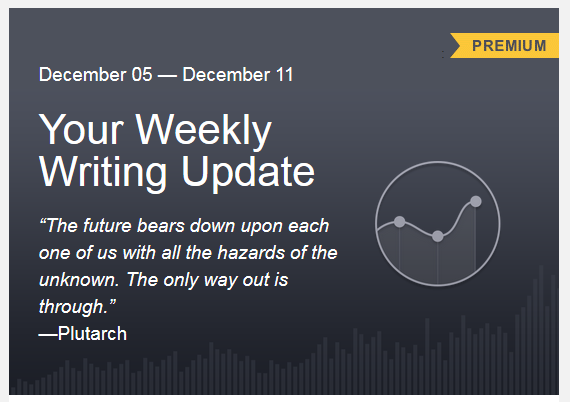
In my first mention of Grammarly on this blog, I briefly discussed the weekly email Grammarly sends with writing and grammar statistics. I’m not going to lie; I always look forward to it.
Each email starts out with a quote. There’s a new quote each week.
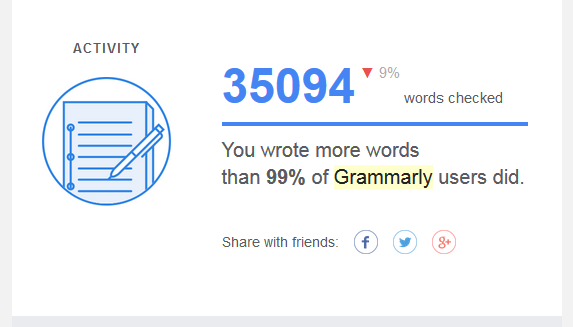
The first statistic is Activity or the number of words you wrote this past week. I consistently average above 30,000 words.
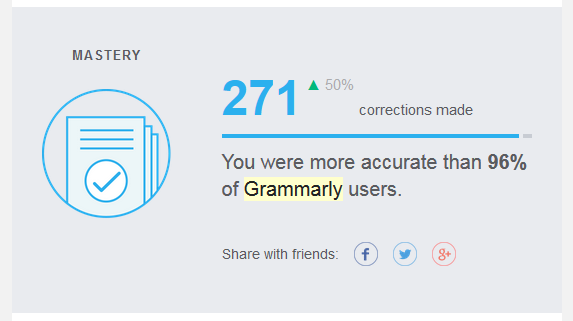
The second statistic is Mastery or the number of corrections you made with Grammarly over the past week. This statistic varies the most for me. Some weeks, I’m around 150 errors corrected while other weeks, I’m close to 300 errors corrected.
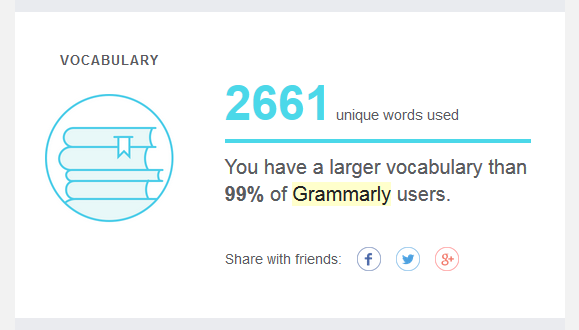
The third statistic is the Vocabulary, which is pretty straightforward. I average over 2,000 unique words per week.
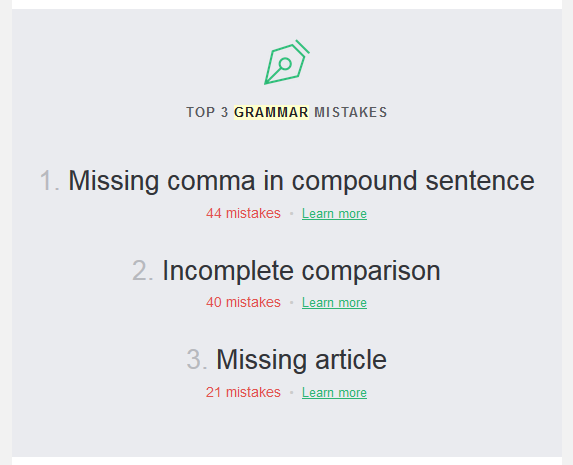
You’ll also receive a short summary of your top three mistakes for the past week.
The email concludes with a writing tip and a short summary of the Grammarly apps you’re currently using with links to install any apps you’re not currently using.
Are there any other perks of using the Grammarly app?
The final component of Grammarly I want to mention is their other periodic emails. From time to time, Grammarly shares a blog post digest with writing-related articles and other tidbits. Some of you may have seen my post on Facebook last week, sharing 3 Trends That Will Dominate English Writing in 2017. Of course, you can access the Grammarly blog at any time, but I like getting the emails.
Getting started with Grammarly is completely free. You’ll be able to start using their proofreading services within minutes of signing up for an account.
If you decide to give it a try, I’d love to hear what you think. Please leave your thoughts in the comments!