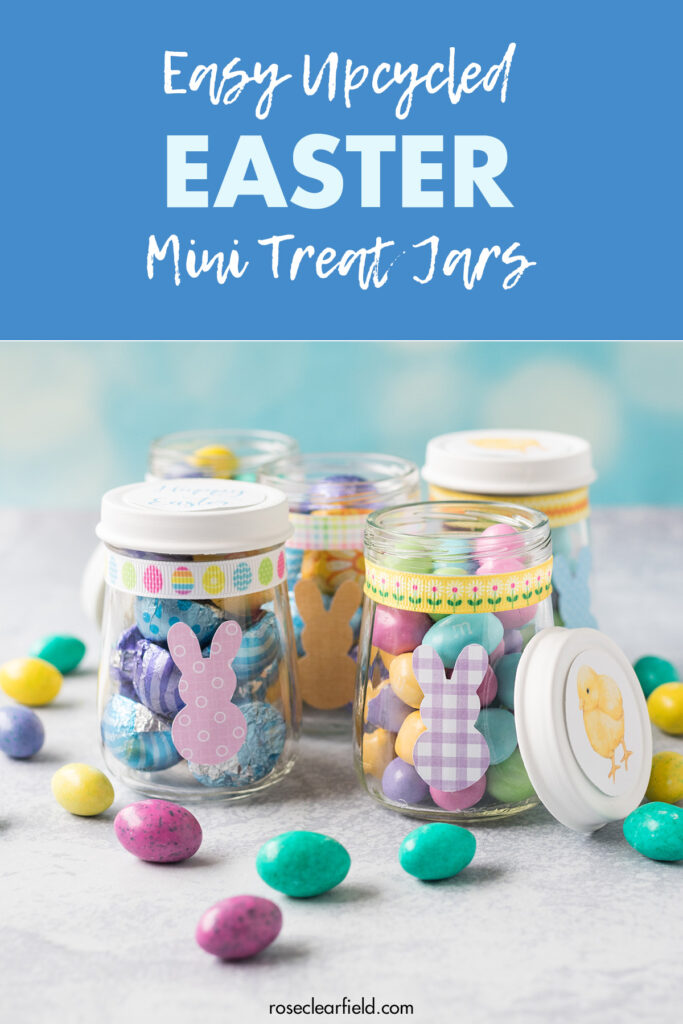

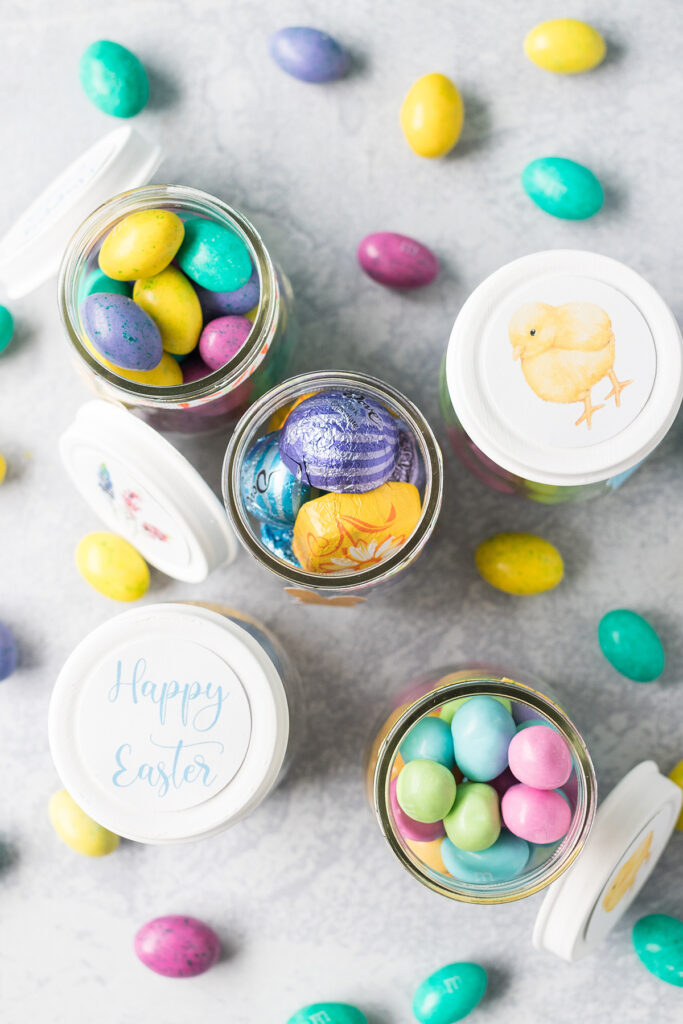
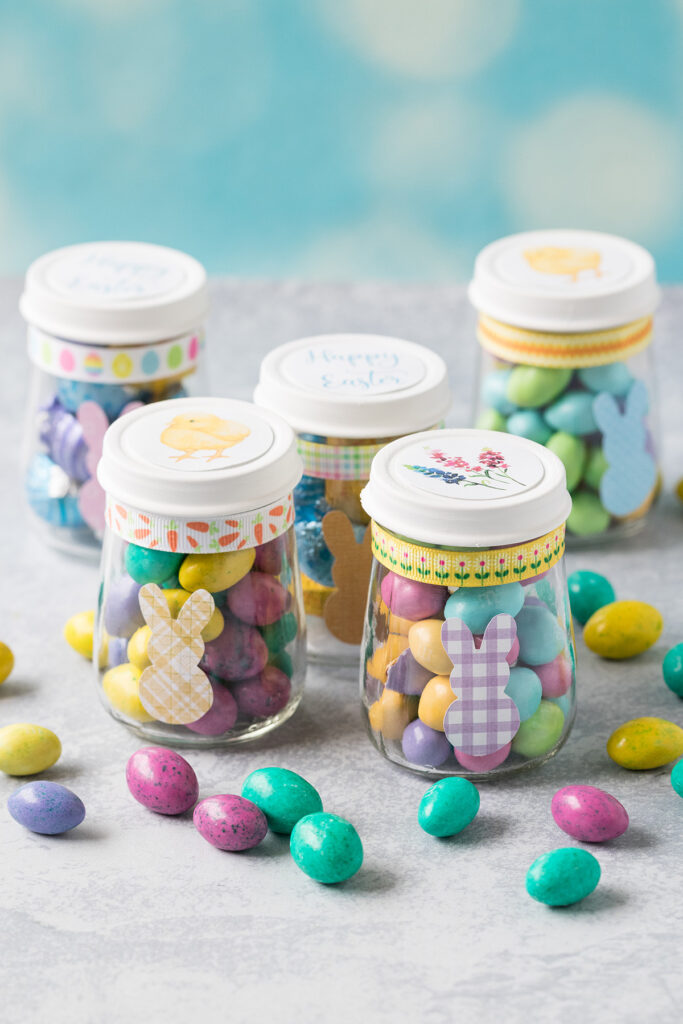
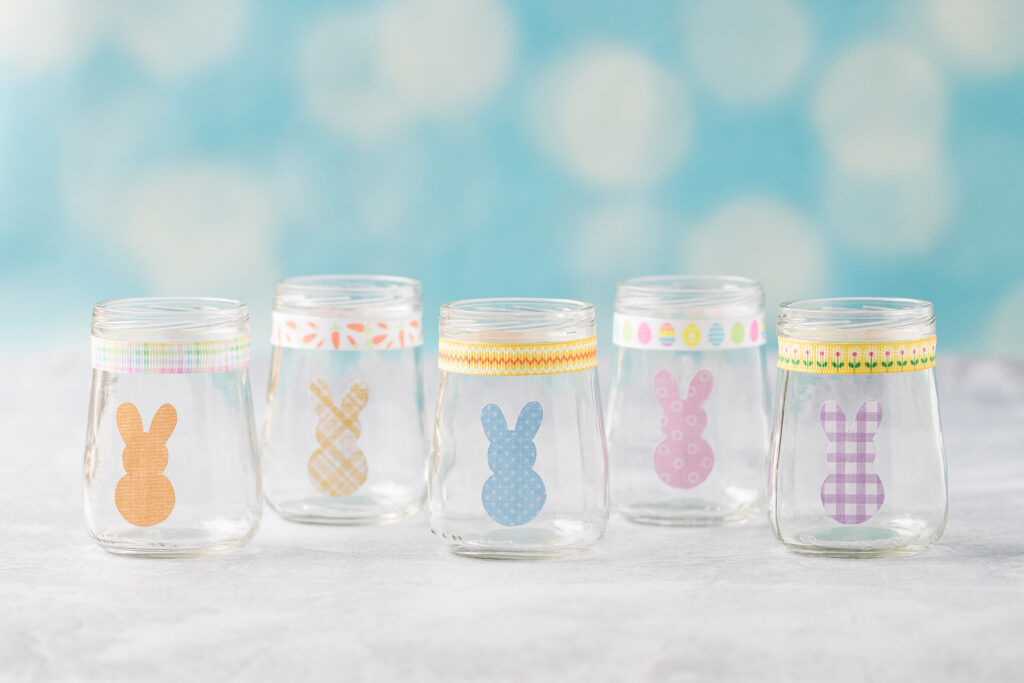
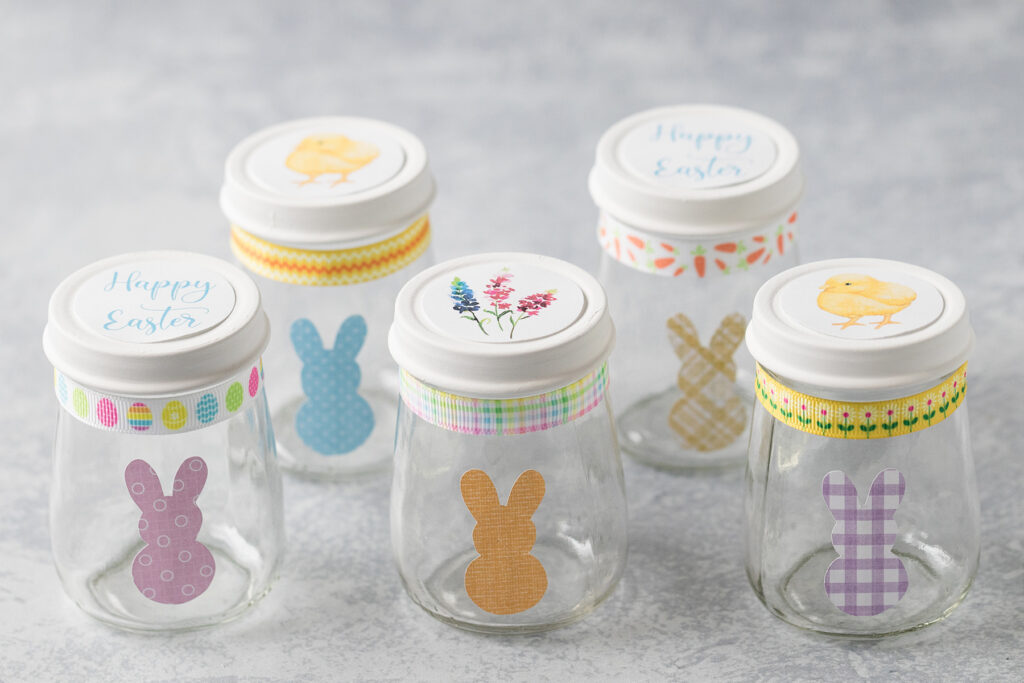
DIY Easter mini treat jars are perfect for Easter baskets, Easter egg hunts, teacher gifts, co-worker gifts, and other small presents.
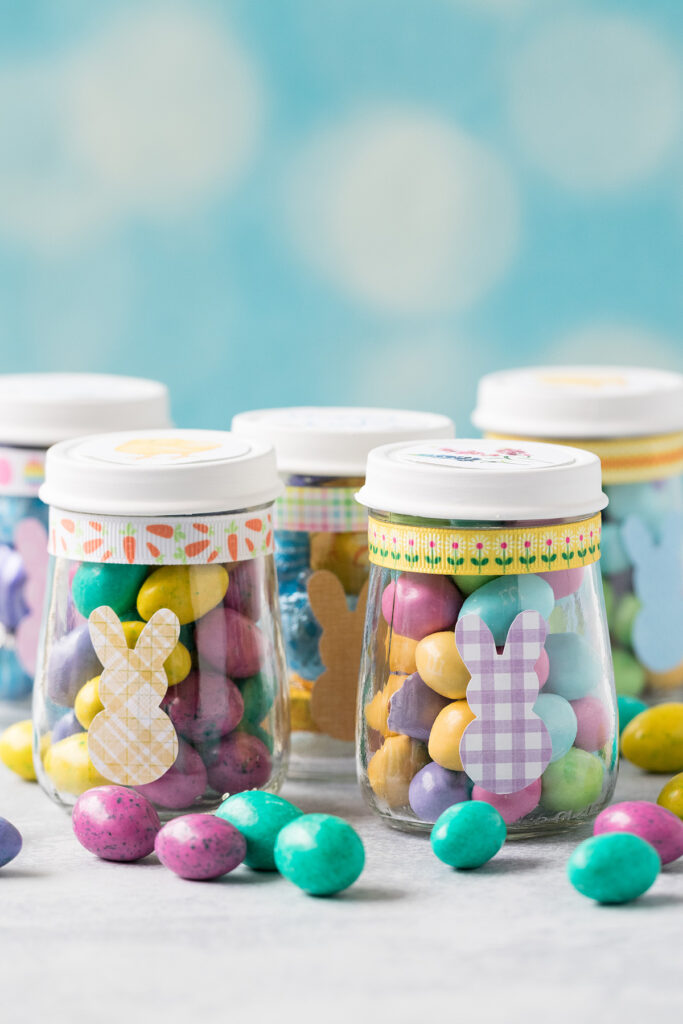
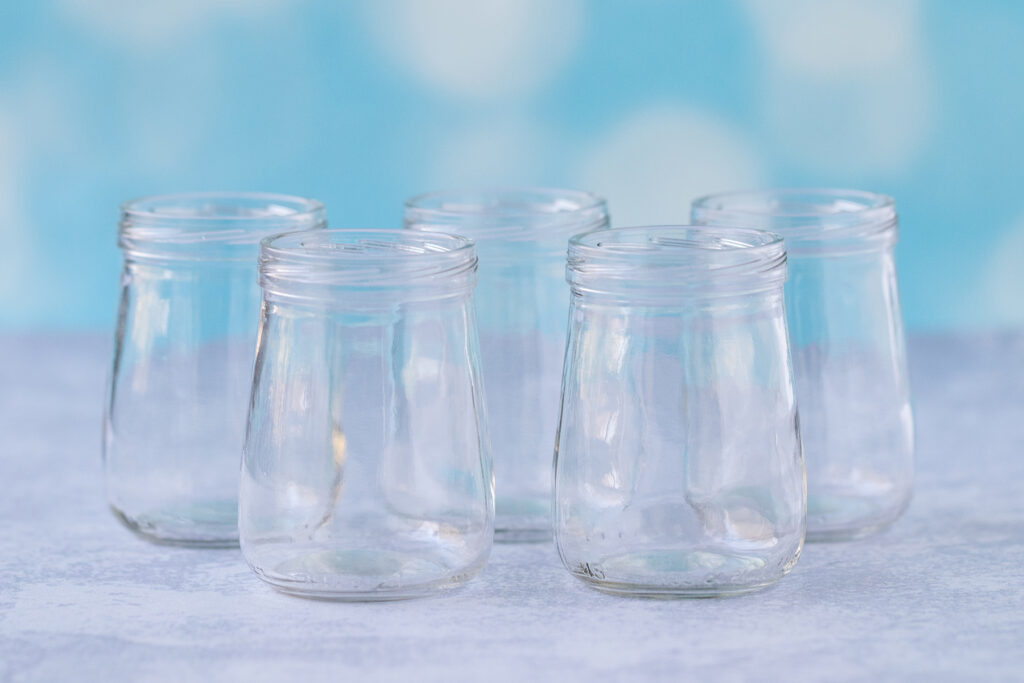
Mini glass jars are ideal for making easy treat jars to give to your kids, kids’ teachers, neighbors, co-workers, party attendees, and more for Easter. I love using small jars for this DIY project because they make for a quick craft and a little treat. As my daughter Olivia is eating tons of purees these days, I have a lot of glass baby food jars at my disposal and used just a few of them for this tutorial. Any type of small glass jars will work well for mini treat jars, as long as they have lids.
I provide you with all of the directions that you need to create Easter mini treat jars with my best tips and resources, including ideas and links for Easter candy, a free printable bunny template, and free printable lid toppers.
The colors and details in this tutorial are geared toward Easter. However, you can easily customize this concept for any holiday and for events, such as baby showers, bridal showers, and weddings. I also created DIY mini treat jars for St. Patrick’s Day. I’d love to see what else readers do with this concept!
Happy Easter and happy crafting!
Prepping baby food jars and other upcycled glass jars
Baby food jar labels come off cleanly in a single piece. However, they do leave behind some sticky residue. It’s important to get rid of the residue fully before using the jars for DIY projects.
After you pull off the label, spray the jar with Goo Gone. The Goo Gone remover spray gel is my favorite version of the product. It distributes the product precisely and in a thin, even layer. Let the Goo Gone sit for a few minutes. Use a couple of squirts of your favorite dish soap to remove the Goo Gone and clean the jar. Allow it to dry completely.
Then wash the lid, as you’ll need it for this project as well. Let it dry completely.
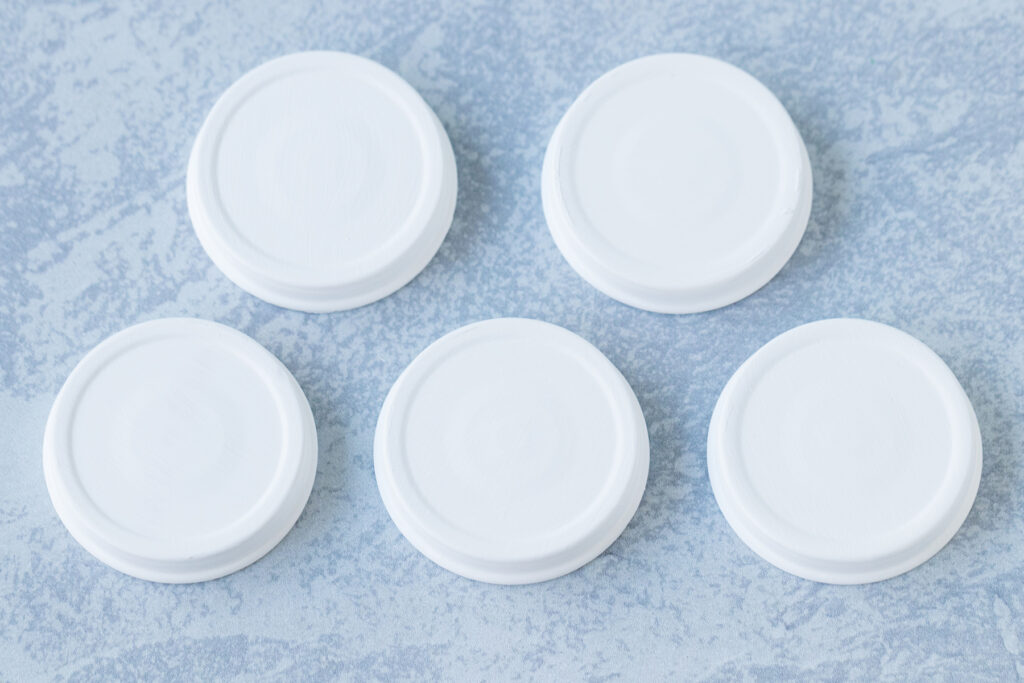
Painting the jar lids
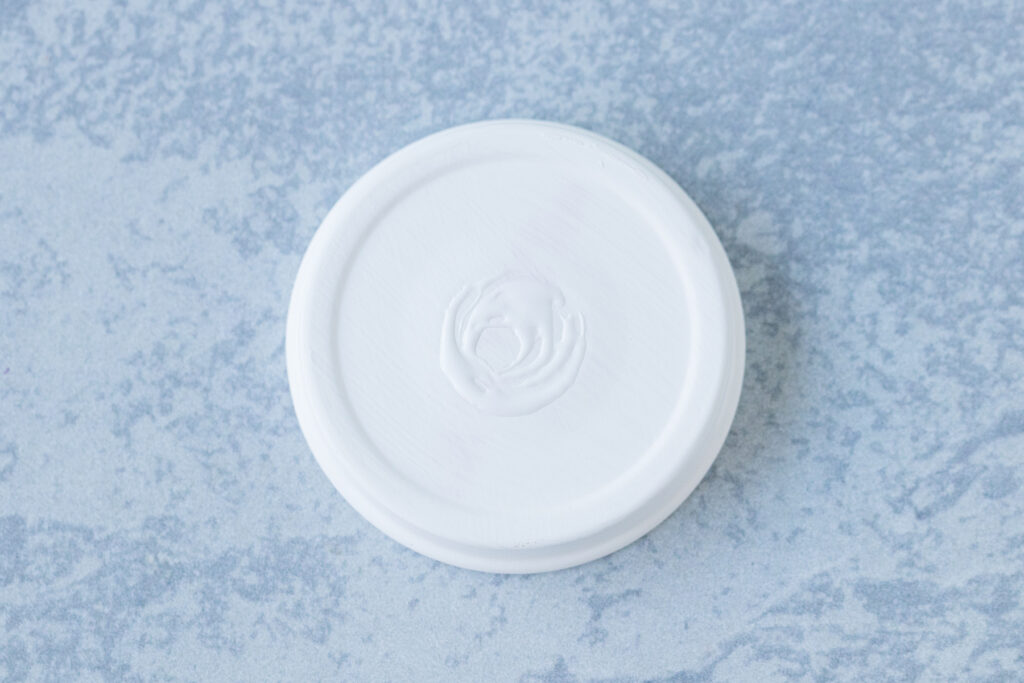
I apply a base coat of white spray paint to all of the upcycled jar lids that I use for crafts. I prefer Krylon spray paint, as I’ve found that it sprays evenly and dries without getting tacky. You can use any brand that you like. A glossy or matte finish works best here. I don’t recommend specialty spray paint, such as stained glass or metallic.
Then I give the lids a couple of coats of color in acrylic paint. For the Easter mini treat jars, I kept it simple with white acrylic paint. A pastel color works well for Easter, too.
For some projects, I advise giving the finished painted items a couple of coats of acrylic spray. However, as treat jars aren’t an item that people will keep for a long time, I don’t for this project.
I like to spray paint a couple dozen jar lids at a time, so I already have some primed when I’m ready to start a new DIY project. From there, you can give them whatever acrylic color you like for your specific project.
Supplies for DIY Easter mini treat jars
- Baby food jars or other small glass jars, as many as you’d like to make, cleaned and dry. I used 3″ Beech-Nut baby food jars for this tutorial.
- Painted baby food or jar lids. See my instructions above for painting the lids.
- Rubbing alcohol
- Easter ribbon or pastel ribbon, 1/2″ wide or narrower
- Scissors
- Fabric scissors
- Bunny template
- Patterned scrapbook paper in assorted pastels for the bunnies
- White card stock
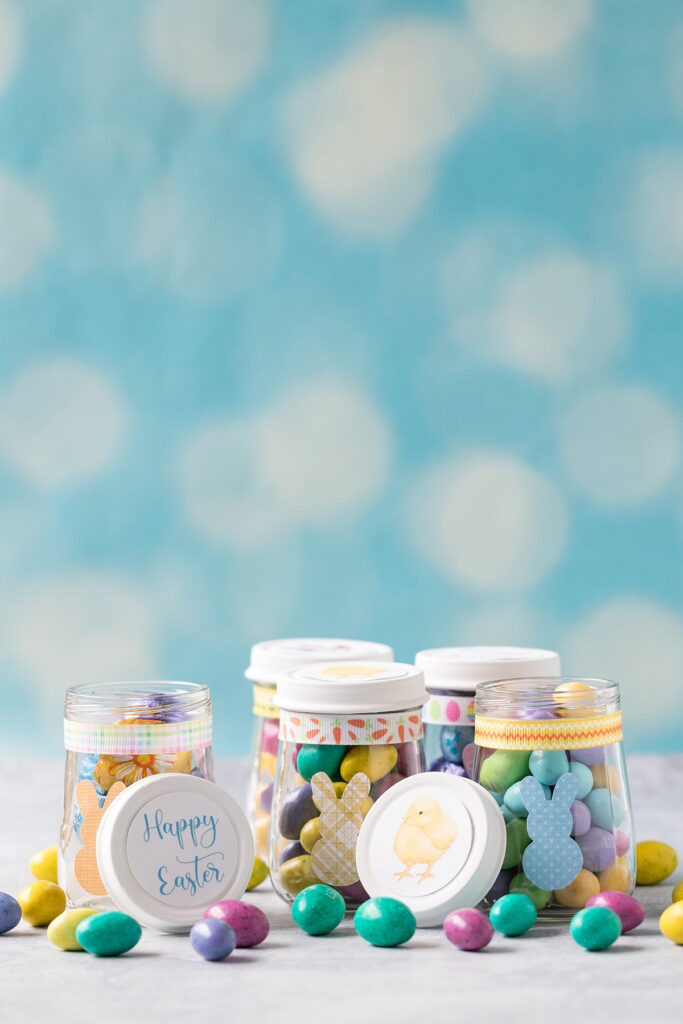
- Lid topper printables – Happy Easter | baby chick | flowers | assorted If you’re interested in other Easter-themed lid topper printables or need different combinations or quantities than what I’m offering here, please let me know! I’m happy to help in any way that I can.
- 1 1/2″ circle punch
- Tacky glue or other all-purpose glue that dries clear
- Candy to fill the jars, see notes below for suggestions
Resources for Easter candy
I don’t need to spend a lot of time explaining that Easter candy is widely available in big box stores, grocery stores, dollar stores, craft stores, party supply stores, and more a month in advance of Easter, sometimes even earlier. You’ll have no problem finding good candy that is a nice small size for your mini treat jars.
The pastel peanut M&Ms and peanut butter candy egg M&Ms featured in this post are both Easter candy purchases that I made in-store at a local grocery store. I’m also featuring a Dove springtime assortment, which I purchased online and link below along with a couple of other Easter candy assortments available online.
- Dove Easter springtime mix. I love Dove chocolate and would rather eat it over many popular Easter candies any day. The Dove Easter springtime mix includes milk chocolate, dark chocolate, and milk chocolate with caramel in beautiful gold, blue, and purple wrappers.
- Milk chocolate Easter M&Ms. You can always find milk chocolate M&Ms available online, as so many people like to use them for weddings, bridal showers, baby showers, and graduation parties. The milk chocolate Easter M&Ms are lovely pastel shades.
- Easter chocolate candy assortment. You can’t go wrong with a classic candy assortment. The Easter chocolate candy assortment includes Hershey’s kisses, extra creamy eggs, Kit-Kats, Reese’s peanut butter cups, and Nestle Crunch candy bars.
Instructions for DIY Easter mini treat jars
Collect your clean, dry baby food or other glass jars. Put a small amount of rubbing alcohol on a paper towel. Wipe down the jars to remove any oil and other residue. Let dry completely.
Cut lengths of ribbon long enough to wrap around the tops of the jars, just below where the lids screw closed. I cut my ribbon long enough to overlap slightly.
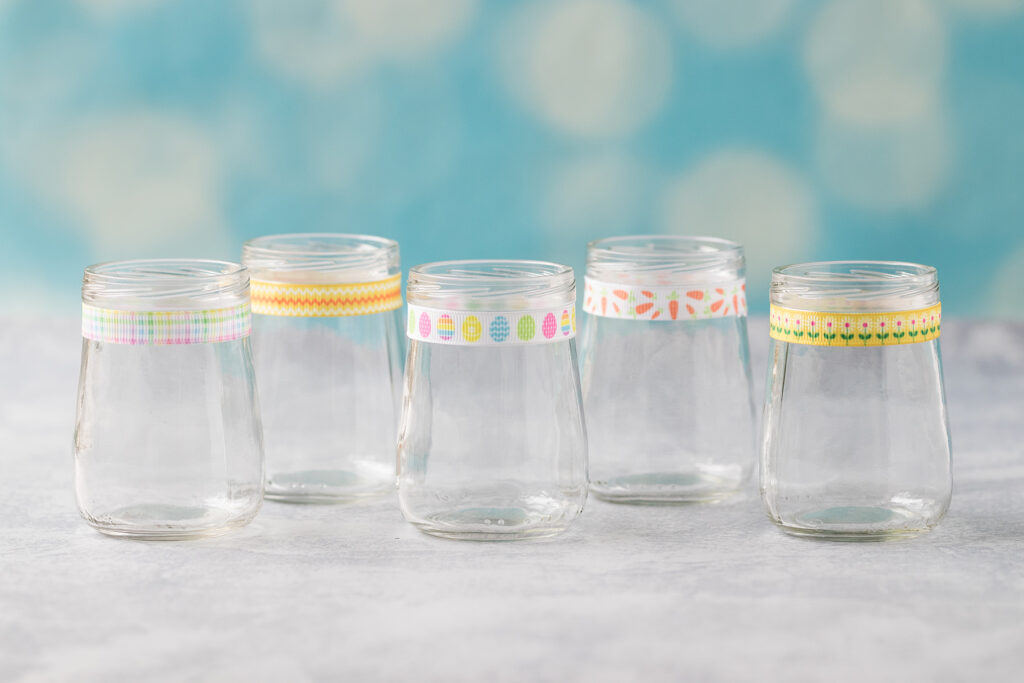
Put a thin layer of tacky glue on the jar where the ribbon will go. Glue the ribbon, taking care to smooth out any wrinkles. Apply glue to the end of the ribbon and smooth it into place. Hold the ribbon for a minute or so until the glue starts to dry. Repeat with each jar. Allow the ribbon to dry.
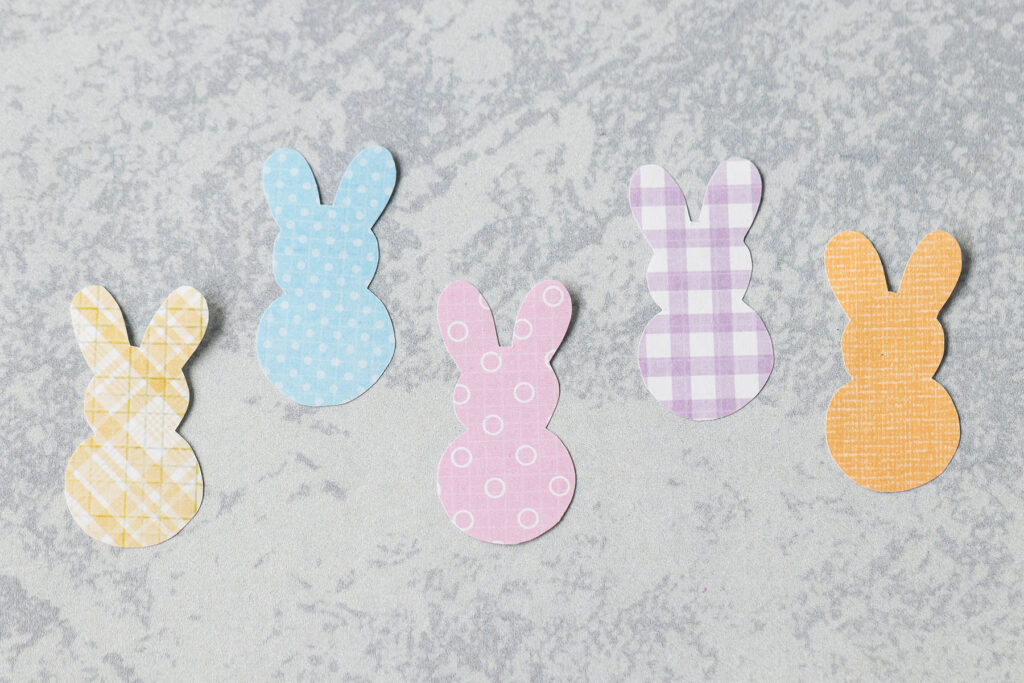
Download and print the bunny template (in the supplies section). Cut out the bunny. Use the bunny template to trace and cut out bunnies from the pastel scrapbook paper.
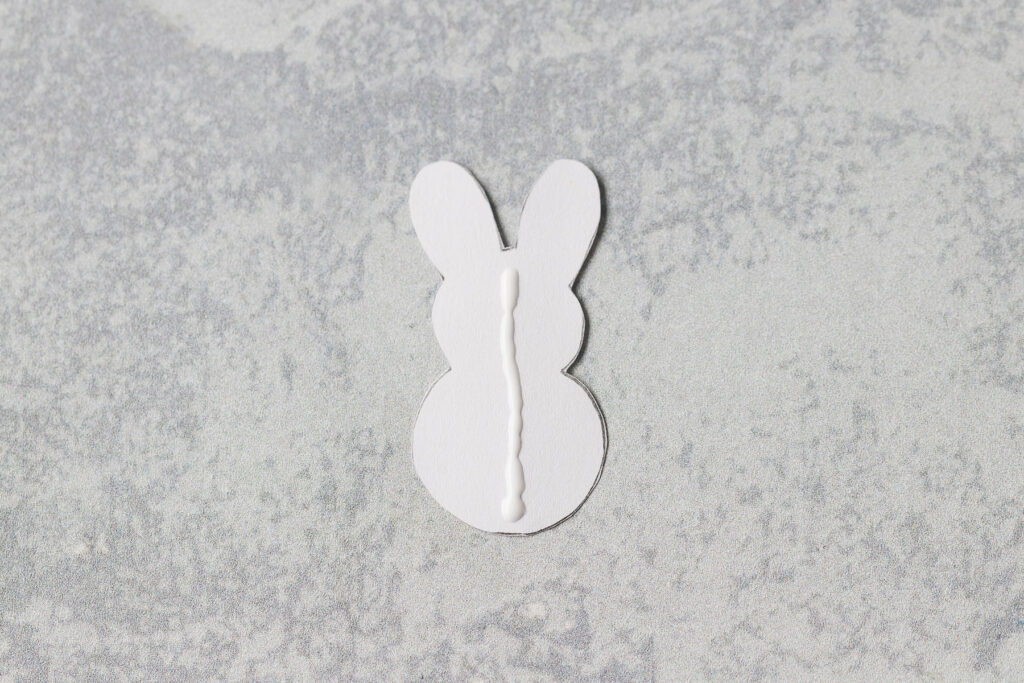
Make a single thin line of tacky glue on the back of each bunny. I lined my bunnies up opposite from where I glued the ribbon in place to hide that detail as much as possible.
Glue the bunnies. Allow them to dry.
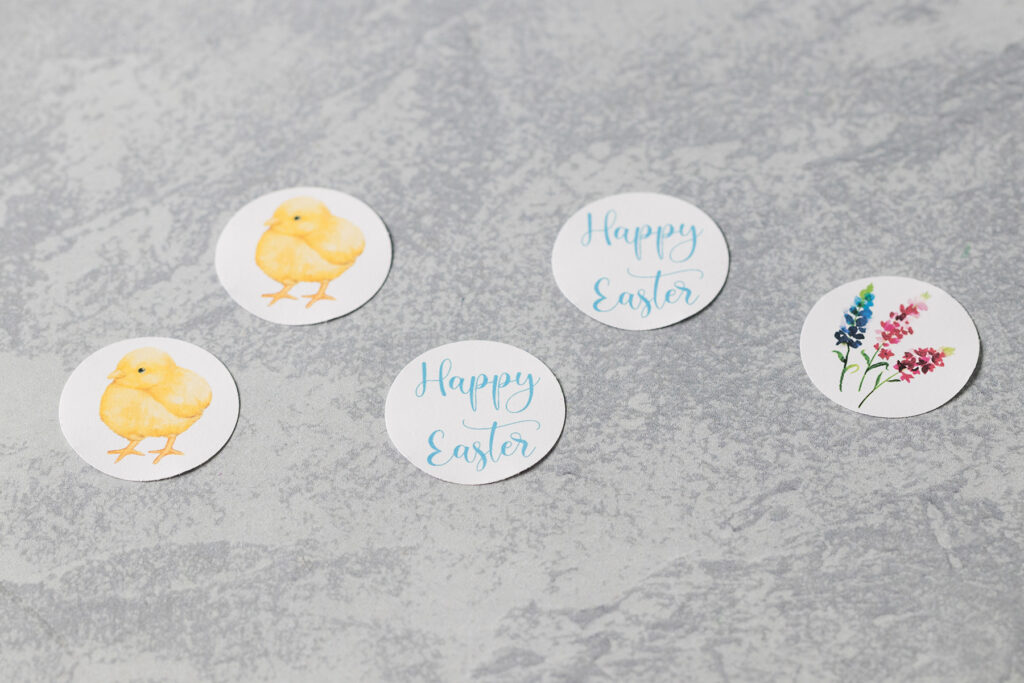
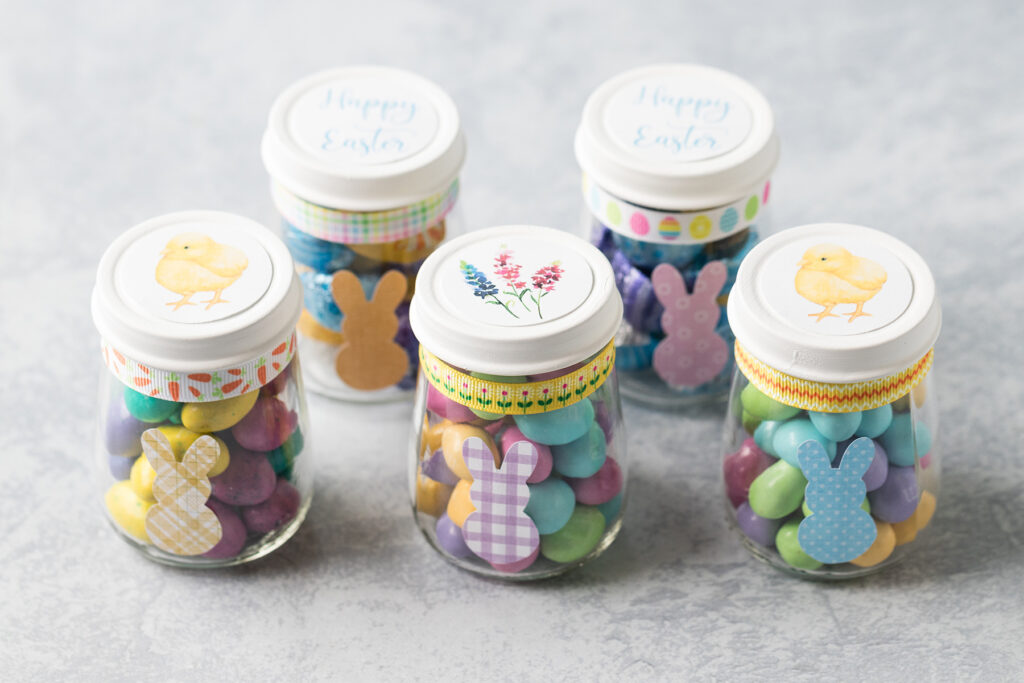
Download and print your jar lid toppers (in the supplies section). Cut them out with a circle punch. You can also trace a one-and-a-half-inch circle around the design and cut it out by hand.
Screw the lids on the jars. Having the lids on while you glue the toppers ensures that the lid topper designs line up with the bunnies.
Put glue on the raised part of the jar lid.
Glue the lid topper in place, smoothing it down as you go. Repeat with each lid. Allow the toppers to dry.
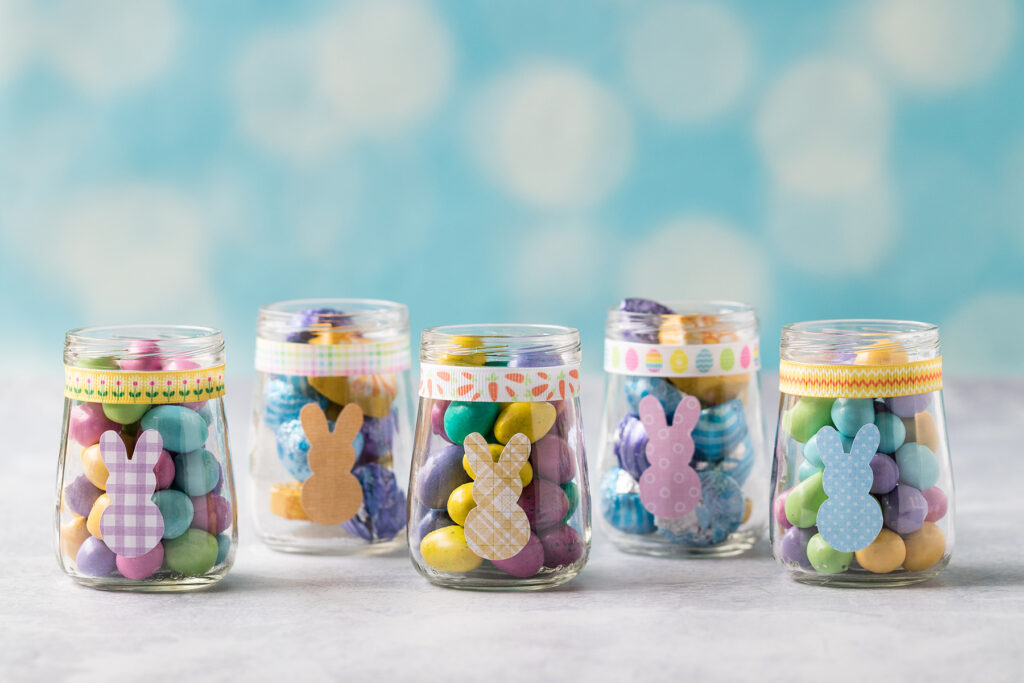
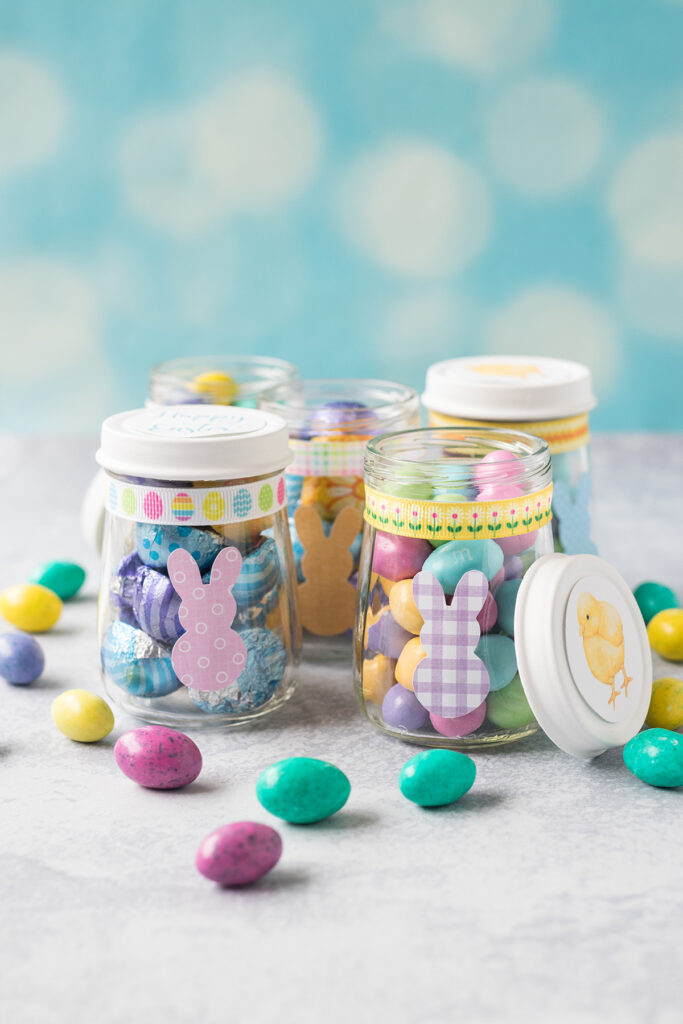
Open up the jars. Fill with the candy of your choosing.
Secure the lids. Your DIY Easter mini treat jars are ready!
[Disclaimer: There are a few affiliate links in this post. Thanks for your support!]
Did you make the DIY Easter mini treat jars?
I want to see them! Tag your images #RoseClearfield on Instagram or Twitter or post a photo to my Facebook page.
Pin this post for easy access to the DIY Easter mini treat jars later!