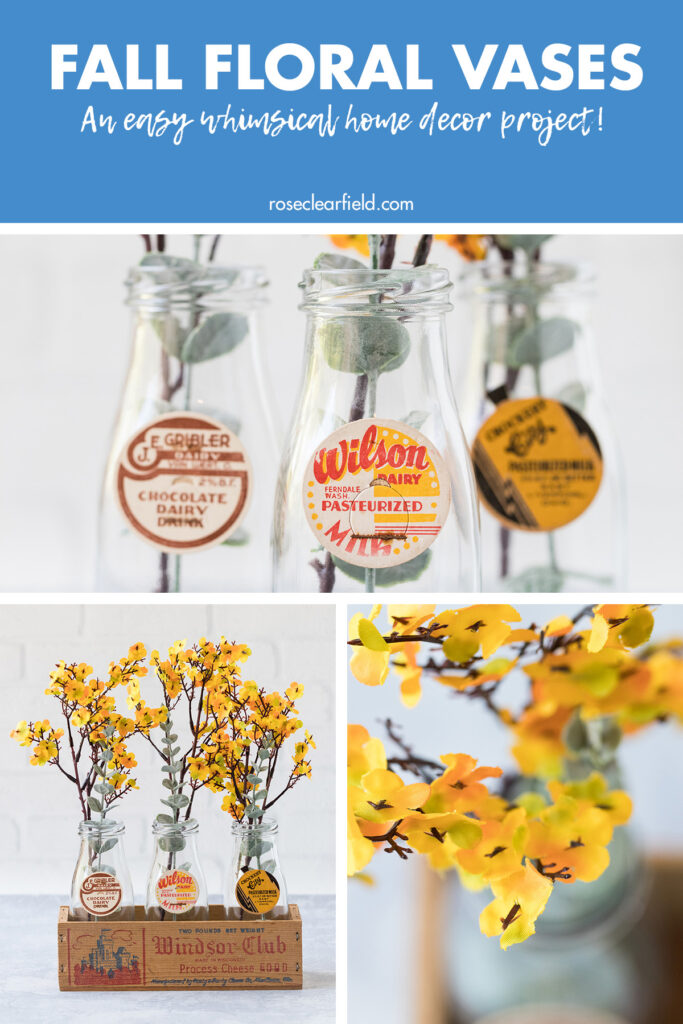
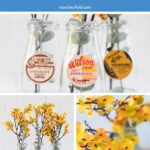
DIY fall milk cap floral vases are an easy, whimsical home decor project for the autumn season.
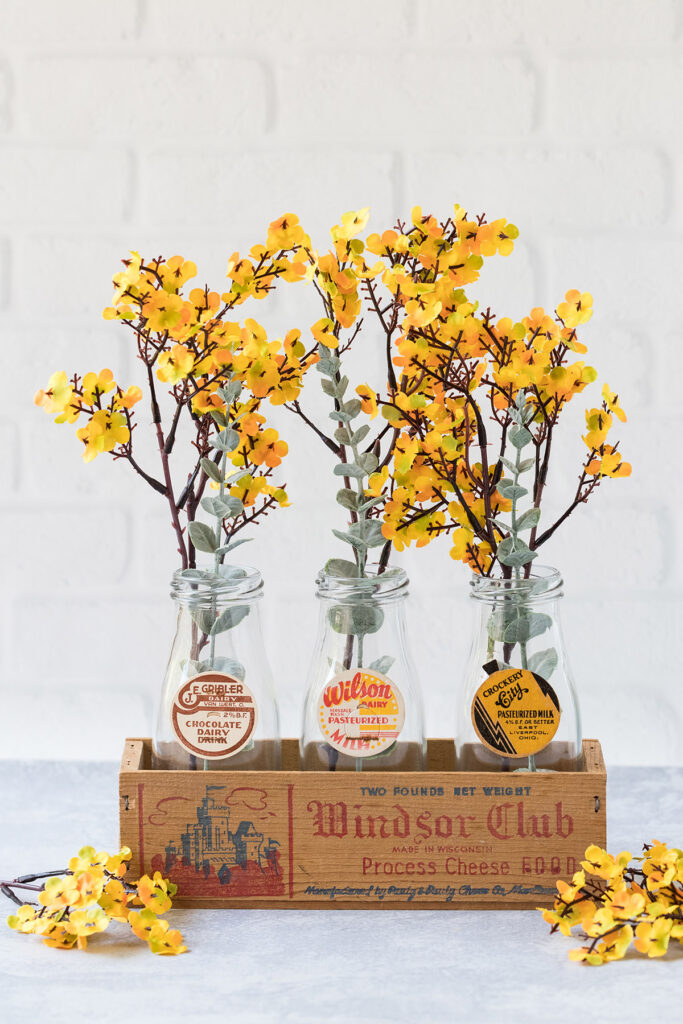
DIY fall milk cap floral vases are so easy to put together and create a beautiful addition to a home during the autumn season.
I had a lot of fun pulling together new and vintage elements to create one-of-a-kind floral vases with a subtle fall aesthetic. As they don’t scream fall, they’ll work well with all sorts of different autumn decorating elements and can even be displayed all year round. As always, I opted for faux florals, as I don’t do well keeping real plants of any sort in my house. You can definitely create fall vases with real plants.
This concept is so versatile. While I love the aesthetic for fall, you can customize it for any season. I also love the notion of switching up the colors and style to match your home’s decor so that you can display your vases all year long. Additionally, floral vases make a beautiful centerpiece or decoration at baby and bridal showers and weddings. Again, you can tweak the look as needed to fit a specific occasion.
Happy crafting!
Supplies for DIY fall milk cap floral vases
- Milk bottles, new or vintage, as many as you’d like to make
- Rubbing alcohol
- Faux fall flowers. I used eucalyptus stems and yellow-orange baby’s breath. While I love this aesthetic, you shouldn’t feel limited to these options.
- Scissors
- Vintage wooden cheese box or another container to hold the milk jar vases. The cheese box I used measures 9″ long x 2.5″ tall x 2.9″ deep, which is a very nice fit for the milk jars I used.
- Vintage milk caps, one for each milk jar. Milk caps that are approximately 1 1/2″ wide work well with the milk jars that I’m linking.
- 0.2″ foam mounting squares, one for each milk bottle
I’ve put a lot of thought into the materials that I selected for this project to ensure that they fit together seamlessly and create a beautiful aesthetic, helping your vases come together quickly with minimal stress. However, there are lots of materials that you can use. For example, you can use vintage milk bottles instead of the new bottles that I linked. Keep in mind that if you do, you’ll need to adjust the dimensions for the wooden cheese box and the height of the florals accordingly.
Instructions for DIY fall milk cap floral vases
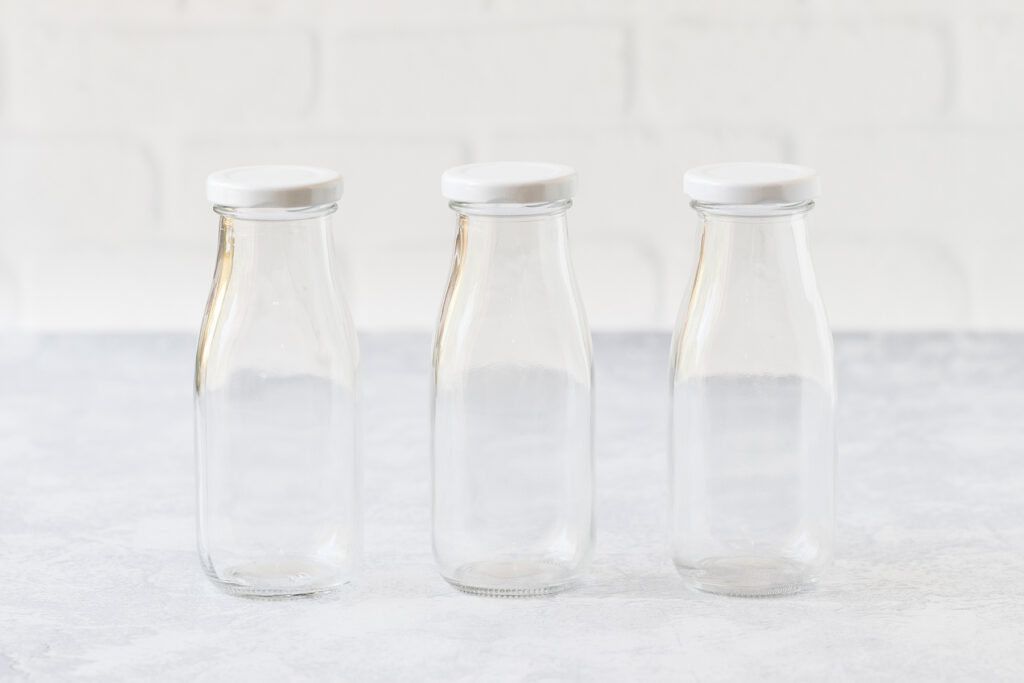
Gather your milk bottles. Apply a small amount of rubbing alcohol to a paper towel. Rub down the outside of the bottles to remove any dust, oil, and other residue. Allow the bottles to dry completely.
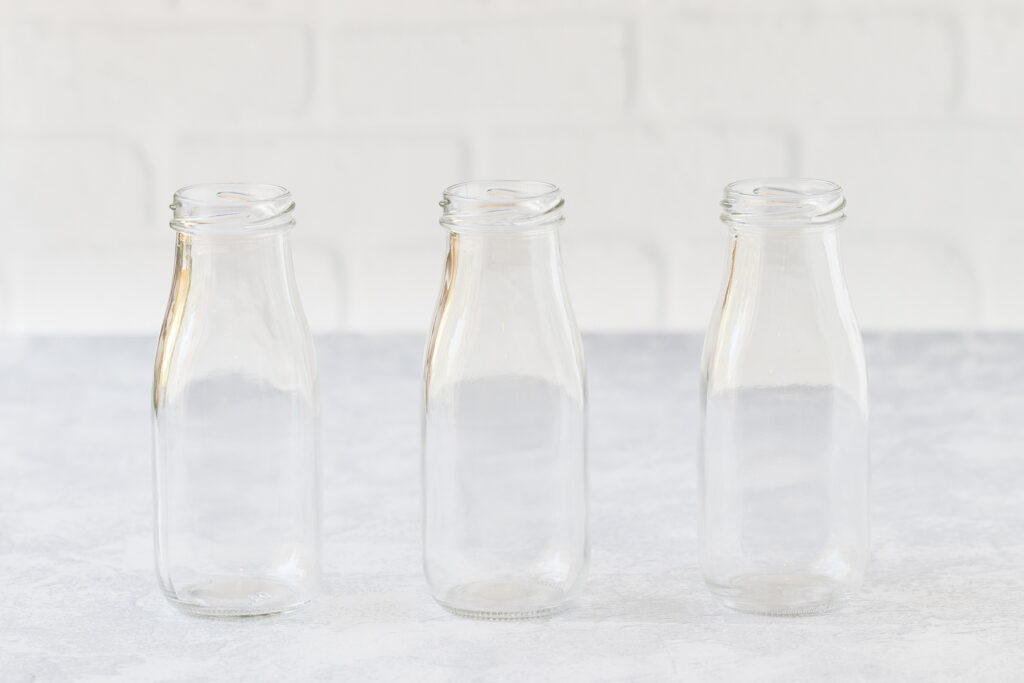
Remove the milk bottle caps. Set aside the caps, as you won’t be using them for this project.
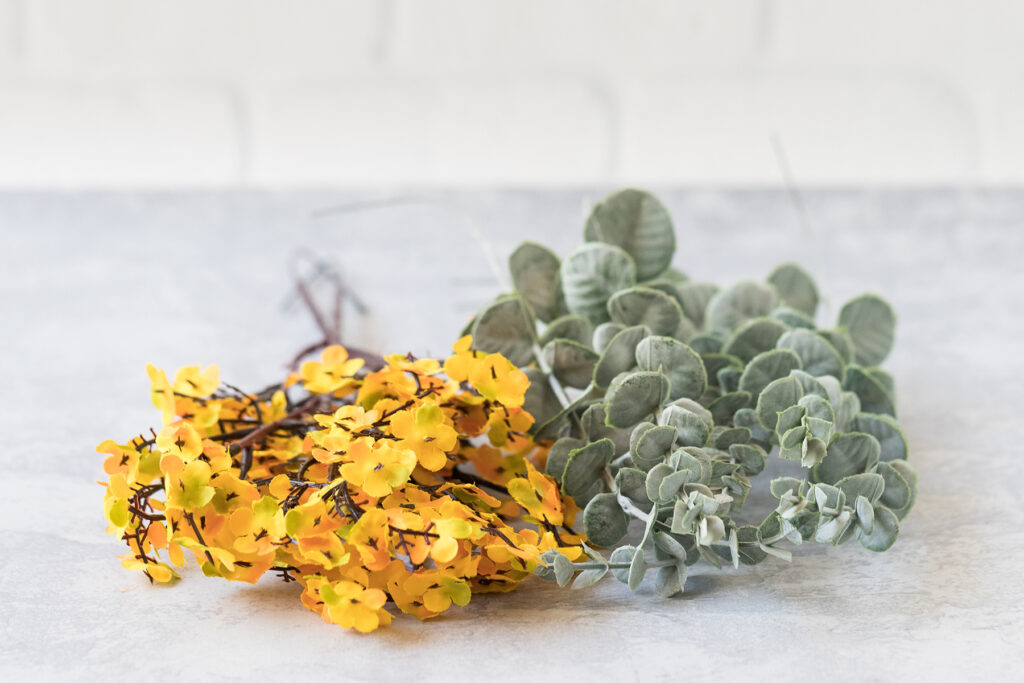
Gather your faux fall flowers.
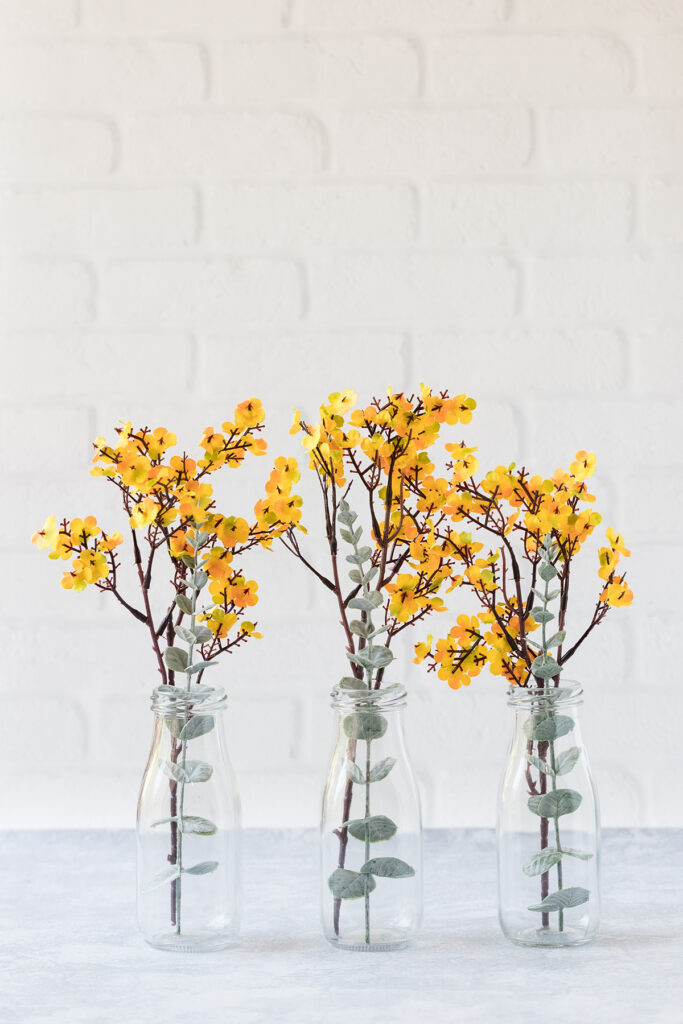
Cut down the flowers to size for the milk bottles. In most instances, I’ve found that regular scissors work just fine for cutting apart faux florals. You don’t need wire cutters or another tool.
For each vase, I paired a single eucalyptus stem with a single long baby’s breath stem that had several flowering branches. You want the baby’s breath stem to fit comfortably in the vase with all of the flowers above the top of the vase. My eucalyptus stems are about 10″ tall. The tallest parts of my baby’s breath stems are about 13″ tall.
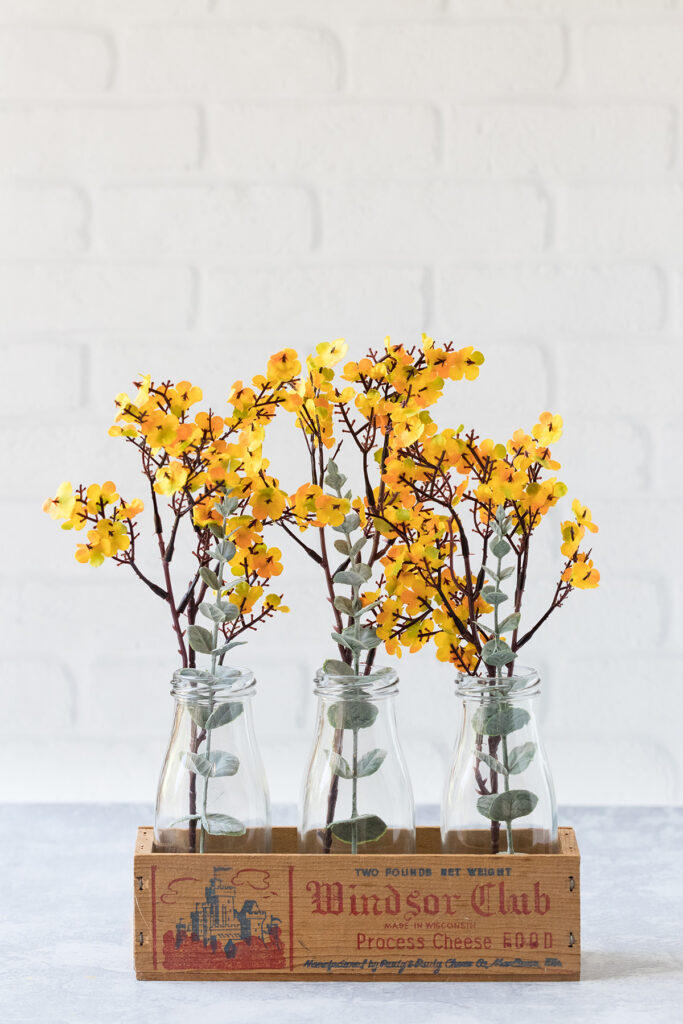
Arrange the milk bottles in the vintage wooden cheese box or another container of your choosing.
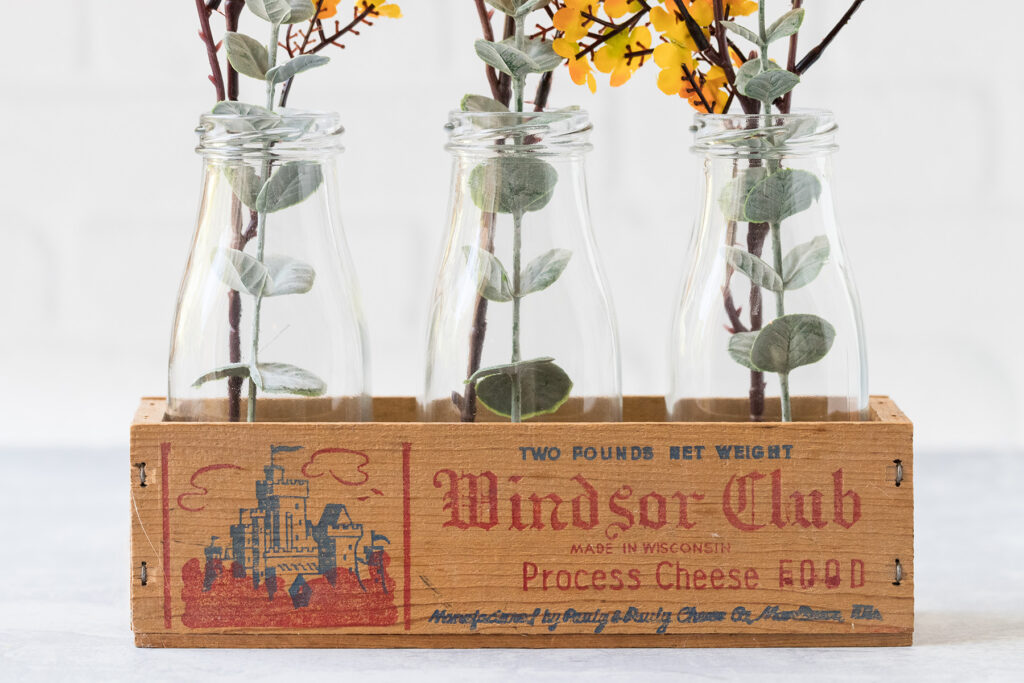
I just wanted to show you a close-up of the vintage wooden cheese box. I absolutely love the graphics, colors, and fonts.
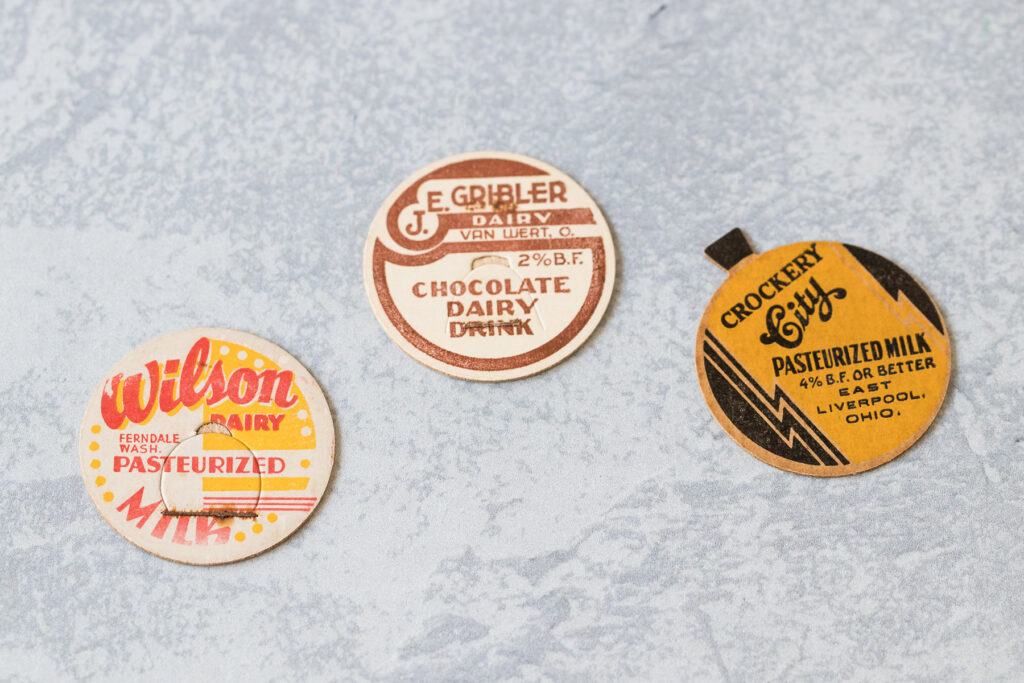
Collect the vintage milk caps you want to use to decorate your vases. I chose three from my collection that have vivid colors and good fonts. The caps create a nice aesthetic when grouped together. The caps also have colors that coordinate well with the faux florals that I chose.
I don’t always love using original vintage items for DIY projects. But vintage milk caps are easy to find, and I have duplicates of all of the milk caps I used. Alternatively, you can create digital versions or purchase digital versions and then print them on cardstock for this type of project.
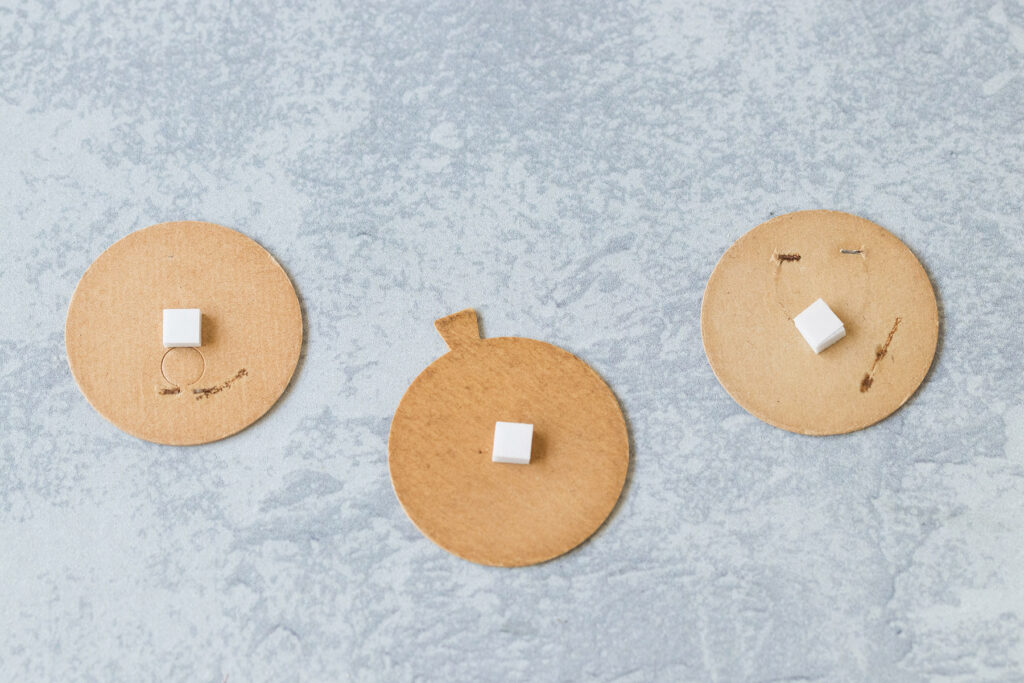
Pull the backing off the foam mount squares. Attach one foam mounting square right in the middle of each milk cap.
I know that 0.2″ mounting squares are a little fiddly and not as versatile for other DIY projects as most larger mounting squares. But the larger sizes I tried make the milk caps stick out too much. You can glue the milk caps right on the vases. But I wanted the dimension of the foam mounts as well as the option to use both the vases and milk caps for other projects in the future.
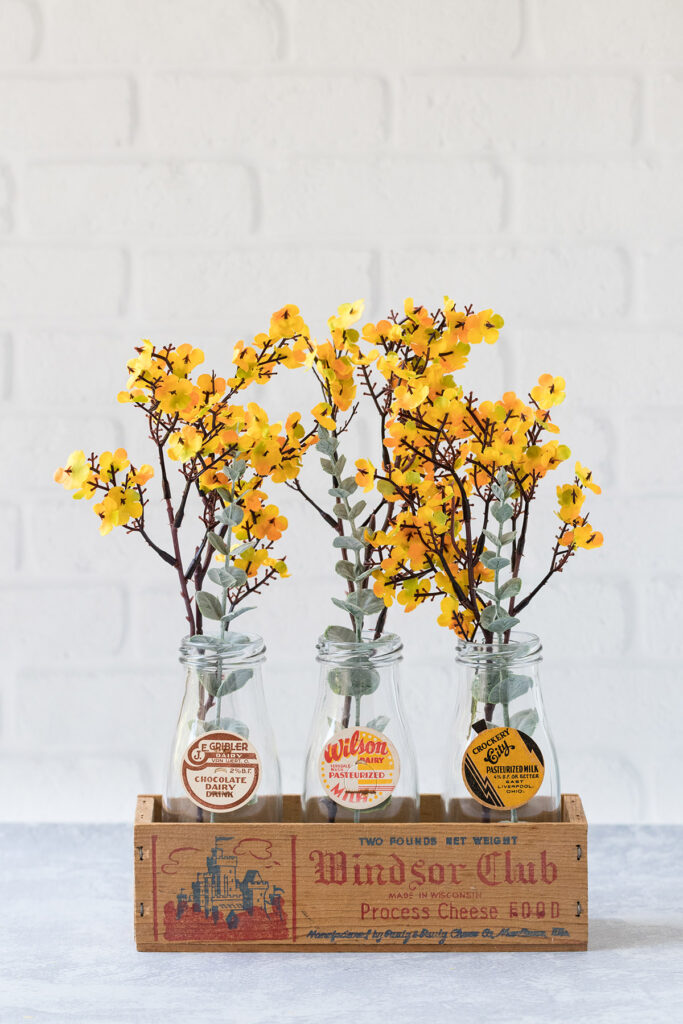
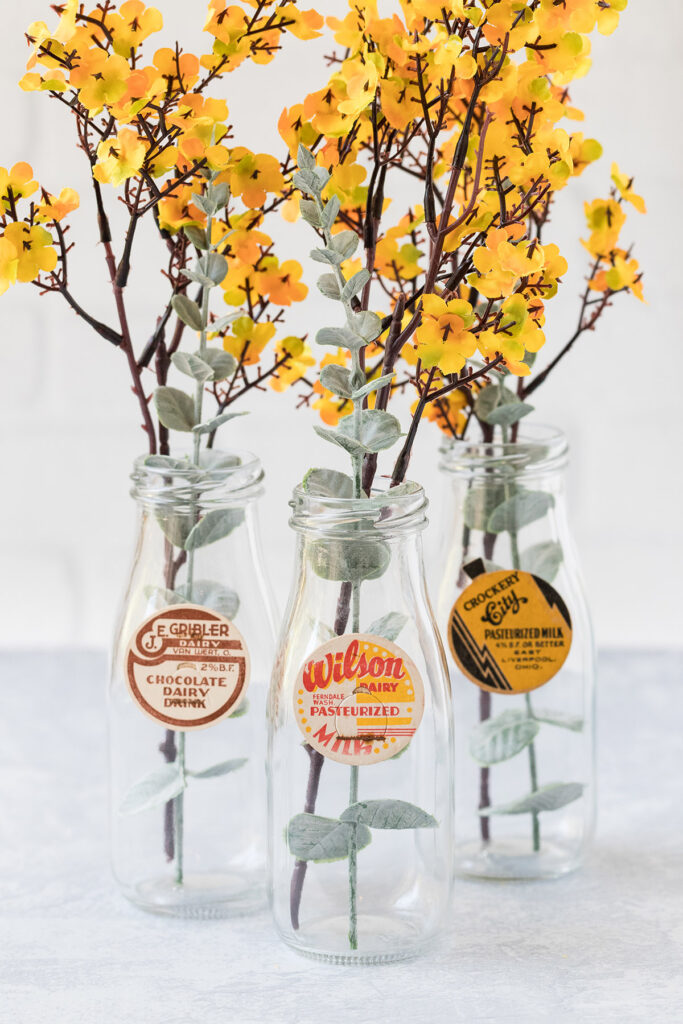
Remove the protective covering from the front of the foam mount squares. Attach the milk caps on the milk bottles right before the jars start to narrow toward the mouths.
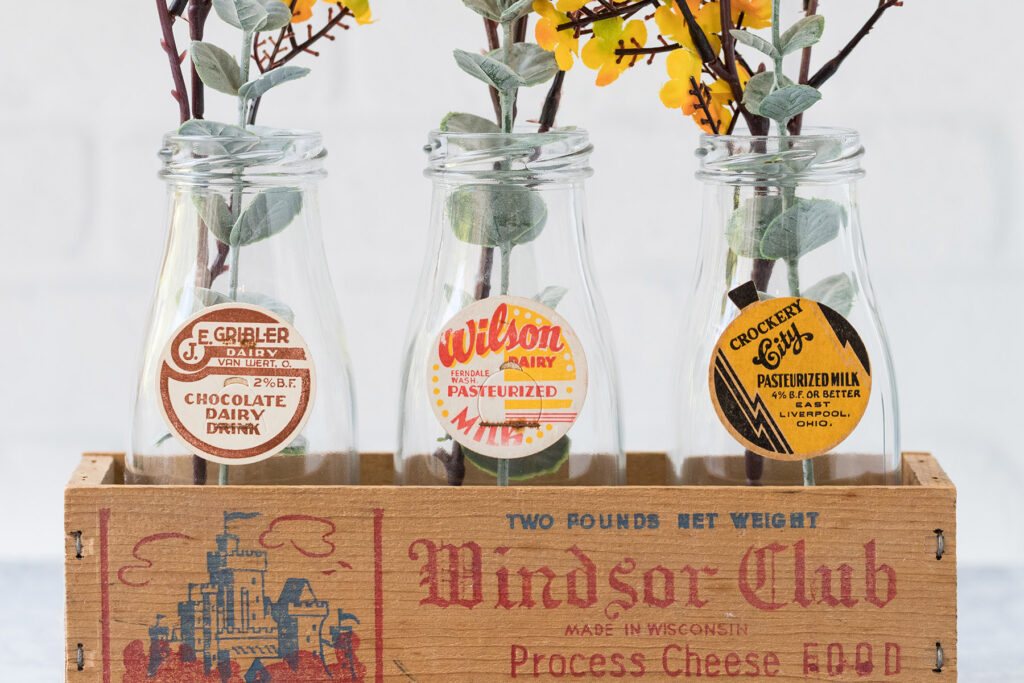
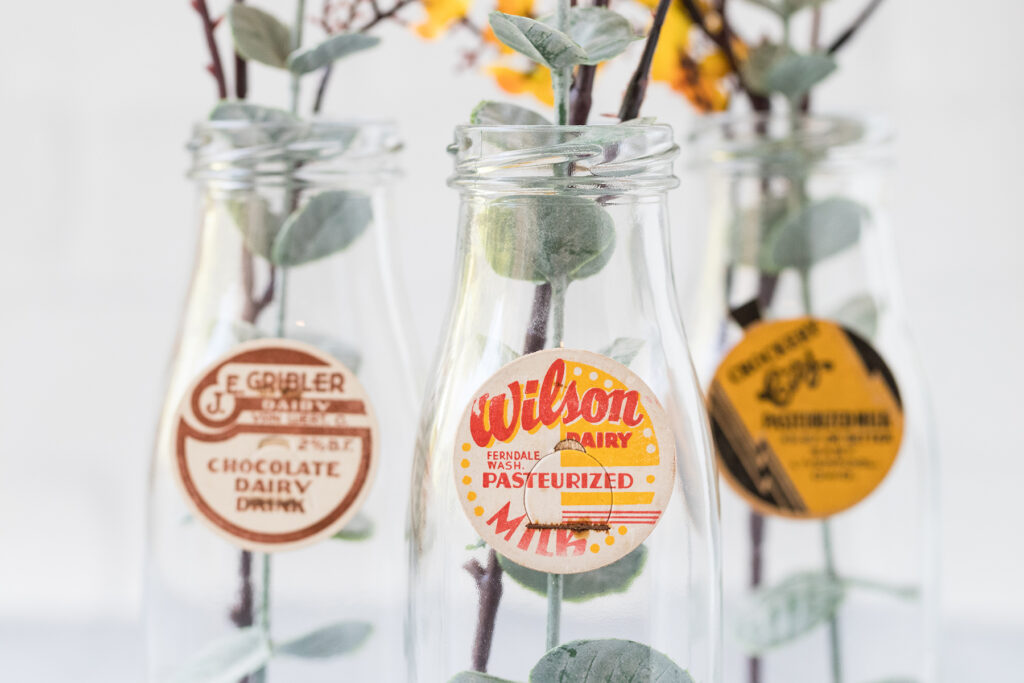
I love how all of the vintage fonts look together.
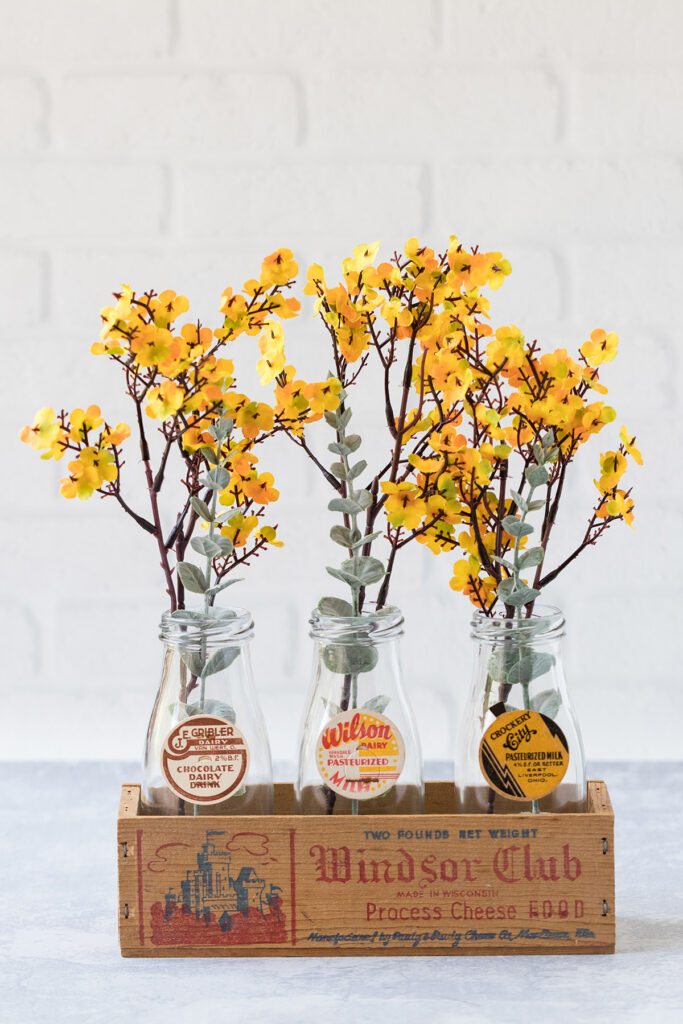
Your new vases are finished and ready to be displayed for the fall season!
[Disclaimer: There are a few affiliate links in this post. Thanks for your support!]
Did you make the DIY fall milk cap floral vases?
I’d love to see them! Tag your images #RoseClearfield on Instagram or Twitter or post a photo to my Facebook page.
Pin this post for easy access to the DIY fall milk cap floral vases later!
