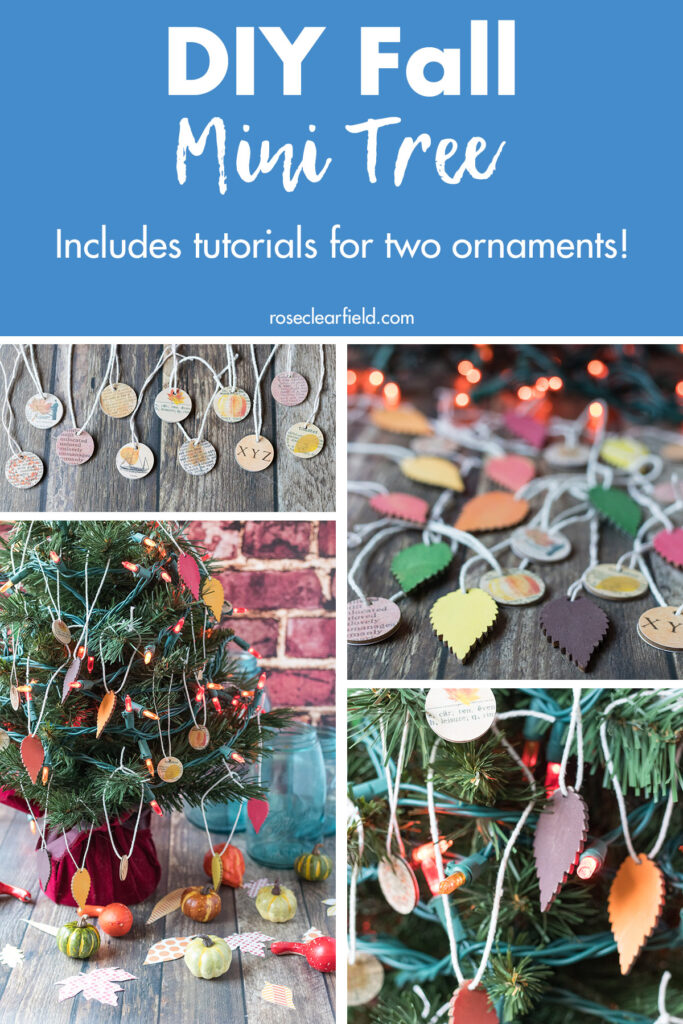

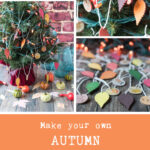
A DIY fall mini tree is the perfect way to decorate for the autumn season without the space commitment of a full-size artificial tree.

As someone who never really got over stringing up Christmas lights in her dorm room throughout the whole school year, a small decorated seasonal tree is the perfect adult compromise. You still get the cheer of tiny lights, but it feels a little more grown-up. I transitioned my mini fir tree from Christmas to Valentine’s Day this past year and have never looked back. While some seasonal/holiday displays have been a little more elaborate than others, I knew that I wanted to create a couple of new ornaments for this year’s DIY fall mini tree.

I walk you through how I put together the tree itself and how to make two different small-scale autumn ornaments: wooden leaf ornaments and wooden dictionary page ornaments. Happy decorating!

DIY fall mini tree and ornaments supplies

Mini tree
- Tabletop-sized pre-lit fir tree. Any tree 18″-24″ tall will work well. You can buy a tree with white lights or an un-lit tree and add your own lights.
- Orange holiday lights and/or red holiday lights. A 50-100 light strand is plenty of lights for a tabletop-sized tree.

Note: The white lights on my pre-lit tree burned out. So I did strands of orange and red lights. If you already have white lights on a mini tree, pair them with orange. A red and white lights pairing is great for the holiday season but will look a little Christmas-y for September and October.
I also highly recommend picking up a light timer if you don’t already own one, so you can set and forget your DIY fall mini tree, and the lights will turn on and off automatically each night.
It’s up you exactly how many light strands you’d like to use and how tightly you’d like to wrap the lights. Experiment with the aesthetic until you get it exactly the way you like it.
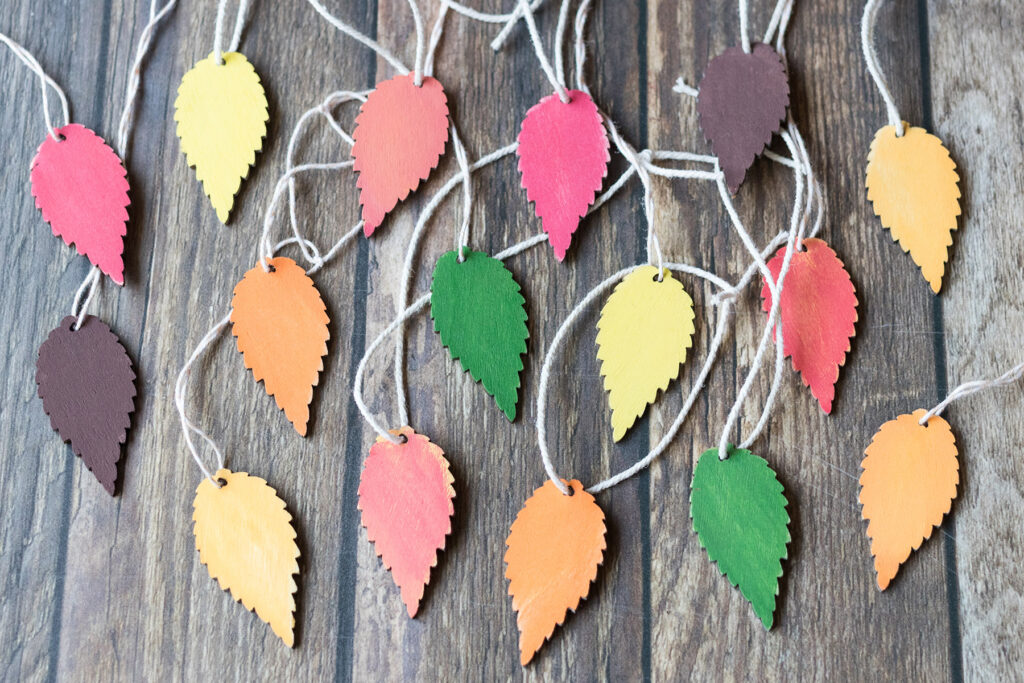
Wooden leaf ornaments
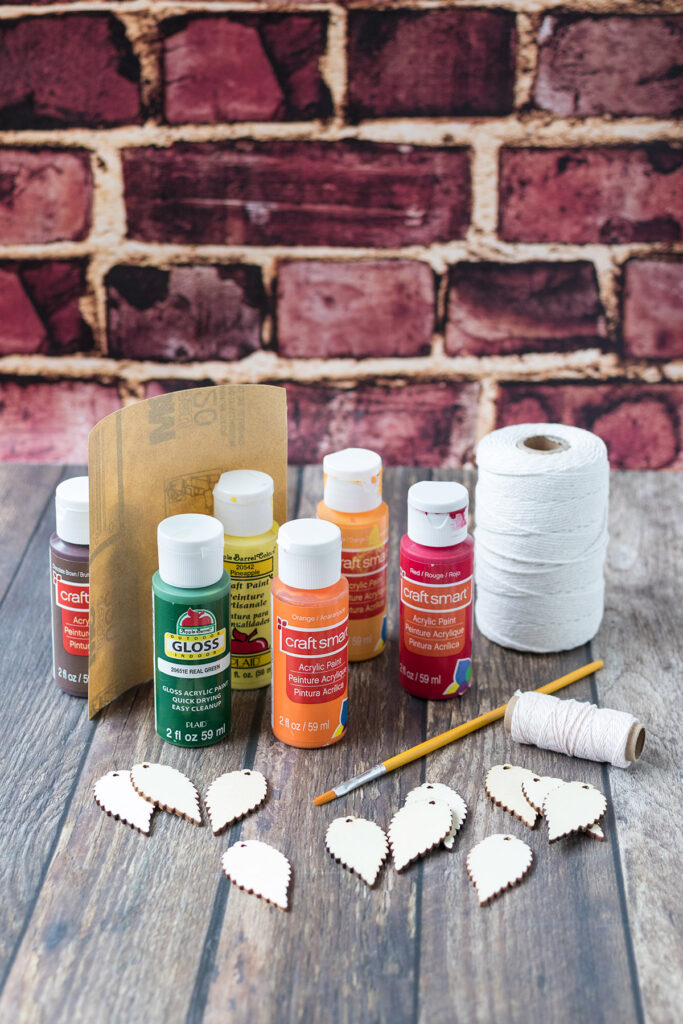
- Unfinished blank wood leaf ornaments
- Acrylic paint in assorted fall colors
- Small paintbrush
- Twine or other thin cord
- Fabric scissors
- Sandpaper (optional)
- Acrylic spray (glossy or matte finish is fine) (optional)
For my wooden leaf ornaments, I used regular baker’s twine and one of the twines from this pastel baker’s twine set. Any type of twine or other thin cord works well.
If you want to create a worn vintage/farmhouse/shabby chic aesthetic for your ornaments, use the sand paper to rub away as much of the paint as you’d like to give the ornaments a distressed finish. You can create as much or as little distressing as you like.
Directions
- Gather your supplies
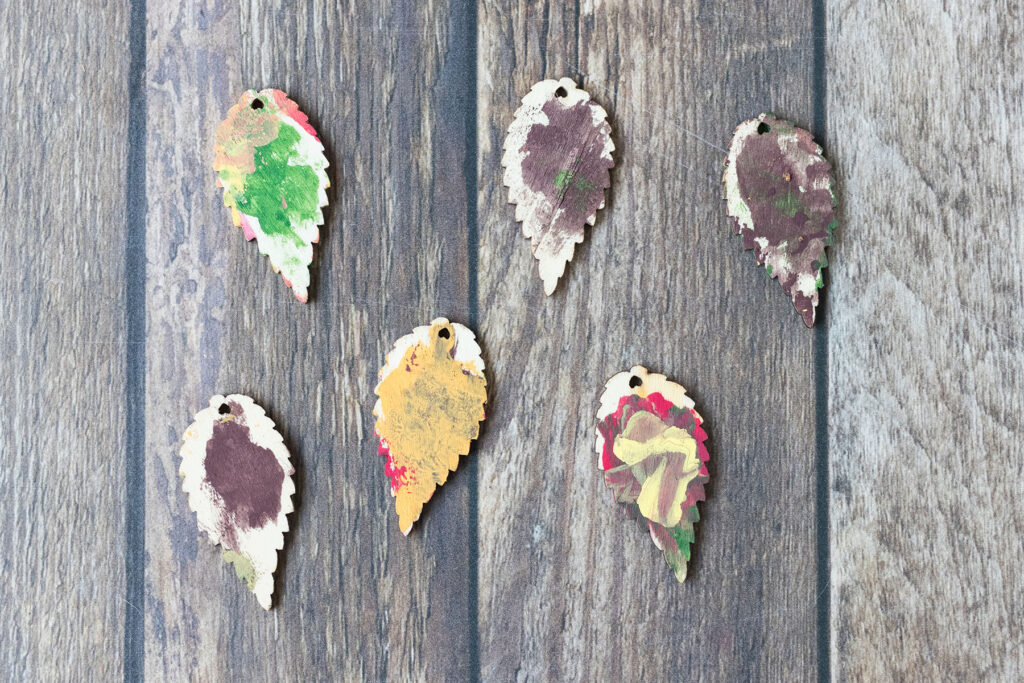
- Lay the wood leaf ornaments on a flat surface that’s safe for painting. Use the small paintbrush to apply a layer of paint to one side of each ornament. Allow it to dry completely. Add a second layer of paint. Depending on the specific color and the aesthetic you want to achieve, you may want to add a third layer. Allow the paint to dry fully in between every layer.
- Flip over the ornaments and repeat the previous step to paint the other side.
- Once the paint has dried completely, if you want to give the ornaments a distressed finish, use sandpaper to wear away as much or as little of the paint as you’d like.
- I like to apply two coats of acrylic spray to both sides of the ornaments to help seal the paint and prevent it from rubbing away on the tree and nearby surfaces.
- Cut 7-10″ twine or cord for each ornament. Thread a piece of twine through the hole in the ornament. Tie two overhand knots and pull as tightly as possible to secure the end of the twine. Snip any excess twine. Repeat this process with the remaining ornaments.
Wooden leaf ornaments are so much fun to make with kids of all ages! My three-year-old son loved painting his leaves.
Wooden dictionary page ornaments
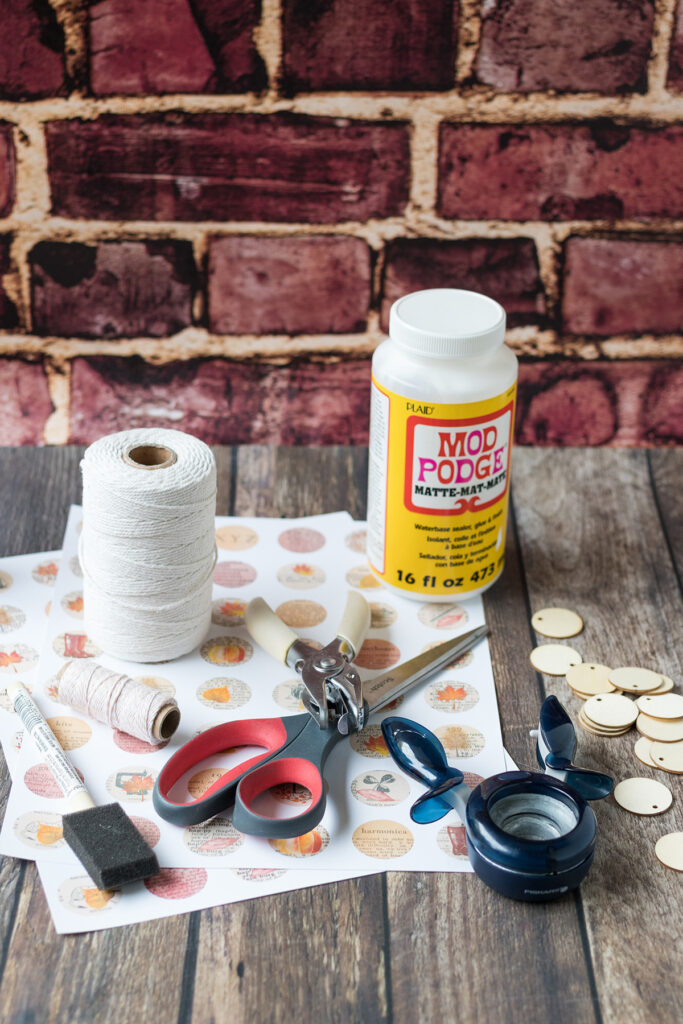
- 25mm/1-inch blank wooden circle pendants
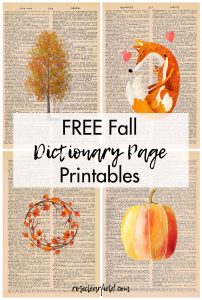
- FREE 1-inch vintage dictionary page fall circles digital collage sheet
- Two sheets of white cardstock for printing the dictionary page circles
- 1″ circle paper punch
- 1/8″ circle paper punch
- Mod Podge (glossy or matte finish is fine)
- 1″ foam brush
- Twine or other thin cord
- Fabric scissors
- Acrylic spray (glossy or matte finish is fine)
For my wooden dictionary page ornaments, I used regular baker’s twine and one of the twines from this pastel baker’s twine set. Any type of twine or other thin cord works well.
I used matte finish Mod Podge and acrylic spray, as I prefer the matte aesthetic. Glossy works well, too.
Directions
- Gather your supplies.
- Print the dictionary page fall circles digital collage sheet twice on cardstock.
- If you’re using an ink-jet printer, give the collage sheets a couple of coats of acrylic spray to seal the ink. If you’re using a laser printer, you can skip this step.
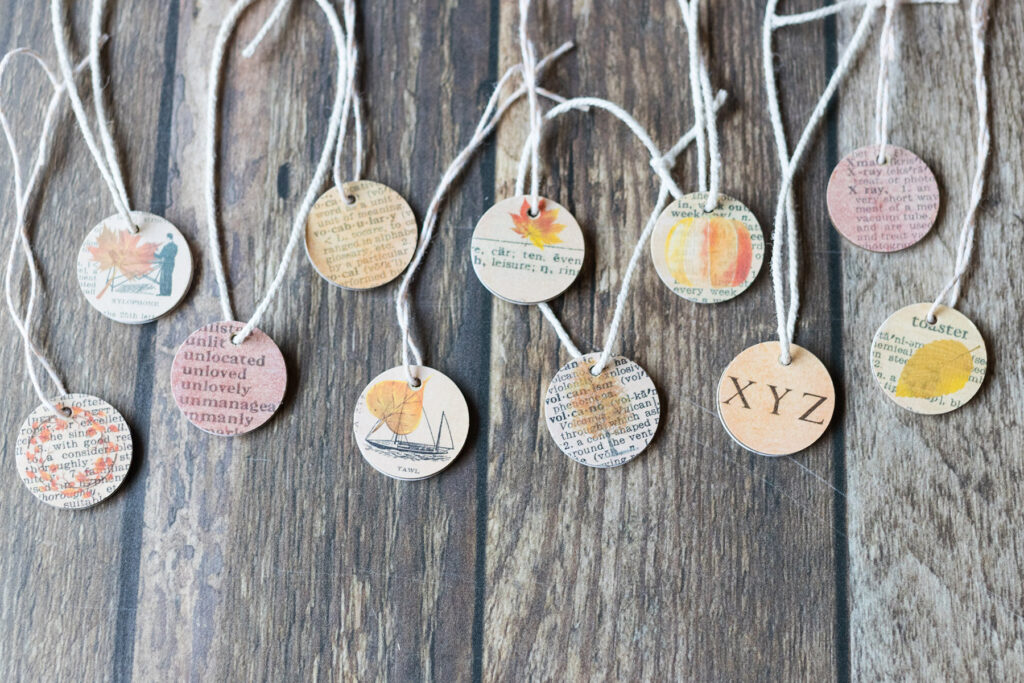
- Use the 1″ circle paper punch to punch out dictionary page circles for as many ornaments as you would like to make. Remember to punch out images for the front and back of each ornament.
- Use the 1/8″ circle paper punch to punch out a hole for the twine.
- Use the foam brush to apply a thin layer of Mod Podge to one side of each wooden circle pendant, lining the hole in the paper circle up with the hole in the wooden circle for the twine. Smooth the dictionary page circles into place. Allow the Mod Podge to dry completely.
- Apply a thin layer of Mod Podge over each dictionary page circle. Allow it to dry completely.
- Repeat steps 5 and 6 for the back side of each ornament.
- I like to apply two coats of acrylic spray to both sides of the ornaments to help seal the Mod Podge and prevent rips and tears.
- Cut 7-10″ twine or cord for each ornament. Thread a piece of twine through the hole in the ornament. Tie two overhand knots and pull as tightly as possible to secure the end of the twine. Snip any excess twine. Repeat this process with the remaining ornaments.
With your new fall ornaments completed, you’re ready to decorate and display your DIY fall mini tree!

I’ve created dictionary page digital collage sheets for Valentine’s Day and St. Patrick’s Day as well. If you’re looking for dictionary digital collage sheets for other holidays and seasons, let me know! I’m happy to create them for you. I also offer a full set of vintage dictionary pages, which are perfect for creating your own materials.
[Disclaimer: There are a few affiliate links in this post. Thanks for your support!]

Did you make a DIY fall mini tree?
I want to see it! Tag your images #RoseClearfield on Instagram or Twitter, or post a photo to my Facebook page.
Pin this post for easy access to the DIY fall mini tree directions later!