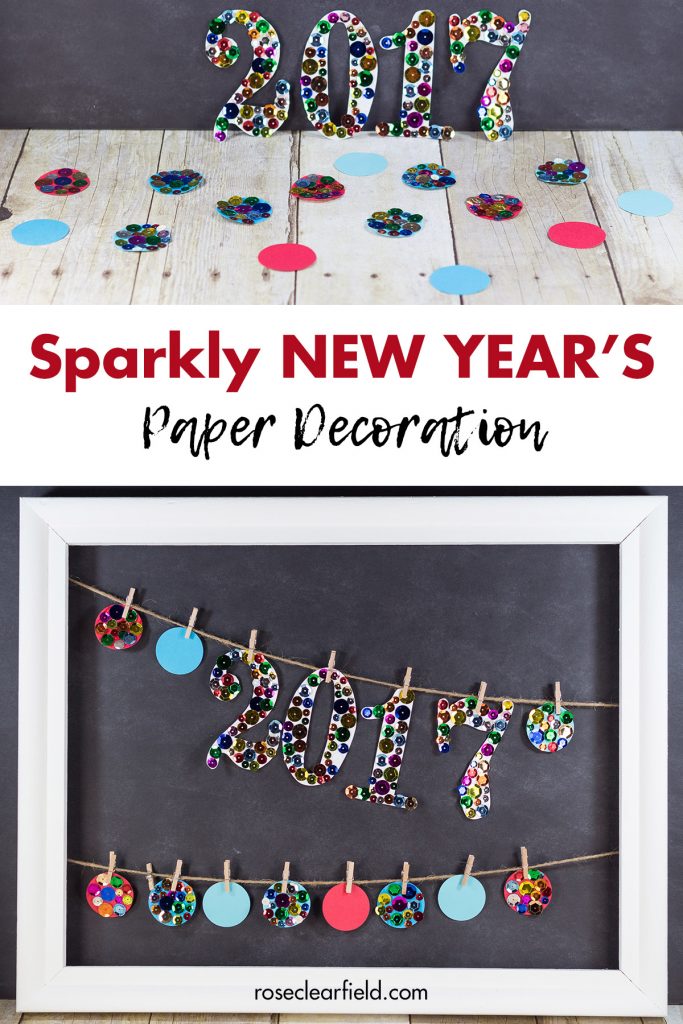
Happy New Year! It seems like just yesterday I was sharing my paper Christmas lights decoration, and now we’re already into January.
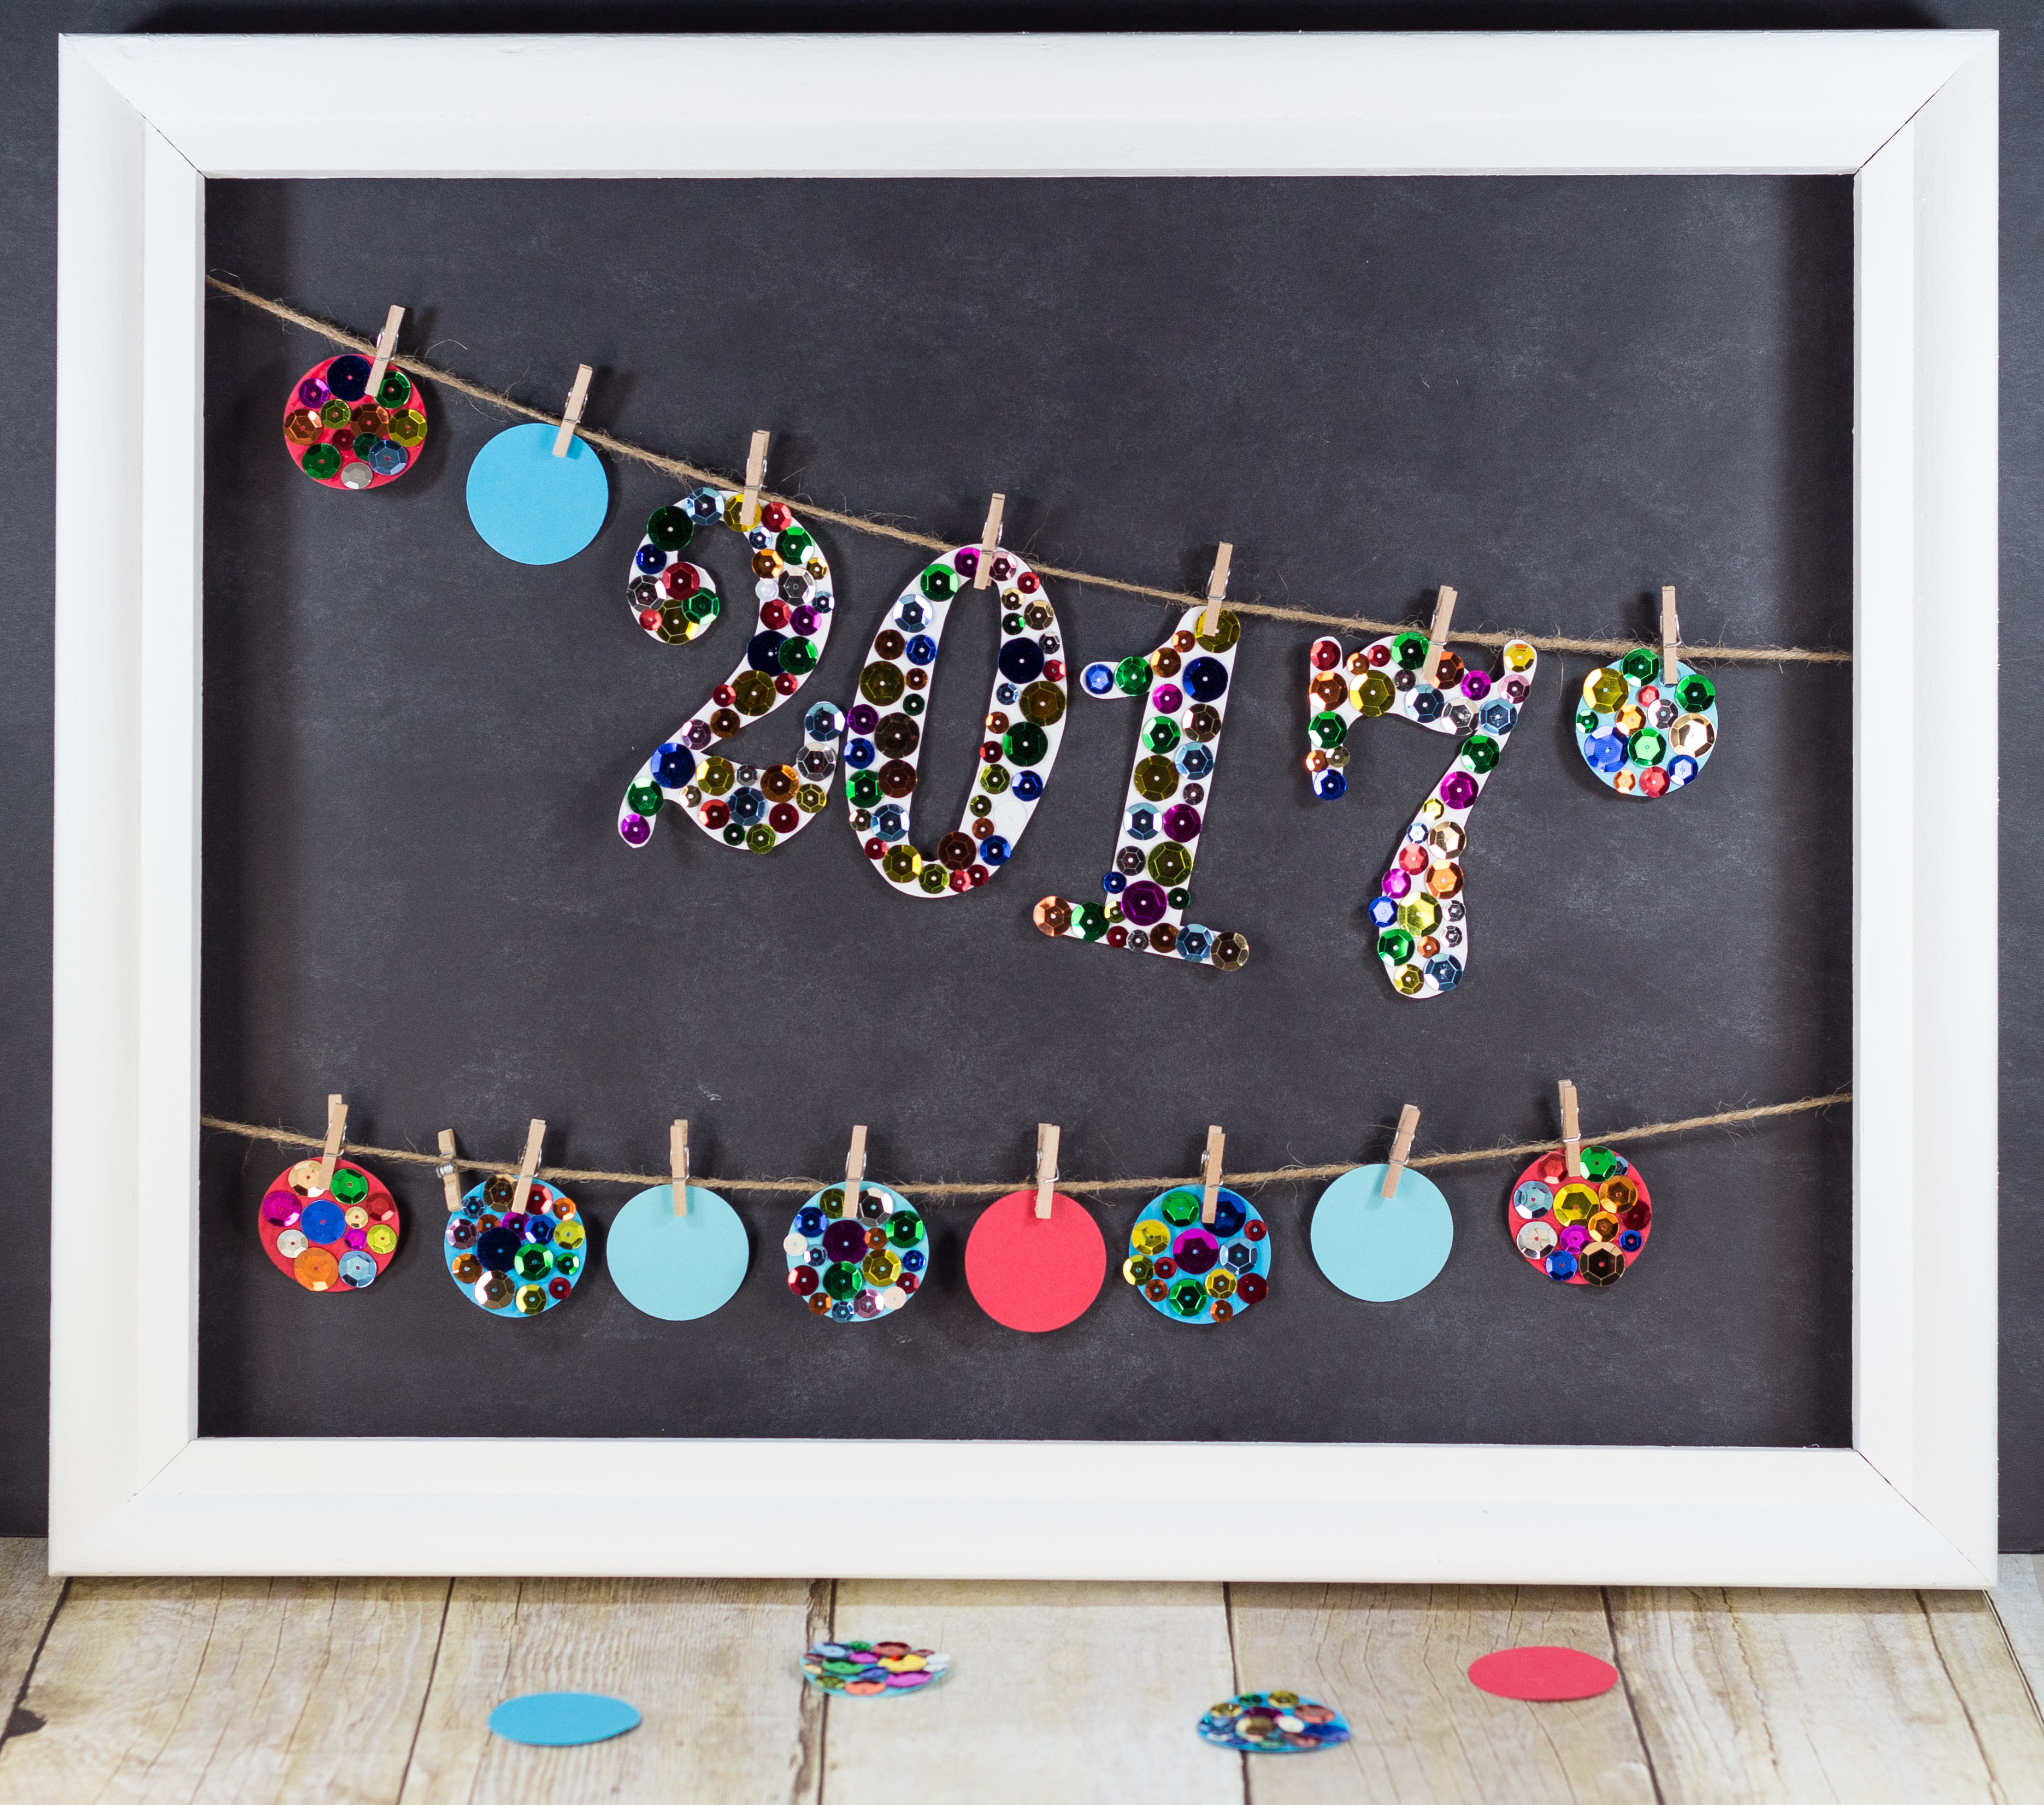
In the paper Christmas lights post, I talk about the open frame in my entryway and how I like to switch it up for different seasons and holidays. With the craziness of moving in November 2015, I didn’t get anything in my frame between the fall and Valentine’s Day. So I’m filling in the gaps now. I was so excited about my paper Christmas lights and not at all ready to take them down yet. But I’m happy with the sparkly New Year’s paper decoration I came up with for January, too.
I know I’m sharing this tutorial on January 2, which means I missed the opportunity to have people make it in time for New Year’s Eve and New Year’s day parties. Major blogger fail, I know. But it will still be up here for the next New Year’s and hopefully many more New Year’s to come. Also, I plan to keep my decoration up for the entire month of January before swapping it out for hearts for Valentine’s Day. If you decorate for varying seasons and holidays as well, you can leave up your New Year’s decoration for the whole month, too.
Just like my paper Christmas lights, my New Year’s decoration is extremely versatile. Of course, I love my hanging display and recommend this option to anyone who switches up their home decor regularly. But the components are perfect for a traditional garland or a simple tabletop display as well. Feel free to use them in whatever way works best in your own home.
Sparkly New Year’s paper decoration supplies
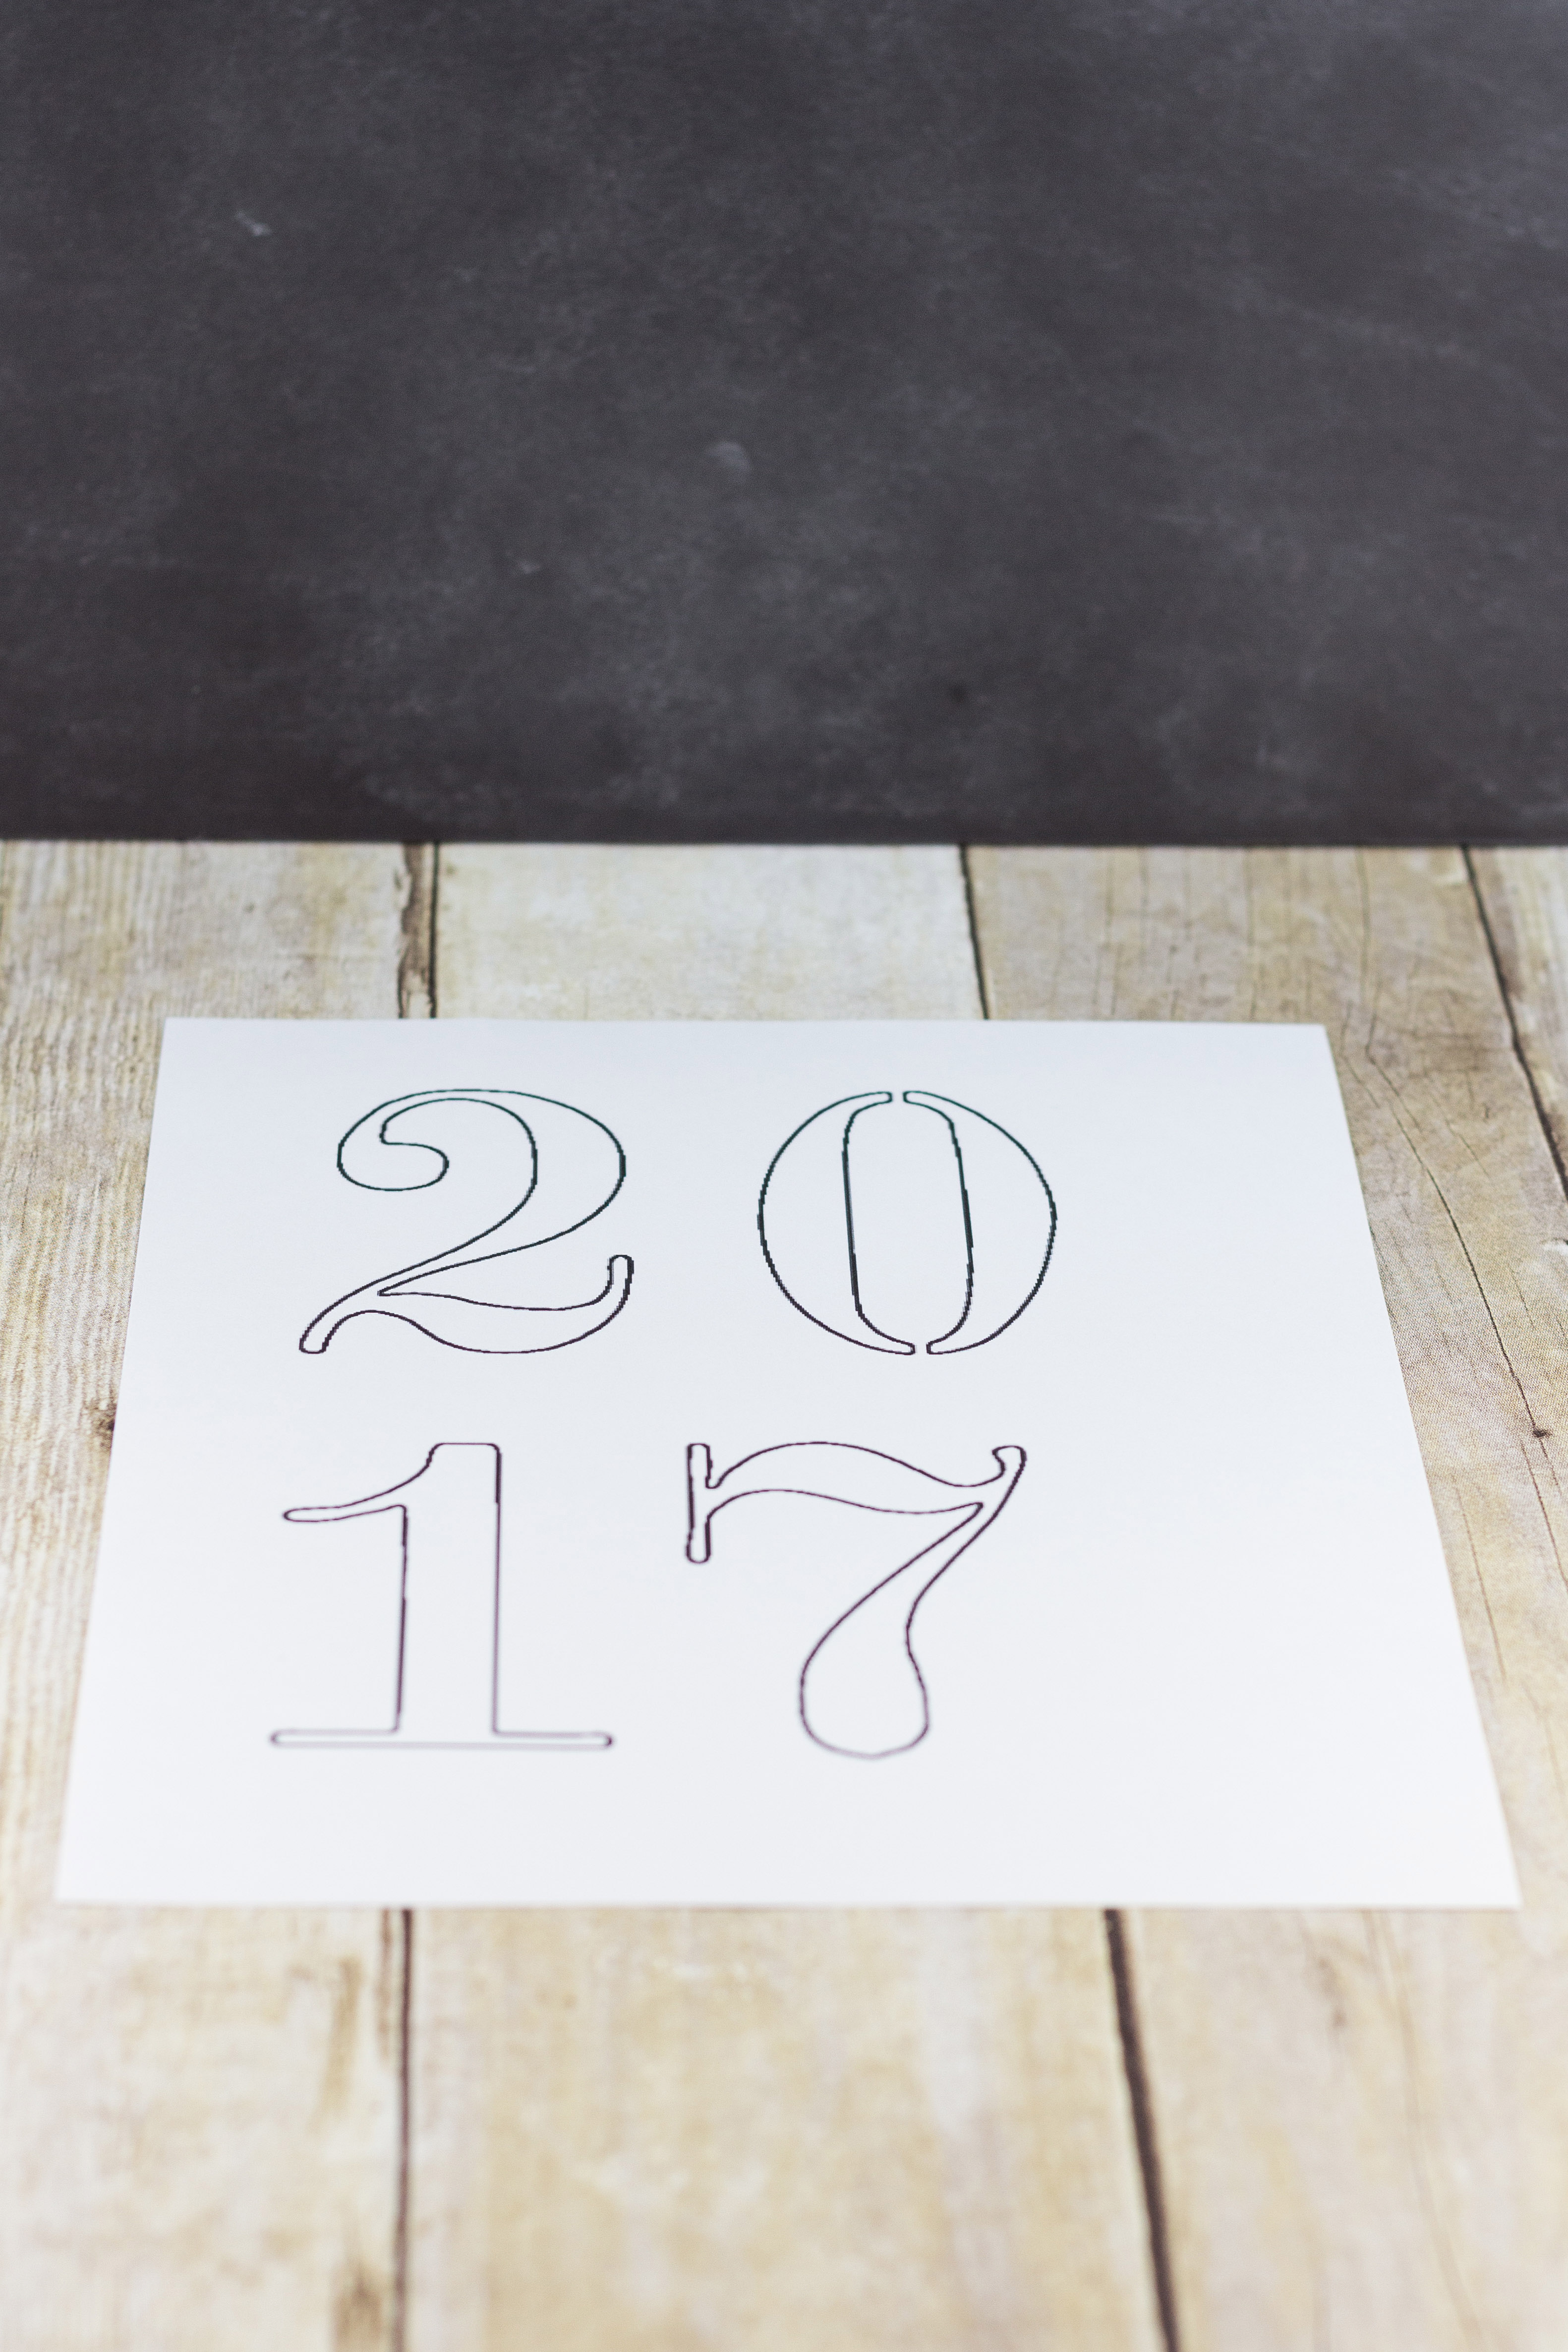
- 2017 numbers template (original source: Free Stencil Gallery)
- Two 8.5″ x 11″ sheets white cardstock
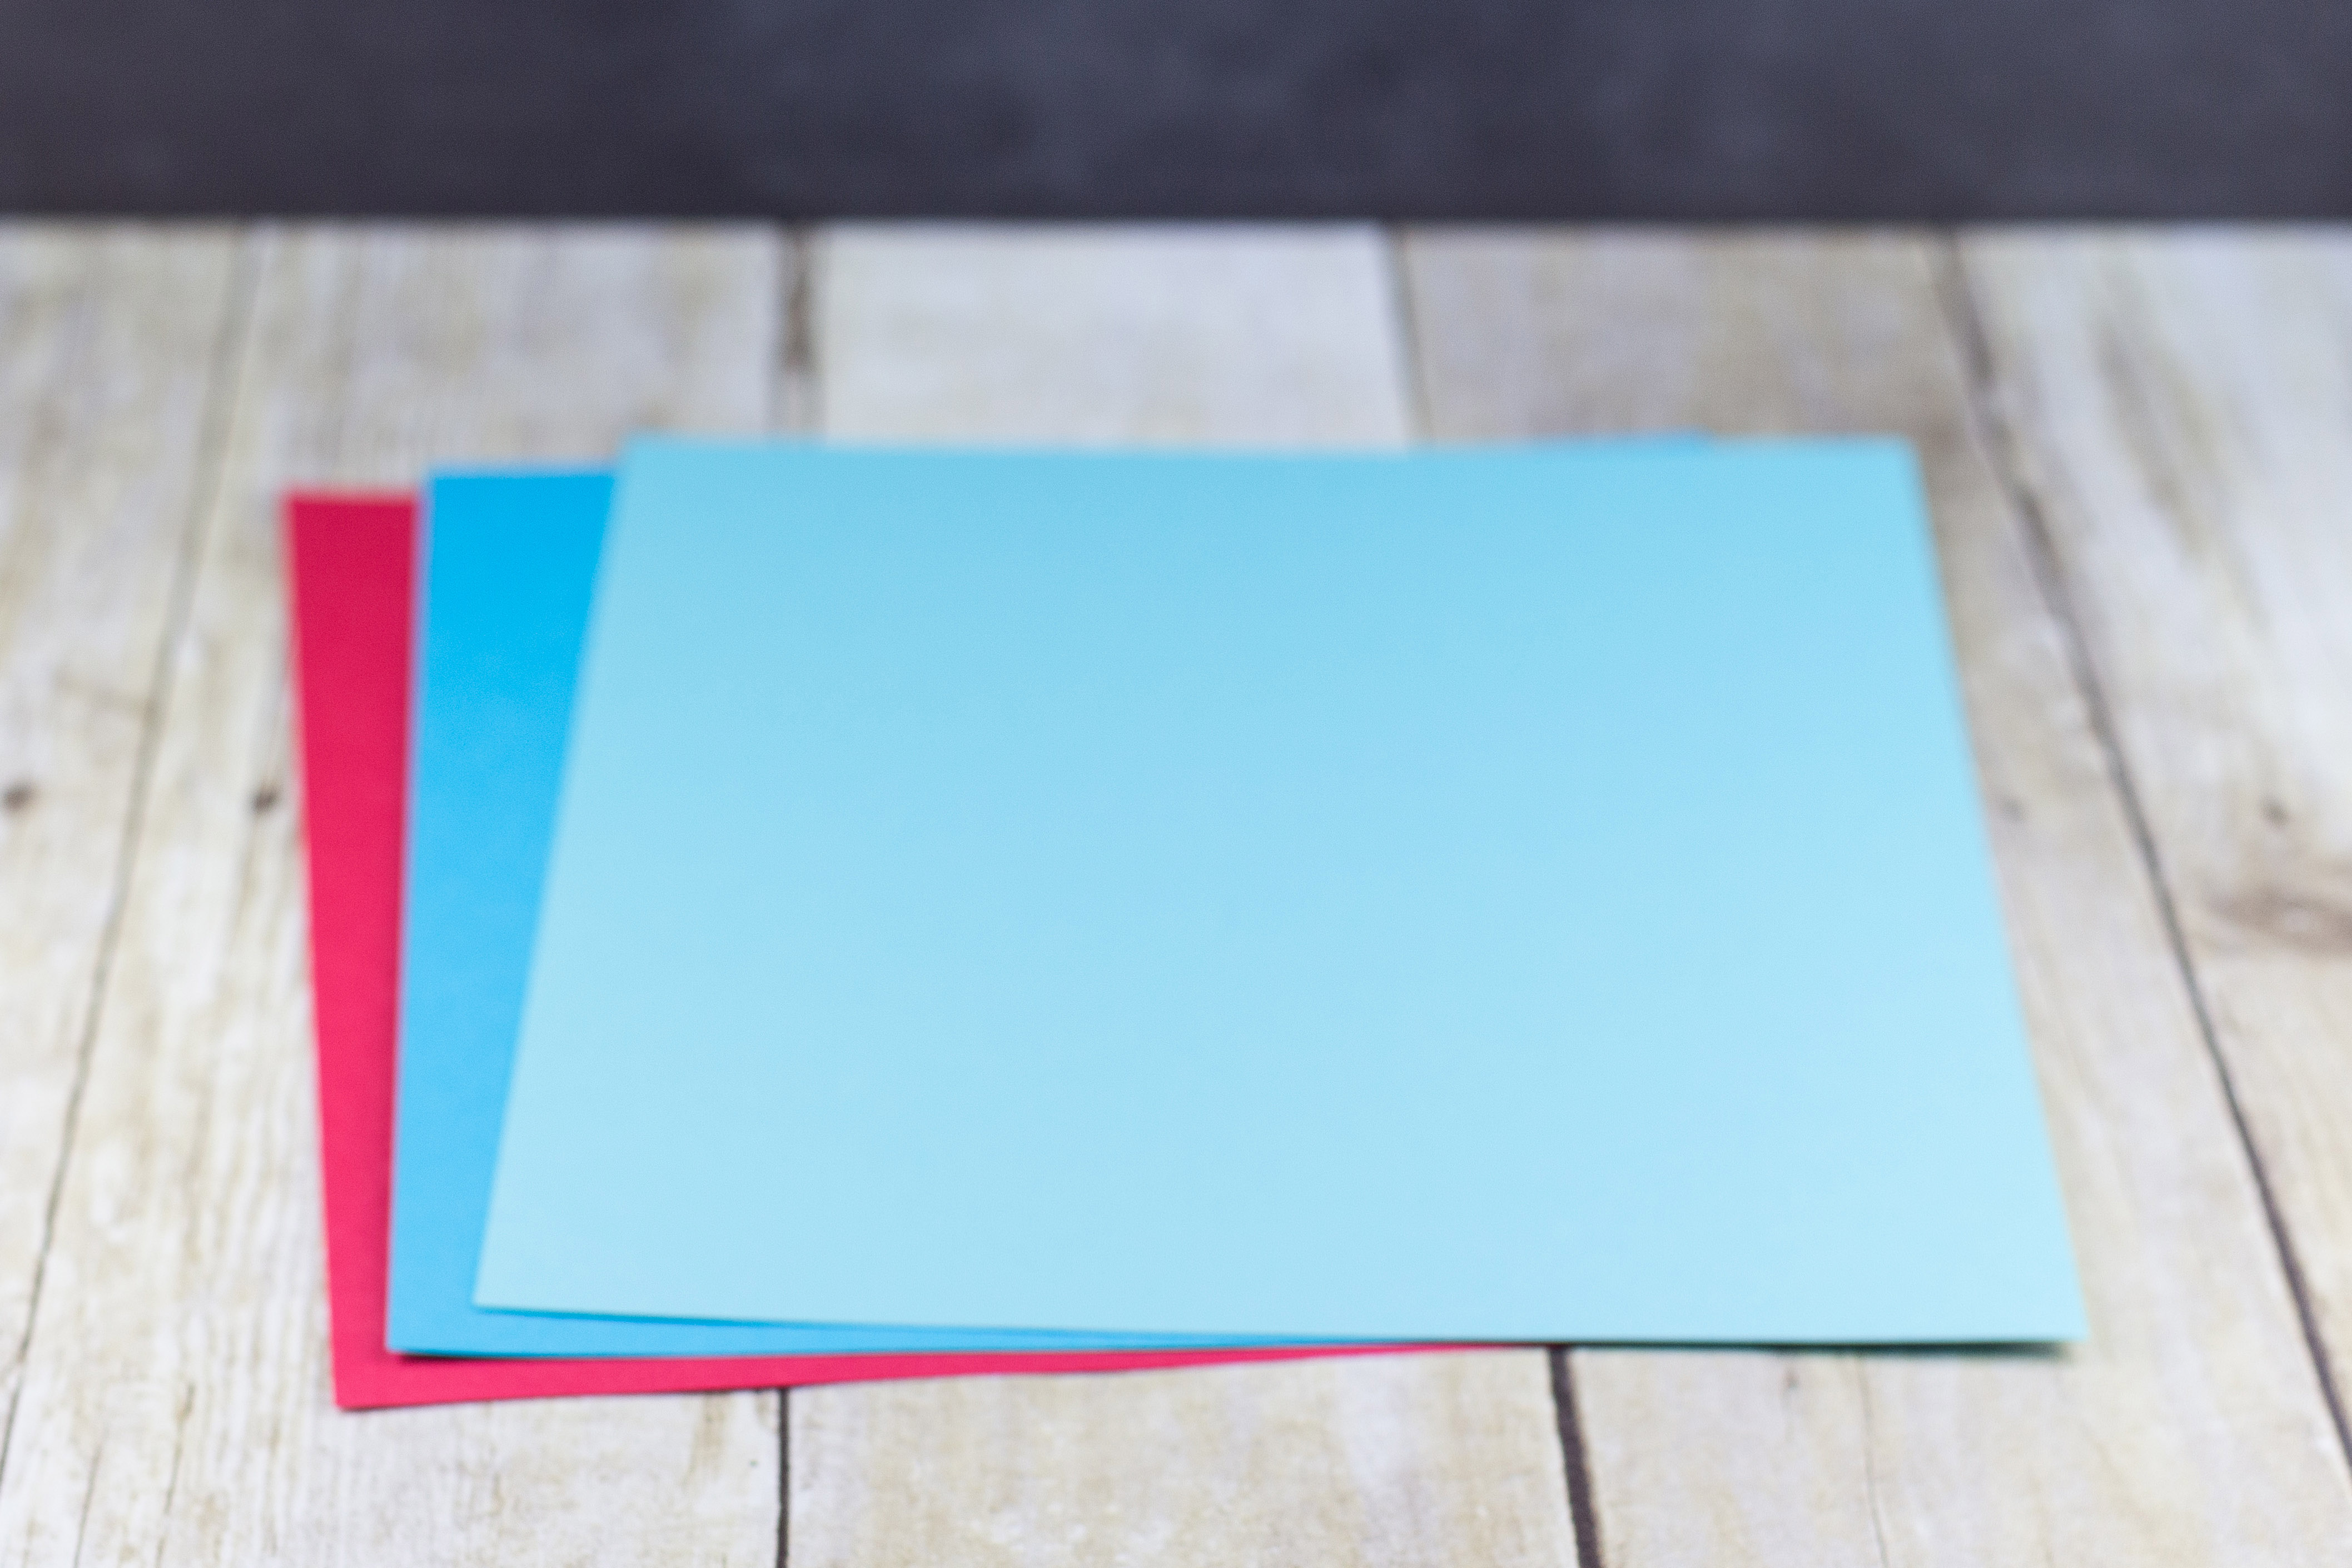
- Three 8.5″ x 11″ sheets colored cardstock (I used red, light turquoise, and dark turquoise. You’re welcome to switch up the colors as you like.)
- Tacky glue or another all-purpose glue that dries clear (unless you’re using glitter glue or paint in which case you won’t need any glue)
- 1 1/2″ diameter hole punch
- Some type of sequins or glitter (i.e., glitter glue, glitter paint, etc.)
- Scissors
Print the 2017 numbers template on white cardstock.
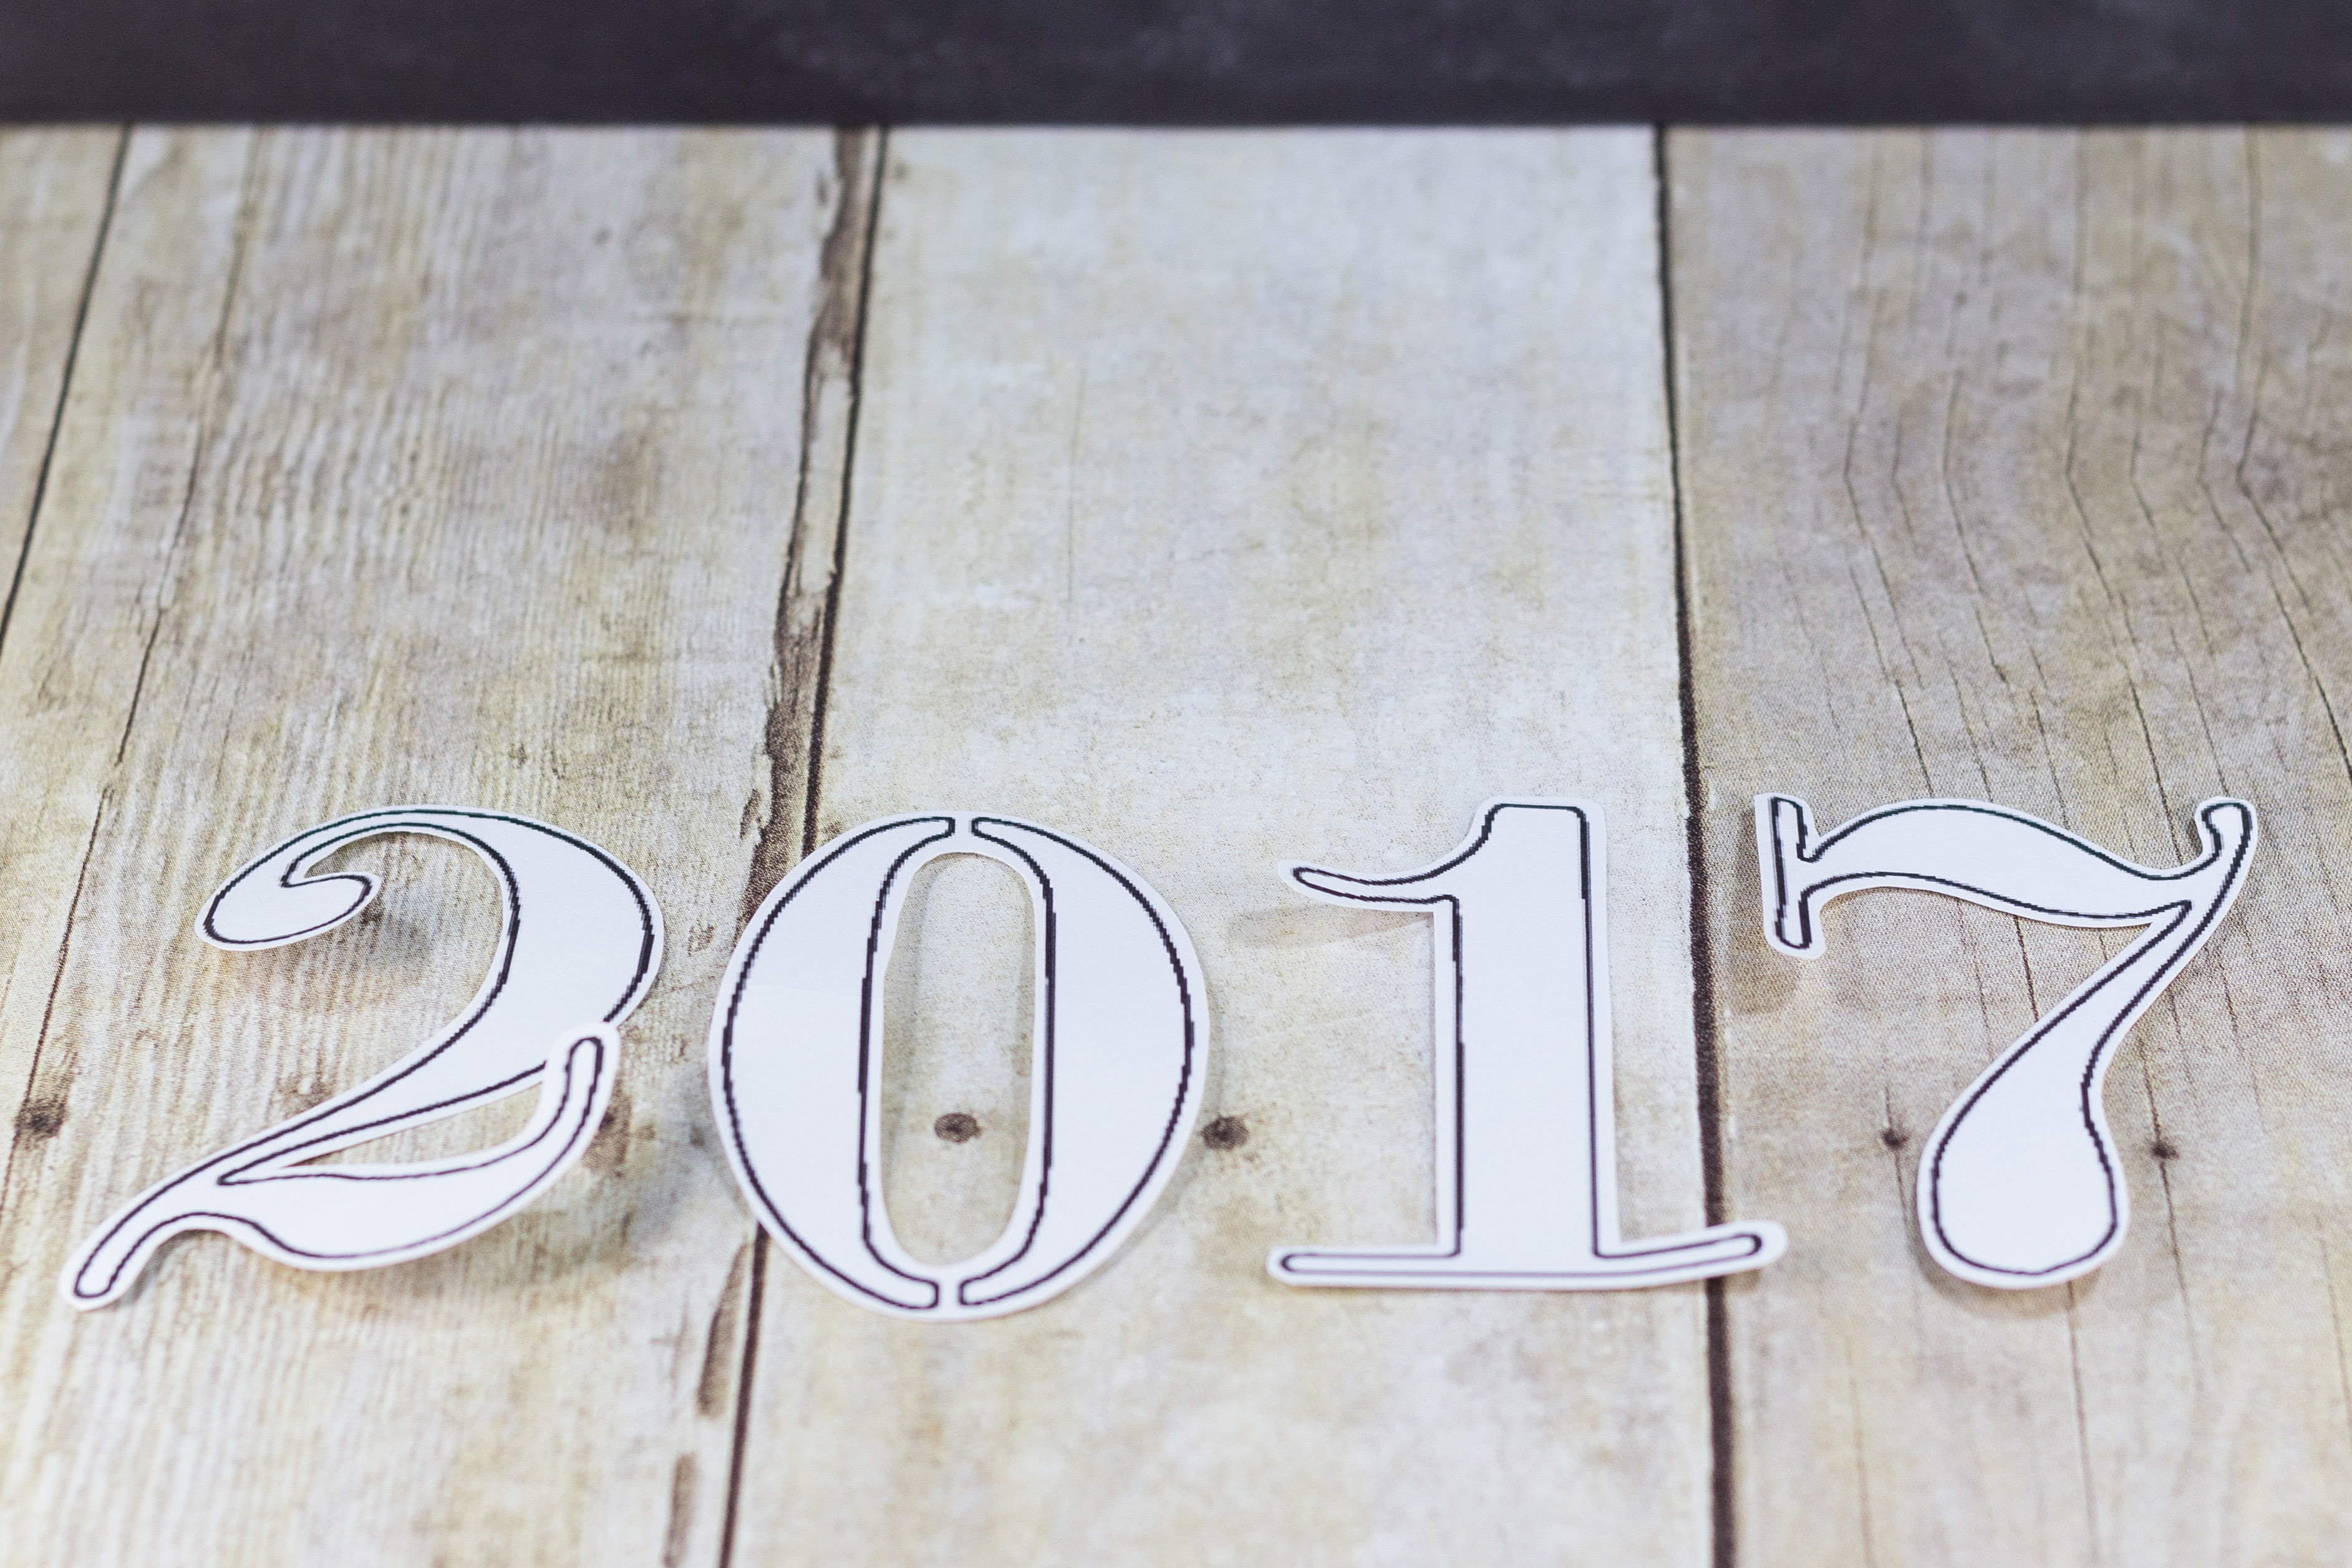
Cut out the numbers. I left a bit of a border to create slightly thicker numbers. I also left the 0 as a single piece. The glitter I used was pretty chunky, and I wanted to make sure the numbers were all wide enough for the glitter pieces.
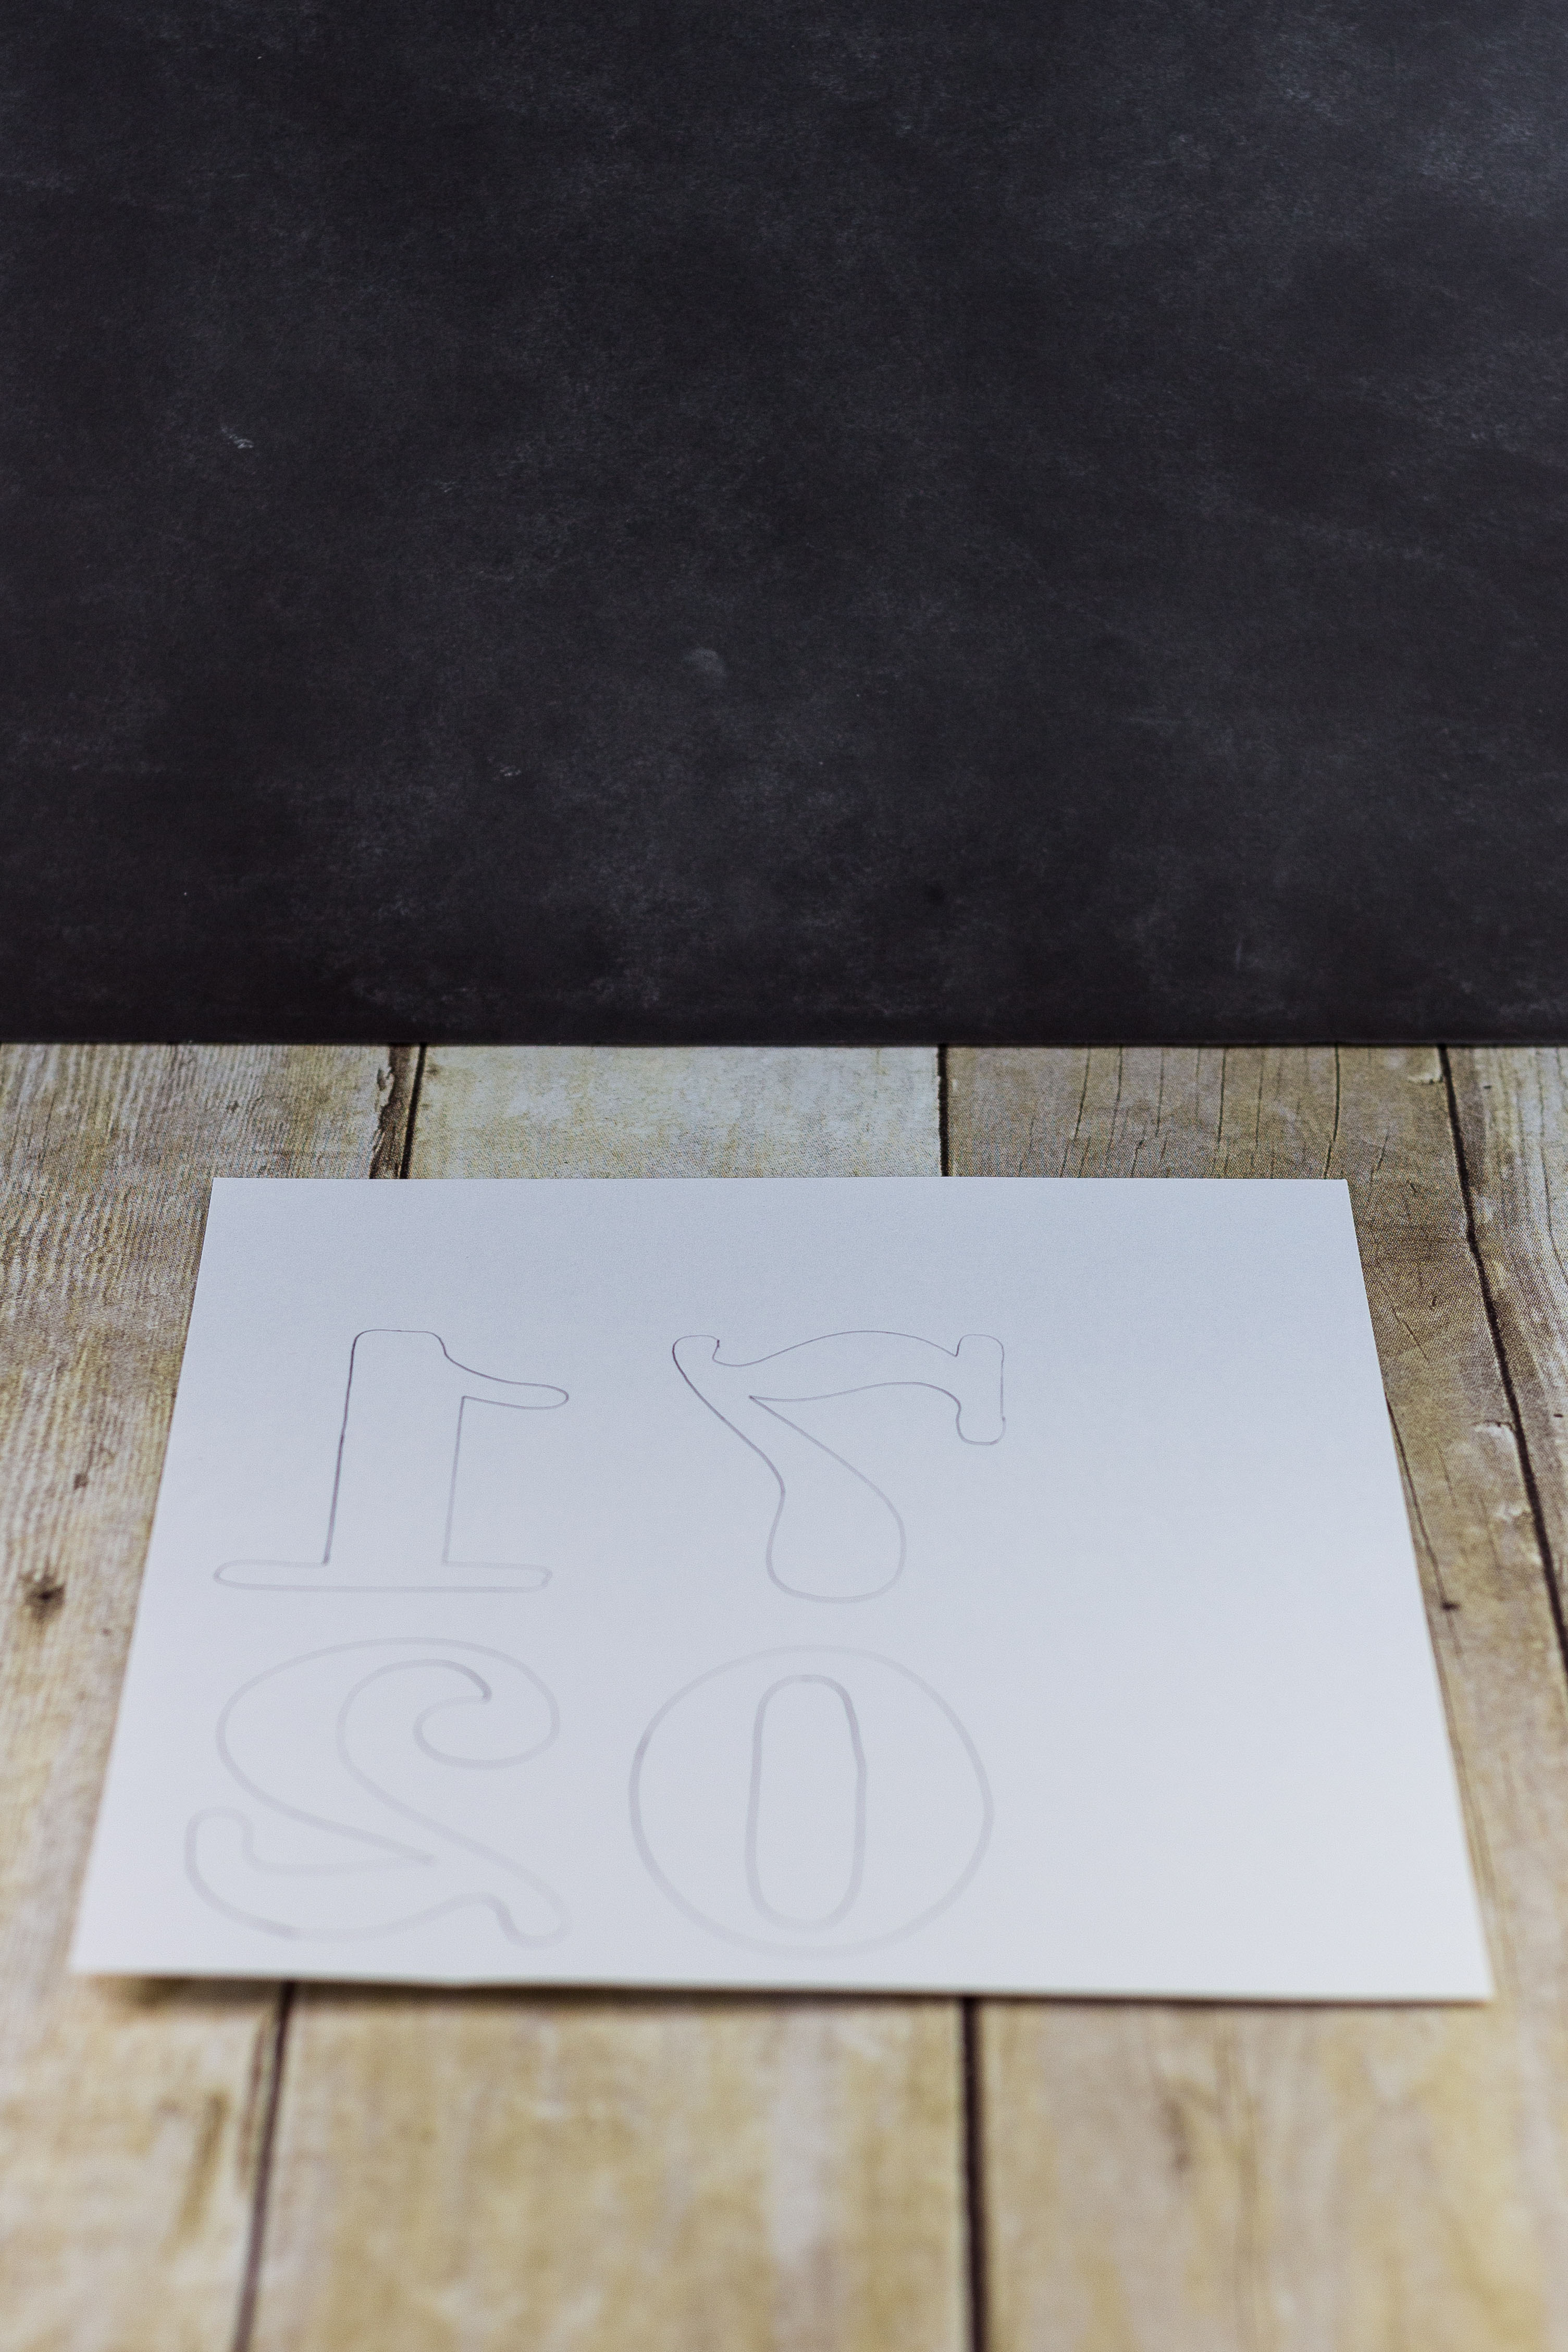
Flip the numbers over. Trace them backward on the second sheet of white cardstock.
Cut out the second set of numbers. Flip them over. You now have clean, white numbers to decorate with sequins or glitter.
Take your sheets of colored cardstock.
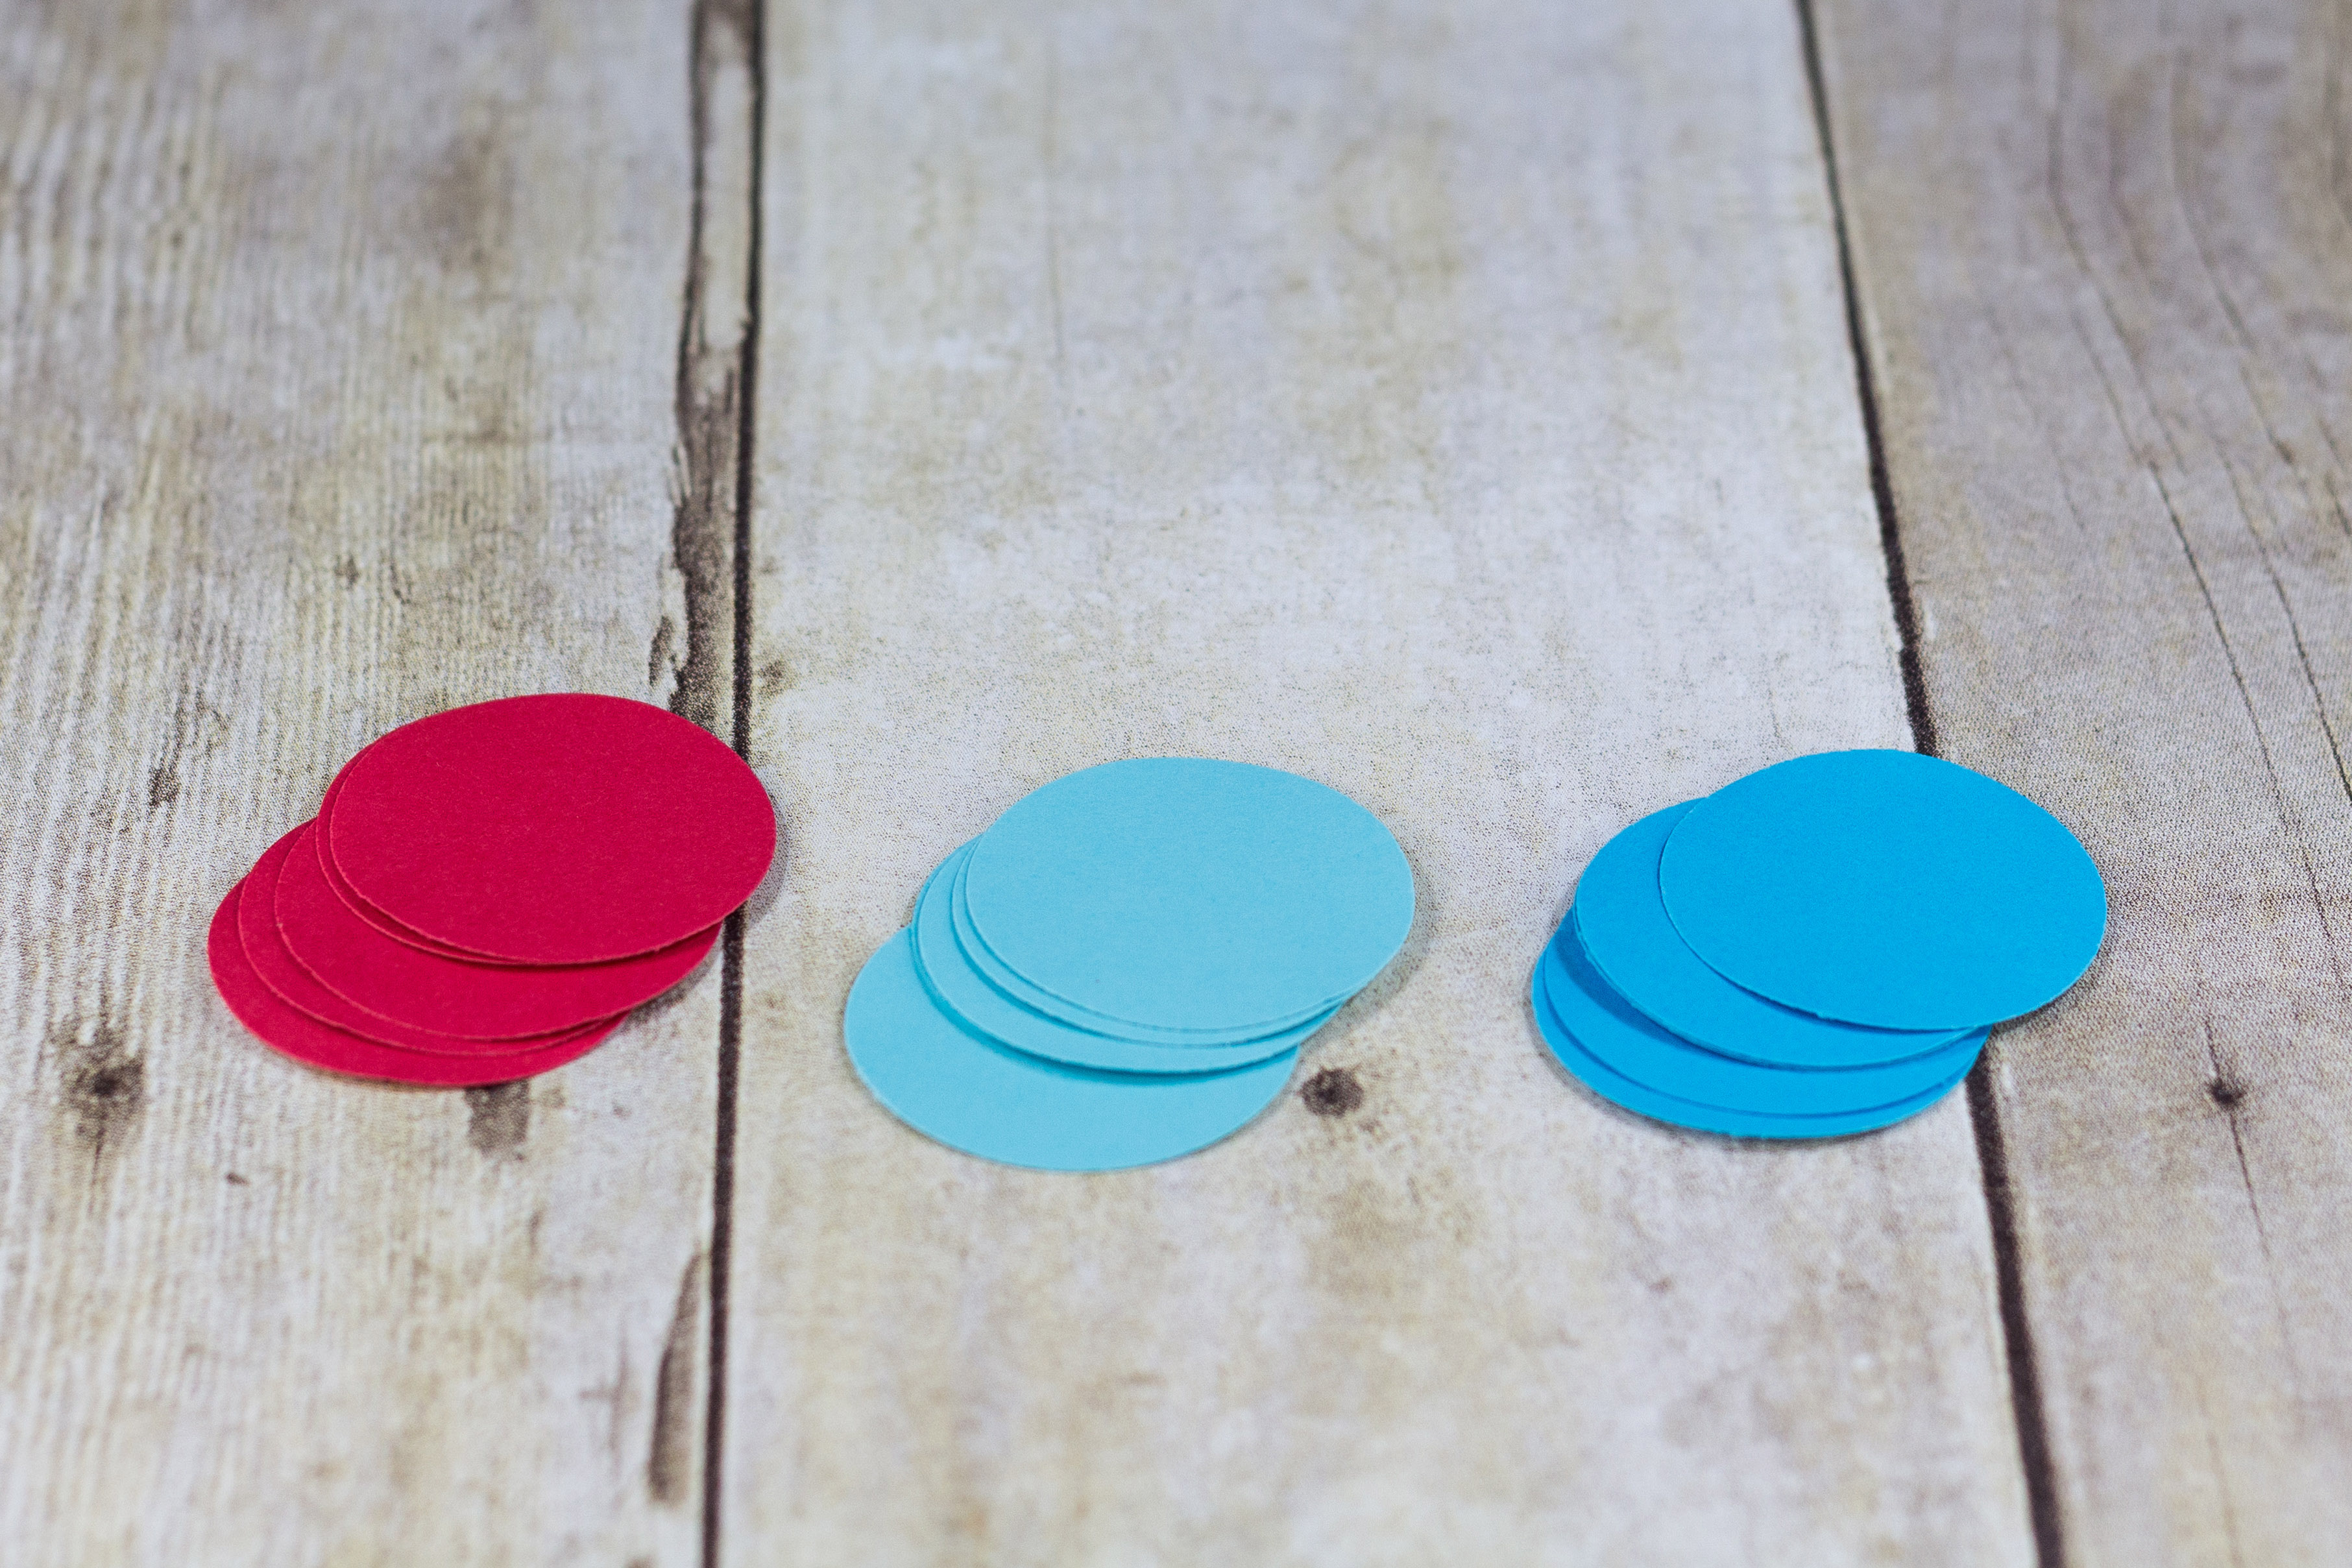
Punch five circles of each color of cardstock or as many as you need to create your hanging display, garland, or other New Year’s decoration.
Apply the sequins or glitter to the 2017 numbers and circles. I left a few of my circles plain with no sequins. It’s completely up to you if you want to leave a few circles plain. If you’re using glue, apply it in small quantities, filling in the sequins or glitter as you go so the glue doesn’t dry too quickly. Let the numbers and circles dry completely.
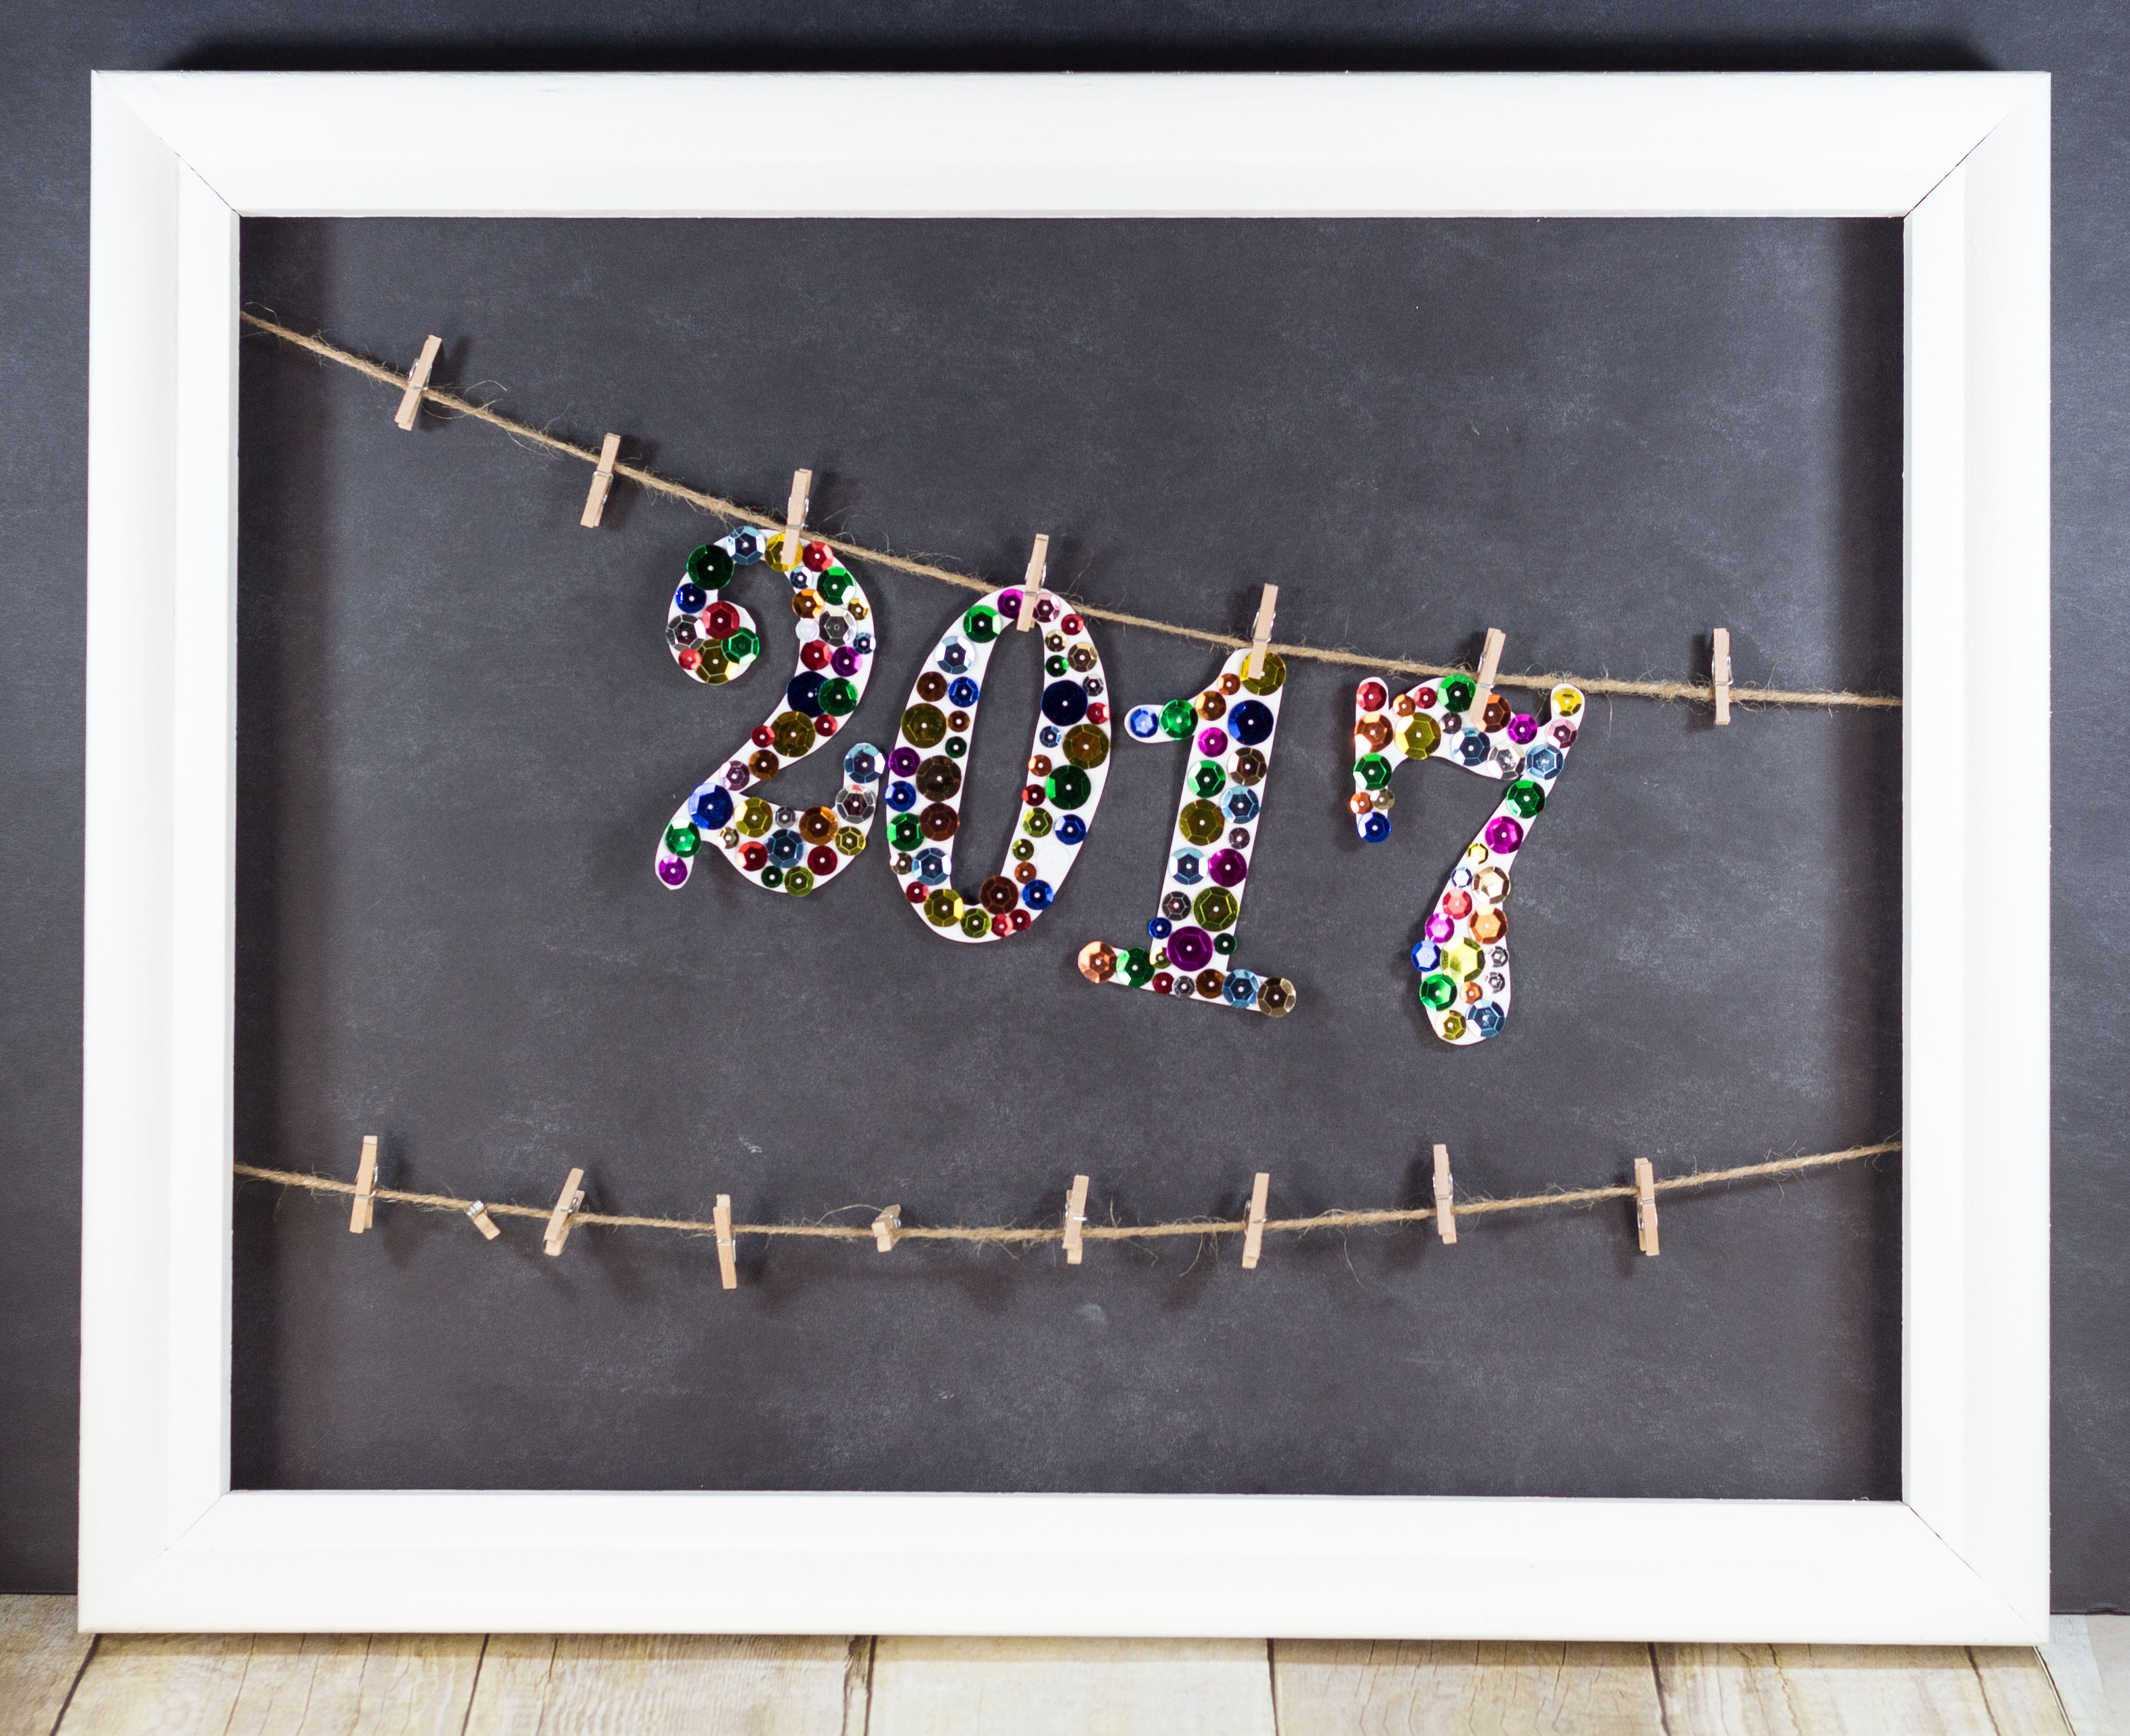
Arrange the 2017 numbers in your hanging display. If you’re creating a garland, make sure 2017 is centered in between the circles.
Finish out the display with the circles.
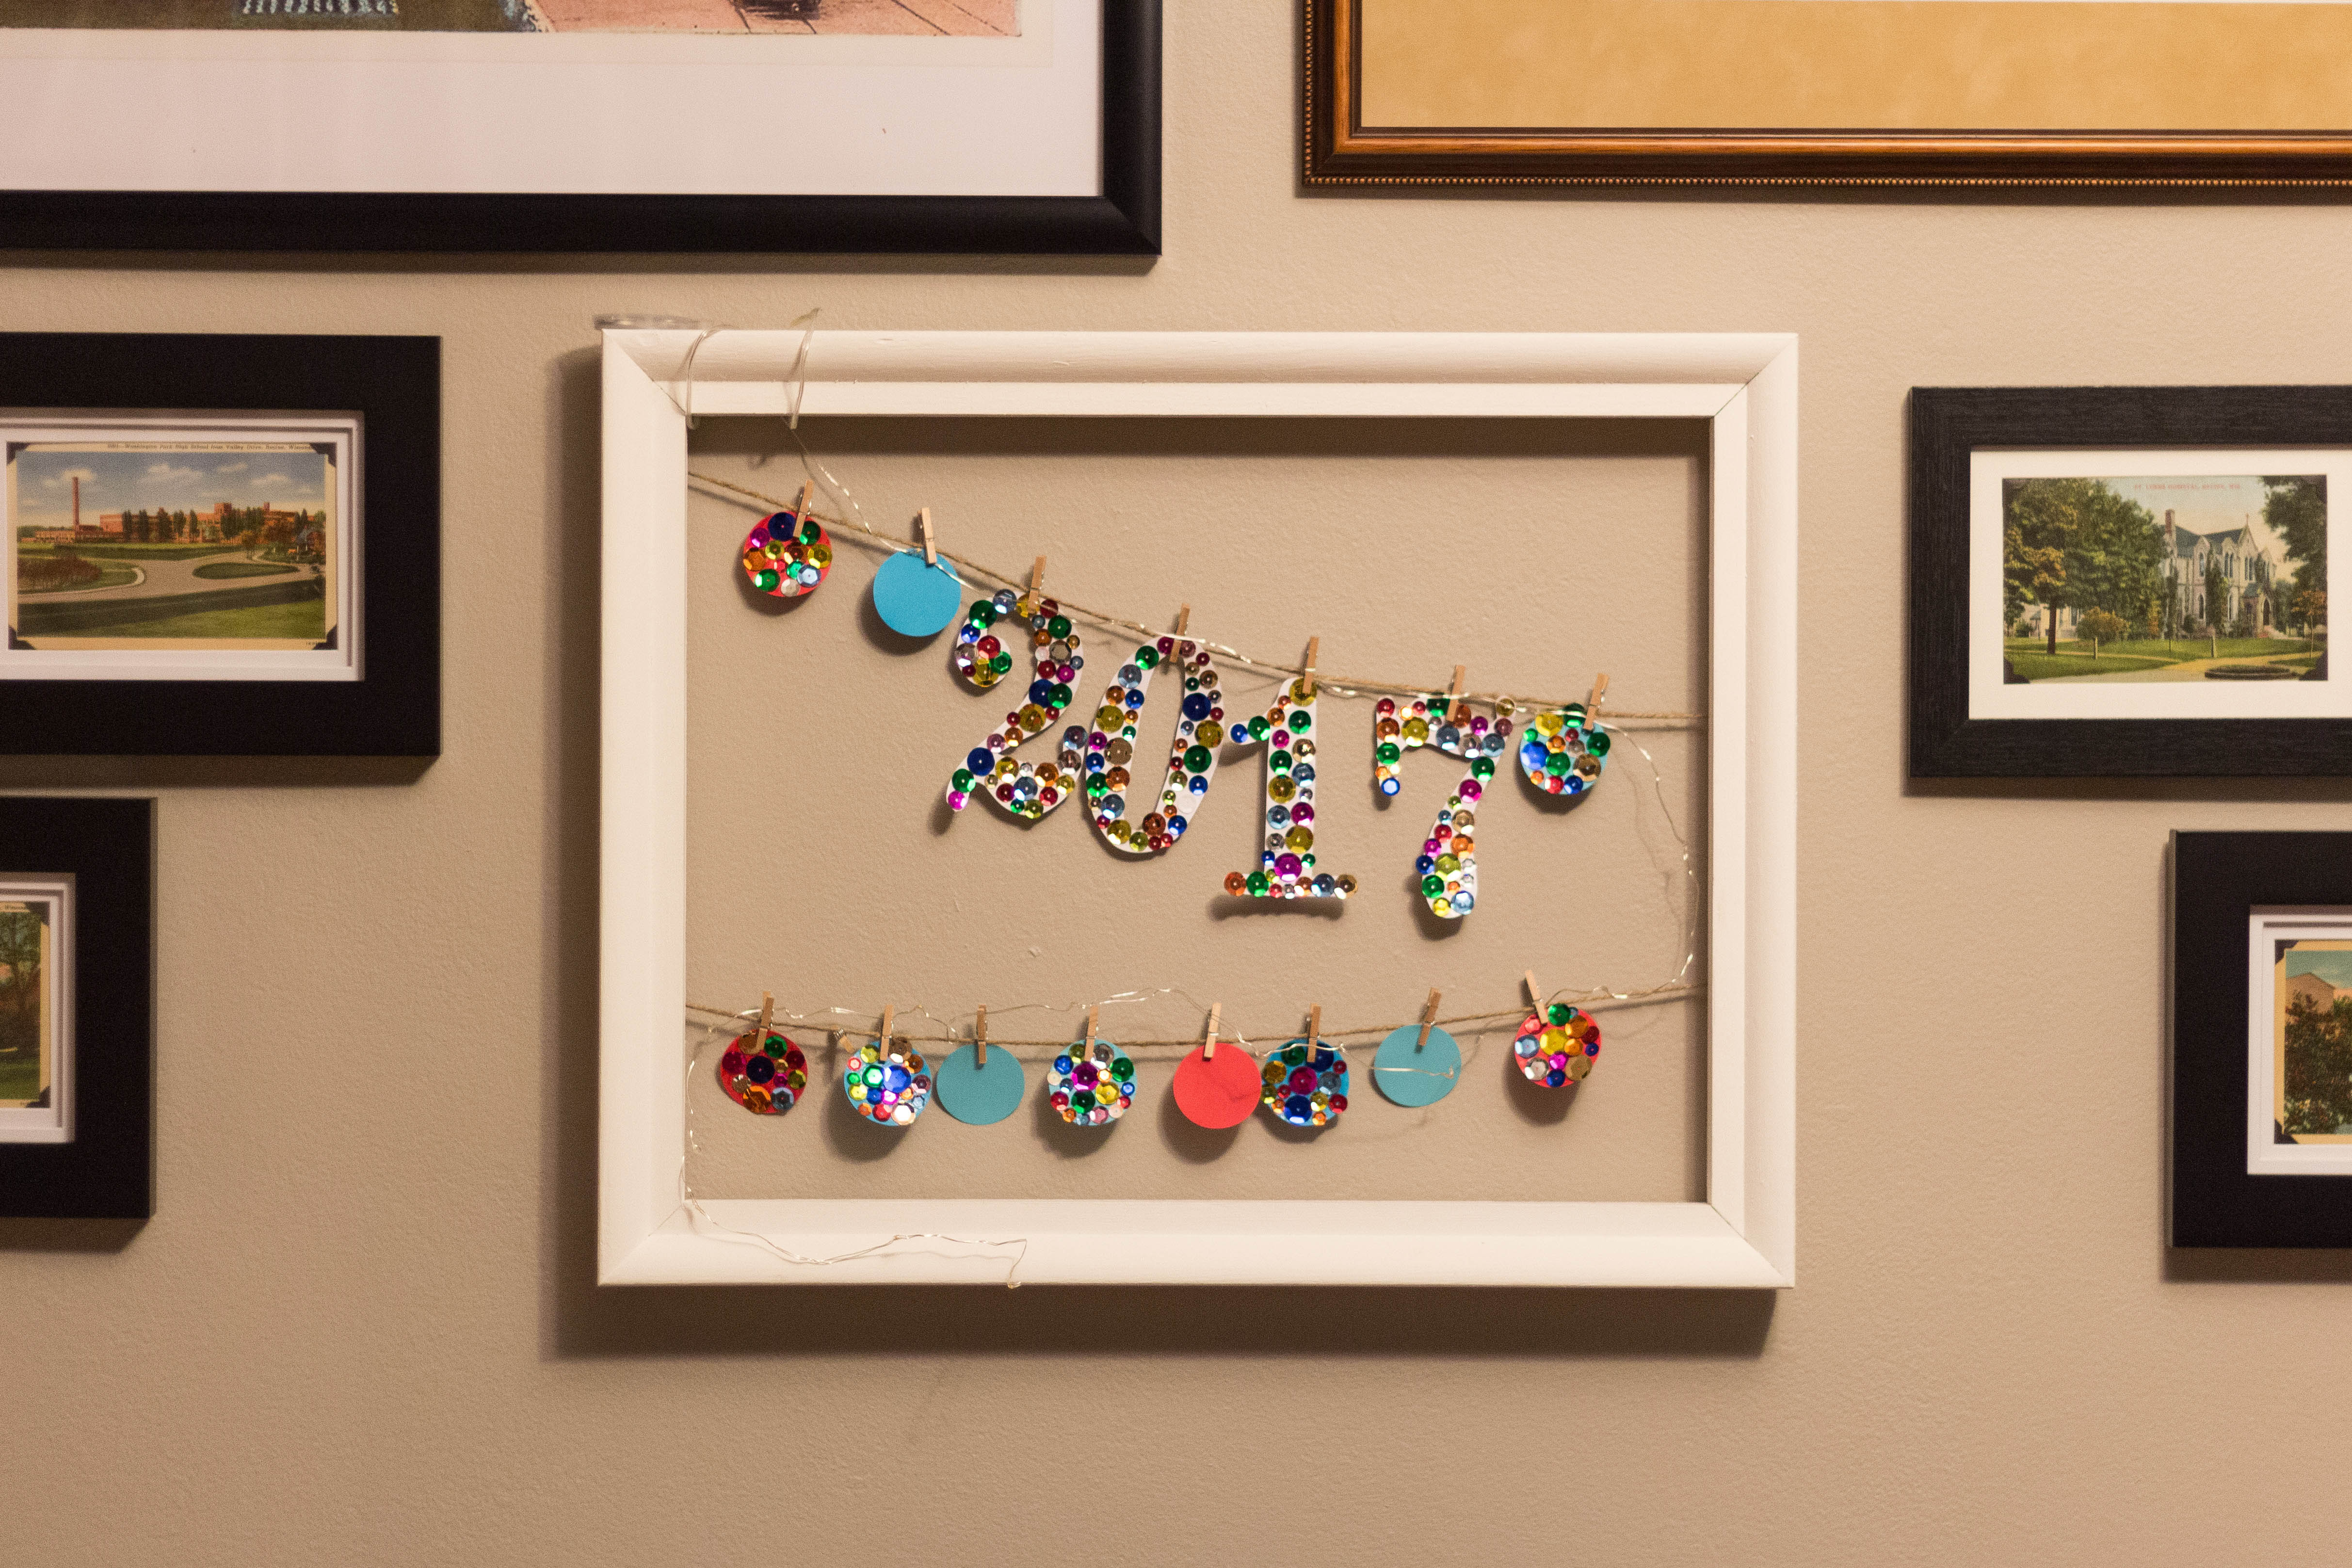
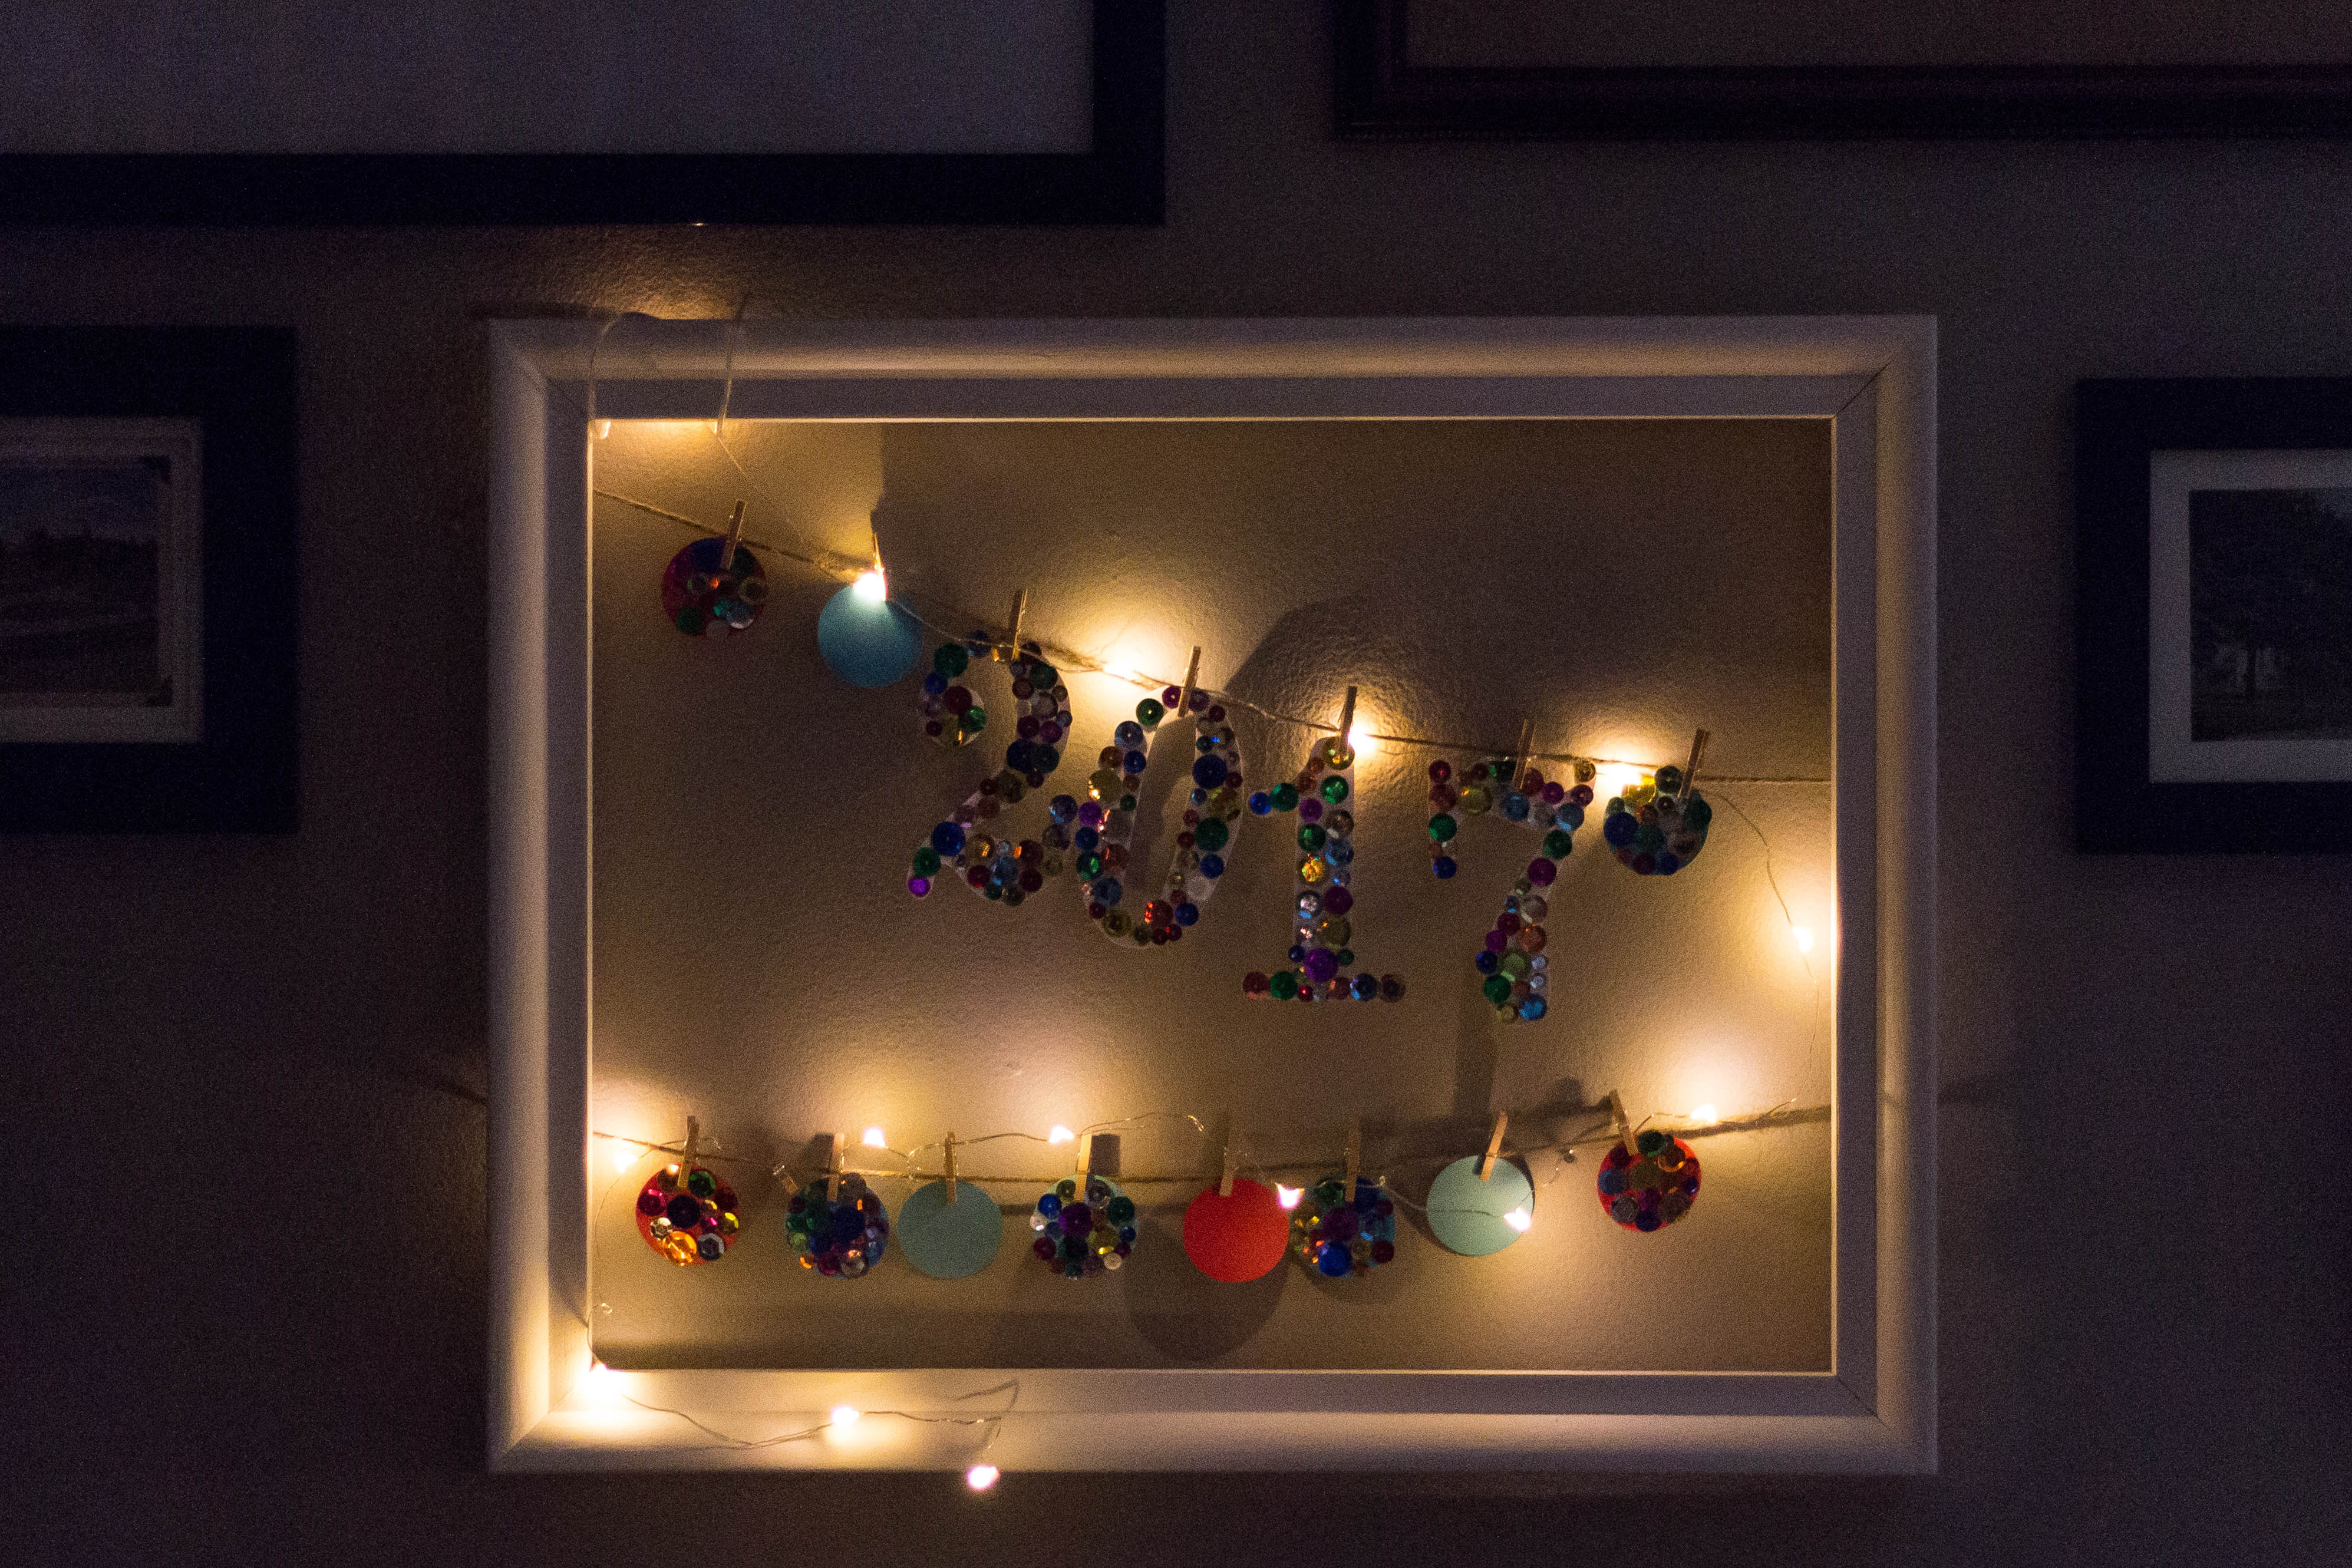
Here’s the display hanging in my entryway. I did switch the lights on because it’s perpetually dark in this area of the house in January.
The fairy lights were such a hit for the paper Christmas lights display that I kept them up for the New Year’s display. Once you’ve added sequins, how can you go wrong with a little more glitz, right? Also, remember how this space is so dark this time of year? Anything to bring a little more light into the house is much welcomed in January.
Here’s to a great year ahead!
Did you make the sparkly New Year’s paper decoration?
I want to see it! Tag your photo #RoseClearfield on Instagram or Twitter or post a photo to my Facebook page.
[Disclaimer: This post contains a few affiliate links. Thanks for your support!]
Pin the sparkly New Year’s paper decoration for easy access later!
A few DIY projects to kick off the new year!

