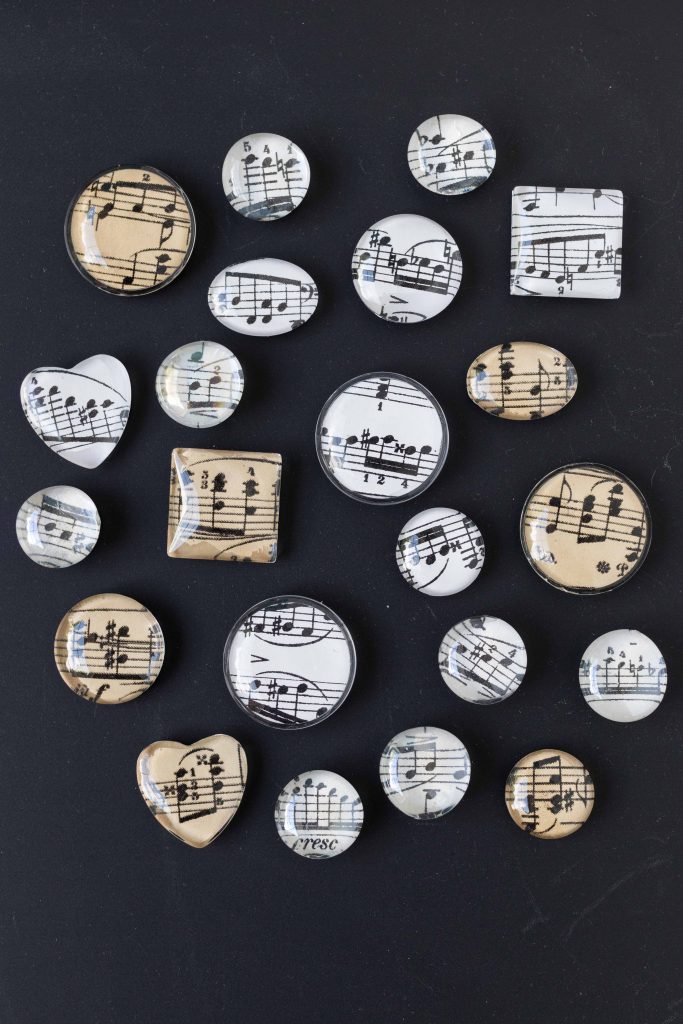
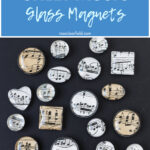
DIY sheet music glass magnets is one of my favorite projects for using up sheet music scraps.
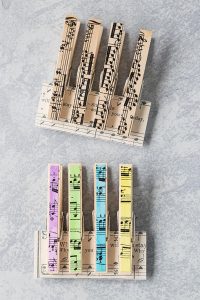
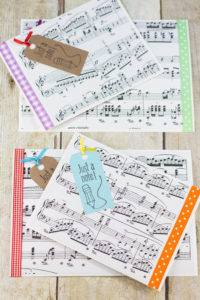
When I make larger sheet music crafts, such as greeting cards and coasters, inevitably, I have scraps left over. There are a number of projects I make with these scraps, including clothespin magnets, pendant necklaces, and glass magnets.
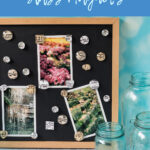
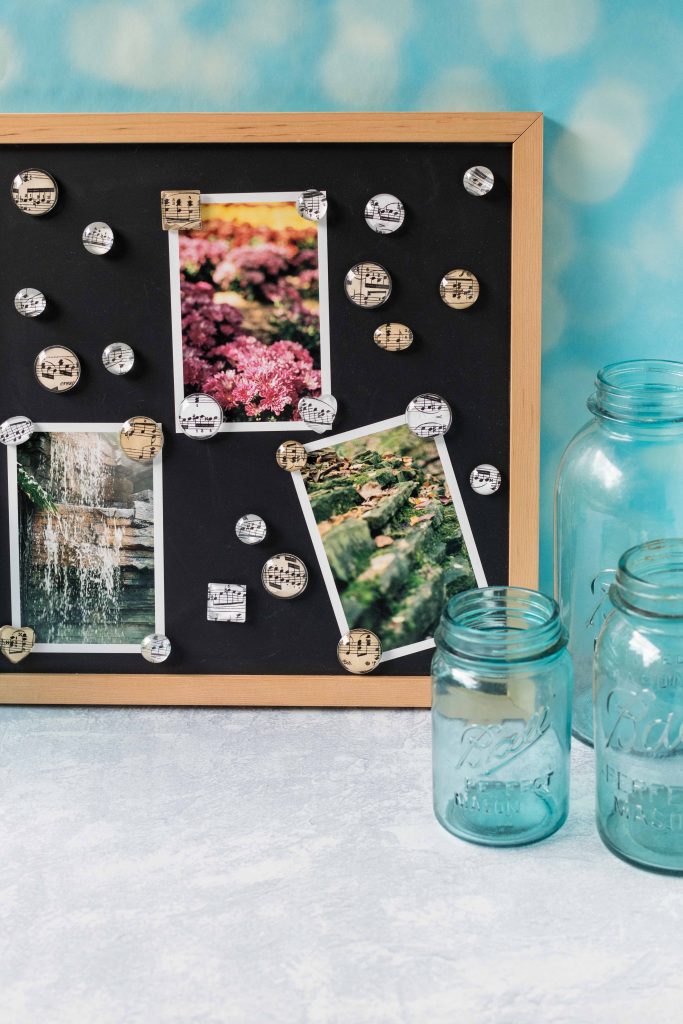
DIY sheet music glass magnets are easy, fun home decor. They are perfect for displaying on a refrigerator, chalkboard, or file cabinet. I love this type of wood frame magnetic chalkboard for holding important reminders or simply displaying fun seasonal messages.
Homemade magnets also make quick, simple gifts and party favors for bridal showers, baby showers, and birthdays. I perfected my glass magnet technique by making them for craft fairs for years. They’re a perfect item to sell on Etsy as well.
Supplies for DIY sheet music glass magnets
- New or vintage sheet music scraps. You can print vintage sheet music or antique sheet music yourself. For a new music aesthetic, I use All Piano Scores – Chopin for the vast majority of my DIY sheet music crafts, printed on white cardstock.
- Round glass cabochons, round decorative clear vase filler stones, or other clear glass cabochons or stones (see notes below for my full glass resource list)
- Paper punch to fit the glass cabochons or stones of your choosing or a pair of scissors
- Diamond glaze
- E-6000 adhesive
- Q-tips
- 1/4″ x 1/16″ neodymium magnets, one for each magnet. For large quantities, I recommend Amazon. For small quantities, I recommend Michaels. It’s much less expensive to buy neodymium magnets in bulk. However, not everyone needs 100 magnets.
If you use ink-jet-printed sheet music, give it a couple of coats of acrylic spray before making your magnets. The acrylic spray prevents the ink from running. If you use commercially-printed or laser-printed sheet music, you don’t need to coat it.
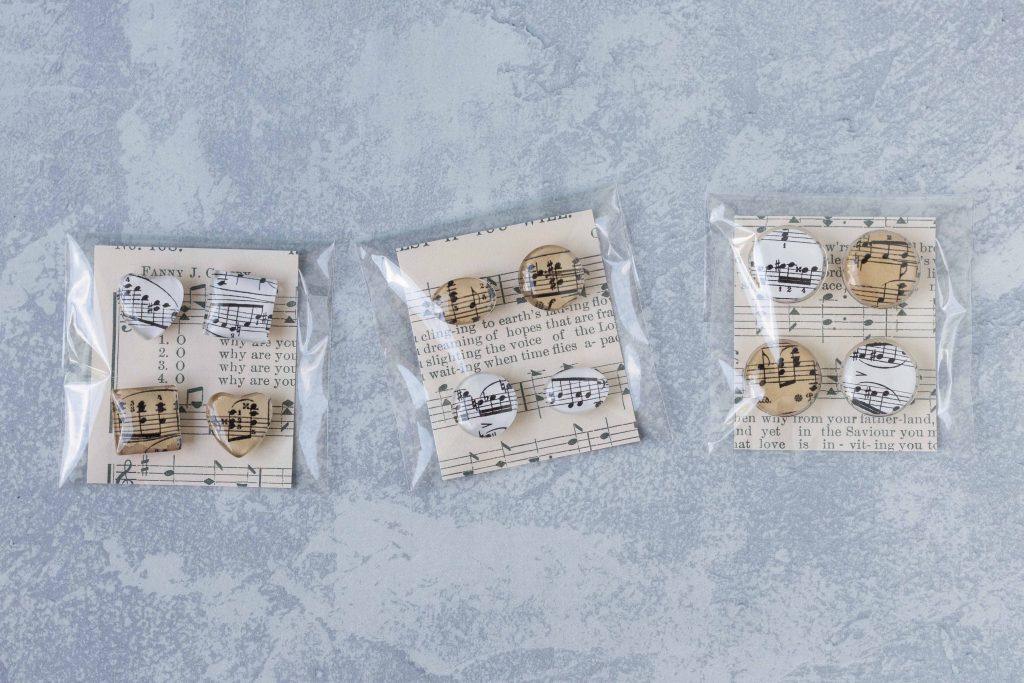
For packaging glass magnets to give as gifts or party favors:
- Additional sheet music printed on cardstock, cut into 3″ x 3.5″ rectangles. A paper cutter makes the job quick and easy, creating a professional finish.
- Flexible magnetic strip, cut into 1/8″ width pieces
- Tacky glue
- 4″ x 6″ clear treat bags
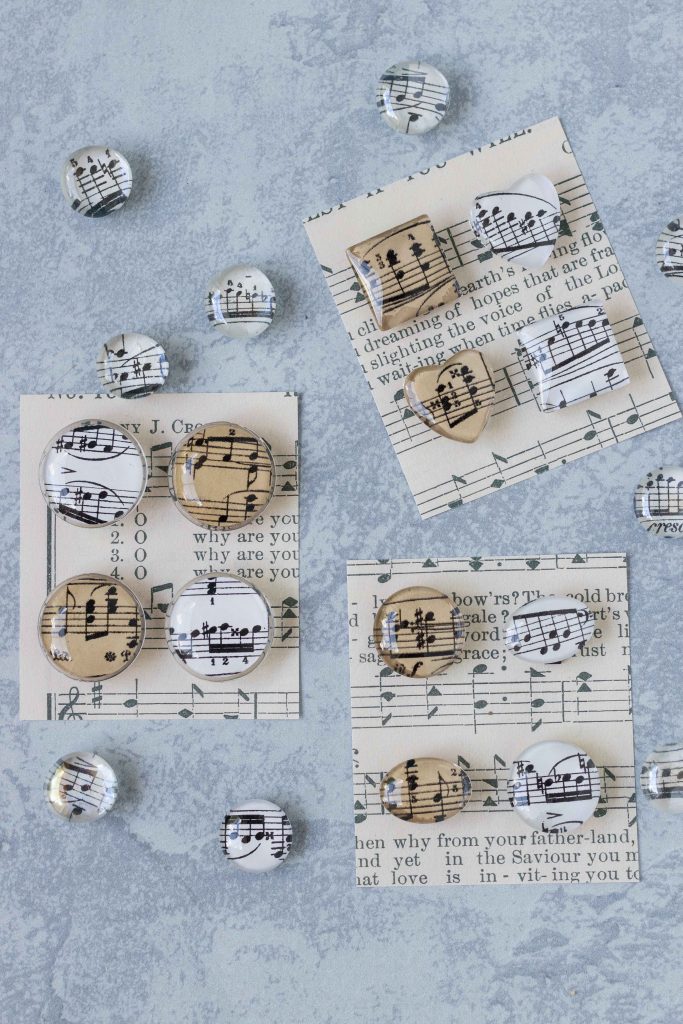
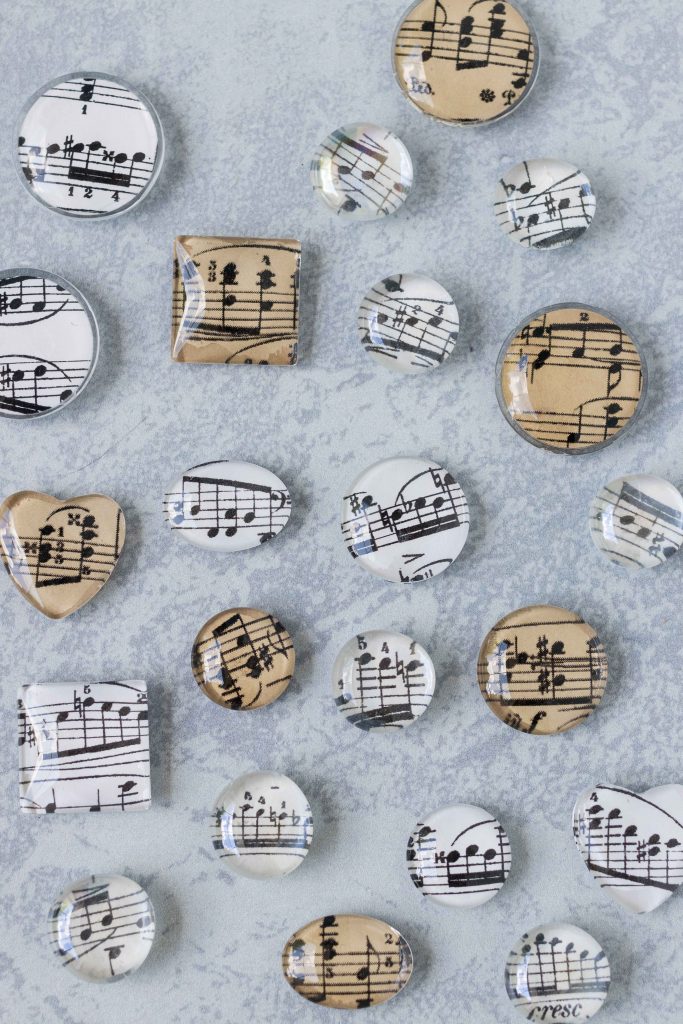
For the sheet music glass magnets in this post, I used the following glass cabochons and stones.
- Large circle: 30mm round glass dome cabochon
- Vase fillers: Clear glass decorative vase fillers
- Smaller circles: 10-25mm half round clear glass dome cabochons (I used the 20 and 25mm sizes)
- Square: 25mm x 25mm square clear glass dome cabochon
- Heart: 25mm heart shape clear glass cabochon
- Oval: 18mm x 25mm oval clear glass cabochon
A couple of additional supplies notes:
- There are a lot of glass magnet tutorials that use Mod Podge instead of diamond glaze. Mod Podge does work, but I prefer the aesthetic and texture of diamond glaze for glass magnets.
- You can use any type of craft magnets for your sheet music glass magnets. Neodymium magnets are significantly stronger and have a much smaller footprint, creating more professional, more versatile magnets.
There are two ways that I’ve been making sheet music glass magnets over the past decade. I’m going to take you through both of these methods and then show you some additional options for glass magnets.
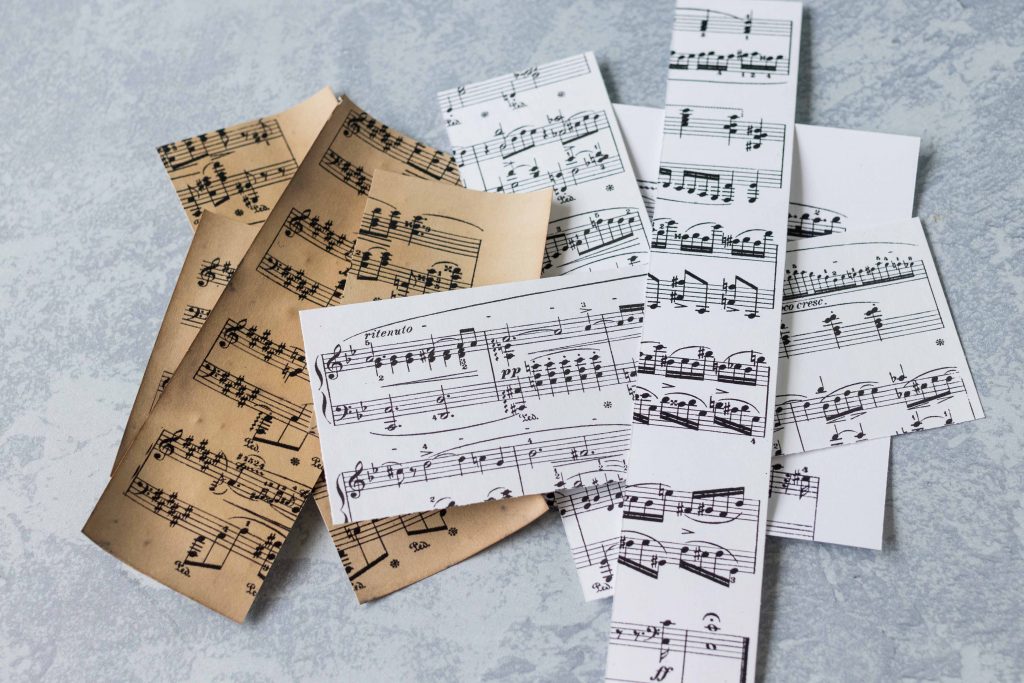
For either sheet music glass magnet method, you’ll need an assortment of sheet music scraps. To create the magnets in this tutorial, I used a mix of new and antiqued sheet music.
Round glass dome cabochon magnets
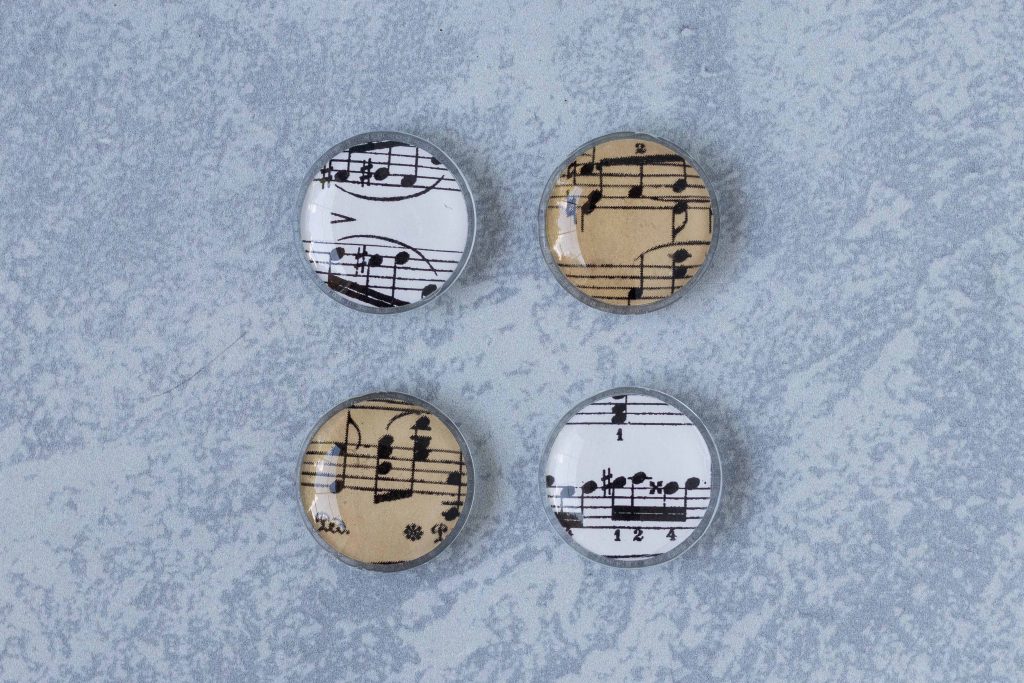
The first way that I make sheet music glass magnets is with 30mm round glass dome cabochons and a 1″ circle punch. 30mm cabochons work well with the scale of sheet music, and they pair perfectly with a 1″ circle punch, making it quick and easy to put together the magnets.
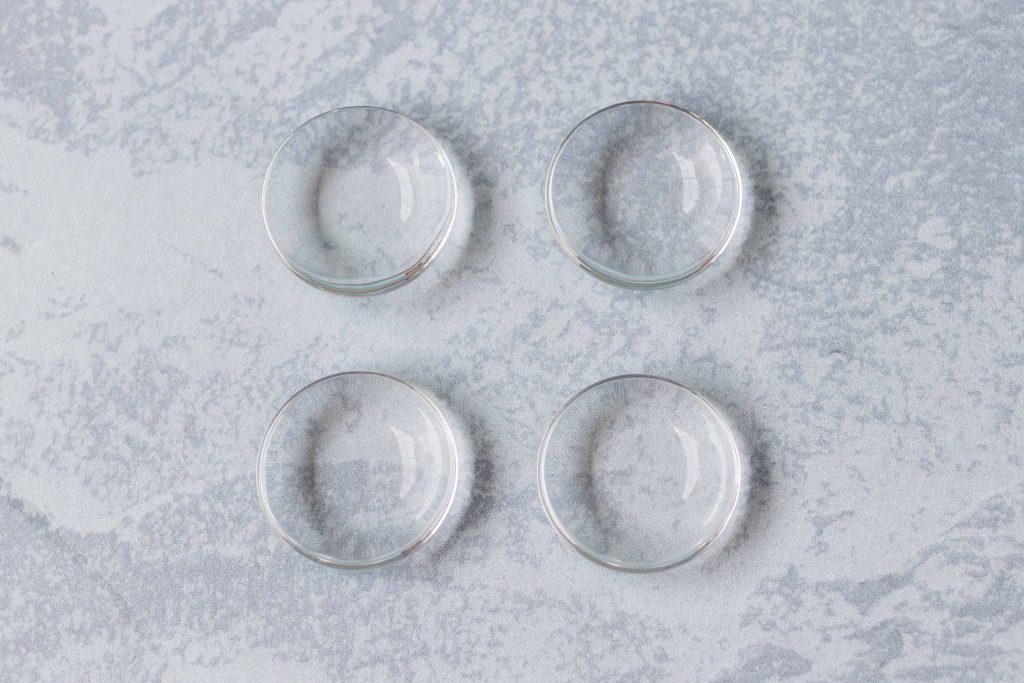
Use a damp paper towel or microfiber cloth to wipe down the cabochons, removing any dust and debris. Allow to dry completely.
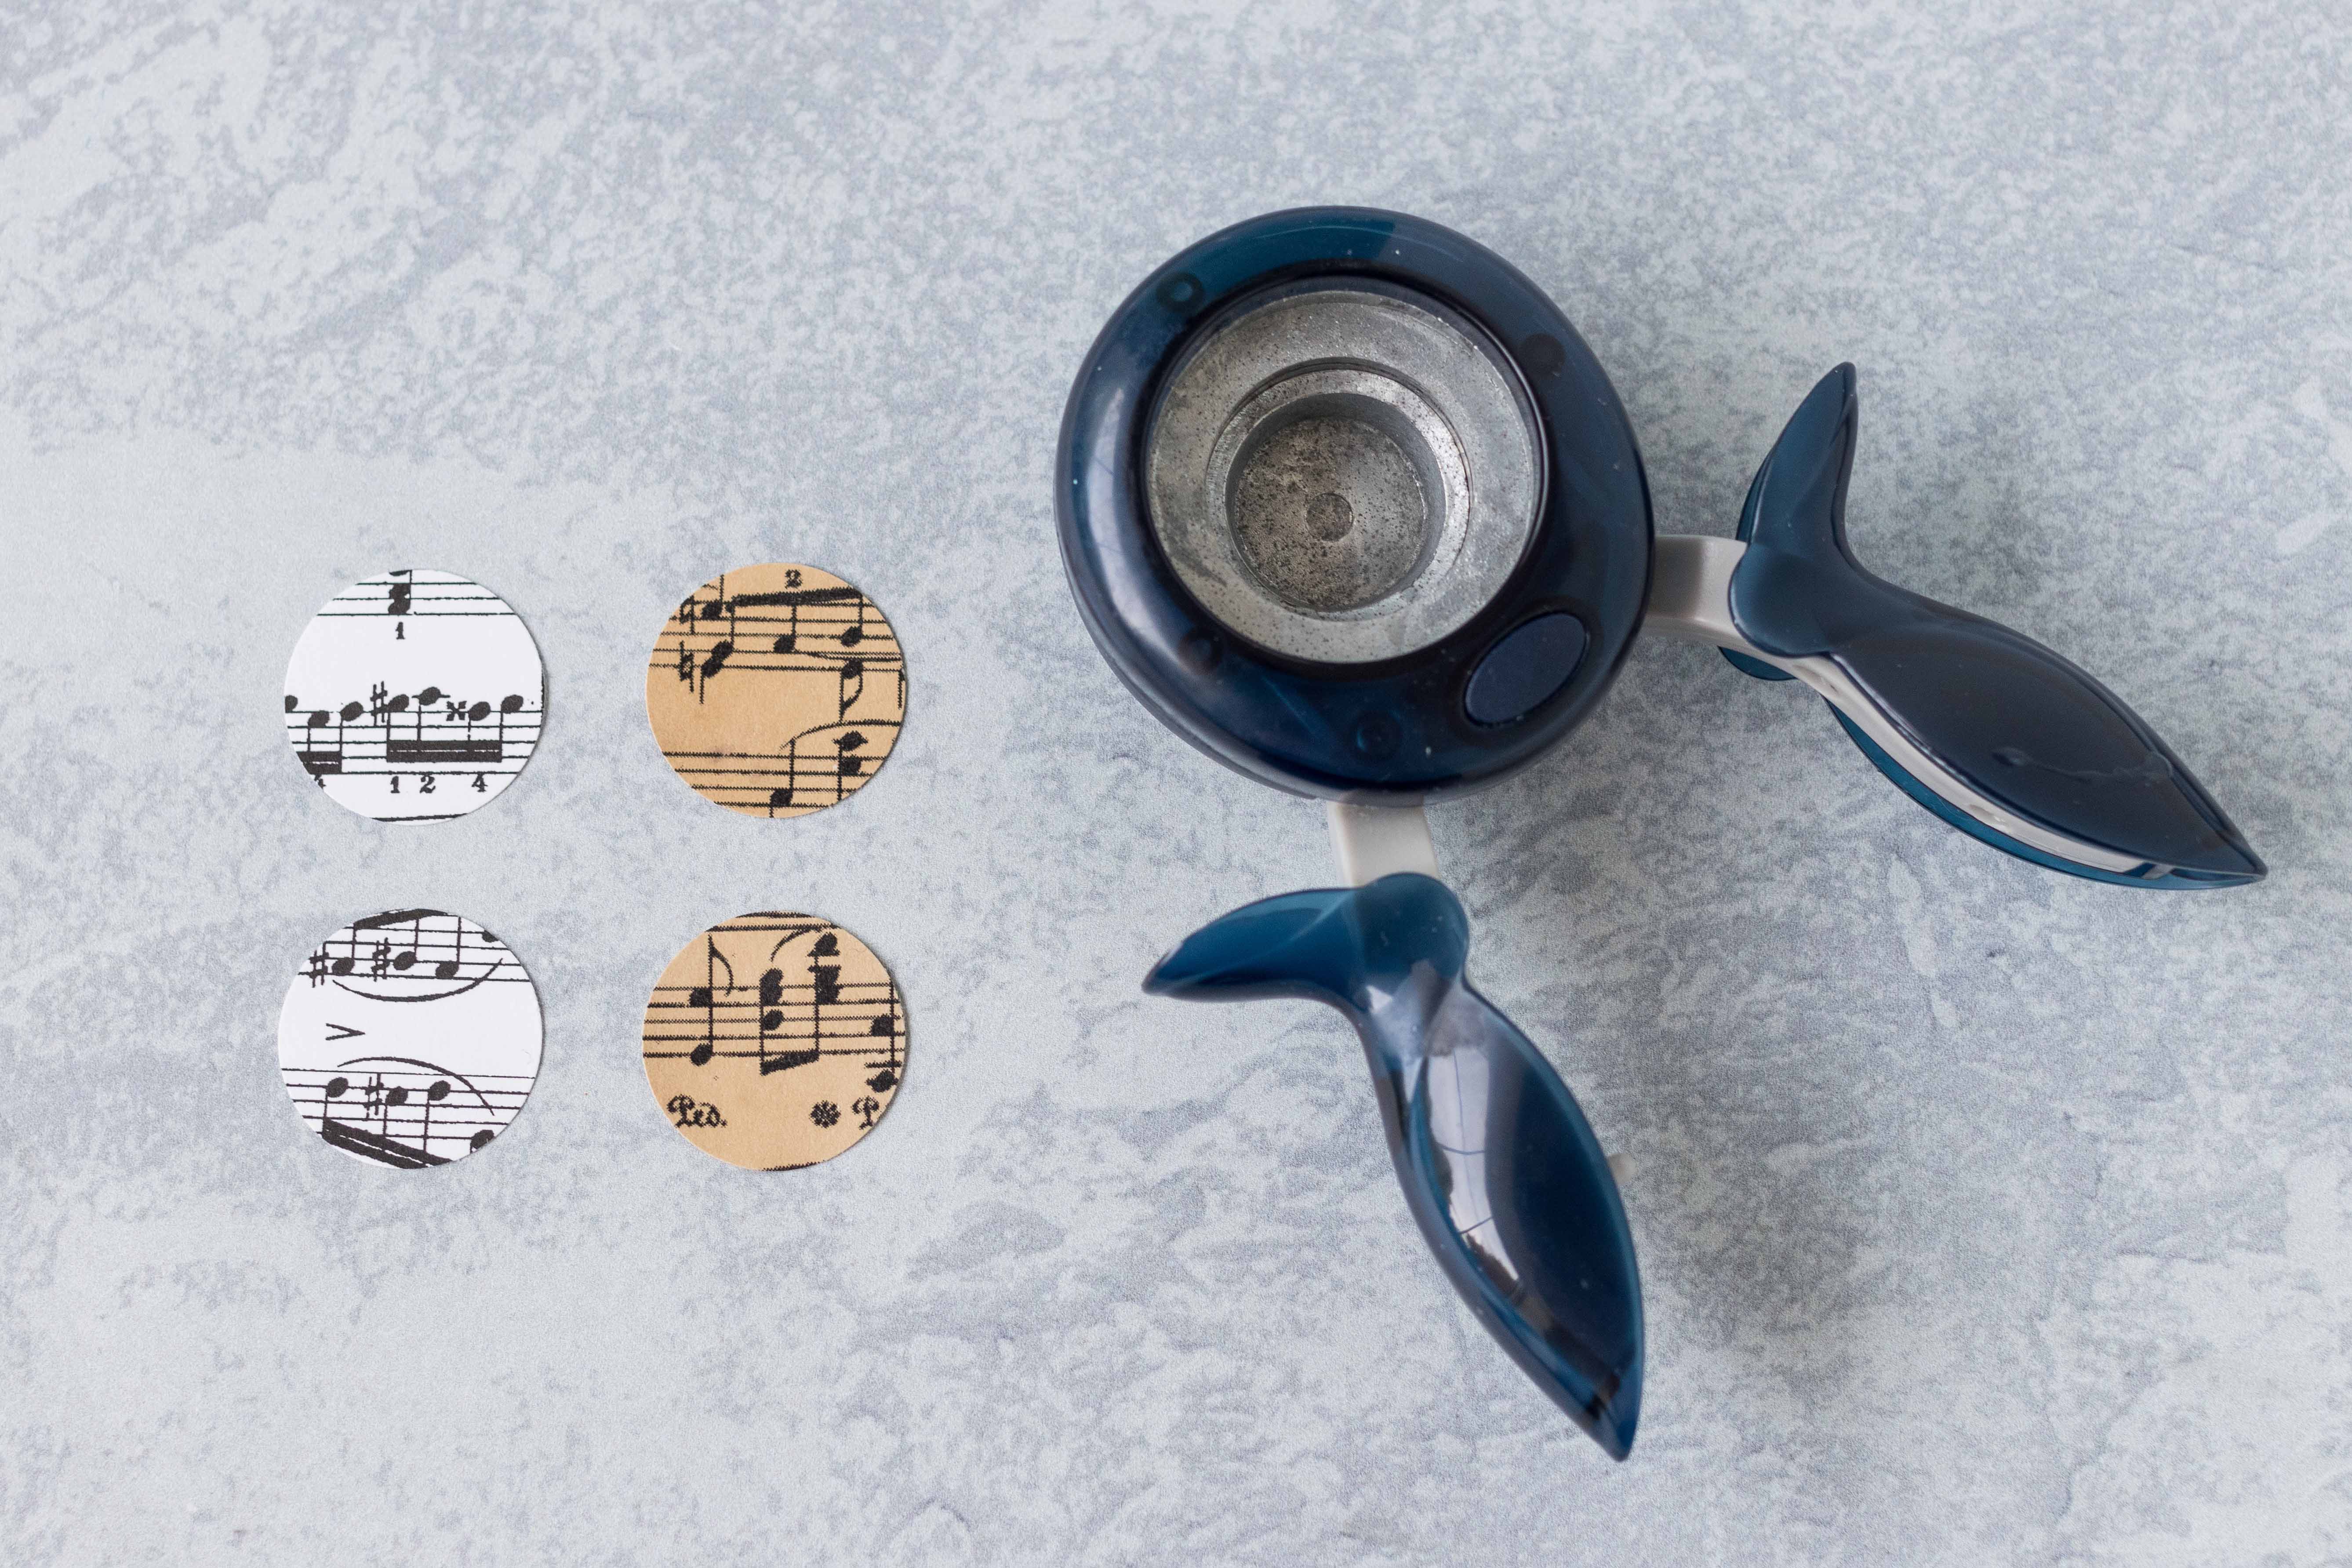
Use your 1″ circle punch to make sheet music circles. I like to arrange the punch to include as many music notes as possible.
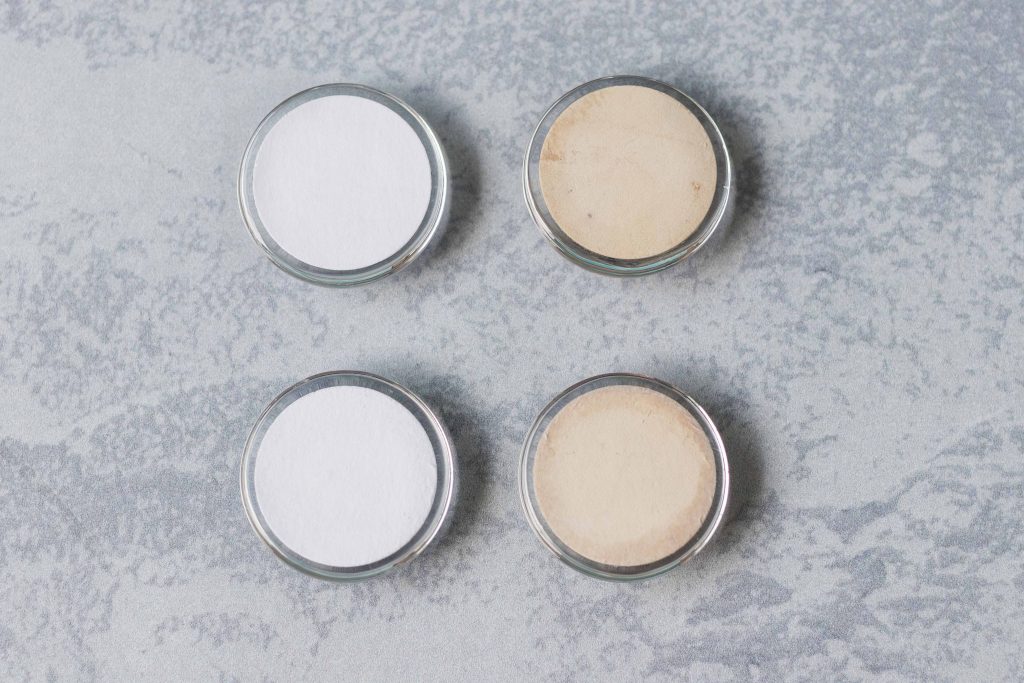
Apply a pea-sized amount of diamond glaze to the back of each cabochon to adhere the sheet music. Smooth the sheet music into place, facedown. Wipe away any excess diamond glaze with a damp paper towel. Allow the glaze to dry completely.
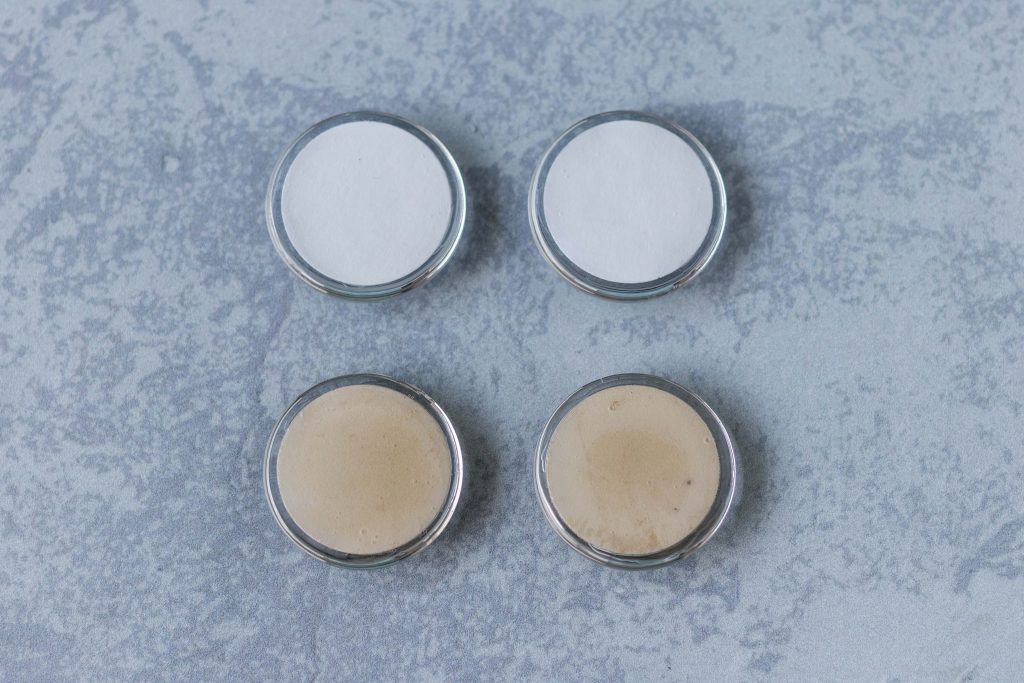
Apply a pea-sized amount of diamond glaze to the back of each cabochon to seal the sheet music. Use the diamond glaze tip or a Q-tip to smooth the glaze evenly, removing any large air bubbles. I am not meticulous about removing small air bubbles, as they won’t show on the back of the magnets. Allow the glaze to dry completely.
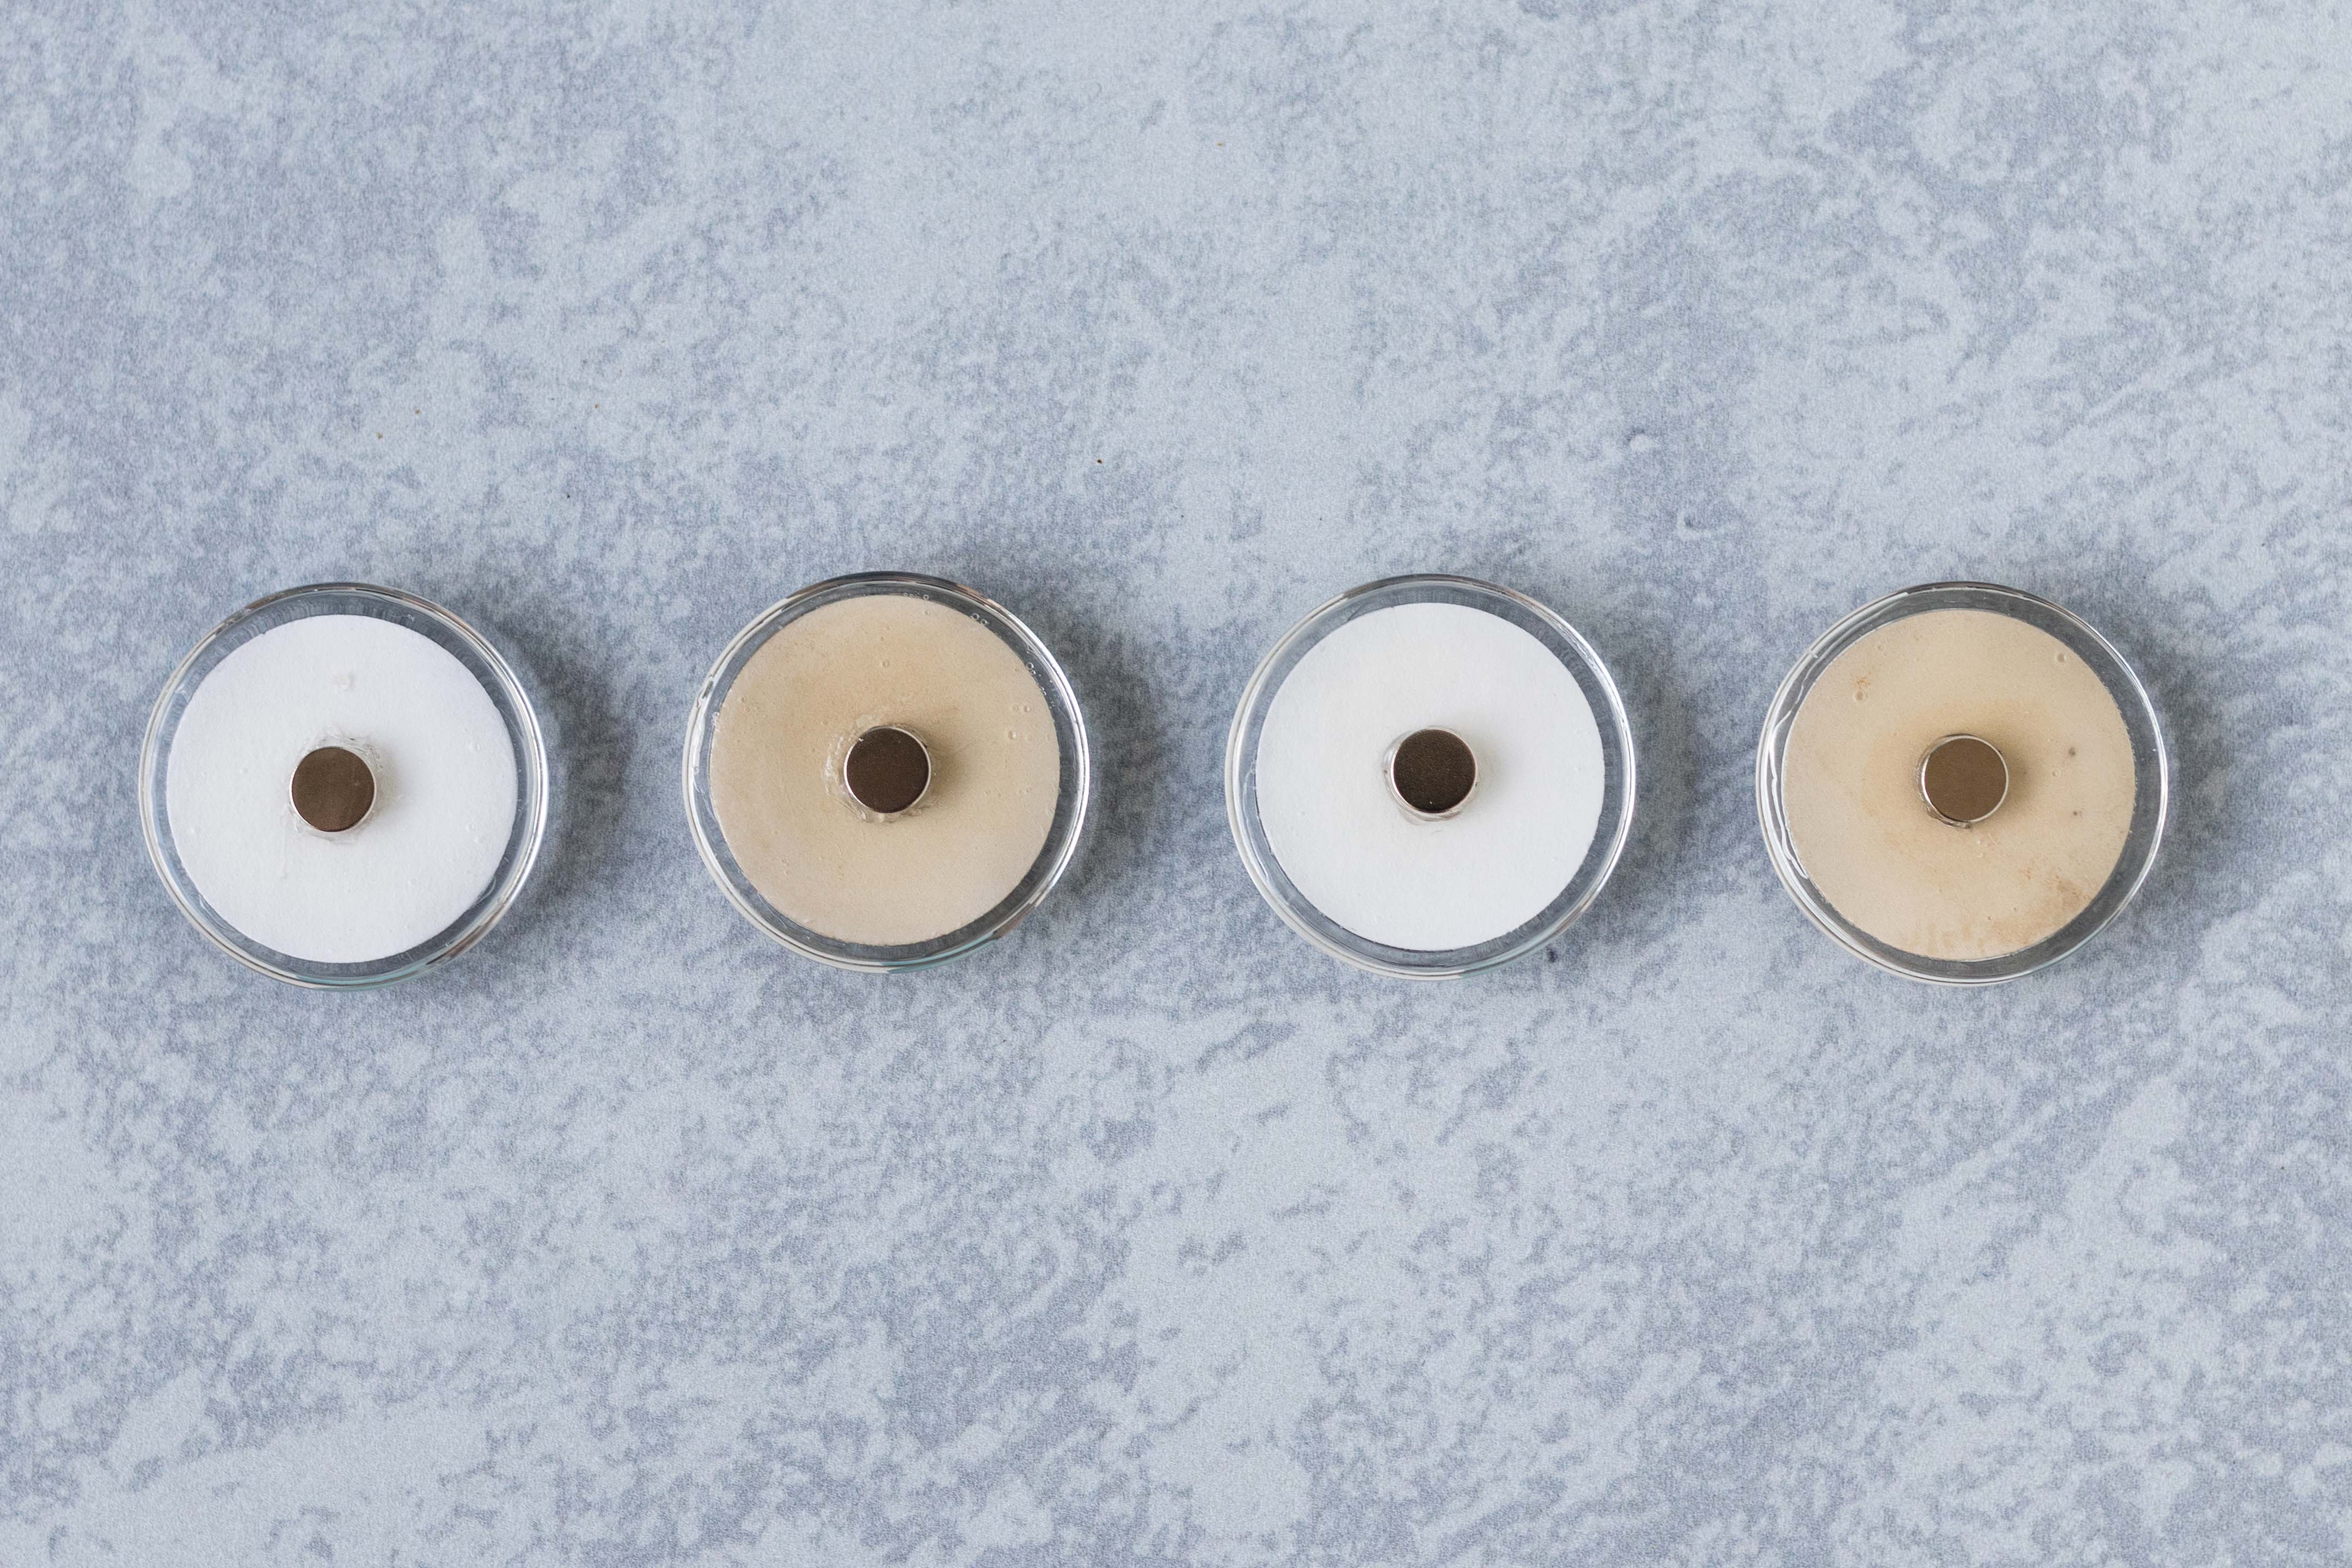
In a well-ventilated area, use a Q-tip to apply a small drop of E-6000 adhesive to the center of each cabochon back. Stick a neodymium magnet in the adhesive. Allow the adhesive to dry for a full 24 hours before handling the magnets.

Decorative filler magnets
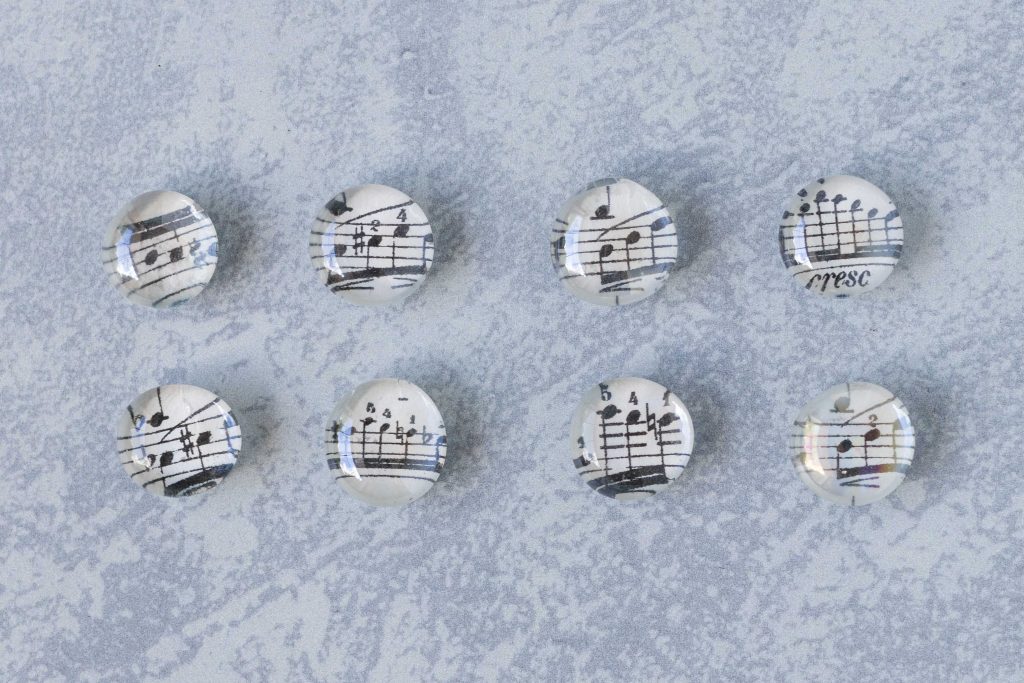
The second way that I make sheet music glass magnets is with clear decorative vase filler stones and hand cut sheet music circles.
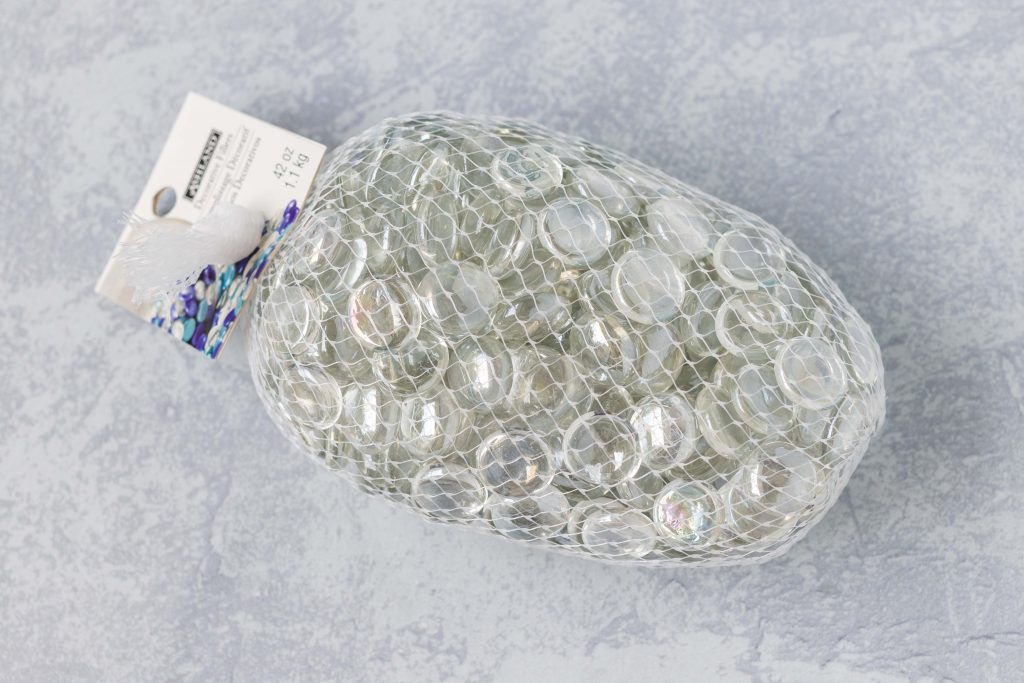
Decorative fillers are a great cheap craft medium. You can pick up a 12 oz. bag at Michaels or Hobby Lobby for under $4.
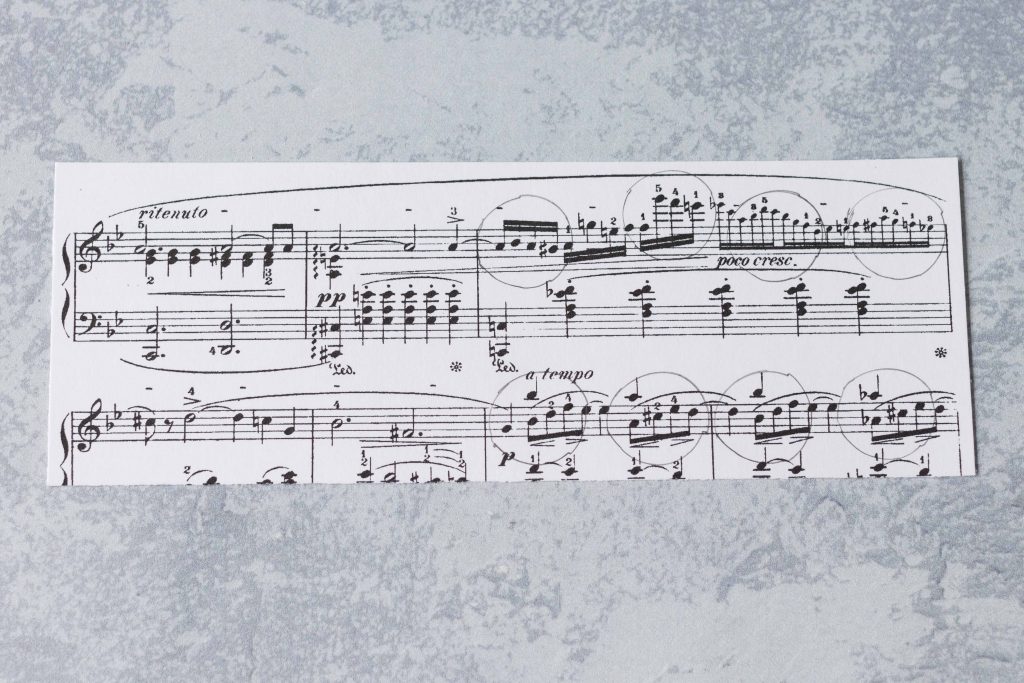
Use a pencil to trace around each stone.
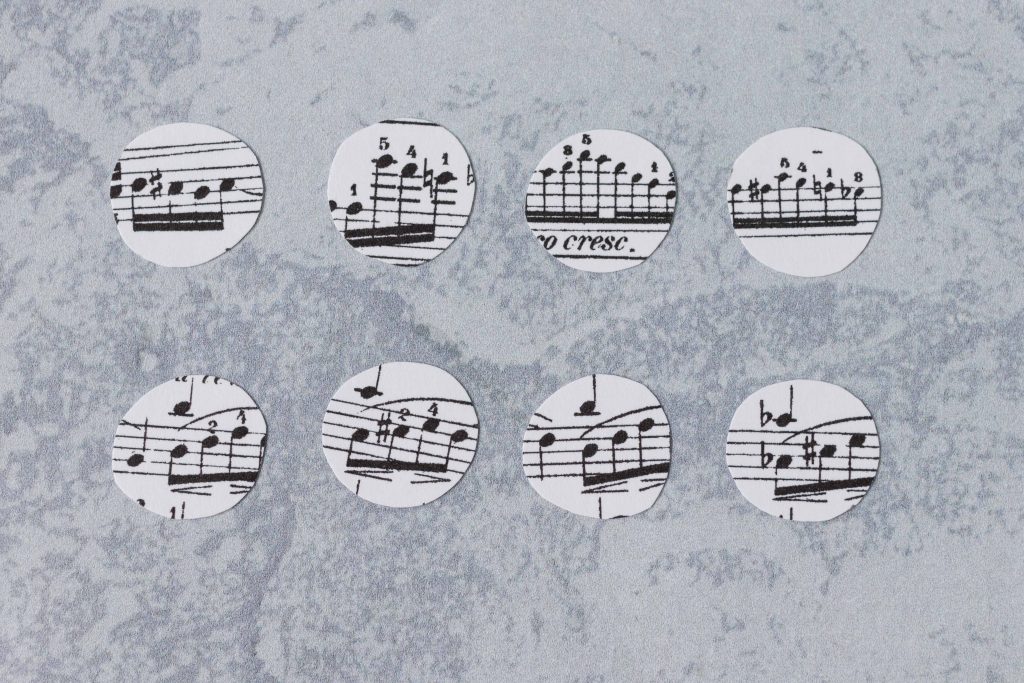
Use scissors to cut out each sheet music circle. Trim them down as needed to fit the stones.
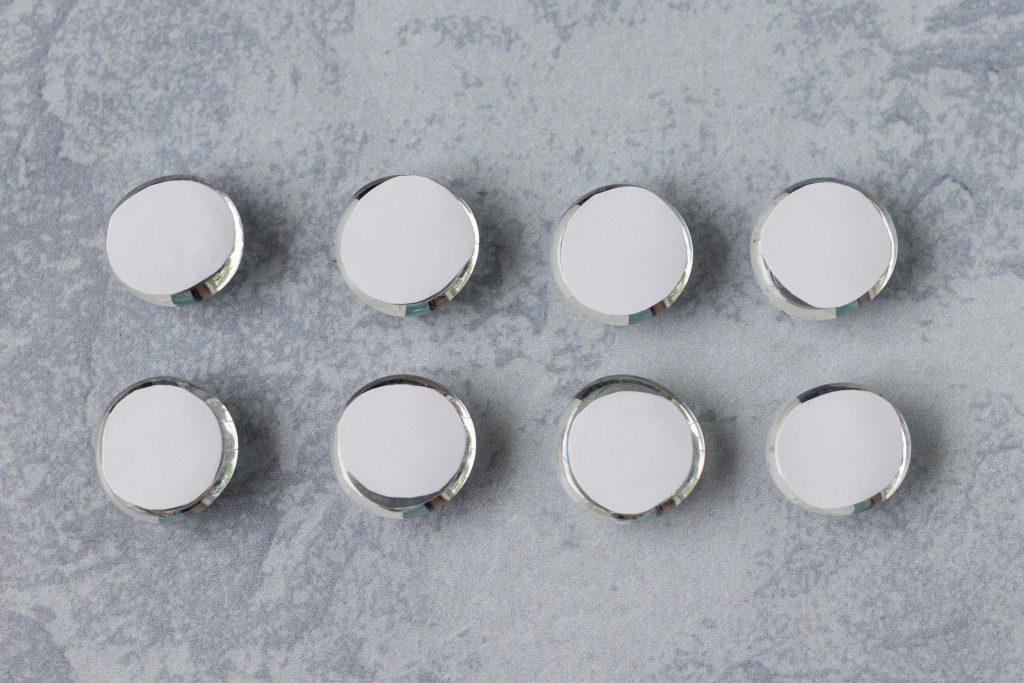
Apply a tiny drop of diamond glaze to the back of each stone to adhere the sheet music. Smooth the sheet music into place, facedown. Wipe away any excess glaze with a damp paper towel. Allow the glaze to dry completely.
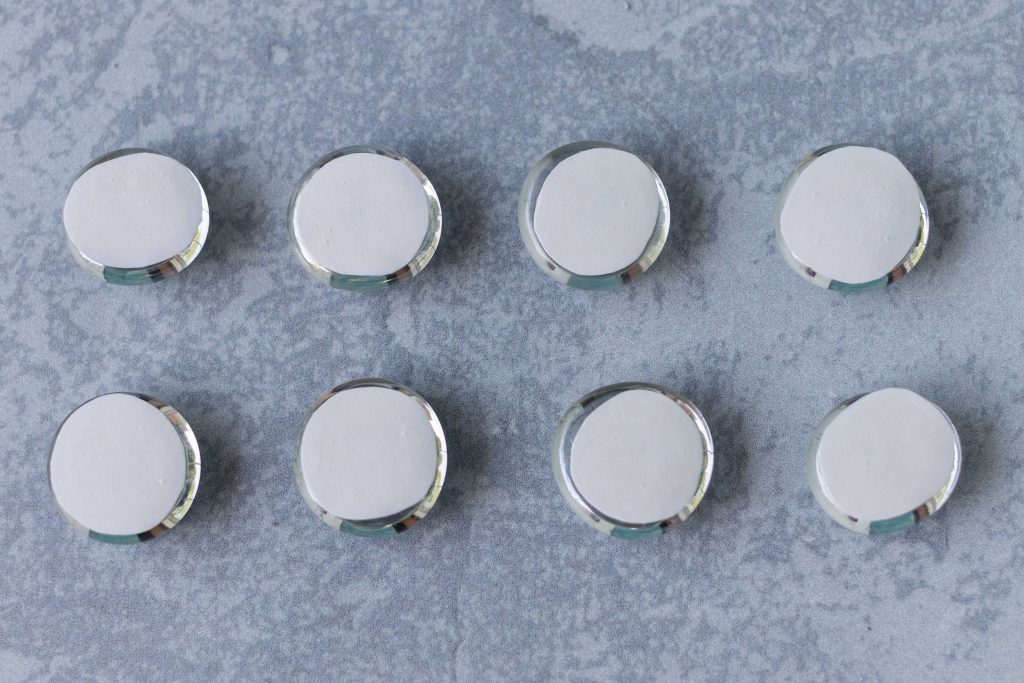
Apply a tiny drop of diamond glaze to the back of each stone to secure the sheet music. Use the diamond glaze tip or a Q-tip to smooth the glaze evenly, removing any large air bubbles. I am not meticulous about removing small air bubbles, as they won’t show on the back of the magnets.
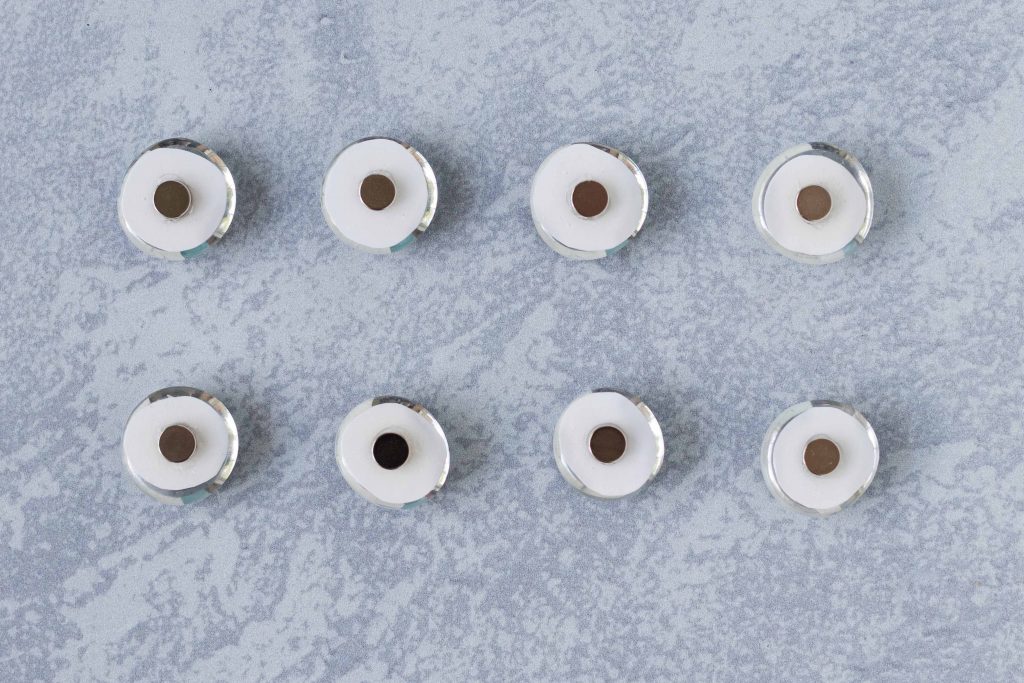
In a well-ventilated area, use a Q-tip to apply a small drop of E-6000 adhesive to the center of each stone back. Stick a neodymium magnet in the adhesive. Allow the adhesive to dry for a full 24 hours before handling the magnets.

More options for sheet music glass magnets
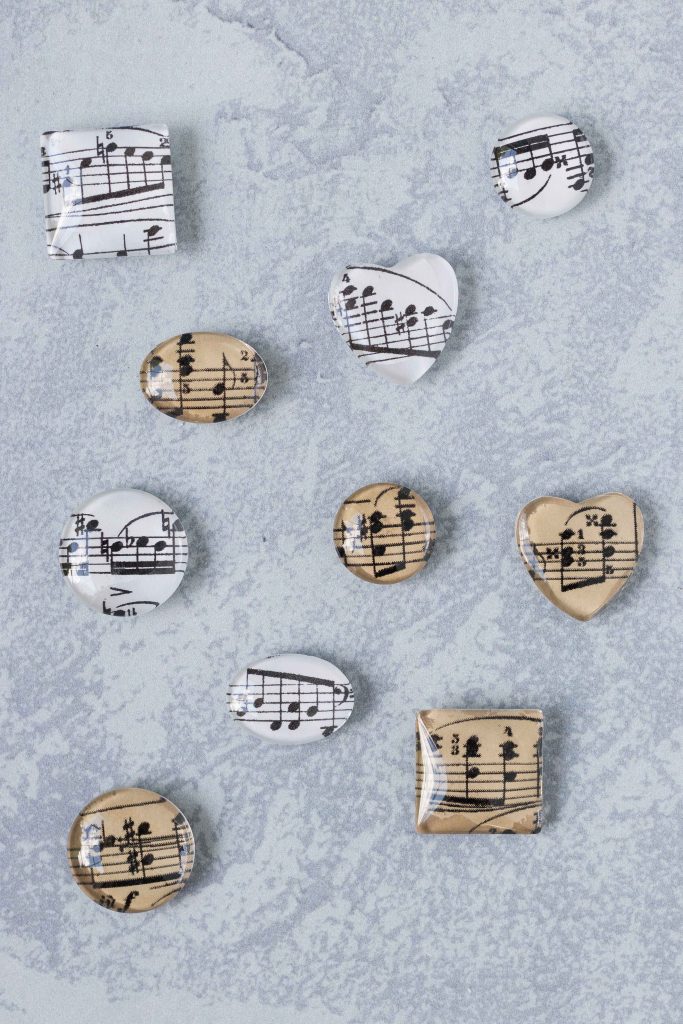
Glass cabochons are available in all different shapes and sizes. I experimented with an assortment of circle, square, oval, and heart glass cabochons to make a few more sheet music glass magnets. I used the same technique to make these glass magnets that I did for both of the above types of glass magnets.
The aesthetic of these final sheet music magnets makes me so happy. However, as I found only one paper punch that worked well with these additional glass cabochons, they were a little more fiddly to assemble. You have to trace and cut out shapes by hand (which is what I did with the hearts) or punch and then trim down the shapes (which is what I did with the remaining shapes). Either method is effective and will produce nice results. It just takes more time and again, is just a little more fiddly than either of the previous methods.
Christmas music magnets
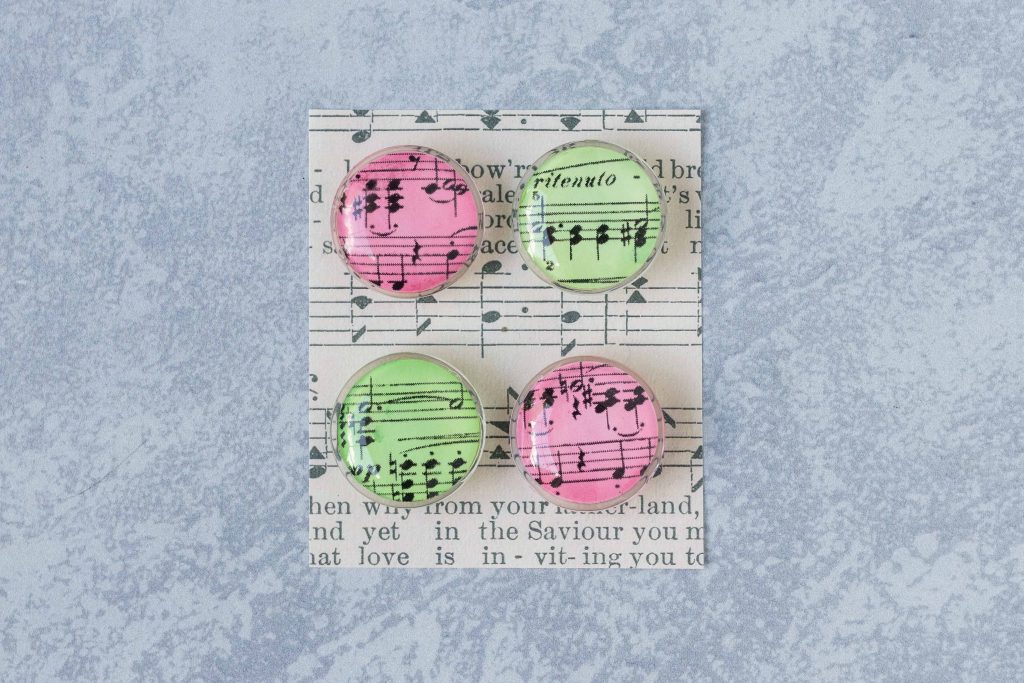
Painting sheet music with watercolors is an easy, extremely affordable way to switch up the aesthetic of your sheet music for all sorts of different craft projects. I use super cheap watercolors for almost all of my DIY projects. I chose to create a Christmas magnets set. There are so many possibilities for watercolor magnets. I have a pastel rainbow example in my clothespin magnet tutorial.
Packaging sheet music glass magnets
When I’m gifting or selling small sheet music items, such as clothespin magnets or glass magnets, I like to package them in sets. Sheet music magnets also make excellent party favors for bridal and baby showers. Packaging the magnets to give as favors adds a nice touch to the presentation.
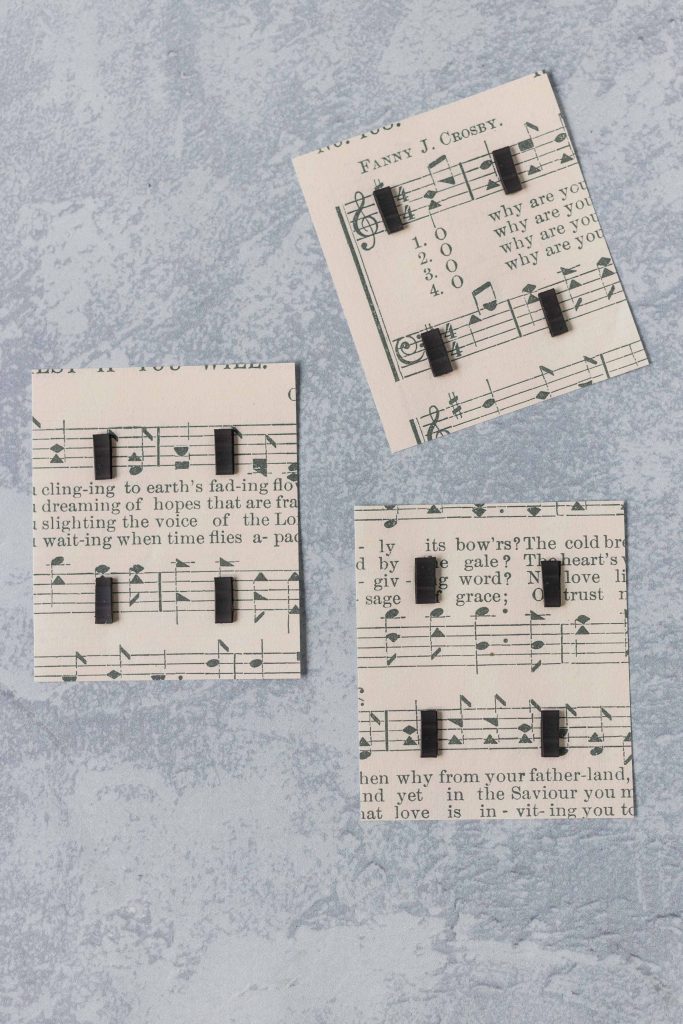
For glass magnets, cut a cardstock-printed piece of sheet music or other decorative cardstock backing of your choosing into 3″ x 3.5″ rectangles. Cut a flexible magnet strip into 1/8″ width pieces, with one magnet strip piece for each magnet in the set. Using tacky glue, adhere the magnet strip to the cardstock sheet music. Even when the magnet strip has adhesive coating, I like to use glue for added security. Allow the glue to dry completely.
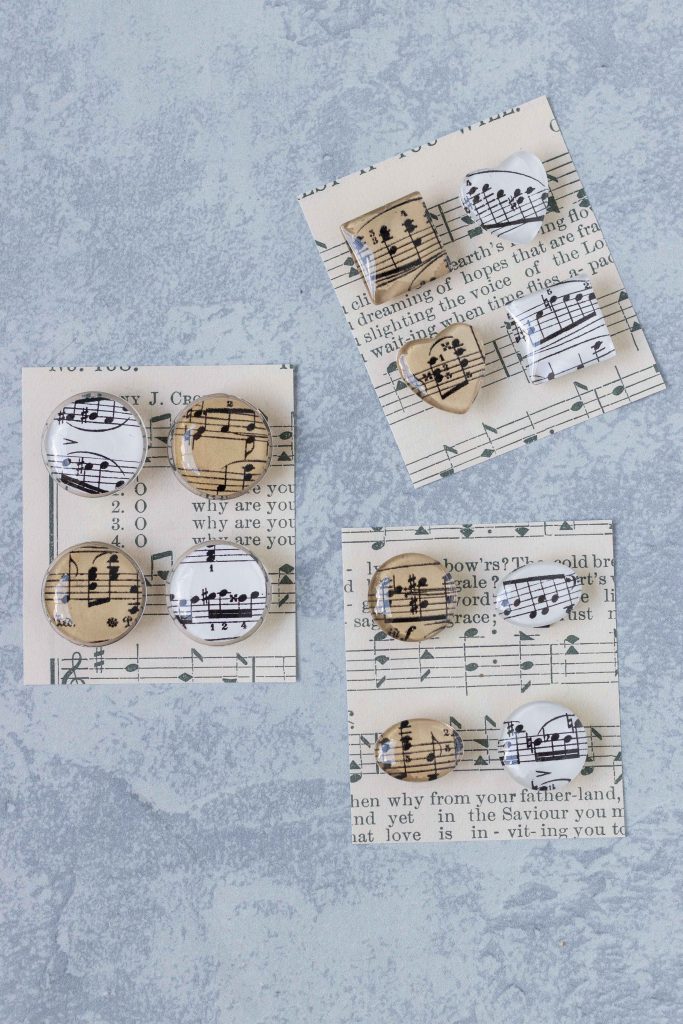
Arrange the magnets on the sheet music card.
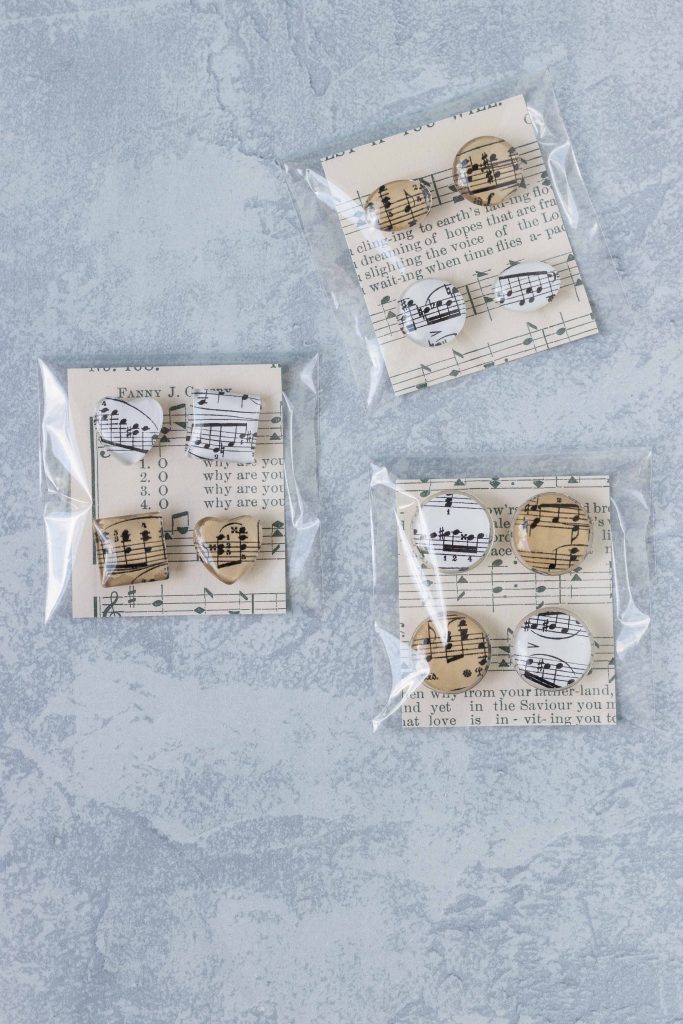
Slide the sheet music card into a 4″ x 6″ treat bag. Fold over the top of the treat bag, and secure it with a sticker or small piece of tape.
[Disclaimer: This post contains a few affiliate links. Thanks for your support!]
Did you make the sheet glass magnets?
I want to see them! Tag your images #RoseClearfield on Instagram or Twitter or post a photo to my Facebook page.
Pin this post for easy access to the DIY sheet music glass magnets tutorial later!
More sheet music crafts:
Grab a set of free vintage sheet music papers or learn how to antique sheet music for all of your DIY sheet music crafts!
For even more sheet music DIY projects, including holiday tutorials, head to the sheet music section of my blog.

