
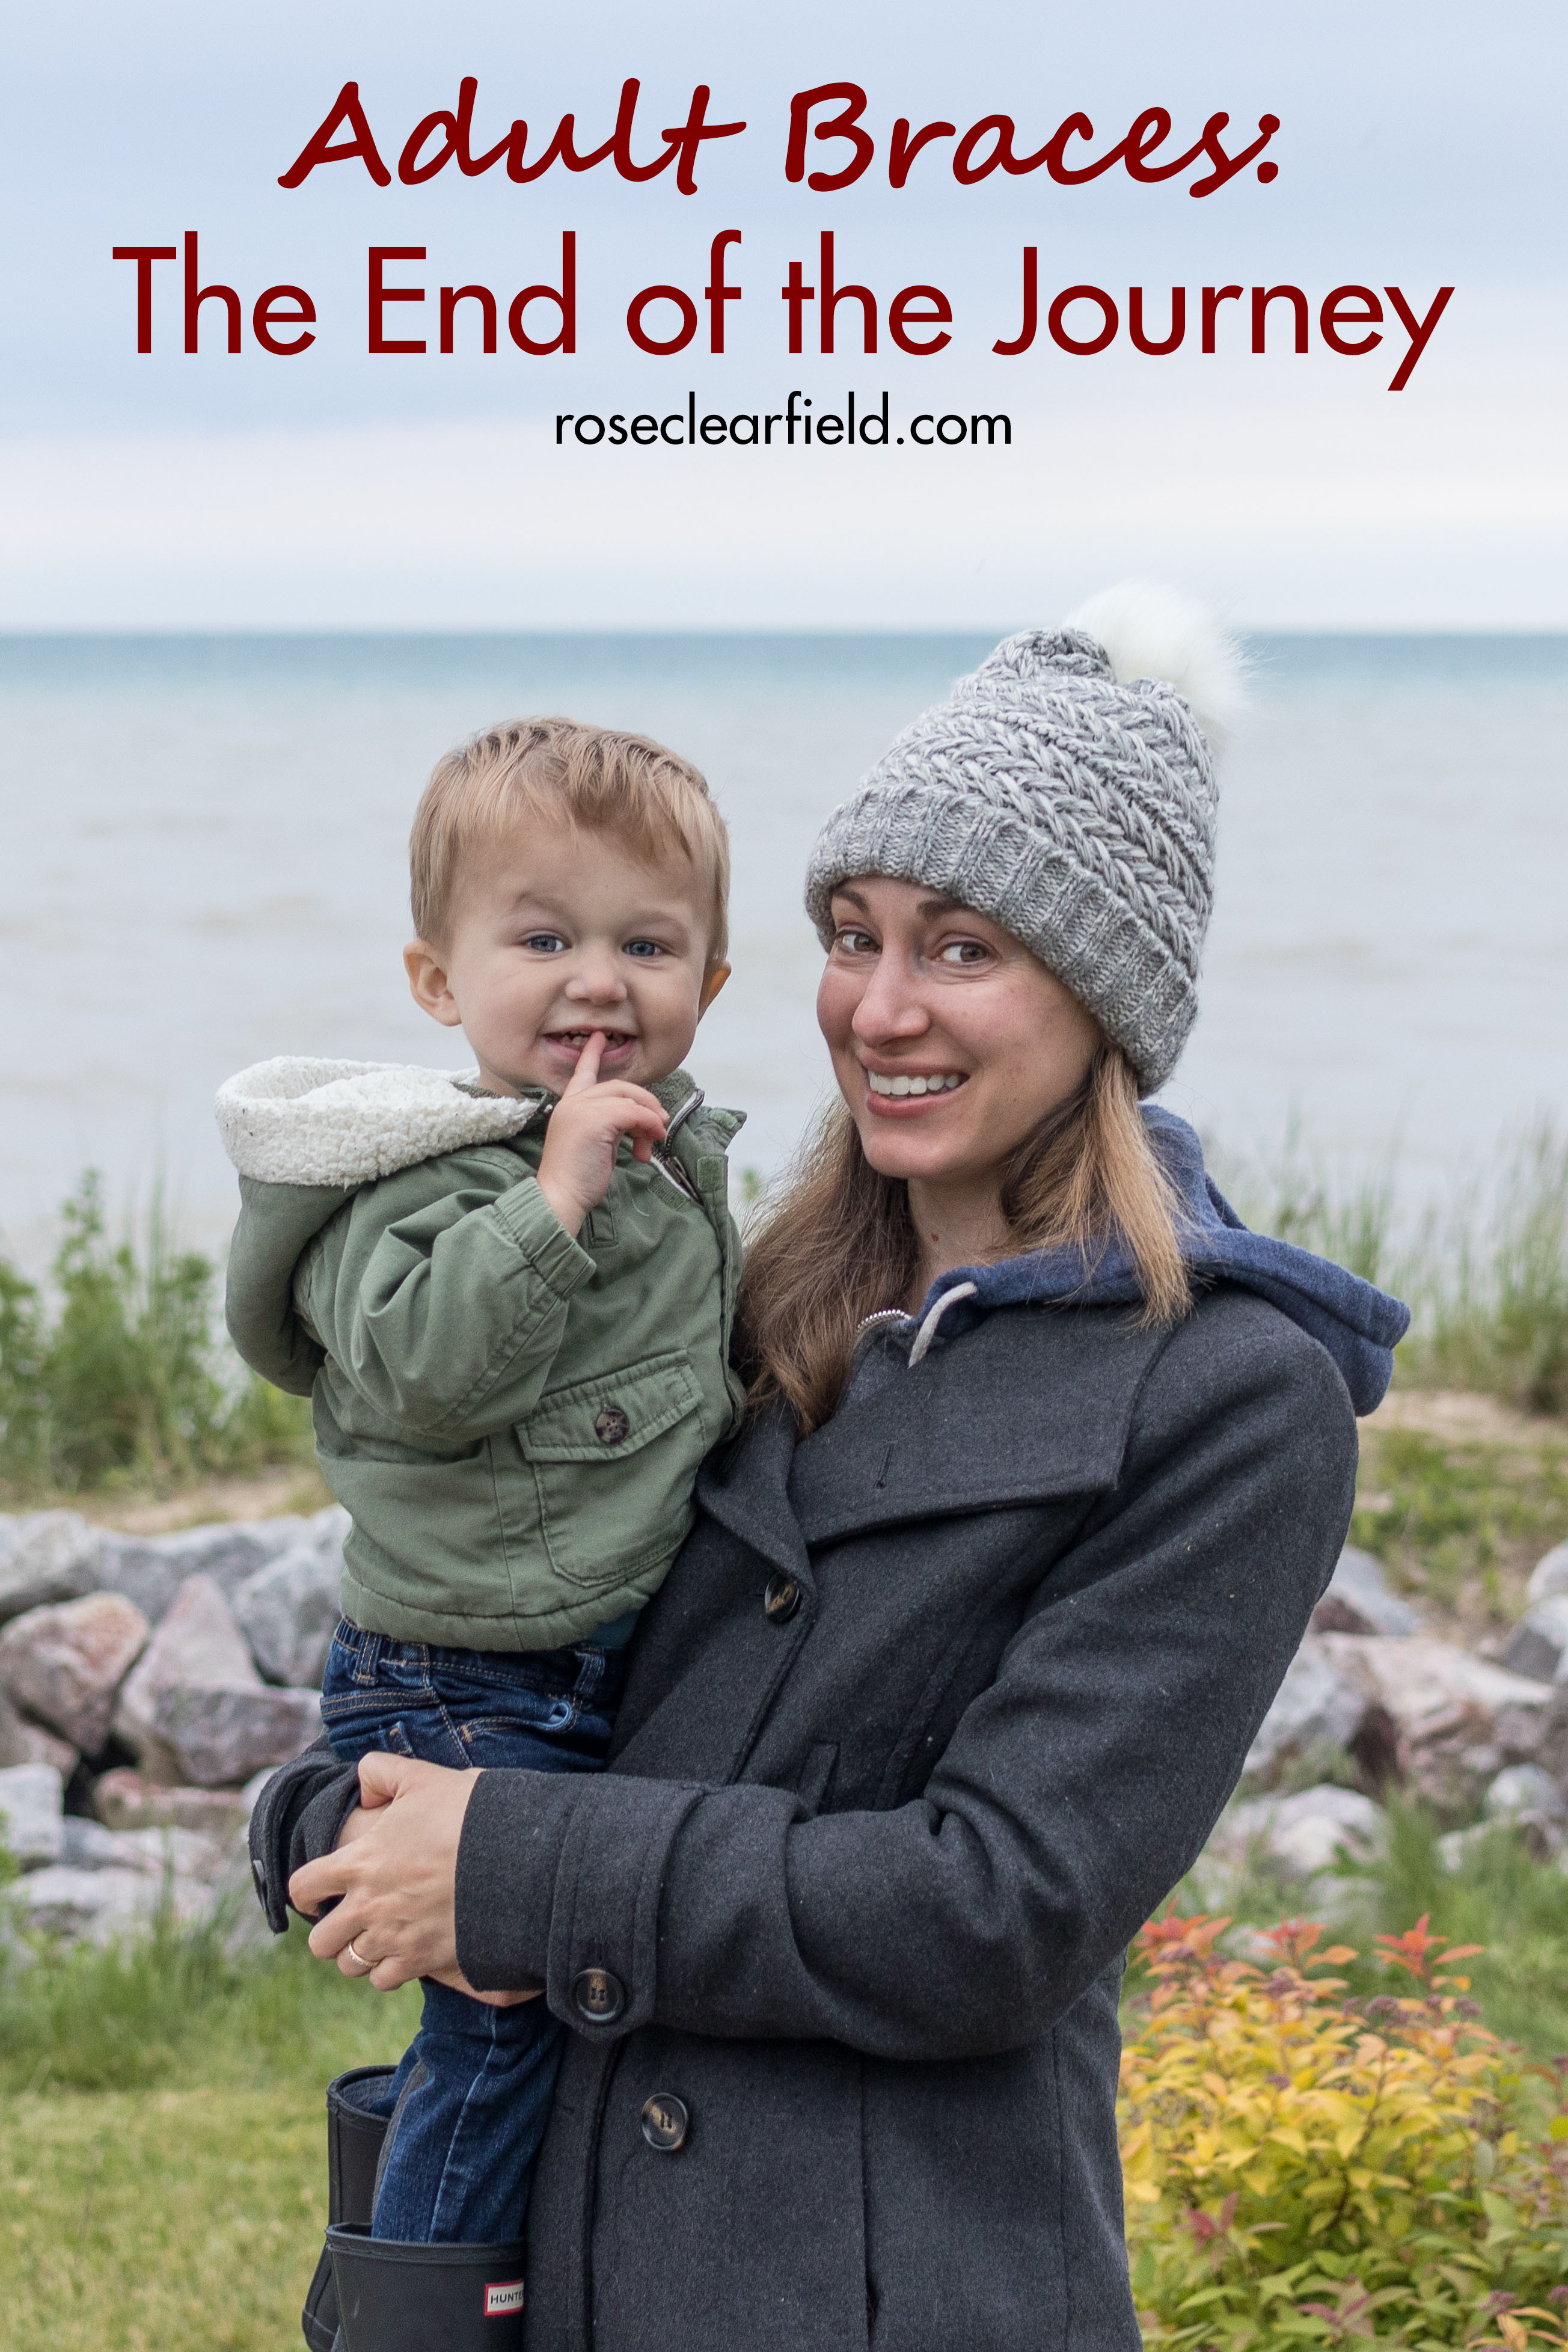
Yes, my braces are off! I got them taken off in early May. Life without braces again could not be more amazing.
Over the past couple of months, I’ve had a few appointments to wrap up my braces as an adult journey. In this post, I’ll be covering what happened at those appointments. Then next month, I’ll have two final braces posts: one post wrapping up the experience with a few final thoughts and one post with my best recommendations for what to eat with braces.
Braces removal, x-rays, and retainer fitting
My orthodontist office schedules braces removal in the morning. They have an in-house lab for retainers. With morning removal, they can get retainers made the same day and you can start wearing them immediately. Braces removal is fairly quick, under 20 minutes. If you have metal brackets, it’s pretty painless. I had metal brackets in the back, and they popped off easily with no pain.
If you have clear brackets, they don’t pop off easily. Some of the first clear brackets they removed were extremely painful. Thankfully some went more smoothly than others because I’m not sure how I would have withstood that level of pain for all of them. While painful, it was still pretty quick.
Once they’ve removed the brackets, they have to go back over the teeth and polish off any remaining bracket components and adhesive. I don’t have sensitive teeth. But my teeth were fairly sensitive to this polishing procedure. The polishing noise doesn’t help either. Again, thankfully, the procedure is fairly quick. They paced it decently, so I didn’t get too uncomfortable.
After I got my braces off, the tech took impressions for my retainers. The tech who did my initial impressions for braces was terrible. She didn’t know how to get the impression substance to set, and it took forever. If you have a good tech, it isn’t bad. Thankfully the tech I had for my braces removal was great. She had to take a second impression for either the top or bottom (I don’t remember which now) to get the sizing right, but everything set perfectly.
I wrapped up the appointment with a post-braces smile picture with the orthdonist and a parting gift of a travel coffee mug filled with non-braces-friendly chocolate caramel candies.
Retainers
I went back a few hours later the same day for my second appointment. They did a final set of x-rays and photos and then I got my retainers. They confirmed that they fit okay and gave me instructions for wearing the retainers and keeping periodic followup appointments.
So many people have asked me about retainers. If you have braces, you will get retainers afterward. They aren’t any exceptions. And you are expected to wear them at least part-time indefinitely to keep your teeth from shifting.
For anyone who is curious if I’m wearing my retainers, the answer is yes, for two key reasons.
- I got braces voluntarily as an adult, and we paid for them out of pocket. Braces aren’t cheap. Paying for them was like having a car payment for 18 months. Then we spend a couple more grand for the post-braces dental work. It would be a huge waste of time and money not to keep my teeth straight.
- I finally took the plunge with braces because I need a night guard. I didn’t want to get fitted for a night guard with ill-fitting teeth. Retainers essentially serve as night guards. If there comes a point in time that I don’t need to wear retainers anymore, I’ll get fitted for a night guard. For now, I’ll be wearing my retainers.
Post-braces
I felt very out of my element the day I had my braces removed. It felt so great to get the braces off but also so weird. Not only had braces become the new normal but my teeth fit together completely differently before braces. I have two fewer top teeth now. The top teeth don’t stick out nearly as much as before, which is completely foreign to me. It didn’t help that I spent over two hours at the dentist and nearly three hours driving to and from the dentist and dropping off and picking up Tommy from a friend’s house.
My gums were very sensitive the first day, which is pretty common. I had a lot of bleeding when I brushed, several sore gum spots, and some sensitivity from hot/cold food and drink.
I woke up the next day feeling much more like myself. My gums were considerably better, and I didn’t have any sensitivity. I’m still getting used to how my teeth look and feel. It’s sort of like looking in the mirror after you’ve changed your hair style significantly. You may love your new hair, but you aren’t used to seeing it blonde, short, etc. I think it will become the new normal, but it will take a while.

Post-braces, pre-whitening.
Whitening consult
I didn’t have to jump right into whitening and bonding. But I moved forward with them right away because I just wanted to get everything wrapped up as soon as possible. I also didn’t want to have teeth gaps any longer than necessary. So I scheduled my whitening consult with my regular dentist the day after I had my braces removed. I did Philips Zoom whitening because it’s what my regular dentist offers in-house. Doing in-house whitening is easier and quicker than doing whitening trays at home for a couple of weeks. It also tends to produce more significant results.
During this appointment, my dentist gave me a 2-in-1 toothpaste and fluroide treatment, which helps reduce sensitivity from the whitening agent. He took impressions for the custom whitening trays. You get to take these whitening trays home for periodic touch-ups. My dentist also used the impressions to help him finalize my teeth bonding. We did consult about bonding earlier in the spring. But my teeth have moved in the past couple of months. Having a detailed current impression helped him create an accurate plan and made the bonding procedure go more smoothly.
We also talked a little bit more about bonding and what you can and can’t eat and drink after the Zoom whitening. This appointment was fairly quick, just under half an hour.
Whitening
Two weeks after the whitening consult, I did the whitening treatment. If you’re curious about Philips Zoom whitening, I encourage you to check out their official site. I also encourage you to check out this detailed post about the procedure from Revelist. I did the Whitespeed version. It’s completed in 15-minute increments. After each increment, you can see how your teeth look and decide if you’re happy with the current shade or want to go whiter.
Let me be clear that I did not do teeth whitening because I wanted movie star teeth. Until this whitening treatment, I hadn’t ever whitened my teeth, and it showed. Years of regular tea drinking and then two years of braces did a number on the color. As bonding resin can’t be whitened, I wanted to achieve a shade that I was happy with before undergoing bonding.
If I did an in-house whitening treatment on its own, I would have said that it was a long, rough experience. After everything I’ve been through with braces, it ranked somewhere in the middle. It was long (a little over an hour) and fairly uncomfortable (there’s a lot of stuff in your mouth) but not painful. I did have some sensitivity but nothing too bad and it lasted less than 24 hours.
I’m very happy with the results. My teeth are significantly whiter than before but not dazzling white. As I do have bonding now, most likely I will do periodic whitening treatments to ensure the color remains even.
Gingivectomy
I’m sure that some of you are thinking, what? You never mentioned a gingivectomy. I didn’t mention a gingivectomy because I didn’t even know that it would be a possibility until the day I did my whitening treatment. After I finished the treatment, my dentist came into talk to me about bonding. My top lateral incisors are so small that my dentist was worried bonding them on their own would look weird. He wanted to bring up my gum line above both top lateral incisors to better match the post-bonded teeth.
I was supposed to get my teeth bonded the same week that I got them whitened. Instead, I did the gingivectomy that week and pushed the bonding appointment back to mid-June. Modern gingivectomies involve lasers and are quick and painless. The entire process, with numbing, took less than half an hour. My gums were a little sensitive for a week or so afterward, but it was pretty minor. I think that it was worth doing the gingivectomy for the aesthetic it produced.
Post-whitening, pre-bonding.
Bonding
If you’ve been following my braces as an adult journey, you know that my upper lateral incisors are much smaller than my upper front teeth, especially my upper right lateral incisor. After having two upper teeth pulled to make more room, I was left with gaps around the incisors. My dentist filled in these gaps with bonding.
I have never been as excited about a dental appointment as I was for my bonding appointment. As amazing as it was getting my braces off and getting my teeth whitened, I knew that bonding was going to take them the last 10%. I was beyond ready to close up my gaps and see the difference. If I didn’t have gaps, most likely I would have left things as is post-braces and did an over-the-counter whitening treatment at some point. But having the gaps pushed me to go the last 10%, and I’m glad that I did.
The bonding appointment was long, close to 90 minutes, because I had significant bonding done to the two lateral incisors and minor bonding done to about four other teeth. At times, it was a little uncomfortable, and it was very wet, as they keep rinsing things out, and the water gets everywhere. But it wasn’t painful. I didn’t have to get numbed for it, which was awesome.
Modern bonding looks and feels amazing. You absolutely can’t tell the difference between tooth and resin. My dentist polished the front side, so the resin feels smooth like teeth. The back side was rough as first, but it’s slowly becoming smoother.
Similar to getting my braces off, I couldn’t be happier with the results, but it will take some time to get used to them. The first day or so was the biggest adjustment period. It’s slowly starting to look and feel more normal now.

Post-bonding.
Post-bonding
I did have to get a new upper retainer post-bonding, which is something that I’ve been aware of for quite a while. I did the retainer impression appointment last week and then picked up my new retainer earlier this week. I’ll also have a follow-up appointment with my regular dentist next week. He’ll need to take a new upper impression for my custom whitening trays, and we’ll determine if I need any touchups or adjustments to the bonding (most likely yes).
Then I’ll have my regular dental cleaning in August and my first post-braces follow up with my orthodontist in September. After the September appointment, I’m hopeful that I can go 4-6 months without any more teeth appointments.
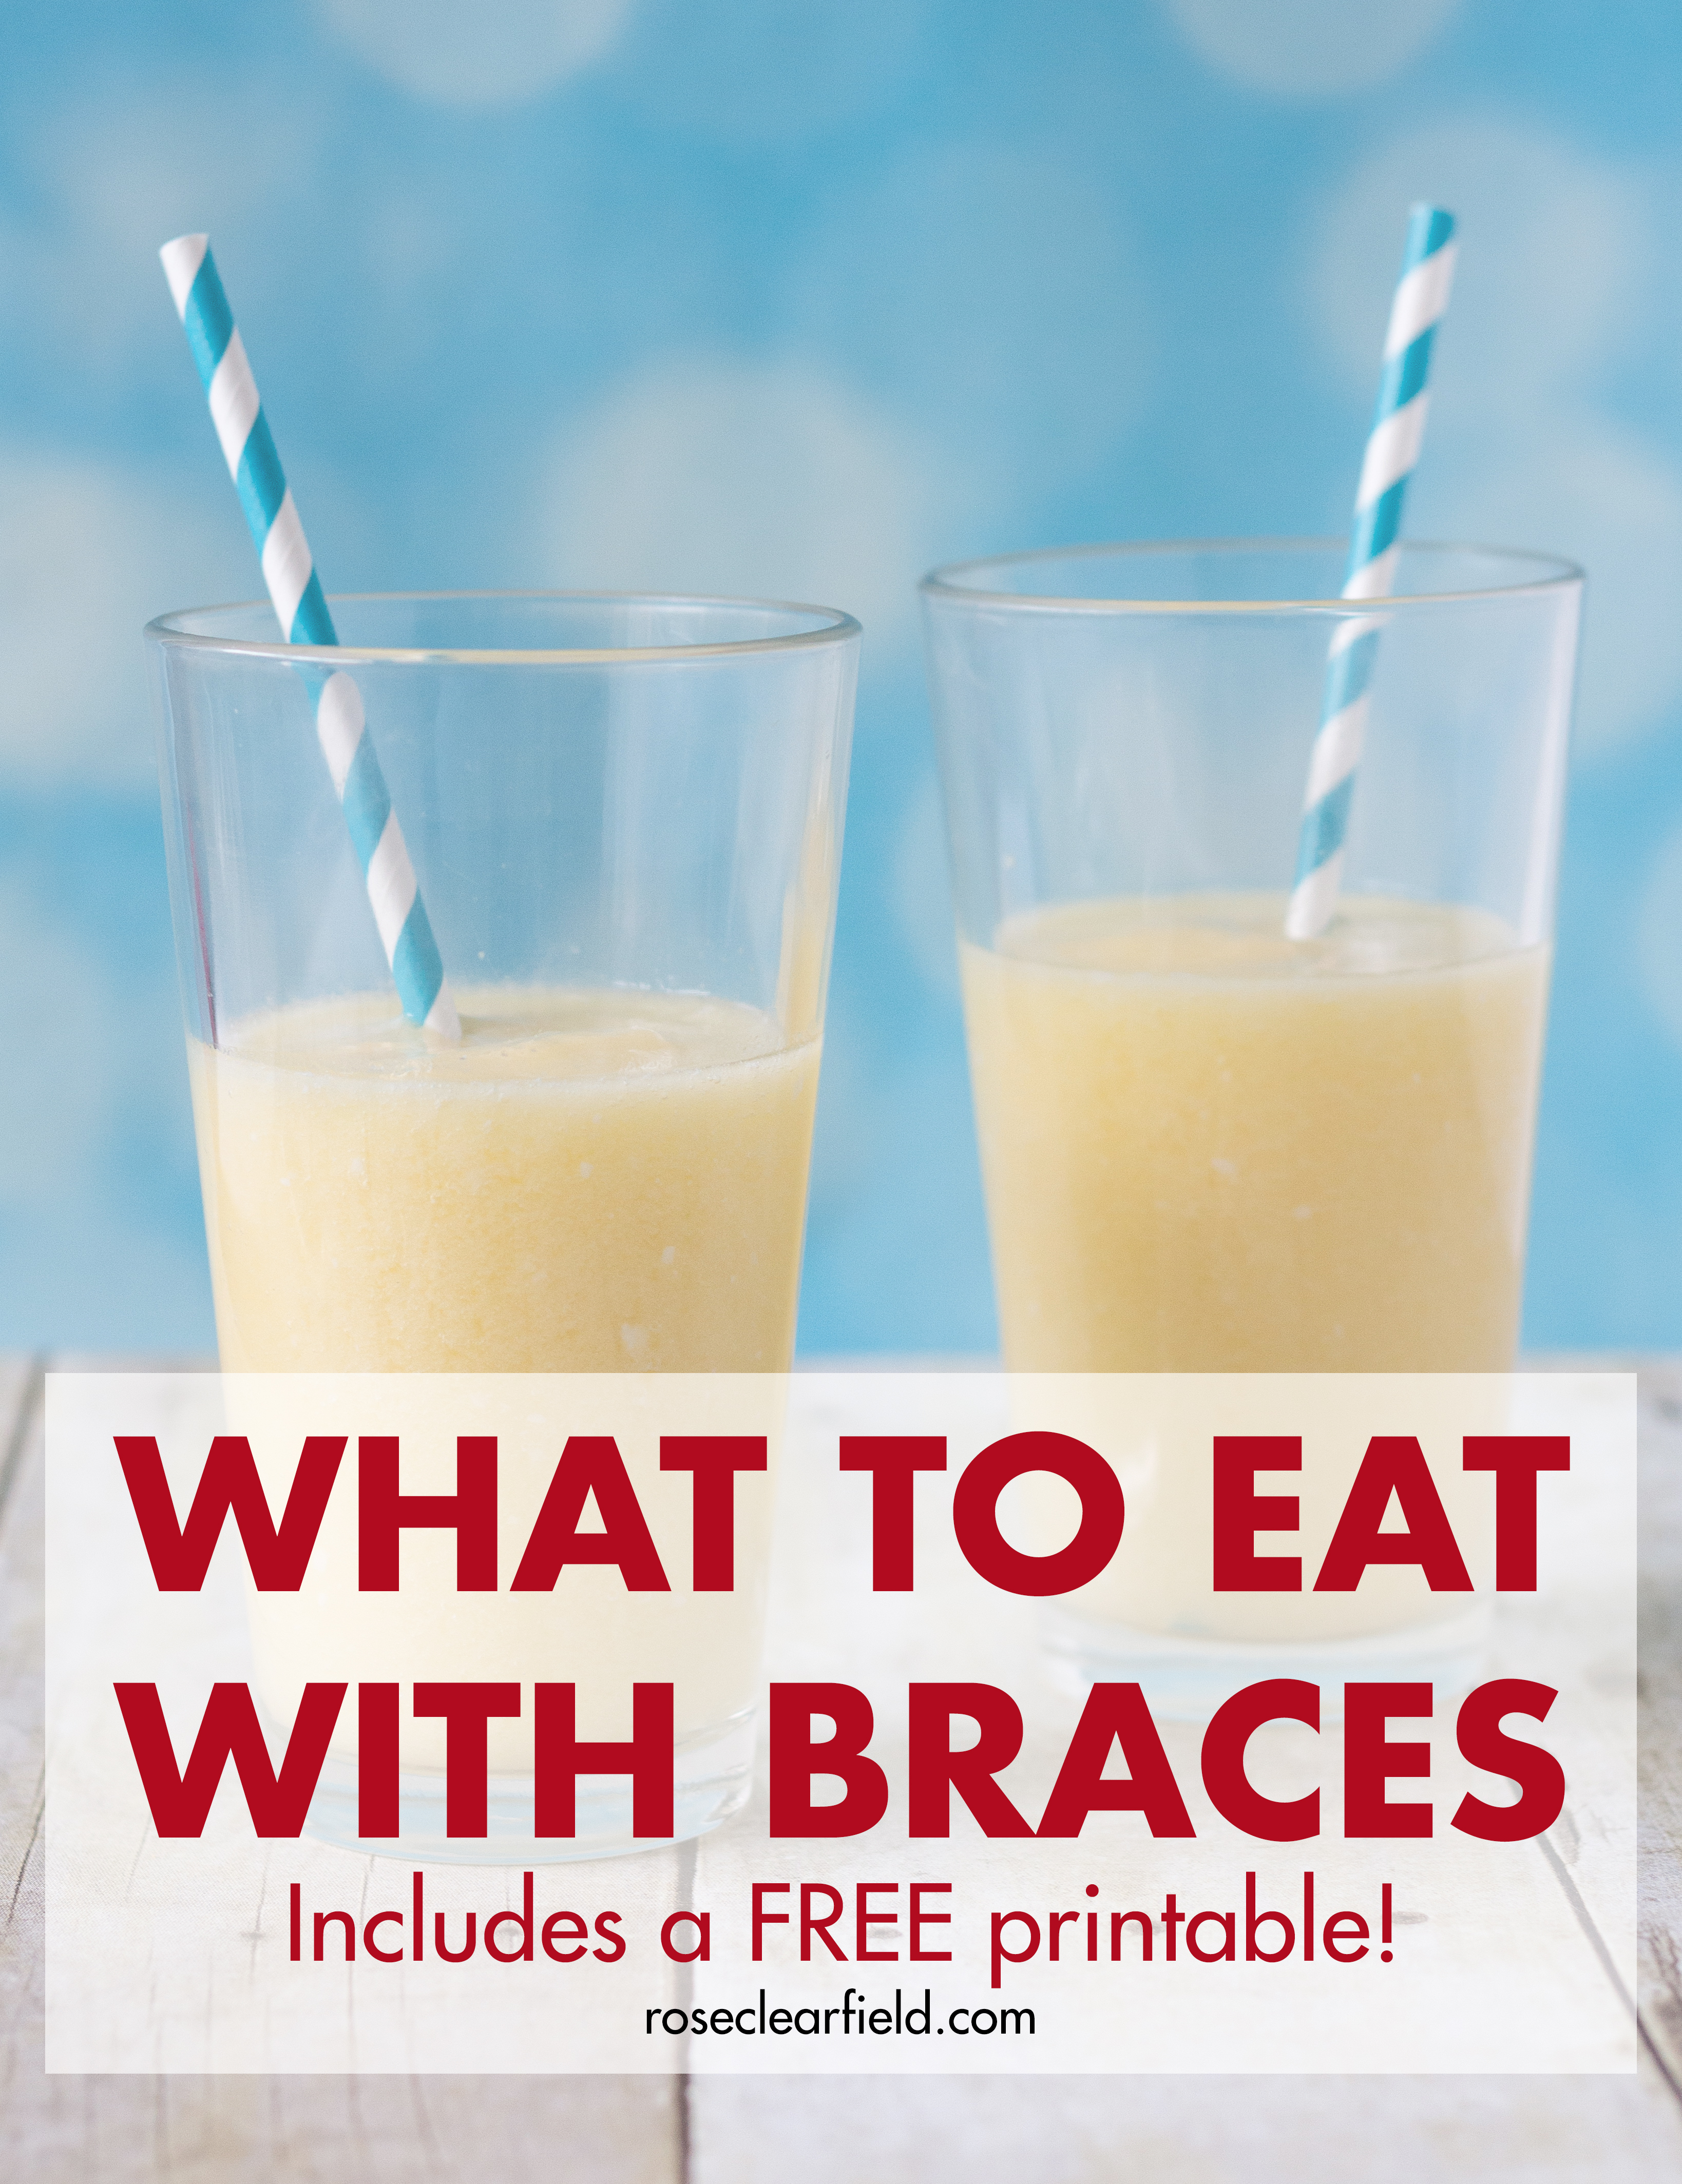
Again, I’ll have two more braces posts next month: one post with final thoughts about this process and one post with my best recommendations for what to eat with braces.
I appreciate everyone who has stuck with me through this long journey! If you have adult braces, I’m interested in hearing your perspective on this process.
The full adult braces journey:
Monthly updates:
Month 4 // Month 7 // Month 10 // Month 13 // Month 16 // Month 20 // Month 23
Final posts:
Adult Braces: The Beginning of the End // Adult Braces: The End of the Journey // Adult Braces: Final Thoughts
Before and after comparison!
Adult Braces: Before and After Pictures
THE resource you need for eating with braces!
What to Eat with Braces [Includes a FREE Printable!]
