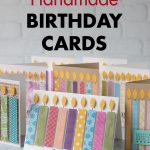
You can never have too many homemade birthday cards on hand.

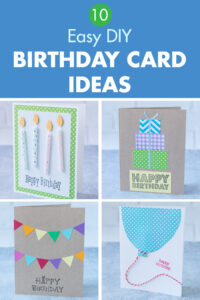
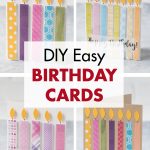
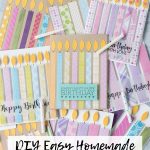
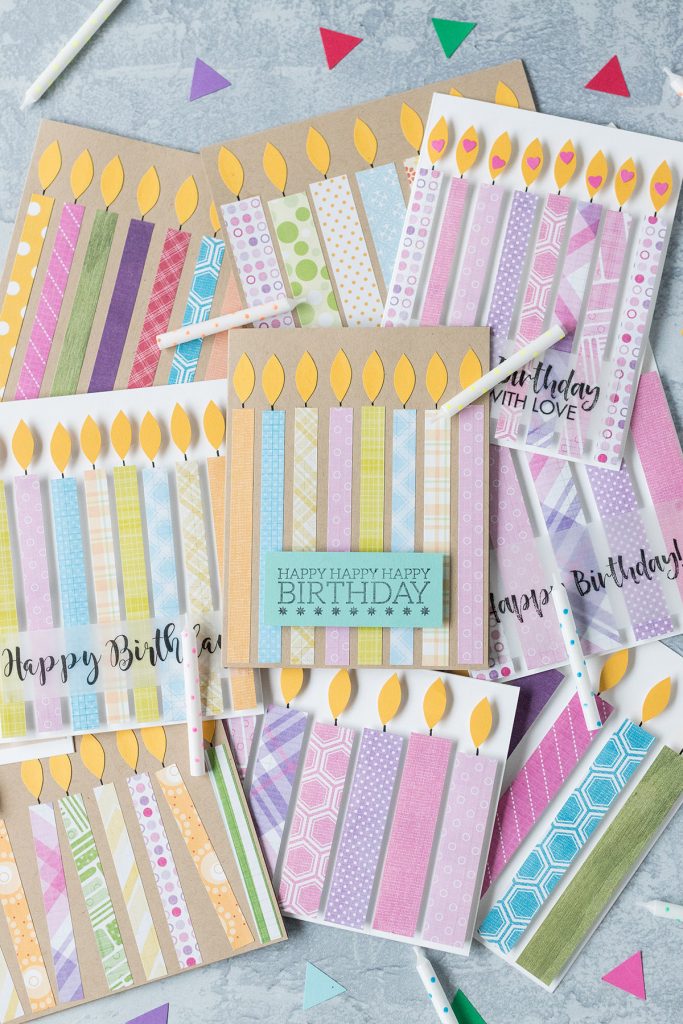
I like to keep a small stash ready, so I’m not scrambling to make one at the last minute before a party. As such, it’s nice to have a handful of DIY birthday card ideas at the ready. The easy candle birthday cards I’ve designed are extremely versatile. I created cards with multiple color palettes and simple birthday messages with something for everyone. You can easily customize these designs for moms, dads, brothers, sisters, teachers, friends, and more.
I created the original birthday candle card as part of my 10 simple DIY birthday cards post. I like the original design a lot and got good feedback on it this year as I gave cards with said design to family and friends. So I decided to expand on it and create a few more versions of it. You have all the DIY birthday card ideas you’ll ever need for creating handmade cards.
DIY easy candle birthday cards supplies
- White or kraft A2 greeting cards with envelopes
- Colored or patterned scrapbook paper or cardstock in multiple designs
- One sheet of yellow cardstock
- Scrapbook glue or other paper-safe, wrinkle-free glue
- 1/2″ foam-mount adhesive squares
- 1/4″ foam-mount adhesive squares
- Black Uni-ball rollerball pen or similar black pen
- 1-2 sheets 8.5″x11″ translucent vellum inkjet paper
- 1/4″ heart punch
- Double-sided tape
- Paper cutter
- Scissors
A few notes:
- Not every card requires every single supply on the list. Read through the entire description for each variation carefully before ordering supplies.
- Any color greeting card works just fine. I like neutrals because the birthday candles are so colorful.
- There is no set number of colors or designs that you need for a greeting card. I have at least five different designs in every card in this post, but more or fewer designs works great, too.
- I have detailed information about where I buy my blank greeting cards, envelopes, colored cardstock, and scrapbook paper in my basic card making supplies and tools post.
How to make easy candle birthday cards
The basic process for making candle birthday cards is very straightforward. I explain the variations for the design, such as the dimensions for the candles and whether I use glue or foam-mount squares, as I go.
- Gather your scrapbook paper or cardstock.
- If you’re creating a card with stamped, inkjet-printed, or laser-printed “happy birthday” message at the bottom, stamp or print the message before adding the candles and flames.
- Cut the paper to size for the candle design of your choosing. Using a paper cutter isn’t a requirement. But the tool makes it much easier to cut straight lines and to cut multiple sheets of paper evenly.
- Cut out the number of flames you need for your design. I create a hand-drawn flame template that I use to trace my flames, which I find much easier than freehand drawing every flame.
- Arrange the paper candles on the card, making adjustments until you’re happy with the layout.
- Glue or foam-mount the candles.
- Use the Uni-ball black pen to add candle wicks. Give the ink a couple of minutes to dry completely.
- Glue or foam-mount the flames.
- If you’re adding a vellum or stamped overlay, print or prepare the overlay, and then glue it into place.
Unless otherwise noted, all candle dimensions, foam-mount recommendations, and other suggestions for materials and techniques are for A2 size cards. My recommendations may not work with other card sizes. If you choose to work with other card sizes, which is great, please make adjustments accordingly.
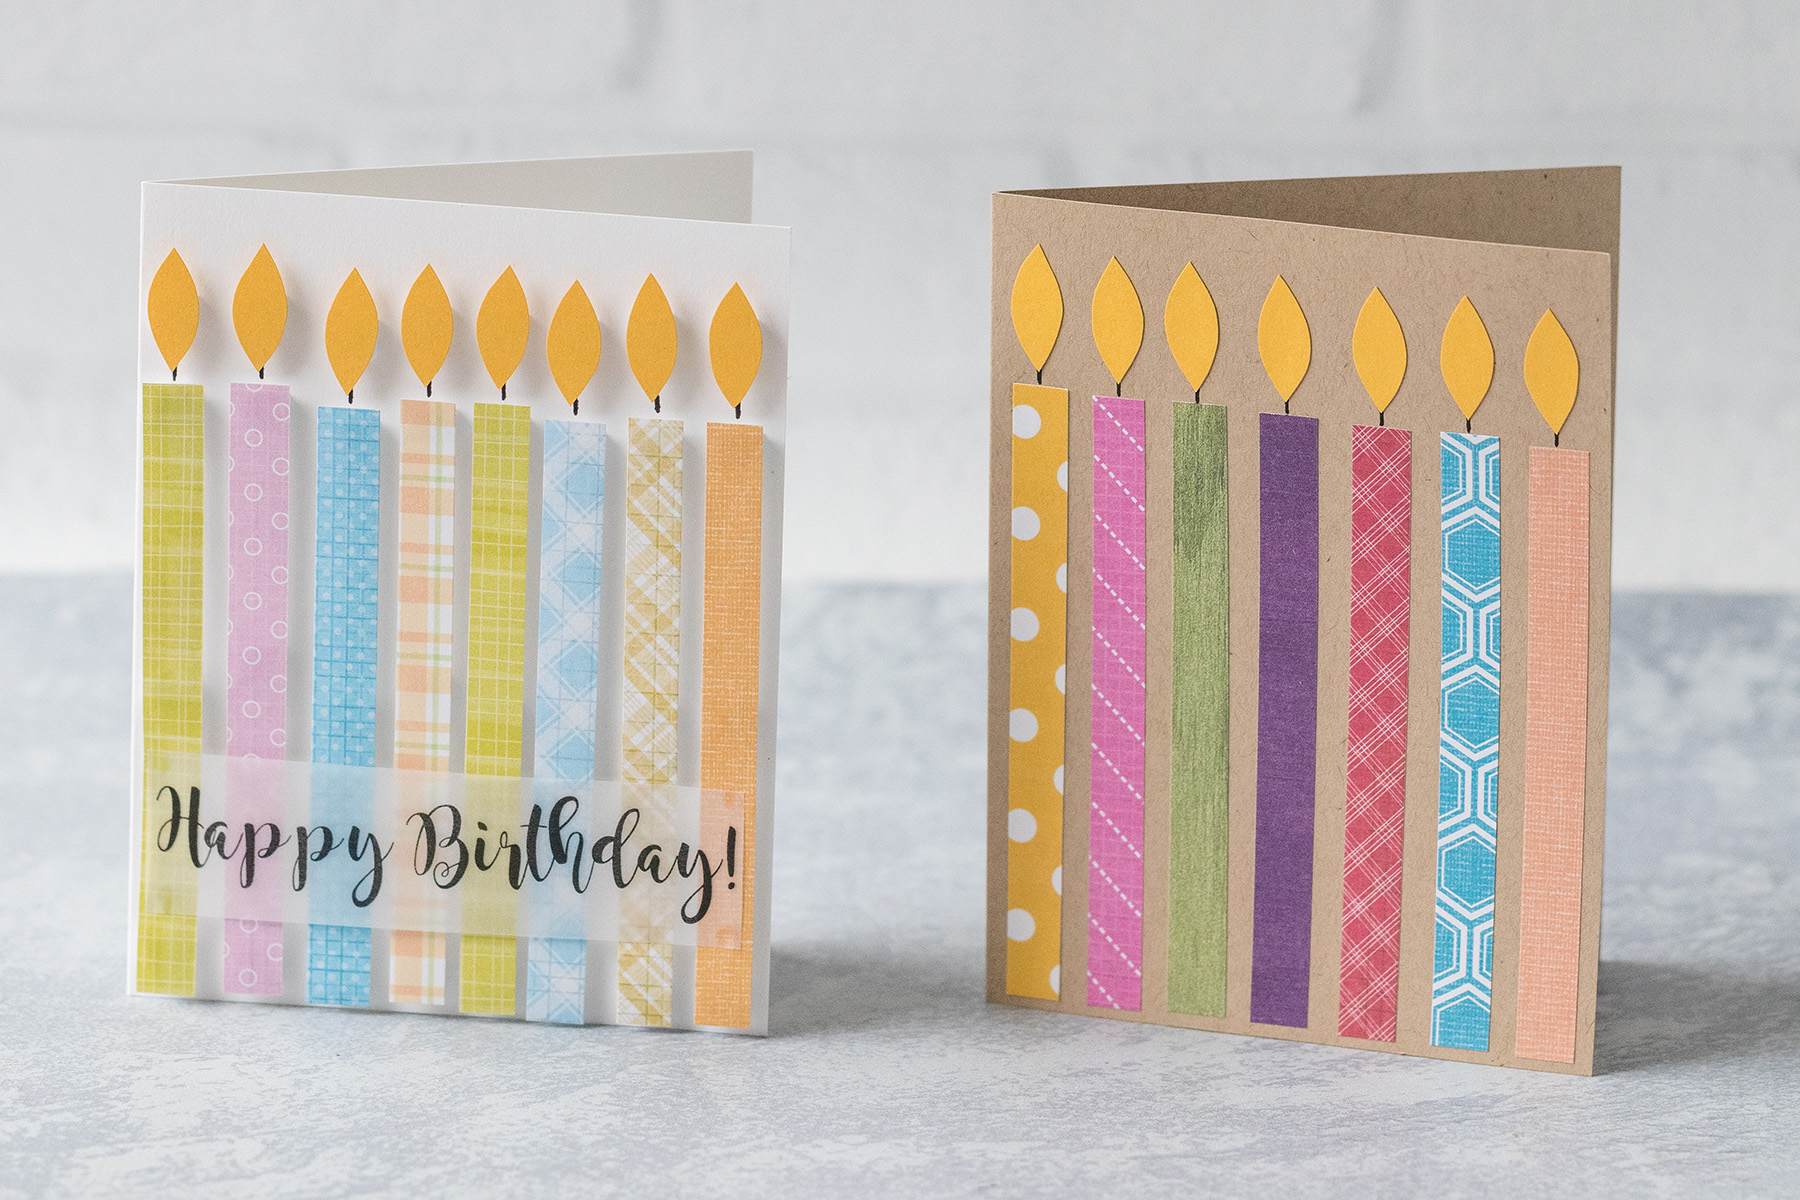
Wide candles
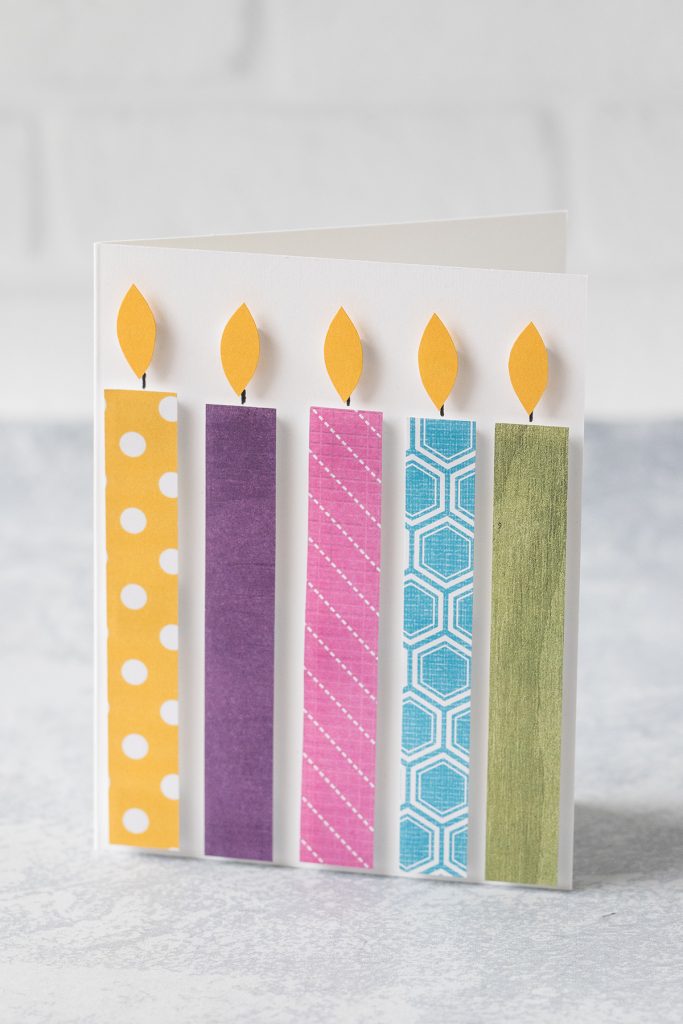
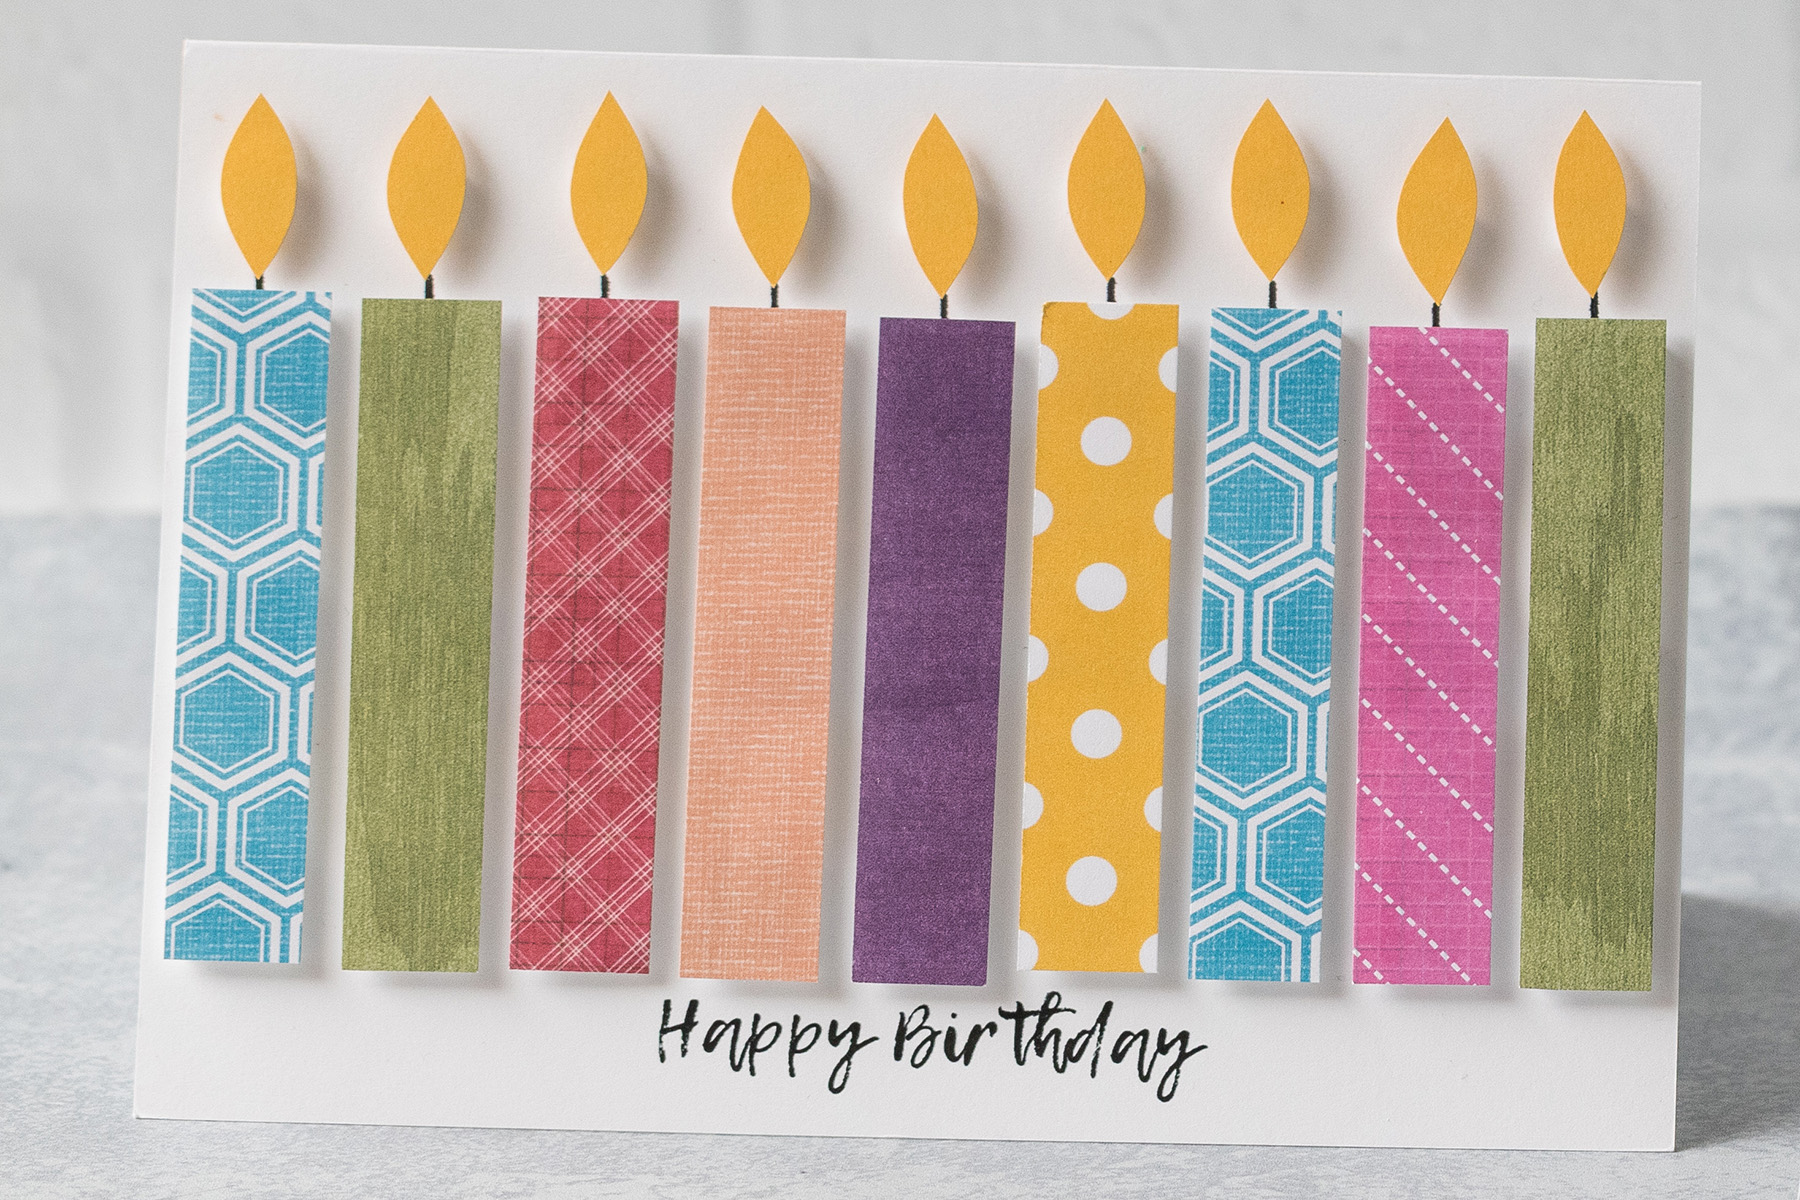
I created my original candles card with wide candles. Wide candles are nice if you want to showcase the designs on the candle a little more. They also work well if you simply want fewer candles on each card.
Wide candles – landscape orientation: 7 candles, each measuring 3 1/8″ x 5/8″
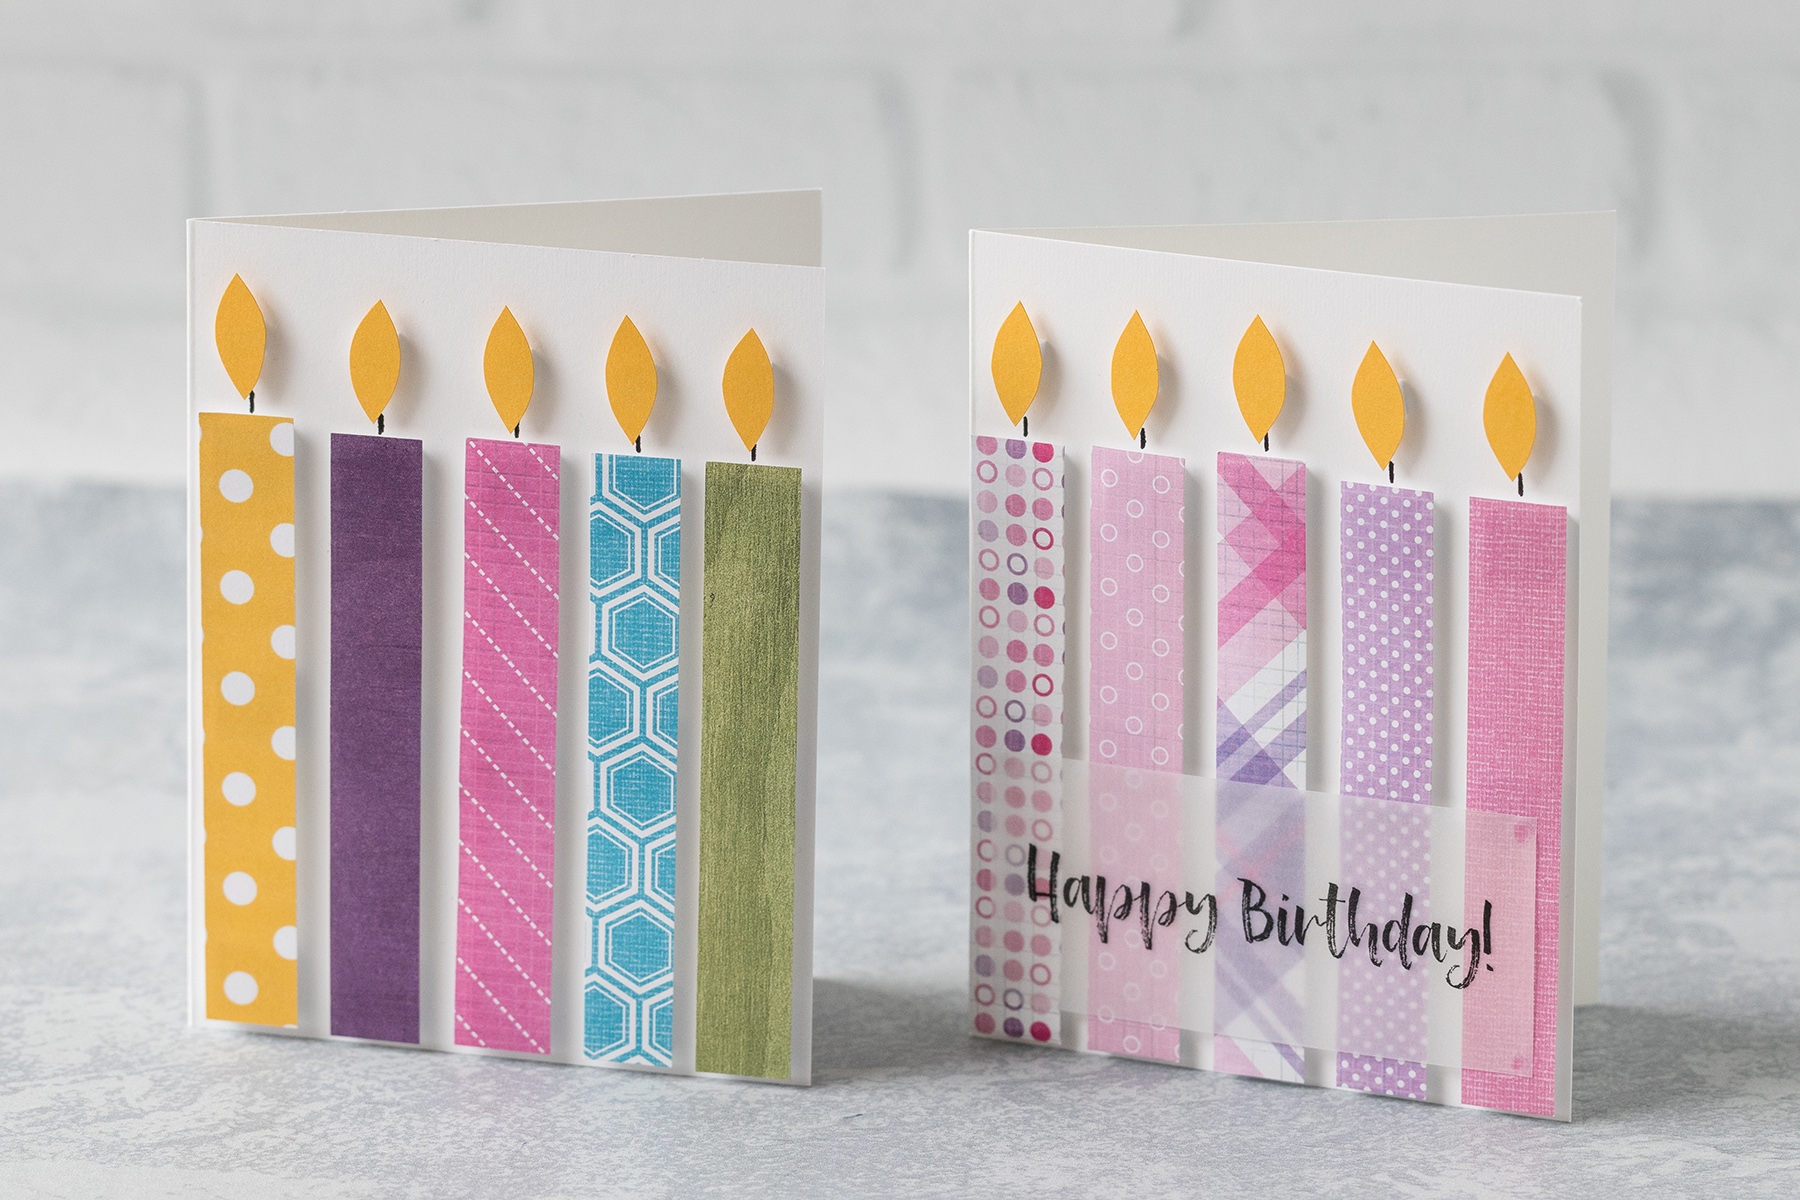
Wide candles – portrait orientation: 5 candles, each measuring 4 1/8″ x 5/8″
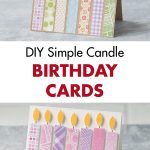
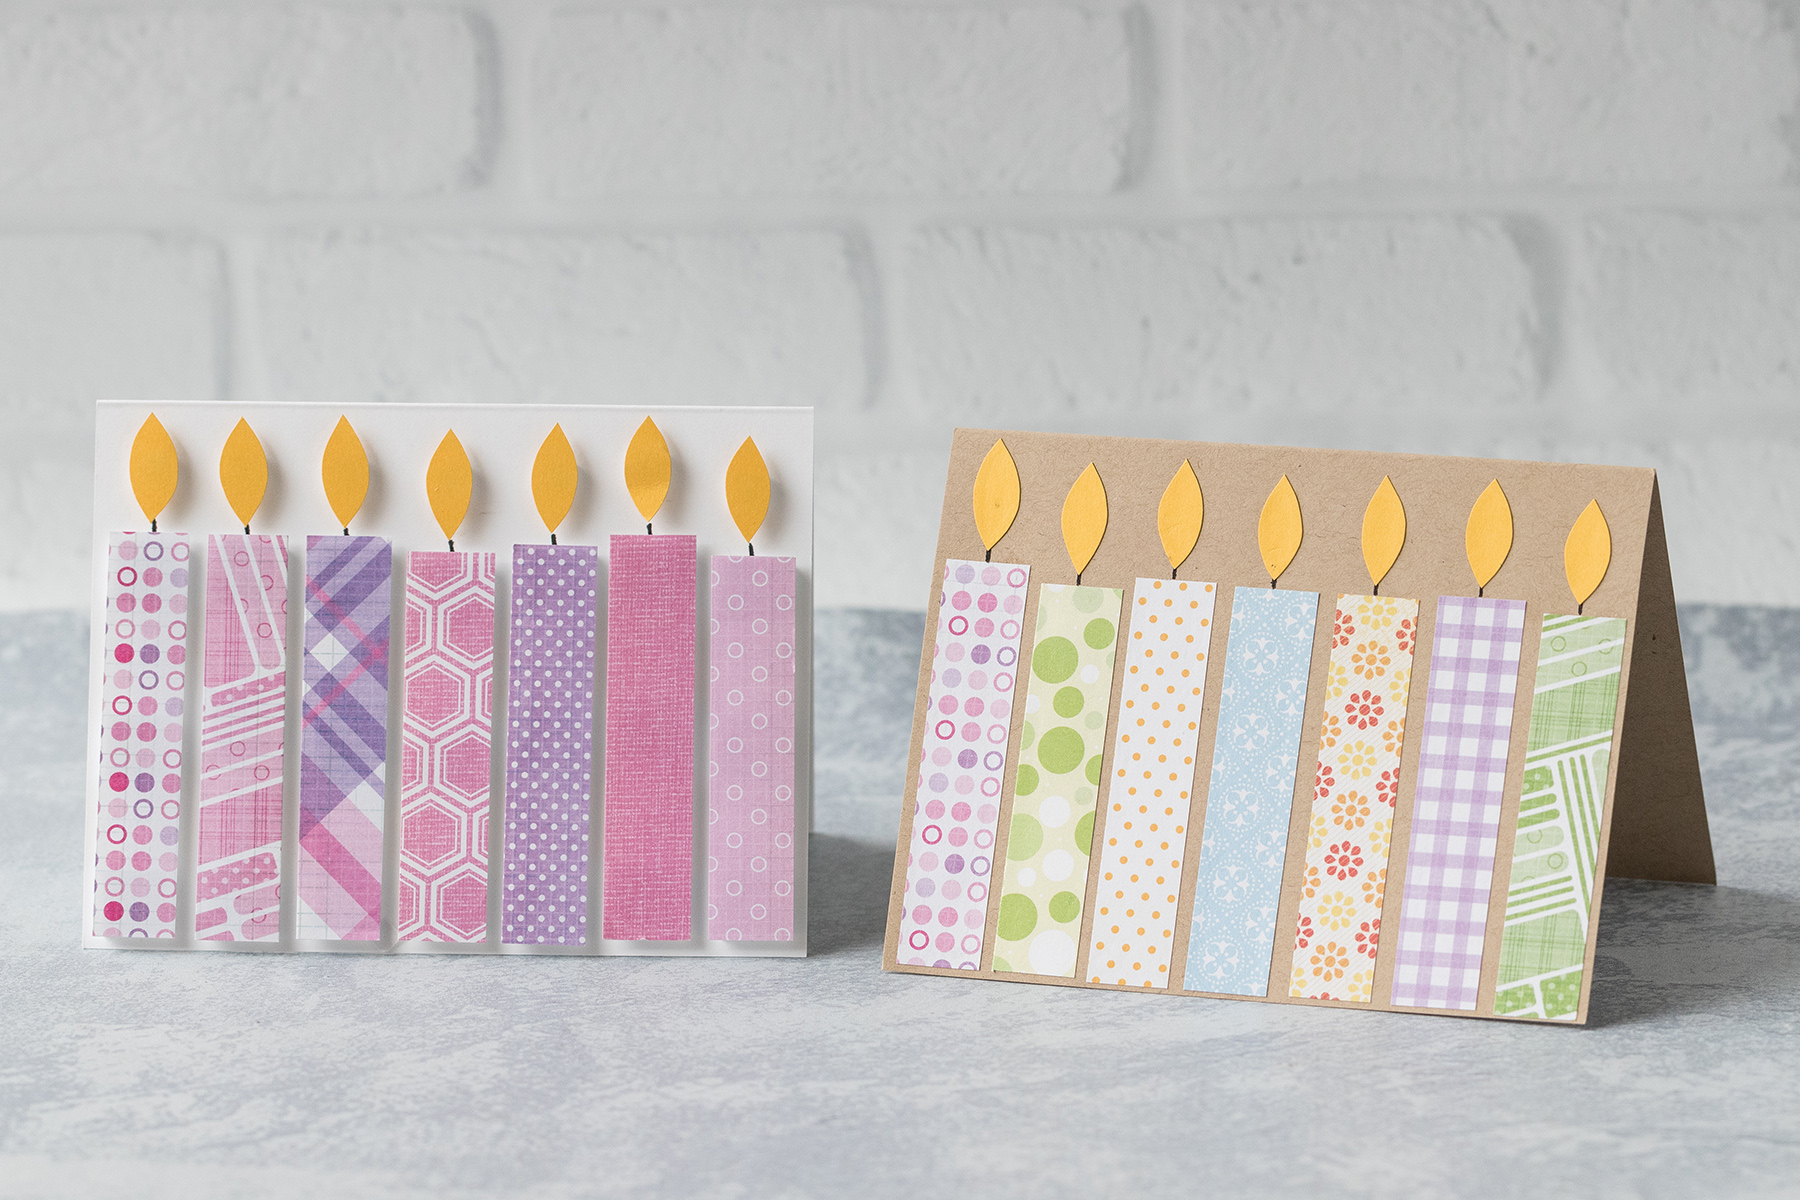
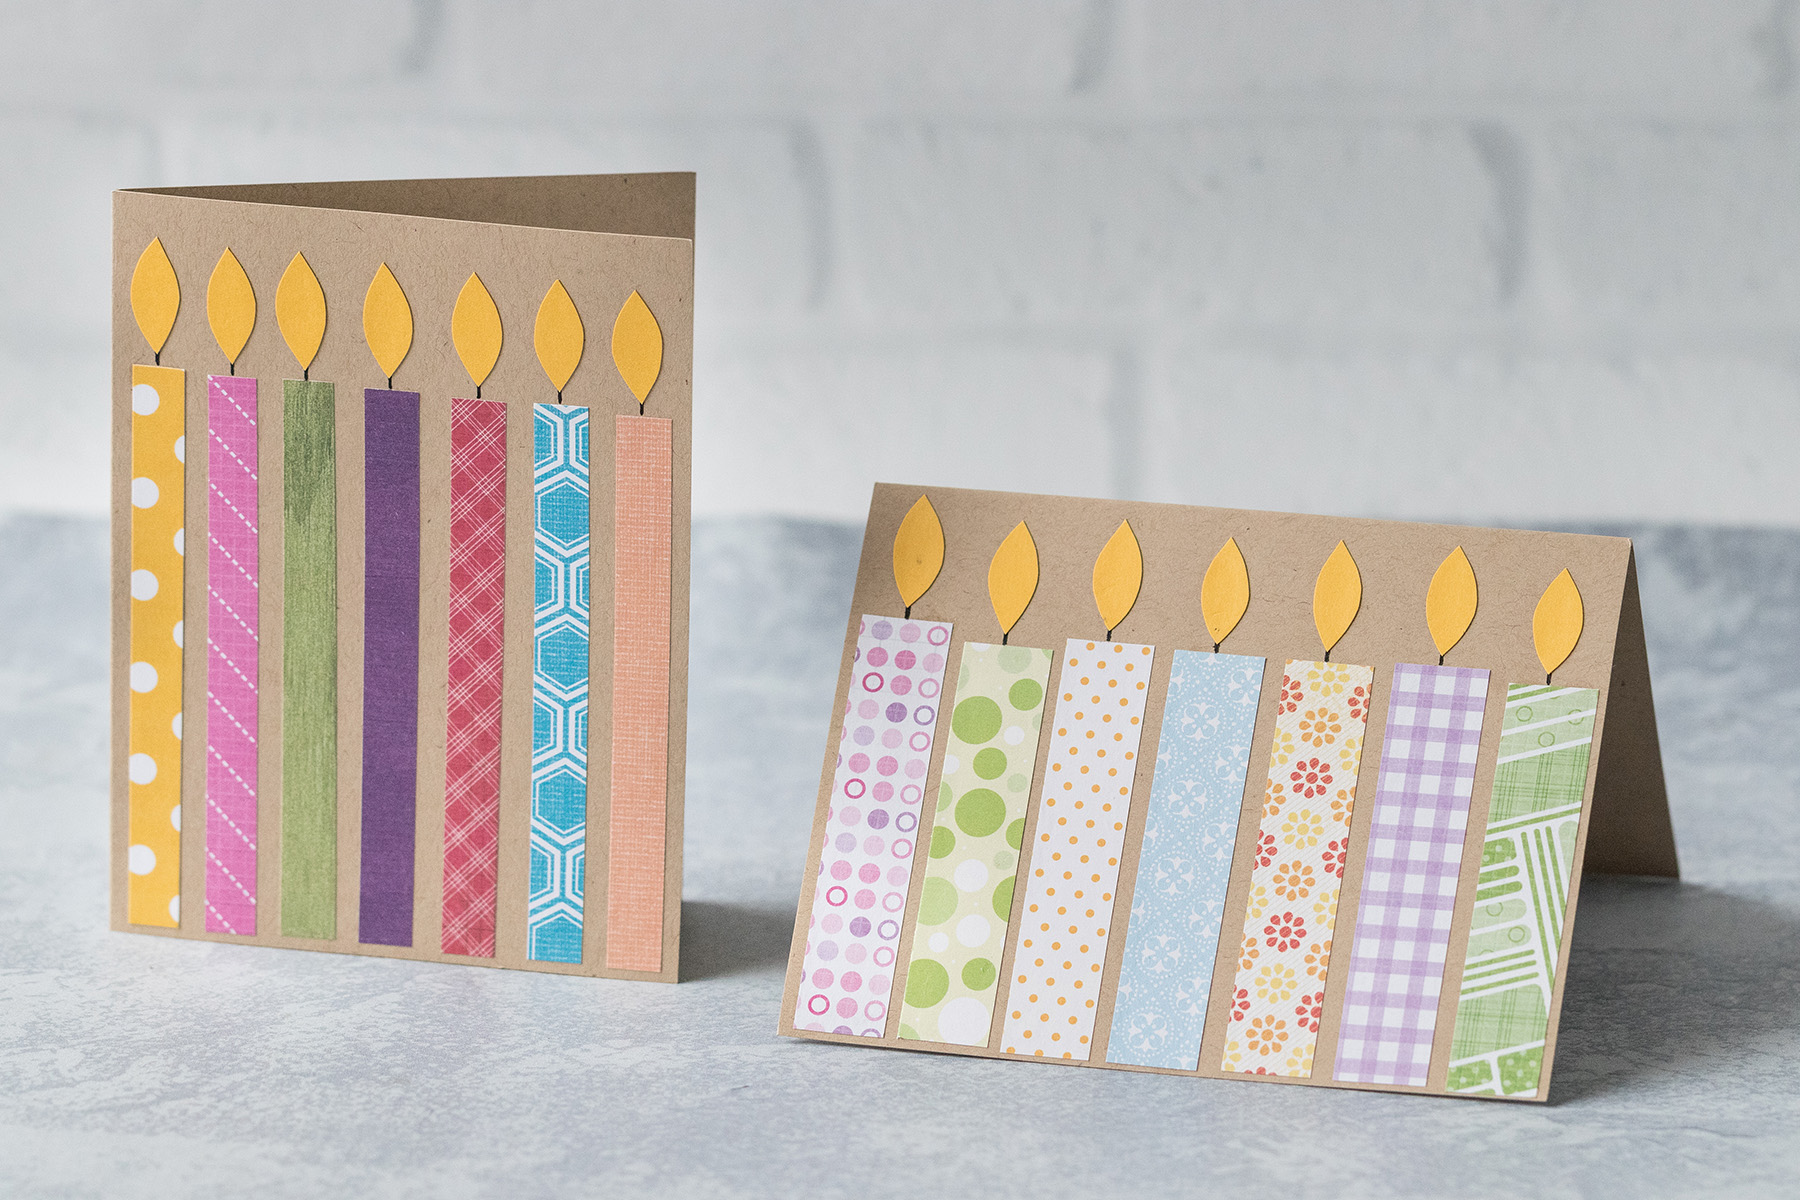
Skinny candles
Creating skinny candles allows you to fit more candles on each card, for a fuller look. With more candles on each card, you can have a wider range of designs. Small patterns work best for skinny candles, as they measure just under 1/2″ wide.
Skinny candles – landscape orientation: 10-12 candles, each measuring 3 1/8″ x 3/8″
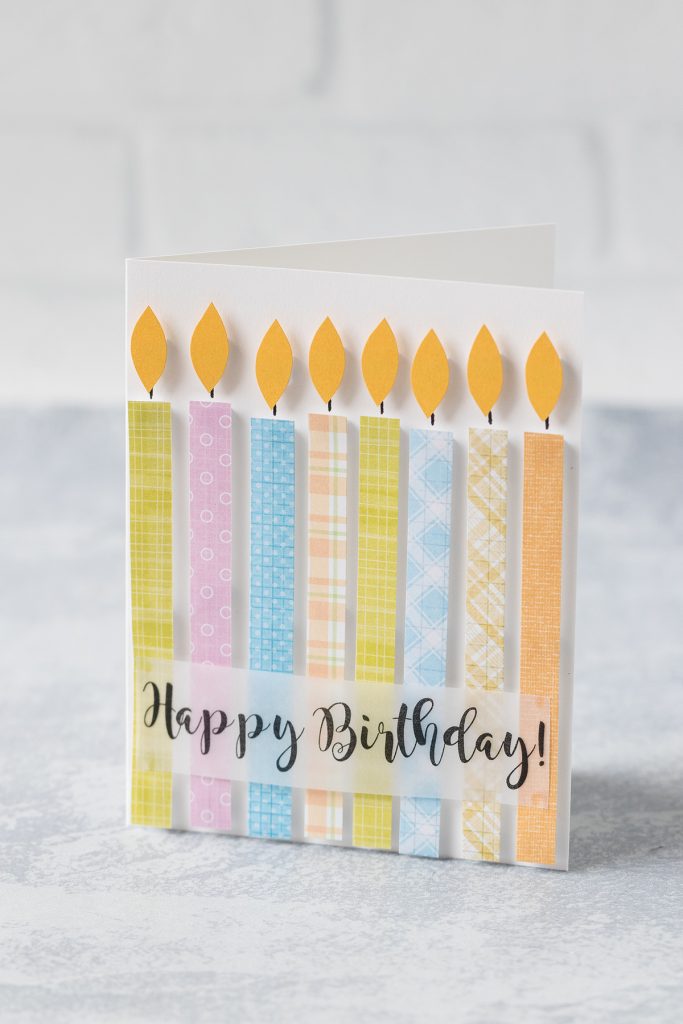
Skinny candles – portrait orientation: 7-8 candles, each measuring 4 1/8″ x 3/8″
Glued candles
I created my original candles card with glued candles. A card made entirely of glued components is simple and lays completely flat in an envelope, which is ideal for birthday cards going in the mail.
I use scrapbook glue for all of my candles and flames. Work slowly when you glue greeting card components. Allow each piece to dry completely before moving onto the next one to prevent wrinkling.
Foam-mounted candles
I love the variation of foam-mounted candles, as foam-mount squares go a long way toward making a greeting card “pop” with very little effort. I use the following sizes and quantities of foam mounts for the easy candle birthday cards.
Wide candles, either orientation – three 1/2″ foam-mount squares
Skinny candles, either orientation – three 1/4″ foam-mount squares
Candle flames – one 1/4″ foam-mount square
For the candles, attach the squares to the top, middle, and bottom of each candle.
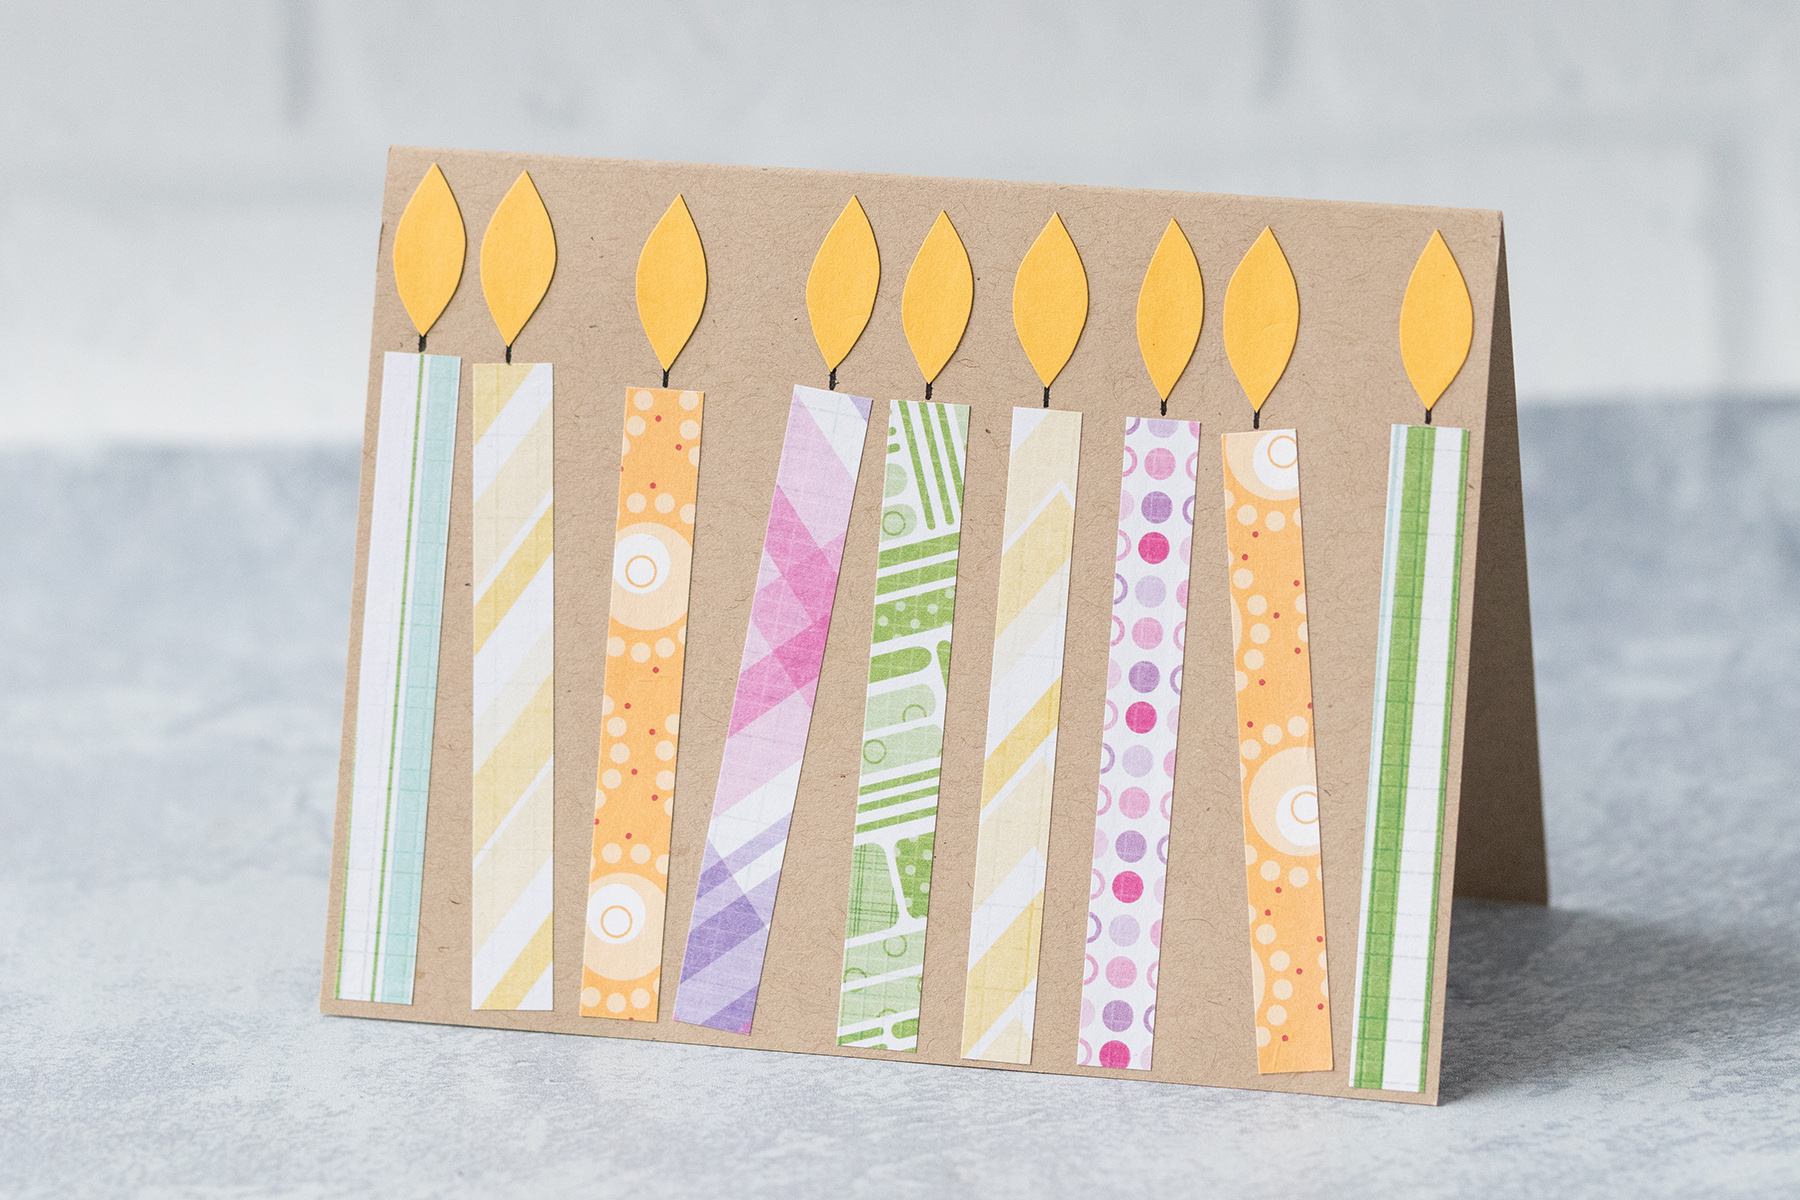
Tilted candles
For homemade birthday cards with skinny candles, tilting a few of the candles is a ridiculously easy way to switch up the aesthetic. I used nine skinny candles on a landscape orientation card with a few tilted, as opposed to the 10-12 straight skinny candles you could fit on this card. You can use wide candles, but I think that the effect works better with skinny candles.
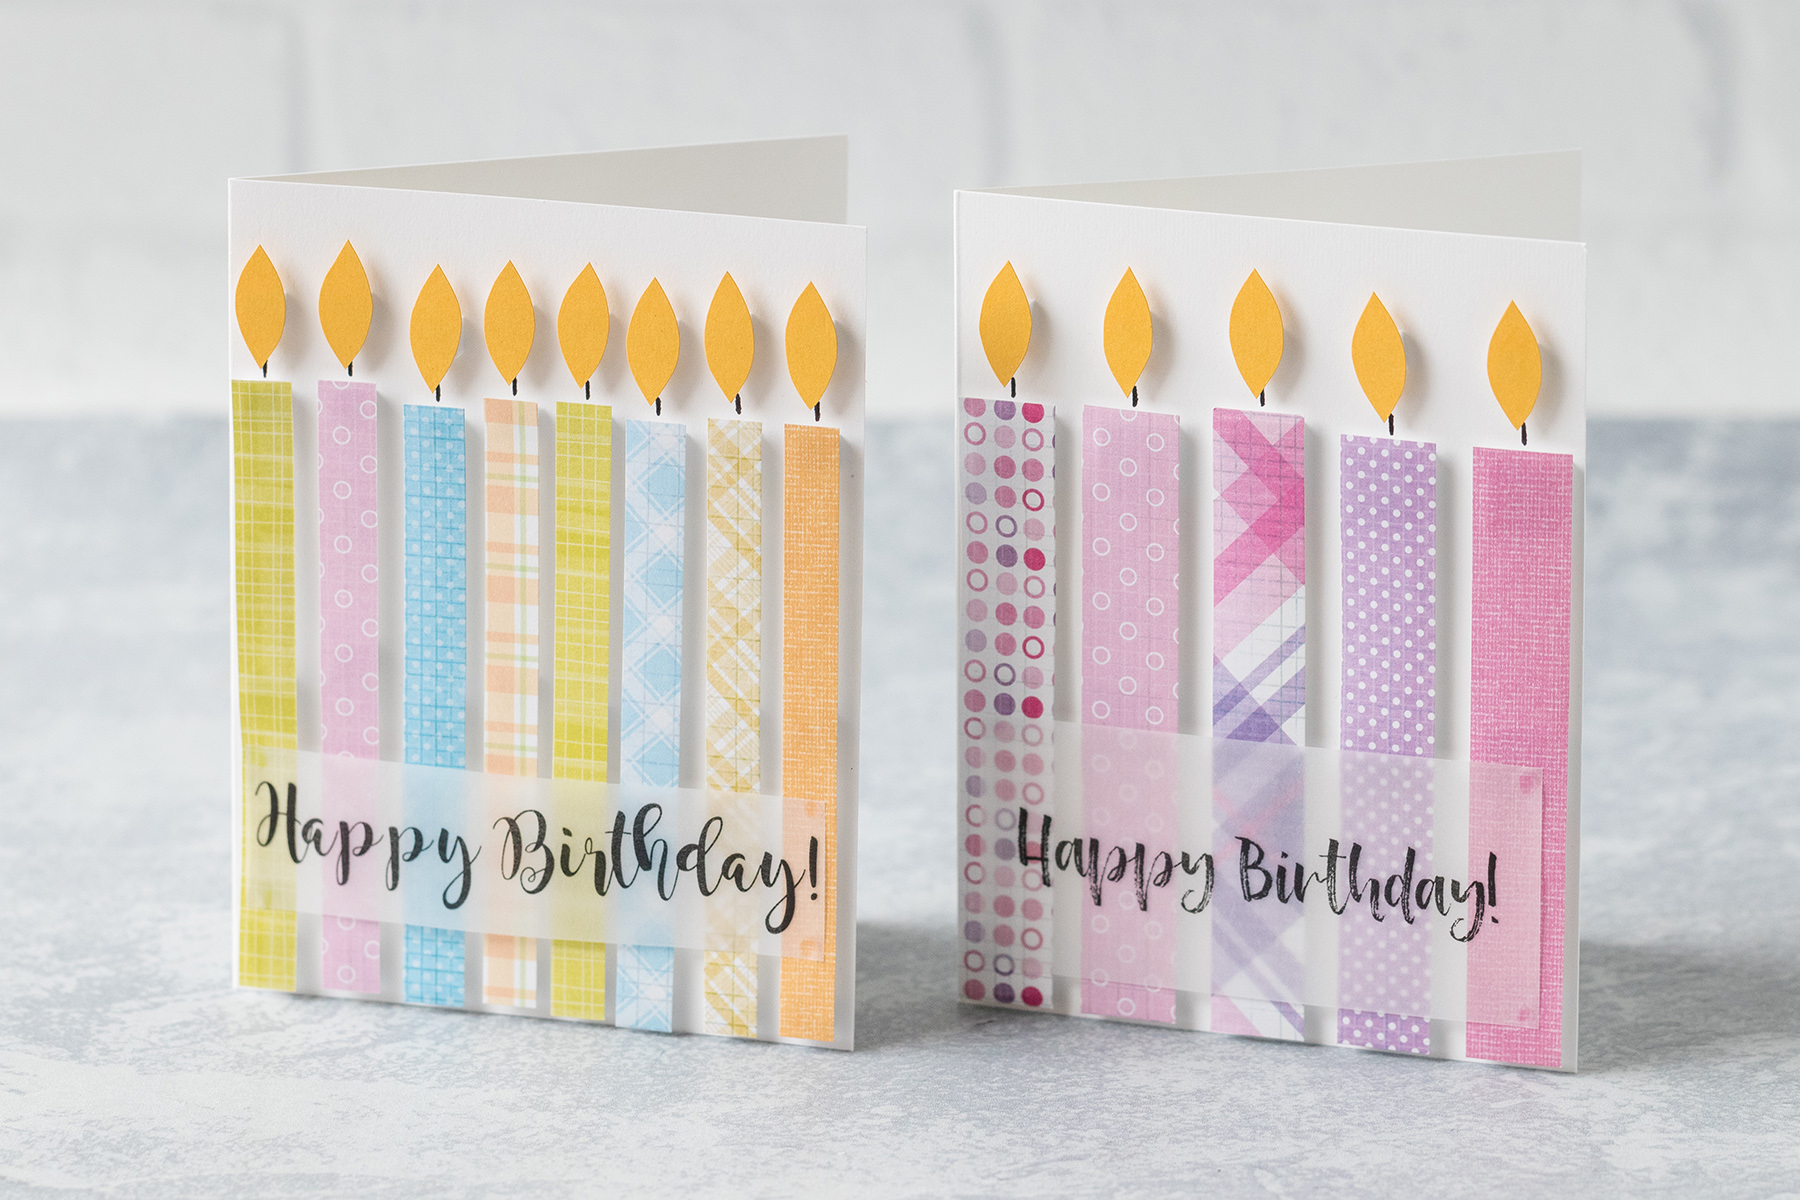
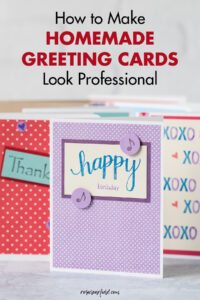
Vellum overlay
I went with vellum to make “happy birthday” overlays, so I wouldn’t cover up the candles. I’ll be honest: this is the first time I’d used vellum, and I’m a little bit obsessed now. You’ll find vellum in lots of greeting cards that I’ve created since I wrote this post.
To make the basic “happy birthday” overlays, I simply opened up a Word document and played with “happy birthday” in a bunch of my favorite fonts until I got a handful that I liked. Then I tweaked the sizing for A2 cards. You can grab my overlays after the “happy birthday with love” variation. Don’t feel limited to these options. It’s easy and fun to experiment with your own favorite fonts.
I recommend running a test page on regular paper before printing on vellum to make sure you’re happy with the sizing. Make adjustments as needed. Then load your vellum into your printer, and print it just as you would print on regular paper. Then cut it to size with a paper cutter. I used tiny scrapbook glue dots to adhere the vellum to the cards. If you’re interested in additional methods for attaching vellum, check out Make It From Your Heart’s 5 tricks for attaching vellum.
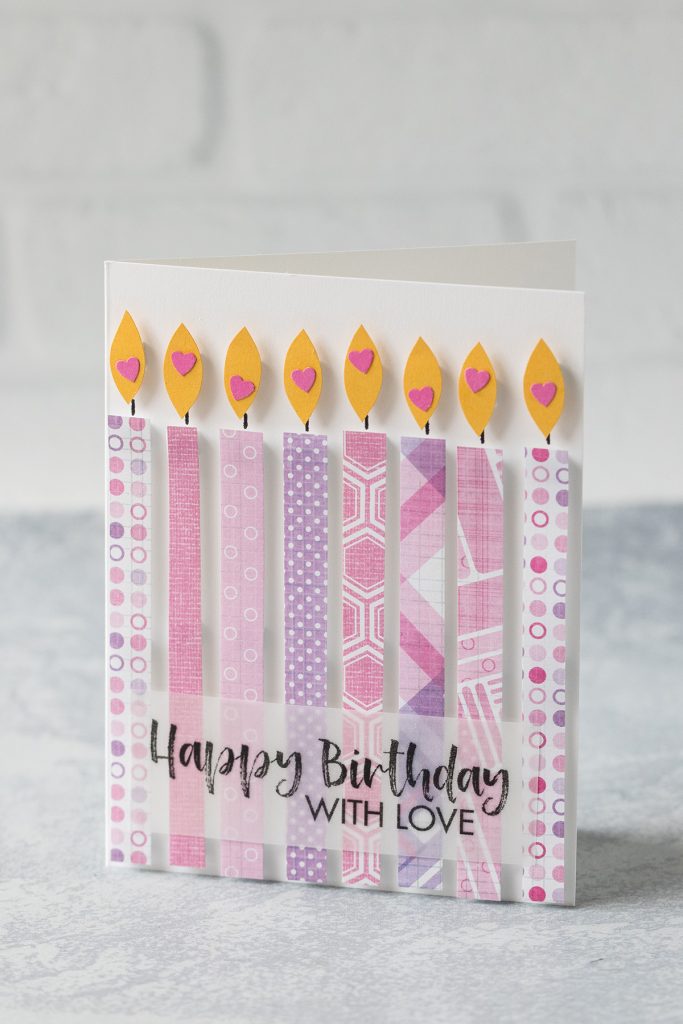
“Happy birthday with love” variation
I created a “happy birthday” with love variation because I wanted to make a birthday card with little flames on the hearts.
I used Photoshop to create my “happy birthday with love” overlays and then inserted them into a Word document to tweak the sizing and arrange multiple overlays on a single page. Again, I recommend printing a test page on regular printer paper to check the sizing and make adjustments as needed before printing on vellum.
I finished the “happy birthday with love” card with tiny hearts on the flames. Please use a heart punch for these tiny hearts. You’ll lose your mind trying to cut such tiny hearts by hand.
I’ve created a couple of pages of “happy birthday” and “happy birthday with love” wording, perfect for A2 size vellum overlays, which you can grab below. Of course, you can create your own wording as well!
>> [Happy birthday messages for A2 vellum overlays] <<
Stamped “happy birthday” message
I have more birthday stamps than I care to admit and wanted to create a couple of variations with stamps. If you make homemade cards often, I’m sure that you have a few birthday stamps that will work perfectly.
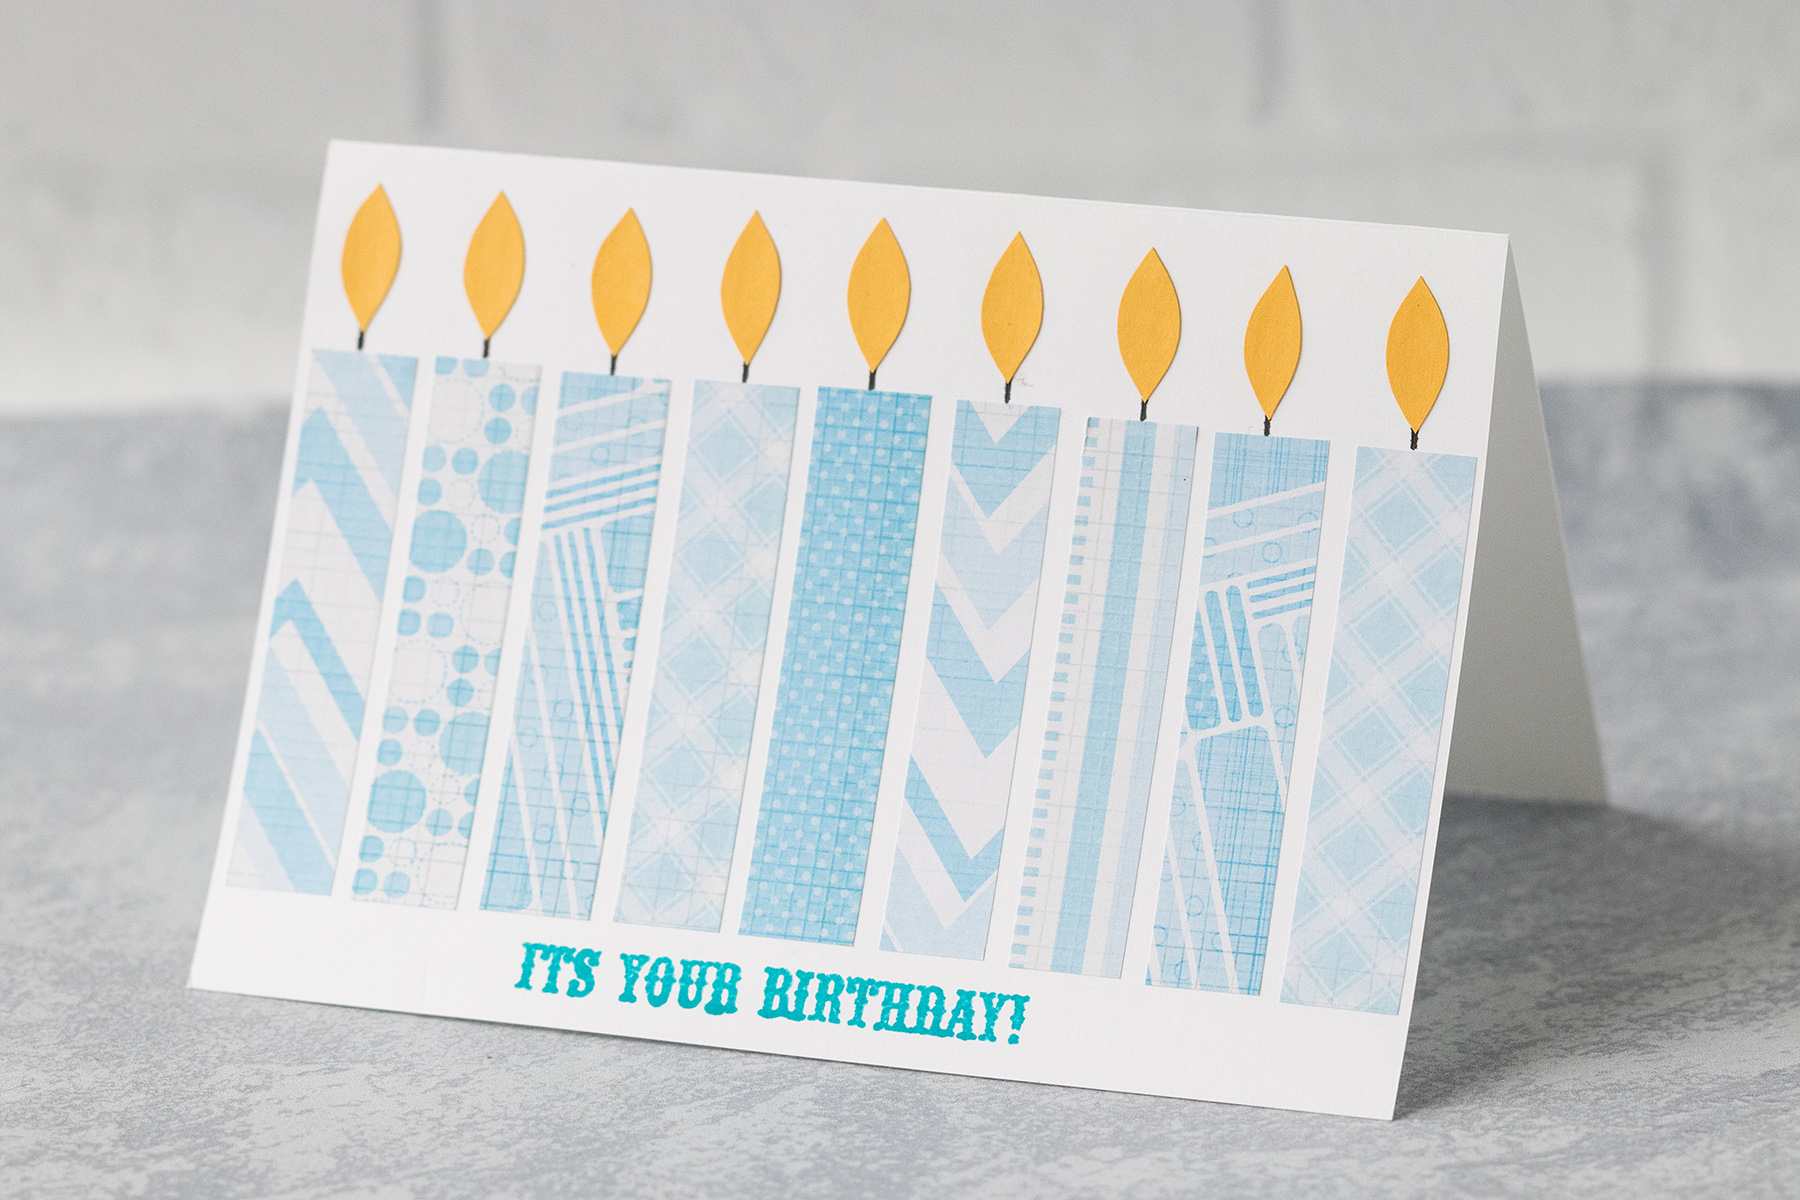
In the first variation, I stamped a very narrow “it’s your birthday” on an A7 card and then filled it in with wide candles. The wide candles landscape orientation size works just right with this design.
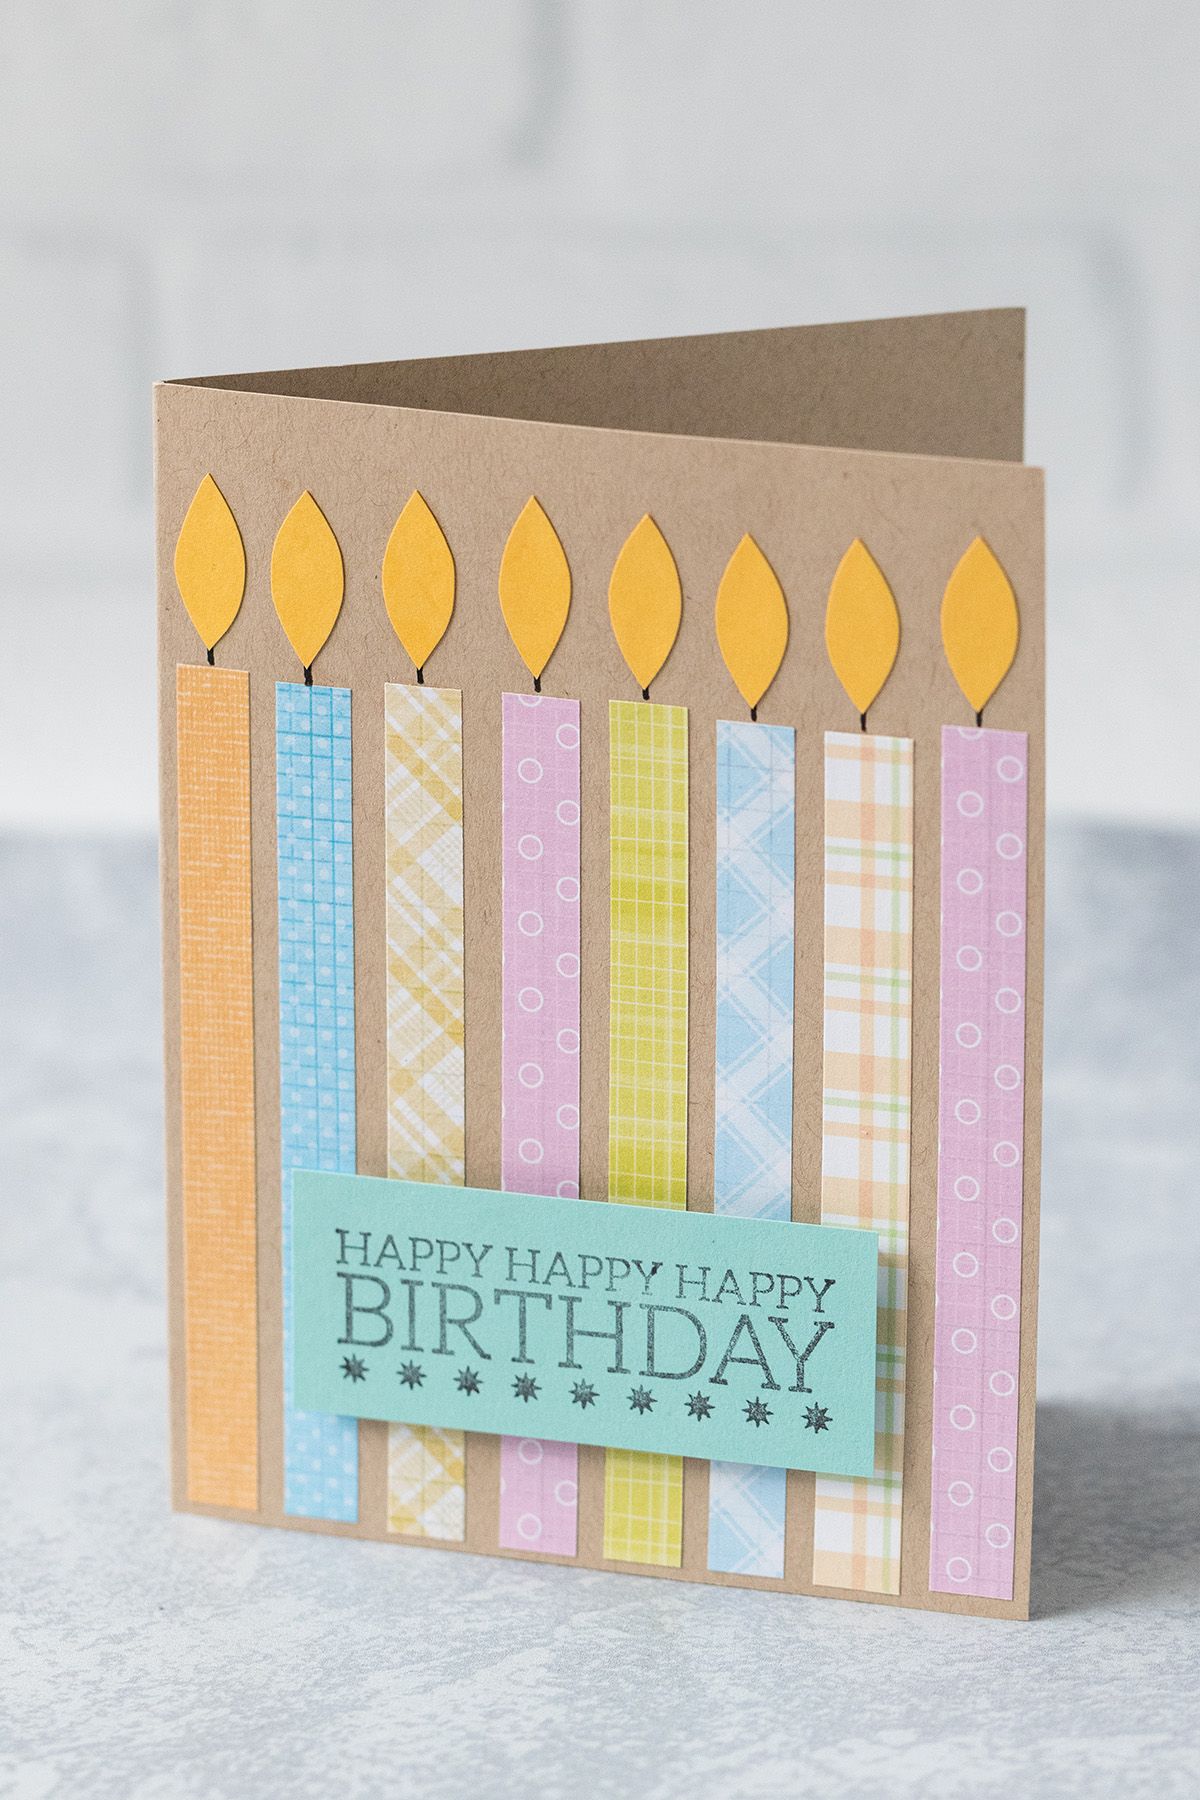
In the second variation, I stamped a larger “happy happy happy birthday” onto card stock and foam mounted it onto a glued candles A2 card.
Inkjet- or laser-printed “happy birthday” message
In addition to the stamped “happy birthday” at the bottom of an A7 card, you can also inkjet-print or laser-print “happy birthday” right onto the card. While these variations do work with A2 cards, you’ll have to cut down your candles to fit in the happy birthday message.
I created an A7-size document in Photoshop and added a simple birthday message at the bottom of the card.
Most likely, your printer doesn’t have an A7 card setting in the print size drop-down menu. You can create custom paper sizes for virtually any printer. (I’m linking to an HP site here, as that’s what I used. But you should be able to find similar instructions for different printers.) Here’s exactly what I did to add an A7 card size for my HP printer in Windows.
- In Windows, go to Settings > Devices > Printers & Scanners.
- Click on the printer you’ll be using, then click Manage.
- Under Printing Preferences, go to the Paper/Quality tab.
- Under Paper Size, click the Custom button.
- Click New and enter the dimensions for an A7 card: 7 inches by 10 inches.
- Click OK to save the new paper size.
- Now when you go to print your card, you should be able to choose A7 from the drop-down menu.
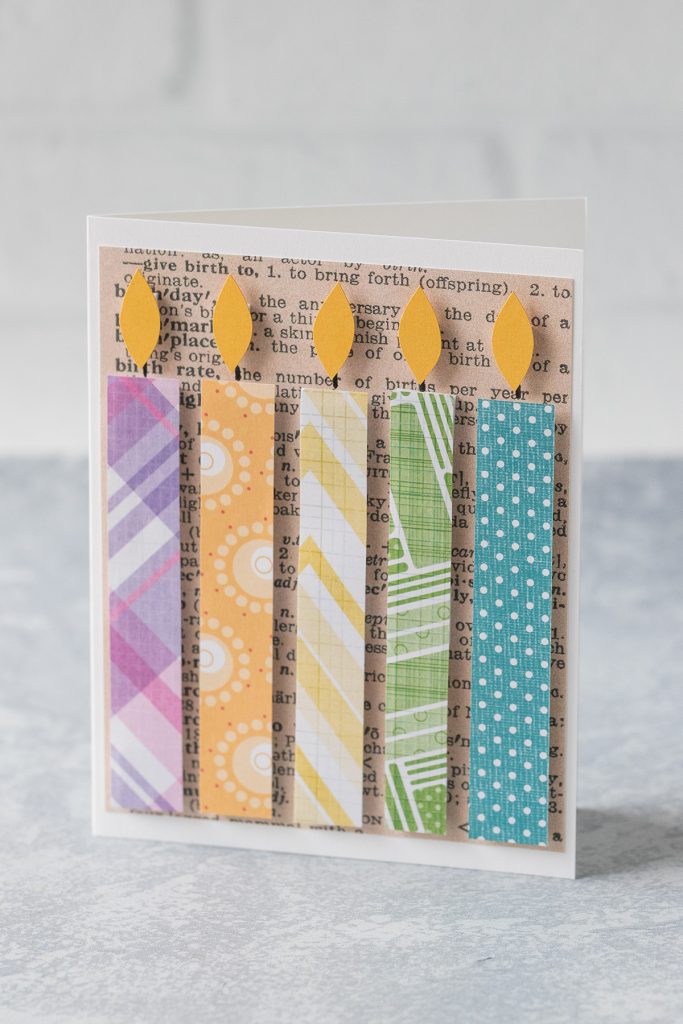
Dictionary page
Finally, I created a candle birthday card on a dictionary page background. I used the dictionary page with the word birthday on it. I’ve linked the full dictionary page as well as an A2 size crop below. For the A2 size, select 4×6 photo in the print settings. I like neutral book pages as a background option for candle birthday cards. Any dictionary page will work well. Vintage hymns and vintage textbook pages are great, too.
I strongly recommend using double-sided tape to attach a large greeting card component like the dictionary page background. Double-sided tape ensures a wrinkle-free card.
Please note: I cut down the candles slightly to fit on the dictionary page background. They measure 3 7/8″ x 5/8.”
[Full dictionary letter B birthday page]
[Letter B birthday page – A2 size]
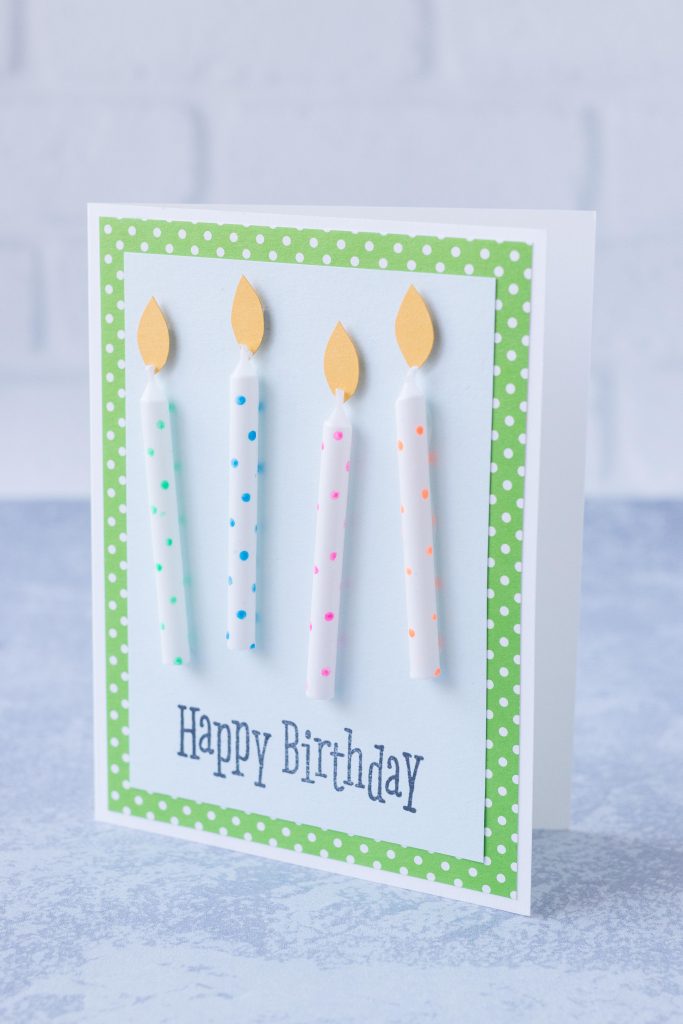
Can you use real candles for easy candle birthday cards?
Yes, you can use real candles for homemade birthday cards! The above card design is another design that I created for my 10 simple DIY birthday cards post. You can find these fun polka dot candles or similar candles at any grocery store or any big box store that carries groceries. I attached the candles with tacky glue and mounted the tiny flames with 0.2-inch foam mounts.
[Disclaimer: There are a few affiliate links in this post. Thanks for your support!]
Did you make one or more of the easy candle birthday cards?
I want to see them! Tag your images #RoseClearfield on Instagram or Twitter or post a photo to my Facebook page.
Pin the easy candle birthday cards post for easy access later!