
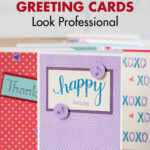

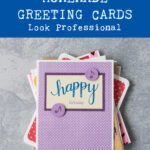

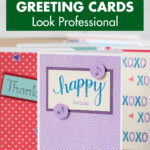
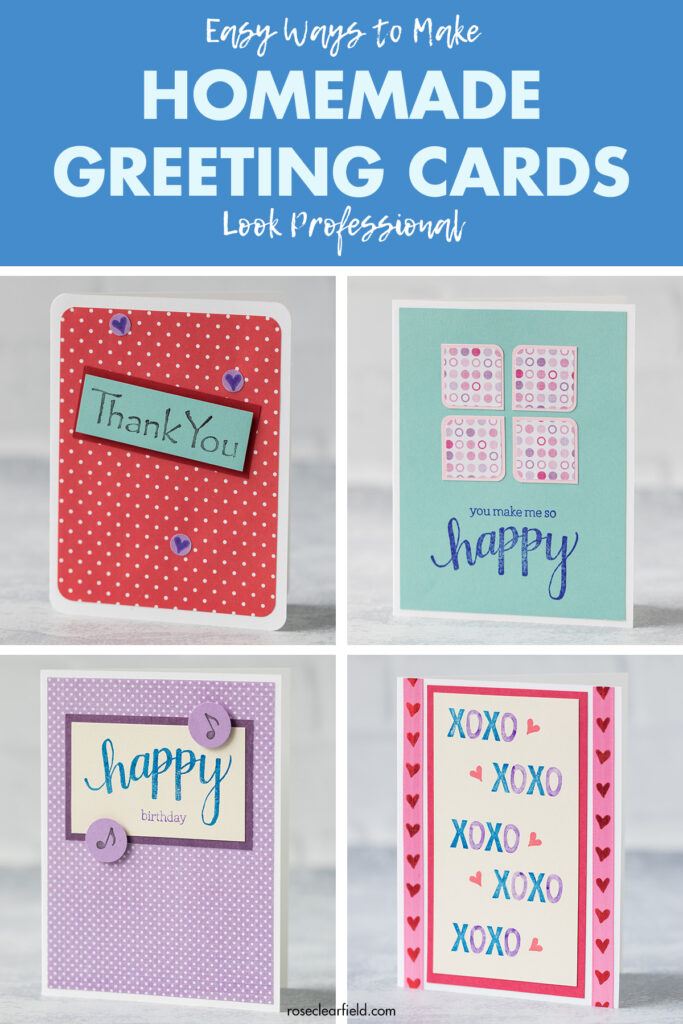
Learning how to make homemade greeting cards look professional will help you take your handmade greeting cards to a new level.
Making your own greeting cards is a fun crafting skill. Whether you make them for yourself or you’re selling or planning to sell them, it never hurts to have a few tips to step up your card-making game.
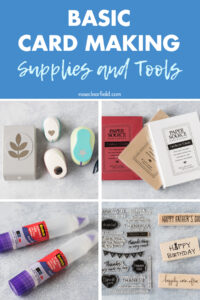
I have a post all about basic greeting card supplies and tools, which covers everything that you need to get started making your own greeting cards. Once you’ve acquired a set of basic supplies and tools and feel comfortable with simple card-making skills, this post is for you. You’ll be able to take your homemade greeting cards to a whole new level, wowing friends and family and bringing in more customers than ever.
All of the tips I’m sharing here are surprisingly simple. With one exception, the products I recommend to improve your cards are very affordable. Aside from the cutting machines, every product I mention is $30 or less, in most cases, $10 or less. Having the right tools and learning how to use them will take you to the professional level you’re striving to reach.
1. Always cut straight edges with a paper cutter
A paper cutter is a must for greeting card making. Even with a steady hand and good scissors, it’s impossible to make the perfectly straight cuts that you want for greeting cards. A paper cutter makes the job quick and easy.

I’m linking the paper cutter that I’ve been using for the past six years or so and really love. I know that not everyone wants a guillotine-style cutter. Personally, I’ve found that the blade is sharper and stays much sharper through years of use. I also love the guillotine-style cutter because it has a larger flat surface, which makes it easier to keep paper really straight. If you want a slide-style paper cutter, this Firbon paper cutter is very well-rated.

Always use a paper cutter on a flat surface with a self-healing cutting mat underneath it. I use the 18″ x 24″ self-healing mat with the Fiskars paper cutter that I linked above, which is a great combination.


2. Use double-sided tape for large pieces and wrinkle-free paper glue for small pieces
Using the proper adhesives for greeting cards ensures they stay flat and even with no wrinkling or warping.
For larger pieces, anything over an inch long or so or that won’t be too awkward to tape, I use double-sided tape. The Scotch dispensers are easy to use and always offer good results.
I prefer Scotch tape over crafter’s tape and tape runners. It’s much cheaper. Tape runners are fiddly and require a learning curve. Scotch tape is thicker, but over years and years of greeting card making, it’s extremely rare that the thickness has given me any issues. You just have to take care not to let pieces of tape overlap.

The only glue I use for greeting cards is Scotch scrapbook glue. It’s ideal for small components. The glue goes on in thin even lines and dries quickly. I always recommend gluing one component at a time and allowing it to dry fully before moving on to the next one. This process ensures that your card will be wrinkle-free.
The only issue I’ve run into with Scotch scrapbook glue is that the small nozzle (which is what I use 99% of the time) clogs easily. Generally, you can pull off the glue clog by hand. When it’s really clogged, a sewing pin works well.

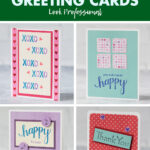
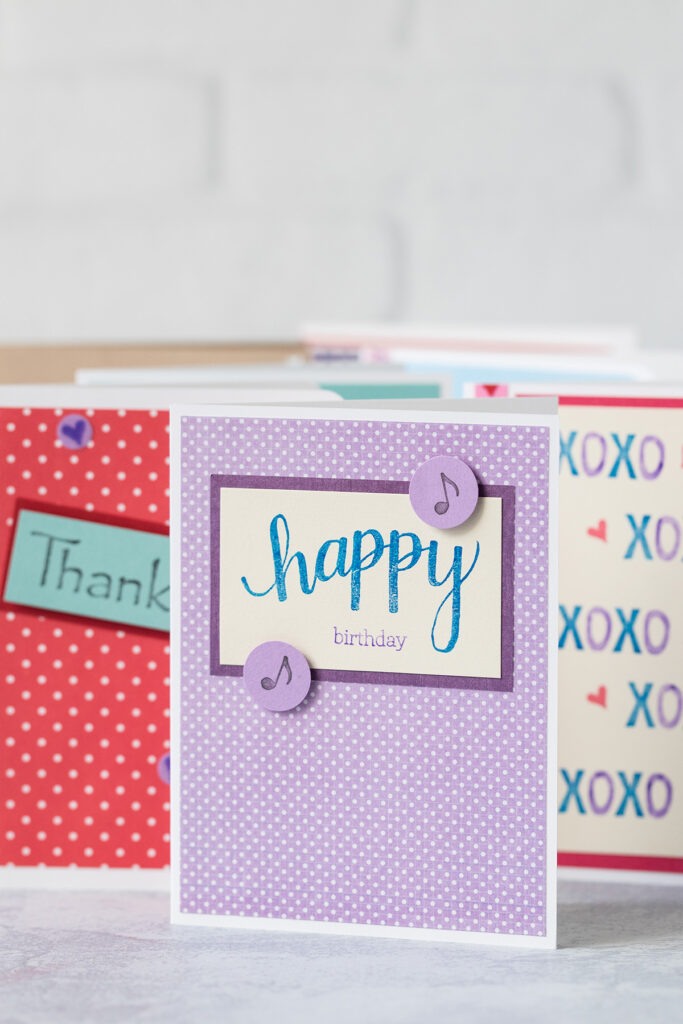
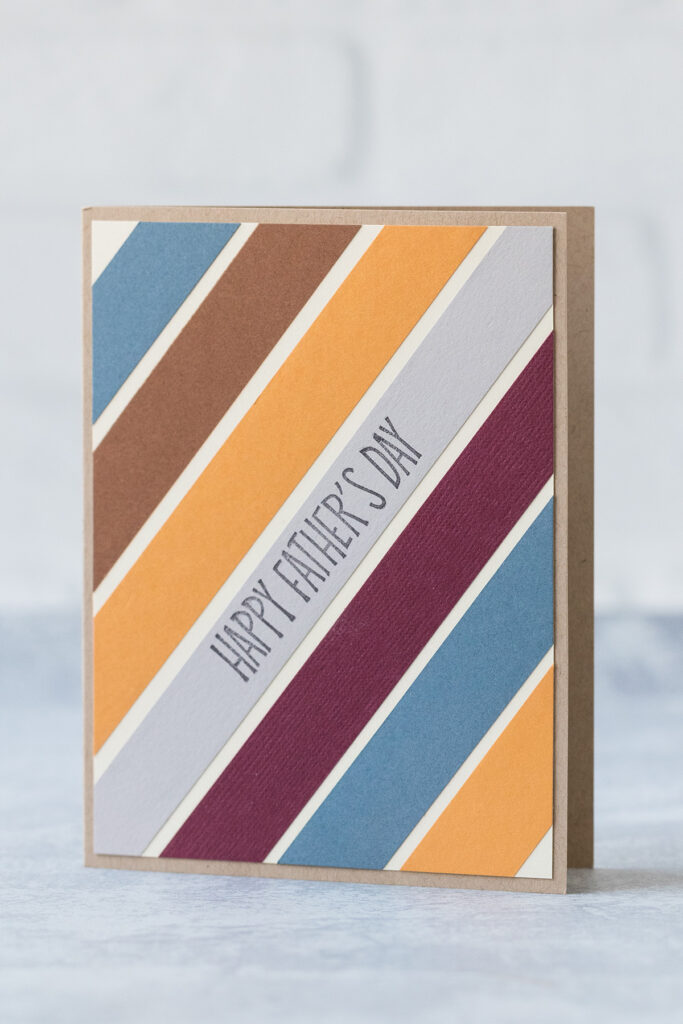
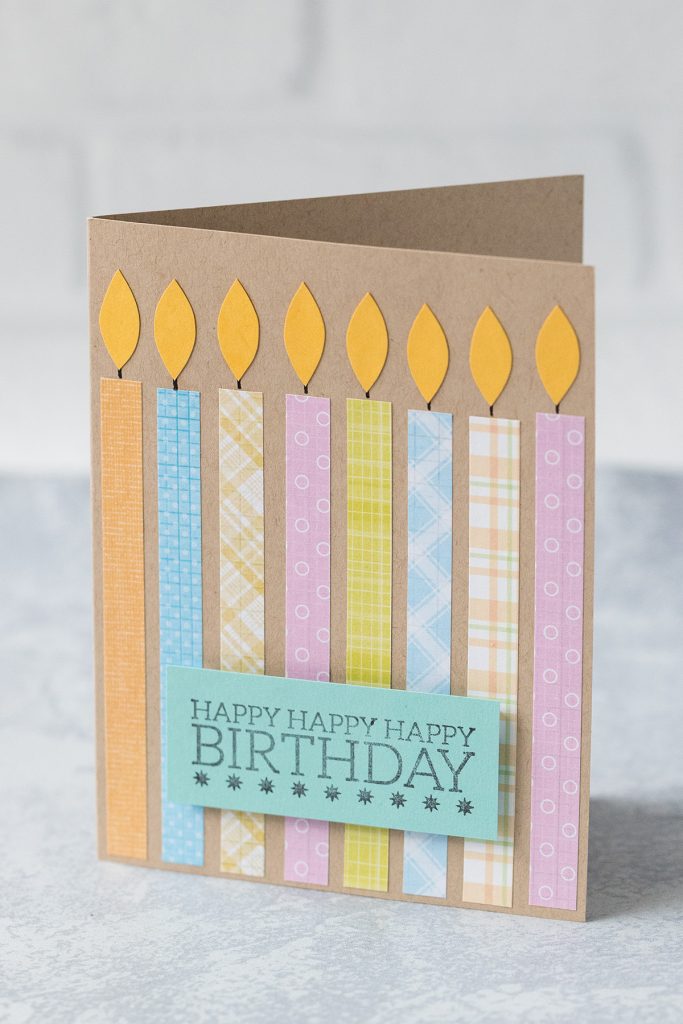
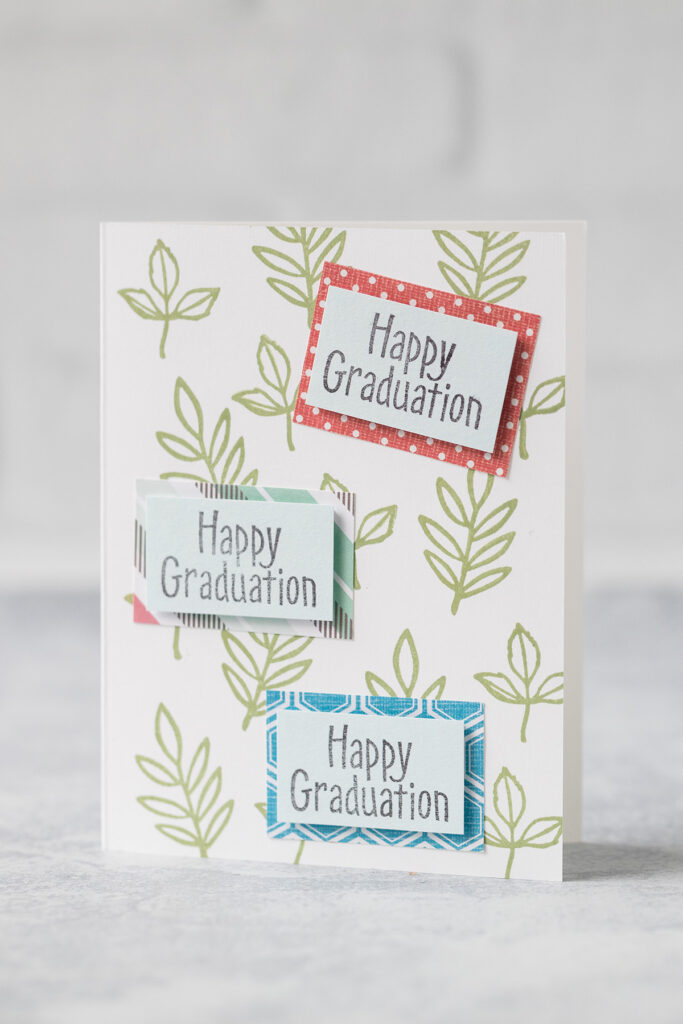
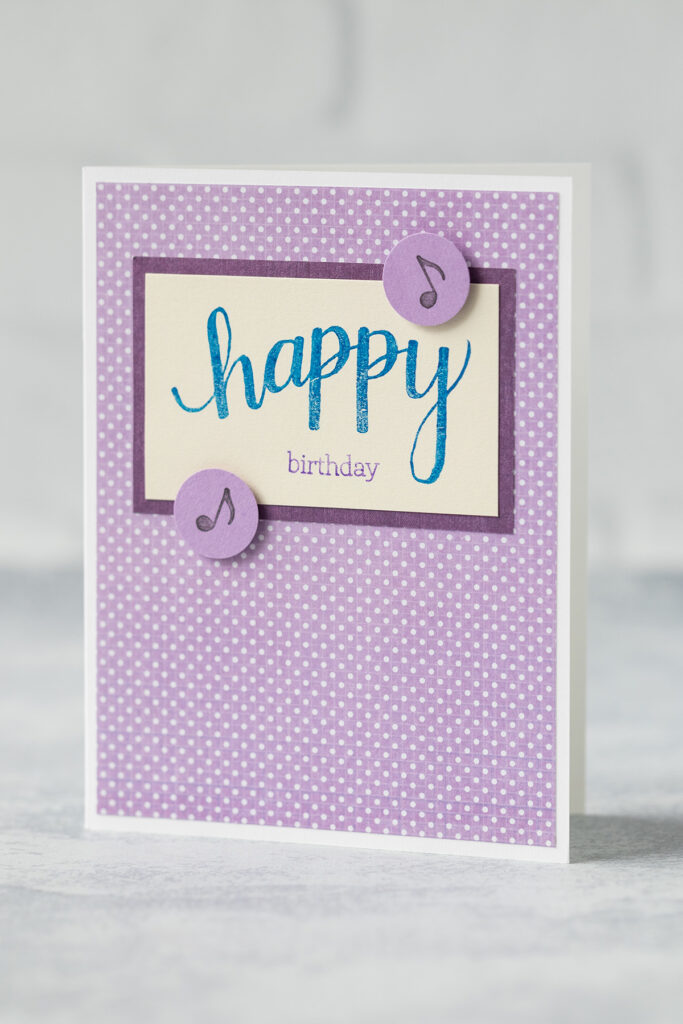
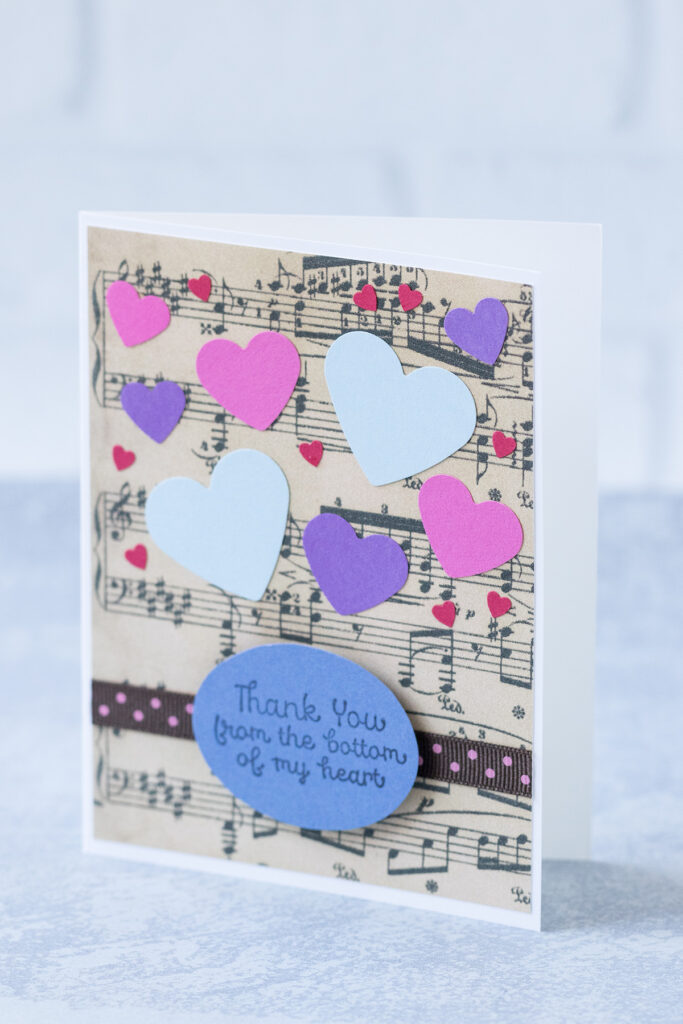
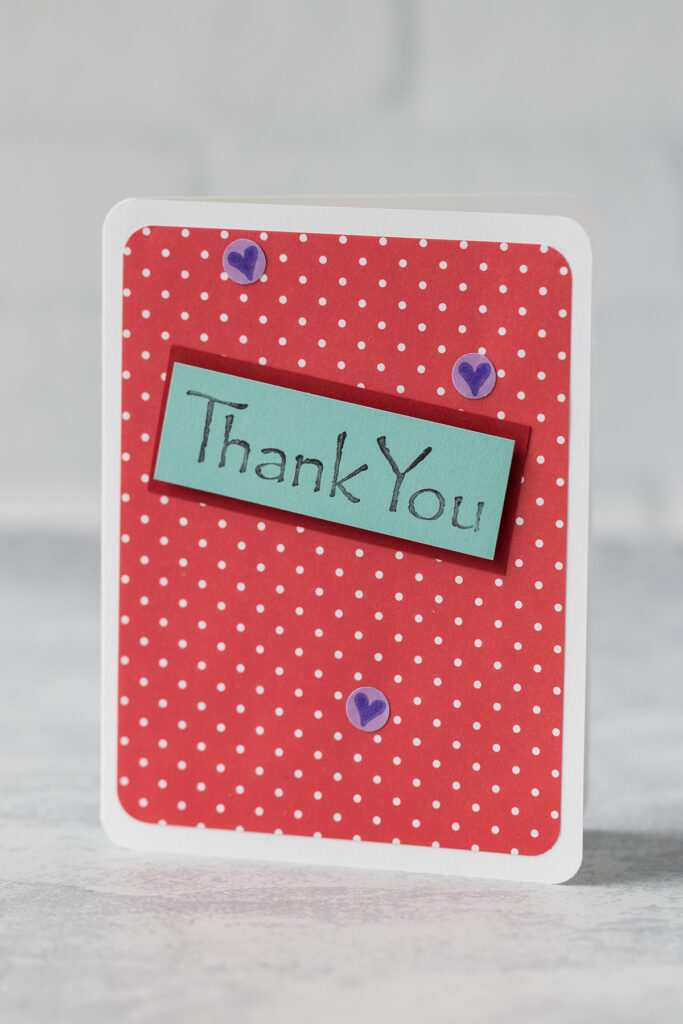
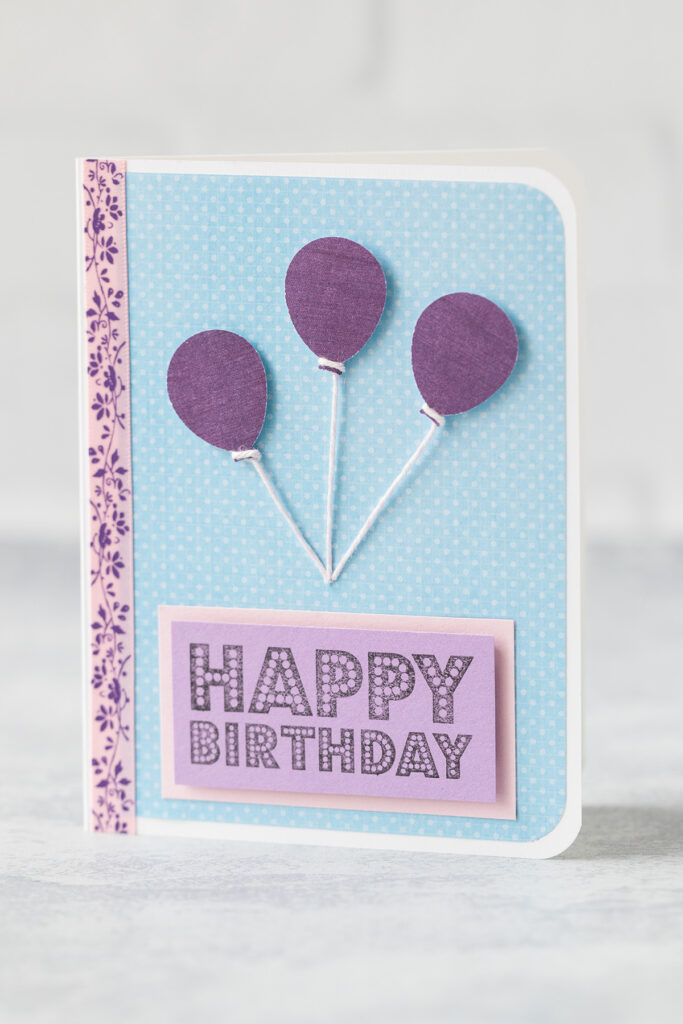
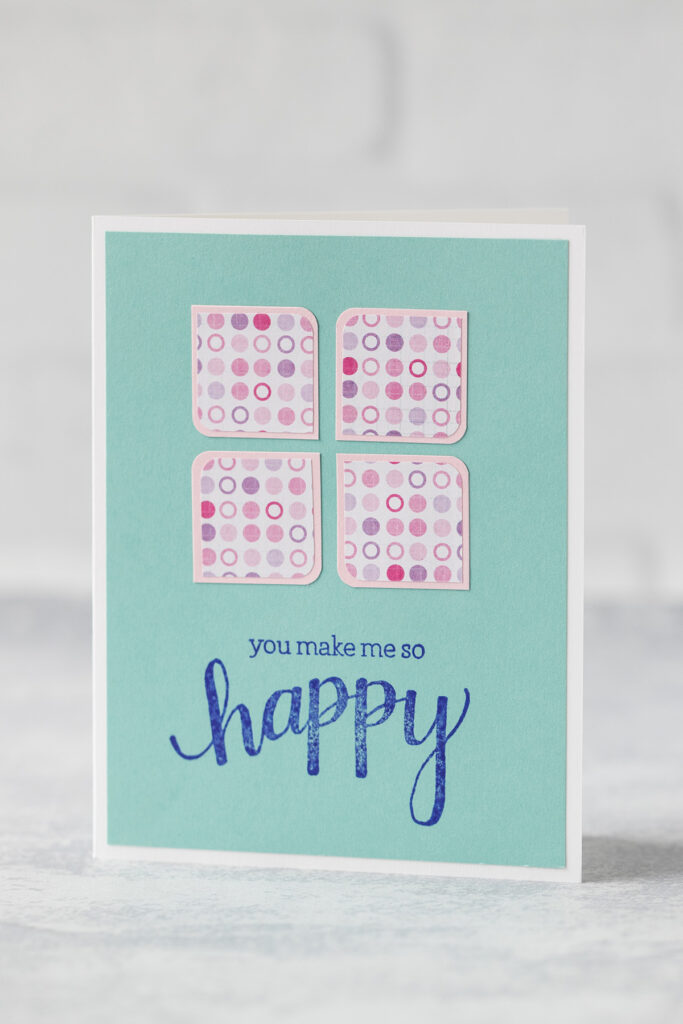
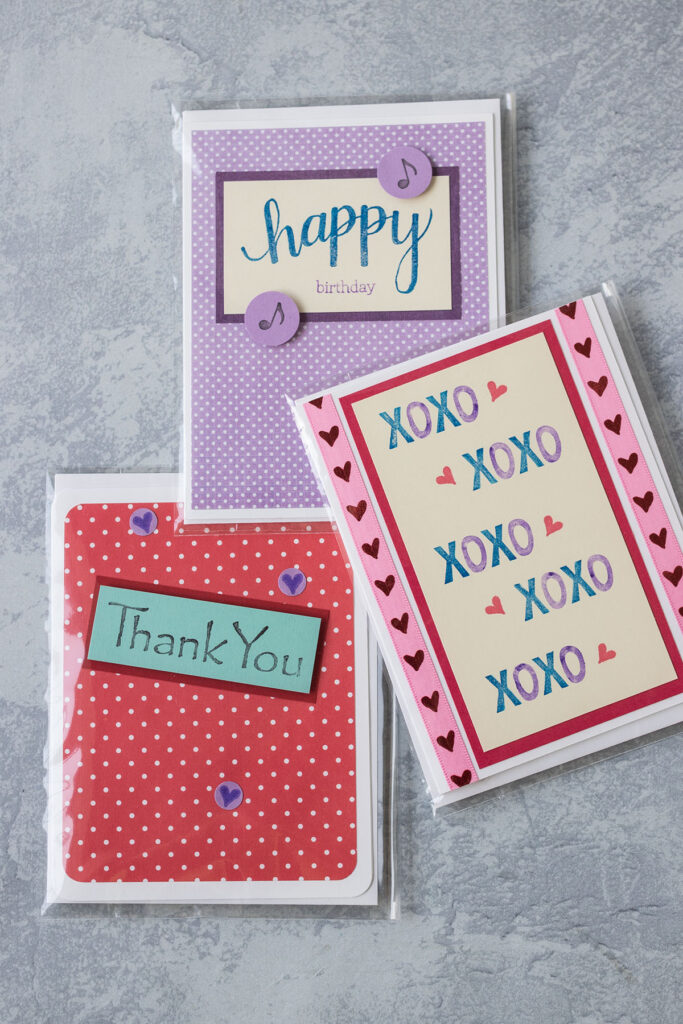
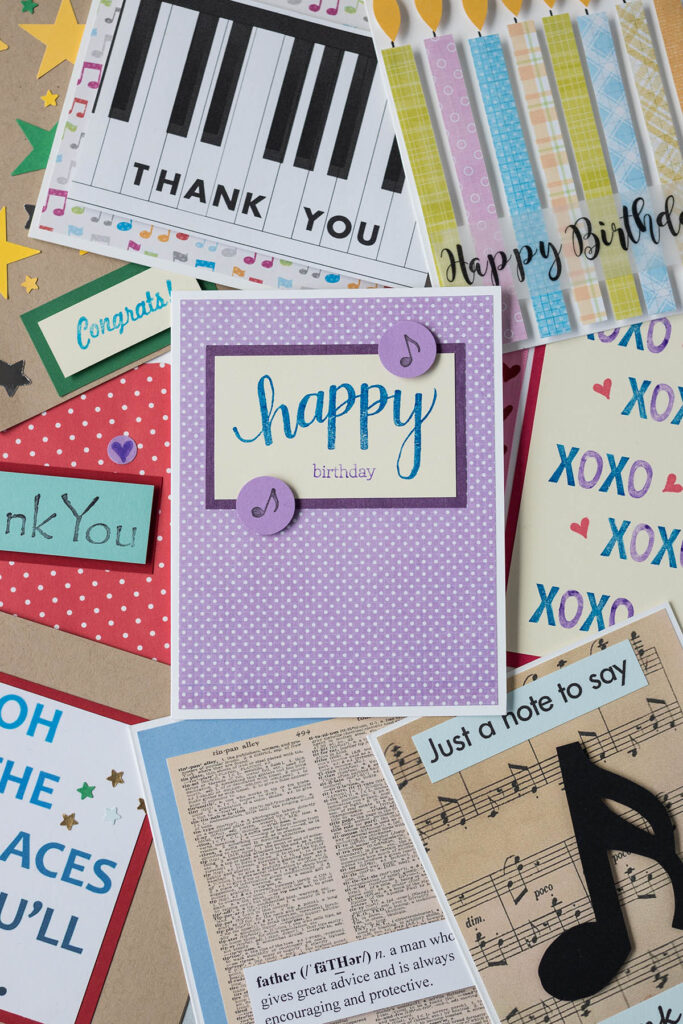
3. Layer multiple papers
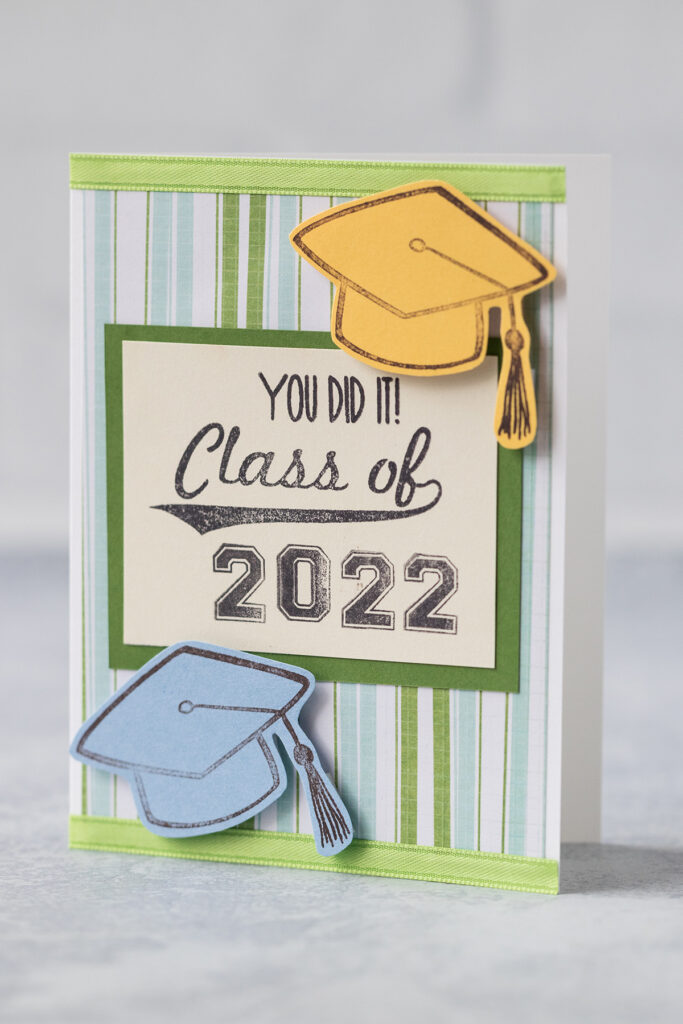
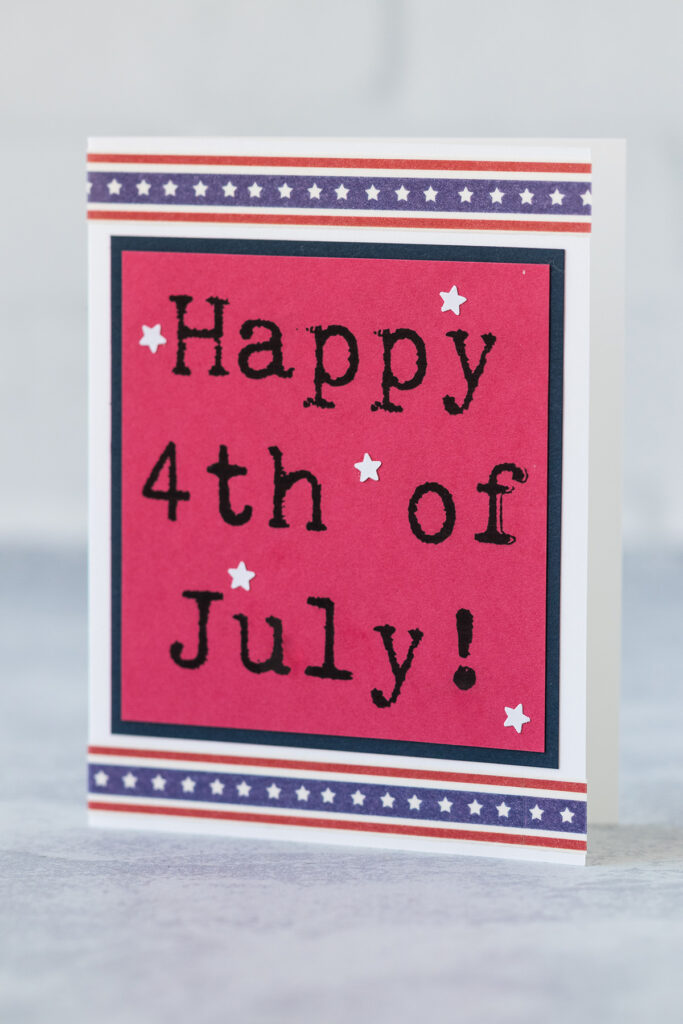
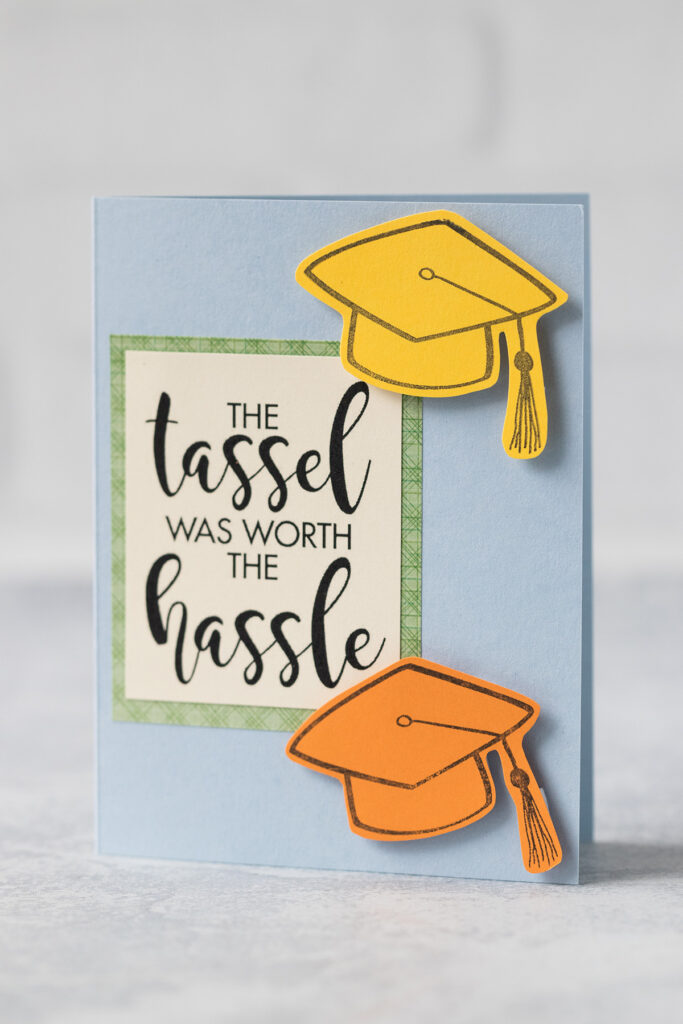
I’m showing you a couple of examples above where I’ve layered papers in my greeting cards. There are many more examples throughout this post. It’s such an easy extra step. For both large and small elements, it creates more visual interest.
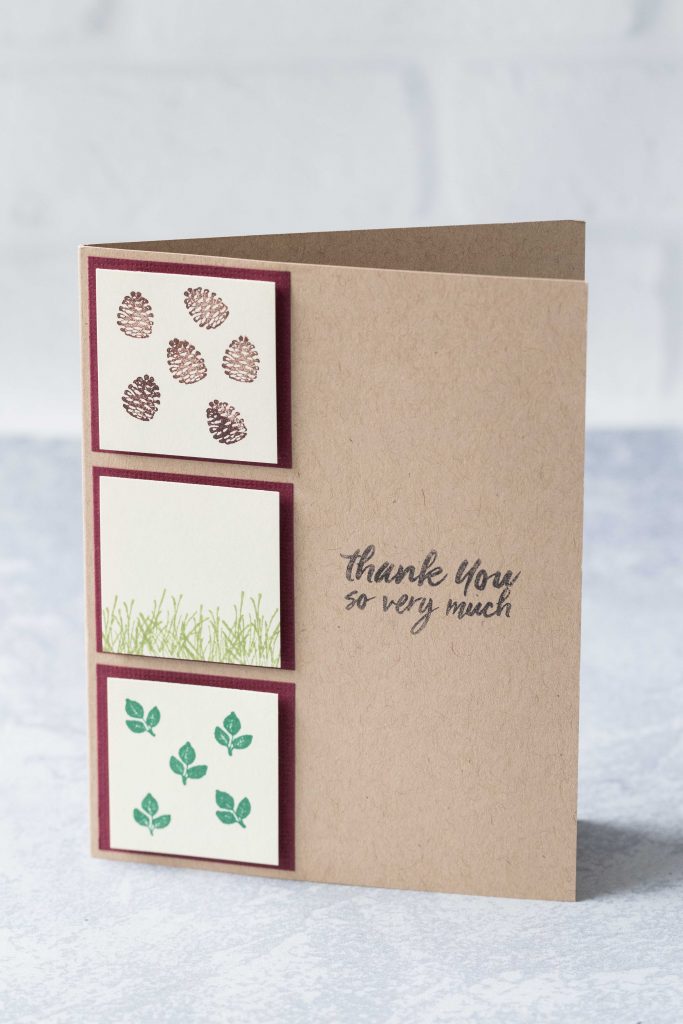
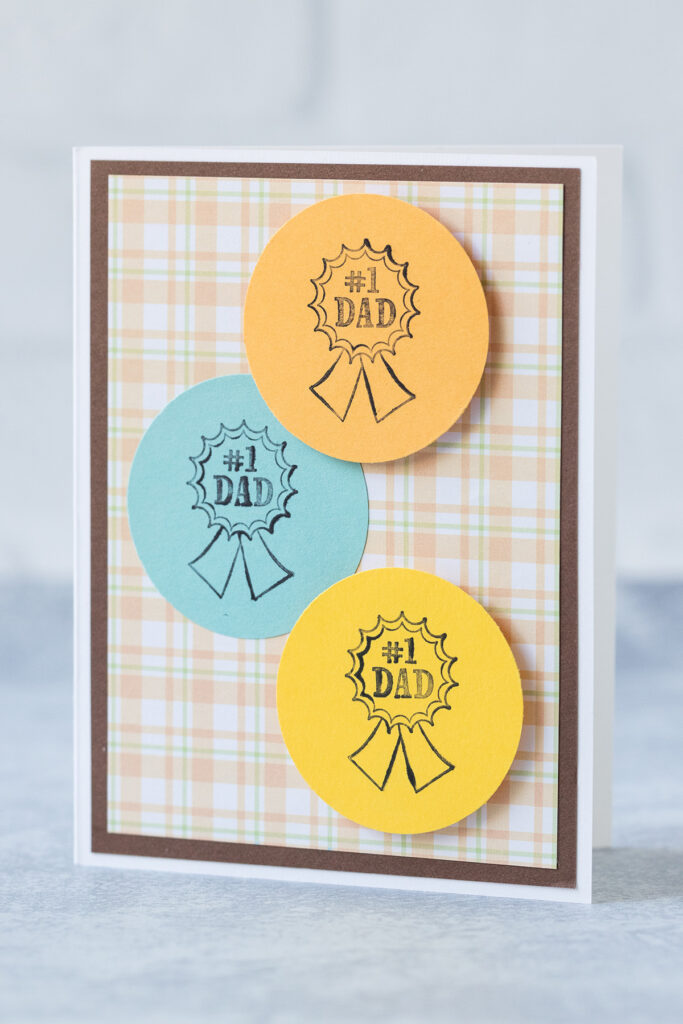
4. Use high quality stamps and ink pads
Stamps and ink pads are one area of card making where I’ve found that it doesn’t pay to skimp. Dollar section card stock and ribbon are great. Dollar section stamps and ink pads are always a gamble. I’ve gotten some good stamps this way over the years. But you just never know.
Thus far, I’ve found that the stamps that provide the best, most consistent results are homemade ones from select Etsy shops and clear stamps, as opposed to mounted rubber stamps. Unfortunately, a lot of mounted stamps, even from places like Michaels or Paper Source, are mounted crooked and/or always seem to have spots that don’t ink as well as others.
My favorite Etsy stamp shops are NoraJane and ModernMakerStamps. I’ve been using stamps from both of these shops for years and never been disappointed.
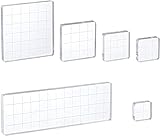
Beyond handmade stamps, I encourage you to buy a set of acrylic blocks and look for clear stamp sets that fit your greeting card interests.
Lately, I’ve had the best luck with MaxMark ink pads. I know that they look very basic, but they’re so good. Always look for well-rated ink pads and try one or two colors before purchasing a lot of pads from any one brand.

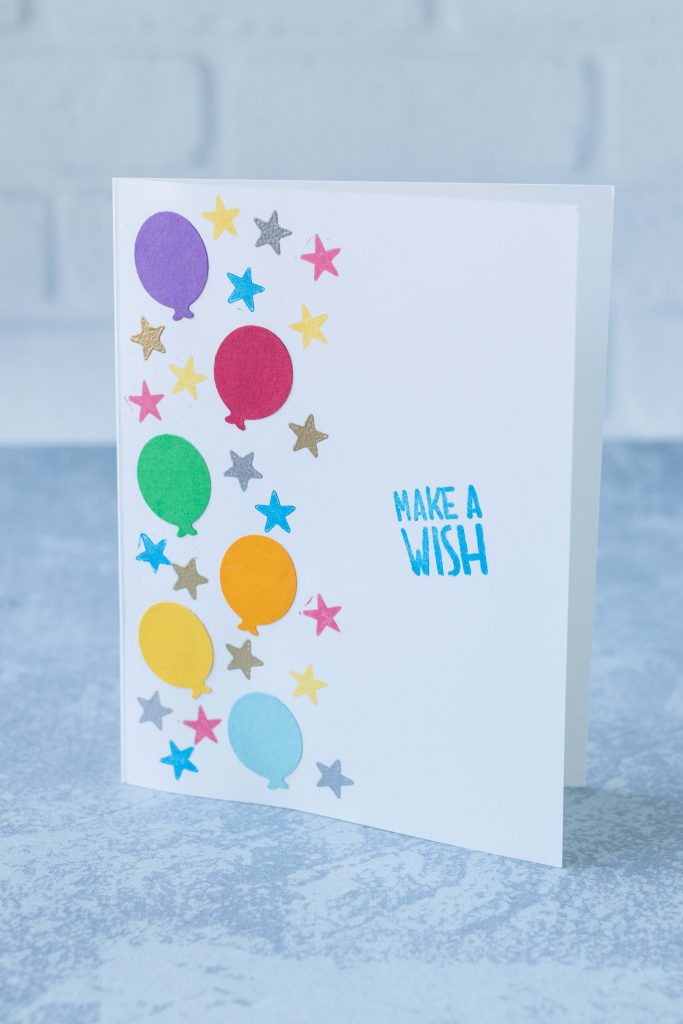
5. Add multiple colors to a single stamp
You can use markers to add multiple colors to a single stamped image. Not only is the effect so professional but it greatly expands your range of potential colors.
I have experimented with several types of markers. Hands down, Crayola is the best. The colors are vivid, and the markers produce consistent results. The most basic set of Crayola markers produces amazing results. If you really want to step up your stamp game, get the Crayola Super Tips markers set. With 100 colors, you’ll never feel limited by color choices, and the tips make it easy to do thin or thick lines.

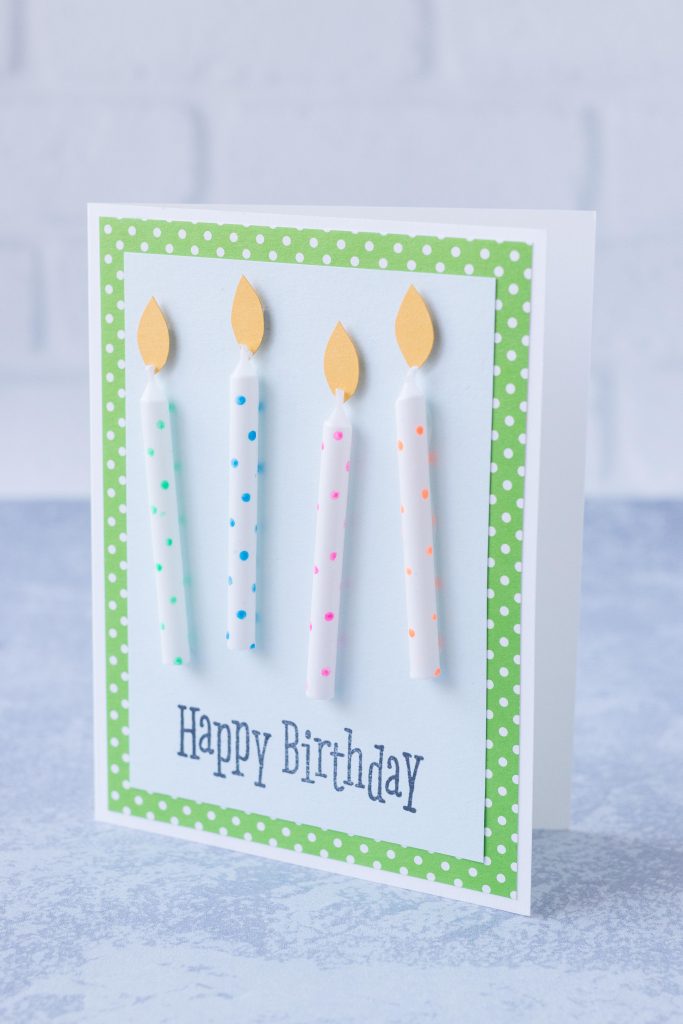
6. Add dimensional elements with foam squares
Foam mounting squares allow you to add dimensional elements to greeting cards in seconds. Dimensional elements add visual interest and allow you to draw attention to certain components.
A $10 pack of foam mounting squares will keep you set for months of card making. I recommend having at least a couple of different sizes on hand, as any given card element may work better with a smaller or larger amount of dimension.
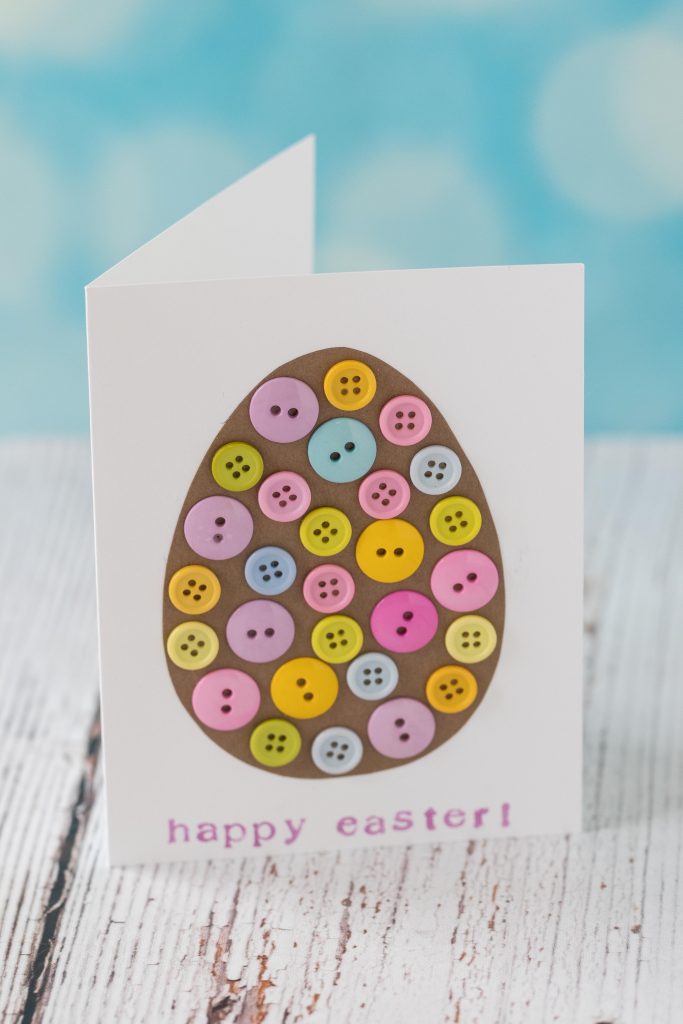
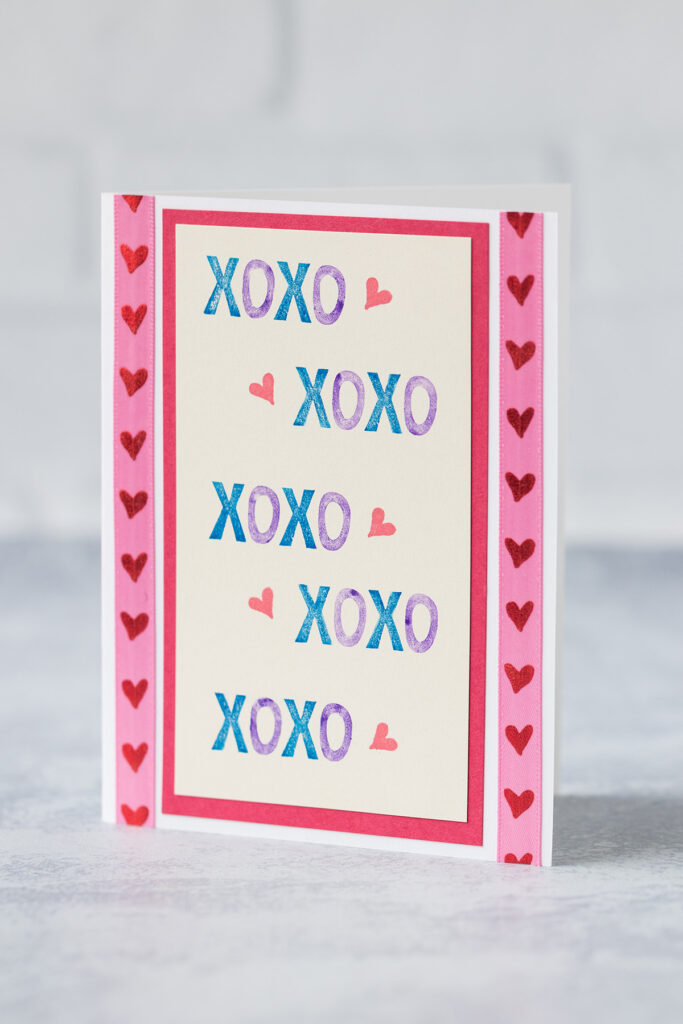
7. Add non-paper details
Non-paper details add more visual interest to greeting cards. My three favorite non-paper details for greeting cards are ribbon, buttons, and washi tape.
- MellowMoonSupply. Lynda’s MellowMoonSupply shop has been one of my top resources for buttons for many years now. She has wonderful bulk assortments at great prices and lots of fun vintage picks. Lynda also has a nice selection of ribbon.
- BBBSuppliesCRAFTSHOP. I recently started shopping at Raven’s BBBSuppliesCRAFTSHOP for washi tape and couldn’t be more impressed. She has the best selection I’ve found anywhere and at very reasonable prices. Raven has lots of thinner tapes and seasonal/holiday tapes that are ideal for greeting cards.
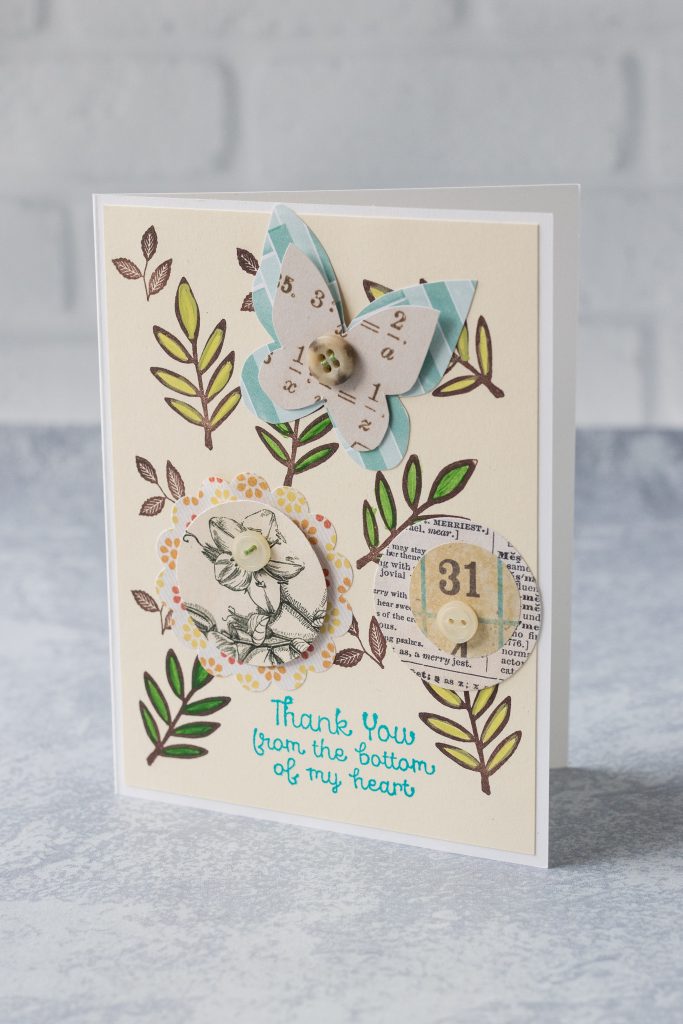
I also love to make my own scrapbook embellishments, which are great for greeting cards.
Stickers are another great option. You can also add hand-sewn or sewing machine detail.
There are numerous dimensional elements available for purchase, too, from Michaels, Paper Source, etc. They are often pricy but very fun.

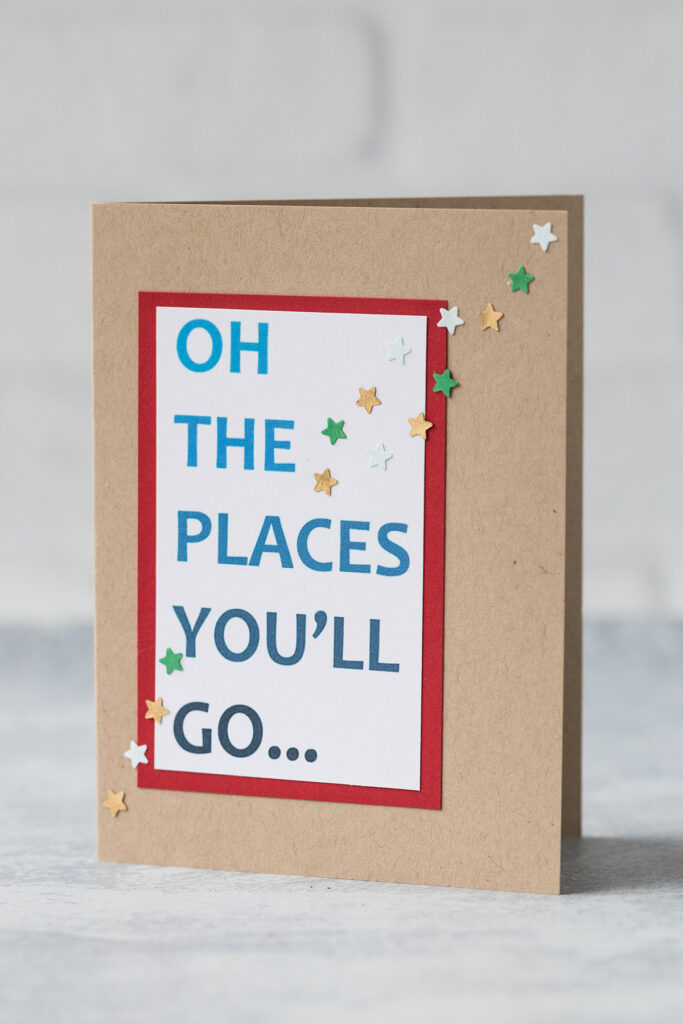
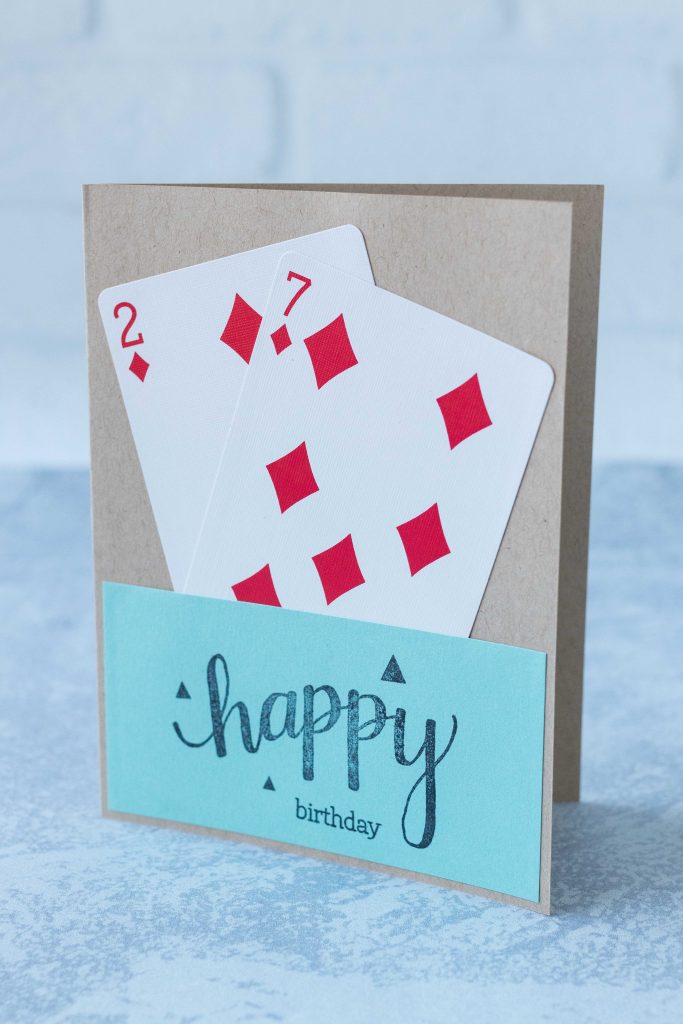
8. Create your own text and graphic elements
If you’ve read any of my greetings card tutorials, you know that I love to create my own printable text and graphic elements for greeting cards.
Stamps and die cuts are great. But you can’t always find exactly what you’re looking for or you start to feel limited by the same designs and fonts. For example, if you’re making multiple Easter cards to sell, you may not want to use the same two Happy Easter stamps over and over again.
You can use any free or paid image program to create one-of-a-kind text elements and graphics with the exact aesthetic you want. I encourage you to search for your own fonts and to purchase at least the occasional graphic to further expand your options.
9. Round the corners of your cards
A paper corner rounder is $5 and so easy to use. Rounding the corners is such a simple detail to set your cards apart from the crowd. Whether you’re making your own baby shower invitations or Christmas cards or selling cards at craft fairs or on Etsy, recipients will love this little touch.
You can use a paper corner rounder on virtually any flat or folded card. It’s also ideal for business cards, to-do lists, recipe cards, and numerous other paper products.

10. Add heat embossing details
A heat embossing tool costs $10-$20 and allows you to add embossed or raised details to cards. Embossing powders come in lots of sparkly neutrals, colors, and metallics.
As with any new tool, there is a little learning curve required for heat embossing. I recommend practicing on discarded scraps or plain printing paper before using your nice greeting card materials.

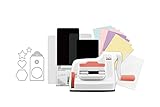
11. Invest in a cutting machine
I purposely saved the cutting machine idea for one of the last ideas in this post. It really is an investment both in money and physical space. A cutting machine also means making a commitment to a single product and using their blades, mats, software, etc. You can switch cutting machines but it’s a hassle and can be expensive. Additionally, virtually all die cutters and electronic cutting machines require you to purchase accessories to unlock their full potential, further adding to the total cost.
My other tips for how to make homemade greeting cards look professional all require products that are $30 or less (in most cases, much less) or simply require a little more time. A die cutting machine and accessories will cost you upward of $100 with most electronic cutting machines starting at over $200.
If you’re serious about card making, a die cutter or electronic cutting machine will be a good investment. It will open up a whole range of possibilities that weren’t available otherwise. Whether you make cards as a hobby or a business, you’ll fully appreciate and frequently use your new tools.
Types of cutting machines
There are two main categories of cutting machines – traditional die cutters and electronic cutting machines. If you primarily make greeting cards and other paper products, most likely a traditional die cutter is a better choice unless there are specific reasons you want an electronic cutting machine. Basic to mid-range die cutters are much cheaper and allow you to do tons of cuts that are impossible with paper punches and scissors.


If you do a lot of crafting beyond greeting cards, an electronic cutting machine may be a better choice. You’ll be able to cut a much wider range of materials and use a lot more designs in larger sizes. You do pay significantly more, but you get so many more features.
The most popular electronic cutting machine brands are Cricut, Silhouette, and Brother. Cricut machines are more user-friendly but have more limited capability. Silhouette comes with a steeper learner curve but offers a lot more capacity for custom designs. Brothers tends to be more similar to Silhouette but has its own pros and cons.
- Creative Bloq – Cricut vs Silhouette: which is best for you?
- Color Me Crafty – Cricut vs Silhouette | Side By Side the Camera 4 vs The Maker
- Compare Before Buying – Cameo vs Cricut vs Brother: Which is the Best Cutting Machine?


12. Package cards in clear sleeves or boxes
When you’re giving greeting cards as gifts, such as a whole set of blank birthday cards for a friend, or selling greeting cards at craft fairs or on Etsy, it looks professional to package the cards in clear sleeves or boxes. Clear sleeves are great for single cards and smaller sets while boxes are better for larger sets. Choose boxes with clear lids, so that potential buyers can see what’s inside.

[Disclaimer: There are a few affiliate links in this post. Thanks for your support!]
Did you use one or more of the tips in this post for your greeting cards?
I’d love to see what you made! Tag your images #RoseClearfield on Instagram or Twitter, or post a photo to my Facebook page.
Pin this post for easy access to the resource on how to make homemade greeting cards look professional later!
I also have a post covering all of the basic card-making supplies and tools that you need for greeting card making.
Greeting card tutorials:
Head to the greeting card section of my blog for even more homemade card tutorials. Is there anything else that you’d like to see here? Let me know! I’m always working on more DIY tutorials, including handmade cards.