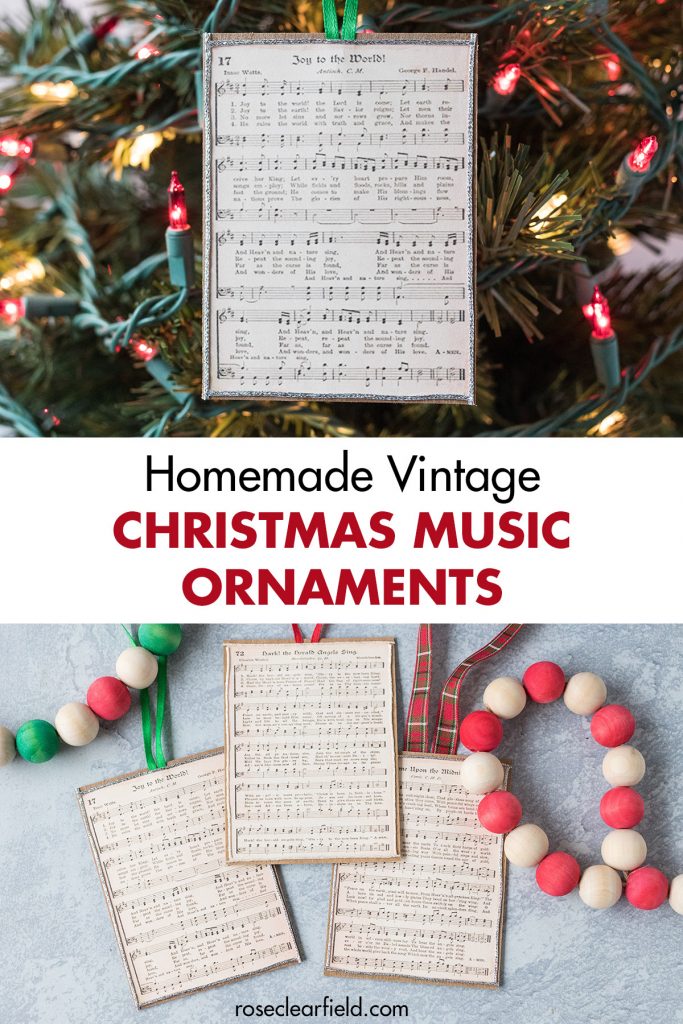


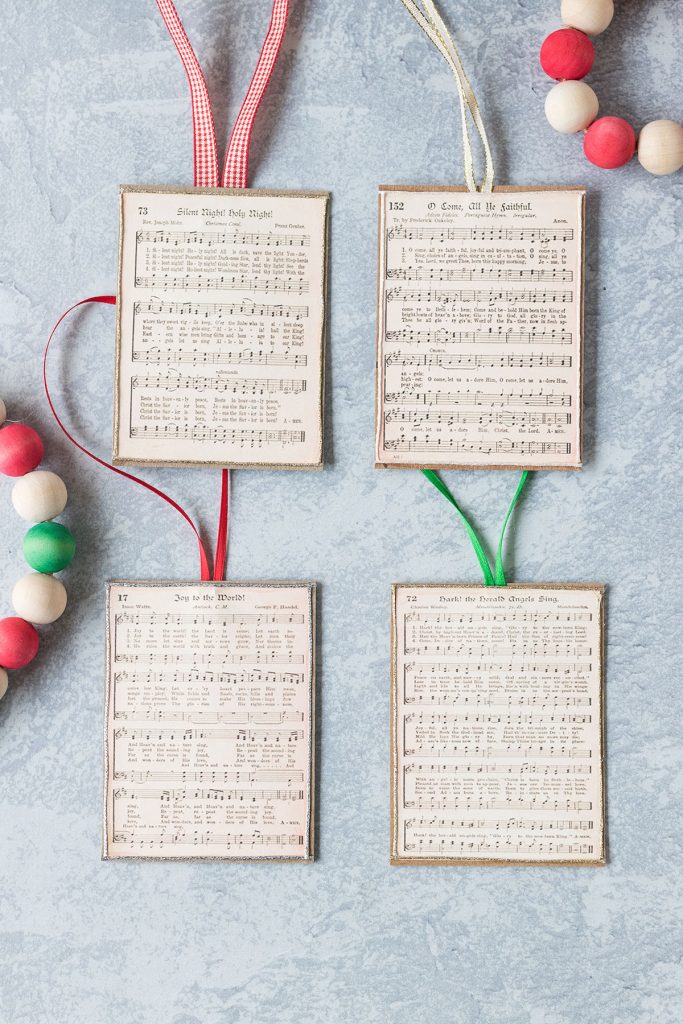
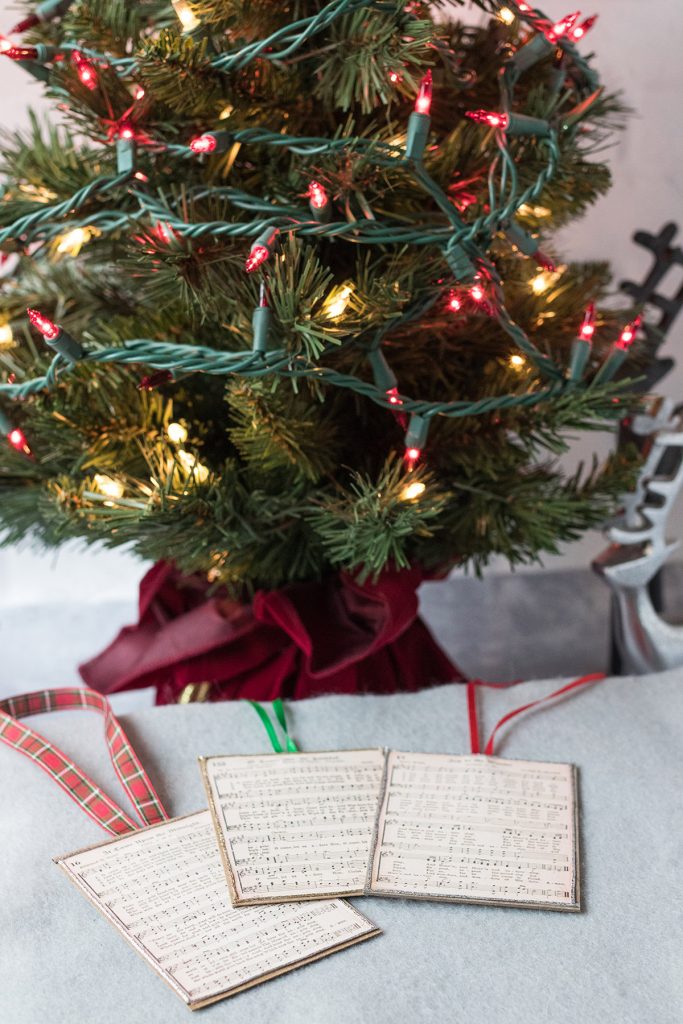
DIY vintage Christmas music ornaments add just the right amount of whimsical charm to any holiday tree.
When you saw printable Christmas music right at the beginning of the month, you knew that I would have a DIY holiday project to go with it, right? I have over a dozen ideas for Christmas ornaments with vintage music. So there will be more tutorials in the future. This holiday season I have easy DIY vintage Christmas music ornaments. Make them with your kids or your girlfriends for a fun simple afternoon craft project.

I always get comments about how my sheet music crafts make perfect gifts for music teachers. Sheet music gifts are great for little music teacher gifts. But you shouldn’t feel limited to this option. One, music teachers already get a lot of music-themed presents. Two, sheet music crafts are ideal stocking stuffers, small gifts, and even present toppers for anyone who enjoys music (in this case, specifically Christmas music, and who doesn’t like Christmas music?).
DIY vintage Christmas music ornaments are just the sort of craft project you want during the busy holiday season. It’s an easy project you can complete in a single afternoon, primarily using supplies you already have on hand. The only supply I needed to buy was the metallic braid, which I know I’ll be able to use for a lot of other projects.
Happy crafting!
DIY Vintage Christmas music ornament supplies
- Lightweight or medium weight brown kraft chipboard sheets or other thick neutral-colored cardstock (one 8.5 x 11 sheet for every two ornaments)
- White cardstock for printing the vintage Christmas sheet music (one 8.5 x 11 sheet for every two ornaments)
- Vintage Christmas sheet music hymns, sized for ornaments (resources below!)
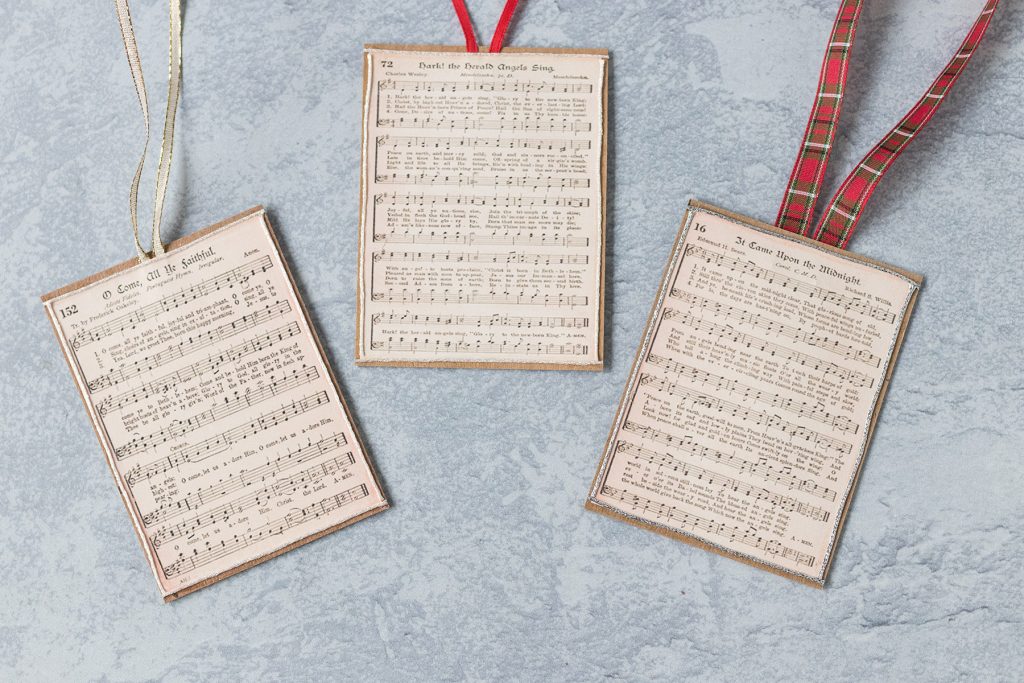
- 10mm metallic braid or similar material for edging the ornaments. For the ornaments in this post, I used Kreinik No. 16 10mm high luster silver, Vatican gold, and pearl.
- Christmas ribbon, ideally 1/2″ in diameter or narrower. Fabric ribbon (aka not present-wrapping ribbon) will work best. I buy the vast majority of my ribbon from Michaels.
- Stapler
- Scotch Scrapbookers Glue or similar, wrinkle-free paper glue
- Paper cutter (not essential, but it makes this project much easier!)
- Fabric scissors
I opted to staple the ribbon in place on my ornaments. For previous DIY ornaments, I’ve glued the ribbon. It simply doesn’t hold very well, even with strong glue. I know that it’s a little awkward working around staple bumps. But I think it’s worth it, and no one will ever be able to tell the difference when the ornaments are displayed on a tree.
Ornament-sized vintage Christmas sheet music
Yes, all of the miniature Christmas sheet music you need for your ornaments is available right here in this post! Simply click the links below to download the music of your choosing.
Each sheet contains four images of a single song, which is enough to make two ornaments. Simply print more sheets to make more ornaments.
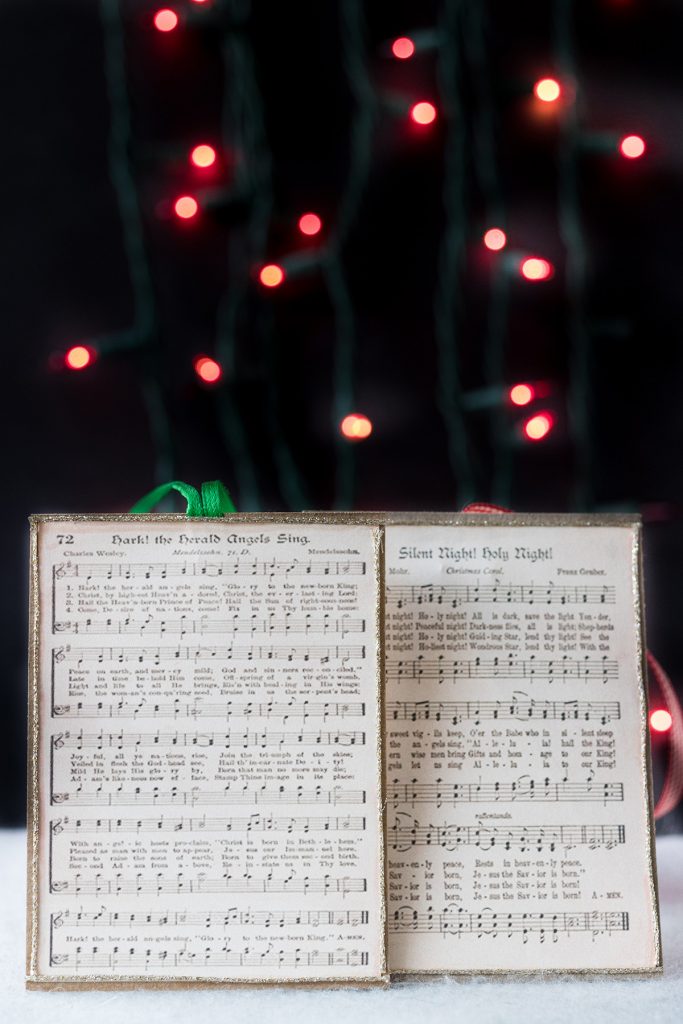
- Hark the Herald Angels Sing
- It Came Upon the Midnight
- Joy to the World
- O Come, O Come Emmanuel!
- O Dear Little Children
- O Little Town of Bethlehem
- O Sing a Joyous Carol
- Oh Come, All Ye Faithful
- Silent Night, Holy Night v. 1
- Silent Night, Holy Night v. 2
- Sleep, Holy Babe
- The Snow Lay on the Ground
You can also download an assorted set, which contains one image each of all of the above Christmas music.
If you want to create DIY vintage Christmas music ornaments in a different size, head to my vintage Christmas hymns post. From there, you can download the original music and crop or format it the way you’d like.
Vintage Christmas music ornaments directions
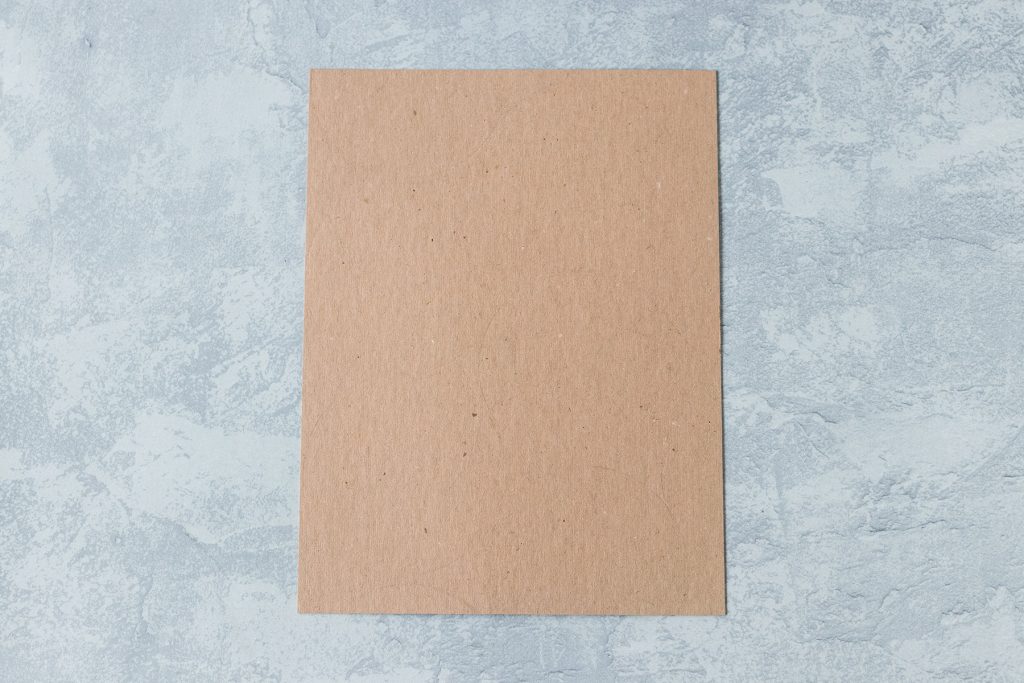
Gather your chipboard or cardstock. I save a lot of thick cardstock that comes with stamp or photo print orders, which is what I used for my ornaments.
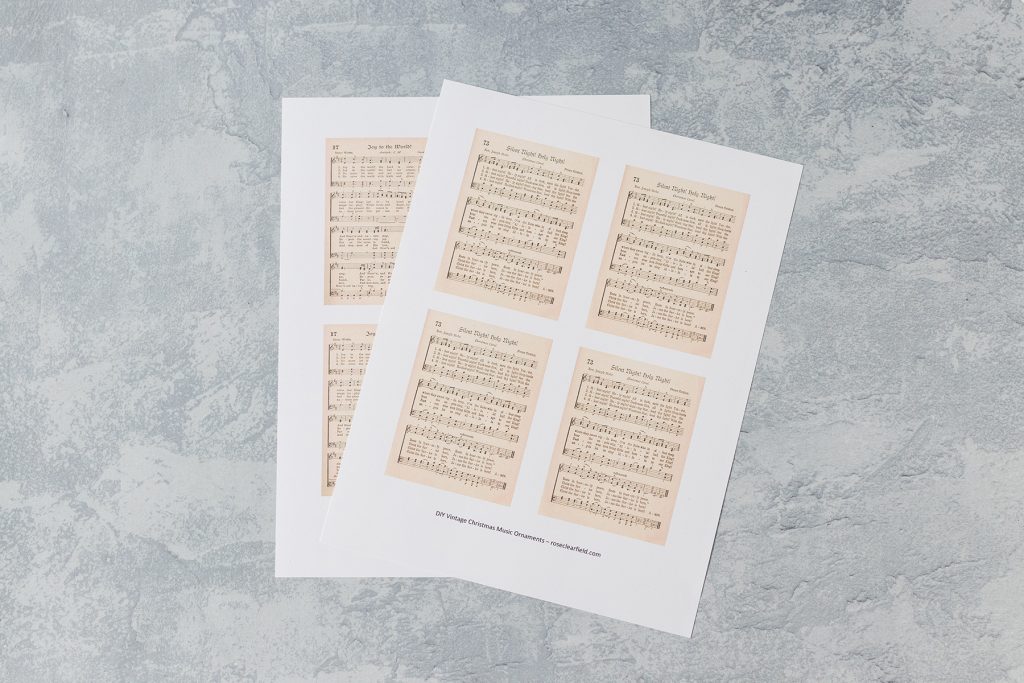
Download and print your vintage Christmas music on white cardstock.
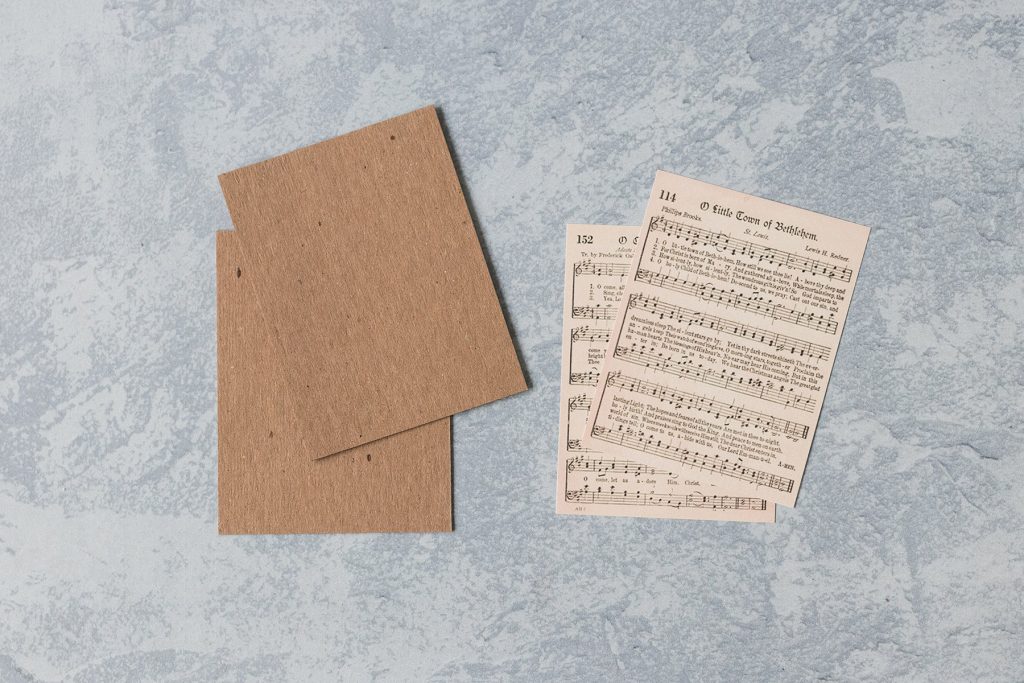
Use a paper trimmer to cut the chipboard and Christmas music to size. Cut the cardstock to 4″ x 3″ pieces. The Christmas music is formatted to be slightly smaller than these dimensions.
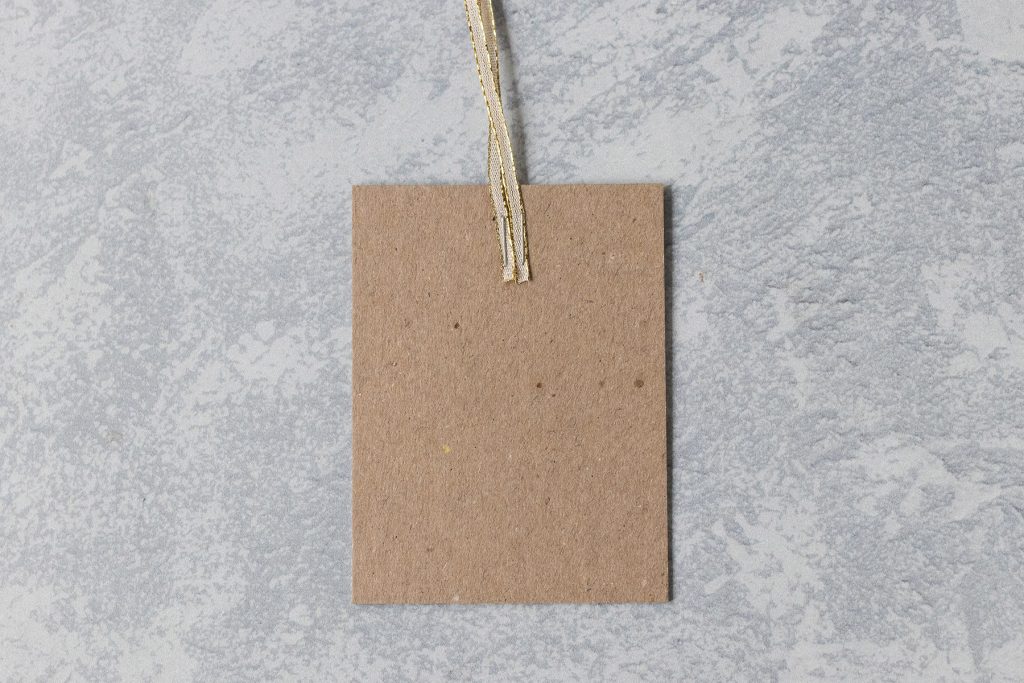
Cut the ribbon to approximately 12 1/2″ for each ornament. Adhere the ribbon to the back of the chipboard, using the stapler. I recommend leaving about 1″ length to give yourself plenty of room to staple safely. Staple as far down on the chipboard as possible, as it will make it easier to glue down the music.
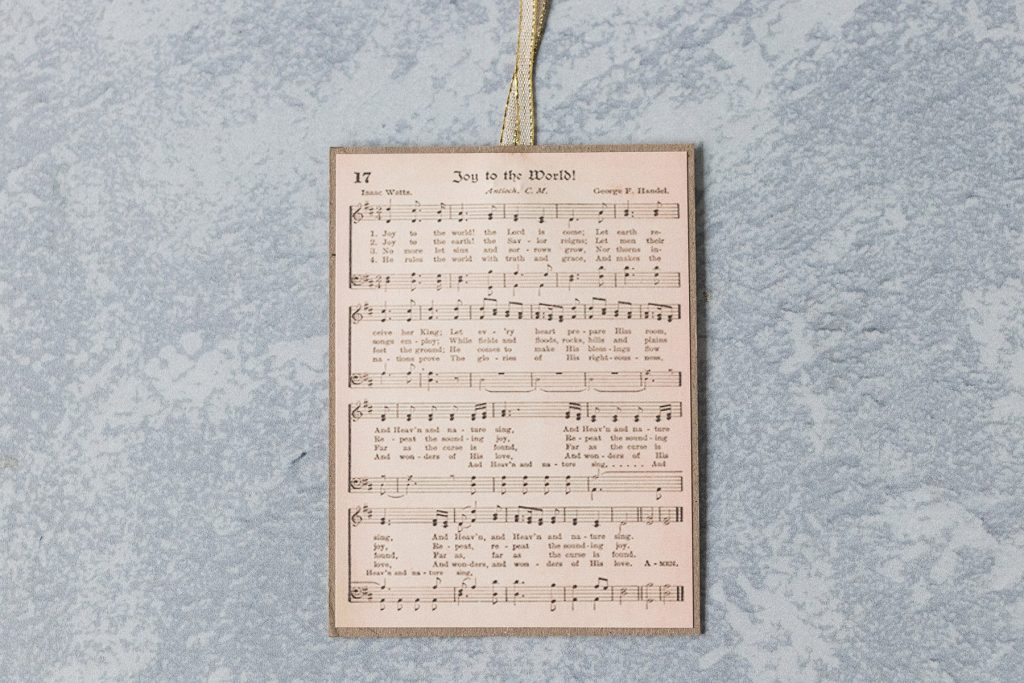
Use the scrapbook glue to adhere Christmas music to one side of the cardstock. Allow it to dry completely.
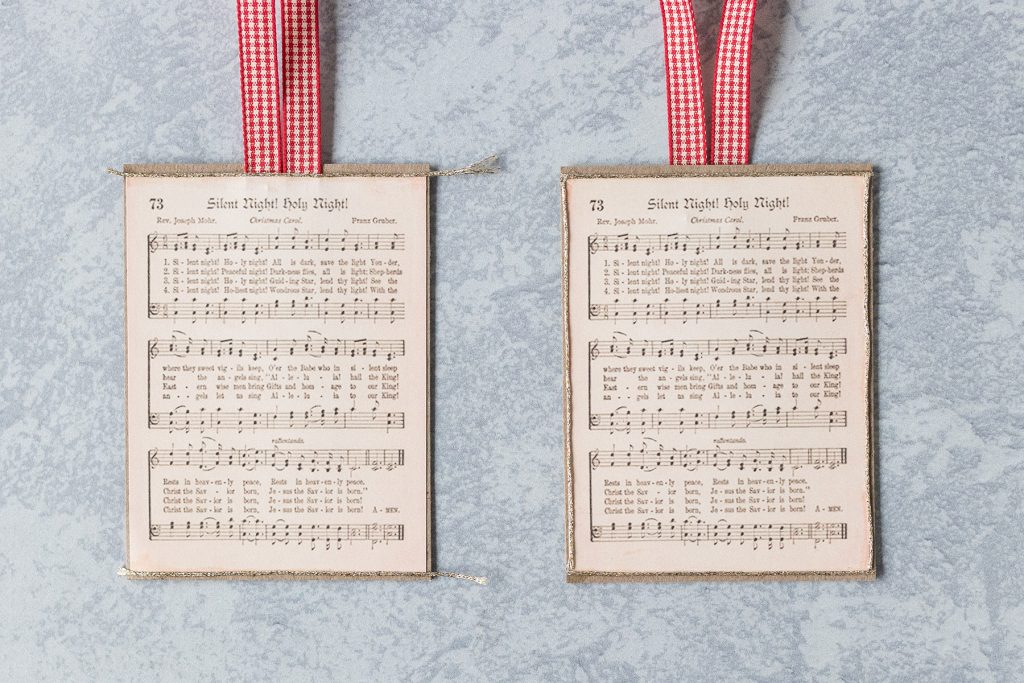
Use the fabric scissors to cut metallic braid for the short sides of the chipboard. I like to cut these pieces longer than needed and then trim then down. Use the scrapbook glue to adhere the braid. Allow it to dry completely before cutting it to size.
Cut the metallic braid for the long sides of the chipboard. I like to cut these pieces to fit precisely. Adhere the braid, and allow it to dry completely.
Working with metallic braid this thin is a little fiddly. Don’t dispair if your first ornament doesn’t turn out perfectly. I promise that the second ornament will go more smoothly, and you’ll just get more comfortable with the material from there.
Flip over the chipboard. Repeat the process of gluing the sheet music and braid on the backside of the ornament.
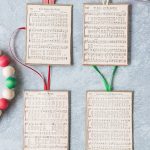
Your new DIY vintage Christmas music ornaments are complete and ready to hang on your Christmas tree or give as a gift!
[Disclaimer: There are a few affiliate links in this post. Thanks for your support!]
Did you make the vintage Christmas music ornaments?
I want to see them! Tag your images #RoseClearfield on Instagram or Twitter or post a photo to my Facebook page.
Pin this post for easy access to the Christmas music ornaments later!