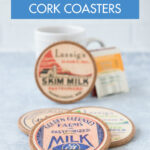
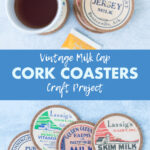
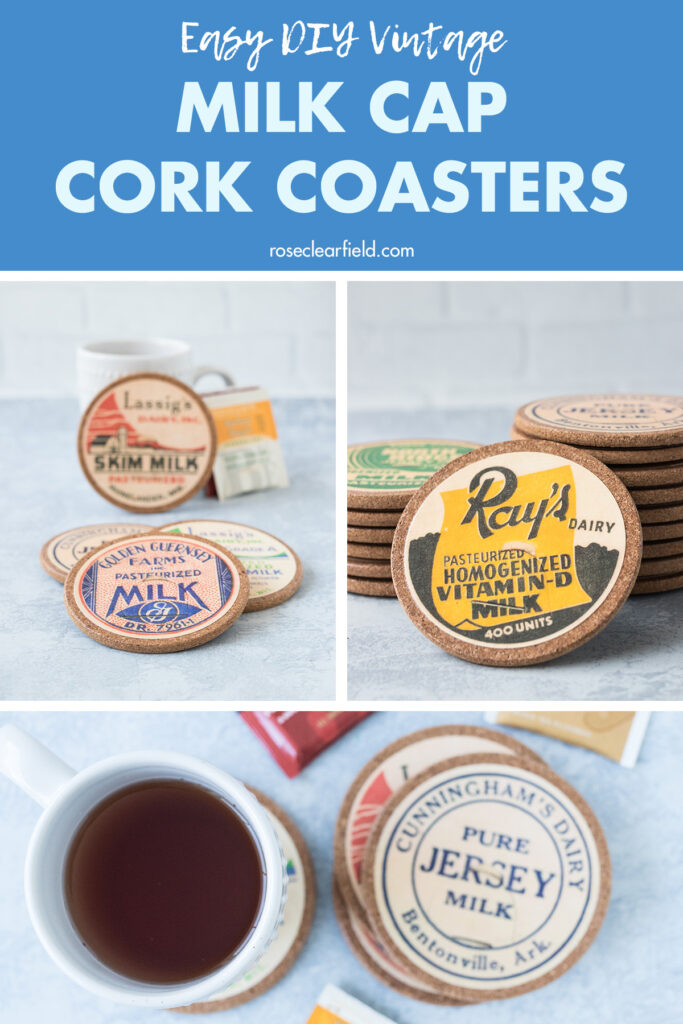
DIY vintage milk cap cork coasters are an easy whimsical home decor project. They also make a great gift.
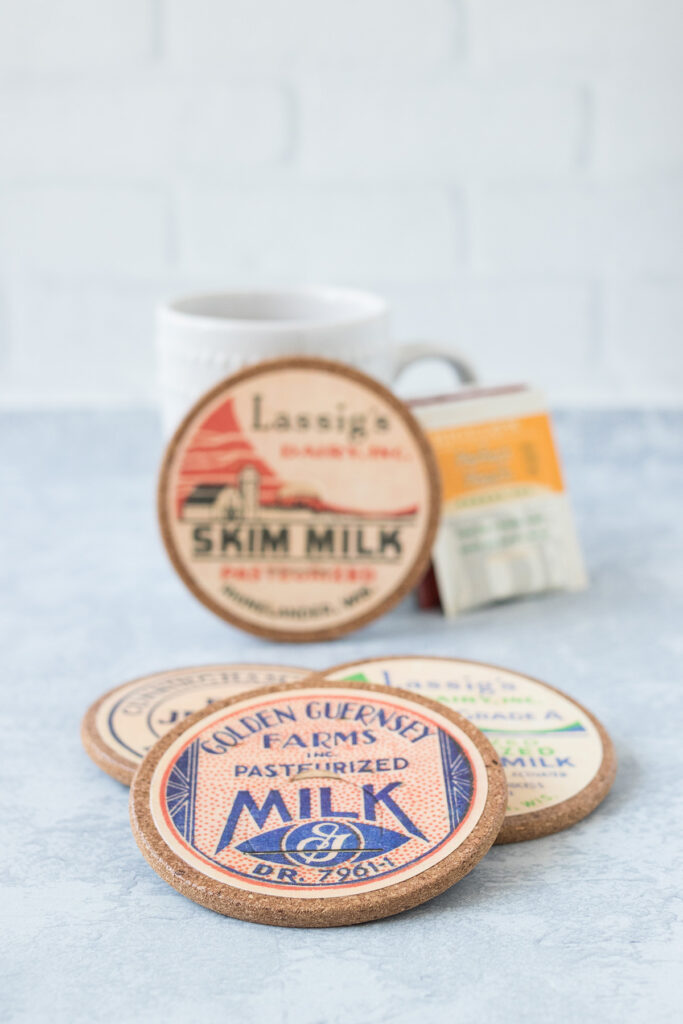
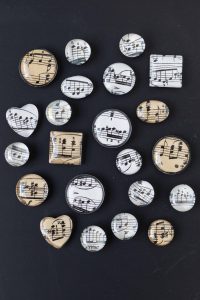
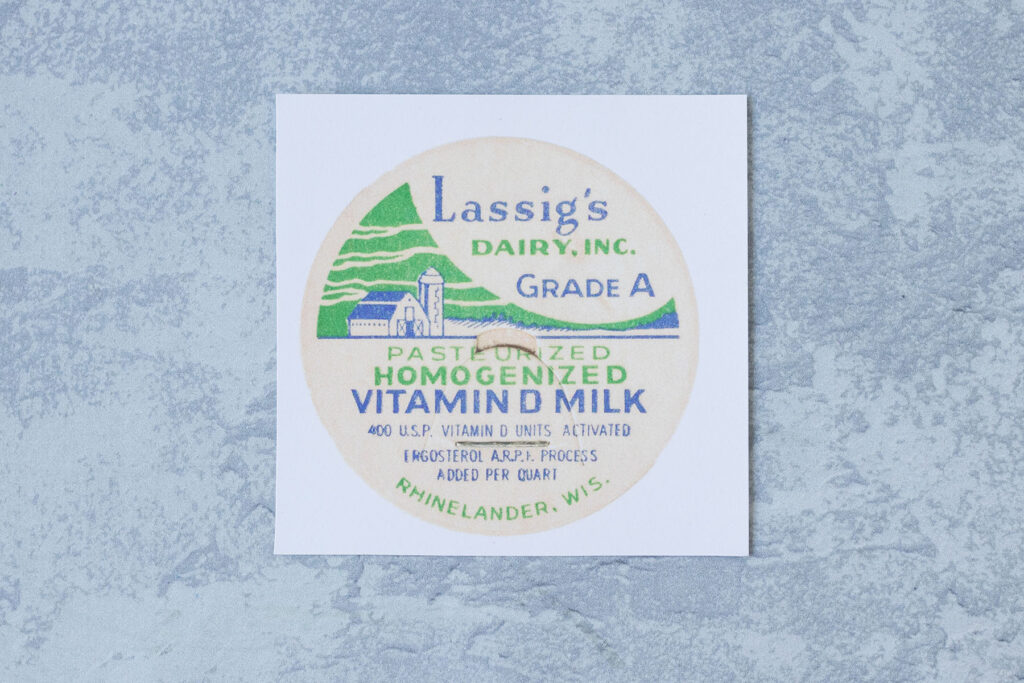
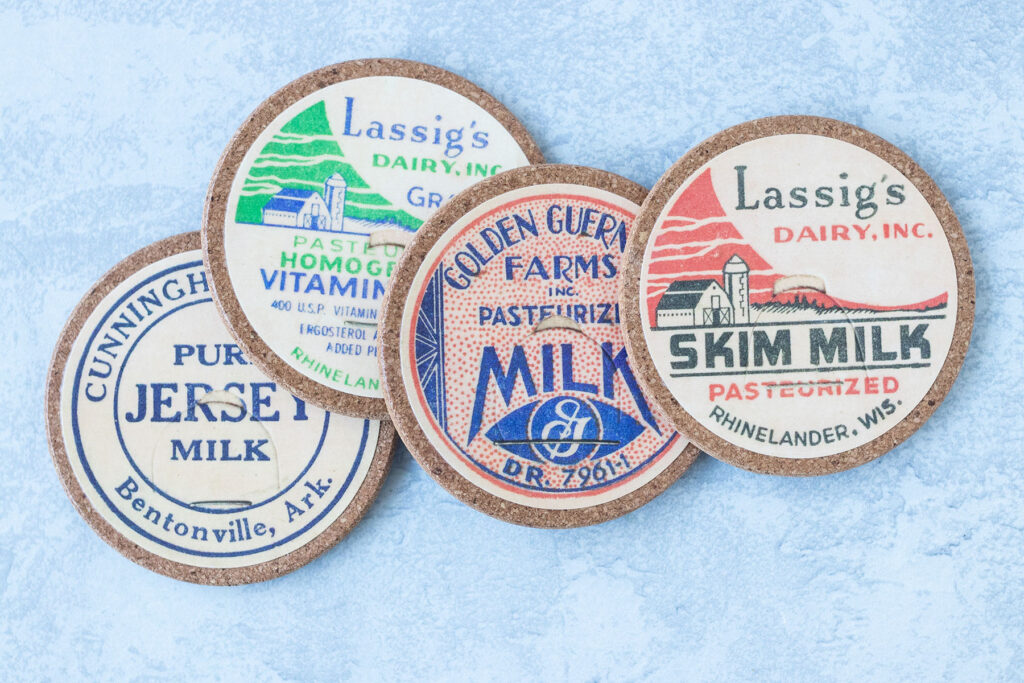
I absolutely love the aesthetic of vintage milk caps. Most of the vintage milk caps that you find on Etsy and eBay and at estate sales and vintage shops today are from the 1930s and 1940s. Vintage milk caps have beautiful typography, often in vivid colors. Some milk caps also have lovely graphics. As soon as I acquired a set of vintage milk caps, I knew that they would be perfect for all sorts of DIY projects, including cork coasters.
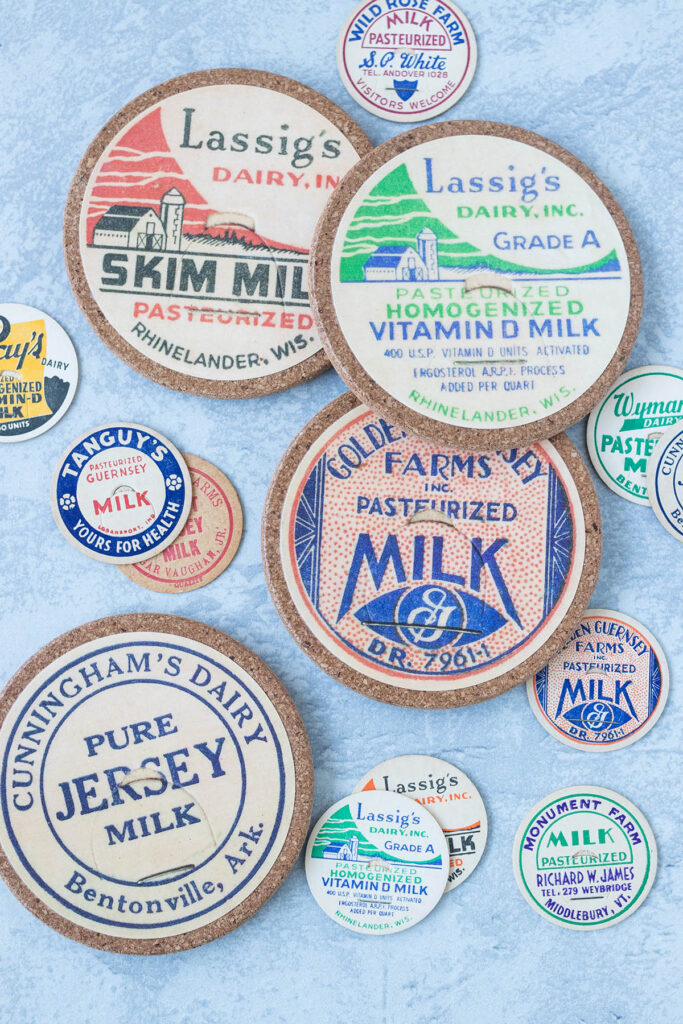
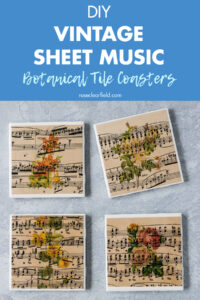
For whatever reason, I’ve always loved making coasters. I also have a vintage sheet music botanical tile coasters tutorial on the blog. As milk caps are round, I knew that they would be a great fit for cork coasters, as opposed to the ceramic tiles that I used for the sheet music coasters. Coasters are a fun simple DIY home decor project to make for yourself. They’re also a great item to give as gifts for housewarming parties, Christmases, weddings, and more and to sell at craft fairs and on Etsy.
I provide collage sheets with digital vintage milk caps sized for 4″ coasters to make this DIY vintage milk cap cork coasters project as easy as possible. Happy crafting!
Supplies for DIY vintage milk cap cork coasters
- 4″ cork coasters, as many as you’d like to make
- Digital vintage milk caps, sized for 4″ coasters
- White card stock, one sheet for every four coasters
- Scissors
- 3.5″ circle punch
- Acrylic spray, glossy or matte finish (I used matte)
- Mod Podge, glossy or matte finish (I used matte)
- 1″ foam brush
- Felt circles for backing the coasters
- E-6000 adhesive
Optional: I recently started using these E-6000 applicator tips, and they’ve been a complete game-changer. If you use E-6000 regularly, they’re well worth keeping on hand.
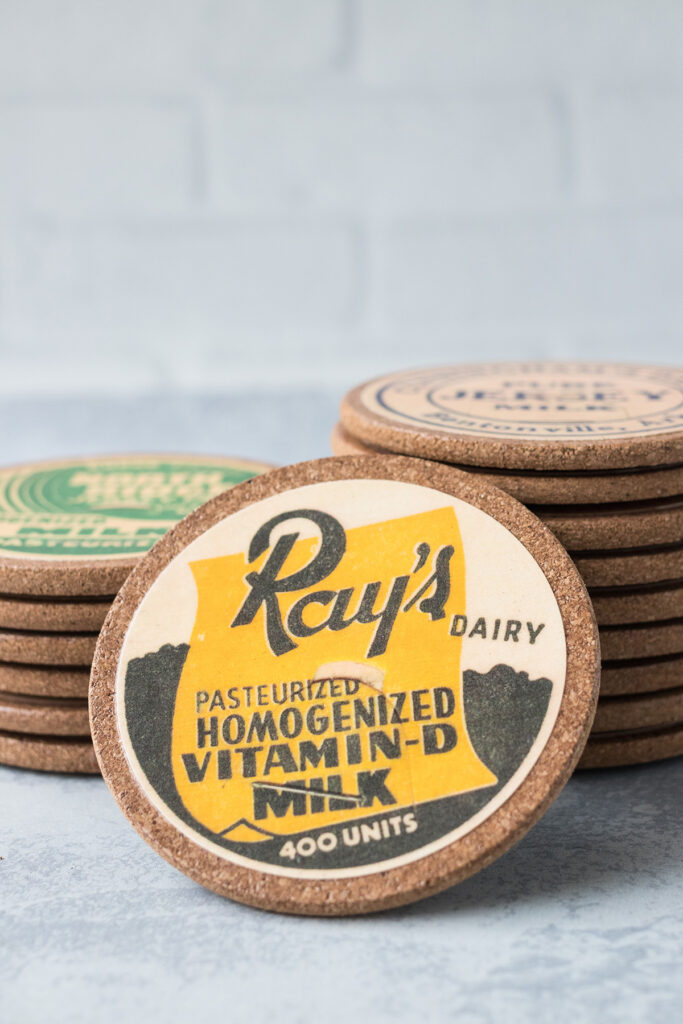
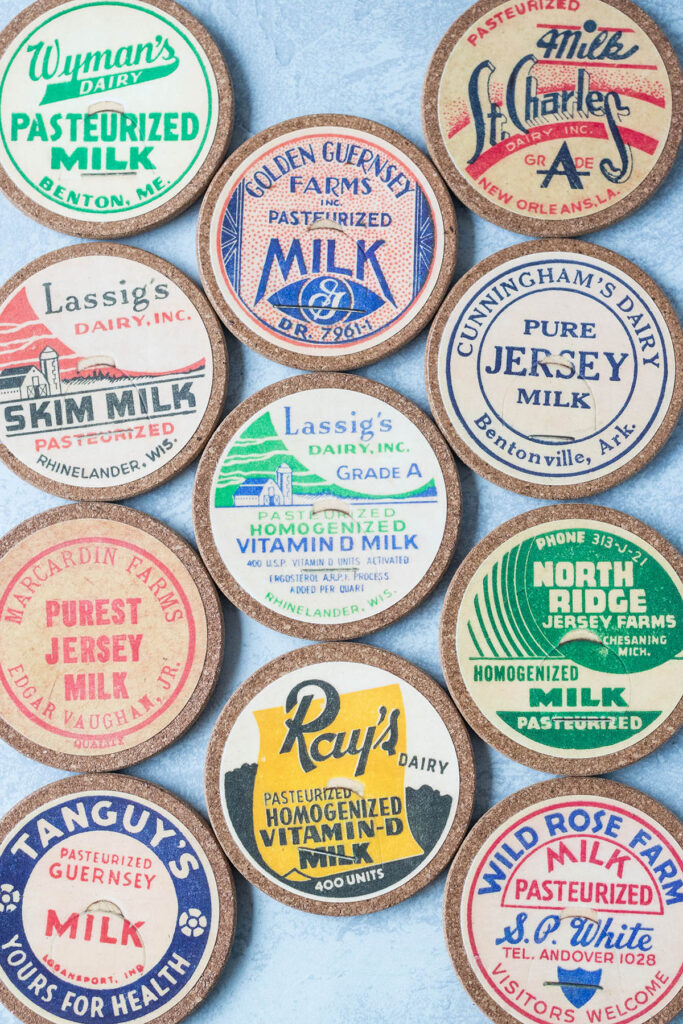
The free digital vintage milk caps download includes 12 different milk caps. The coaster set I’m linking has 12 coasters. You certainly don’t have to make this many coasters. On the flip side, you can also print multiple sets of milk caps and order multiple sets of cork coasters to make more coasters.
Instructions for DIY vintage milk cap cork coasters
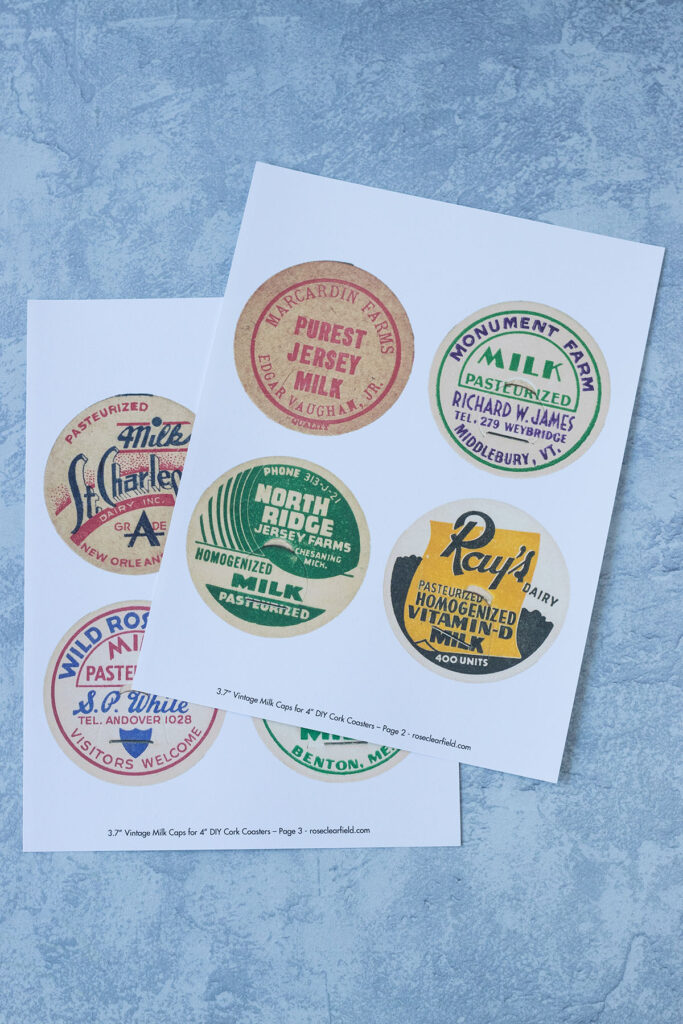
Download and print the milk caps sized for coasters. The above picture shows two of the three sheets of milk caps available in my download in the supplies section.
If you’re using a laser printer, you can skip right to the next step. If you’re using an ink-jet printer, give your printed sheets a couple of coats of acrylic spray to prevent the ink from running when you expose it to Mod Podge. Allow it to dry overnight.
Use scissors to cut apart the milk caps, so you’re able to use your circle punch to make the final cut.
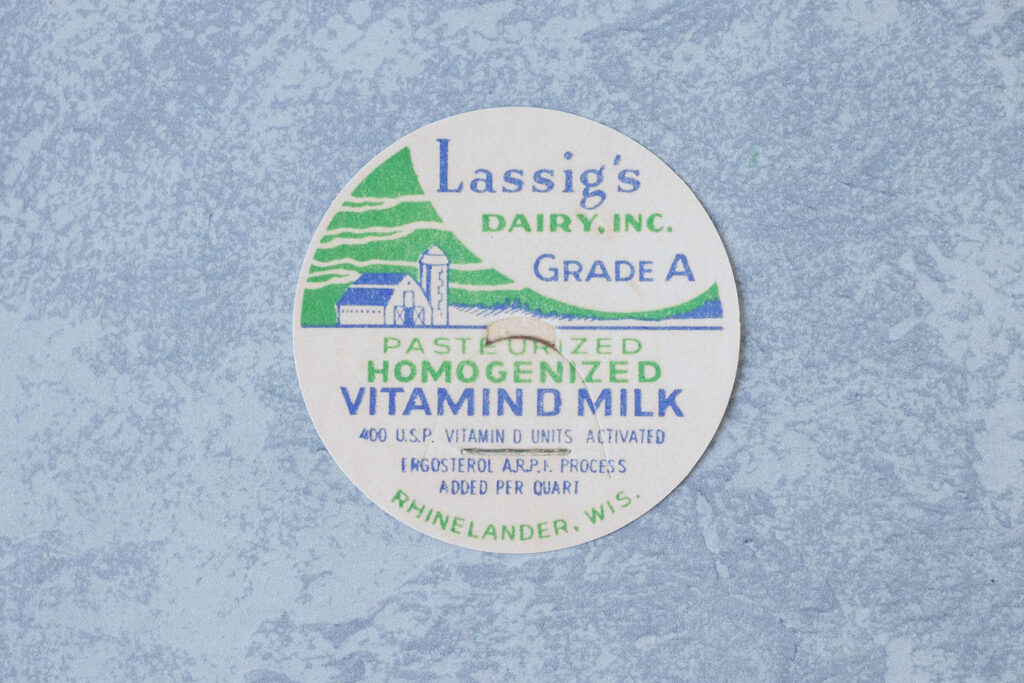
Use the circle punch to cut out the milk caps. I’ve purposely sized the caps slightly larger than the punch, as I find it’s easier to avoid white edges that way.
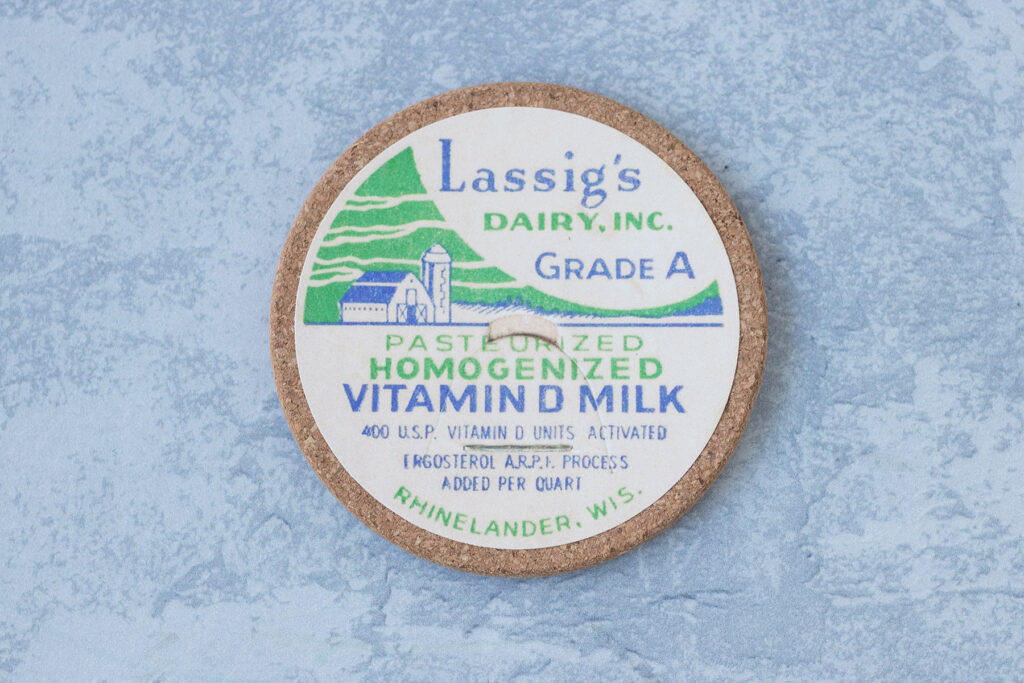
Use the foam brush to apply a thin, even coat of Mod Podge to the back of the milk cap. Make sure it extends all the way to the edges. Smooth it into place in the center of the cork coaster, working out any wrinkles as you go. Make sure all of the edges are secured. Once the Mod Podge dries, it will be hard to fix the edges. When the edges aren’t secure, it’s hard to do good top coats of Mod Podge. Allow the Mod Podge to dry completely.

Use the foam brush to apply a thin, even coat of Mod Podge all the way across the top of the coaster, making sure to reach the edges. Allow the Mod Podge to dry completely.
Repeat the last step to add a second coat of Mod Podge to the coaster.
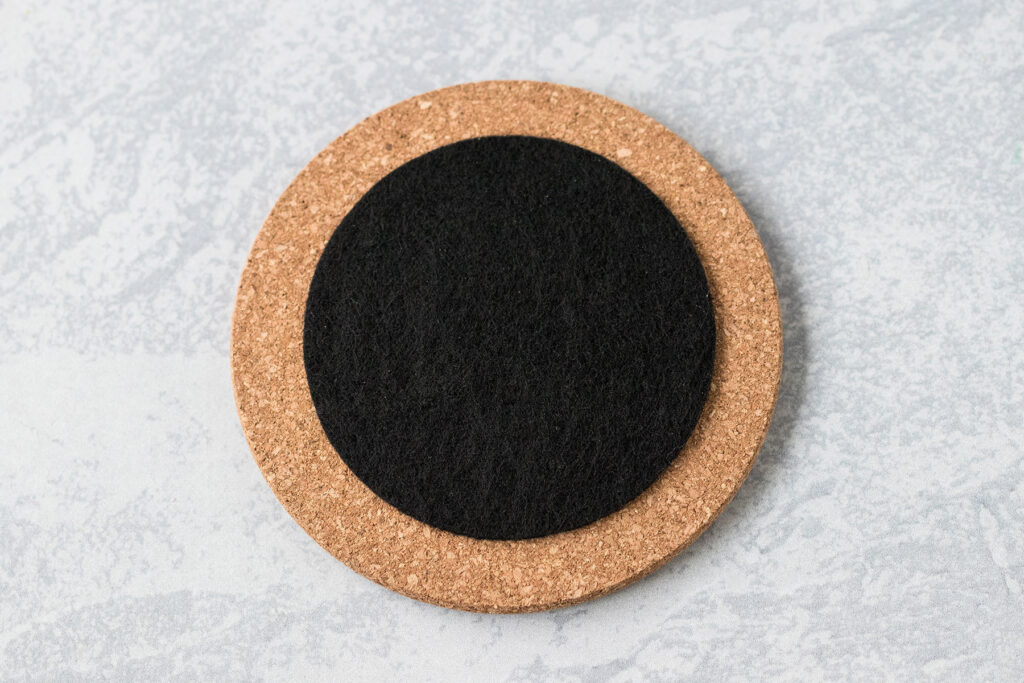
In a well-ventilated area, apply a generous amount of E-6000 to the felt circle. Center it on the back of the coaster and press it into place. Allow the adhesive to dry overnight.
Please note: If you’ve used E-6000 for other projects, I’m sure that this sounds a little crazy. But the felt absorbs the glue. Applying a small amount just around the edge won’t cut it. Be generous with the E-6000 here.
Apply a couple of coats of acrylic spray to seal the coasters and make them waterproof. Your coasters will not hold up being fully submerged but will hold up under the regular amount of moisture expected with normal use for drinks. Allow the acrylic spray to set overnight.
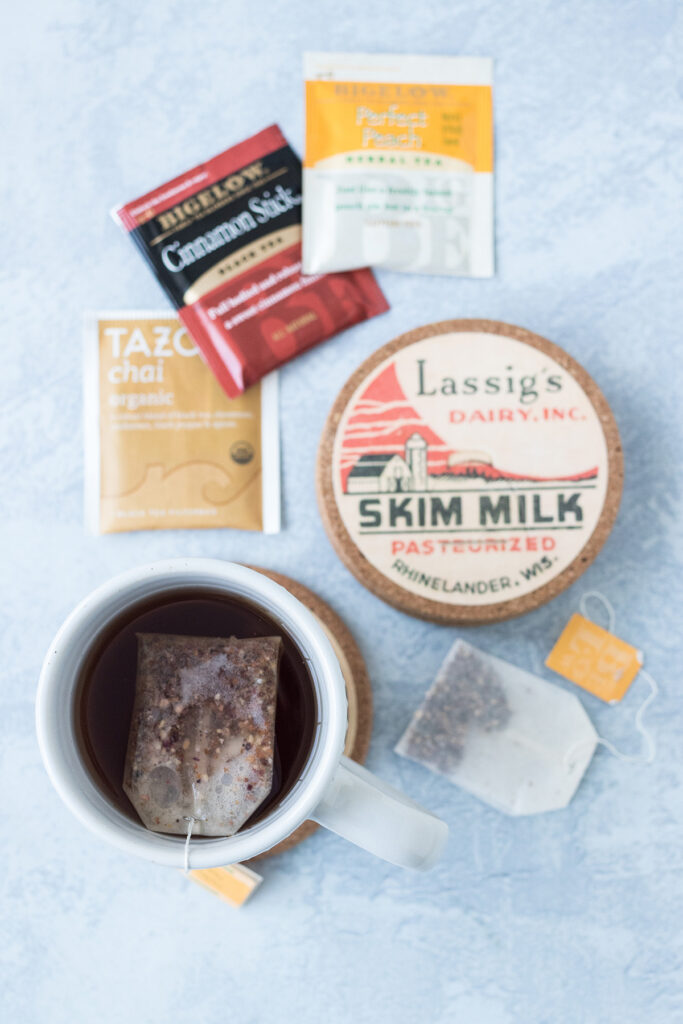
Your new coasters are ready to be used. Enjoy!
[Disclaimer: There are a few affiliate links in this post. Thanks for your support!]
Did you make the DIY vintage milk cap coasters?
I want to see them! Tag your images #RoseClearfield on Instagram or Twitter or post a photo to my Facebook page.
Pin this post for easy access to the DIY vintage milk cap coasters tutorial later!
Do you enjoy making coasters? I also have a tutorial for vintage sheet music botanical coasters!