


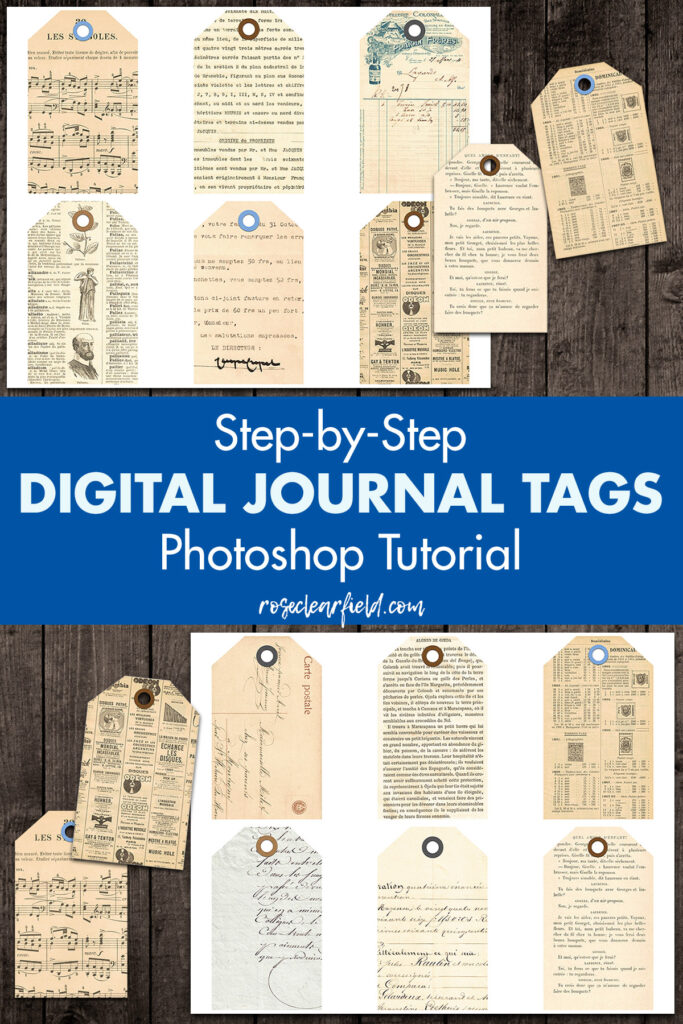
Learning how to make digital journal tags in Photoshop is an easy process that will allow you to create one-of-a-kind tags for your art/junk journals, scrapbooks, mixed media, snail mail, and much more.
Making digital journal tags in Photoshop is not complicated but can be intimidating when you’re new to Photoshop or simply have never attempted this sort of project before. I’m breaking down the steps for you, with Photoshop screenshots of every step, so you can make digital journal tags in Photoshop with ease. Digital journal tags are most frequently used in junk journals and art journals but can be used for virtually any type of paper project from scrapbooks to greeting cards to mixed media art. Digital journal tags are also a great product to sell on Etsy.
You only need a few items to make digital journal tags in Photoshop, which are as follows.
Digital journal tags supplies
- Photoshop or another editing program that allows you to work in layers. I’m using the full version of Photoshop for this tutorial. I haven’t tested it with other programs but any editing program that has the capacity to work in layers, such as Gimp and Photoshop Elements, should work just fine. Keep in mind that the exact steps may look a little different in another program.
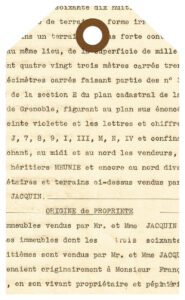
- Digital papers. Any sort of digital scrapbook papers, vintage printables, etc. are great for digital journal tags. I have the French ephemera papers set that I used for this tutorial linked below.
- A Photoshop tag custom shape. You can design your own custom shape or use a free or purchased tag shape. The tag custom shape I’m using for this tutorial is the #12 tag from this gift tag and price label shapes set.
For the digital journal tags tutorial, I’m using a set of vintage French ephemera papers from my personal vintage collection. I’m making this set of papers available to you below. This collection is intended for personal use and limited commercial use only. Commercial items must be small-scale production (5,000 items or less) and consist of original, finished, flat (i.e., not Photoshop or Adobe Illustrator files) content using the images. Thank you!
>> [Vintage French Ephemera Papers Set] <<
I have step-by-step directions for extracting a ZIP folder in Google Drive in my free vintage dictionary pages post. This link takes you right to the directions you need.
How to make digital journal tags in Photoshop
Please note: I used the most current version of Photoshop at the time of writing this post, which is 21.2.4. Depending on what version of Photoshop you’re using, your screen/controls may look a little different. If you ever have any questions about any step of this tutorial, don’t hesitate to ask.
Making the journal tag
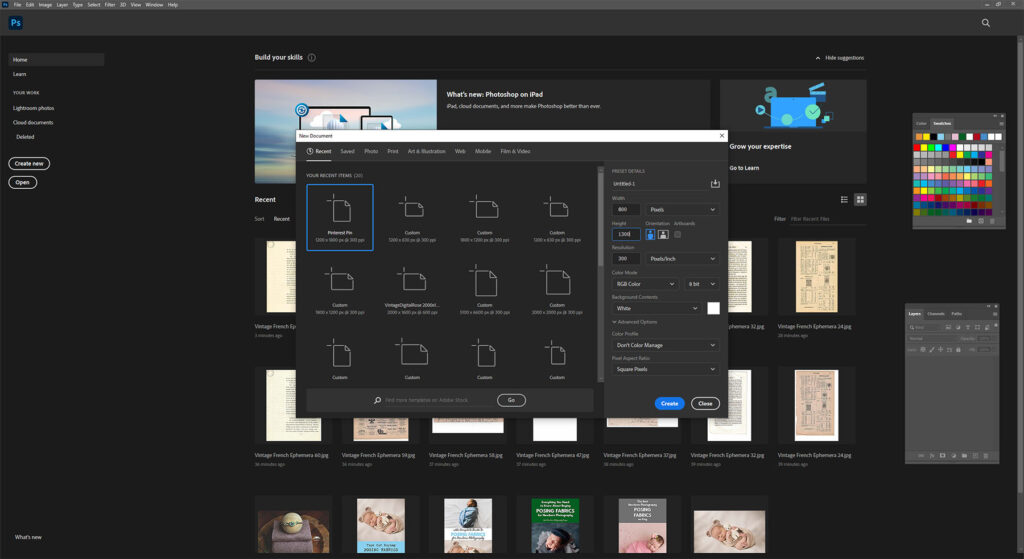
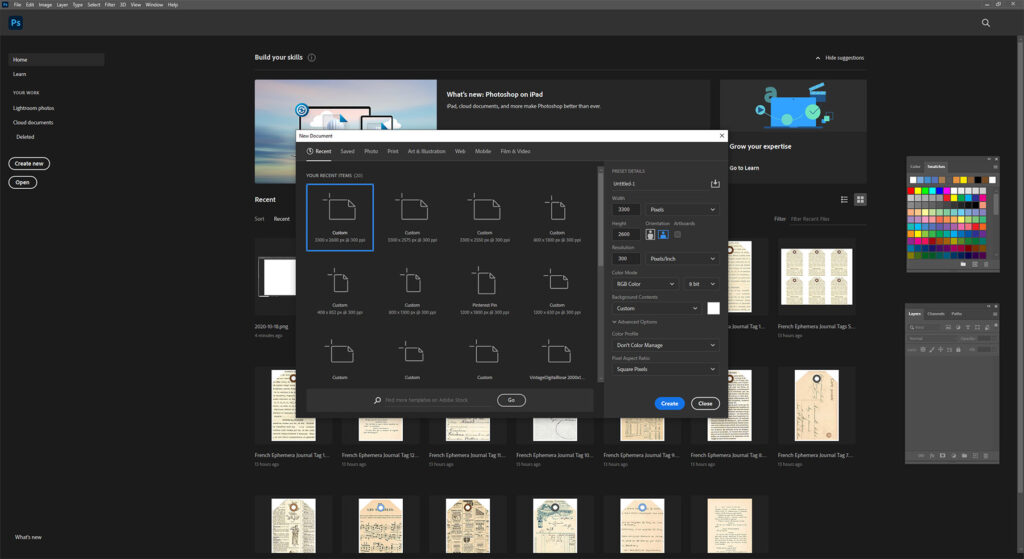
Create a new document in Photoshop, measuring 800 px width by 1300 px height. I always set the resolution at 300 pixels/inch to ensure high quality. When you have your width, height, and resolution set, press Create.
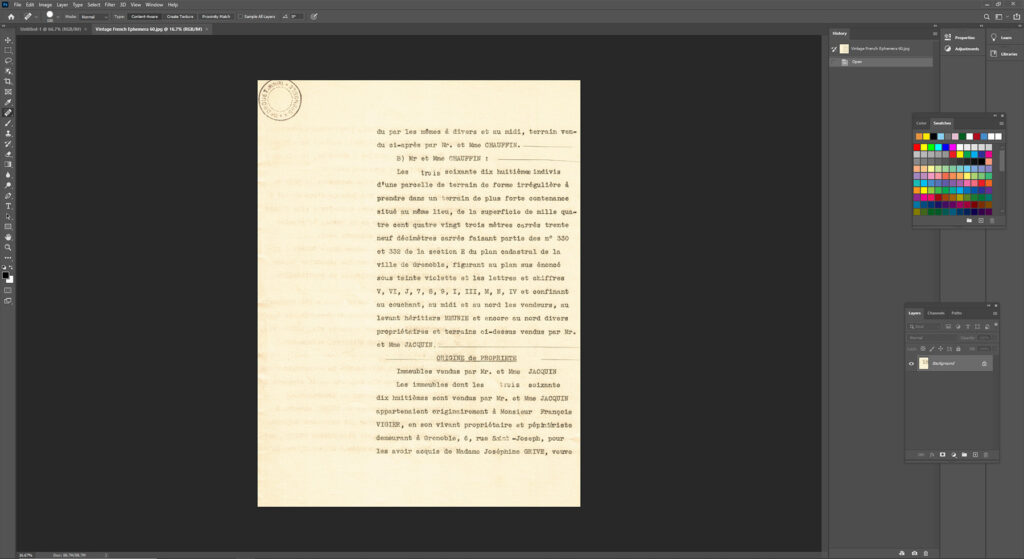
Open the image file you’d like to use for your tag.
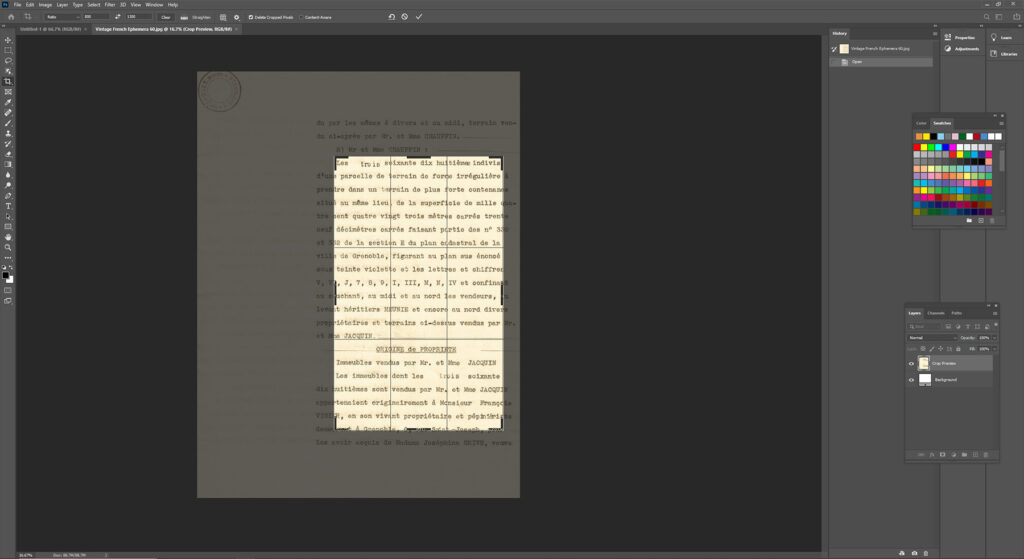
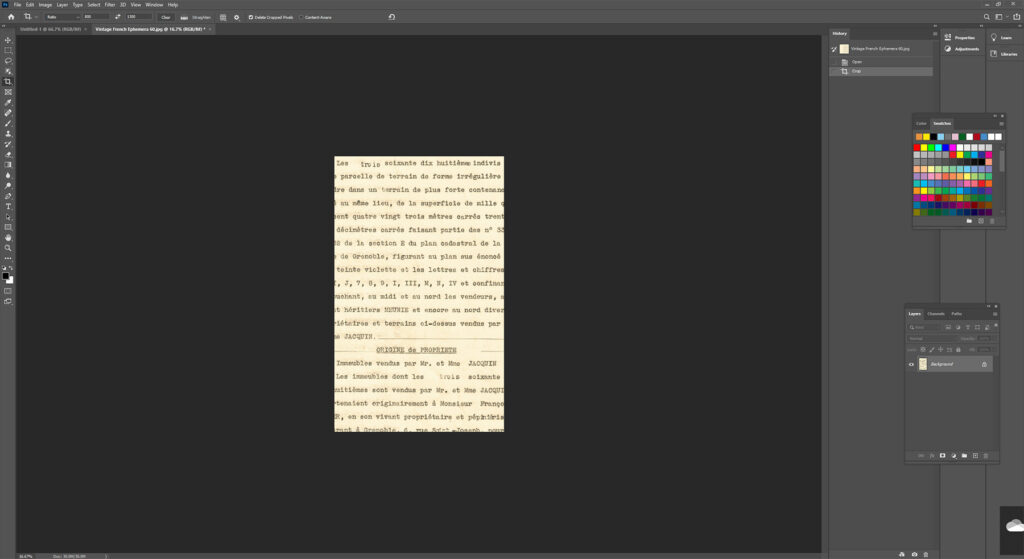
Set your crop ratio to 800 x 1300. Crop a section of the image.
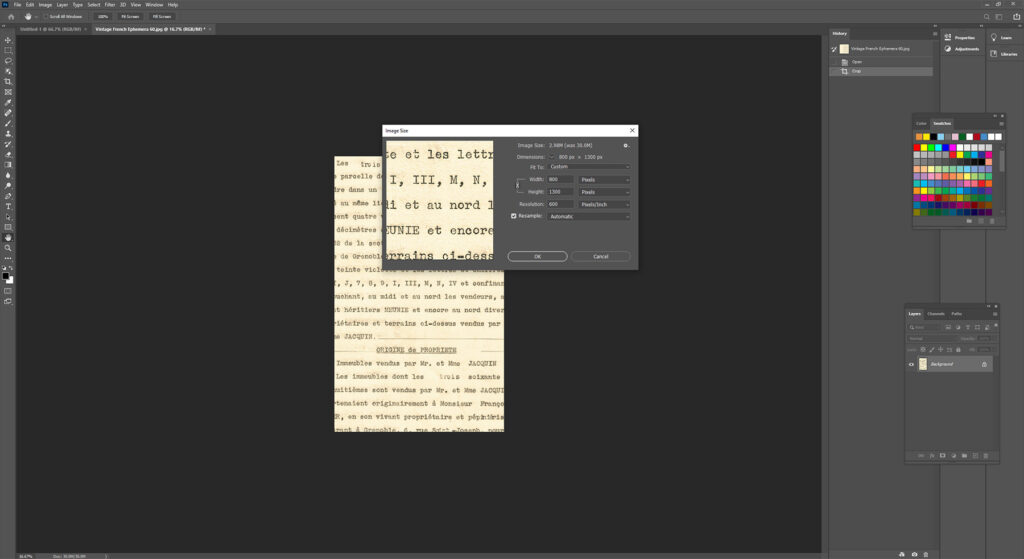
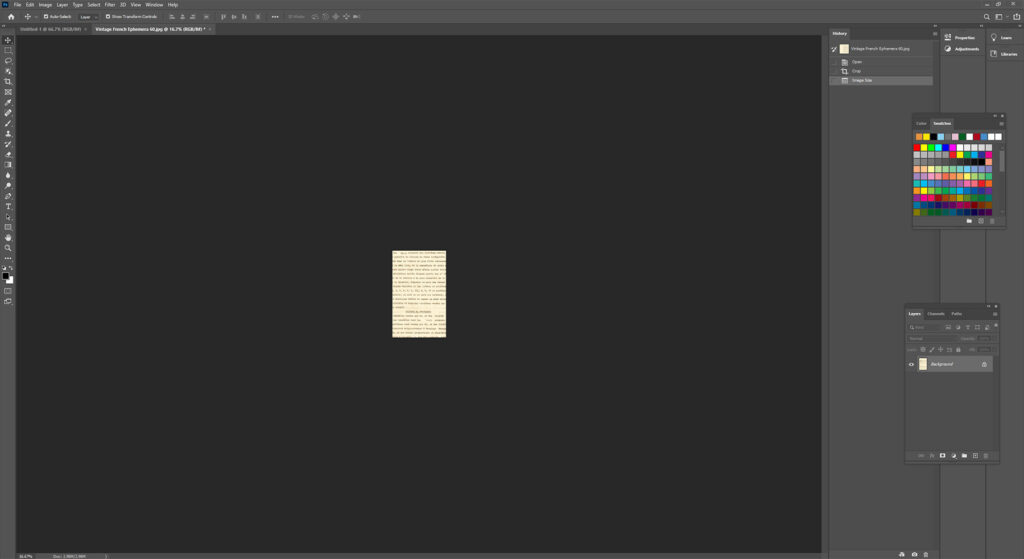
Go to Image > Image Size and resize the cropped portion to 800 x 1300. After I’ve resized the image, I zoom in (View > Zoom In In or Ctrl + +) a couple of times, so it isn’t so small.

Use Ctrl + A (select all) and then Ctrl + C (copy) to select and copy the image.

Use Ctrl + P (paste) to paste the image into your new document.

Select the Custom Shape Tool. If the tag shape isn’t already open, open this shape.
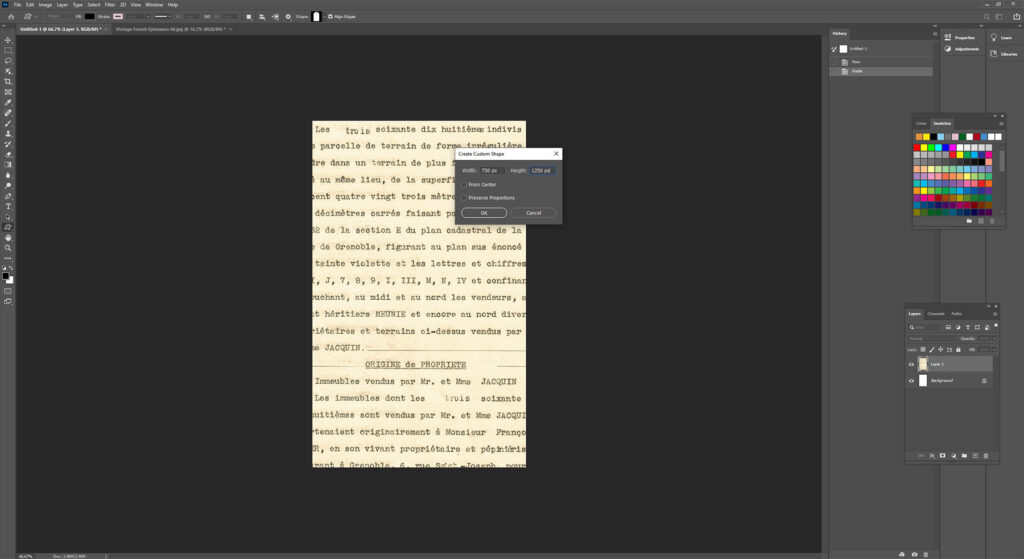
Click anywhere on the document. In the Create Custom Shape box that pops up, enter 750 px for the width and 1250 px for the height. Click OK.
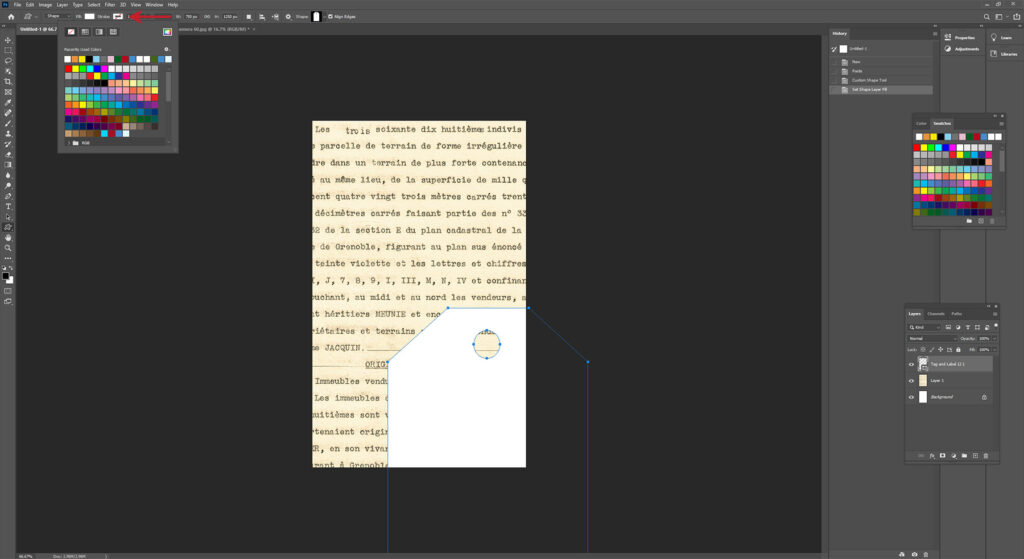
Set the Fill to white and the Stroke to none.
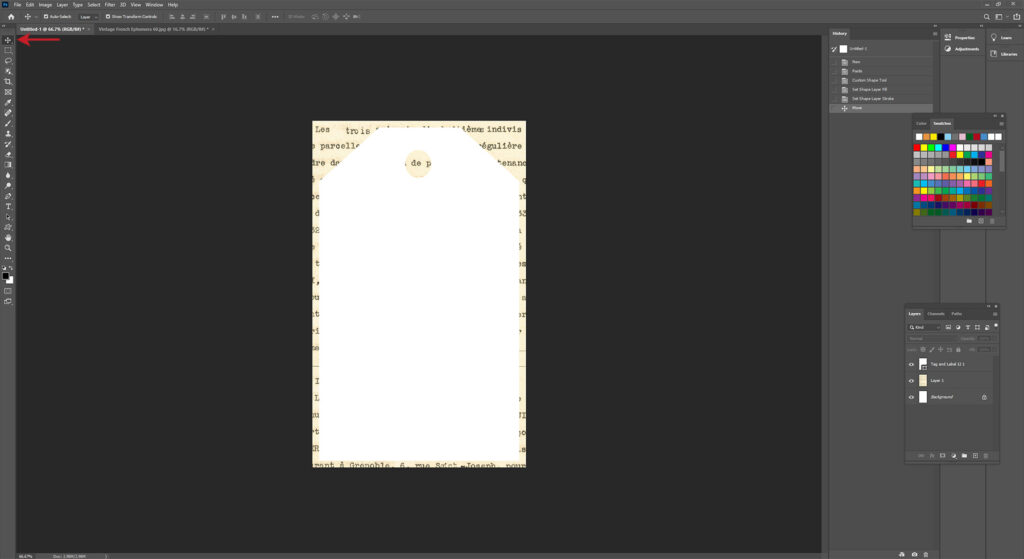
Select the Move tool. Move the tag custom shape to the center of the document.

In the Layers panel, drag Layer 1 to be the top layer.
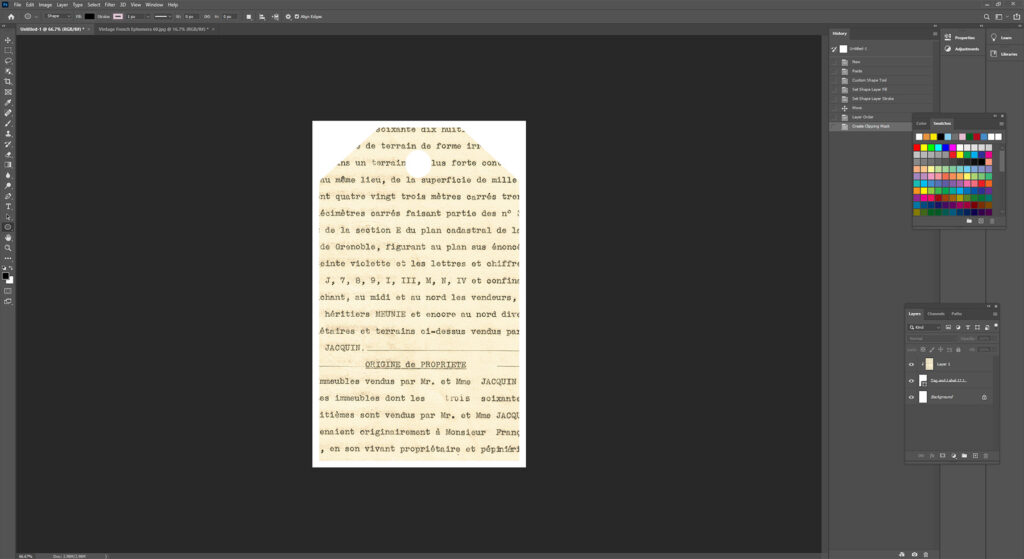
Make sure that Layer 1 is selected. Use Ctrl + Alt + G to create a clipping mask. You can also access this function under Layer > Create Clipping Mask.
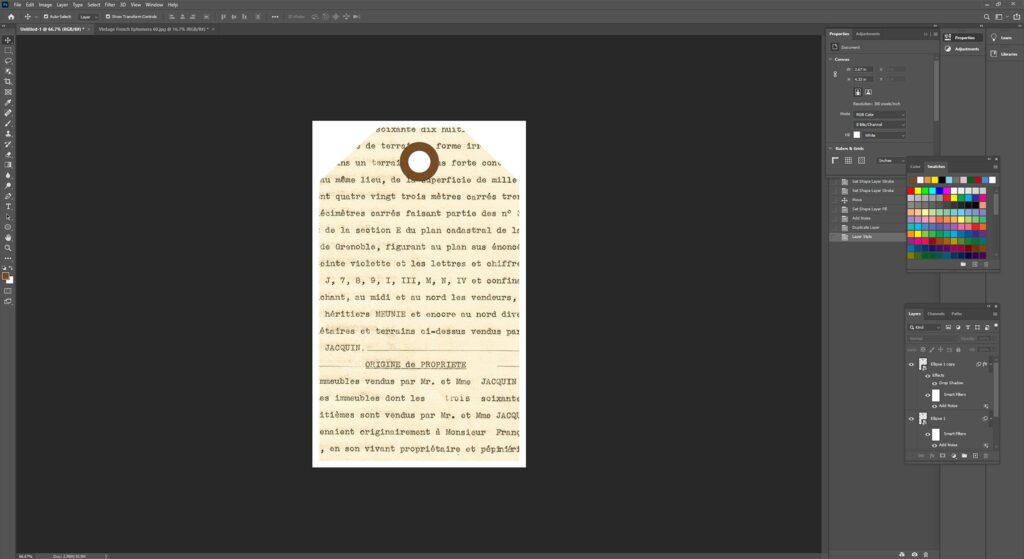
Adding a circle around the hole in the tag
If you’d like to add a circle around the hole in the tag, add that circle now. If you don’t want to add a circle, skip ahead to the “Making the background transparent” section.

Select the Ellipse Tool.
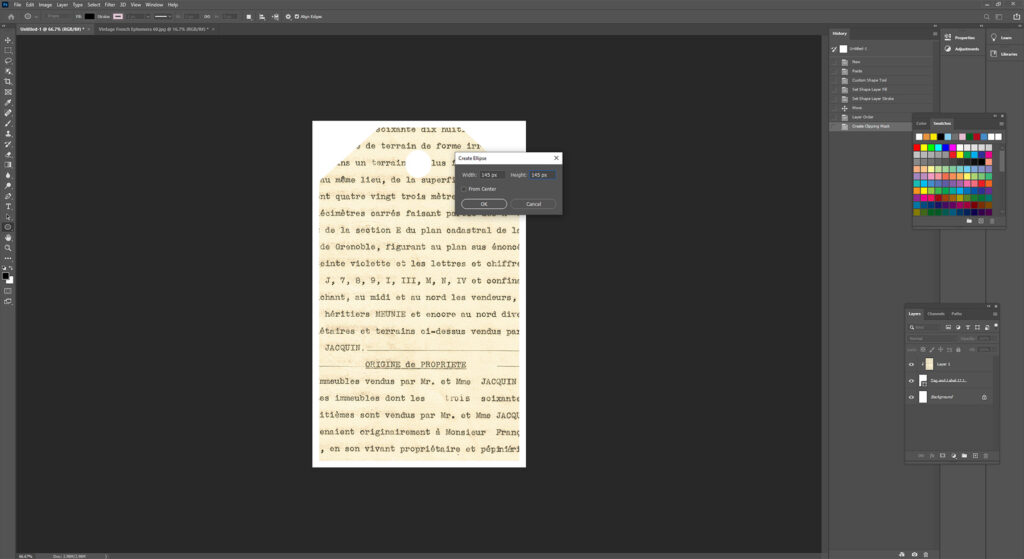

Click anywhere on the document. In the Create Ellipse box that pops up, enter 145 px for both the width and the height. Click OK.

Set the Fill to none and the Stroke to the color of your choosing (I’m using #754c24) and 30 px.

Select the Move tool. Move the circle over the tag’s hole.
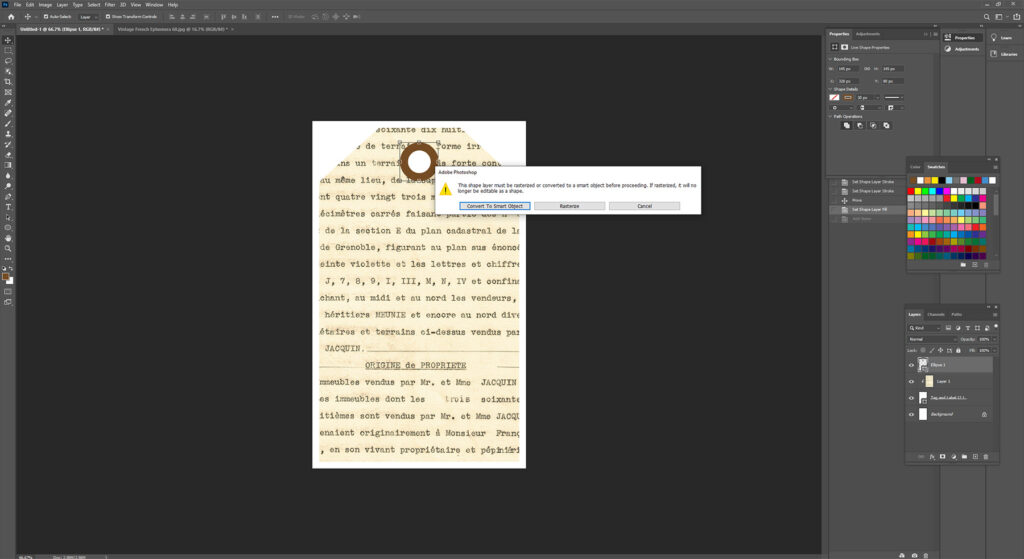
Go to Filter > Noise > Add noise… In the box that pops up, choose Convert to Smart Object.
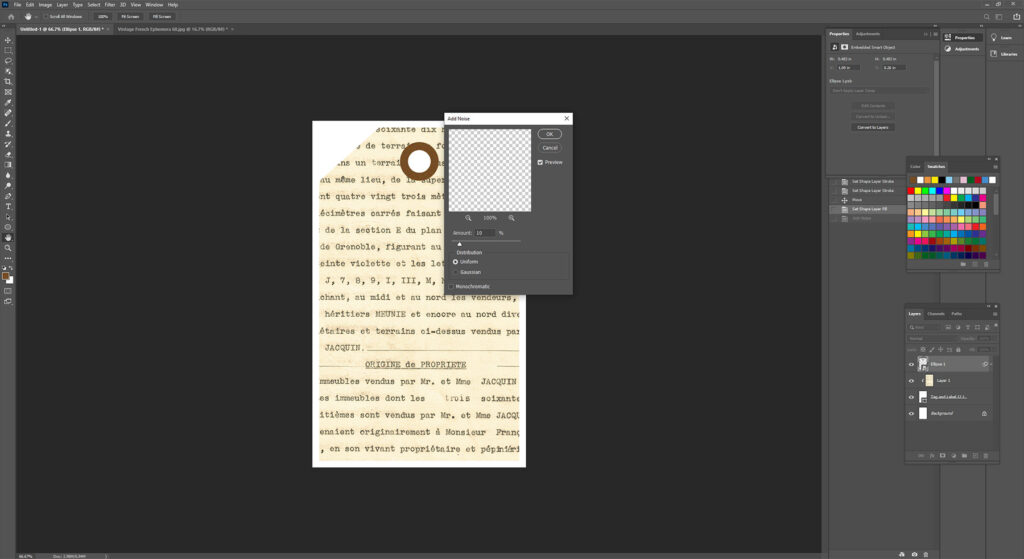

Enter 10%. Click OK.
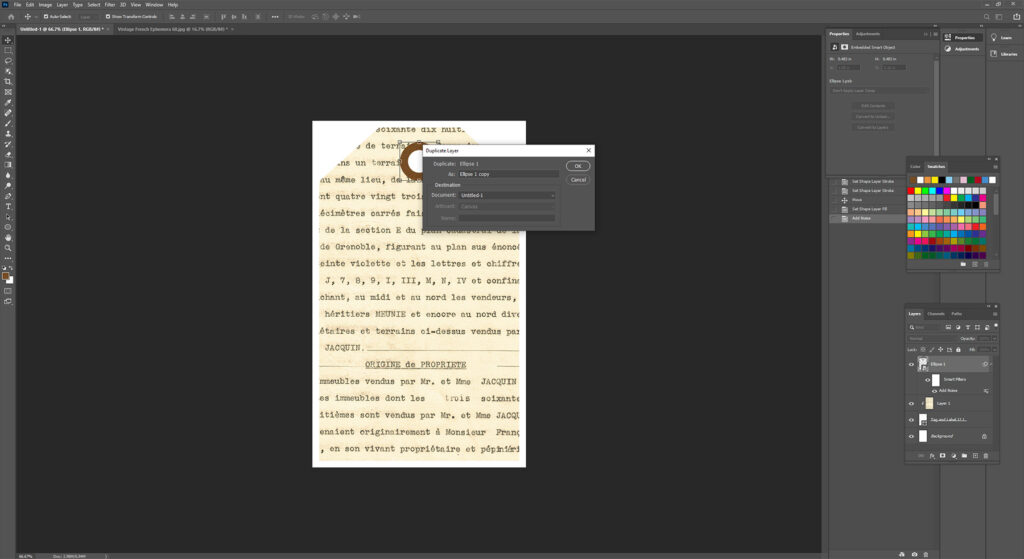
Go to Layer > Duplicate Layer. Click OK.
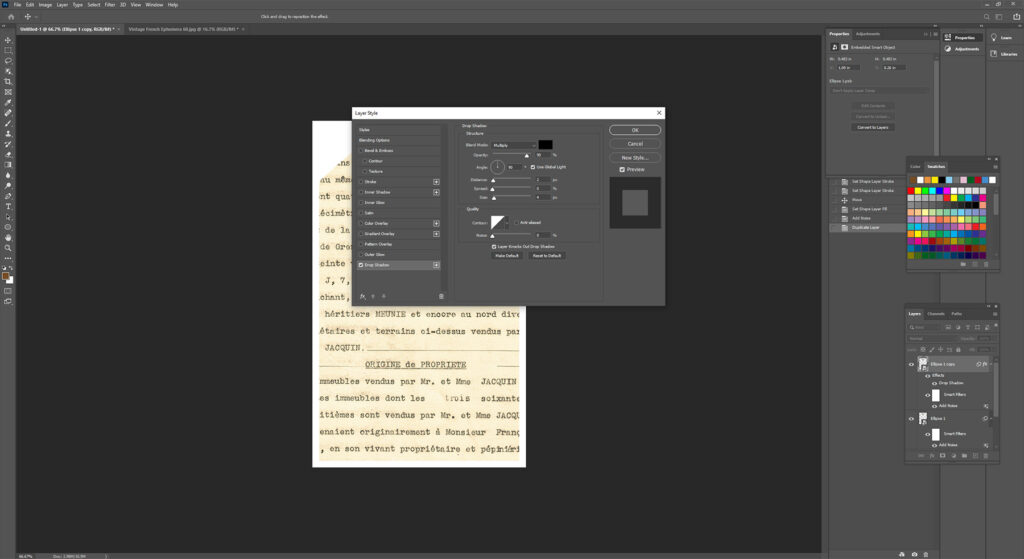
Go to Layer > Layer Style > Drop Shadow…
Set the Opacity to 90%, the Angle to 90 degrees, the Distance to 2, and the Size to 4. Click OK.
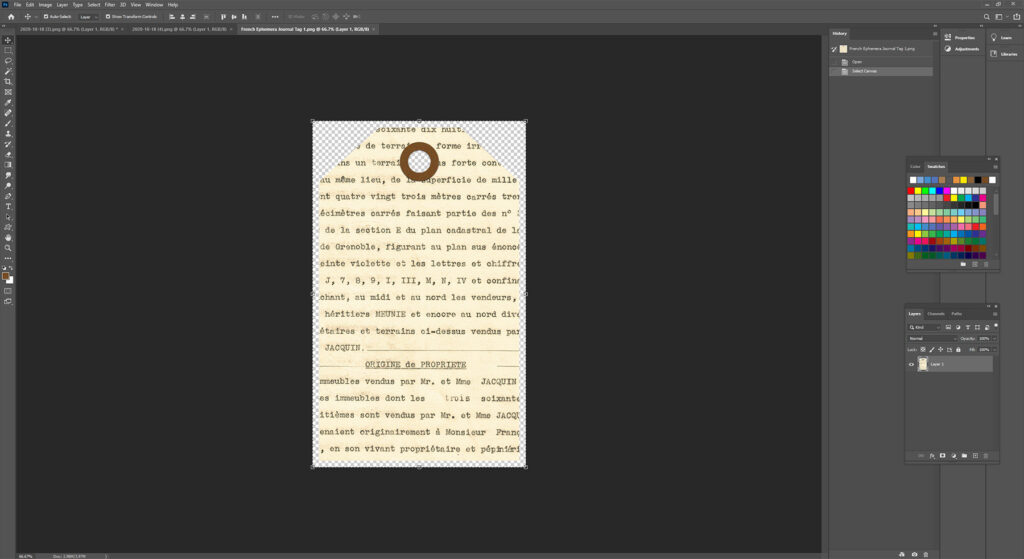
Making the background transparent

Select the Background Layer.
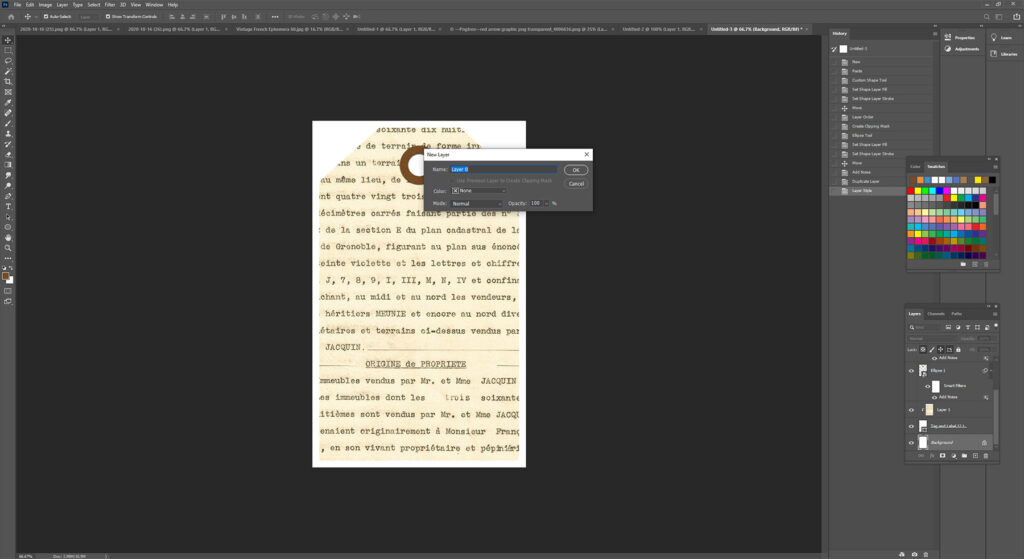
Go to Layer > New > Layer From Background… Click OK.
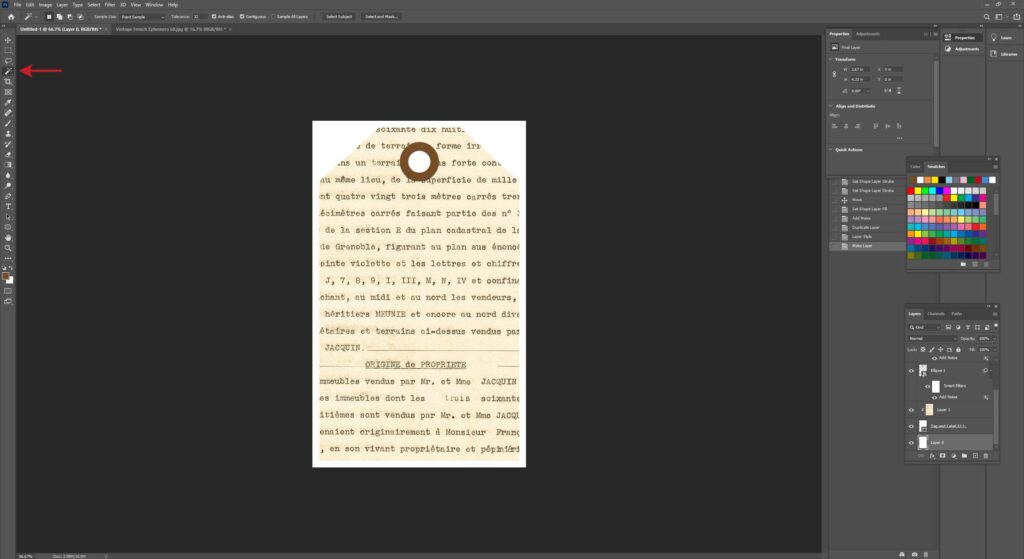
Select the Magic Wand Tool.

Click anywhere on the white part of the document. Hit the Delete button.
Save your journal tag as a PNG file to maintain the transparent background. Go to File > Save As… and choose PNG before naming and saving your new tag.
Variations
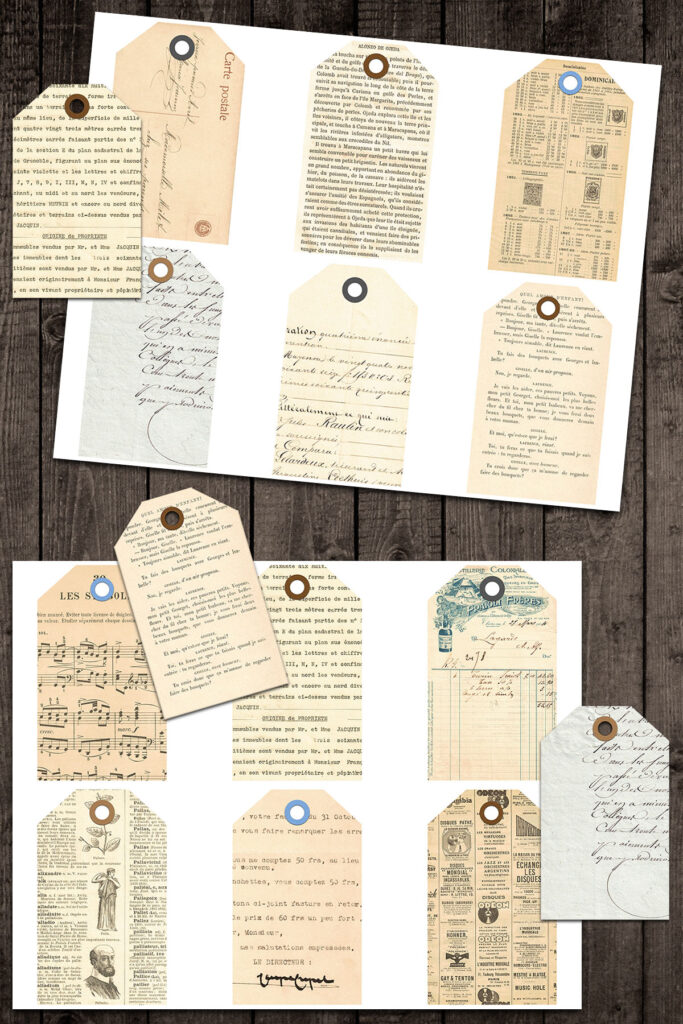
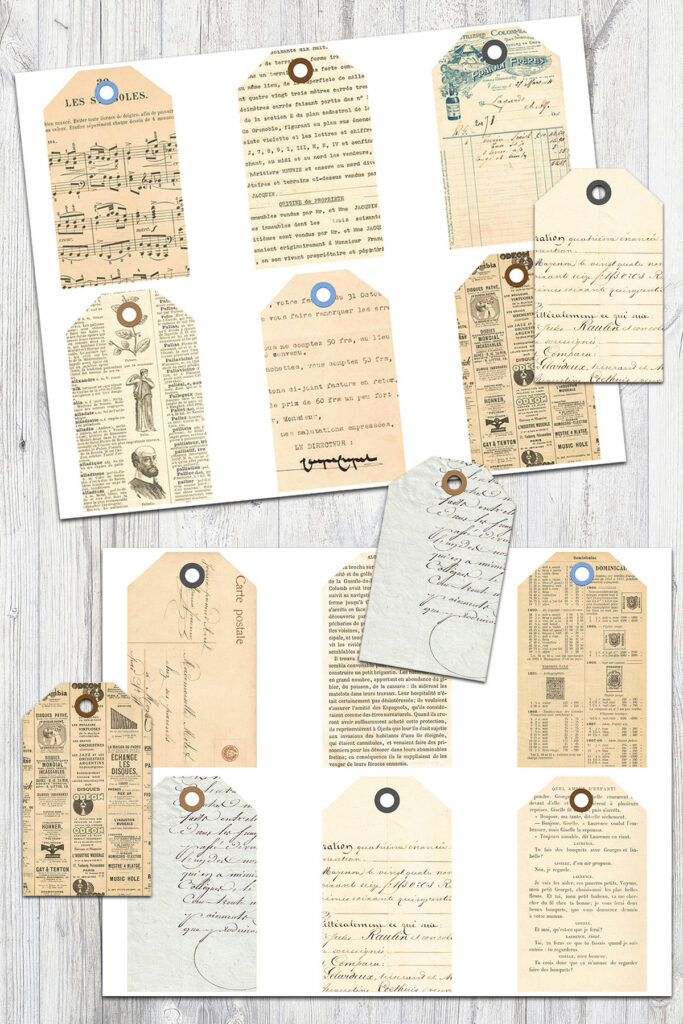
There are endless ways that you can customize digital journal tags with different papers, layers, fonts, circle sizes/colors, etc. I’m sharing just a couple of ways that I created variations on my French ephemera journal tags.
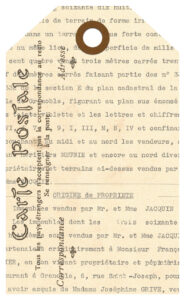
The first variation I made has a Carte Postale postcard overlay.

The second variation I made has “je t’aime” in a typewriter-style font with a little distressing.
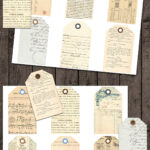
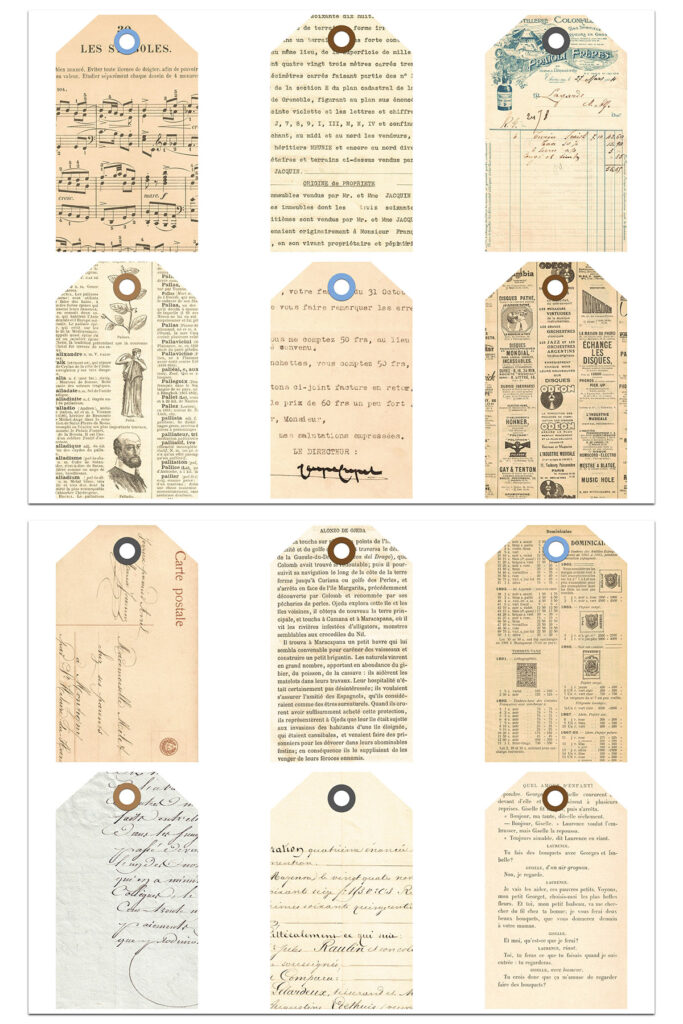
Once you’re comfortable with the process of making journal tags in Photoshop, you can tweak the sizing of both the tag and the circle any way that you like. As you can see in the photos of my full set of French ephemera tags, I used a few different colors as well as slightly different sizing for some of the circles.
8.5×11 journal tag pages for easy printing
To make an 8.5″ x 11″ page with your journal tags for easy printing, create a new document in Photoshop, measuring 3300 px width by 2600 px height. I set the resolution at 300 pixels/inch. When you have your width, height, and resolution set, press Create.
Open your journal tag. Use Ctrl + A (select all) and then Ctrl + C (copy) to select and copy the image.
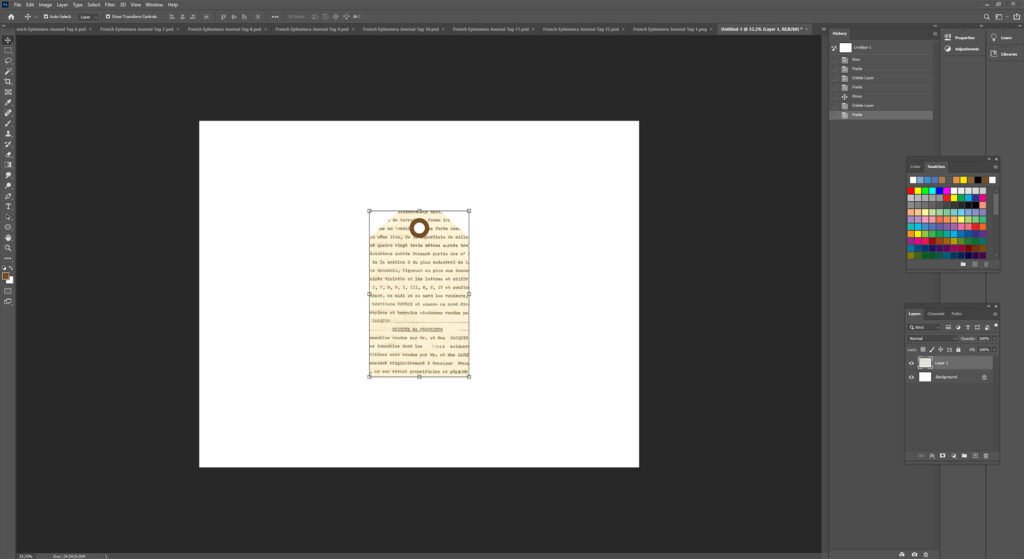
Use Ctrl + P (paste) to paste the image into your new document.
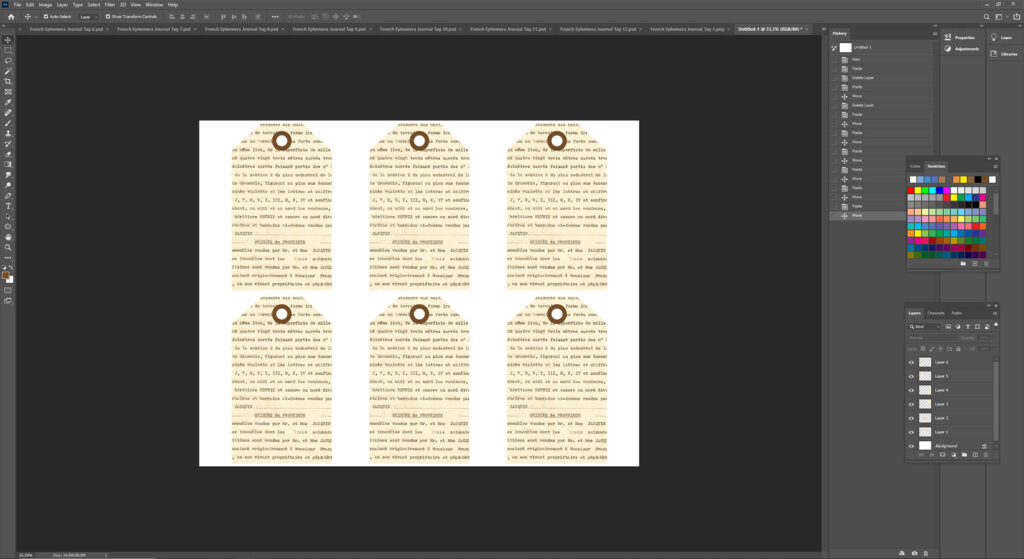
Paste the tag into the document five more times. Arrange the tags the way you would like on the page, leaving room in between each tag, so it will be easy to cut them apart once they’re printed.
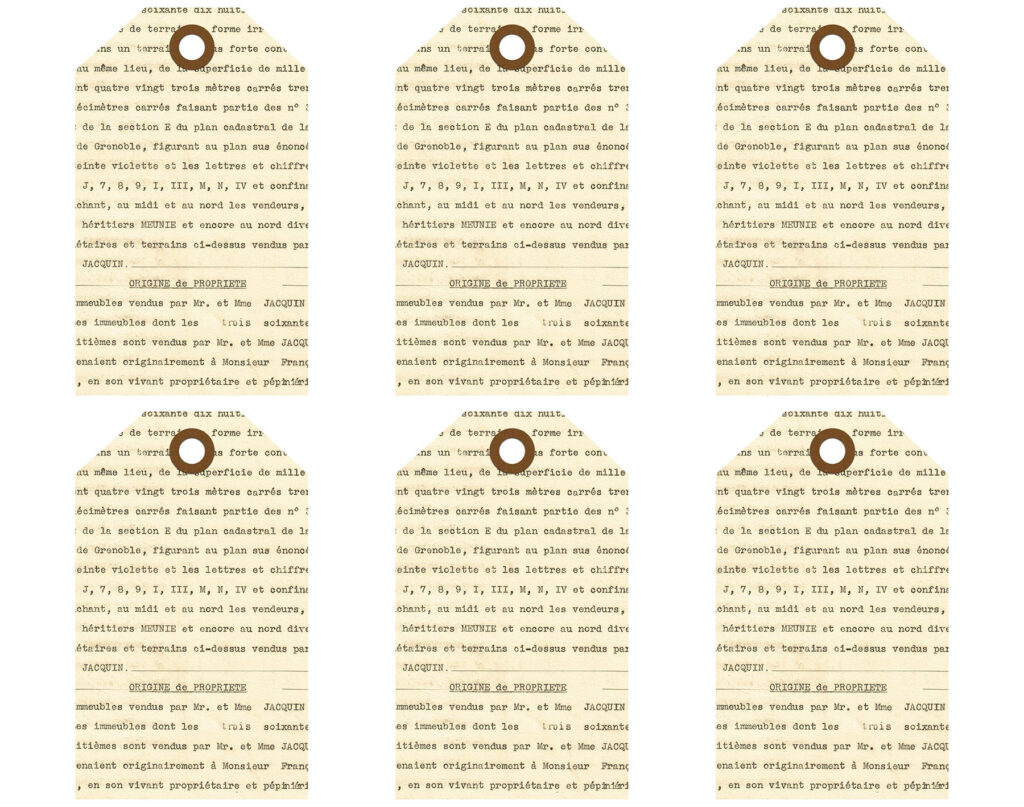
When the page looks the way you would like it, save it as a JPG file (File > Save As…, choose JPG from the drop down menu). I always save my 8.5 x 11 pages around 3.0 MB in size.
What type of paper is best for printing journal tags?
The vast majority of the time I’m printing journal tags or other paper components that I’ll use as part of larger projects, I use white card stock. It’s inexpensive, durable, and extremely versatile. When journal tags are one component for a project, it’s not important that they have a really high quality finish. Additionally, if you layer them with other papers, Mod Podge, etc., the finish is definitely not a high priority.
If you want a higher quality option for journal tags, I recommend presentation paper or photo paper, both of which are available in matte and glossy finishes.
[Disclaimer: There are a few affiliate links in this post. Thanks for your support!]
Did you use this tutorial to make digital journal tags in Photoshop?
I want to see them! Tag your images #RoseClearfield on Instagram or Twitter or post a photo to my Facebook page.
Pin this post for easy access to the digital journal tags Photoshop tutorial later!
I have lots of free vintage printables that work perfectly for digital journal tags! Here are just a few of my most popular printable vintage sets.


Visit the free printables section of the blog for even more options.