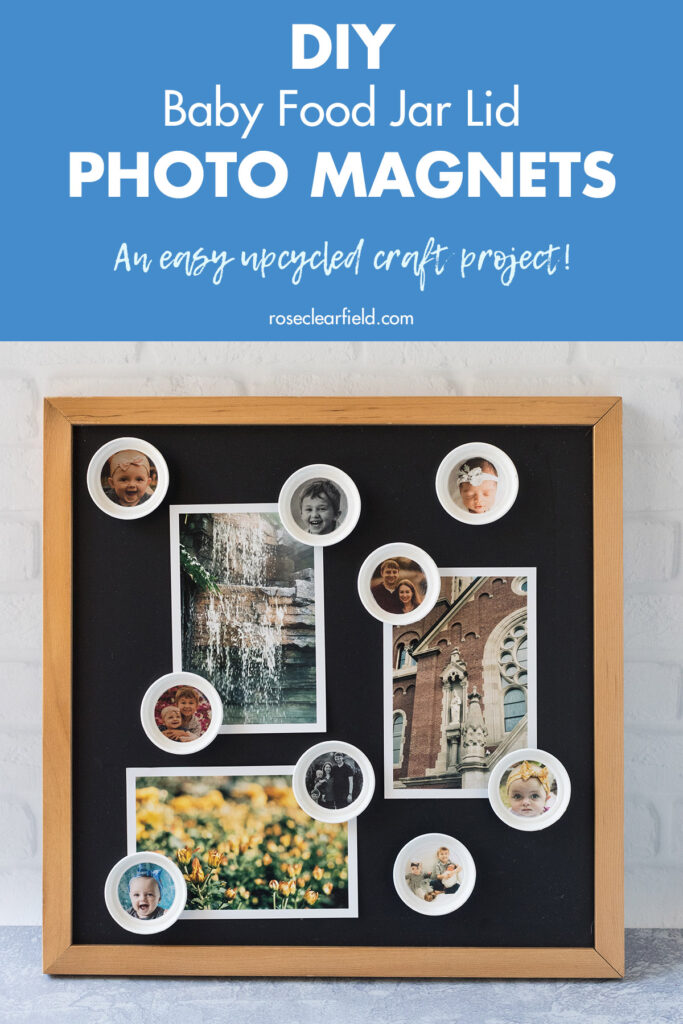
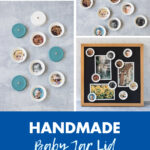
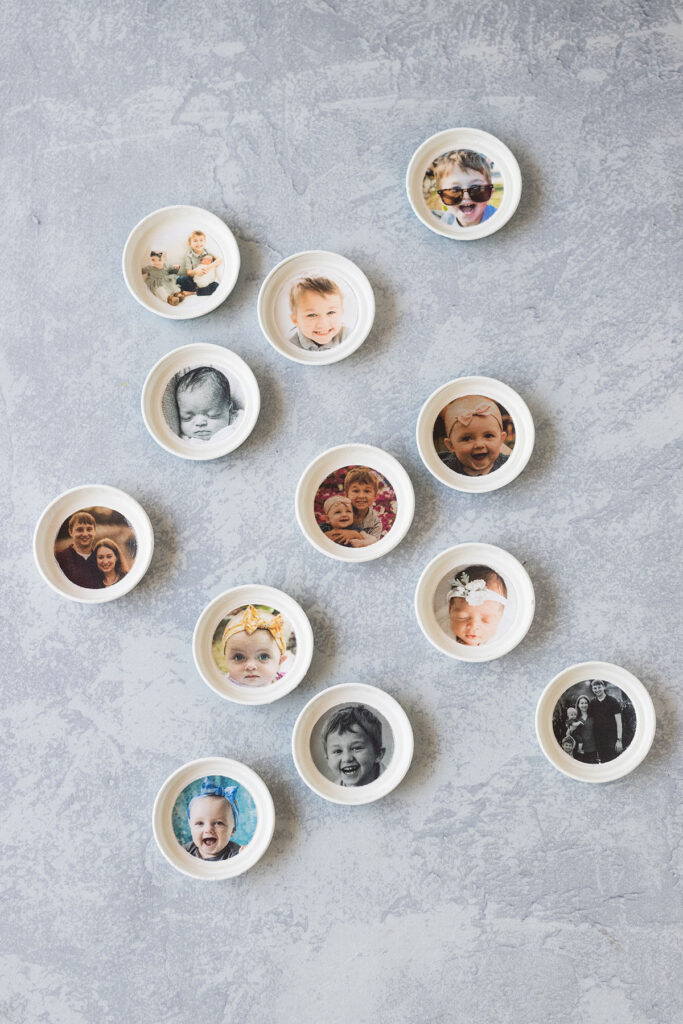
DIY baby food jar lid photo magnets are an easy upcycled craft that makes a great gift!
Baby food jar lids are a versatile material for all sorts of craft projects. With paint and a few other inexpensive craft materials, it’s easy to transform baby jar lids. Photo magnets are one of many projects you can make with them.
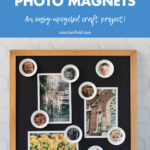
Baby jar lid photo magnets make beautiful home decor. They’re also the perfect craft to make as gifts for family and friends. They’re ideal for Christmas, Mother’s Day, Father’s Day, birthdays, and much more.
Supplies for baby jar lid photo magnets
- Baby jar lids, as many as you’d like to make
- White spray paint, glossy or matte finish (or another neutral color)
- Acrylic paint, glossy or matte finish (any color that you like)
- Photos, one for each jar lid
- White cardstock
- Scissors
- 1.5″ circle paper punch
- Acrylic spray, glossy or matte finish
- Mod Podge, glossy or matte finish
- 1″ foam brushes, at least one each for acrylic paint and Mod Podge
- Neodymium magnets, one for each lid
- E-6000 glue
- E-6000 glue tip (optional)
Instructions for baby jar lid photo magnets
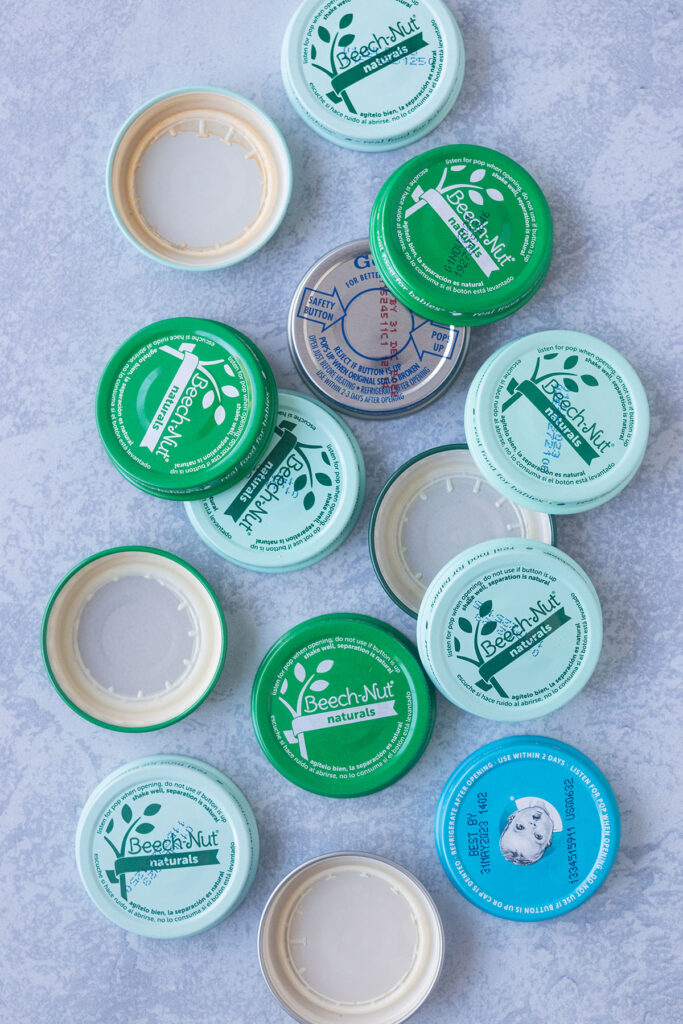
Wash and dry the baby food jar lids. Allow them to dry completely.
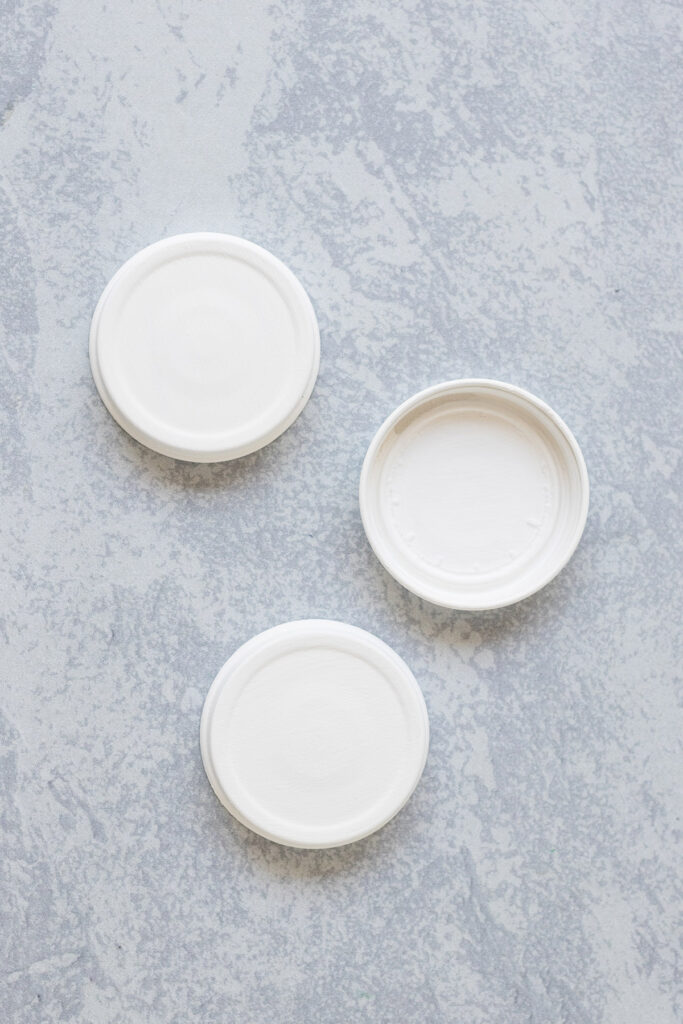
In a well-ventilated area, spread out old newspaper or another material to protect the surface underneath it. Lay out the baby jar lids on the newspaper. Give one side of the jar lids a coat of white spray paint. Allow them to dry completely. Repeat with a second coat of spray paint.
Flip over the jar lids. Give the second side of the jar lids a coat of white spray paint. Allow them to dry completely. Repeat with a second coat of spray paint.
Please note: I used white for both my spray paint base coat and my acrylic paint top coats on most of my jar lids. I used blue for a few of the acrylic top coats. I recommend white or another neutral for the spray paint base coat. You can use any color that you like for the acrylic paint top coats.
Using a foam brush, give one side of the jar lids a coat of acrylic paint. Allow them to dry completely. Repeat with more coats of acrylic paint as needed until you’ve achieved your desired coverage.
Flip over the jar lids. Give the second side of the jar lids a coat of acrylic paint. Allow them to dry completely. Repeat with more coats of acrylic paint as needed until you’ve achieved your desired coverage.
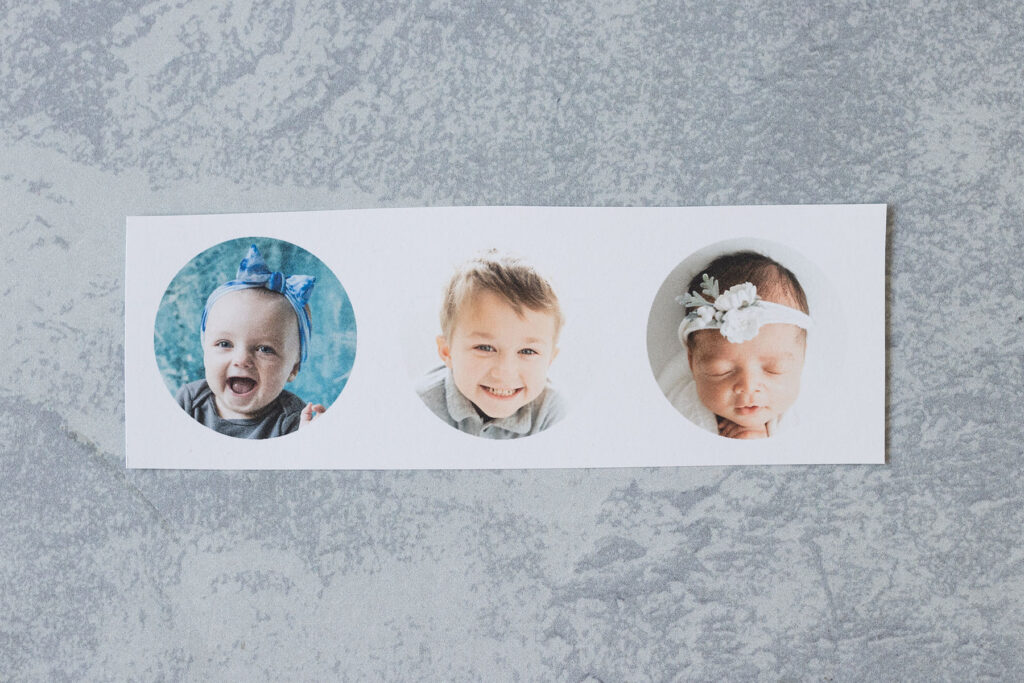
Collect the photos you’d like to use for your magnets. You can cut physical photos into 1.5″ circles using scissors or a circle punch or you can crop digital photos into circles and print them before cutting them into circles. I explain more about this process in the “How do I size and cut photos for baby lids?” section of the FAQ at the end of this post.
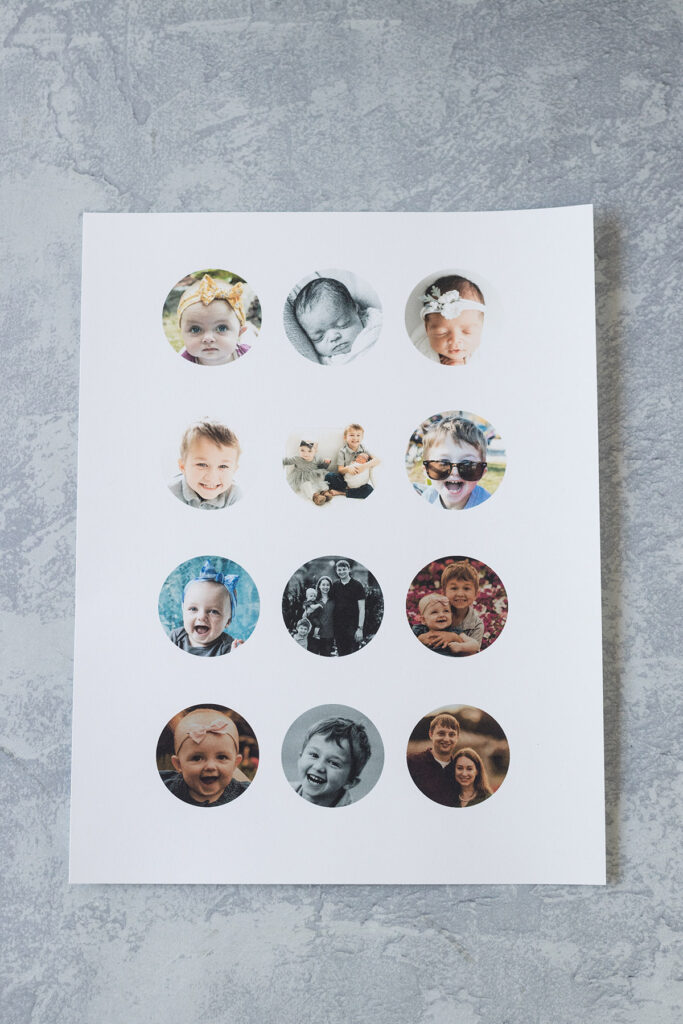
I opt to use digital photos. I crop them into circles in Photoshop. Then I resize the circles to 1.6″, which is ideal for cutting out with a 1.5″ circle paper punch without having any white borders. I create a full page of photo circles in Word for easy printing. I print the photos on white card stock.
If you use a laser printer, you can skip the acrylic spray step. If you use an inkjet printer, complete the following step to acrylic spray coat the photos.
Once you’ve printed your photo circles, in a well-ventilated area, give them a couple of coats of acrylic spray. Allow the photos to dry completely. For some reason, I find that photos bleed more easily than other inkjet-printed content. As such, I recommend repeating the acrylic spray process to give the photos extra protection.
Use scissors to cut the cardstock into strips, so you can get in close to cut out the circles. Depending on the exact circle punch you use, you may need to cut the paper down even more than is pictured above to get in close enough to use your punch.
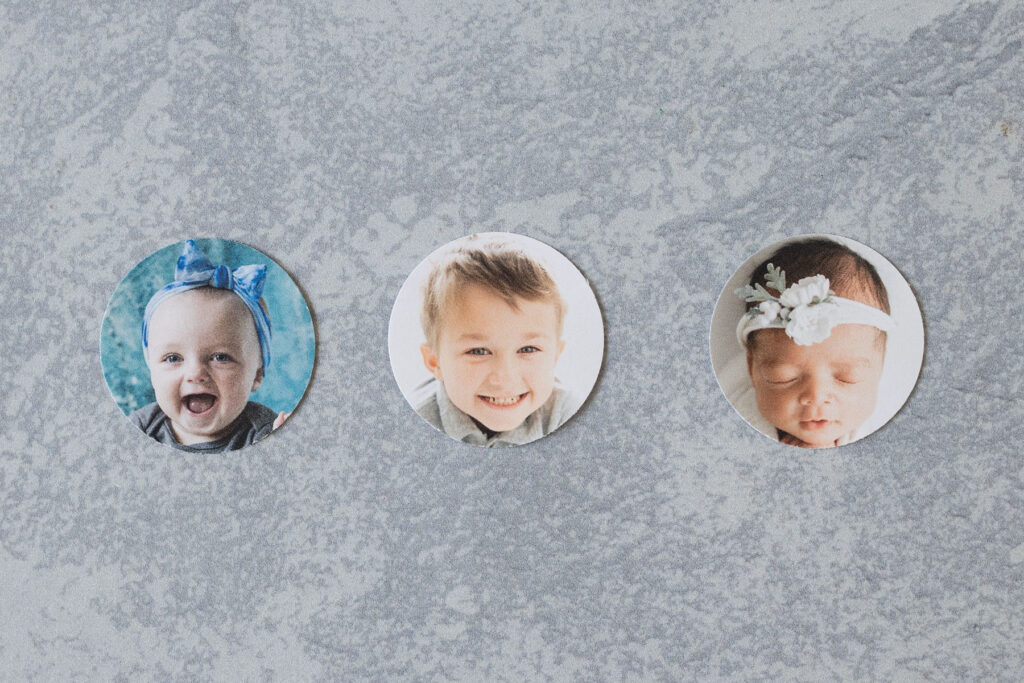
Using scissors or a circle punch, cut out each photo.
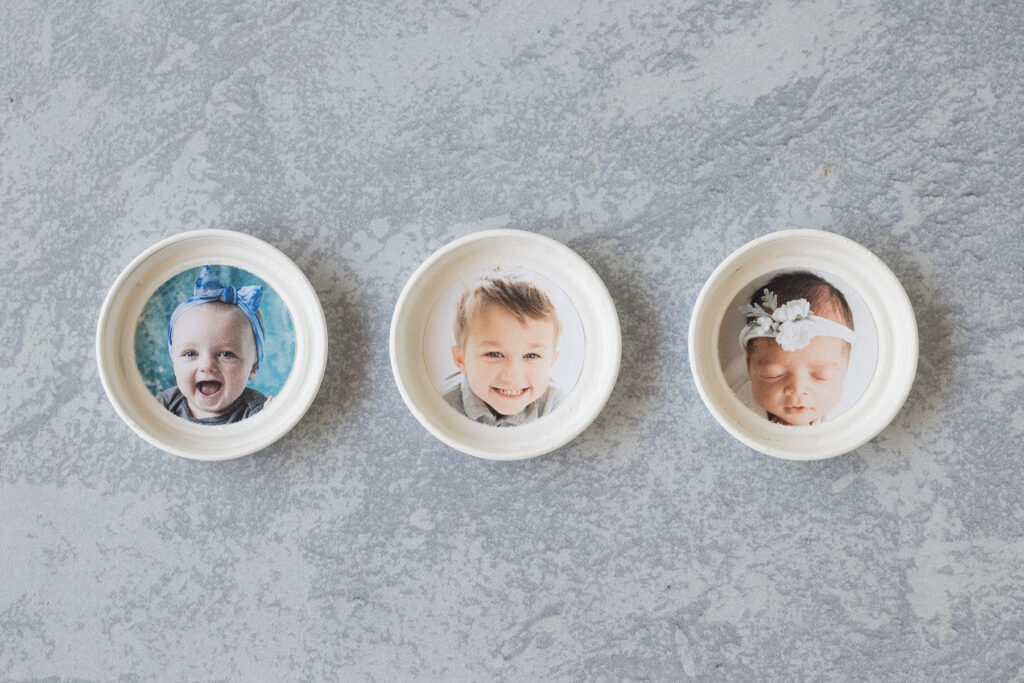
Using a foam brush, apply a thin coat of Mod Podge to the back of a photo. Smooth it into place on the inside of the jar lid. Repeat with each photo. Allow the photos to dry completely.
Using a foam brush, apply a thin coat of Mod Podge on the top of each photo to seal it in place. Take care to apply one thin coat of Mod Podge and no more to avoid having the ink bleed. Allow the photos to dry completely.
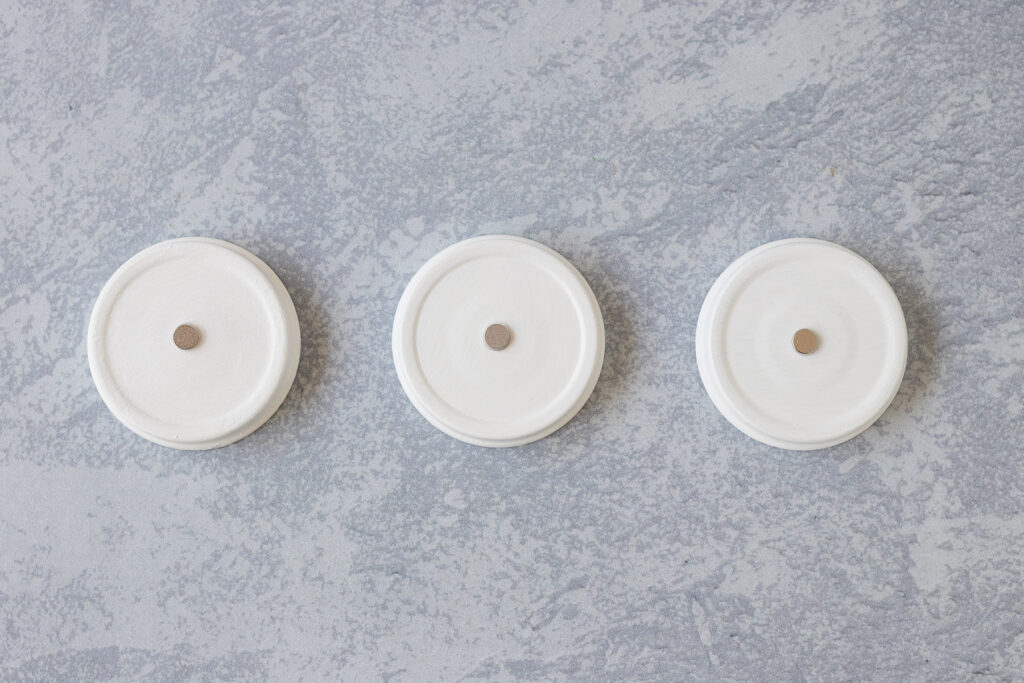
Using the E-6000 glue, attach one neodymium magnet to the back of each jar lid, right in the middle of the lid. Allow the glue to dry completely.
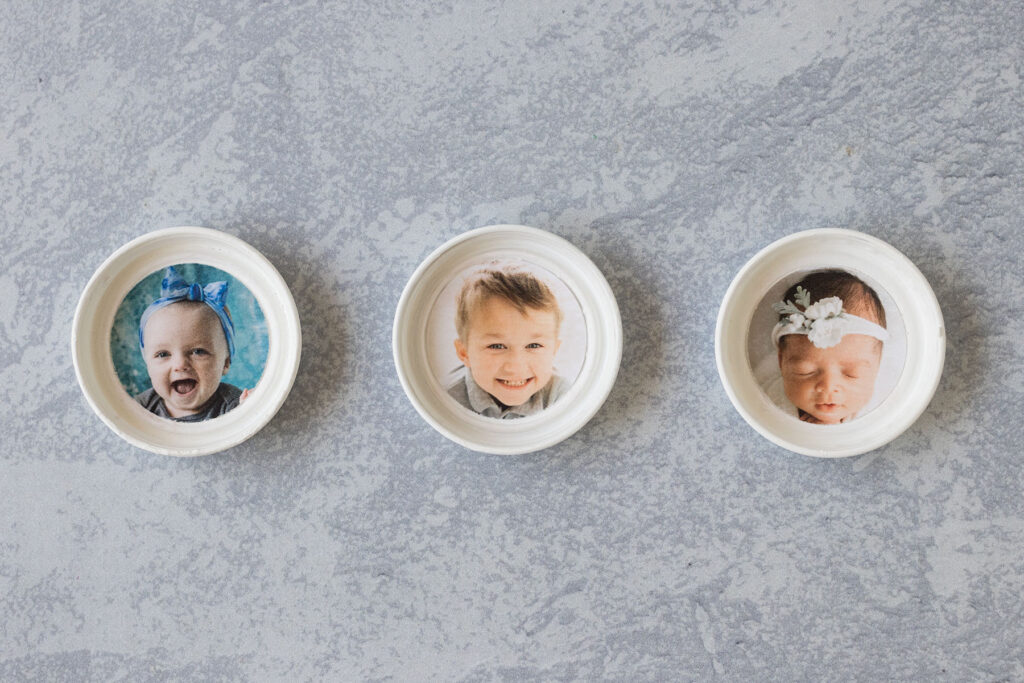
Apply a couple of final coats of acrylic spray to the finished magnets to seal the paint and photos.

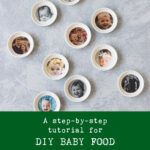
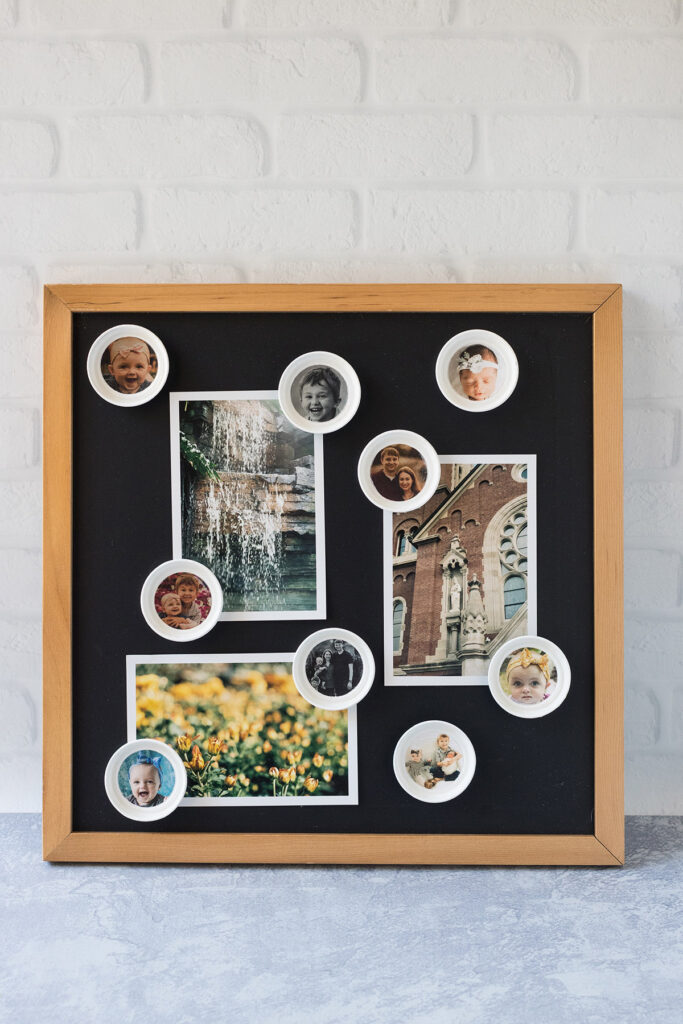
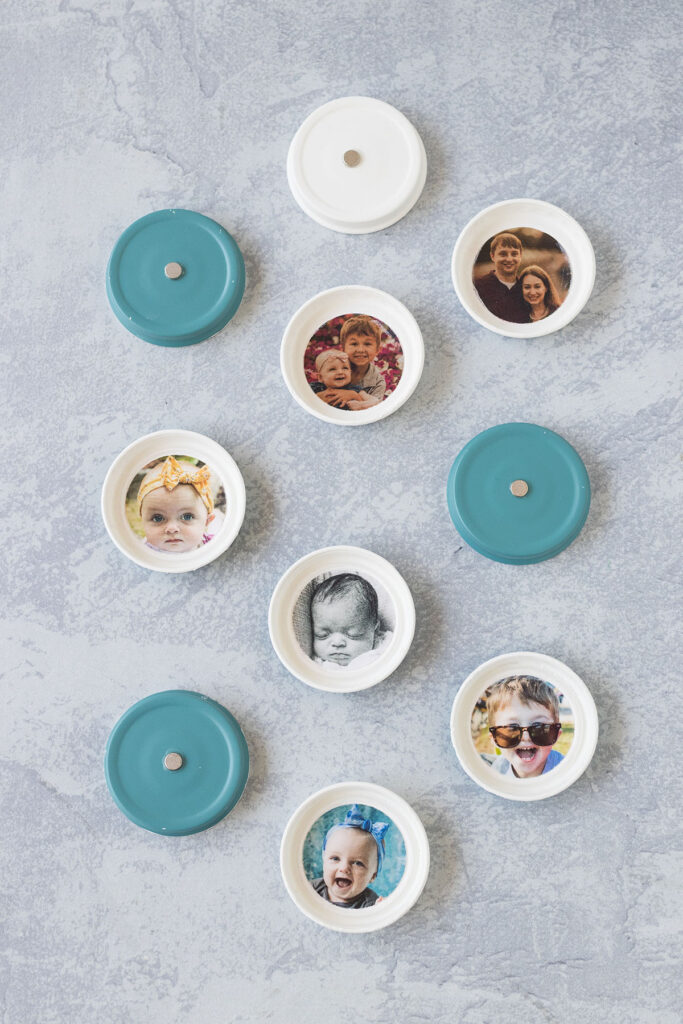
Your new baby food jar lid photo magnets are ready to display or to give as gifts!
How do I size and cut photos for baby lids?
I find it easiest to use digital photos and cut circles in Photoshop and then resize the circles to the lid dimensions. This process allows me to get the photos sized exactly the way I want. Learn how to crop a photo into a circle in Photoshop. You can also print photos and then cut out circles.
I resize my photo circles to 1.6″, which is ideal for cutting out with a 1.5″ circle paper punch without having any white borders. You can create a full page of photo circles in Photoshop or Word for easy printing.
Does this project work with other mediums besides photos?
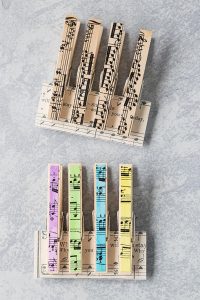
Yes, absolutely. The concept of creating magnets with baby food jar lids is so versatile. All of the options that I outline in my 14 ideas for DIY glass magnets work well for baby jar lid magnets. You can use scrapbook paper, vintage book pages, stamps, milk caps, and much more.
Does this project work with other types of jar lids?
You can use any type of jar lid to make magnets. Other jar lids that you would recycle, such as spaghetti sauce, are great options. You can also buy new mason jar lids. Keep in mind that you’ll need to adjust the size of your photos accordingly. Simply measure the inside circle of the lid to determine the appropriate size for your photos.
Do you have to use neodymium magnets?
I prefer to use neodymium magnets for DIY magnet projects because they’re so small and so strong. However, craft magnets do work, too.
[Disclaimer: There are a few affiliate links in this post. Thanks for your support!]
Did you make the DIY baby food jar lid photo magnets?
I want to see them! Tag your images #RoseClearfield on Instagram or Twitter or post a photo to my Facebook page.
Pin this post for easy access to the DIY baby food jar lid photo magnets tutorial later!