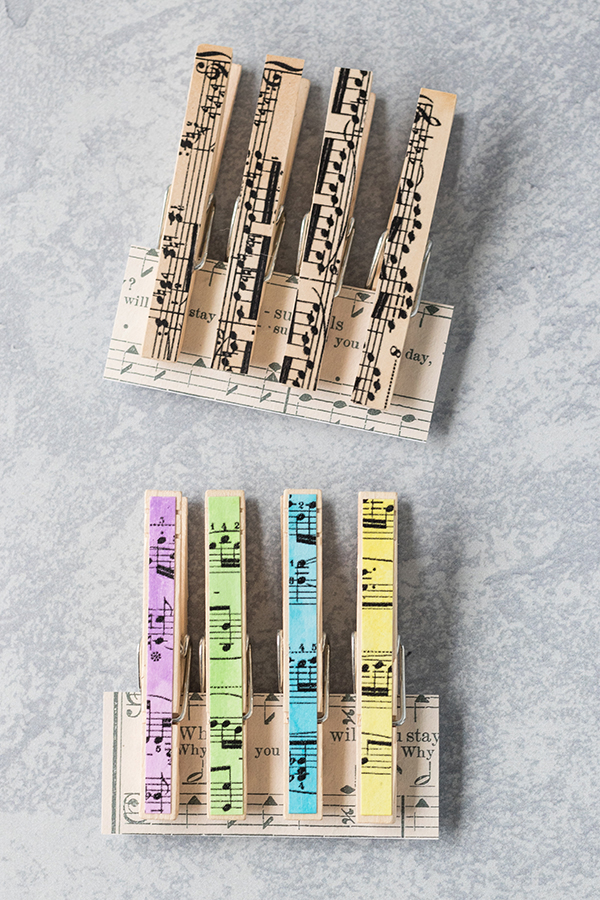
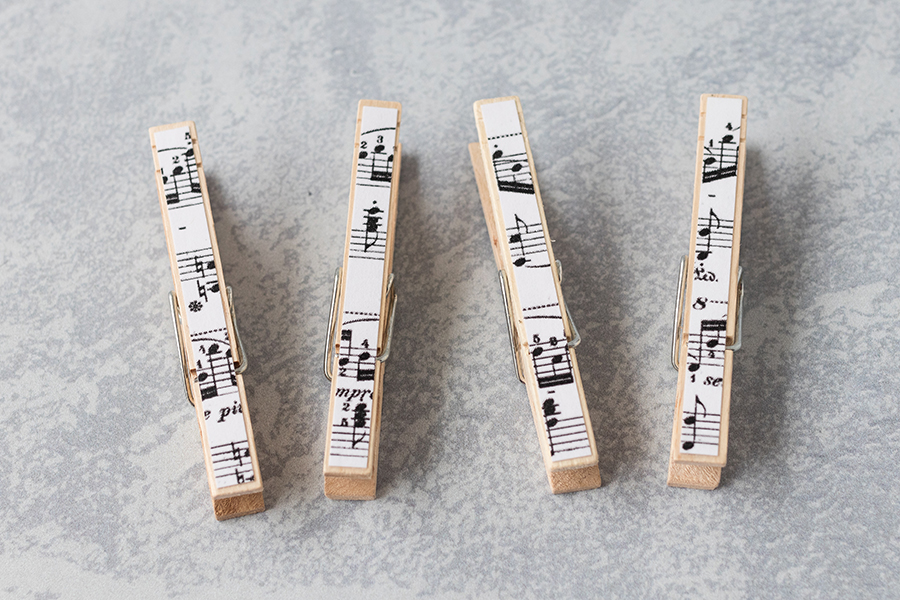
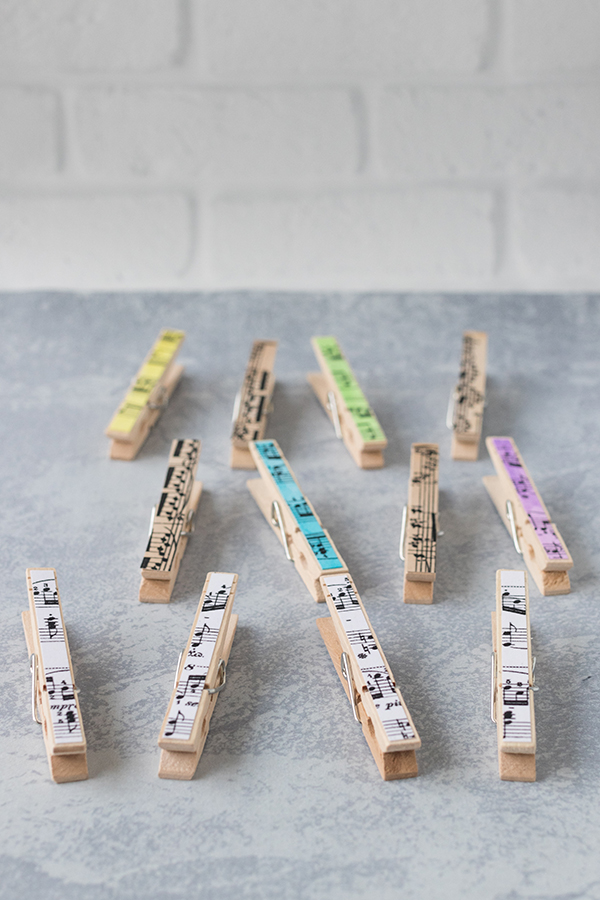
DIY sheet music clothespin magnets are a fun version of homemade clothespins.
I love using new and vintage sheet music to create a wide variety of crafts from greeting cards to home decor to Christmas ornaments and other holiday decorations. Decorated clothespins add a colorful touch to refrigerators, filing cabinets, and magnetic chalkboards and message boards. I get comments all the time that DIY sheet music clothespin magnets are a perfect gift idea for music teachers. They are ideal for teacher gifts, but honestly, I think they make neat presents for anyone who is passionate about music.
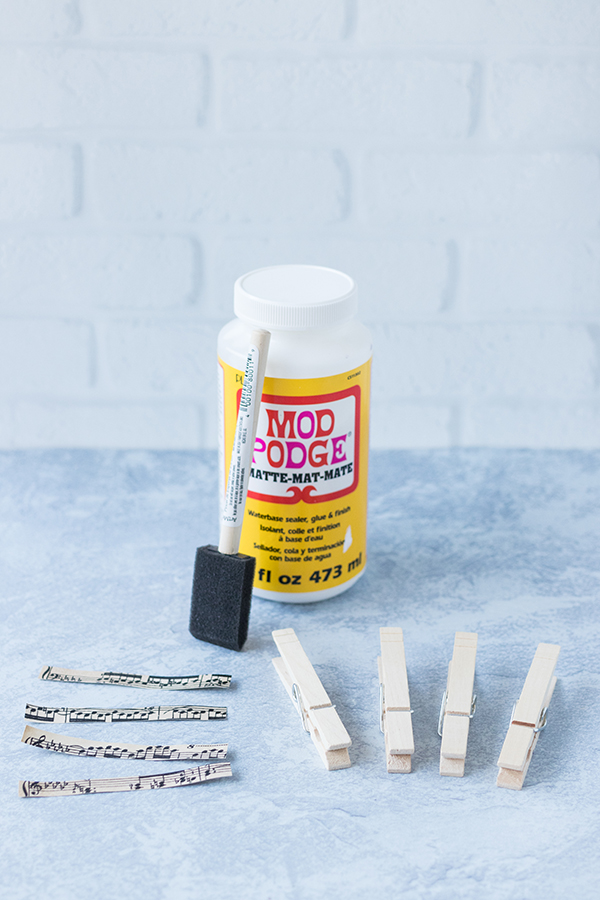
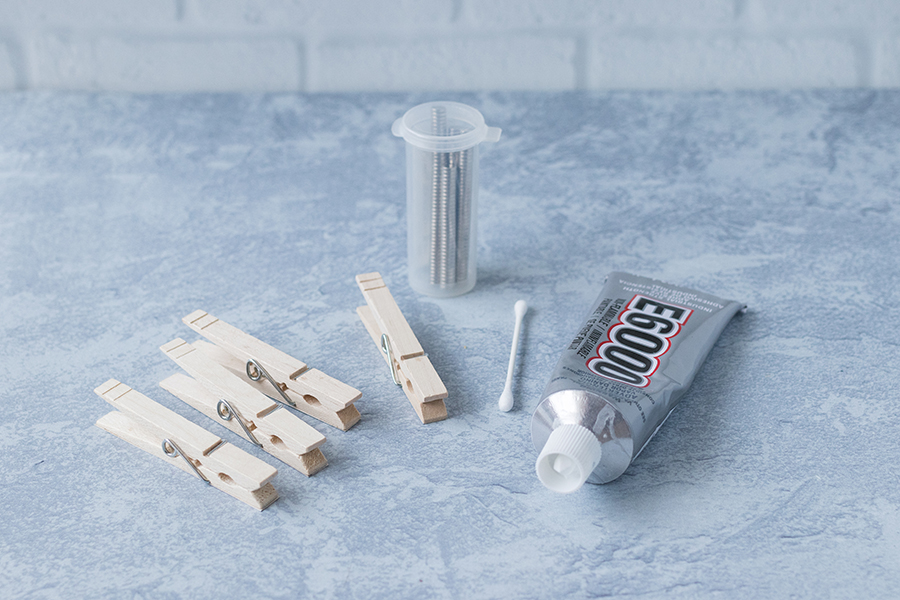
Supplies for DIY sheet music clothespin magnets
- Standard size wooden clothespins – 4″ x 0.5″ x 0.5.” For large quantities, I recommend shopping on Amazon. For small quantities, I recommend shopping at Michaels.
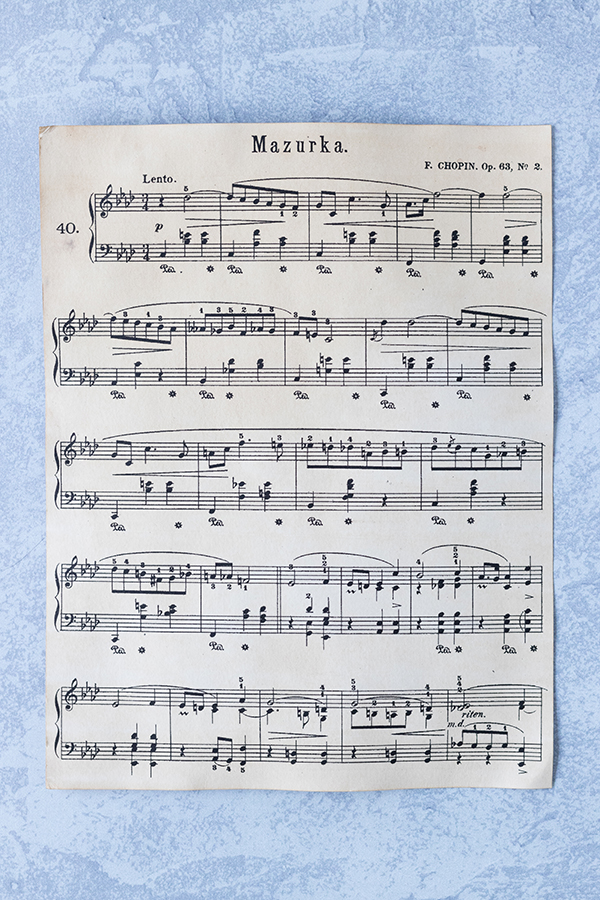
- One sheet of new or vintage sheet music
- Mod Podge
- Neodymium magnets – 1/4″ x 1/16,” one for each clothespin. Again, for large quantities, I recommend Amazon. For small quantities, I recommend Michaels. It’s much less expensive to buy neodymium magnets in bulk. But not everyone needs 100 magnets.
- E-6000 adhesive
- Paper cutter
- Small foam brush (I used a 1″ brush, which is what I’ve linked here)
- Q-tip
- Acrylic spray (optional, see notes)
Supply notes:
My favorite place to download sheet music for craft projects is All Piano Scores. I use Chopin music for the vast majority of sheet music projects. There are over three dozen composers to choose from on All Piano Scores. I’m not sponsored to promote the site; it’s just been a great resource for me for many years.
DIY sheet music clothespin magnets work well with sheet music on regular paper or card stock. I print almost all of my sheet music on white card stock for crafts. It’s what I used for all of the clothespins in this post.
If you use genuine or laser-printed sheet music, you don’t need to coat it. If you use ink jet-printed sheet music, give it a couple of coats of acrylic spray. Otherwise, the ink will run when you apply Mod Podge. Apply acrylic spray in a well-ventilated area. Allow it dry completely before assembling your DIY sheet music clothespin magnets.
Aesthetic considerations
There are two key considerations for cutting sheet music to fit clothespins, which are as follows.
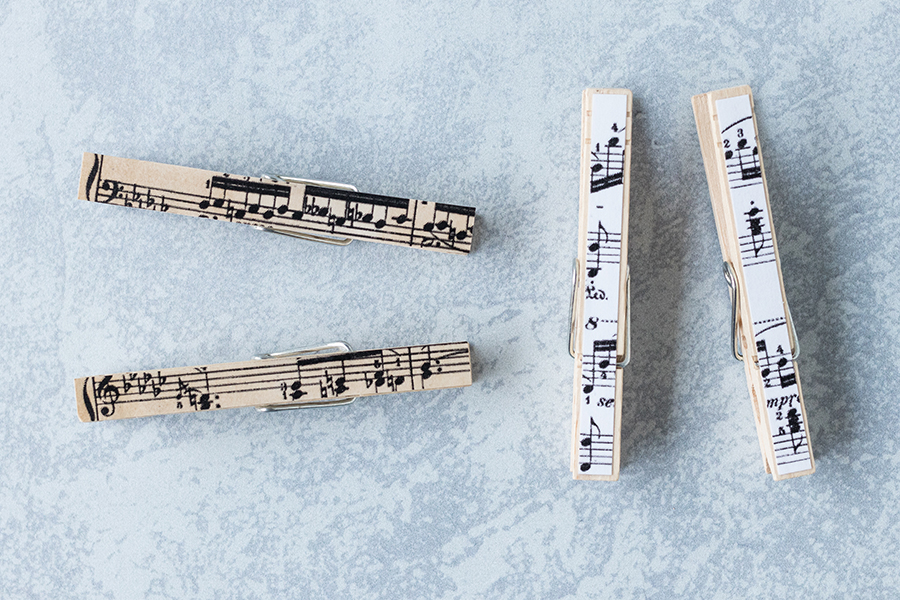
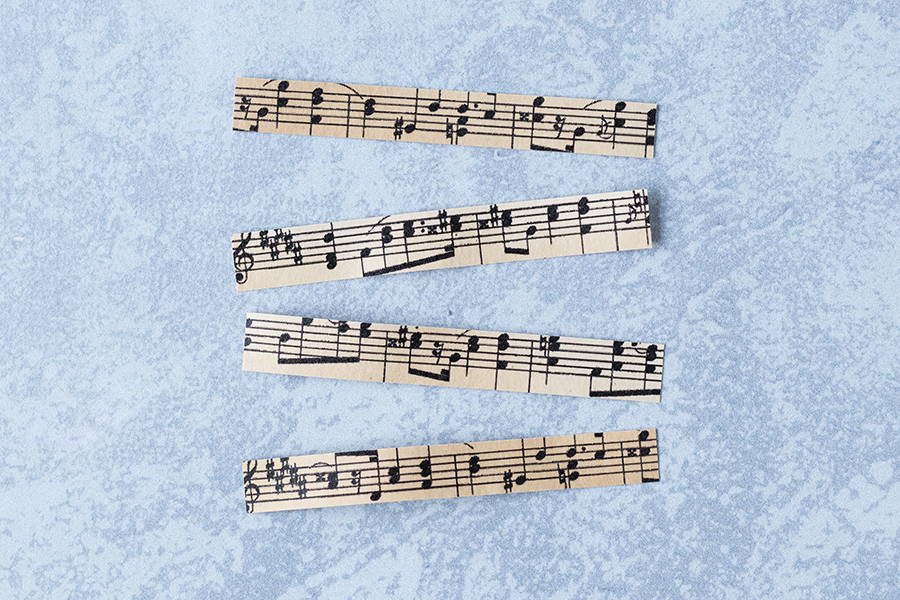
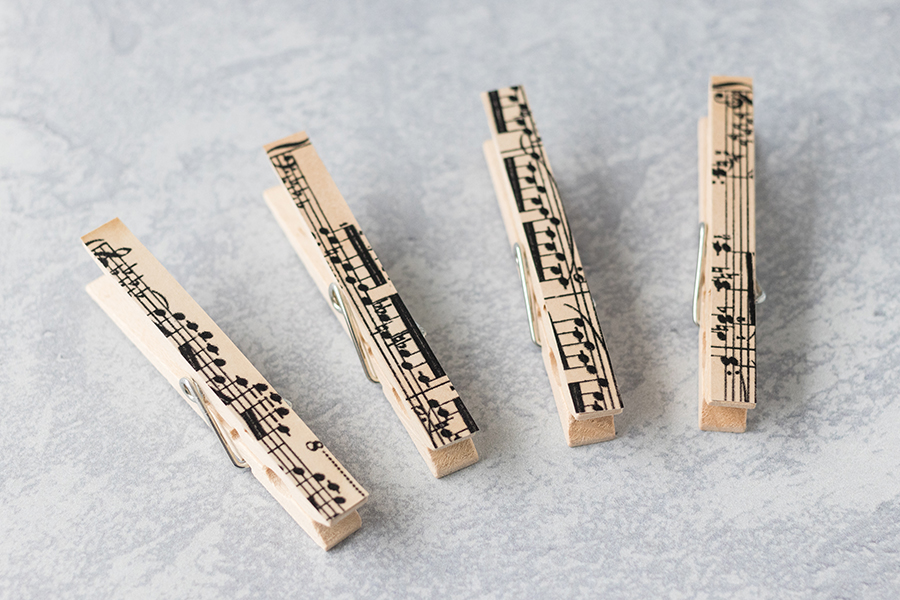
- Horizontal or vertical. You can cut your sheet music in horizontal rows with full, single lines of sheet music or vertical rows with multiple, sliced-up rows of sheet music.
- Cut to fit precisely or cut to fit with wooden edging. You can cut your sheet music to fit your clothespins exactly or you can cut it slightly smaller, so there is wooden edging all around the music.
It’s completely up to you exactly how you’d like to design your DIY sheet music clothespin magnets. I’ve experimented with all of the variations listed above. I like some more than others, but it’s a personal preference. They all work well.
Directions for DIY sheet music clothespin magnets
Print out or collect your sheet music. If you’re using ink-jet printed music, give it a couple of coats of acrylic spray, as described in the supply notes. If you’re using genuine or laser-printed sheet music, you can move right to the next step.
Review the aesthetic considerations listed above and decide how you’d like to cut your sheet music. Using a paper cutter, cut the sheet music to size.
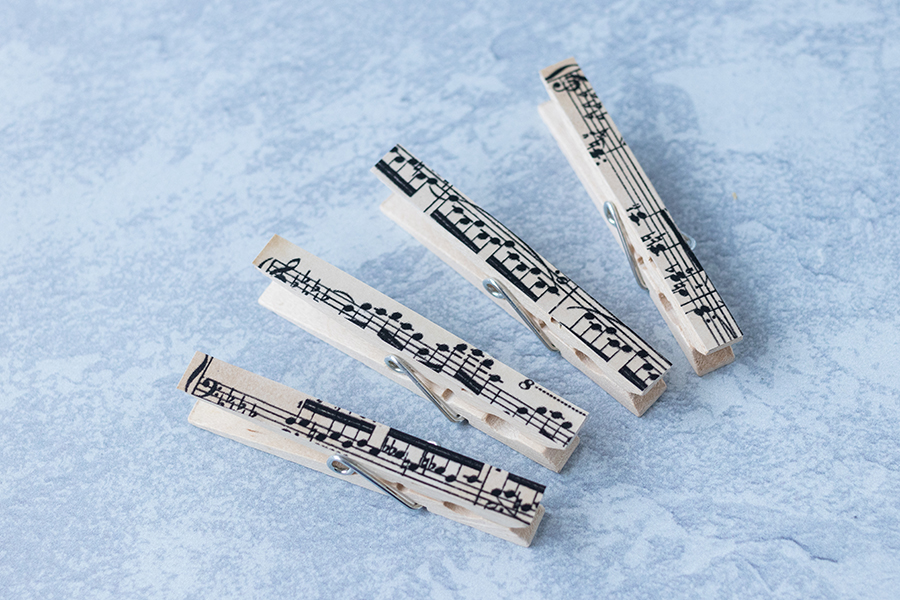
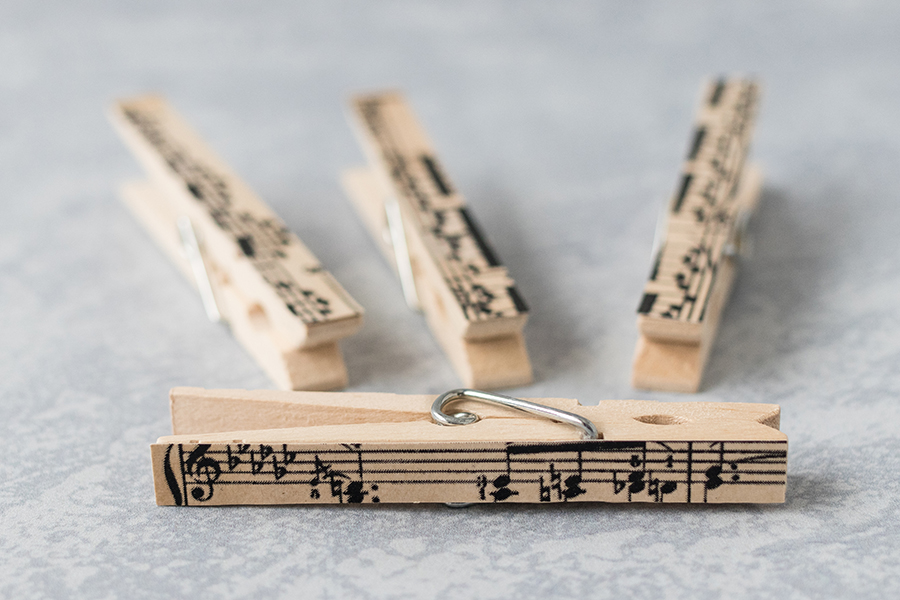
Using a small foam brush and a thin layer of Mod Podge, adhere the sheet music strips to the clothespins. Wipe off any excess Mod Podge from the sides. Allow the clothespins to dry completely.
Apply one or two thin layers of Mod Podge to the sheet music to seal it. Allow it to dry completely between layers and when you’re finished. You may also apply one or two coats of spray acrylic for further protection. I know that there is virtually no difference between unsealed and sealed clothespins in pictures. In person, I promise the Mod Podge gives them a nice finished glossy or matte coat. It also helps protect the clothespins from rips, scratches, and other damage.
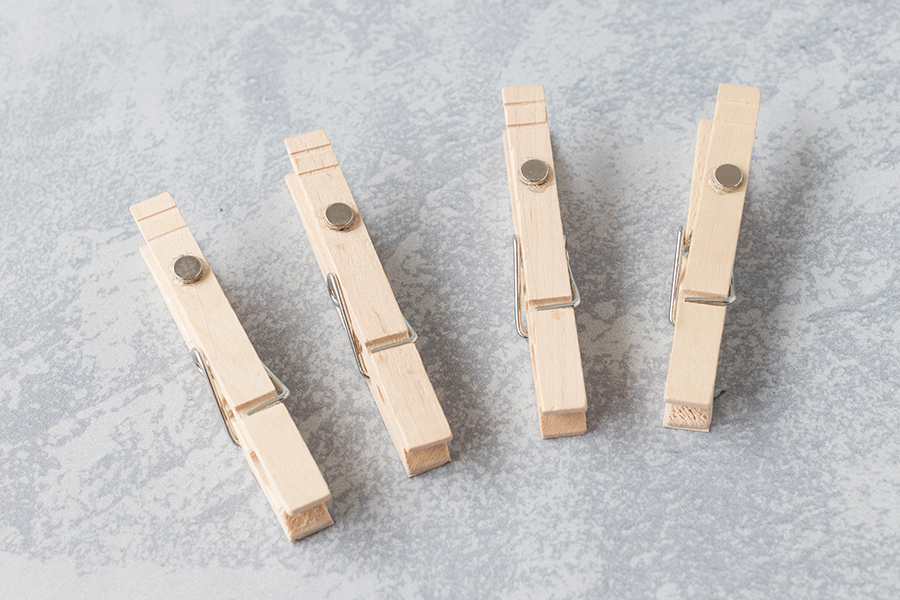
Flip the clothespins to the plain, undecorated backside. Use a Q-tip to apply a small amount of E-6000 adhesive to each magnet. I apply it about three-quarters of the way up the clothespin.
Press a neodymium magnet into the glue. Wipe off any large quantities of excess adhesive. As the magnets are on the back, it’s not crucial that the glue looks perfect. Allow the adhesive to dry for a minimum of 24 hours before handling.
Your new DIY sheet music clothespin magnets are finished!
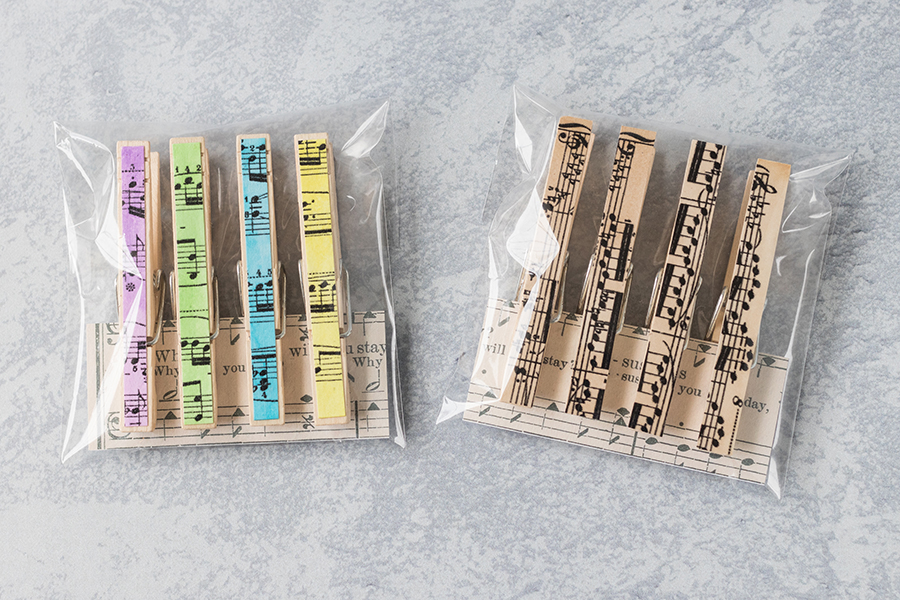
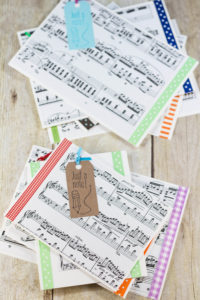
When I’m gifting clothespin magnets, I clip them to a small piece of sheet music and package them in a little treat bag.
If you’re keeping them for yourself, display them on a refrigerator, filing cabinet, or magnetic chalkboard or message board.
Variations for DIY sheet music clothespin magnets
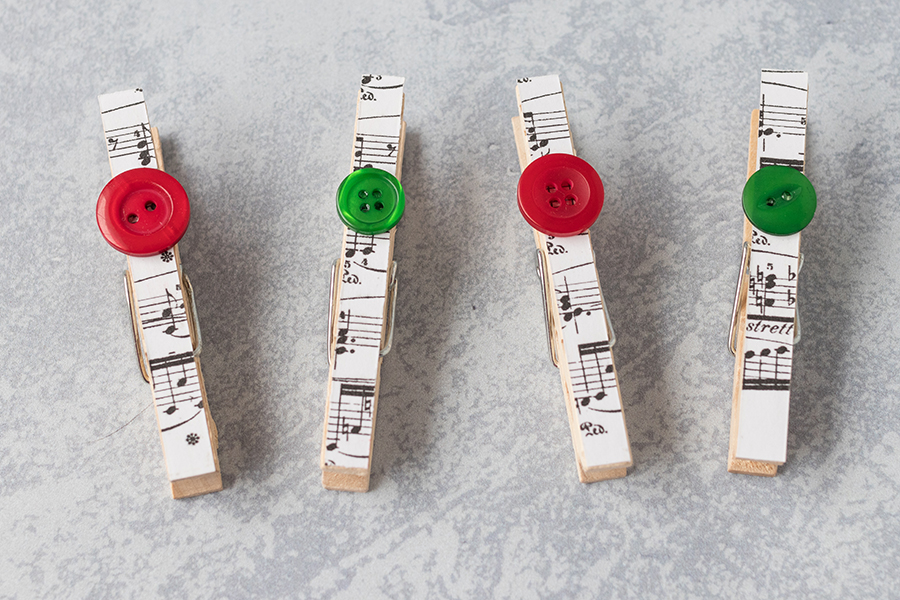
Since I used antiqued music cut precisely for the clothespins for the tutorial, I wanted to share an example with new music cut with wooden edging.
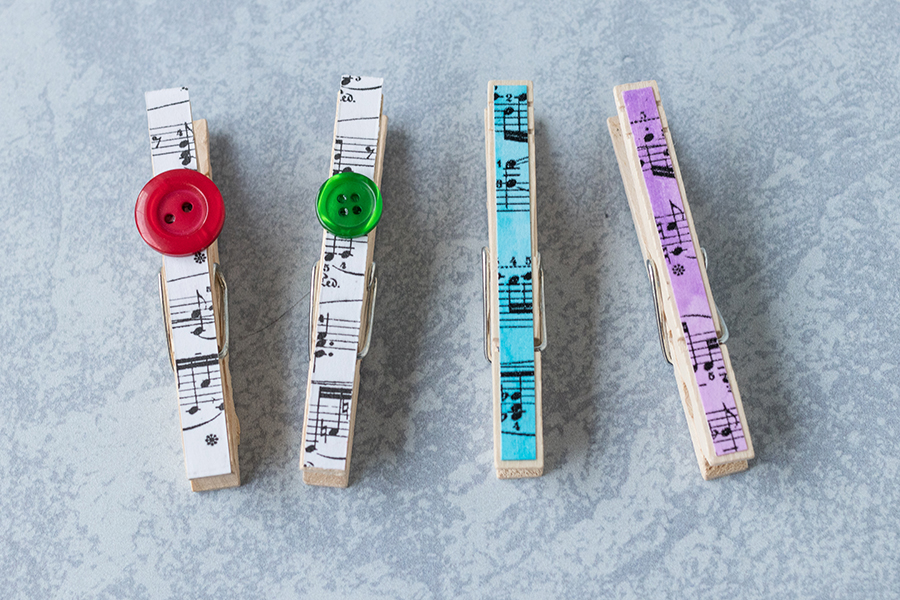
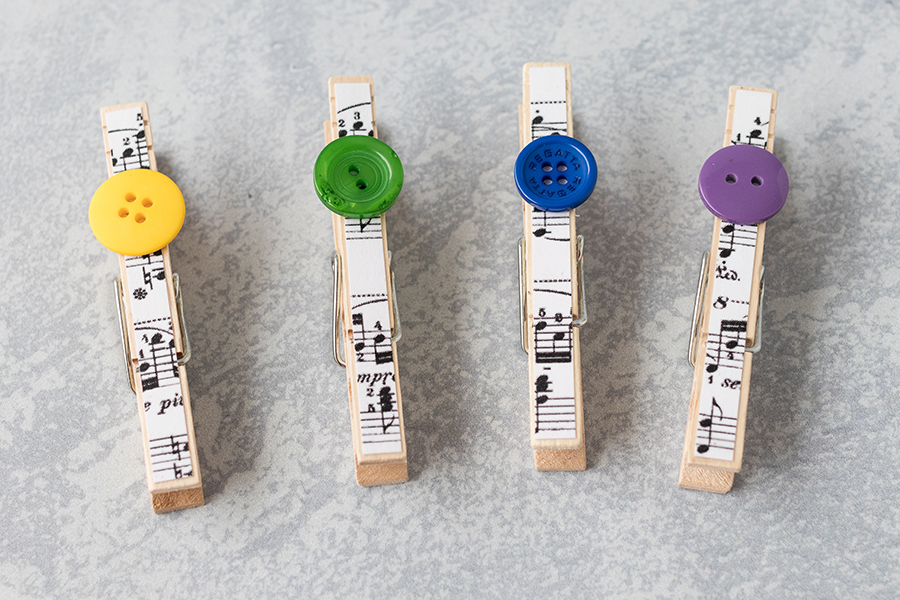
Buttons
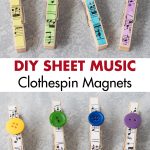
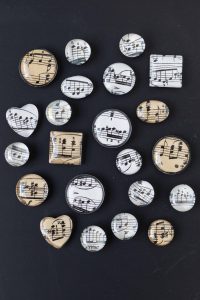
There are so many fun ways you can embellish your clothespin magnets. Not surprisingly, one of my favorite ways to embellish them is by adding buttons. My current favorite place to buy buttons for this type of craft project is MellowMoonSupply.
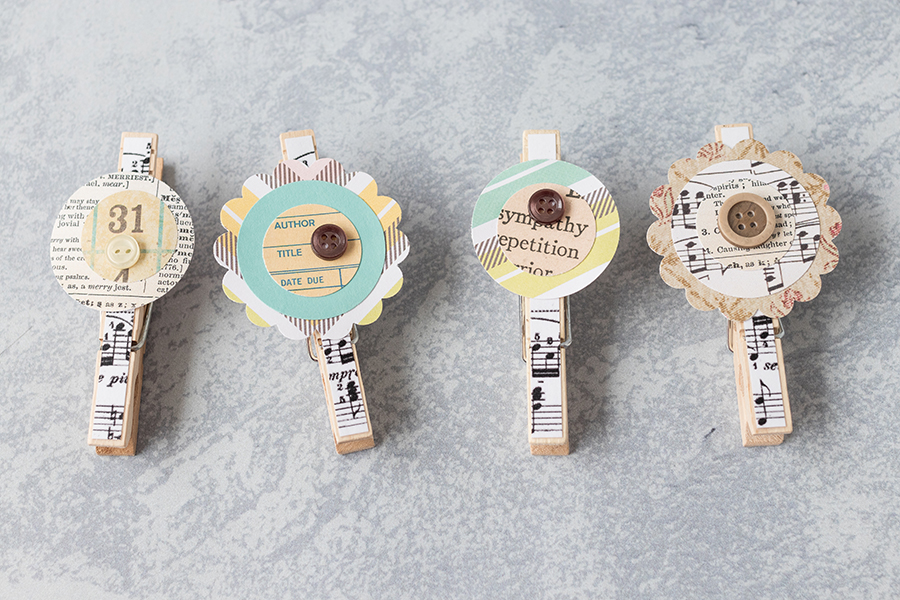
Scrapbook embellishments
Another easy way I like to embellish clothespin magnets is with scrapbook embellishments. DIY scrapbook embellishments are so simple to make and can be used for endless creative projects. I’m working on a full tutorial for DIY scrapbook embellishments!
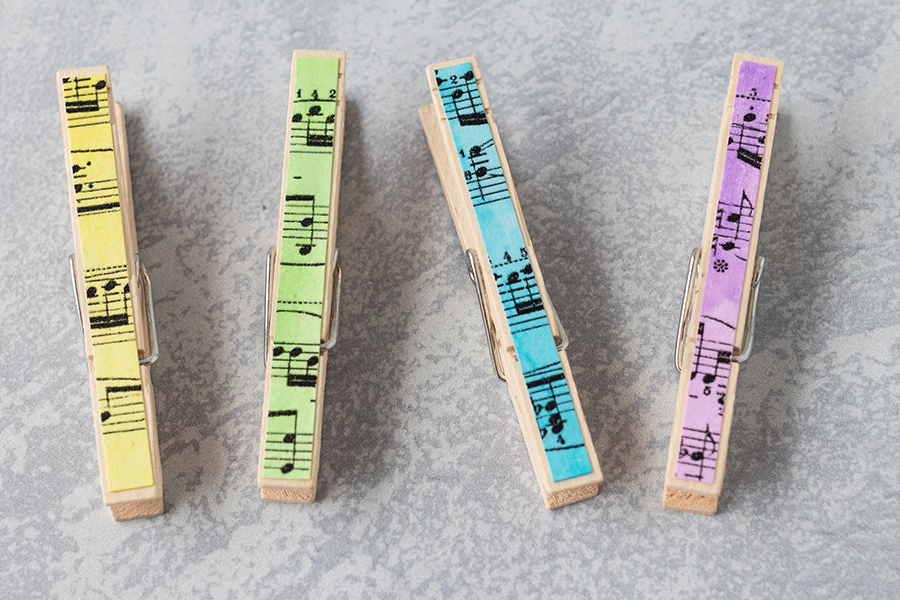
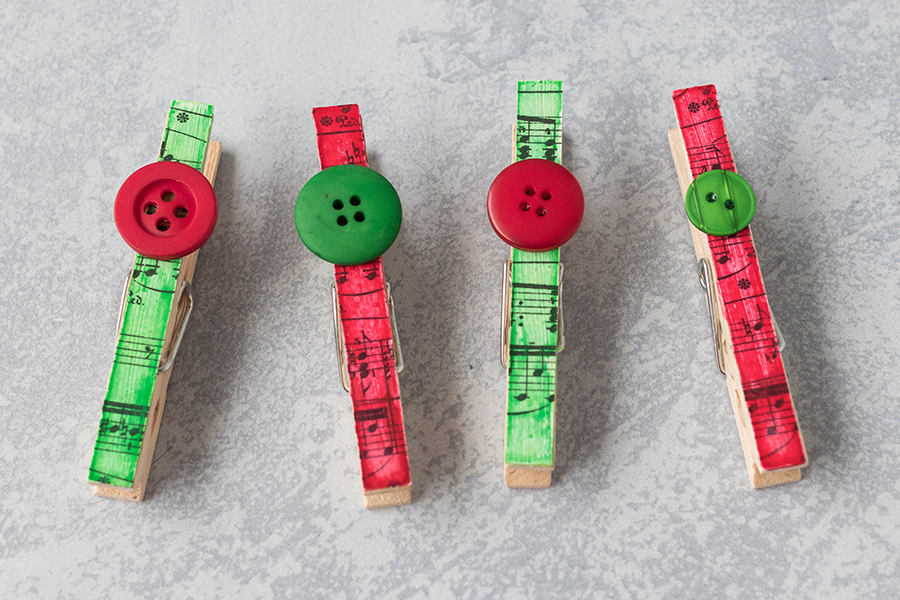
Watercolor music
If you want to switch up the aesthetic of the sheet music, consider painting it with watercolors. I use super cheap watercolors for almost all of my DIY projects. I apply two coats of cheap watercolors to get a richer color.
Holiday designs
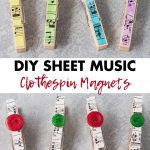
I’ve created a couple of sets of Christmas clothespin magnets with more buttons and watercolor paints. You can customize this concept for any season, holiday, or special occasion.
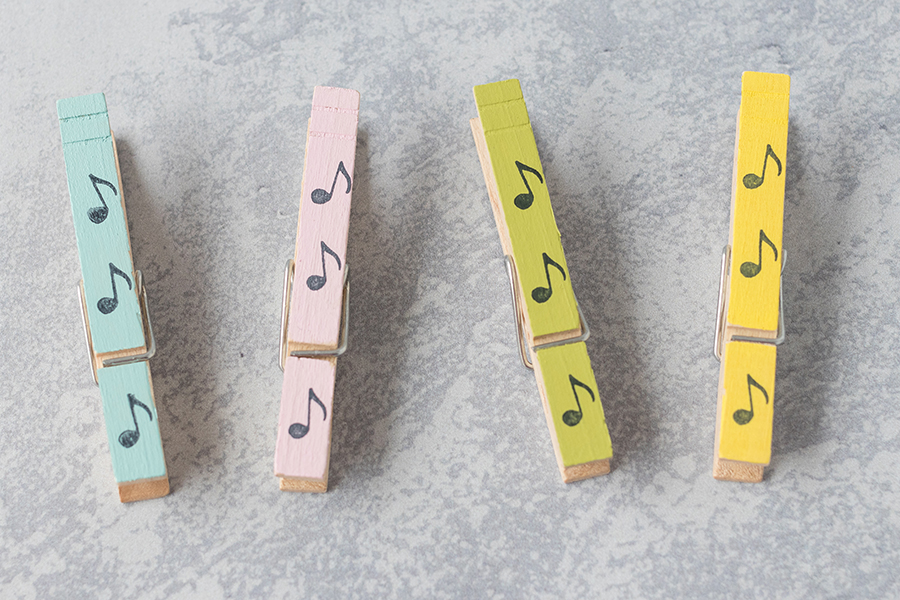
Painted, stamped notes
Finally, I created a set of music clothespin magnets that don’t use sheet music. I love to use sheet music for crafting because of the aesthetic. There are a lot of gimmicky music gift items out there, which frankly, really don’t appeal to me. But I know that sheet music isn’t for everyone. So I used acrylic paint and a tiny music note stamp from norajane. I love the final result.
The painted music note clothespins are a little finicky. I taped off the edges with painter’s tape, so I didn’t get any paint on the sides of the clothespins. It’s important to get the stamp lined up just so, as the stamping surface is so small. After stamping the music notes, I applied two coats of acrylic spray, two coats of Mod Podge, and then two more coats of acrylic spray. I’m also working on a tutorial for these stamped clothespins with more ideas for themes and resources for tiny stamps.
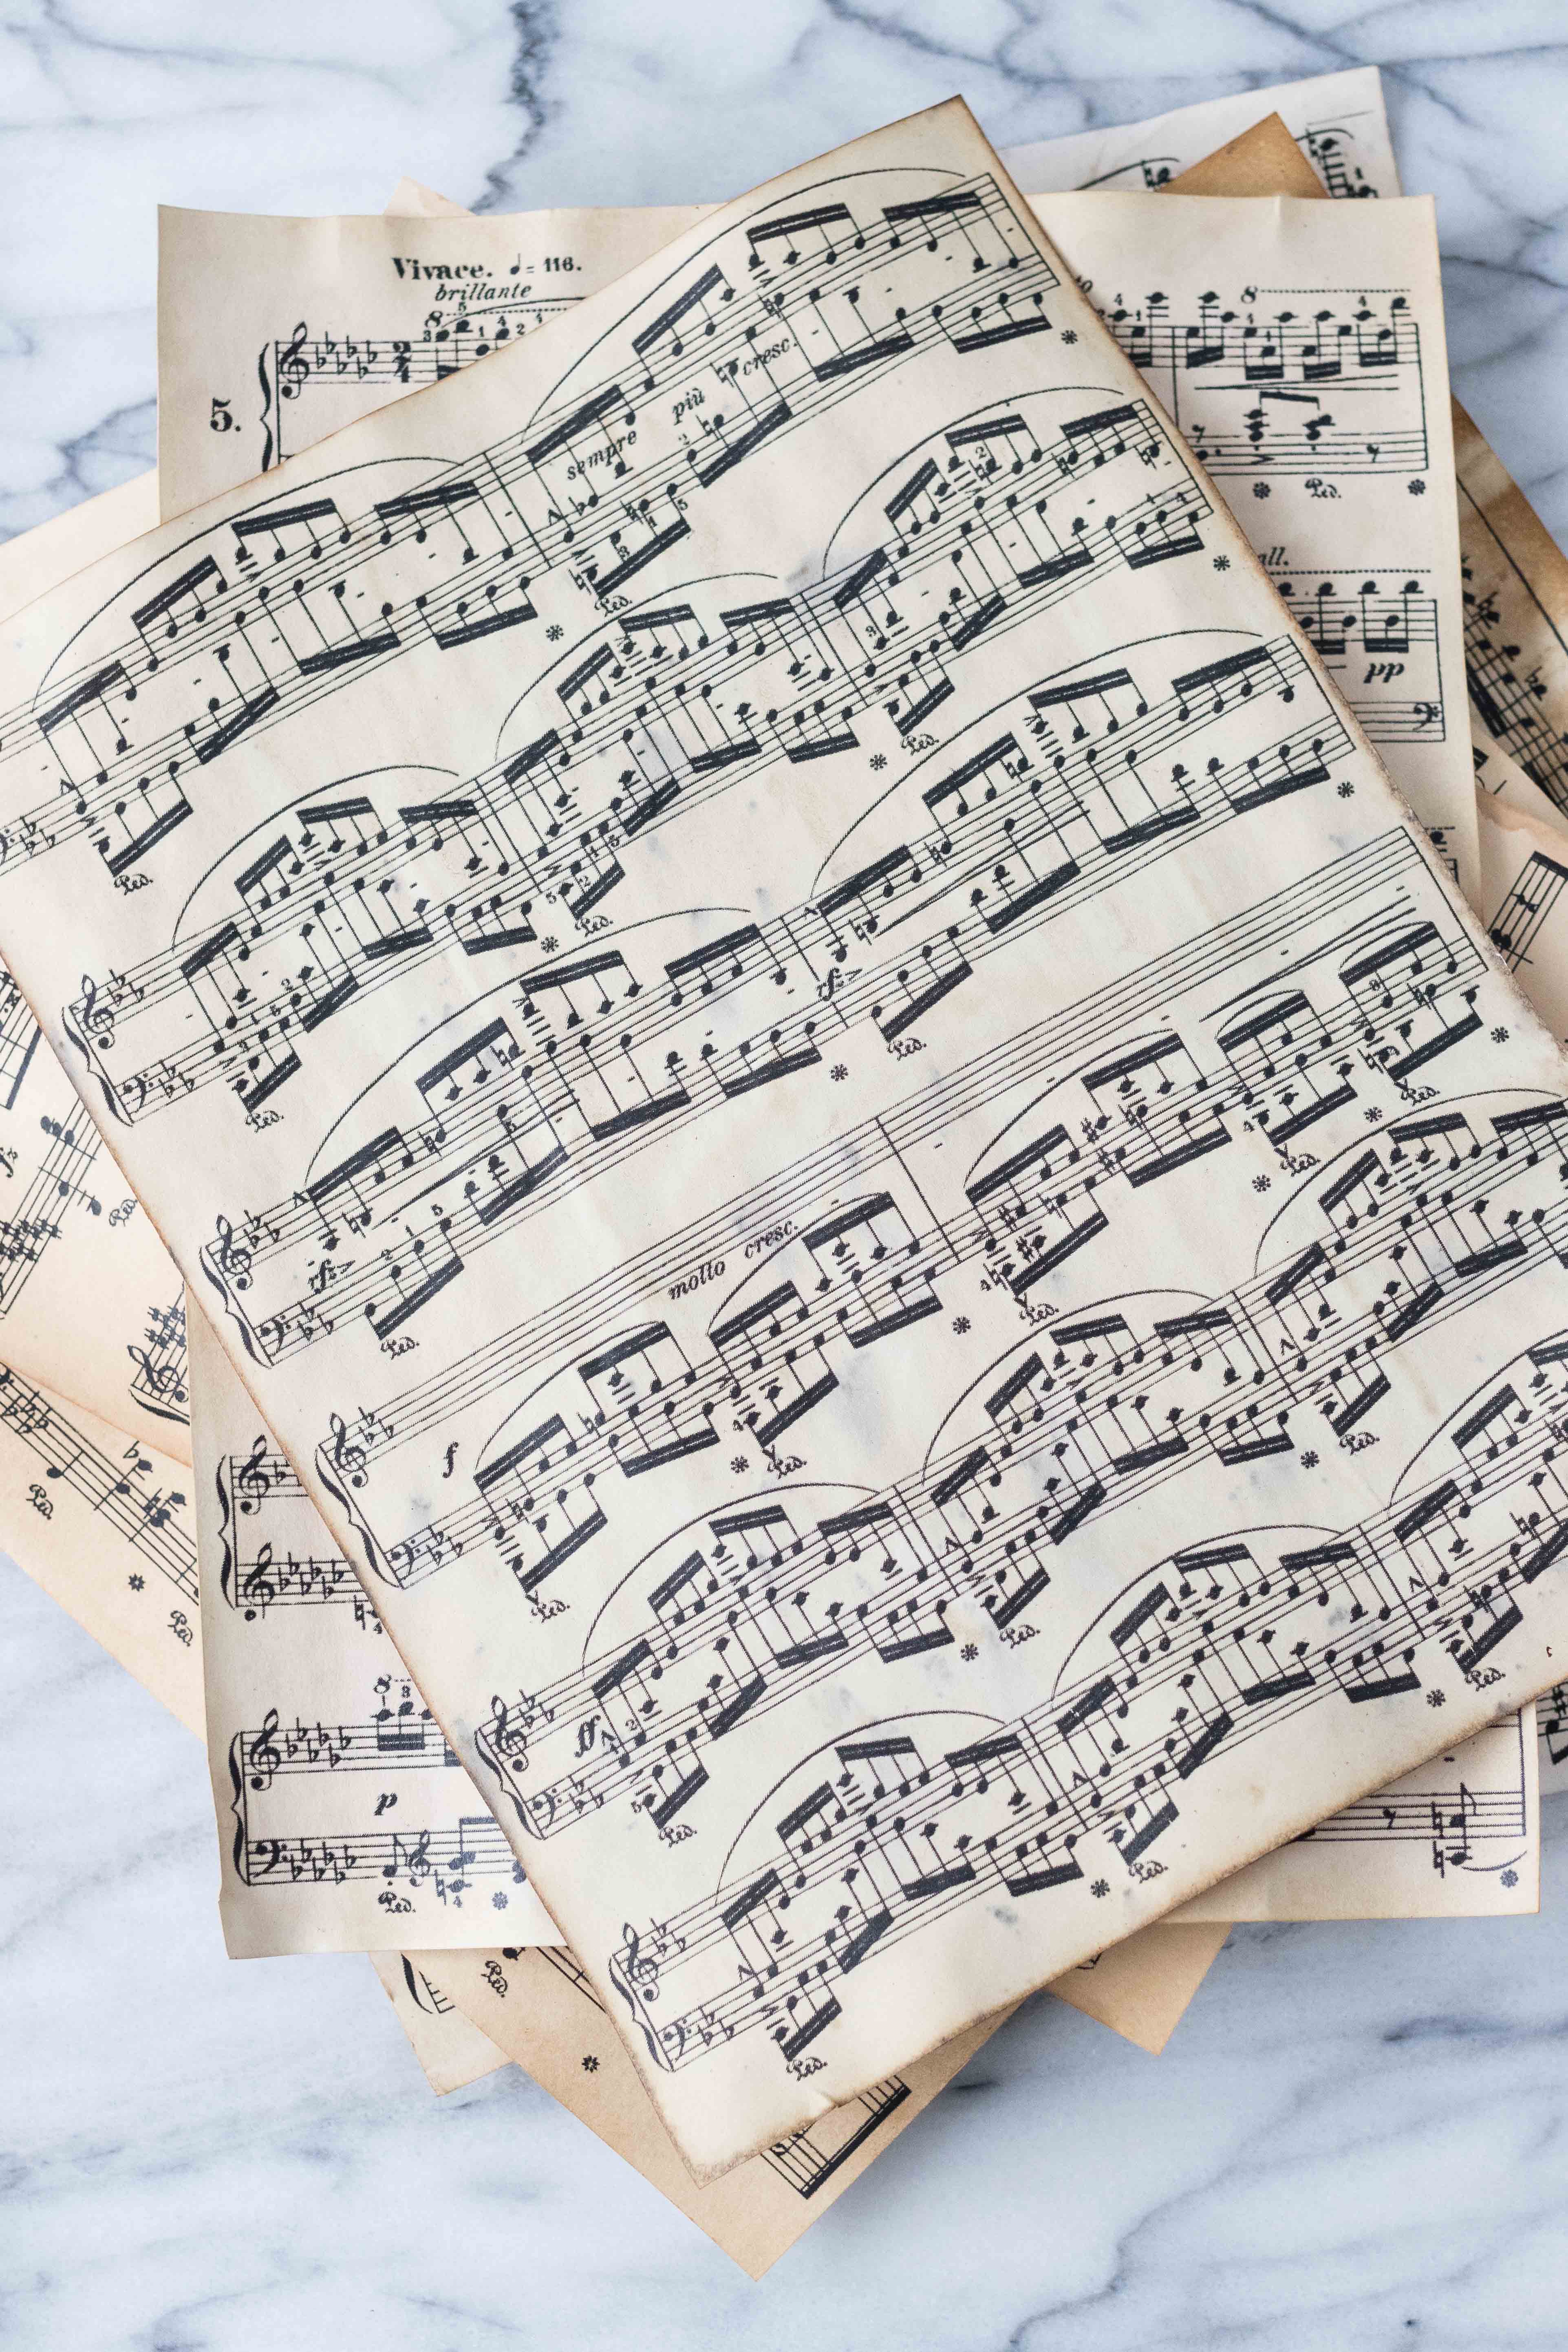
I created the DIY sheet music clothespin magnets for the step-by-step instructions using sheet music that I antiqued myself. Making new sheet music look old is a simple way to create custom vintage music for clothespins as well as a wide range of other craft projects.
[Disclaimer: There are a few affiliate links in this post. Thanks for your support!]
Did you make the DIY sheet music clothespin magnets?
I want to see them! Tag your images #RoseClearfield on Instagram or Twitter or post a photo to my Facebook page.
Grab free printable vintage hymns or free printable vintage Christmas hymns for your sheet music clothespin magnets!
More DIY sheet music tutorials:
Vintage Sheet Music Botanical Tile Coasters



Love your clothespins! When you watercolor them, do you color them before you apply the paper to the pin or after? And does the glued wire interfere with the operation of the pin? Do you not take the pin apart before you apply Mod Podge? Sorry for all the questions. I have some friends who are musicians and would like to make these for them.
Hi Dolores! Thanks for reaching out!
I watercolor the paper before cutting it into strips and gluing it to the clothespins. I don’t take the pin apart before applying the Mod Podge. I’ve never had an issue with the Mod Podge interfering with the pin. As long as you apply Mod Podge in thin layers, it should be just fine.
Enjoy the project! I’d love to see your pins when you finish them.