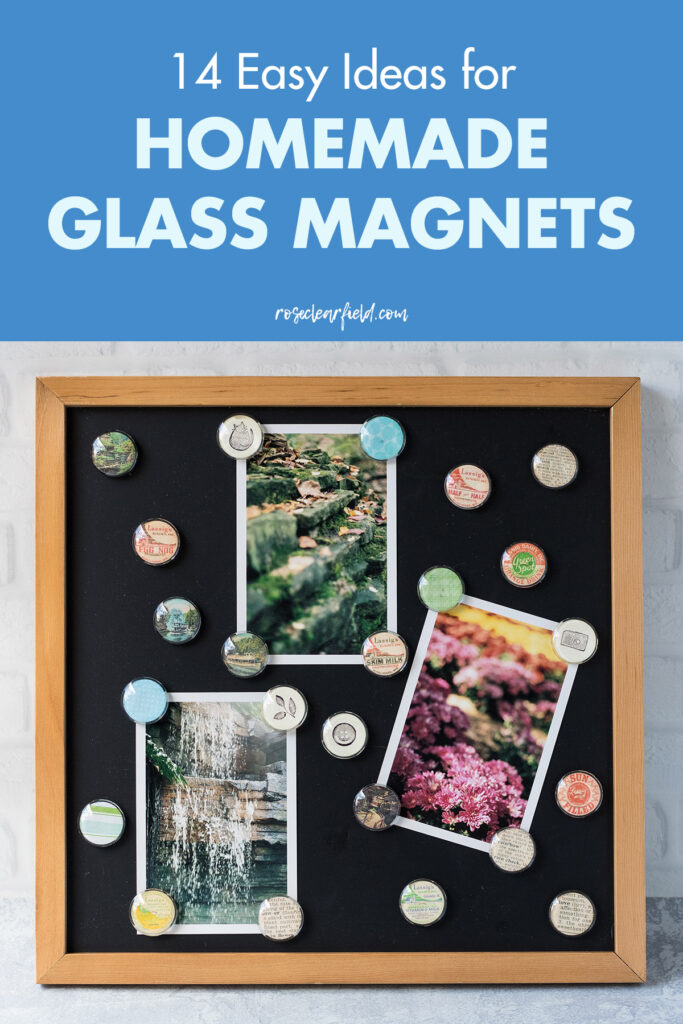
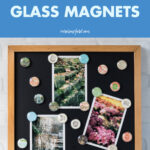
Ideas for DIY glass magnets give you all of the inspiration that you need to create beautiful glass magnets for home decor, to give as gifts, and to sell online and at craft fairs!
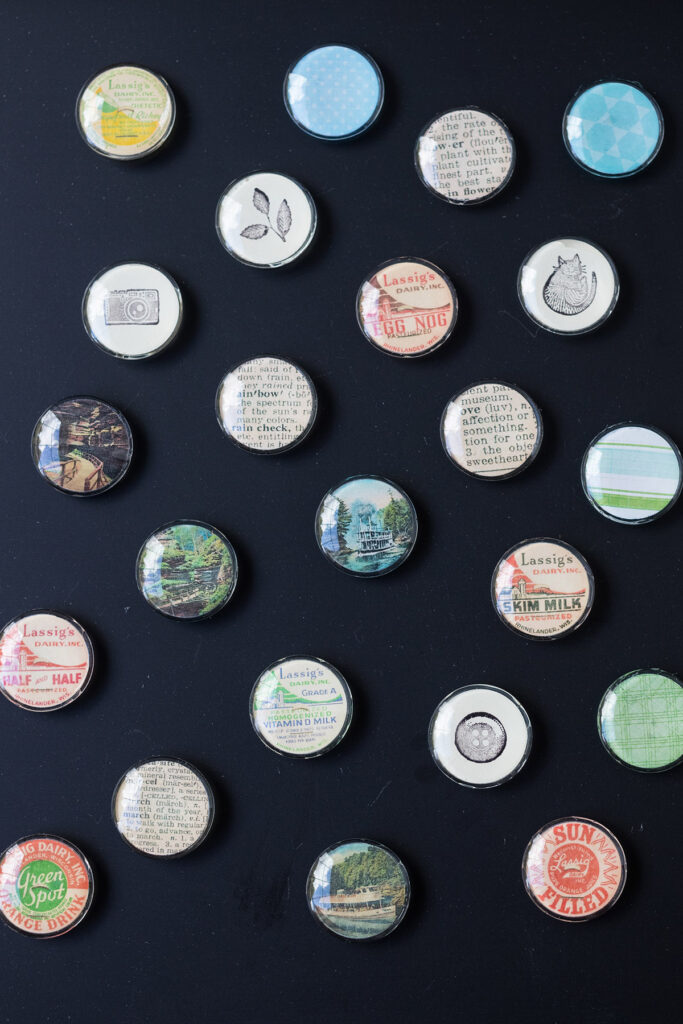
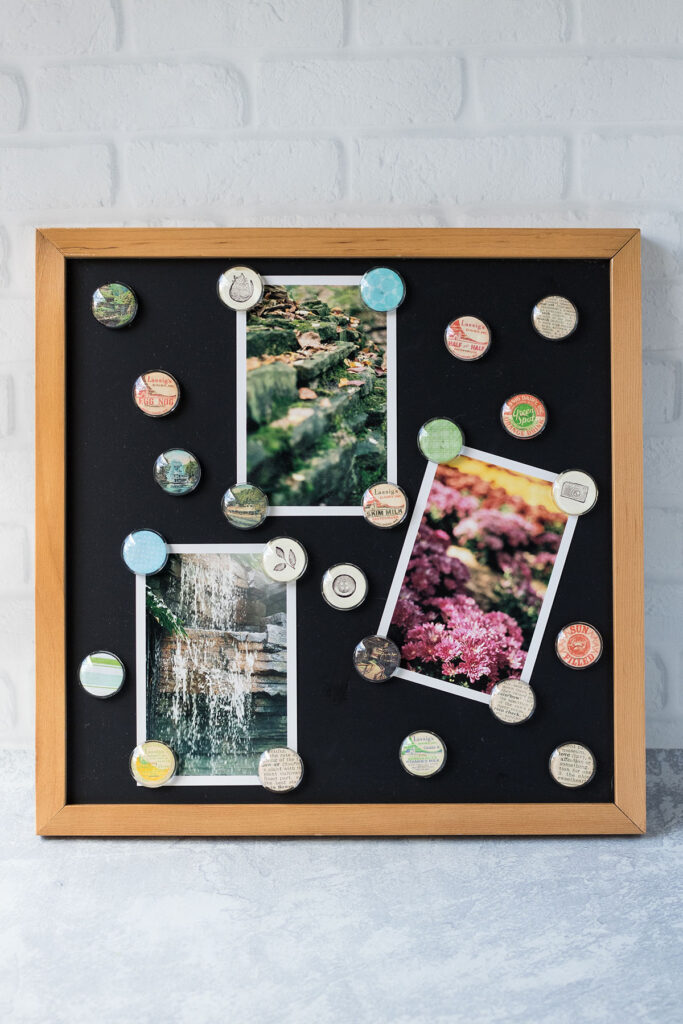
DIY glass magnets are an easy, versatile craft project to make for yourself or to give as gifts. Magnet sets make ideal presents for teachers, neighbors, extended family, and more. They’re also a perfect party favor, especially for bridal and baby showers and even weddings.
I honed my glass magnets technique by making sheet music magnets. I share step-by-step instructions in this post with lots of photos. While sheet music is a great material for glass magnets, there are so many other options beyond sheet music. I’ve rounded up 14 ideas for DIY glass magnets to keep you busy making glass magnets for many years to come.
General tips
I have a few general tips for DIY glass magnets that will make your crafting straightforward and stress-free.
- Size your digital content for 1″ magnets. When you’re using digital content, take advantage of the format and size it accordingly for 1″ magnets. I use Photoshop to circle crop an image and then resize the circle to 1″. Then I create a page with all of my circles in Word for easy printing and spray acrylic coating (see the next tip). You get exactly the size circles you need, and you don’t have to print tons of pages.
- Give all inkjet printed papers a couple of coats of spray acrylic. When you print inkjet images, you must give them a couple of coats of spray acrylic to prevent the ink from running when you coat it with diamond glaze. I’ve found that photos tend to bleed more easily than other color images. Give them an extra coat of spray acrylic.
- Clean your glass cabochons with rubbing alcohol at the beginning and end of your magnet project. It’s always a good idea to clean glass cabochons with rubbing alcohol before starting any DIY project. I also recommend giving them a final cleaning when you’re finished to remove any fingerprints and other smudges and debris.
- Spring for neodymium magnets. I use 1/4″ x 1/16″ neodymium magnets for all of my DIY glass magnets. They’re tiny and incredibly strong. While more expensive than craft magnets, they’re worth the money. For large quantities, I recommend Amazon. For small quantities, I recommend Michaels. You save money when you purchase neodymium magnets in bulk. However, not everyone needs 100 magnets.
1. Scrapbook paper
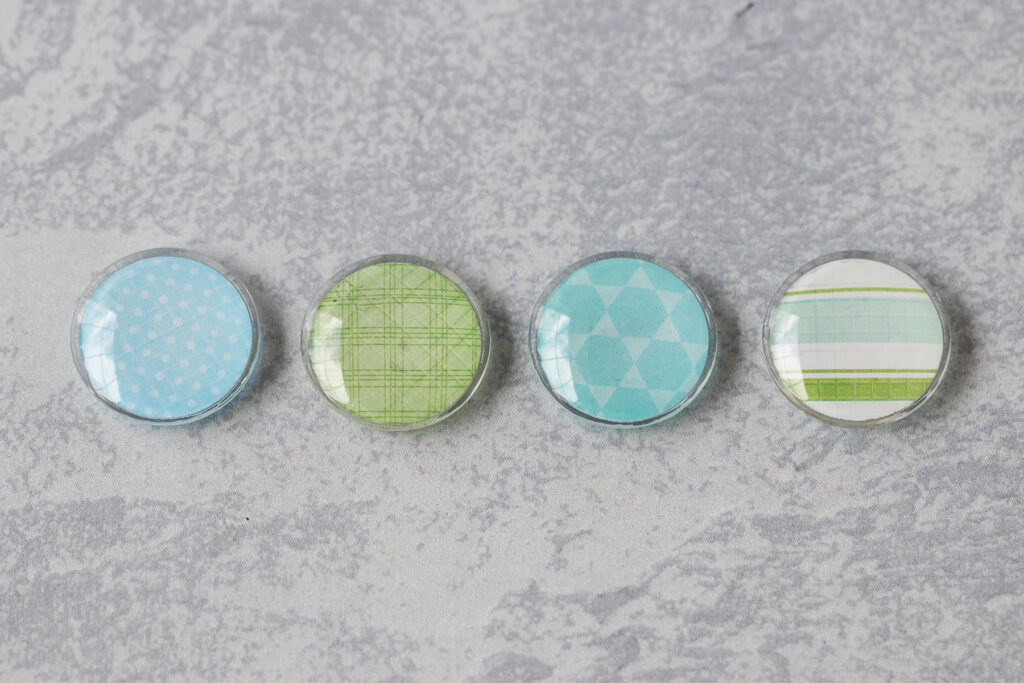
Scrapbook paper is one of the most popular paper choices for DIY glass magnets because it’s so readily available in such a wide range of colors and patterns. In addition to buying scrapbook paper pads, you can download free and for-purchase digital scrapbook paper sets. For 1″ magnets, small patterns work best.
2. Sheet music
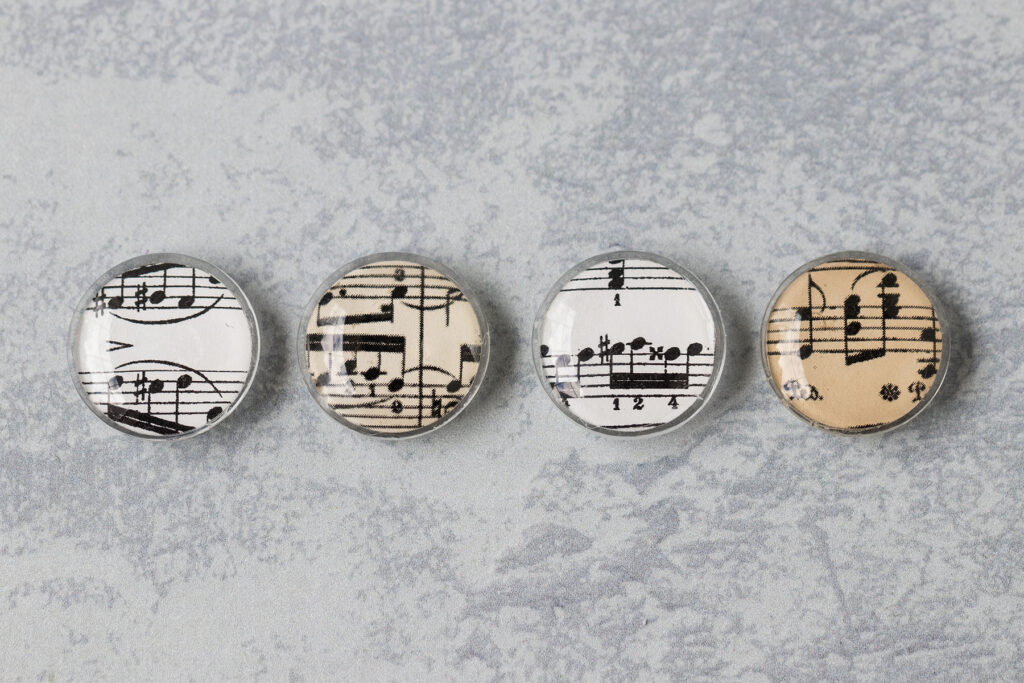
The full tutorial that I have for DIY glass magnets is for sheet music magnets. It’s not a surprise that I love crafting with sheet music and made a variety of sheet music projects. My go-to sheet music source for glass magnets is All Piano Scores – Chopin. I love the aesthetic with lots of notes. If you like the vintage aesthetic, I have vintage sheet music pages ready to print. You can also create a vintage aesthetic yourself. Of course, you shouldn’t feel limited to these options. Any sheet music will work here.
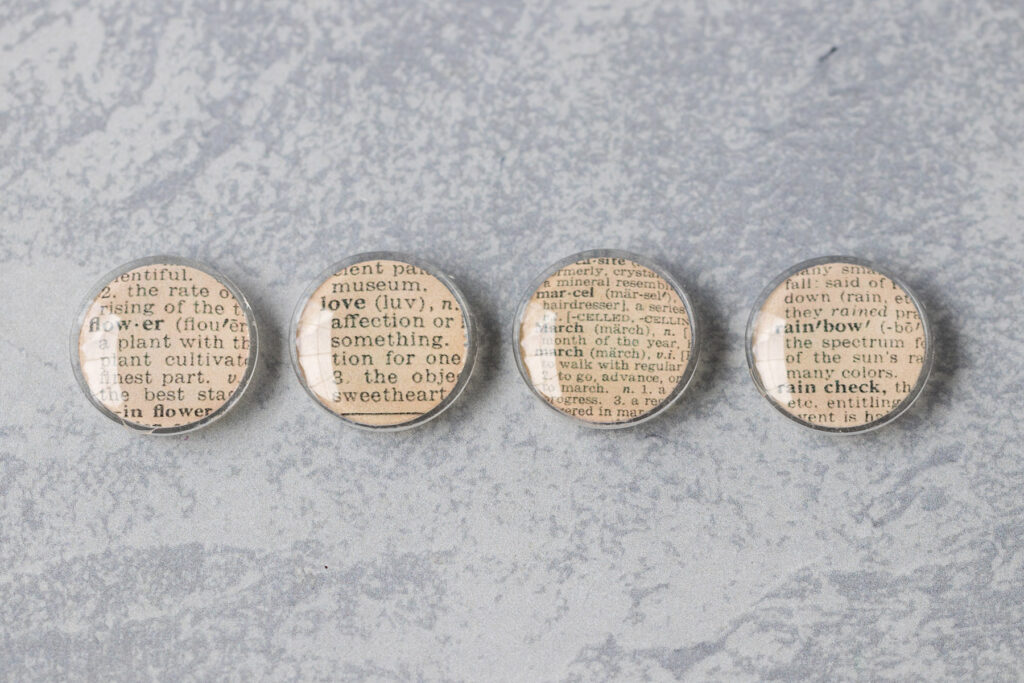
3. Dictionary pages
Vintage dictionary pages are such a fun way to highlight favorite words and create magnet sets for themes, holidays, and special occasions. My original set of 50 vintage dictionary pages includes every letter of the alphabet and dictionary pages featuring illustrations. The dictionary pages I used for my magnets pictured above are from Valentine’s Day and St. Patrick’s Day dictionary page sets.
If you’re ever looking for specific words that you can’t find in any of my dictionary page sets, please let me know! I own multiple vintage dictionaries and am happy to create more printables.
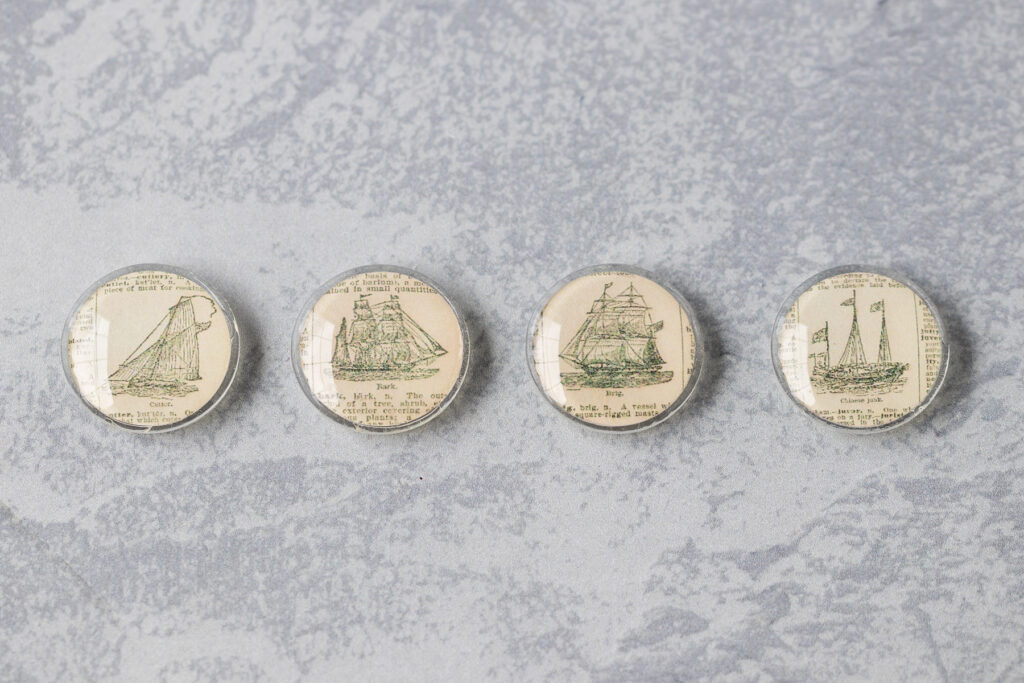
4. Dictionary illustrations
Many vintage dictionaries contain numerous beautiful hand-drawn illustrations, which are ideal for magnets and lots of other craft projects. I chose to make a set of magnets featuring vintage boat illustrations. Again, my 50 vintage dictionary pages post includes quite a few illustration pages. If you’re looking for specific illustrations, don’t hesitate to reach out to me.
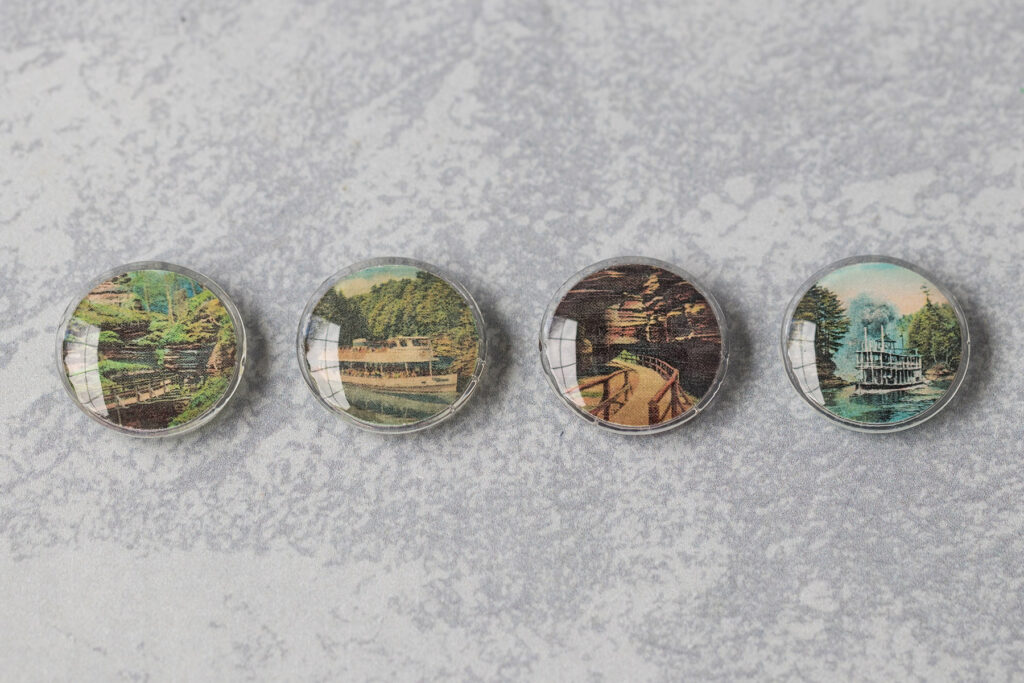
5. Postcards
It’s not a secret that I love vintage postcards, especially linen postcards from the 1900s to 1940s era. New and vintage postcards are readily available on Etsy and eBay for just about any destination, theme, and occasion imaginable. For my postcard magnet set, I chose a few favorite images from my vintage Wisconsin Dells postcards collection.
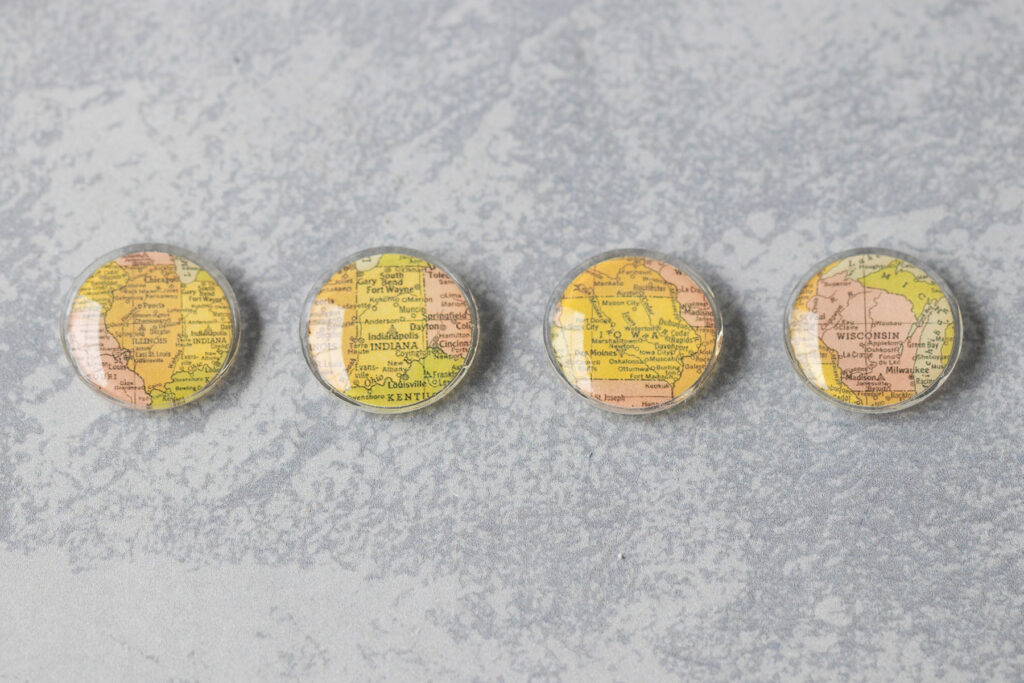
6. Maps
Map magnets are a fun way to highlight meaningful locations. For my map magnet set, I chose the four states that I’ve lived in throughout my life.
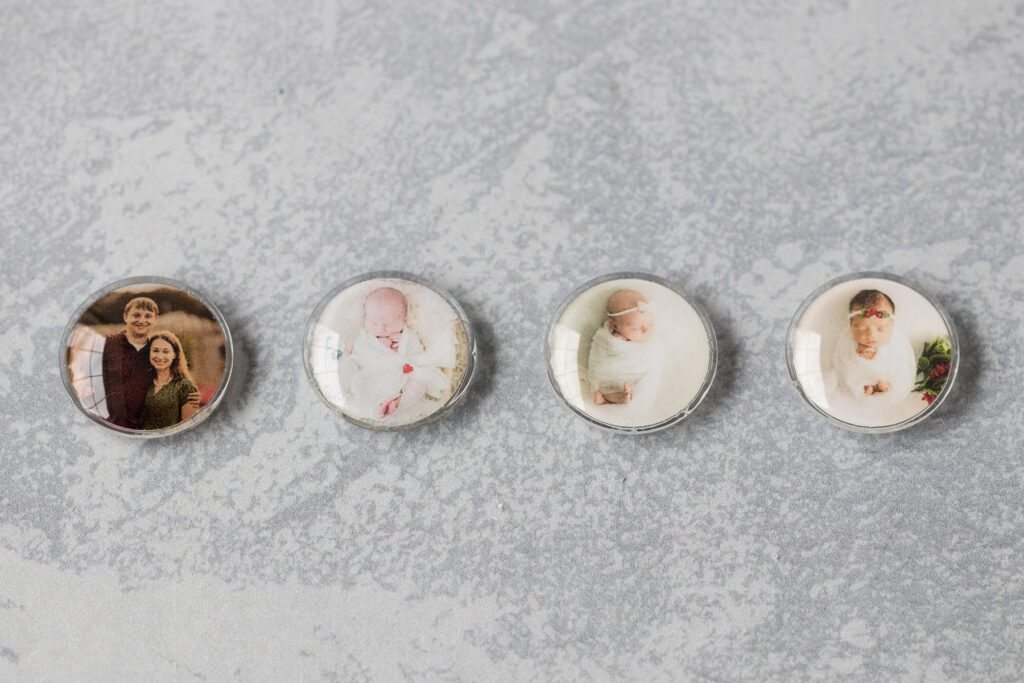
7. Photos
Photo magnets are an ideal gift for grandparents, godparents, and other family members. I love gifting photo magnets for an occasion, such as a wedding anniversary or high school graduation.
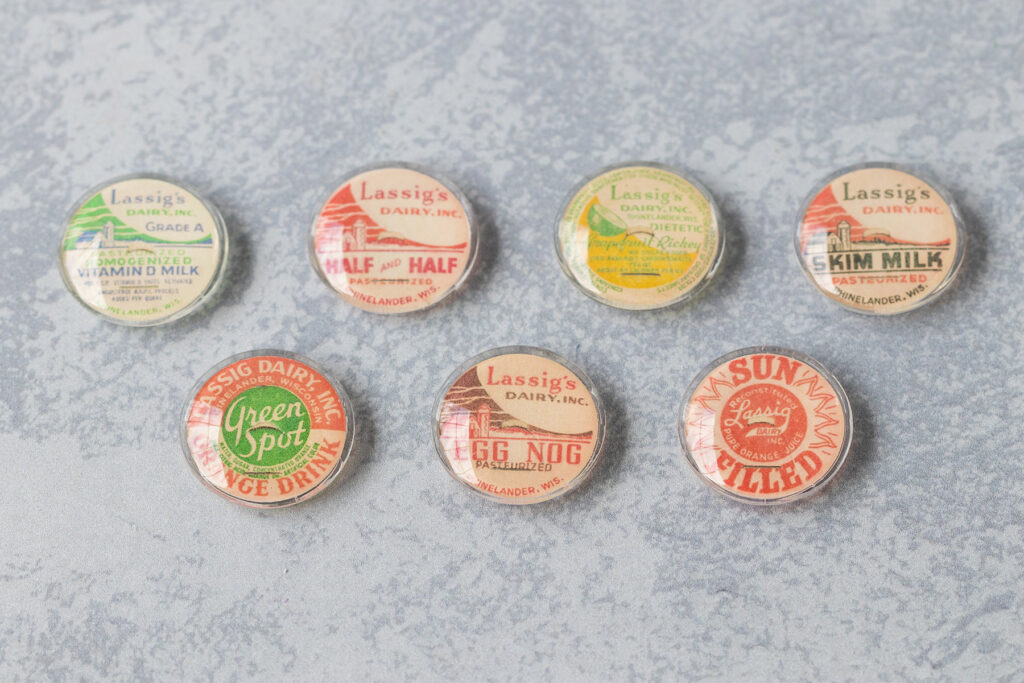
8. Vintage milk caps
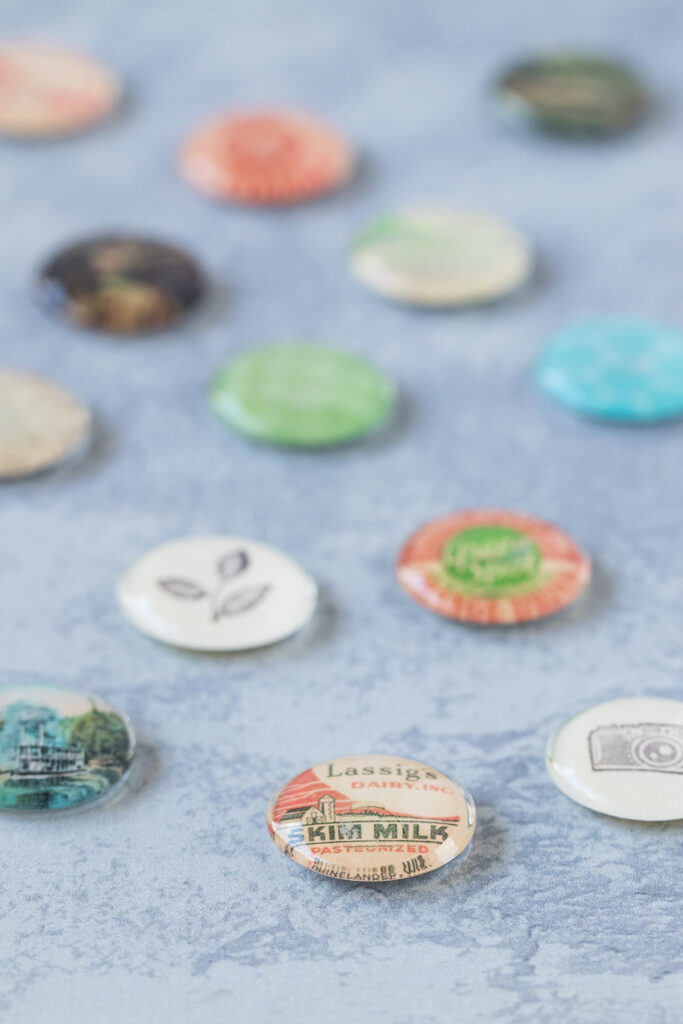
One of my newer vintage passions is milk caps. As milk caps are already round, they’re perfect for glass magnets. You can find lots of vintage milk caps on Etsy and eBay. I’m featuring seven vintage milk caps from Lassig’s Dairy in Rhinelander, Wisconsin.
Note: I scan my vintage milk caps and print them for magnets and other crafts. I don’t use the original caps for this sort of project.
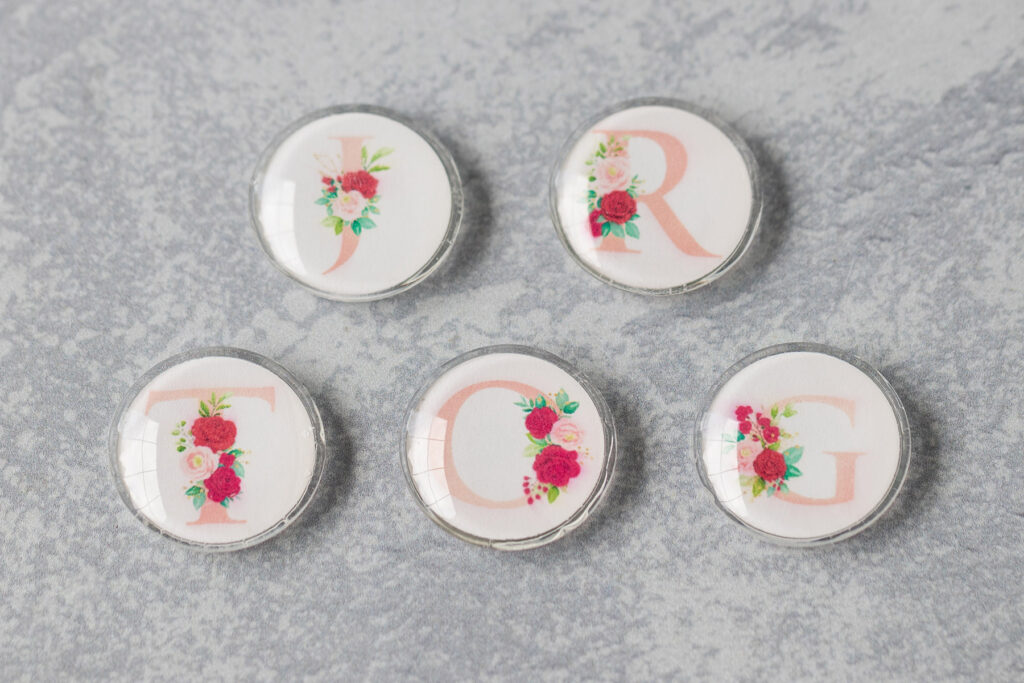
9. Initials
I created an initials magnet set using a floral alphabet from pngtree, with one magnet for each first name in my immediate family. There are so many beautiful illustrated alphabet sets of this nature, both free and for-purchase. You’re sure to find one that fits your desired aesthetic perfectly.
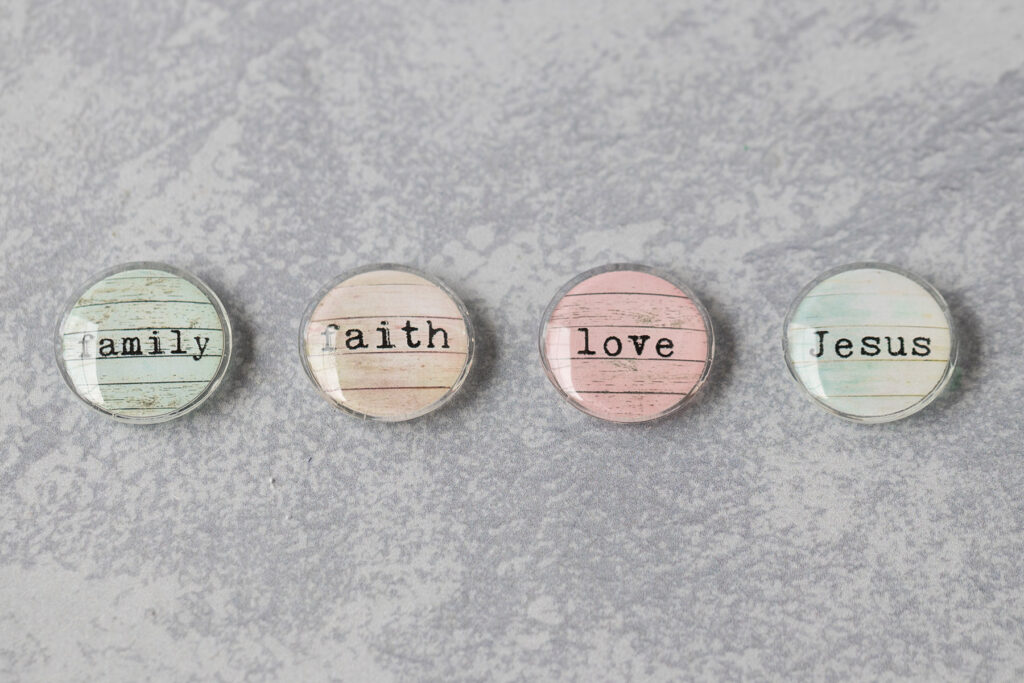
10. Words
I typed the words family, faith, love, and Jesus in a typewriter font on wood backgrounds from Far Far Hill (another great resource for free digital scrapbook paper packs, too!). There are endless options for different words and backgrounds.
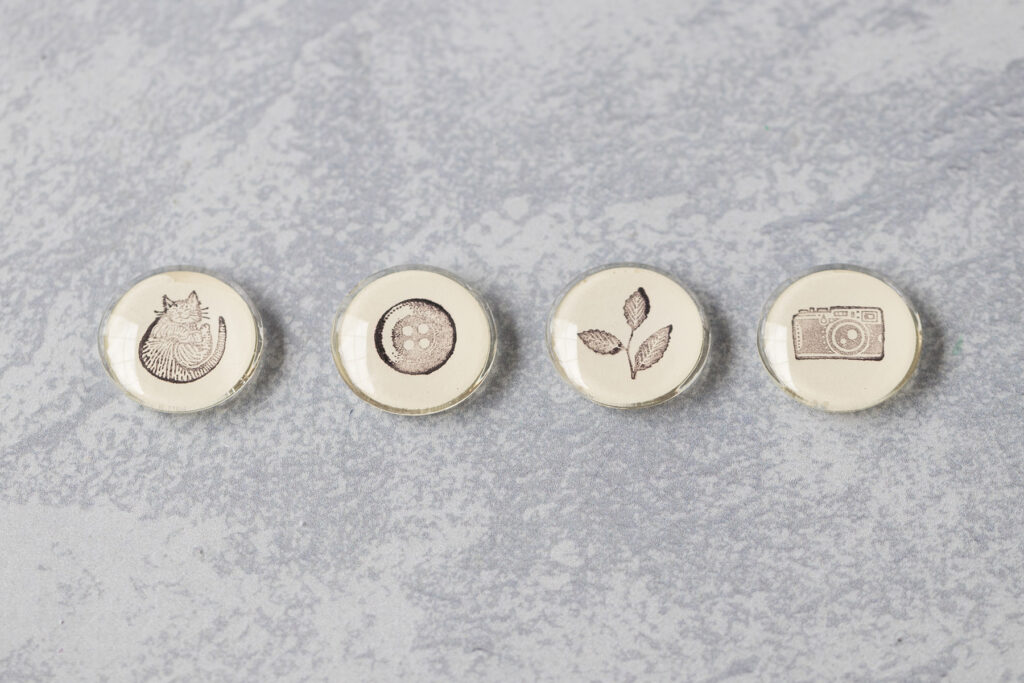
11. Stamps
Small stamps create whimsical subjects for glass magnets. One of my favorite sources for stamps, especially small stamps, is norajane on Etsy. I’ve been using her stamps for years, and the quality is always so good. I chose a cream cardstock and dark brown stamp pad, as I wanted a slightly softer aesthetic than black and white.
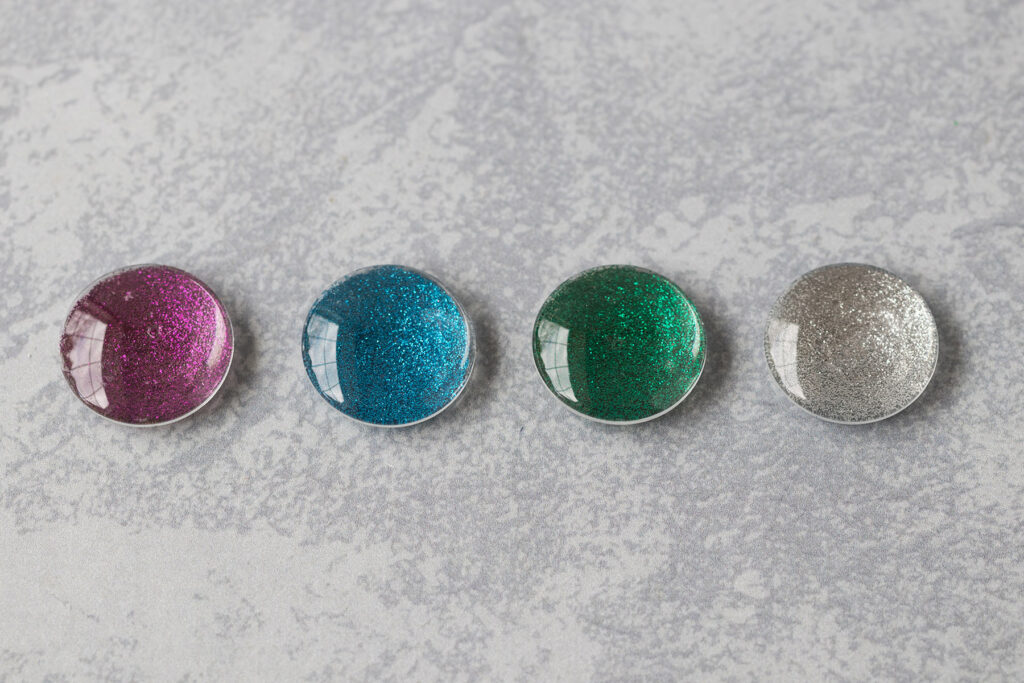
12. Glitter
Elmer’s rainbow glitter glue is an amazing medium for creating glitter magnets quickly without any mess. The specific color you choose and the aesthetic you’re striving for will determine how many coats you need. I used three or four coats of glitter for each of my magnets.
My four-year-old son who is not super into crafts absolutely loves glitter glue and has created many cool pictures with it, all with very minimal mess. I can’t recommend it enough.
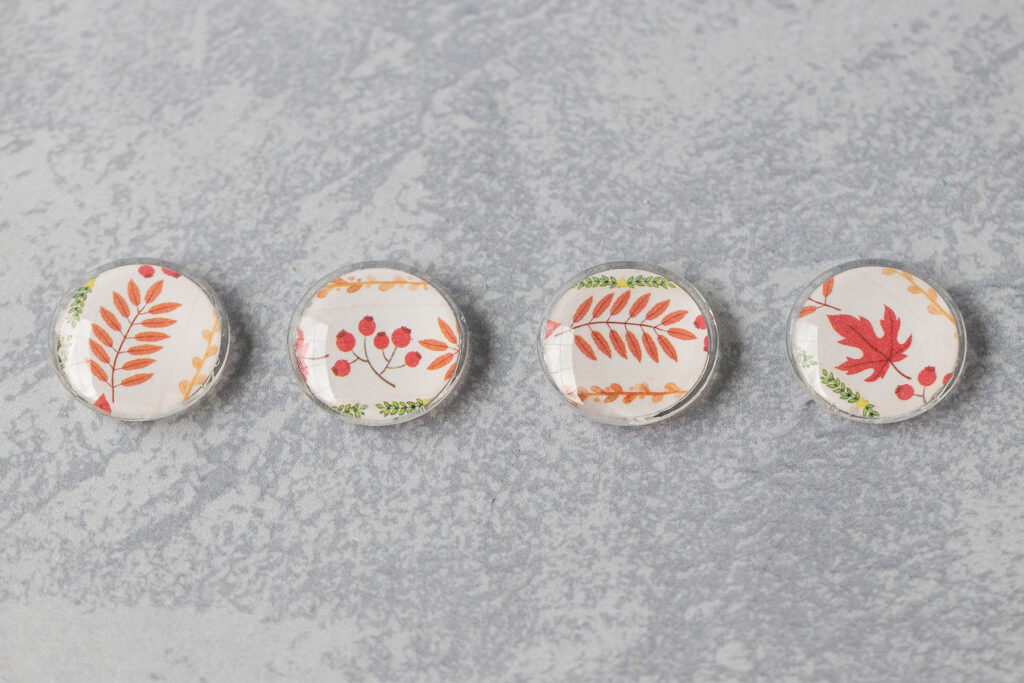
13. Washi tape
I am way late to the washi tape trend but am now firmly entrenched and excited to share more washi tape crafts in the future. I tend to buy thinner washi tapes. As such, I used multiple thin tapes for my magnets. Wider tapes will work well, too, as long as the patterns aren’t too big. My favorite Etsy shops for washi tape are BBBSuppliesCRAFTSHOP and GoatGirlMH.
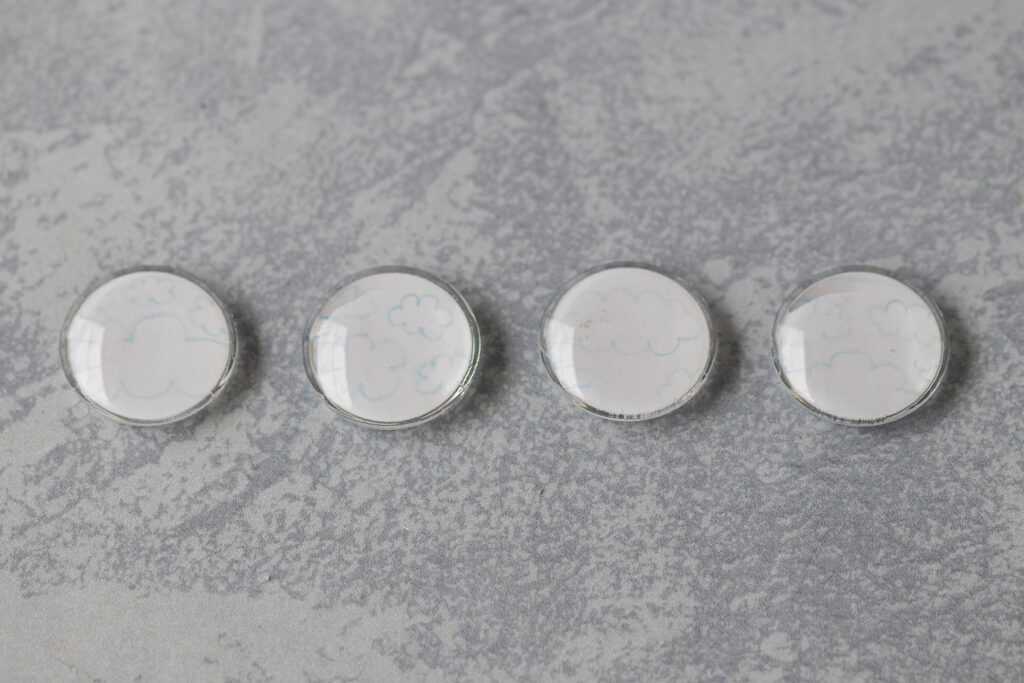
14. Your own drawn/painted designs
Drawing or painting your own designs for glass magnets opens up a whole new world of possibilities. As I am not especially talented at painting or drawing, I kept it simple with colored pencil-drawn clouds. Rhythms of Play has great tutorials for ladybug and fingerprint glass magnets. I would love to see what else you draw and paint for your magnets!
Variations
There are so many ways that you can customize this DIY project! I’m sharing just a few additional possibilities for this crafting technique.
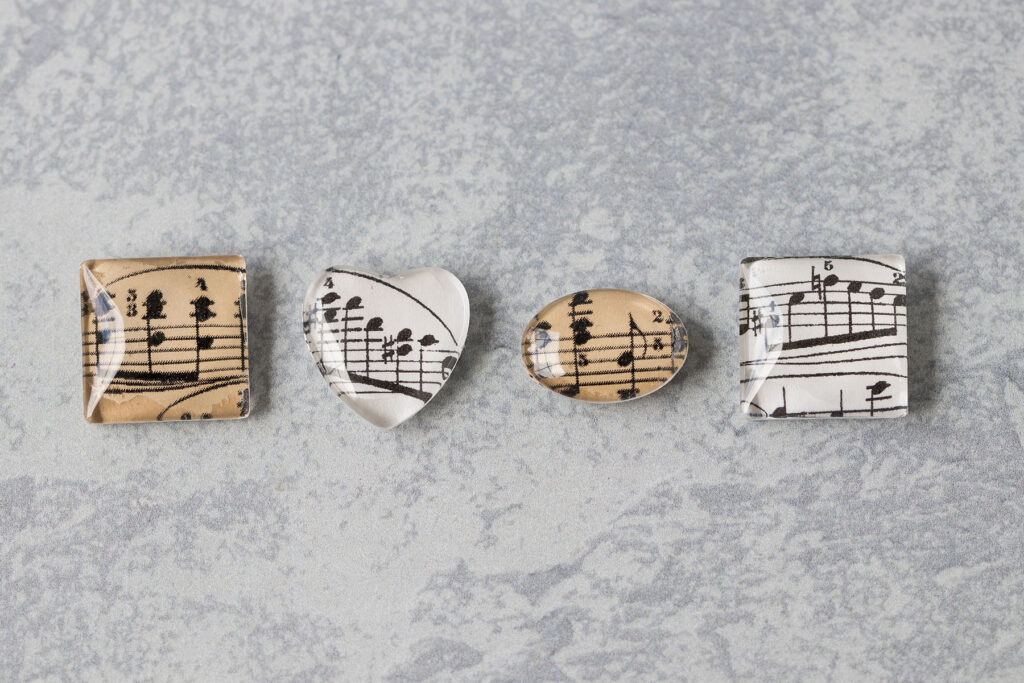
Different shapes
I use 1″ round glass magnets with a 3/4″ round circle punch for the vast majority of my glass magnets because it’s so easy. I haven’t found another magnet/punch combination that works this seamlessly. However, glass cabochons are available in a variety of shapes and sizes. You can hand cut the paper of your choosing to fit any cabochon. I share my favorite resources for ovals, squares, and hearts in my sheet music magnets post.
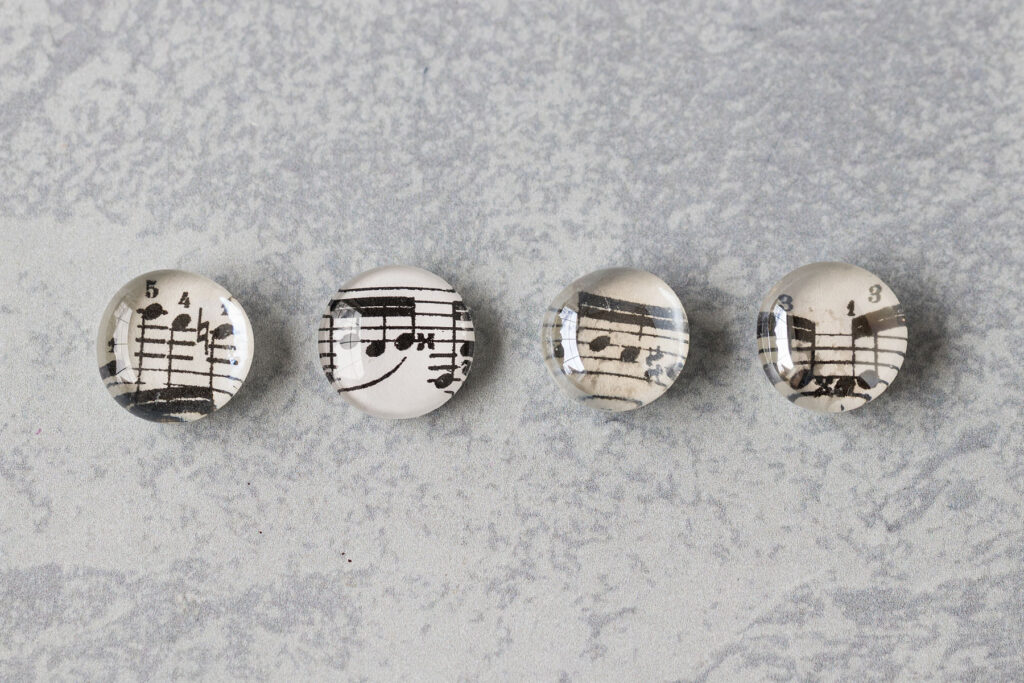
Clear vase filler stones are another popular material for glass magnets. They’re readily available in large quantities at any store with a faux flower section, such as Michaels.
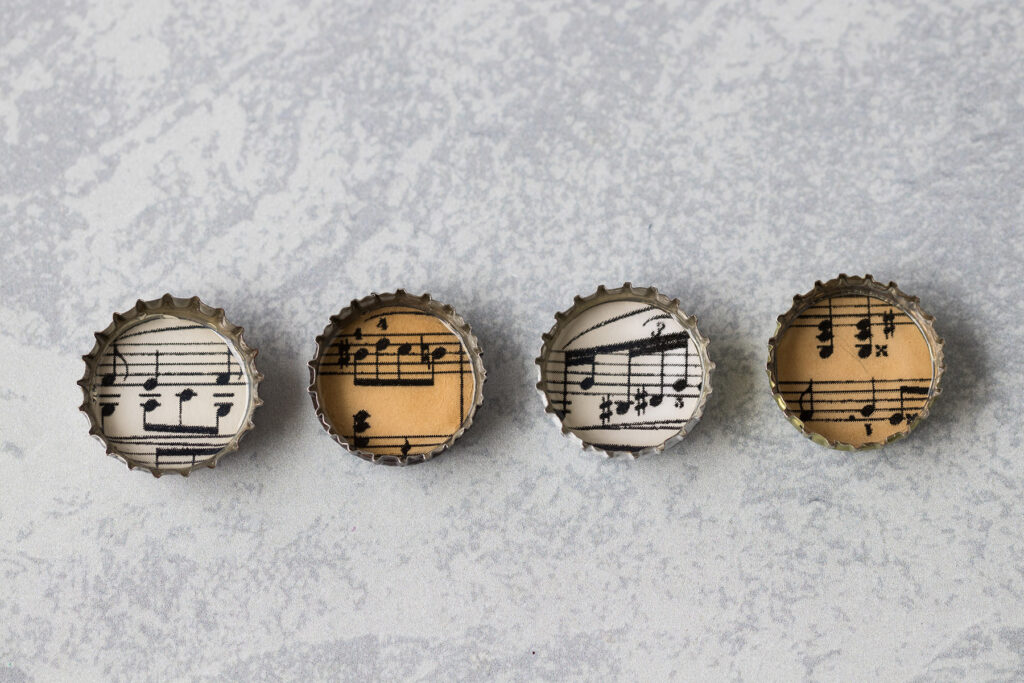
Bottle caps
Recycled metal bottle caps are another popular, readily available material for making your own magnets. Adhere the paper of your choosing to the inside of the bottle cap with diamond glaze. Then cover the paper with a thin coat of diamond glaze. If you don’t have recycled caps on hand, you can purchase new metal bottle caps for a very low price.
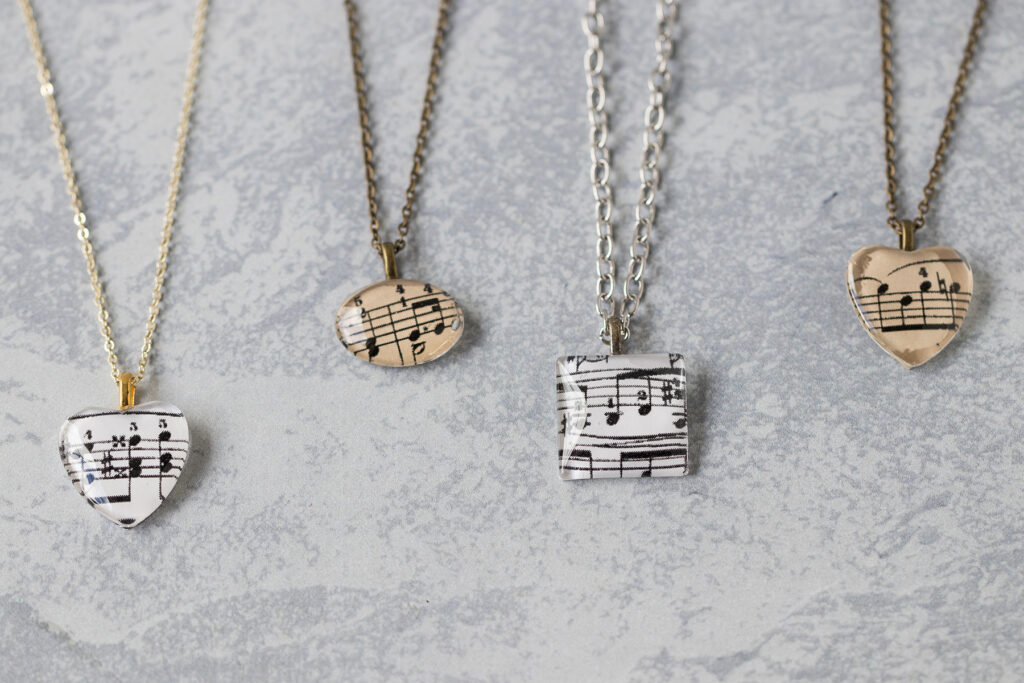
Pendants/ornaments
Instead of gluing a magnet to the back of the cabochon, you can attach a metal bail and turn it into a pendant necklace or Christmas ornament. Bails and chains are available in a variety of metal finishes. Chains also come in multiple lengths and can be purchased in long spools, allowing you to further customize the necklace lengths.
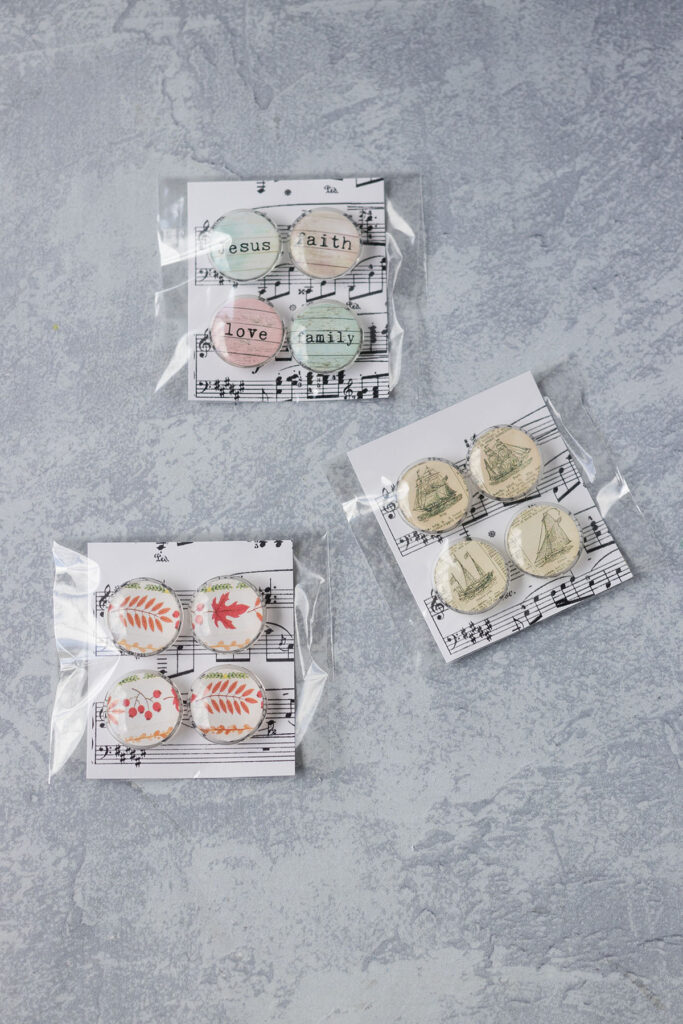
Packaging glass magnets
When I’m giving magnets as gifts, using them as party favors (i.e., for bridal showers), or selling them at craft fairs, I like to package them in sets. The packaging adds a lot to the presentation without too much extra work.
Cut a piece of cardstock into 3″ x 3.5″ rectangles. I use a paper cutter for this task. Cut a flexible magnet strip into 1/8″ width pieces. You’ll need four pieces of magnet strip for each cardstock rectangle. Use tacky glue to adhere the magnet strip to the cardstock. Most magnet strip does have an adhesive coating. However, I like to use glue for added security. Allow the glue to dry completely.
Arrange the magnets on the cardstock card. Slide the card into a 4″ x 6″ treat bag. Fold over the top of the bag, and secure it with a sticker or small piece of tape.
I share more packaged glass magnet photos in my sheet music glass magnets tutorial.
[Disclaimer: There are a few affiliate links in this post. Thanks for your support!]
Did you use one or more of the ideas for DIY glass magnets in this post?
I’d love to see them! Tag your images #RoseClearfield on Instagram or Twitter or post a photo to my Facebook page.
Pin this post for easy access to the ideas for DIY glass magnets post later!
