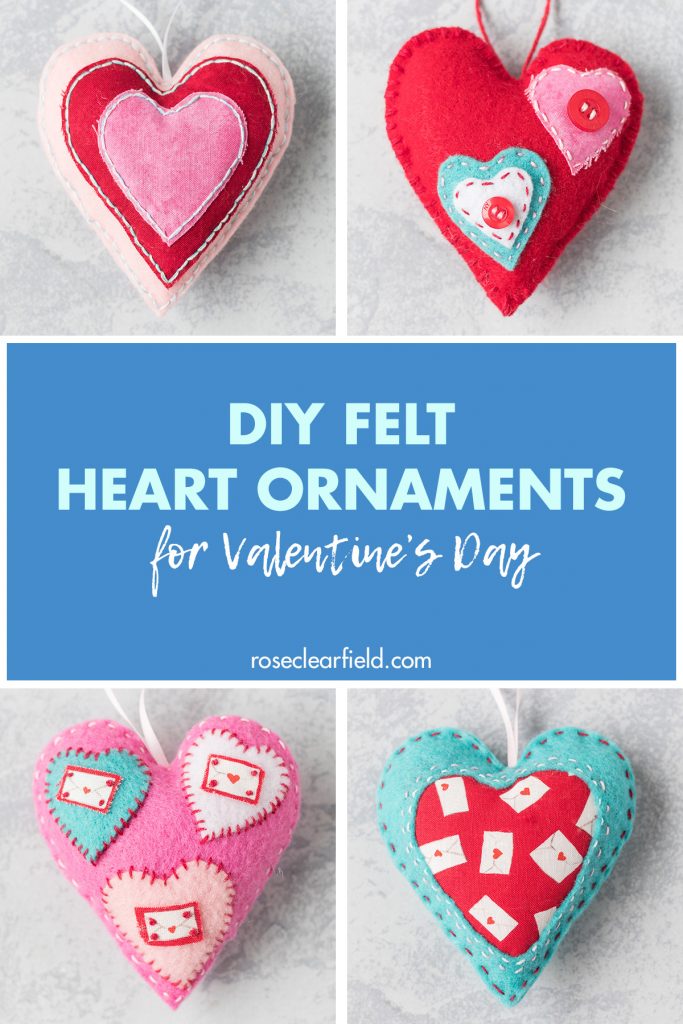
DIY felt heart ornaments are an easy sewing project for Valentine’s Day to create beautiful handmade home decor.
DIY felt heart ornaments couldn’t be cuter and are such a fun way to decorate for Valentine’s Day. I’m one of those obnoxious women who loves hearts and never gets tired of receiving heart jewelry. As such, DIY felt heart ornaments are right up my alley.
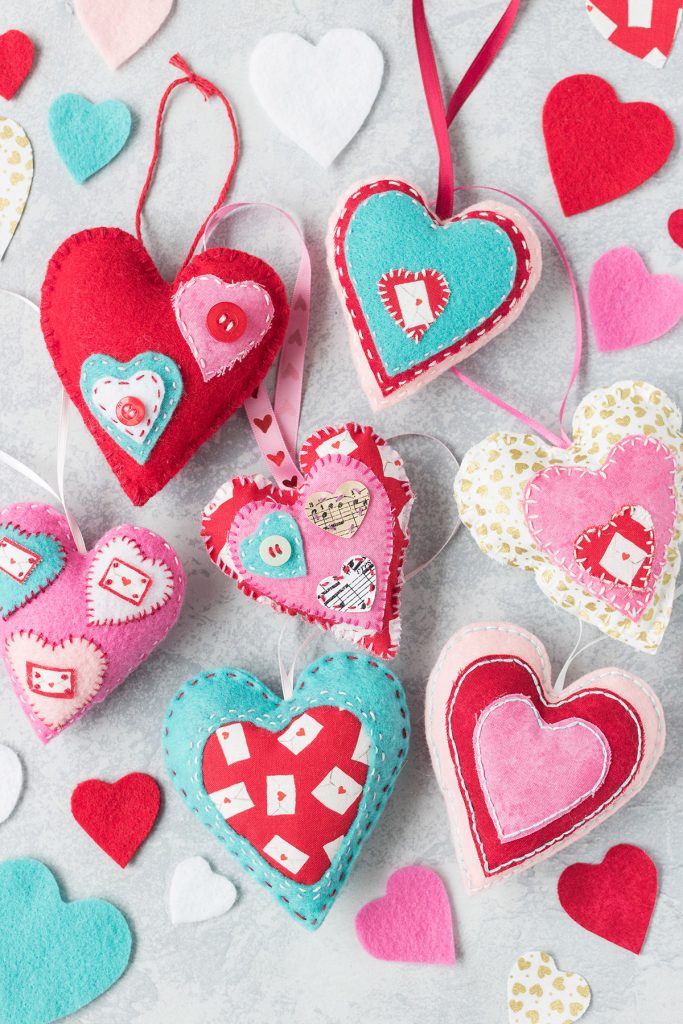
I actually used felt and fabric to create these holiday ornaments. I love mixing the two materials to add more texture and visual aesthetic to the designs. Varied stitching as well as buttons, French knots, and other small details further elevate the designs, creating one-of-a-kind whimsical ornaments you’ll love displaying during the month of February.
I answer a few common questions about the DIY felt heart ornaments and then take you through the supplies and directions for the ornaments as well as the variations I used to create my hearts. Happy crafting and happy Valentine’s Day!
Are these handmade ornaments are a suitable project for beginner sewers?
Yes, definitely! You don’t need a lot of sewing experience to create beautiful homemade ornaments for Valentine’s Day. If you have limited sewing experience, I recommend the following tips to help this project go as smoothly as possible.
- Use only felt, no fabric. Felt is much easier to sew with than fabric. It’s not nearly as stretchy, which means there’s a lot less room for error, as it’s unlikely to pull in a way that isn’t intended.
- Stick to a running stitch. A running stitch is one of the simplest hand stitches out there. It’s easy to learn, looks great, and stitches up quickly.
- Review a few tutorials for hand stitching and basic sewing techniques. While I do provide as much direction as I think will be useful for making these hearts successfully, I do assume some basic sewing knowledge from the readers. If it’s been a while since you’ve completed a sewing project, review a few hand stitches and basic sewing techniques (i.e., threading a needle, tying off a finished thread with knots).
- Practice your stitches on scrap fabric. Before diving into your newly cut-out hearts, do a little practice stitching on a spare piece of fabric.
Can I use a sewing machine to make DIY felt heart ornaments?
You can definitely use a sewing machine instead of hand sewing your ornaments. I am most comfortable with hand sewing and enjoy the process of it. Don’t feel limited to this option. A sewing machine works great and will make the ornaments come together much more quickly.
I love the felt hearts but don’t have a use for Valentine’s Day ornaments. Are there other ways to use DIY hearts?
Yes, absolutely! Here are a few of my other favorite ways to use handmade felt hearts.
- Garlands. Transform your new hearts into a garland that you hang on a mantel or in a doorway.
- Bowl/vase fillers. Leave off the ribbons and use the hearts to fill up a bowl or vase. The hearts look great on their own propped up on a mantel, entryway table, etc. as well.
- Sachets. Instead of stuffing the hearts with Poly-Fil, stuff them with dried lavender petals or another sachet filling of your choosing.
Don’t feel limited to these options! If you have other ideas for your DIY hearts, I’d love to hear about them.
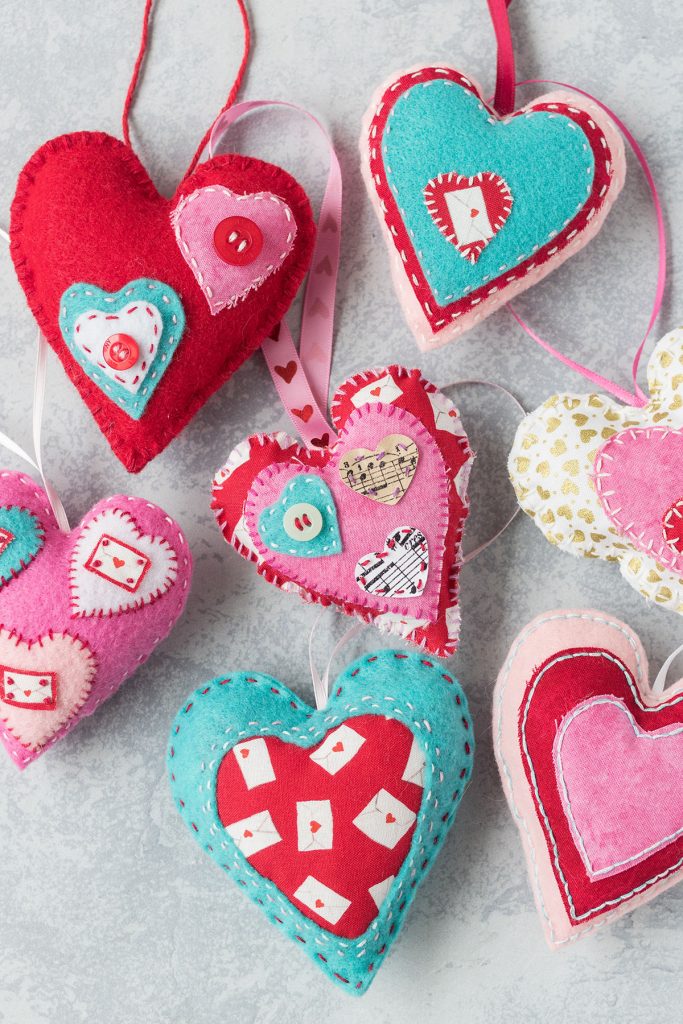
Supplies for DIY felt heart ornaments
- Heart stencils or other heart templates. I used the Fiskars ShapeTemplate heart tool. My friend Natasha has a set of heart templates that also work perfectly for this project.
- White printer paper for tracing the hearts
- Felt rectangles. I used four 9″ x 12″ felt rectangles for my hearts. I purchase my felt rectangles in person at Michaels for less than a dollar each.
- Fabric fat quarters. 1-2 fat quarters is plenty of fabric to make a dozen heart ornaments. For this tutorial, I purchased fat quarters from SewWhatQuiltShop on Etsy. If you’d like more information about the specific patterns and colors I used, let me know. Availability is subject to change at any time without notice.
- Embroidery floss or another thread suitable for handmade ornaments. I used various white, pink, purple, and turquoise threads from the embroidery floss kit I’ve linked here.
- Ribbon or twine for the ornament loops. I recommend ribbon with a diameter of 1/2″ or smaller.
- Poly-fil or a similar fiberfill
- Sewing pins
- A hand sewing needle
- Pencil
- Paper scissors
- Fabric scissors
How to make DIY felt heart ornaments
A couple of notes before I get into the instructions:
- I explain how to make ONE of the ornaments featured in this tutorial in full. In the design variations section that follows, I provide more detail about the other ornaments. If you have further questions about how to make any of the other ornaments, don’t hesitate to ask.
- I hand sewed all of my ornaments. As previously mentioned in the FAQs section, I provide instructions for hand sewing. Feel free to use a sewing machine.
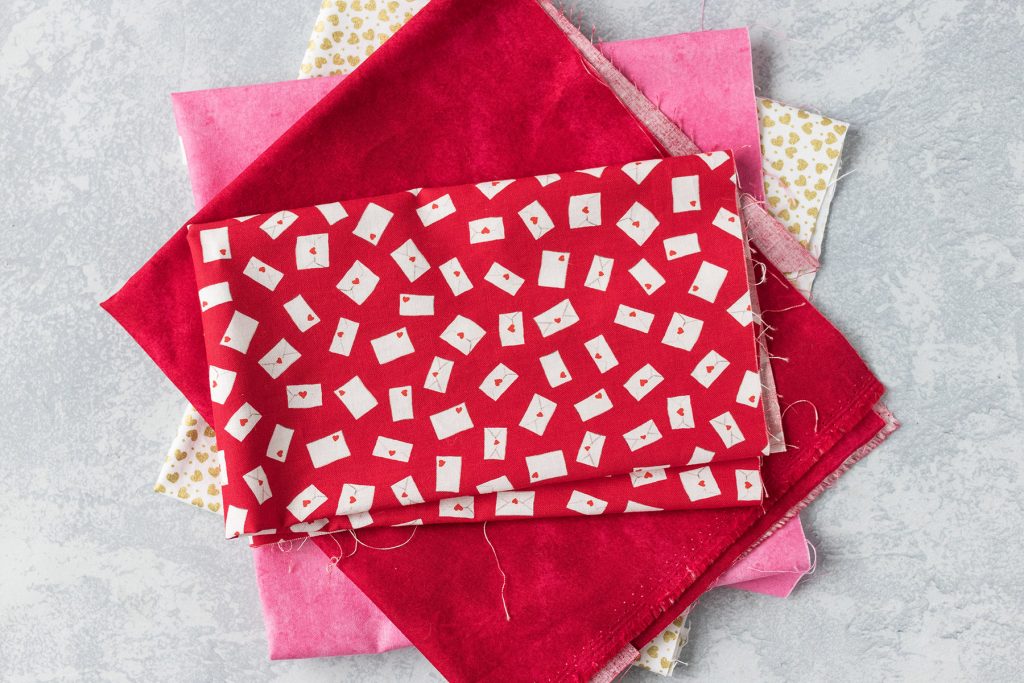
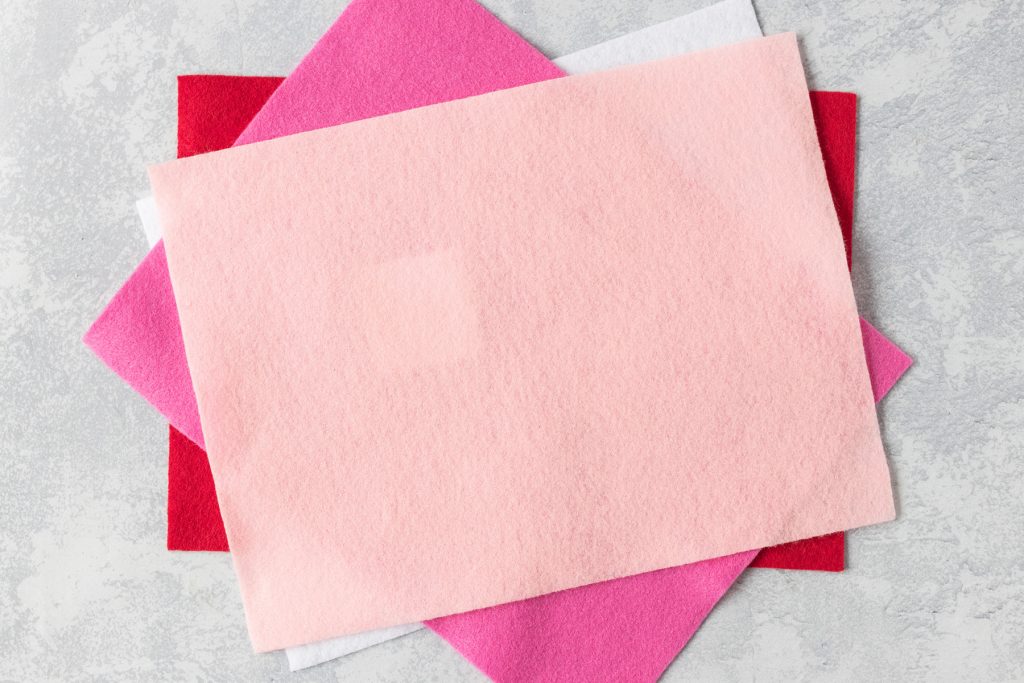
Gather your felt and fabrics.
If you’re using fabrics, press them with an iron before you begin sewing.
- Choose the setting on the iron that corresponds with the type of fabric you’re using.
- Press the fabric. Don’t iron it. If you’re unfamiliar with this technique, watch a YouTube tutorial.
- Press the fabric with the backside of the fabric facing up.
- Keep a mister bottle filled with water handy, and mist the fabric periodically as you go.
When your fabric is wrinkle-free, let it dry completely. It’s now ready to use for your DIY felt heart ornaments.
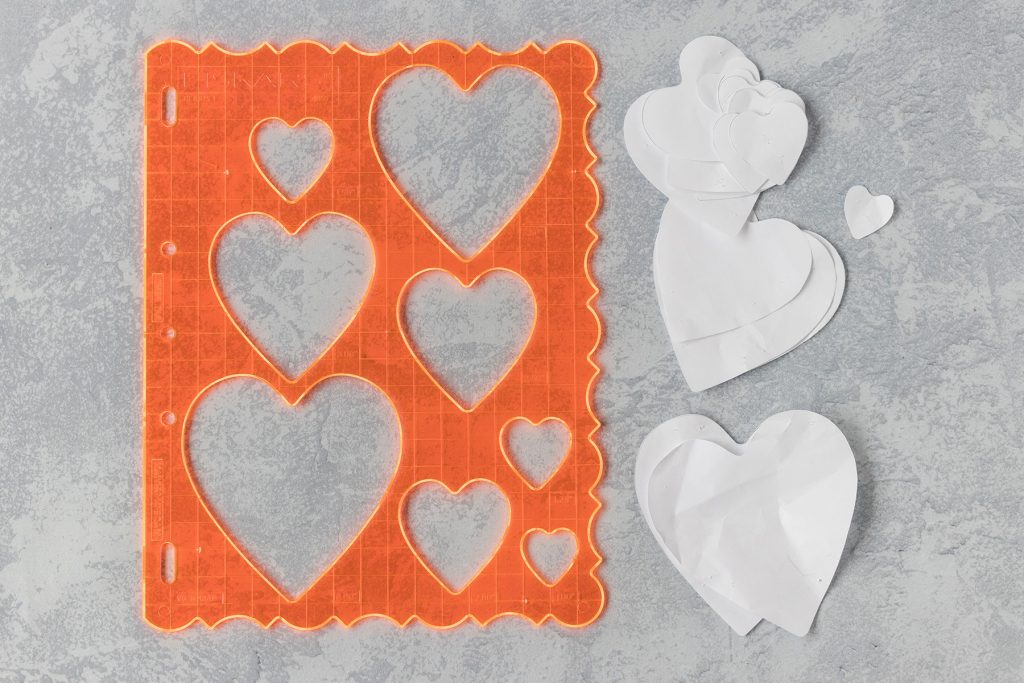
Grab your heart templates, white printer paper, paper scissors, and a pencil. Trace and cut out your hearts to serve as the patterns for your ornaments. I recommend tracing at least two of each of six different sized hearts, so you can cut out lots of felt and fabric hearts at once.
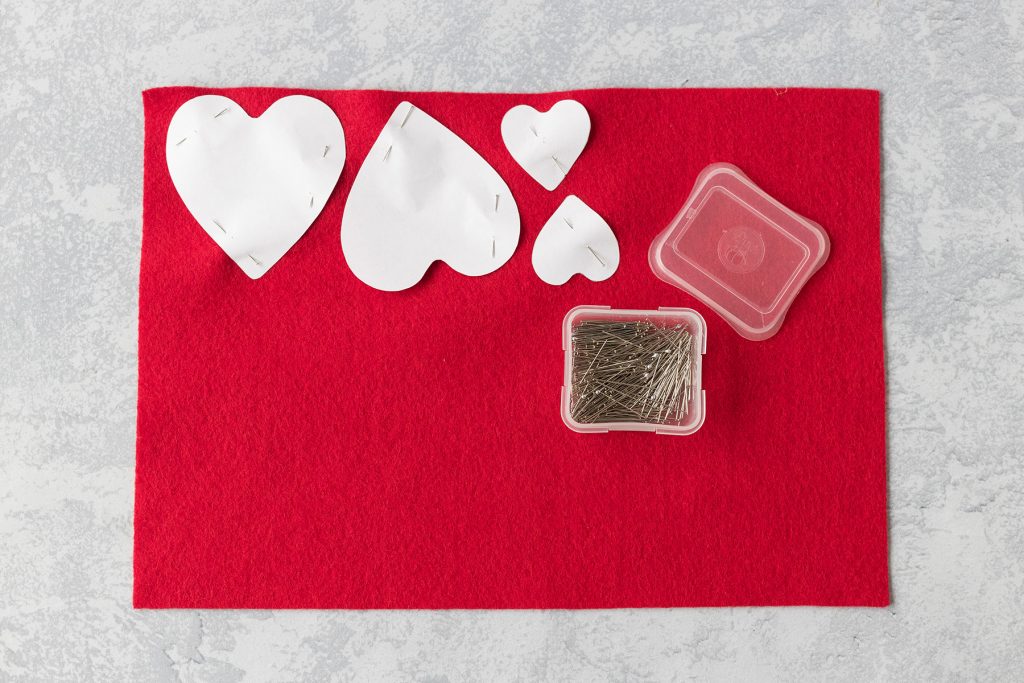
Pin the paper hearts to the felt and fabric. Cut out the hearts. Remove the pins and paper hearts.
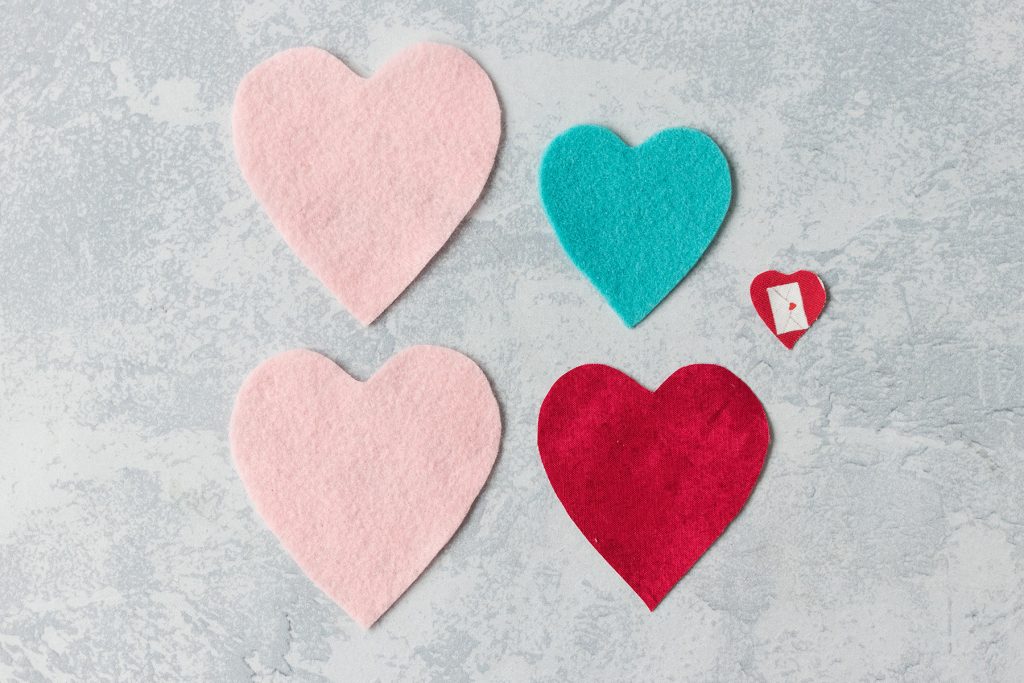
Select the hearts you want to use to make an ornament.
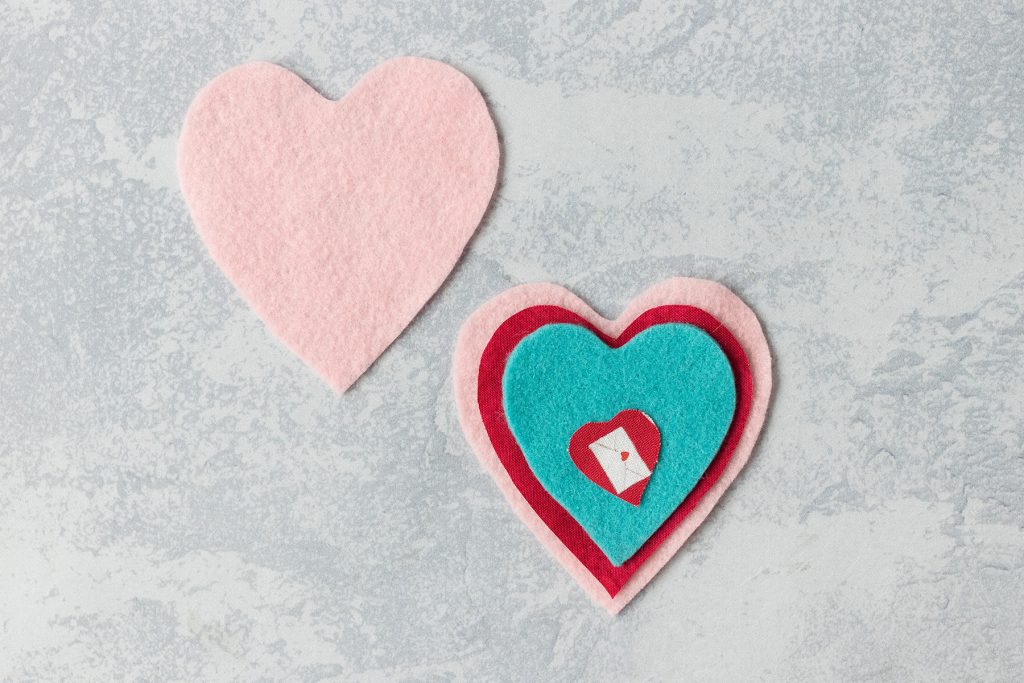
Arrange the hearts, tweaking as needed until you’re happy the way with it. Remember you’ll need two of the largest heart. You’ll keep the back piece separate until the end.
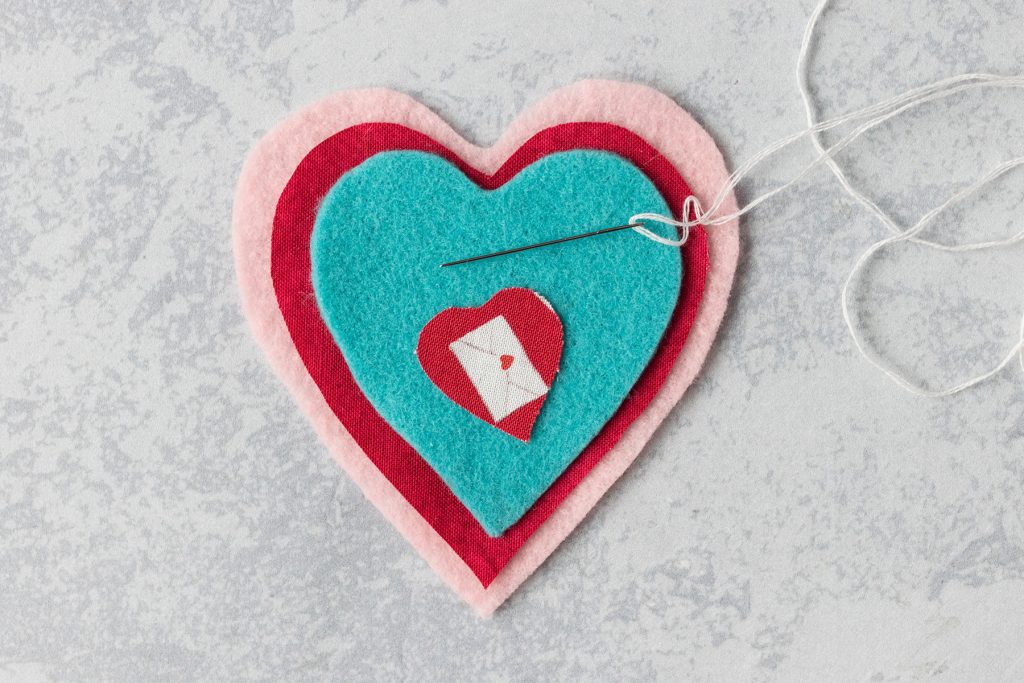
Prepare your thread. For the DIY felt heart ornaments in this post, I used 2-3 strands of embroidery thread. I like the feel and aesthetic of 2-3 strands, but you’re welcome to use more or fewer threads.
Measure an arm’s length of embroidery thread. Pull 2-3 strands. Pull from the top, keeping the thread as straight as possible to prevent it from tangling. Put the strands together. Tie a couple of knots at the end, and thread your needle. You’ll repeat this process as needed while sewing each ornament.
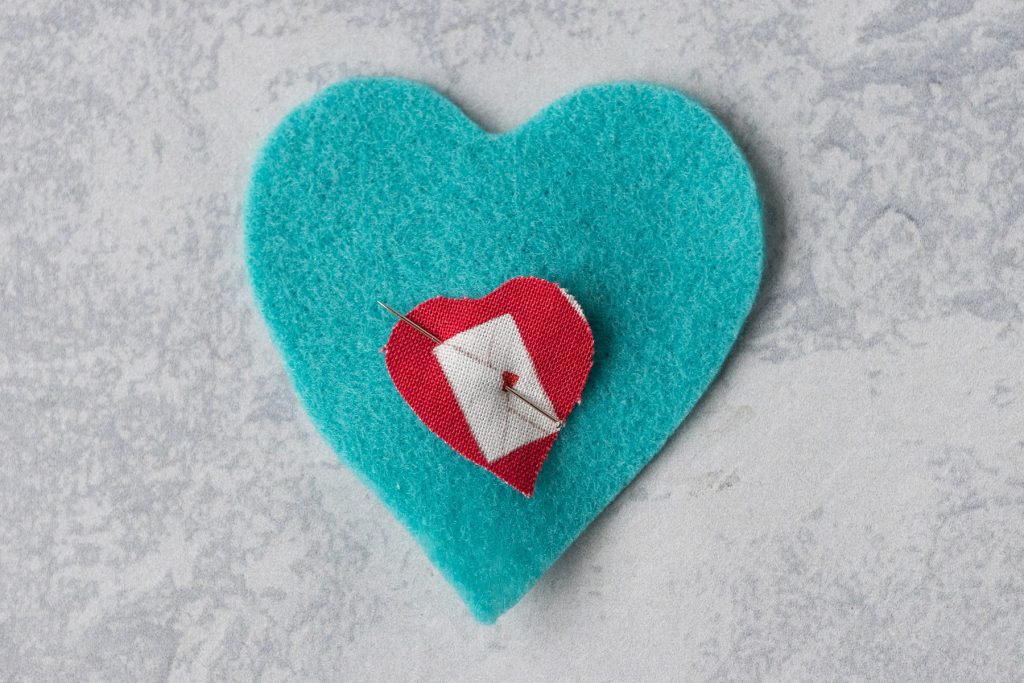
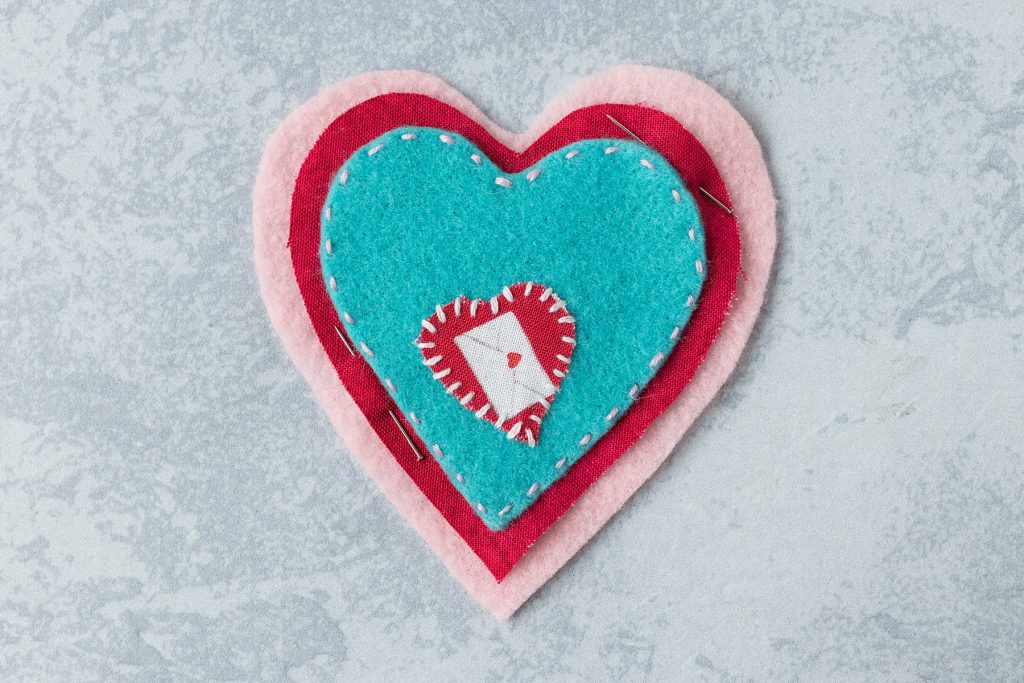
Pin the top layer in place.
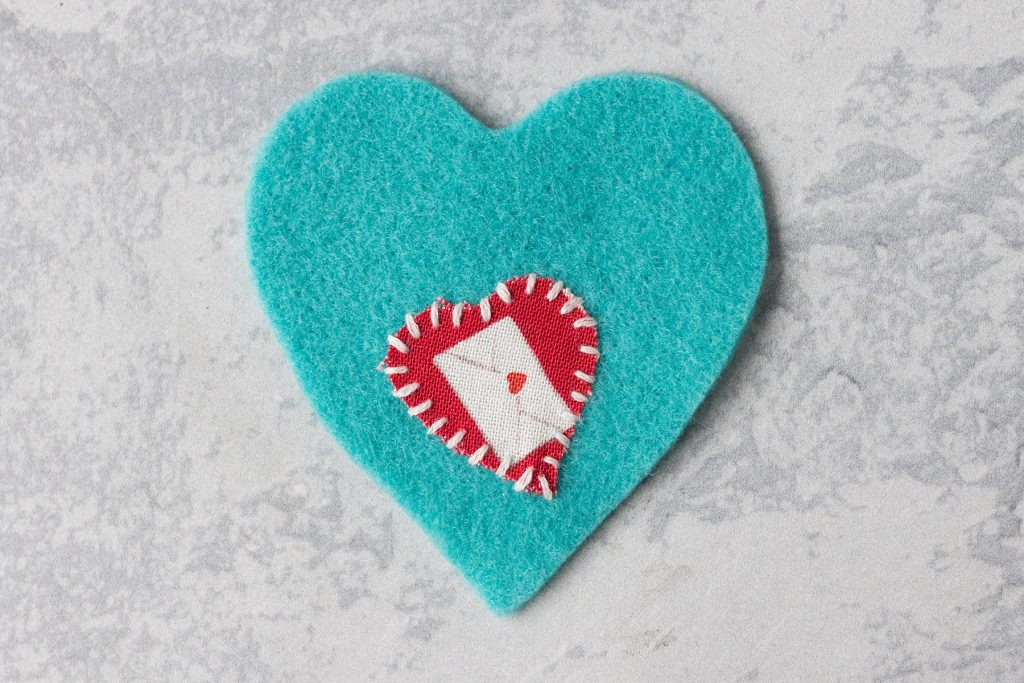
I start each sewing layer at the bottom of the heart and work my way around. Make sure any loose thread ends get tucked into the next layer.
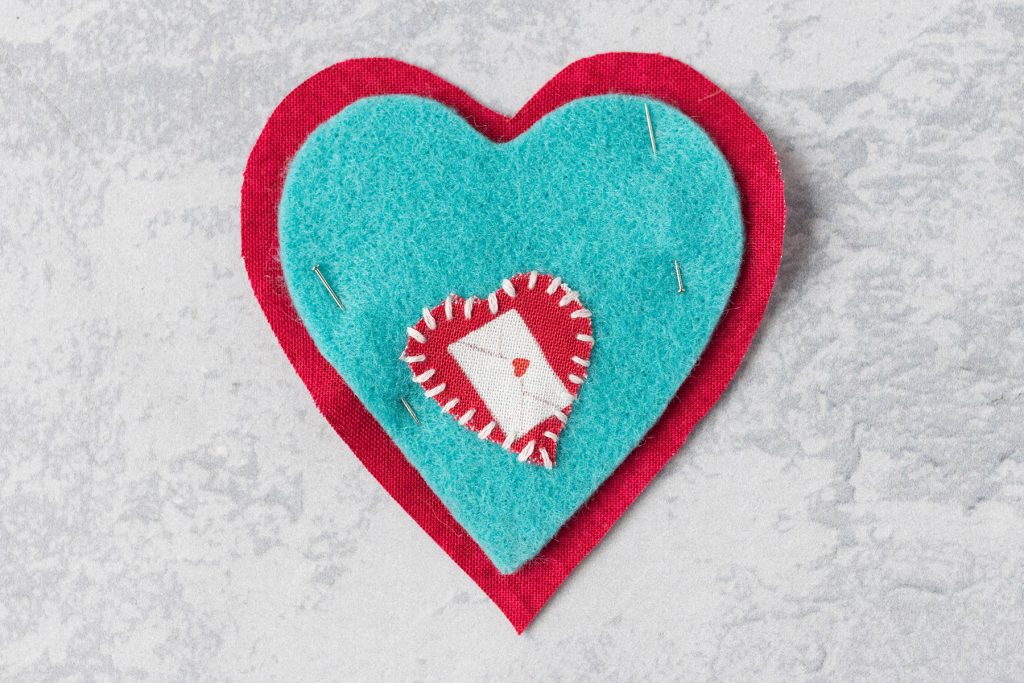
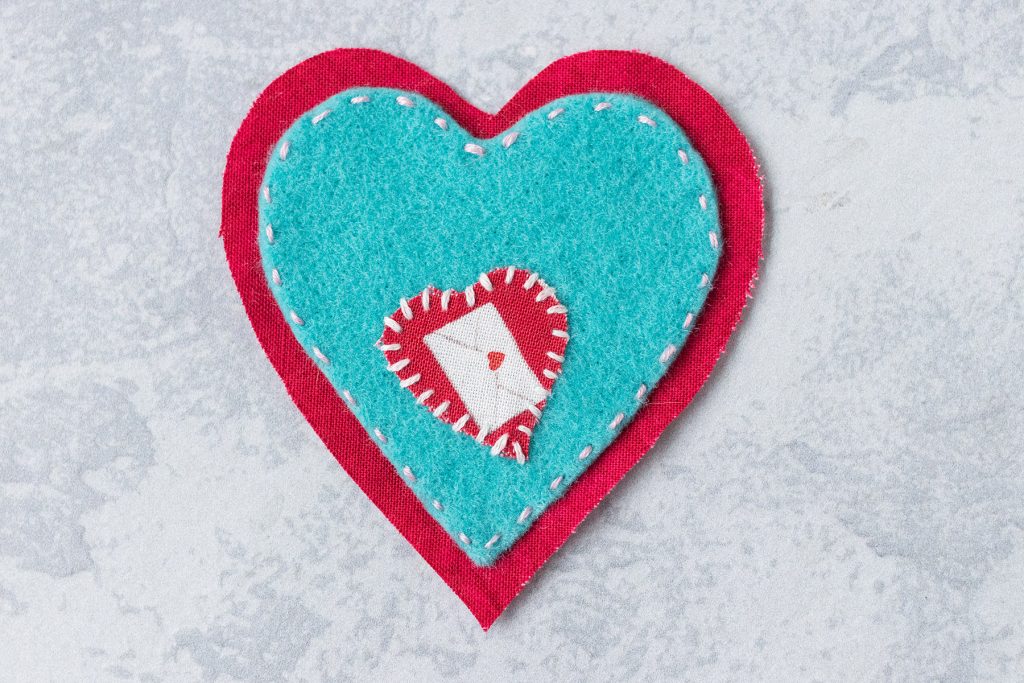
Here’s the second layer pinned and then sewn in place.
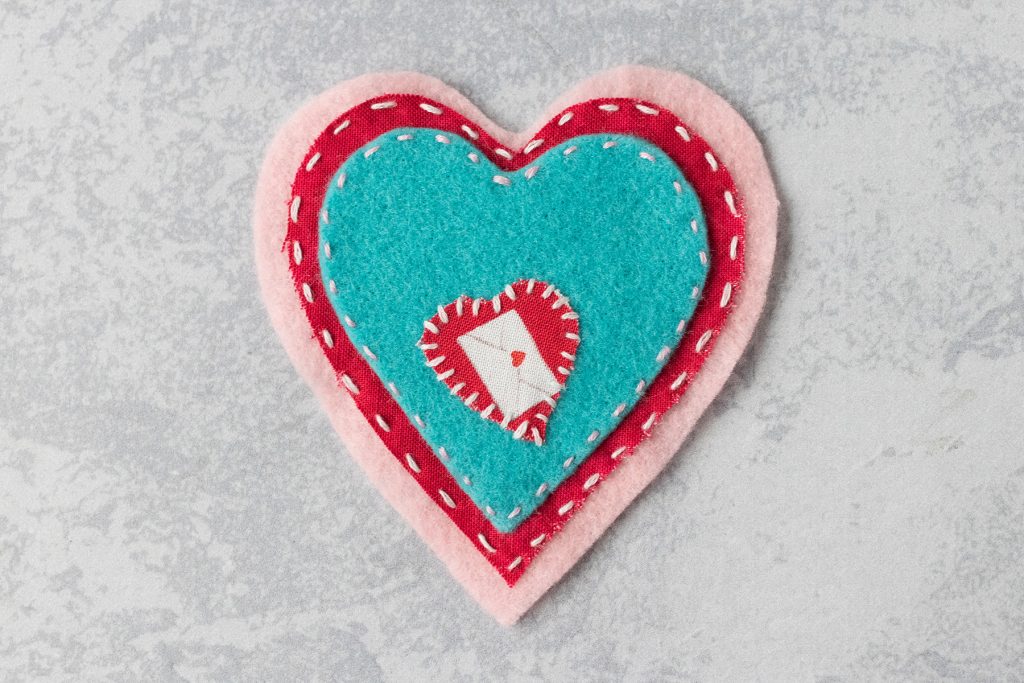
Here’s the third layer pinned and then sewn in place.
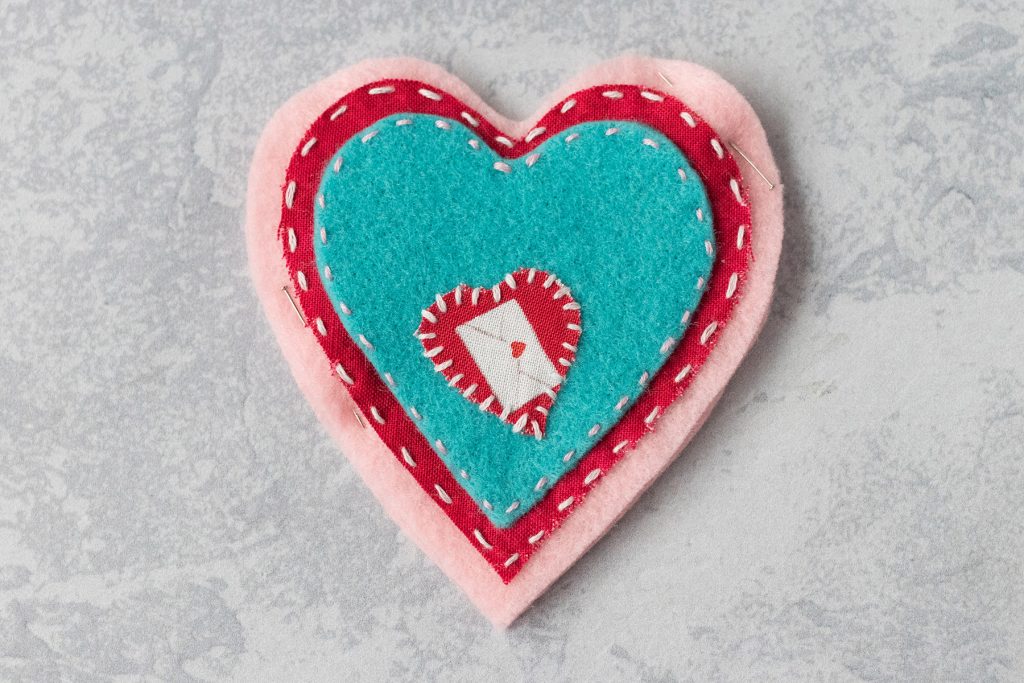
Pin the back layer in place, taking care to line the two hearts up as evenly as possible. Trim any edges that don’t line up precisely. Start the thread in between the two layers, so you’re able to hide the end of it.
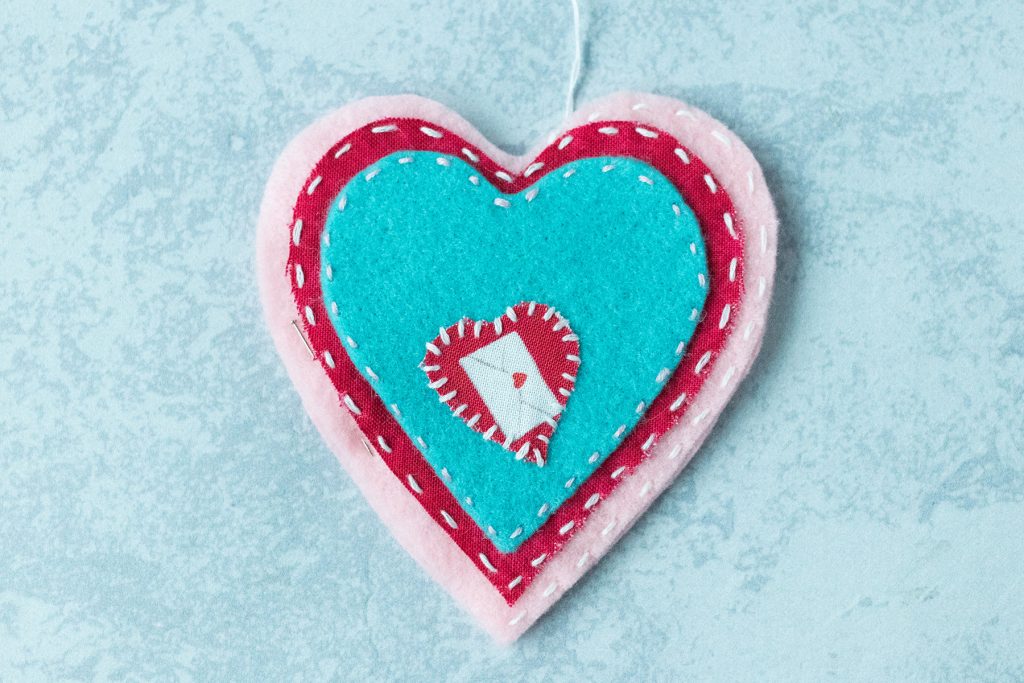
When you reach the top of the heart, pause your sewing to prepare the ornament loop.
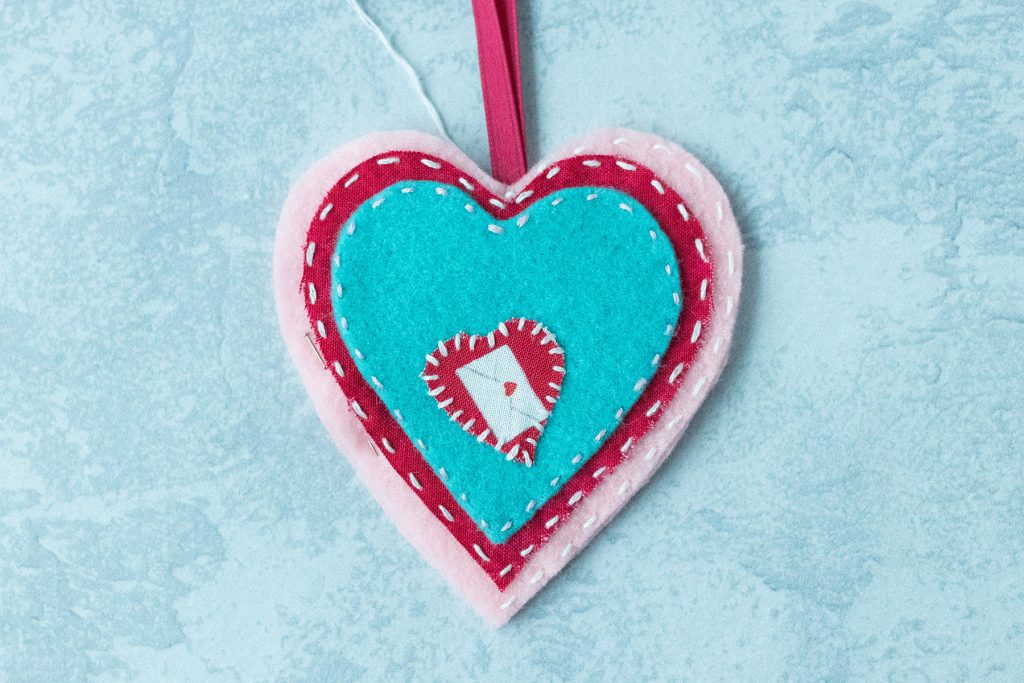
Cut a 10-12″ length of ribbon or twine. Form it into a loop. Poke 1/2″ length or so of the ends of the loop into the heart. Secure the ornament string with the next 1-2 stitches you make.
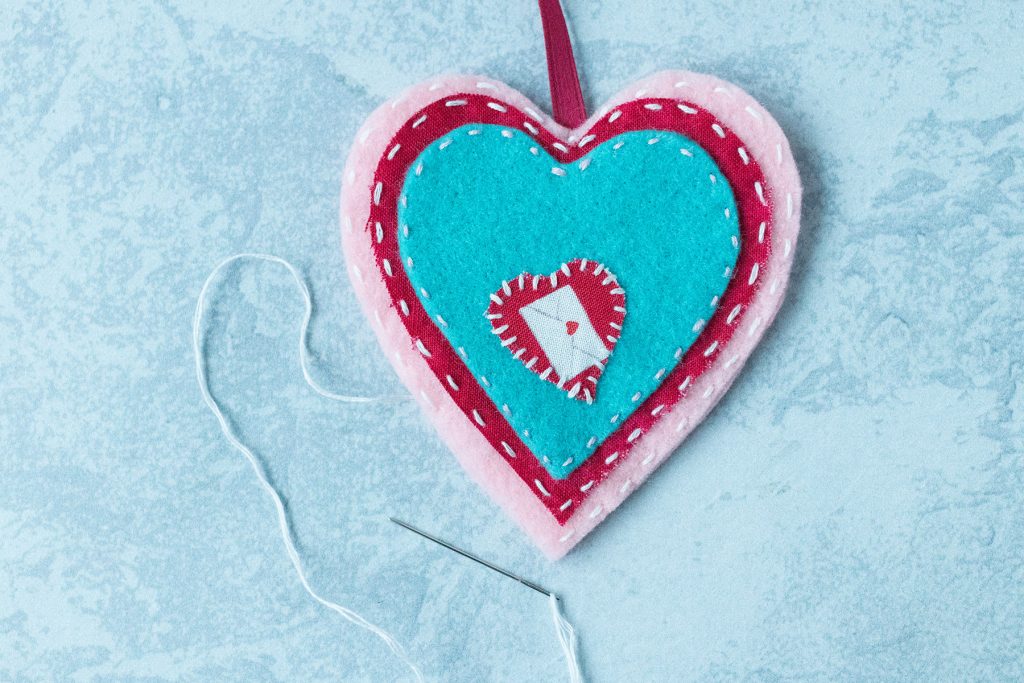
When you have about an inch opening remaining on the heart, pause your sewing to add the filling.
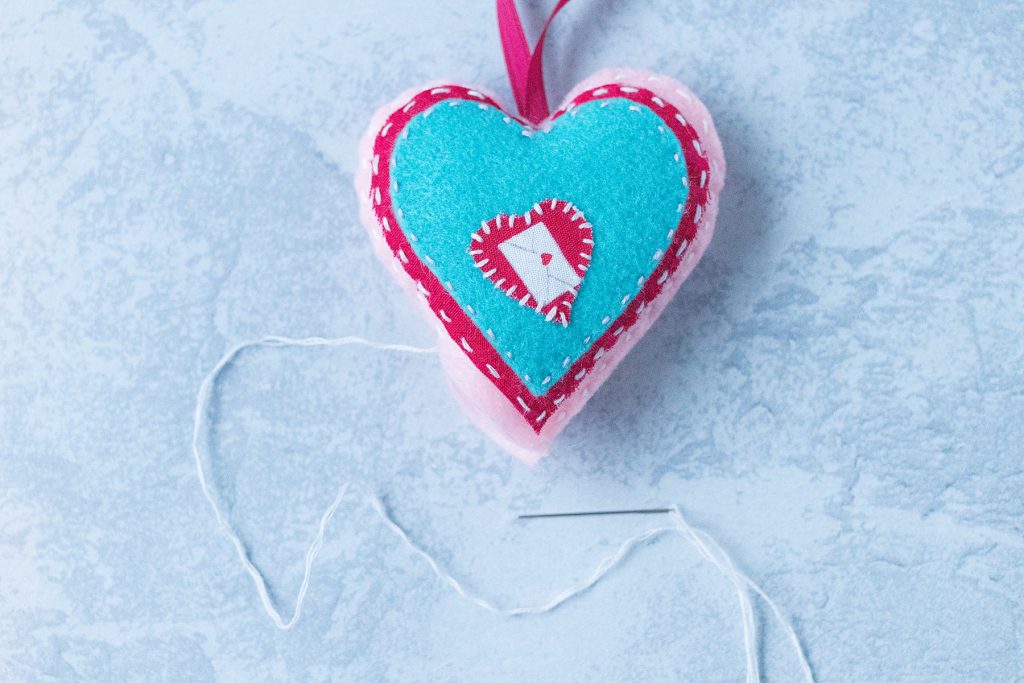
Stuff the heart ornament with Poly-fil or another fiberfill. If you have trouble working it in with your fingers, use a pencil or another long object. It’s up to you how full you’d like to stuff it. Make sure that it’s stuffed evenly and stuffed all the way to the edge before you close up the heart.
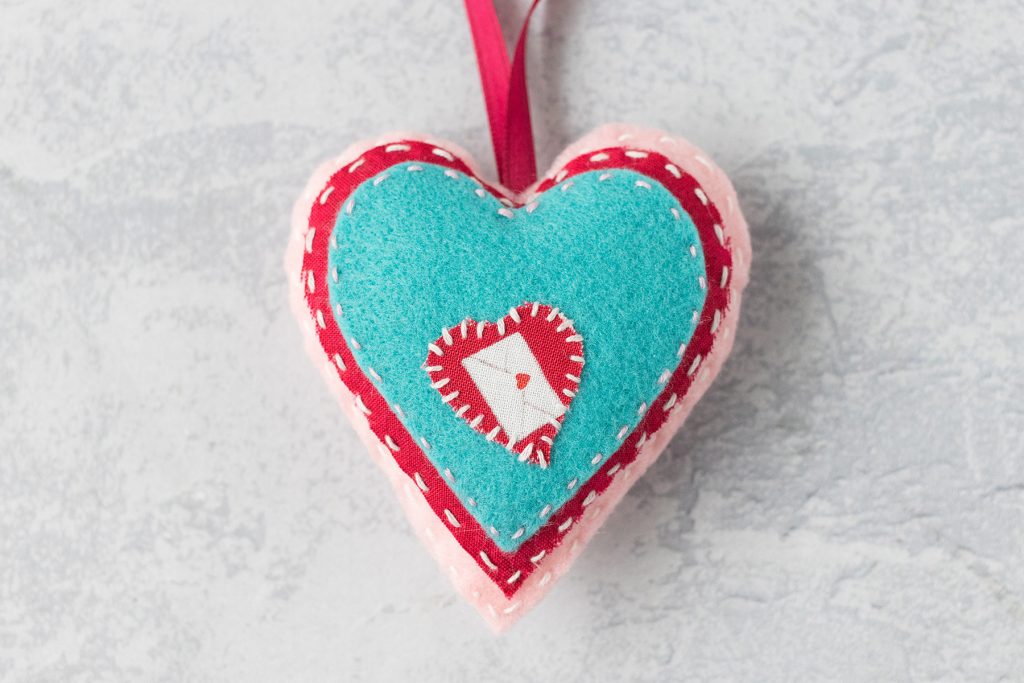
Finish sewing up the two layers. Tie off the final thread in between the two layers, and tuck in the end.
Your new Valentine’s Day ornament is complete and ready to be displayed on a holiday tree!
Design variations
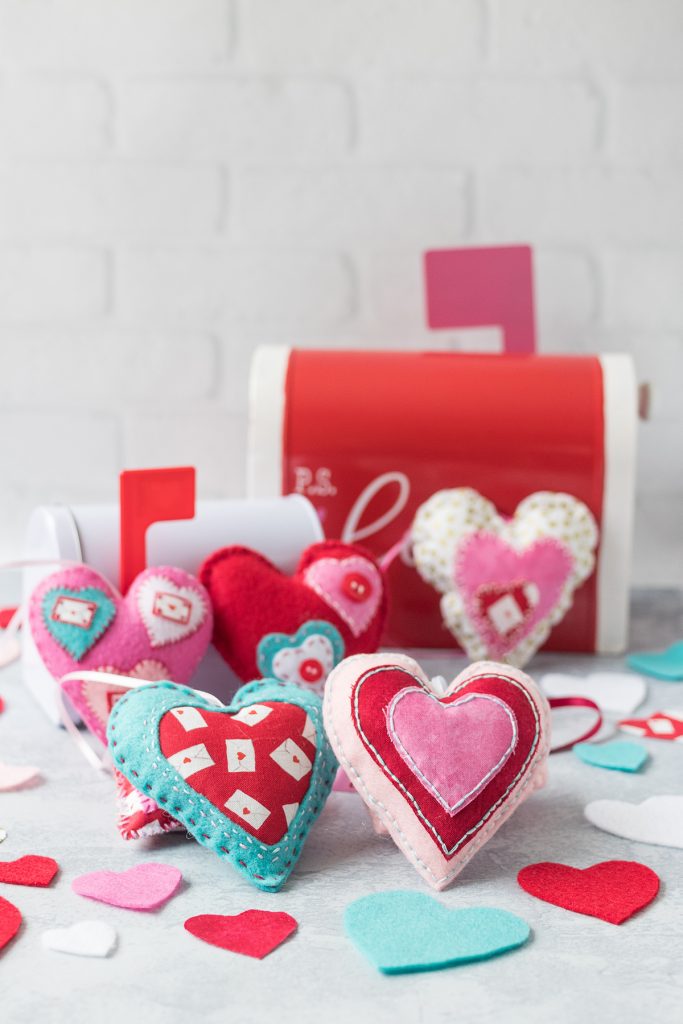
There are a few variations that I used to add different aesthetics to my DIY felt heart ornaments. Mixing and matching different sewing techniques and details allows for endless possible combinations, especially when used with different felts/fabrics, colors, and patterns.
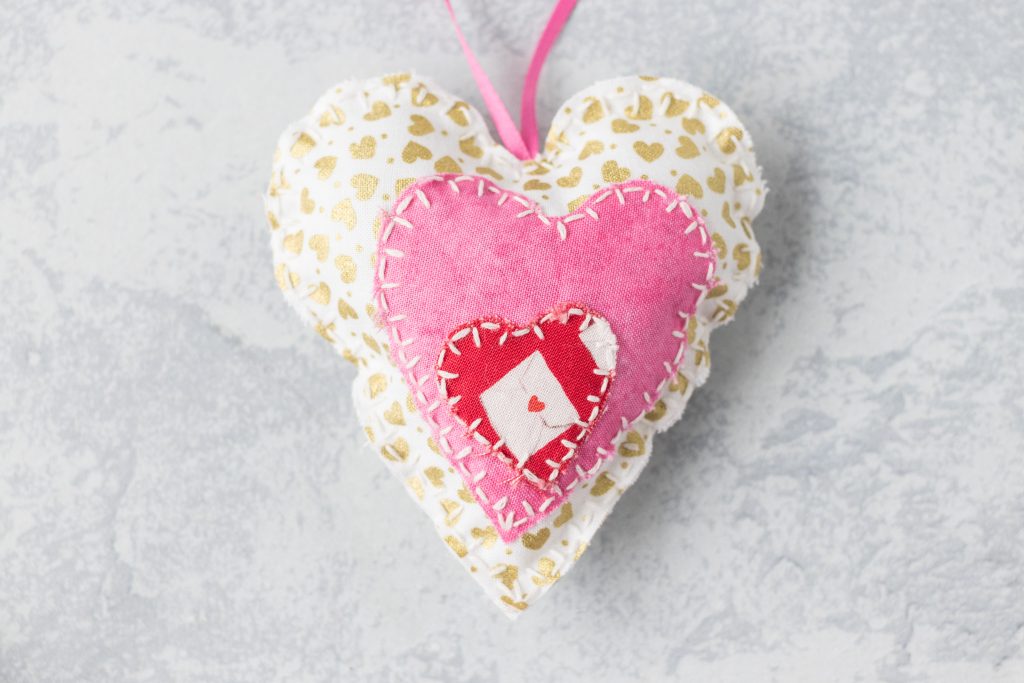
Stitches
One of the easiest ways to mix up handmade ornaments is to use different stitches. Holiday Crafts and Creations has step-by-step directions for all of the stitches that I used for my ornaments. If you need further help or want to branch out to other stitches, search for YouTube hand stitching tutorials.
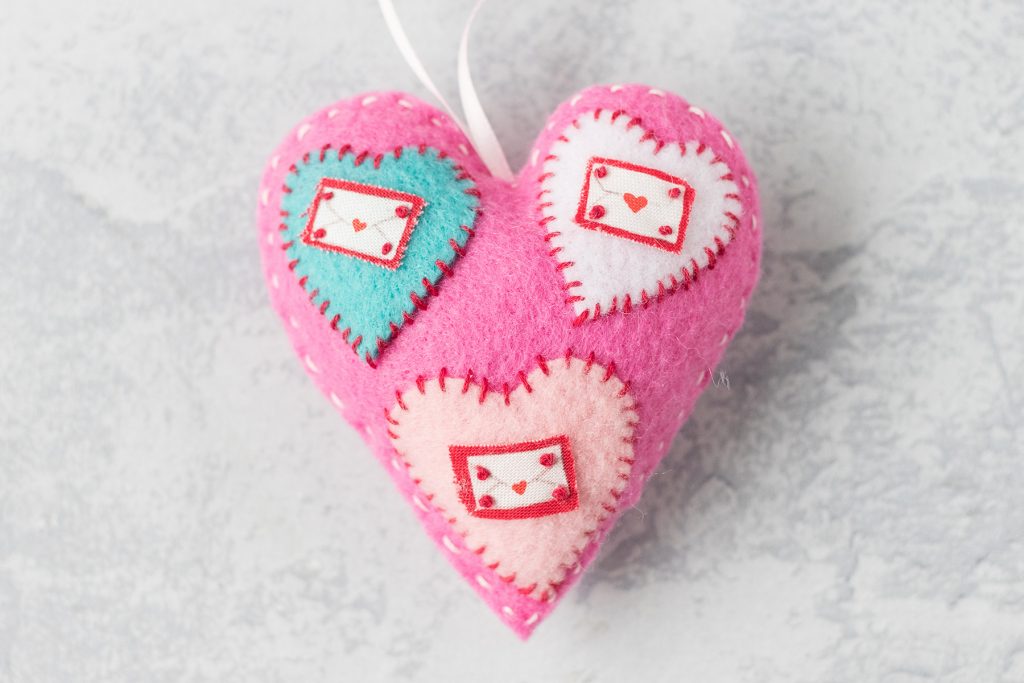
French knots
Technically, French knots are just another type of stitching. But I wanted to call attention to the French knots that I used for the design above, as I know people will be left wondering about it otherwise. French knots seem intimidating, I know. But with just a little practice, you’ll be doing them in your sleep. I love the dimension they add to sewing pieces.
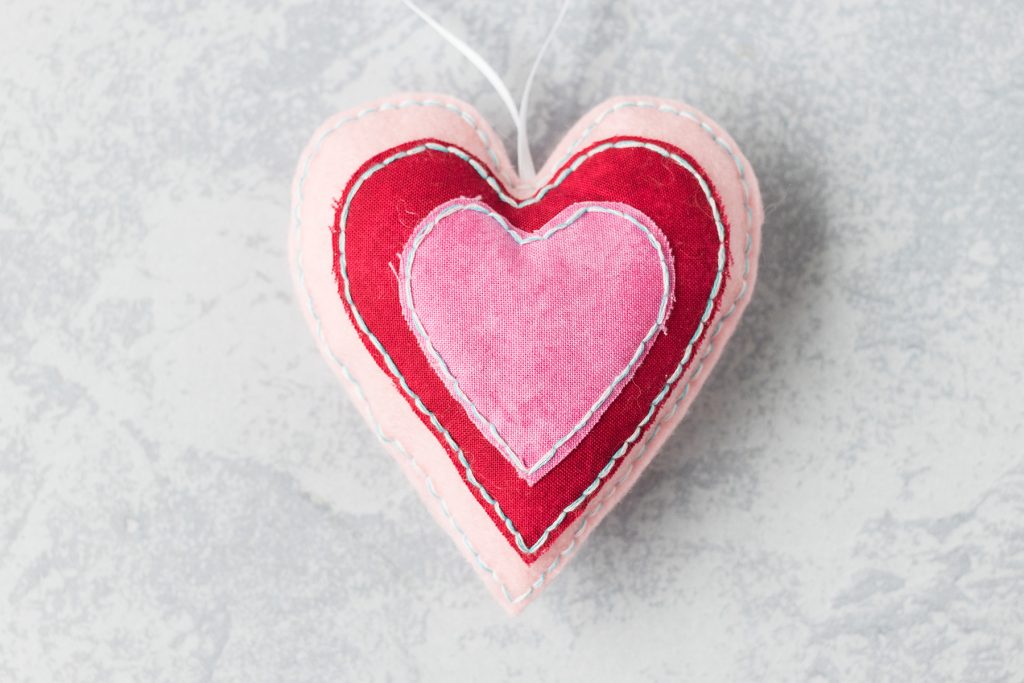
Combining thread colors
If you’ve ever done a counted cross-stitch or needlepoint kit, you’re probably familiar with combining multiple thread colors. Sewing two or more thread colors with a single needle is an easy way to add variation and depth to the color in a sewing project. Ornaments are no exception.
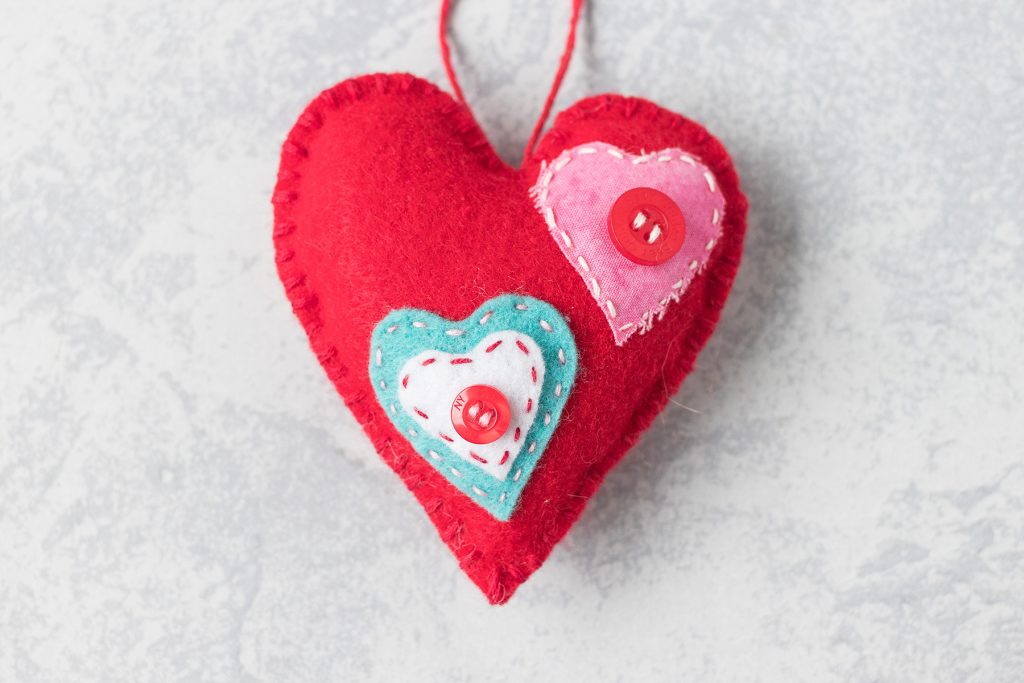
Buttons
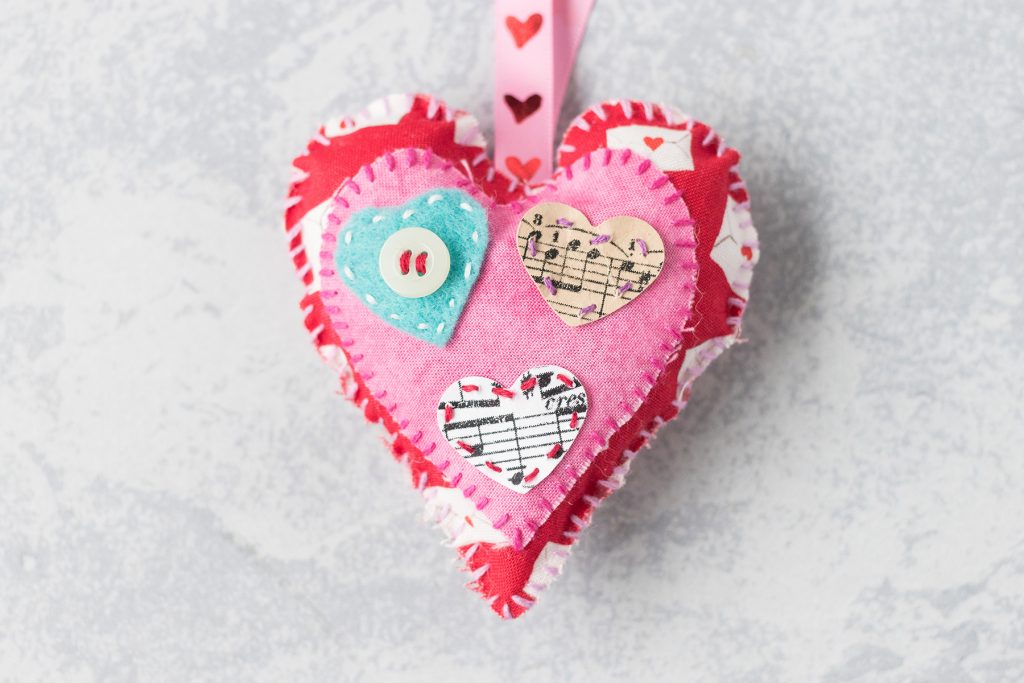
You know that I’m crazy about buttons and had to add a few buttons to my Valentine’s Day ornaments. Two-hole or four-hole buttons are perfect for ornaments. For four-hole buttons, you can run two stitches parallel to each other or cross your stitches to create an X. My current favorite Etsy source for buttons is MellowMoonSupply.
Paper detail
You know that I’m also crazy about sheet music and wanted to add a little sheet music detail to one of my ornaments. Sewing with paper is much easier with a sewing machine. For this type of ornament, it’s certainly manageable to sew it by hand, especially for just a few ornaments. Sewing with paper leaves zero room for error, so place your stitches carefully. Dictionary pages and French primer pages are perfect for Valentine’s Day ornaments as well.
Felt/fabric window
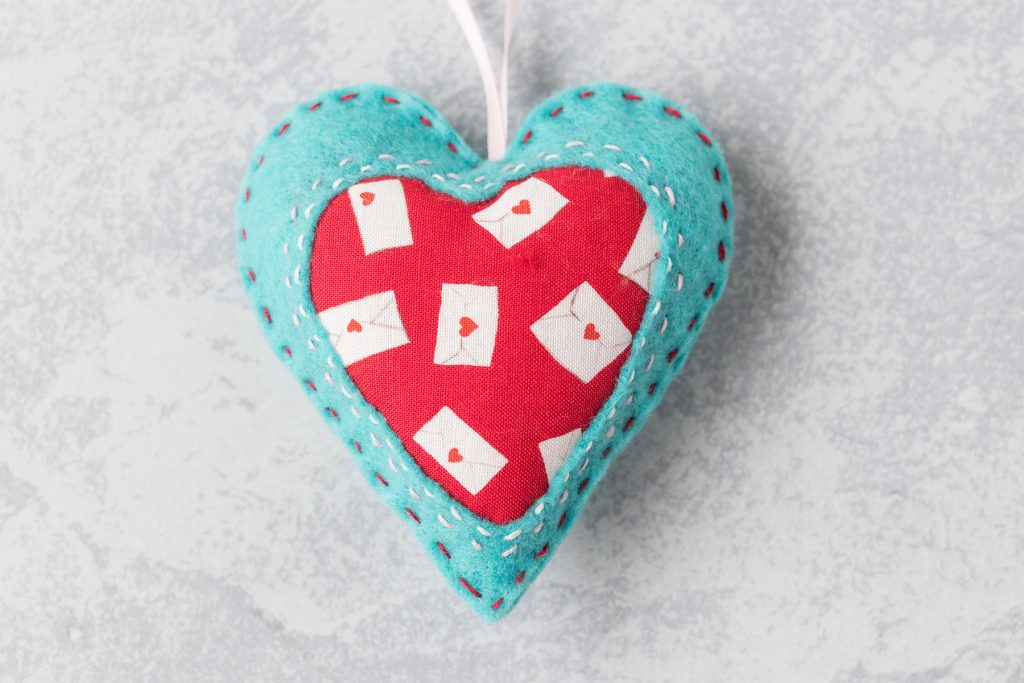
I absolutely love creating a felt or fabric window on my handmade ornaments. To create a window, cut a heart shape out of the fabric or felt you’ll be using for the front of the ornament. Then cut a heart shape to go in the window that’s slightly larger than the opening. Sew it into place as you would sew any other layer of the ornament.
[Disclaimer: There are a few affiliate links in this post. Thanks for your support!]
Did you make the DIY felt heart ornaments?
I want to see them! Tag your images #RoseClearfield on Instagram or Twitter or post a photo to my Facebook page.
Pin this post for easy access to the DIY felt heart ornaments instructions later!
