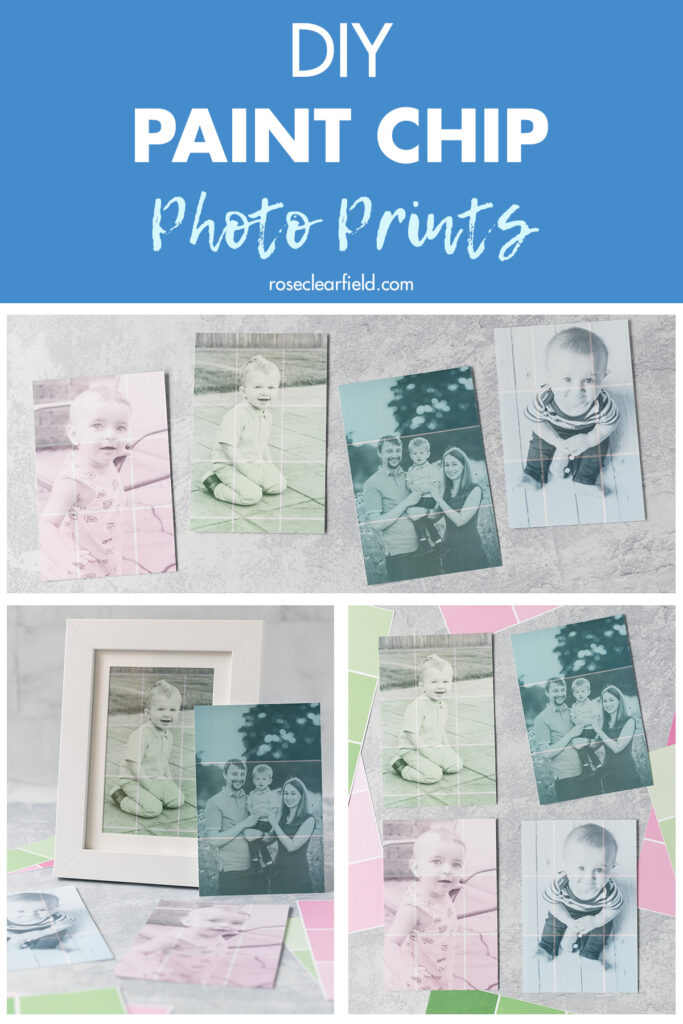
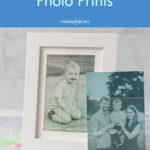

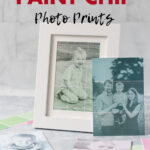
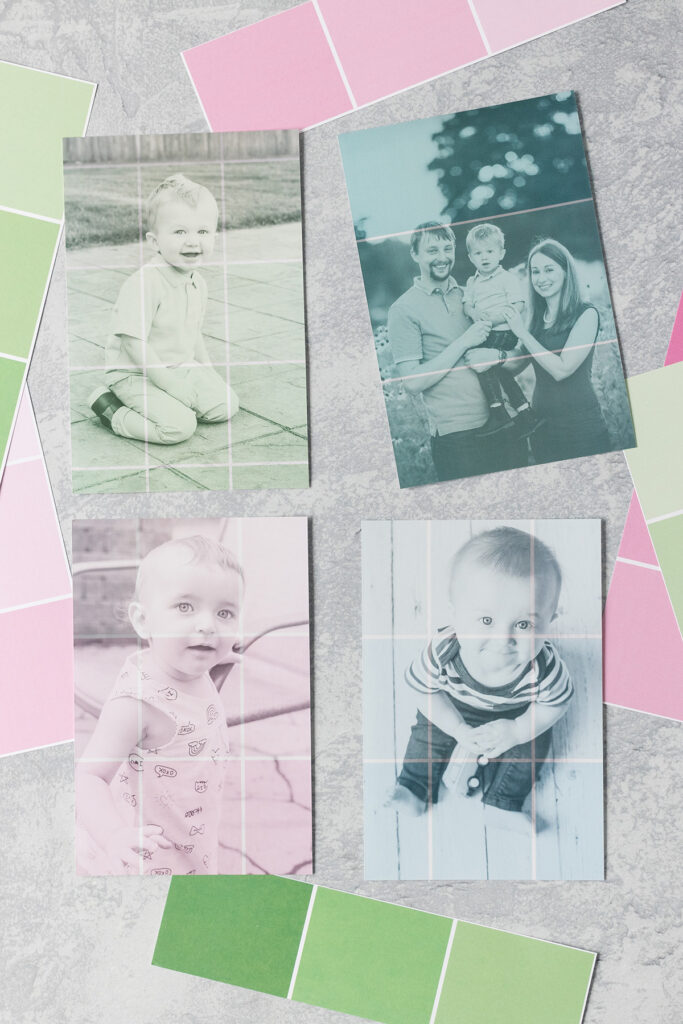
DIY paint chip photo prints are an easy home decor project to create unique photographs to display in your house or to give as gifts.
I’ve had this paint chips photo idea from BHG (it’s number 20 in the slideshow) pinned forever. While I like what they did with the concept, I wanted to put my own spin on it. Instead of simply feeding paint chips into a printer and hoping for the best, I created a digital version. You have a lot more control this way, giving you more creative license and allowing you to finetune the results much more effectively without running through tons of paint chips.
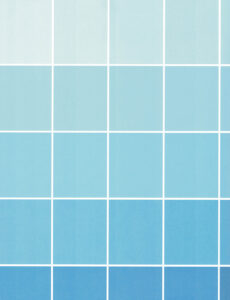
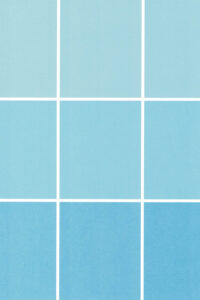
I decided to use a paint chip paper pad, which is one of my new favorite things and something you’ll probably see again in a future DIY project. I like that the pages are so large, giving you a lot of squares to choose from for your DIY paint chip photo prints. Any paint chip scrapbook paper or large-scale paint chips will work well. Every hardware store and paint store offers paint chips, often in varying sizes. The bigger, the better for this project.
DIY paint chip photo prints are a fun way to put a creative touch on professional family portraits, candid kid and pet shots, and much more. I love this as a simple home decor project for yourself. DIY paint chip photo prints also make a great gift for Mother’s Day, Father’s Day, and much more.
Happy designing! I can’t wait to see your photo prints.
Supplies for DIY paint chip photo prints
- Large paint chips (at least 4″ x 6″) or paint chip patterned scrapbook paper. For this tutorial, I’m using Michaels Craft Smart paint chip paper pad.
- Digital photos, converted to black and white
- Photoshop or a similar photo editing program that allows you to work in layers.
- Scanner. I recommend scanning your paint chips at 300 dpi or higher to ensure good quality.
Directions for DIY paint chip photo prints
Note: I’m providing directions for the latest version of Photoshop as of publishing this tutorial. Photoshop undergoes frequent updates. Depending on the version of Photoshop you’re using, the commands and/or screen layout may look slightly different. If you have any questions, please let me know. I’m happy to help in any way that I can.
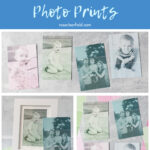
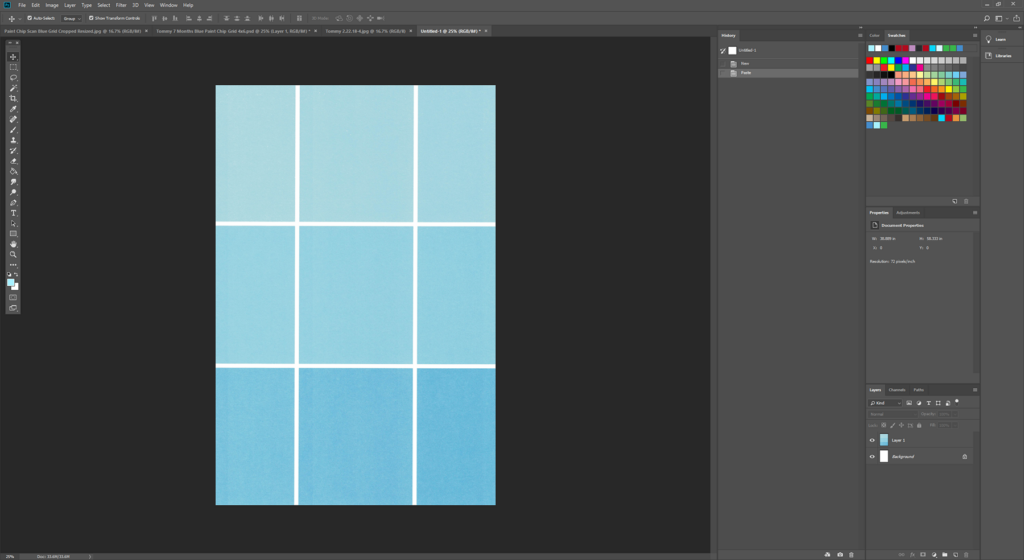
Scan the paint chip of your choosing.
In Photoshop, crop the paint chip scan to a 4×6 orientation. Select the Crop tool from the lefthand menu, and choose 4×6 orientation from the drop down Ratio menu at the top.
Go to Image > Image Size…, and resize the photo to 2800×4200.

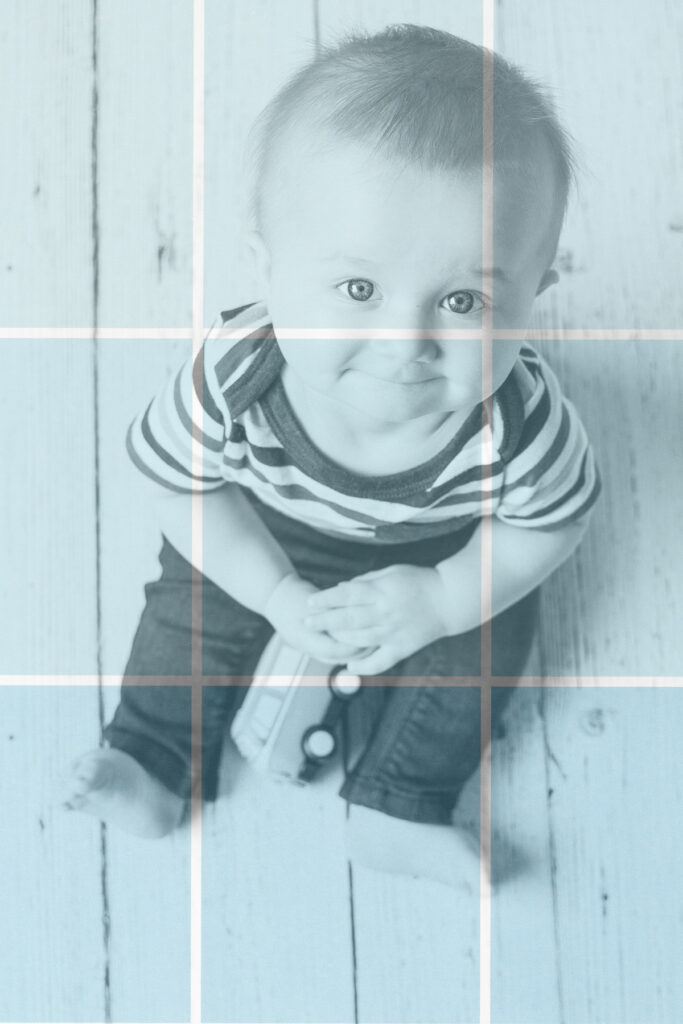
Open the photo you’re planning to use. If the photo isn’t already in black and white, convert it to black and white. To do this in Photoshop, go to Image > Adjustments > Black & White… Adjust the settings until you’re happy with the aesthetic.
This digital photo process only works with black & white photos. The paint chip colors will not show through a color photo.
If your photo is not 4×6 orientation, crop or resize it to 4×6 orientation. Then resize it to 2800×4200.

Create a new Photoshop document sized with a width of 2800 and a height of 4200.
Select (Ctrl + A) and copy (Ctrl + C) the paint chip scan. Paste it (Ctrl + V) into the new Photoshop document.
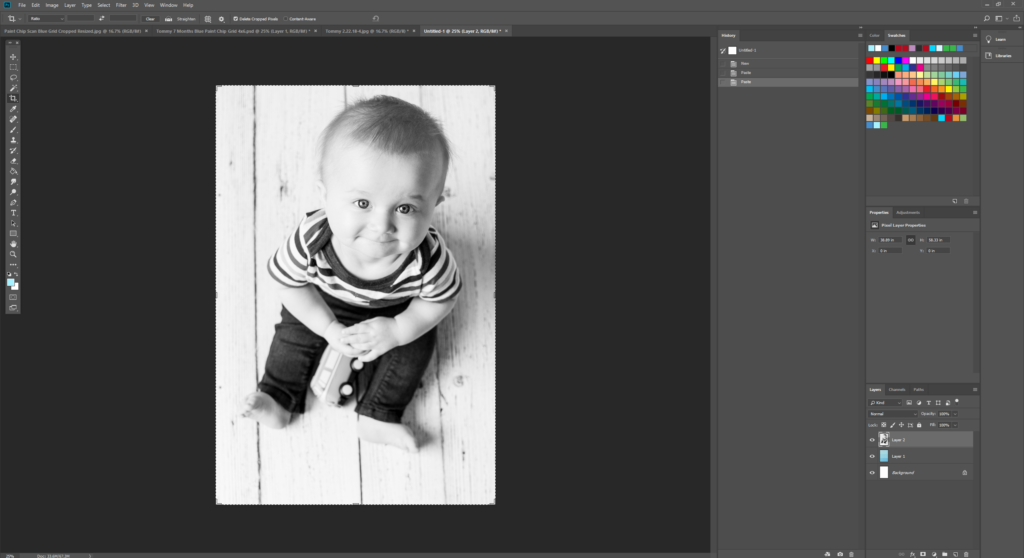
Select (Ctrl + A) and copy (Ctrl + C) the photo you’re using. Paste it (Ctrl + V) into the new Photoshop document.
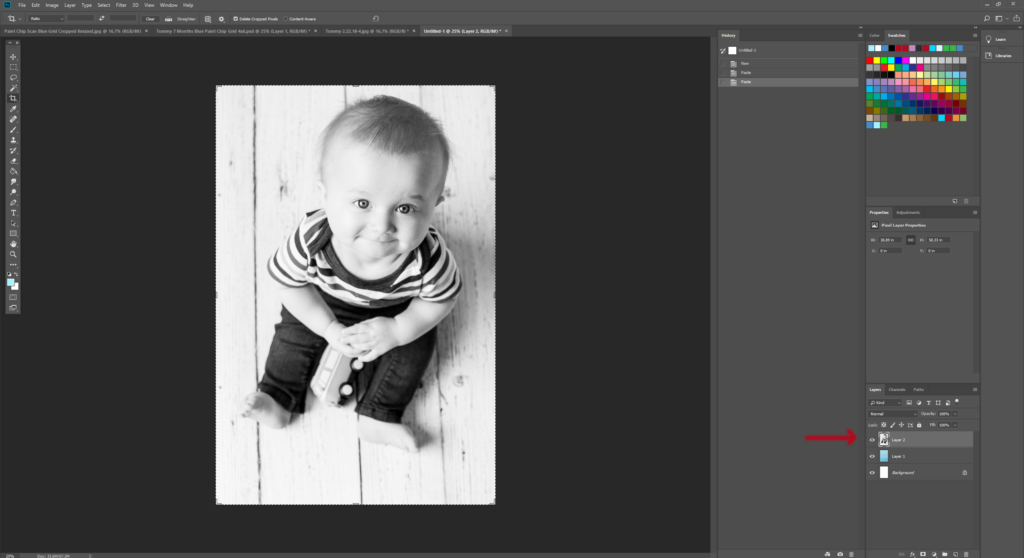
The photo should be the top layer of your document. If it isn’t the top layer, drag it into the top position.
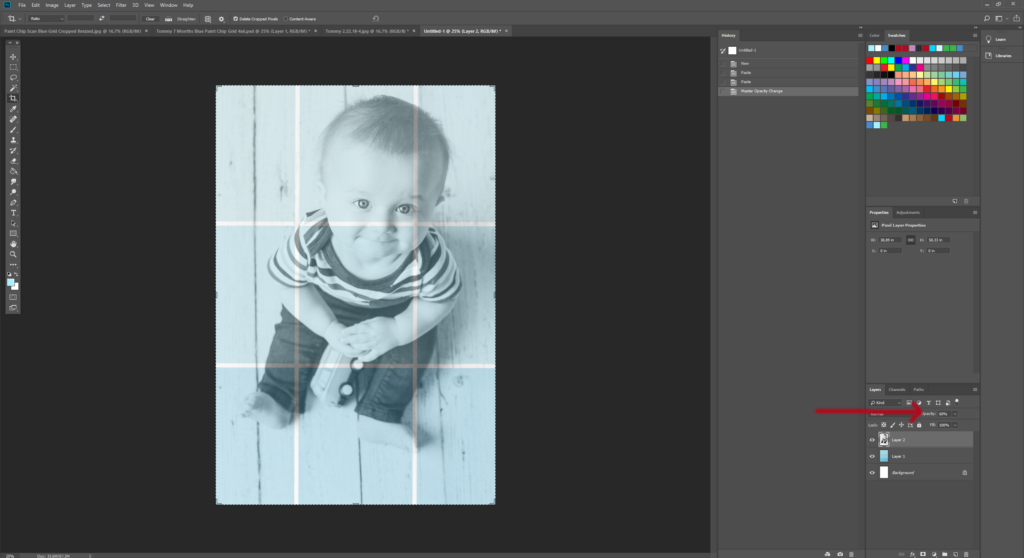
Set the opacity of the photo layer to 60%. To complete this step, go to the Layers panel on the right-hand side of the screen and adjust the opacity percentage. Feel free to adjust this number as you like to achieve your desired aesthetic. I found that 50-60% works best for my desired aesthetic.
Consider how the photo lines up with the paint chips. You don’t want the lines to distract from the subject. If necessary, re-crop and then re-size your photo. Delete the old version, and bring the new version into your Photoshop document. It may take a little trial and error to get it exactly the way you like.
Save the final version of your paint chip photo print. (File > Save or File > Save As) Typically, I keep a Photoshop version, in case I want to go back and edit it later. Then I save a JPEG version as well, which you can use to share your photo online and create photo prints.
The default file type in Photoshop is Photoshop (.psd). To save a JPEG version, choose JPEG from the drop-down file type menu on the save screen.
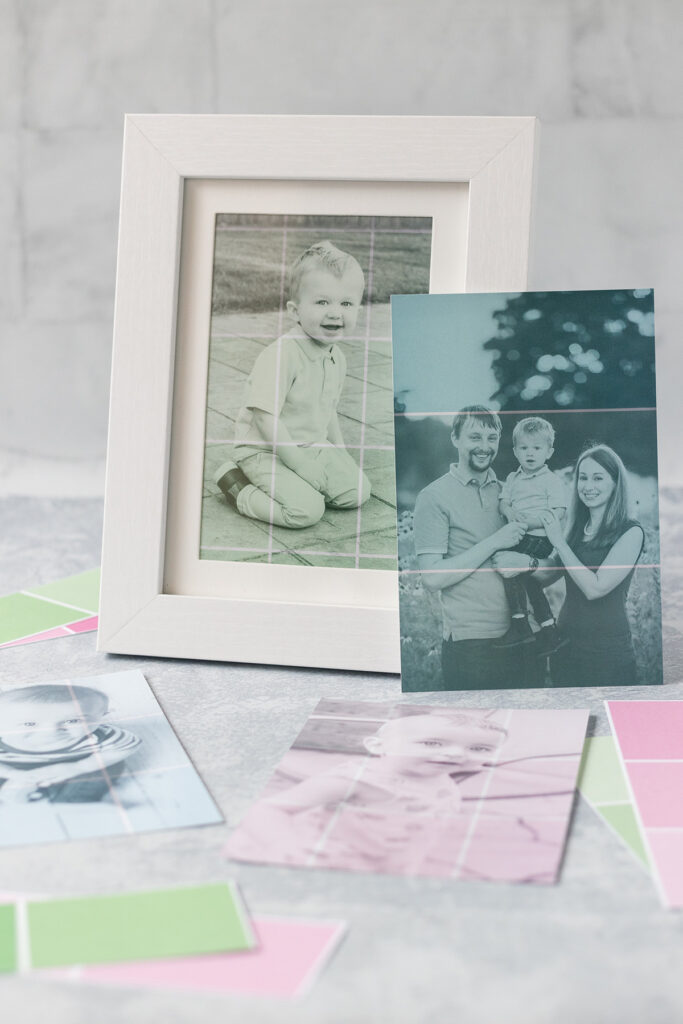
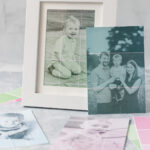
Printing and framing
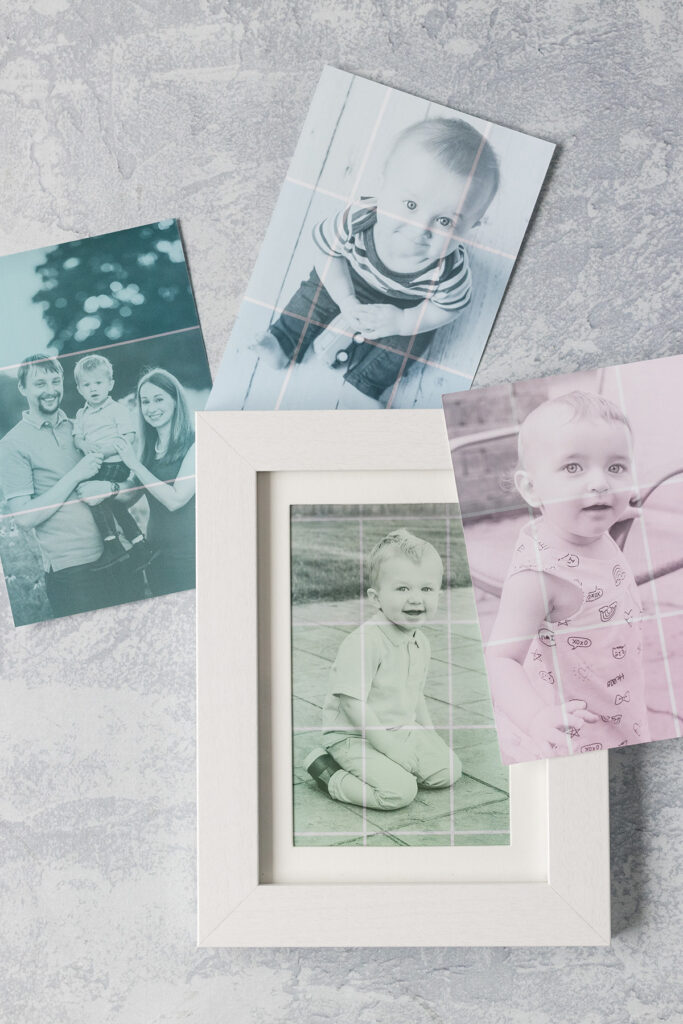
Now you’re ready to print your new DIY paint chip photo prints! I’ve been using SmugMug for my photo printing and photo backup since 2014. All of the printed photos you see in this post come from SmugMug. I’ve always been happy with their prices and print quality. However, don’t feel limited to this option. Any photo printing service works well.
I also have to mention the Michaels Belmont photo frame line, which is also pictured in this post. I talk about Belmont frames all the time because they are amazing. You’ll be hard-pressed to find higher-quality frames at this price point, especially with such a nice range of colors and finishes.
Variations
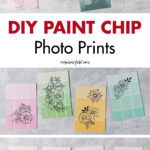
I decided to make the tutorial for portraits, as I think that it’s the most versatile application for scanned paint chips. However, the customization possibilities are endless. I’m sharing just a couple more ways that I used my paint chip scans.
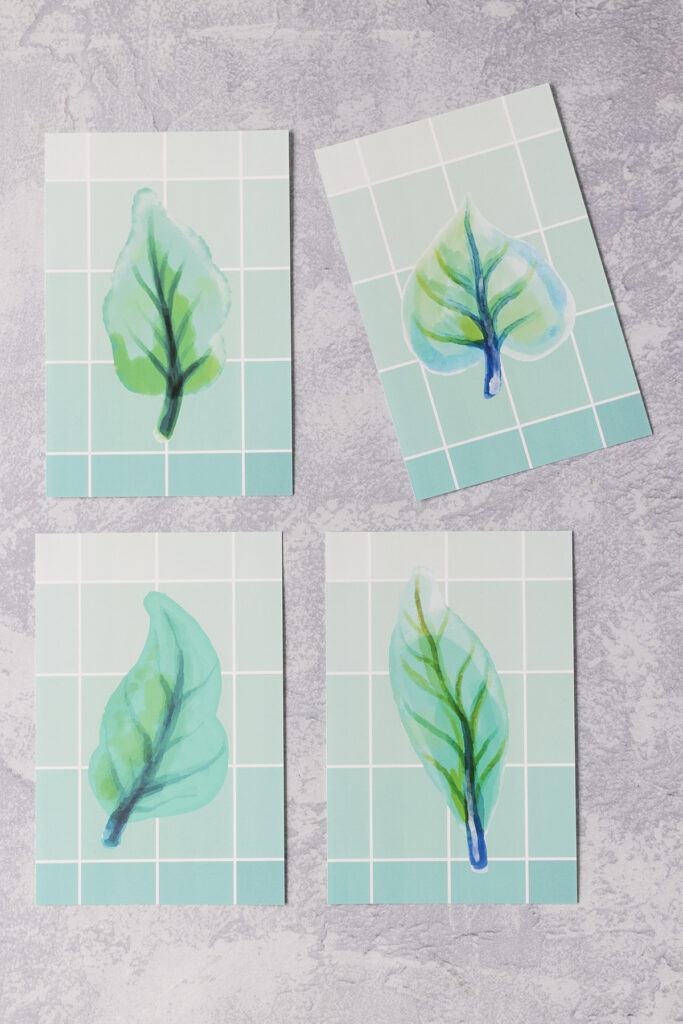
First, I used a single paint chip scan to create a set of four watercolor leaf prints. I left the opacity at 100% for both the paint chips and leaves.
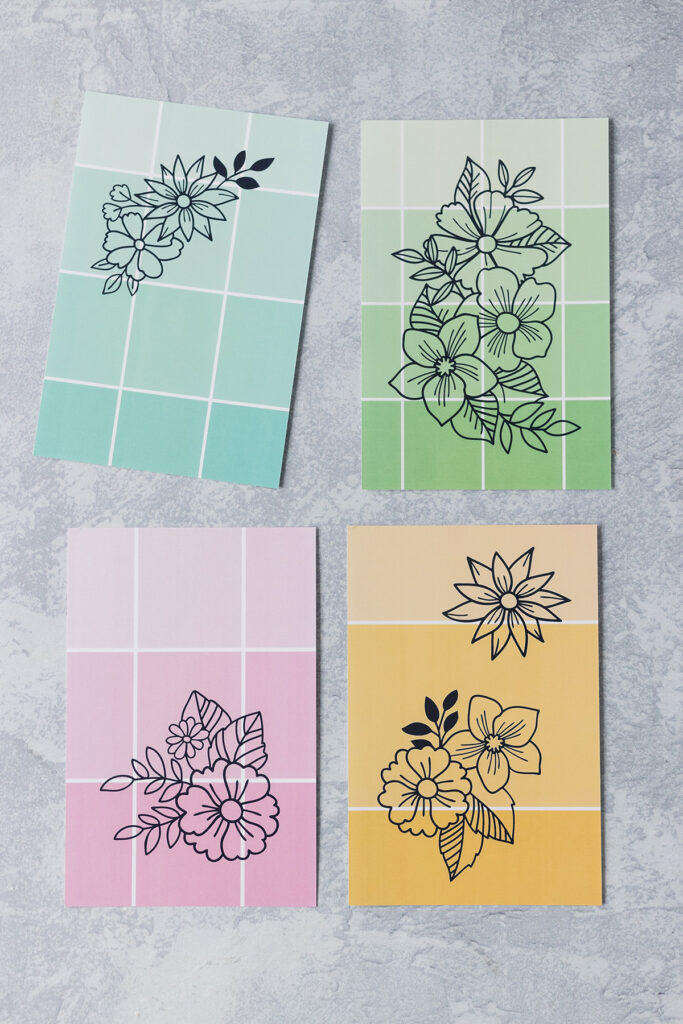
Second, I used four paint chip scans to create a set of floral prints. Using PNG files allows the paint chips to show through as much as possible.
[Disclaimer: There are a few affiliate links in this post. Thanks for your support!]
Did you make your own DIY paint chip photo prints?
I want to see them! Tag your images #RoseClearfield on Instagram or Twitter or post a photo to my Facebook page.
Pin this post for easy access to the DIY paint chip photo prints later!