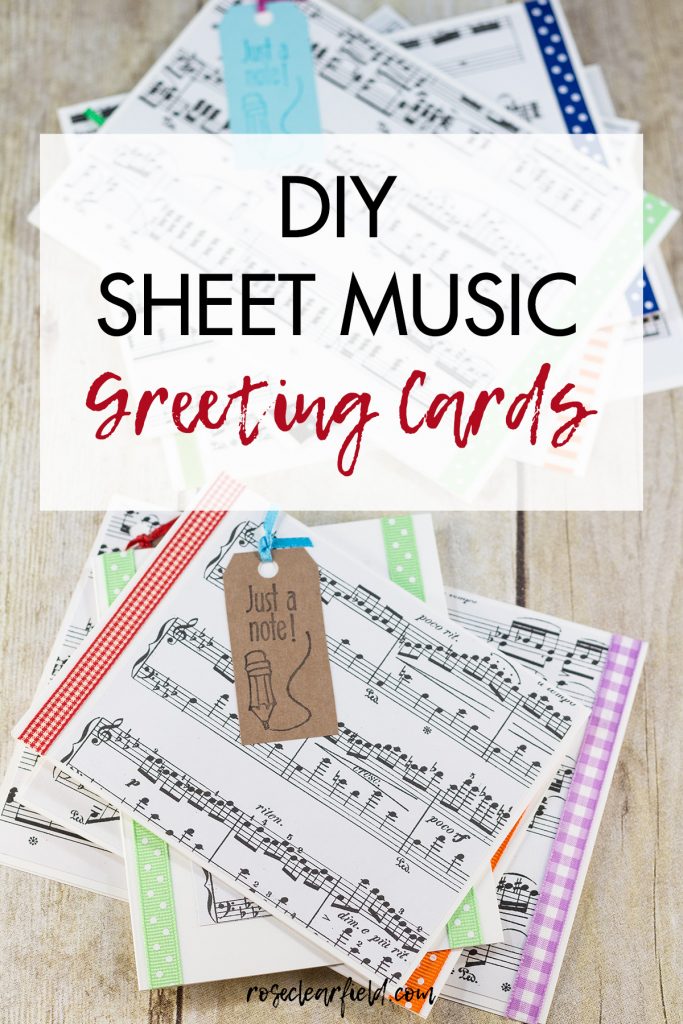
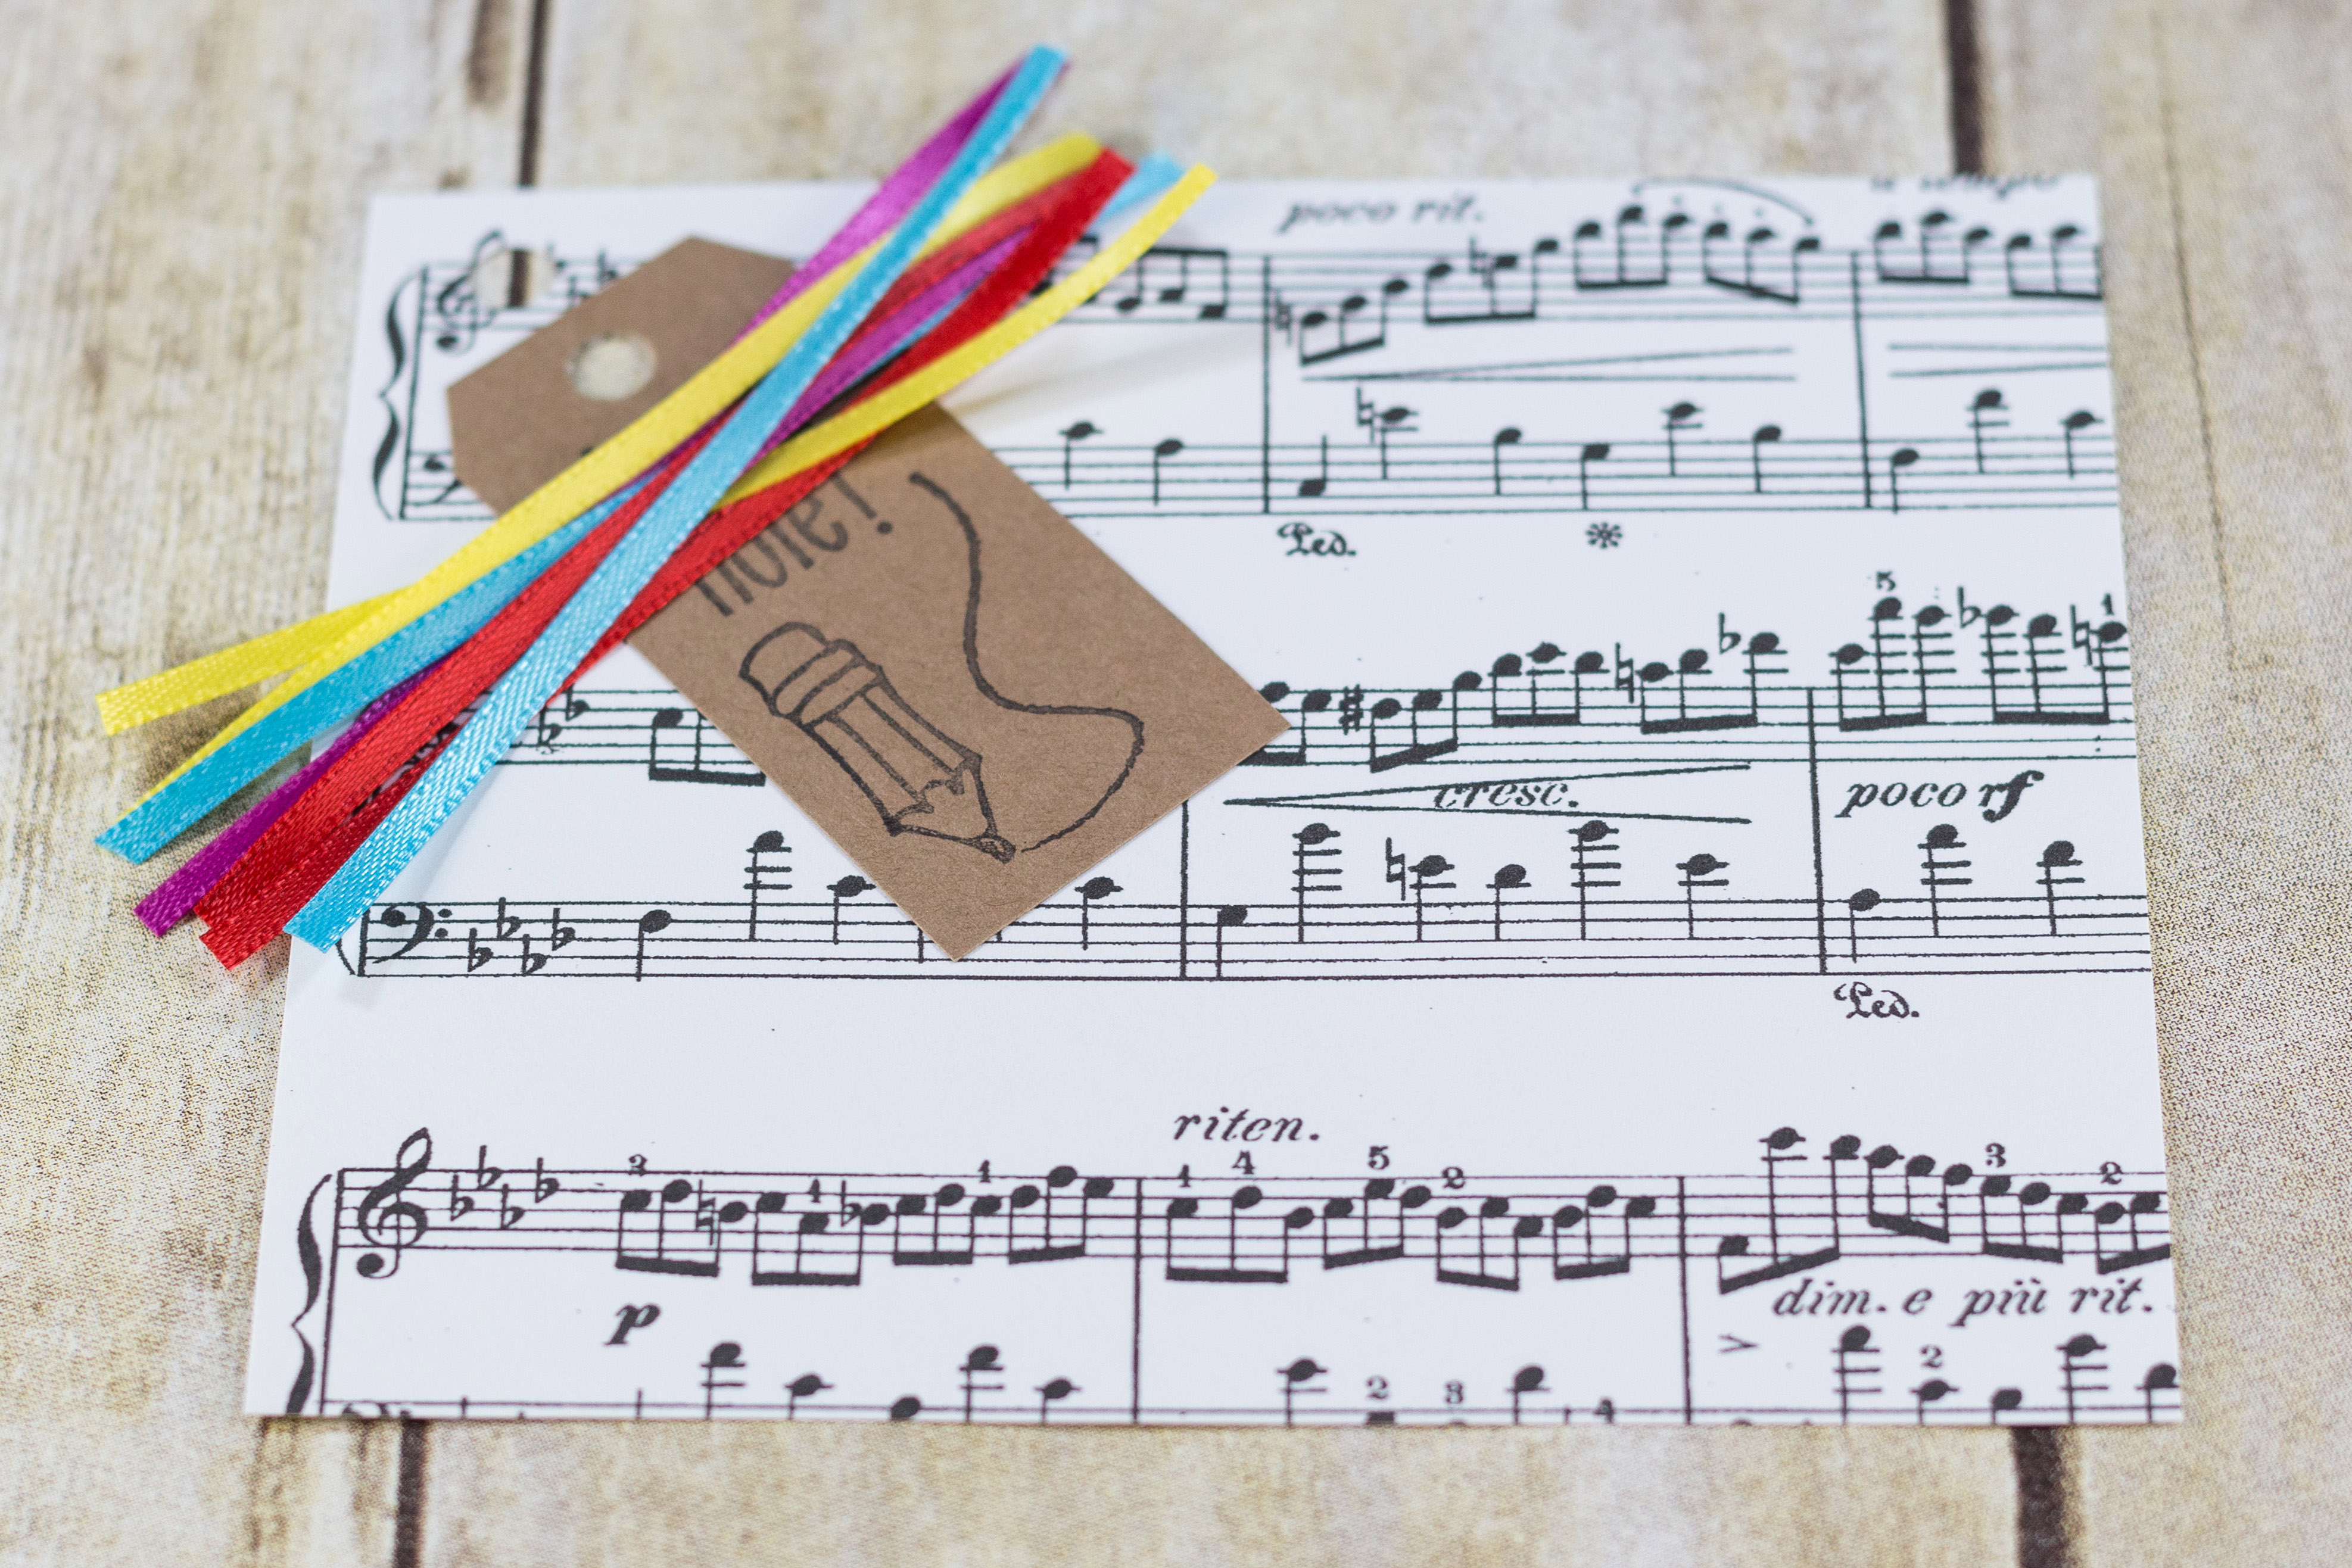
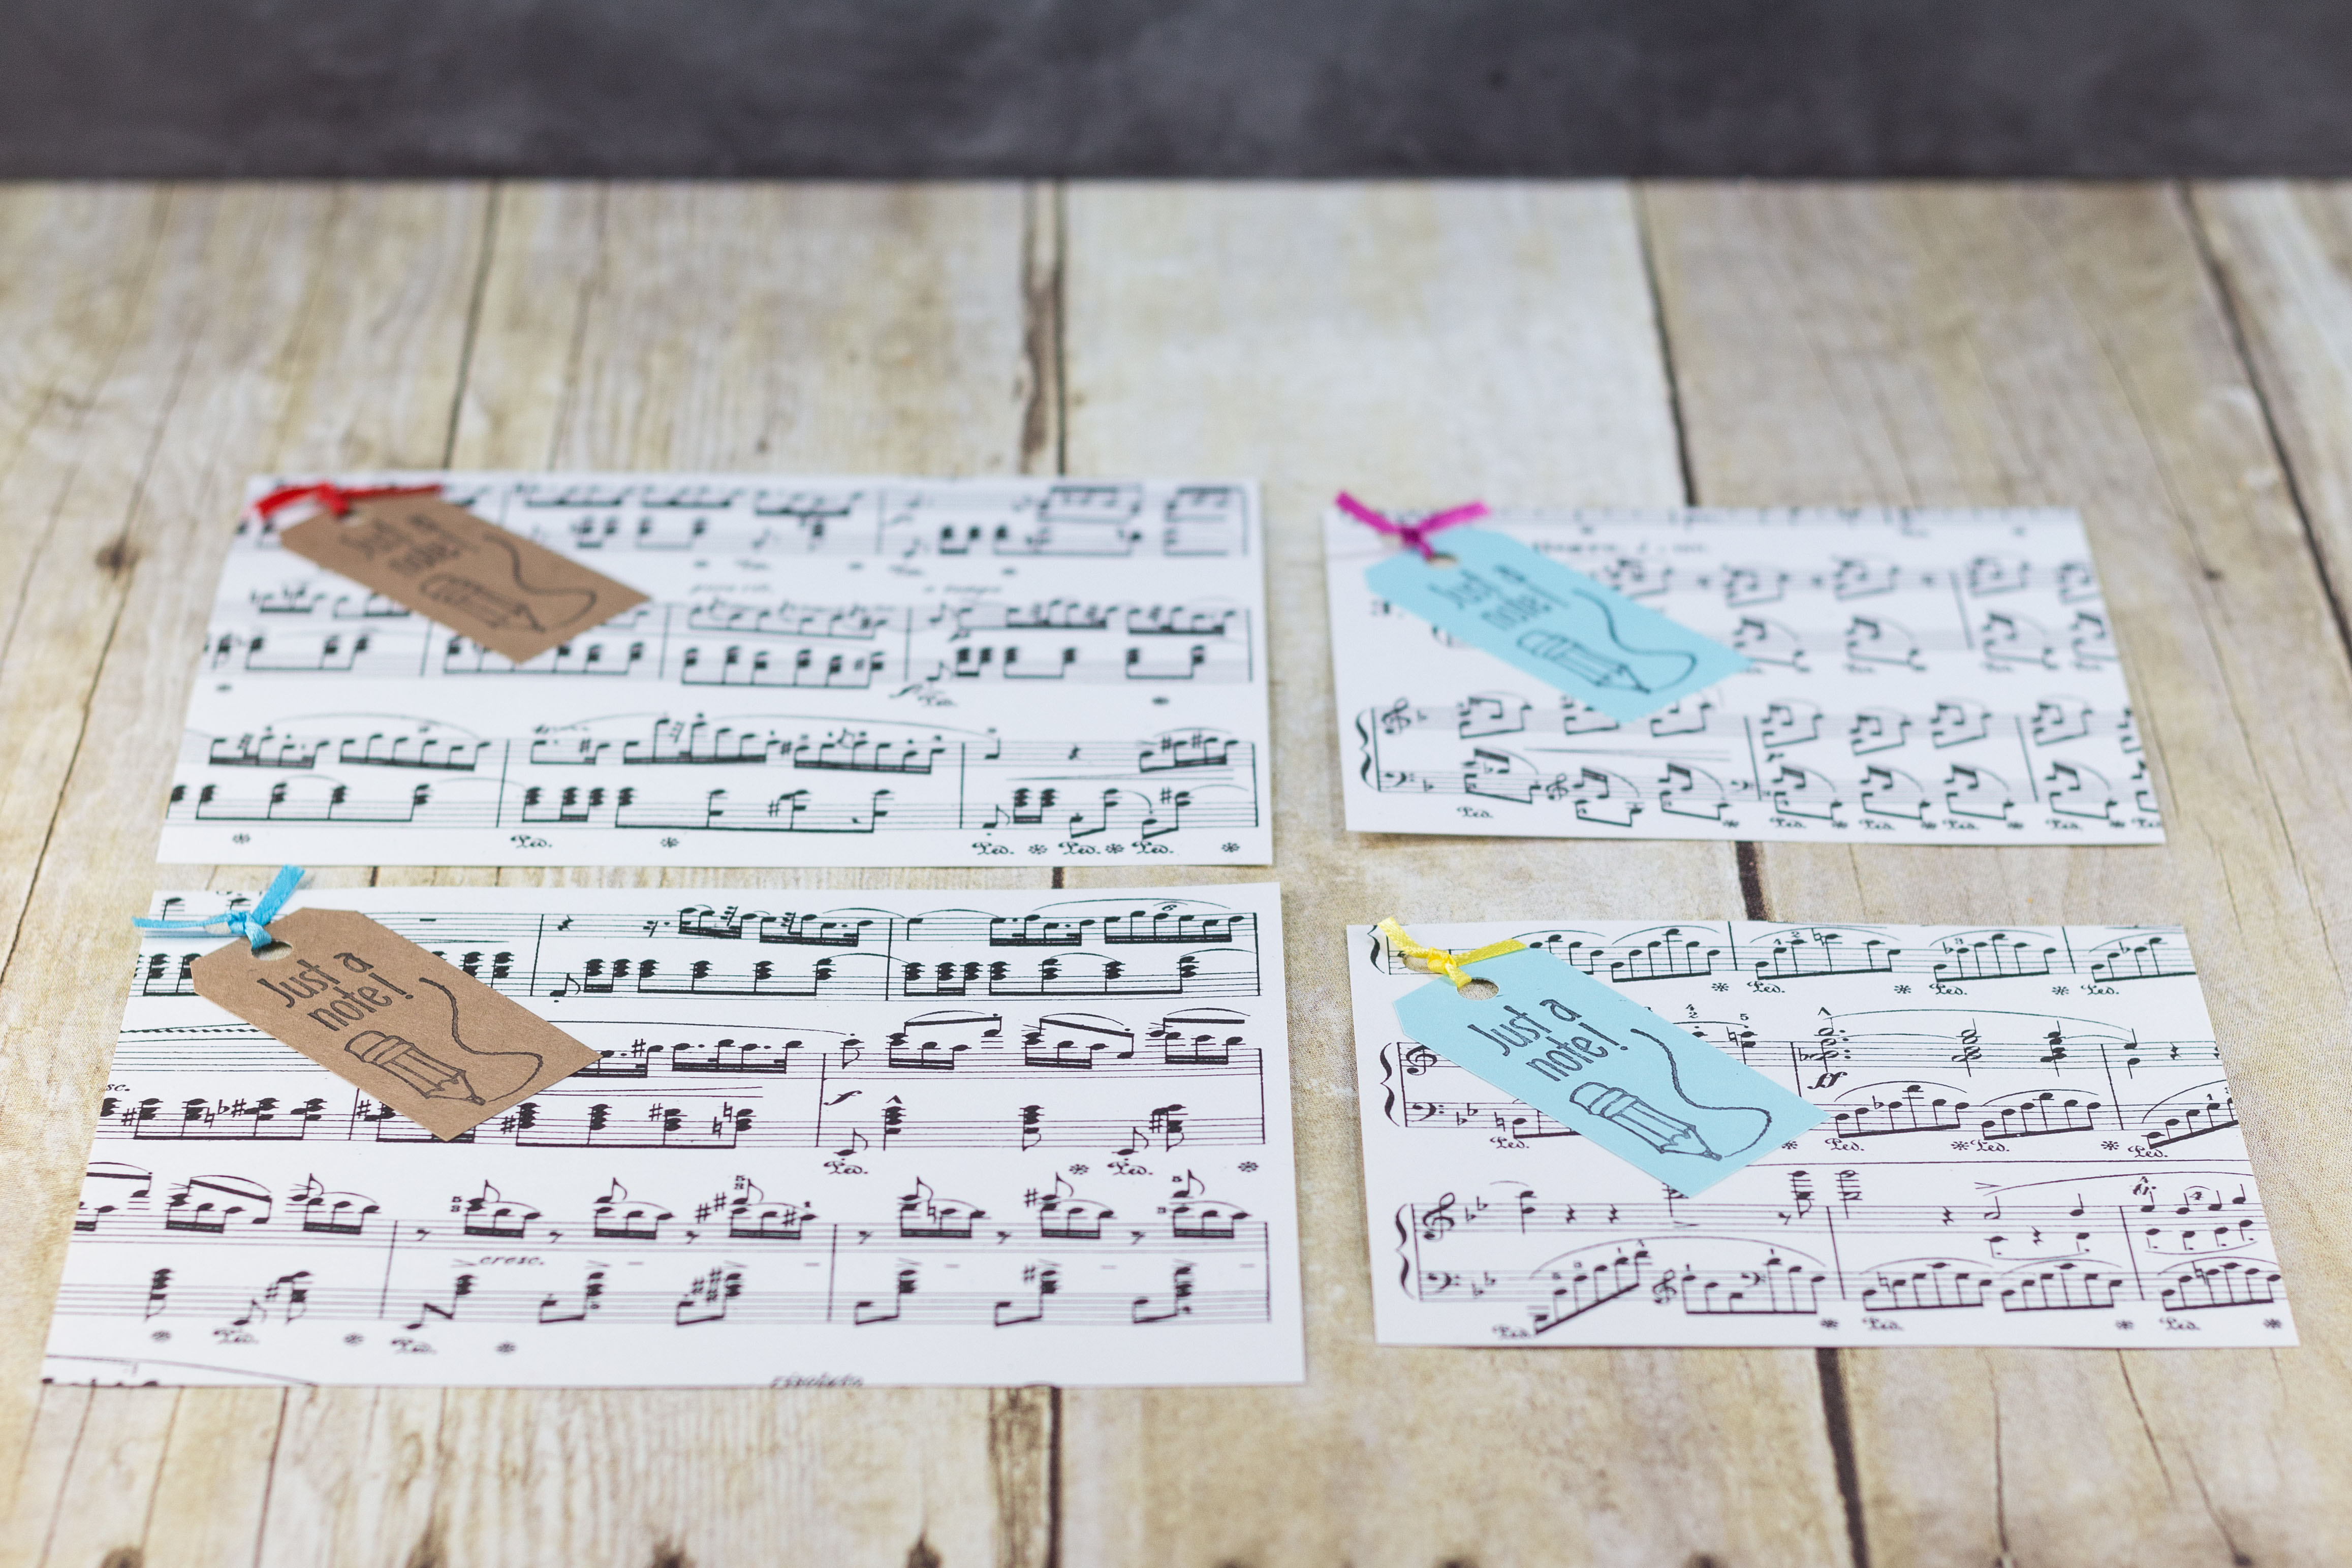
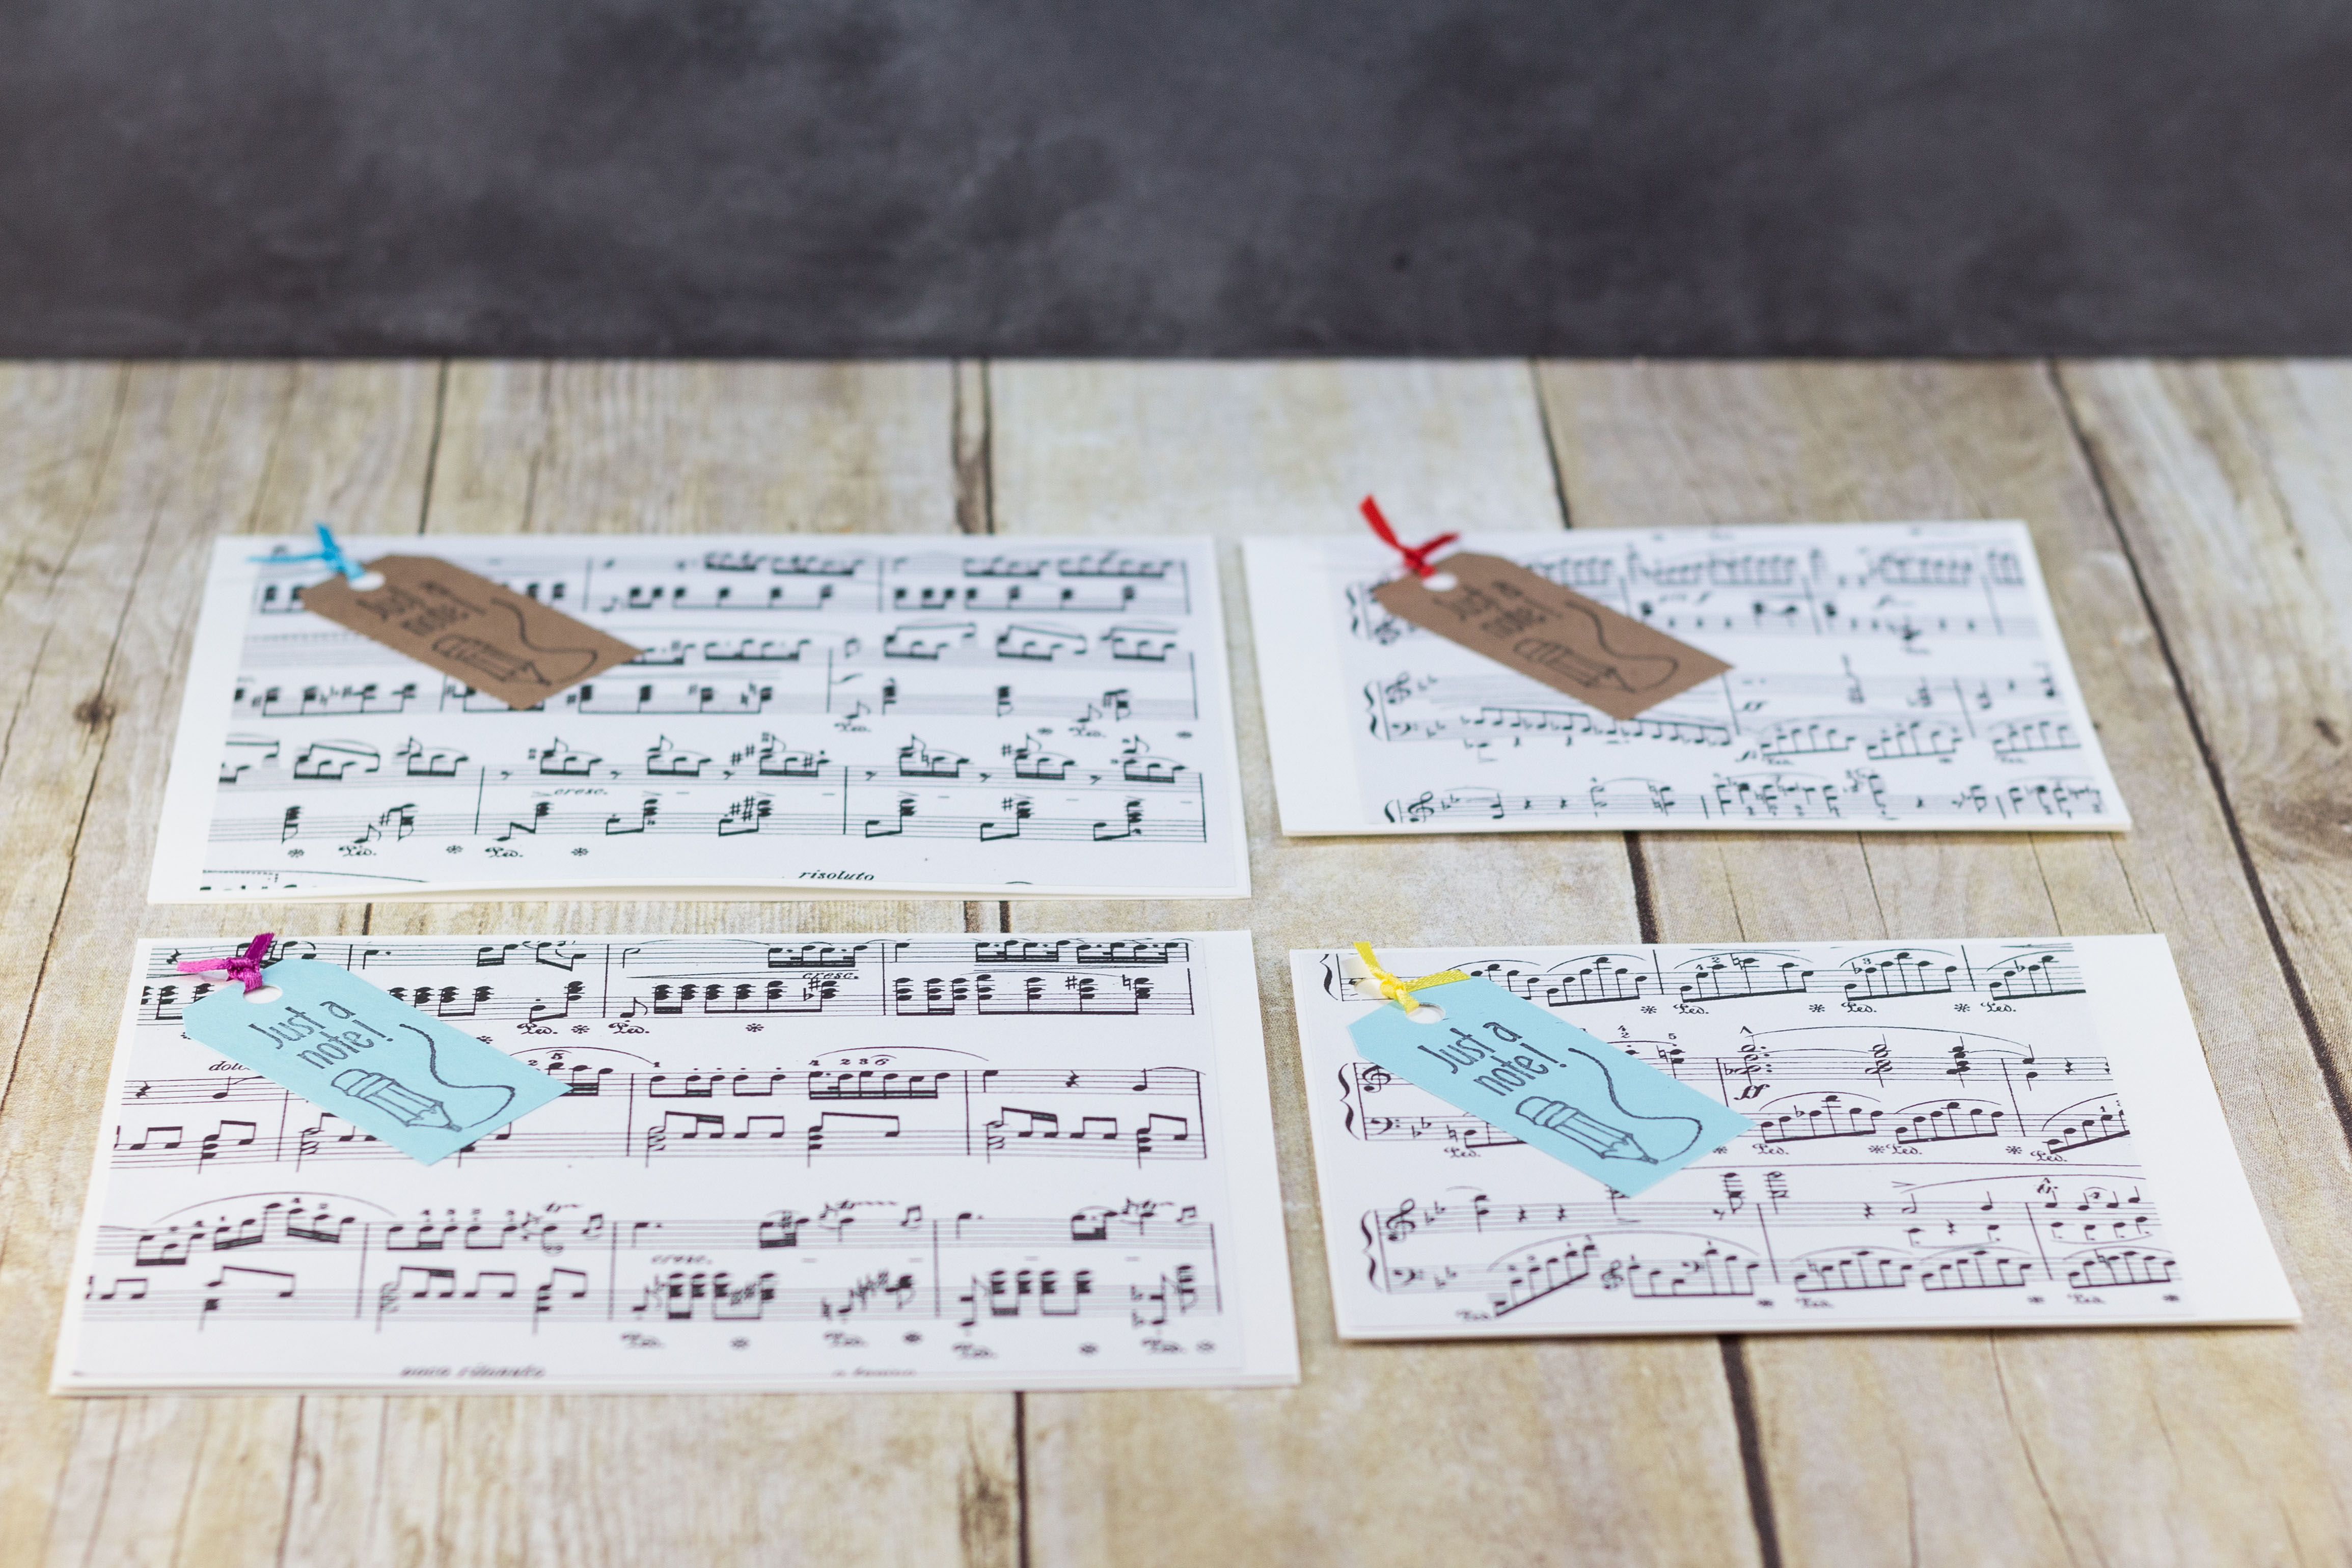
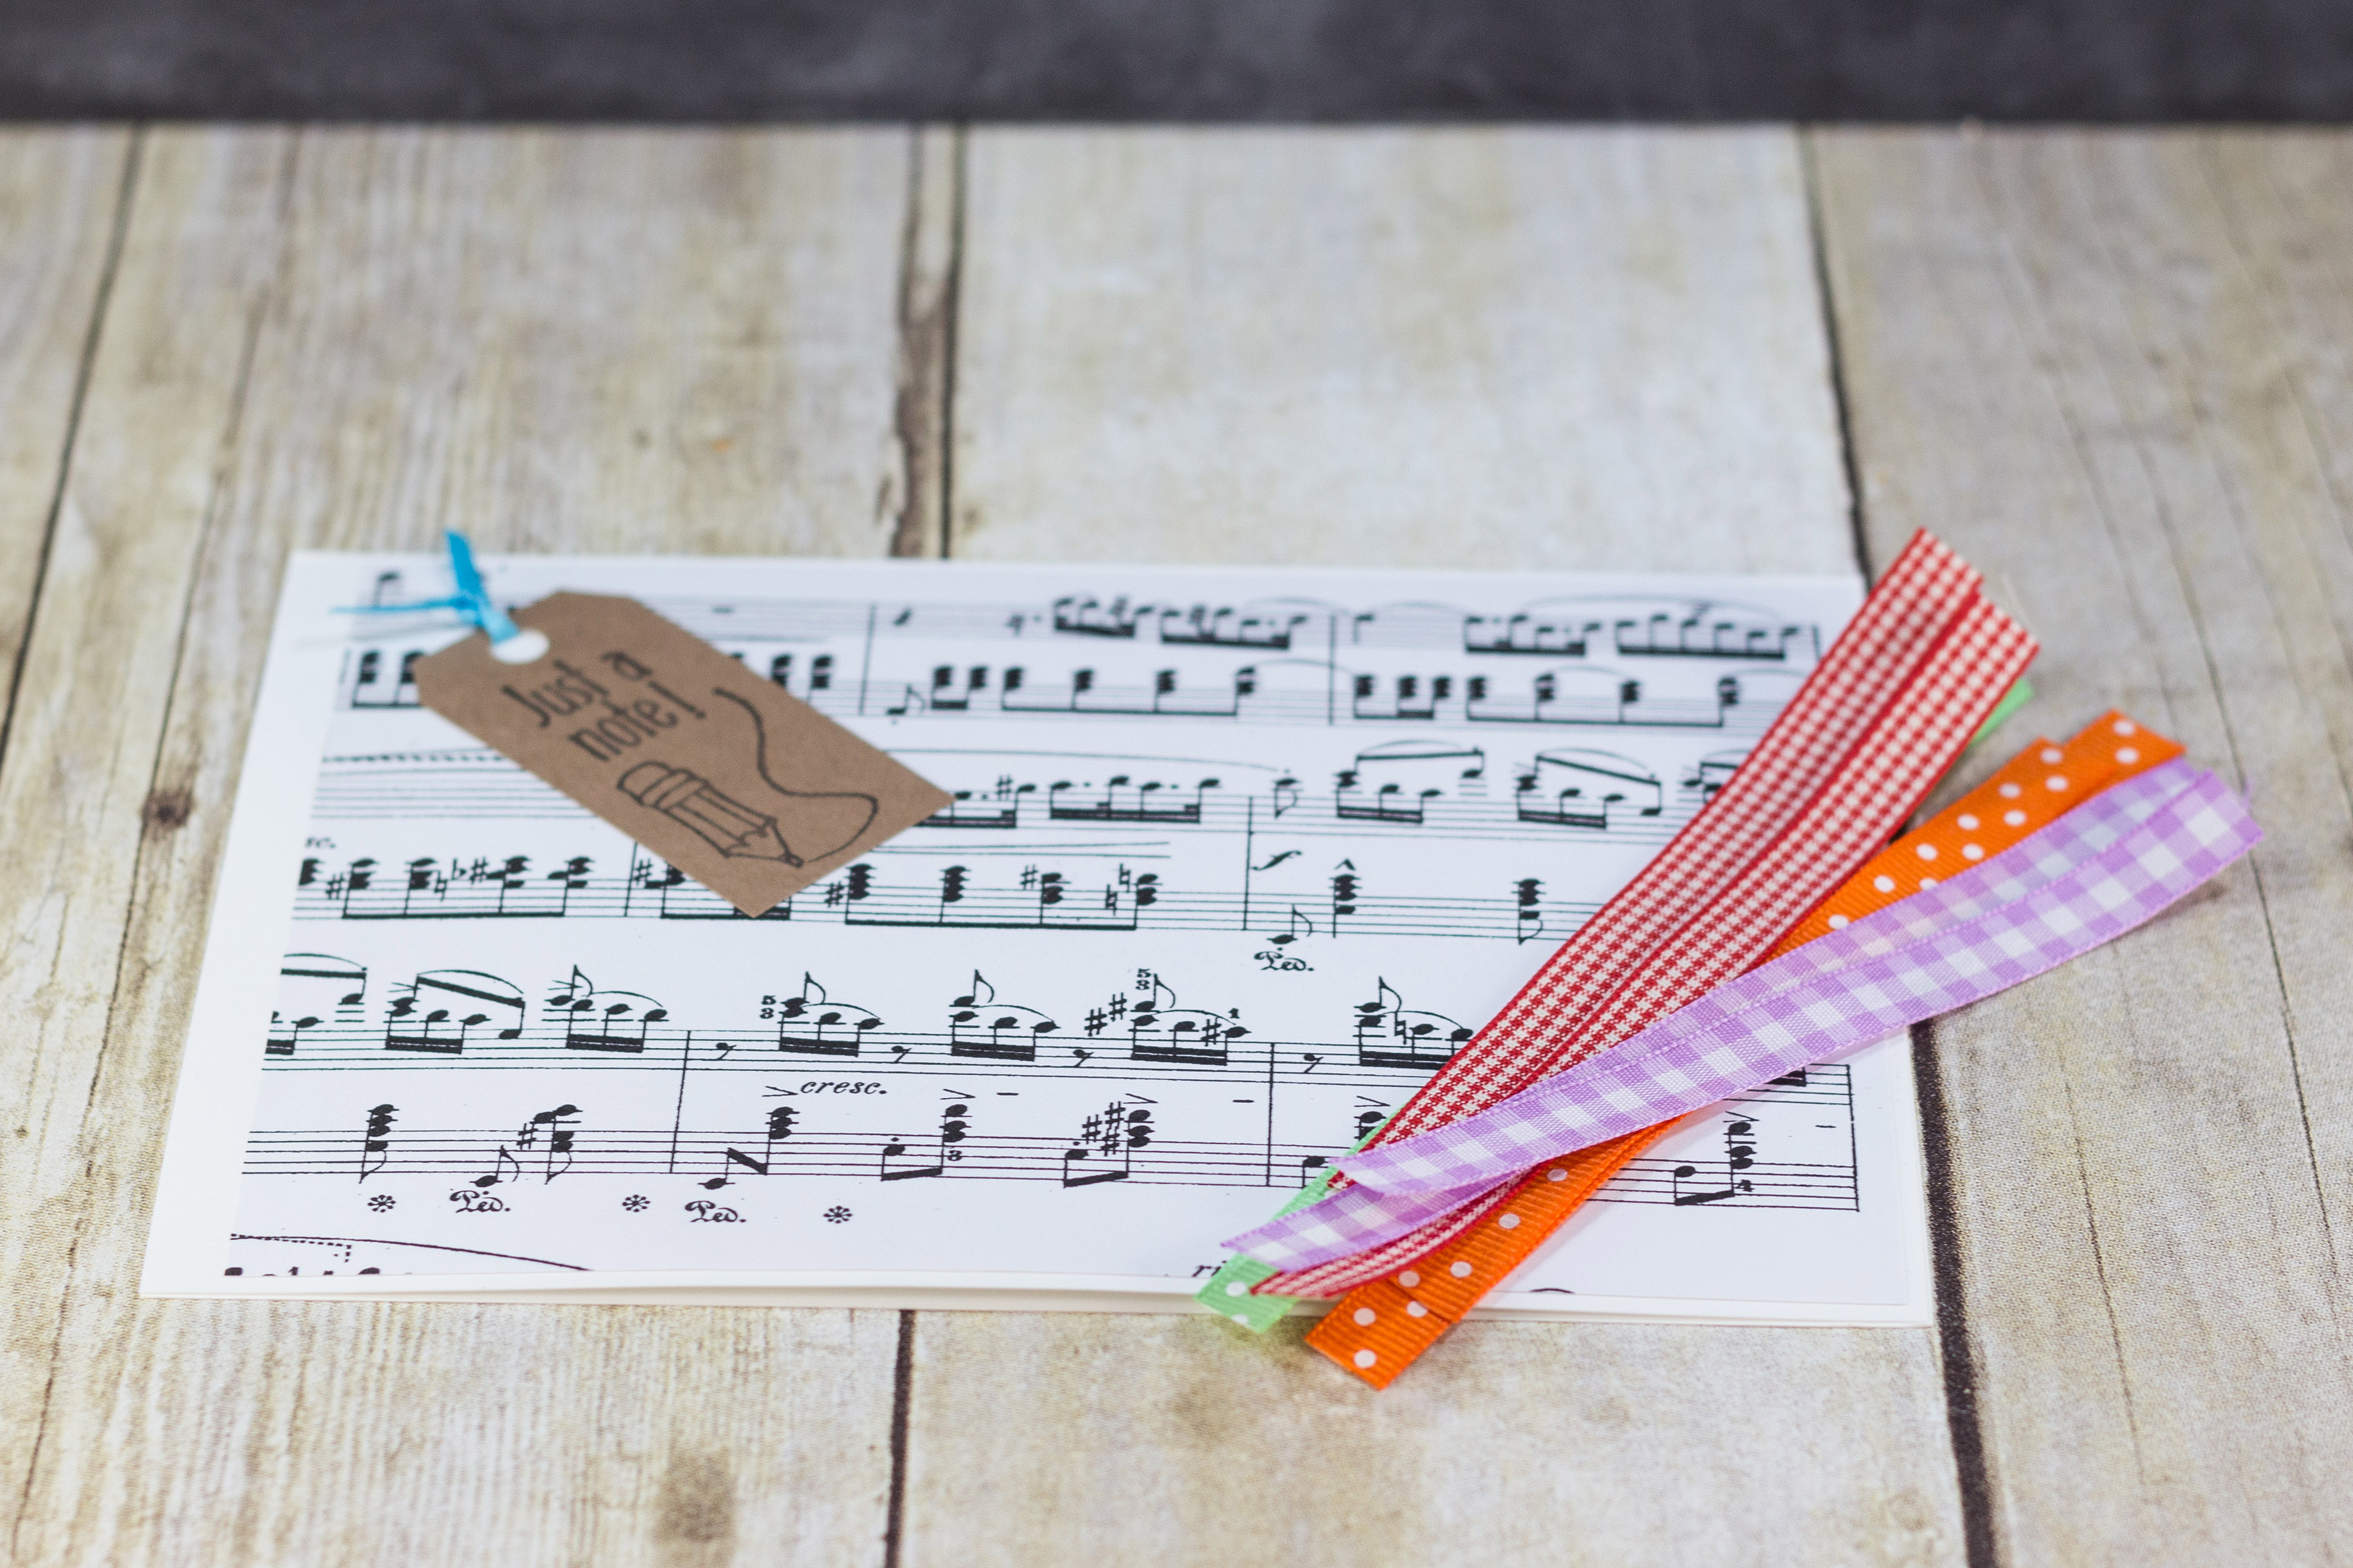
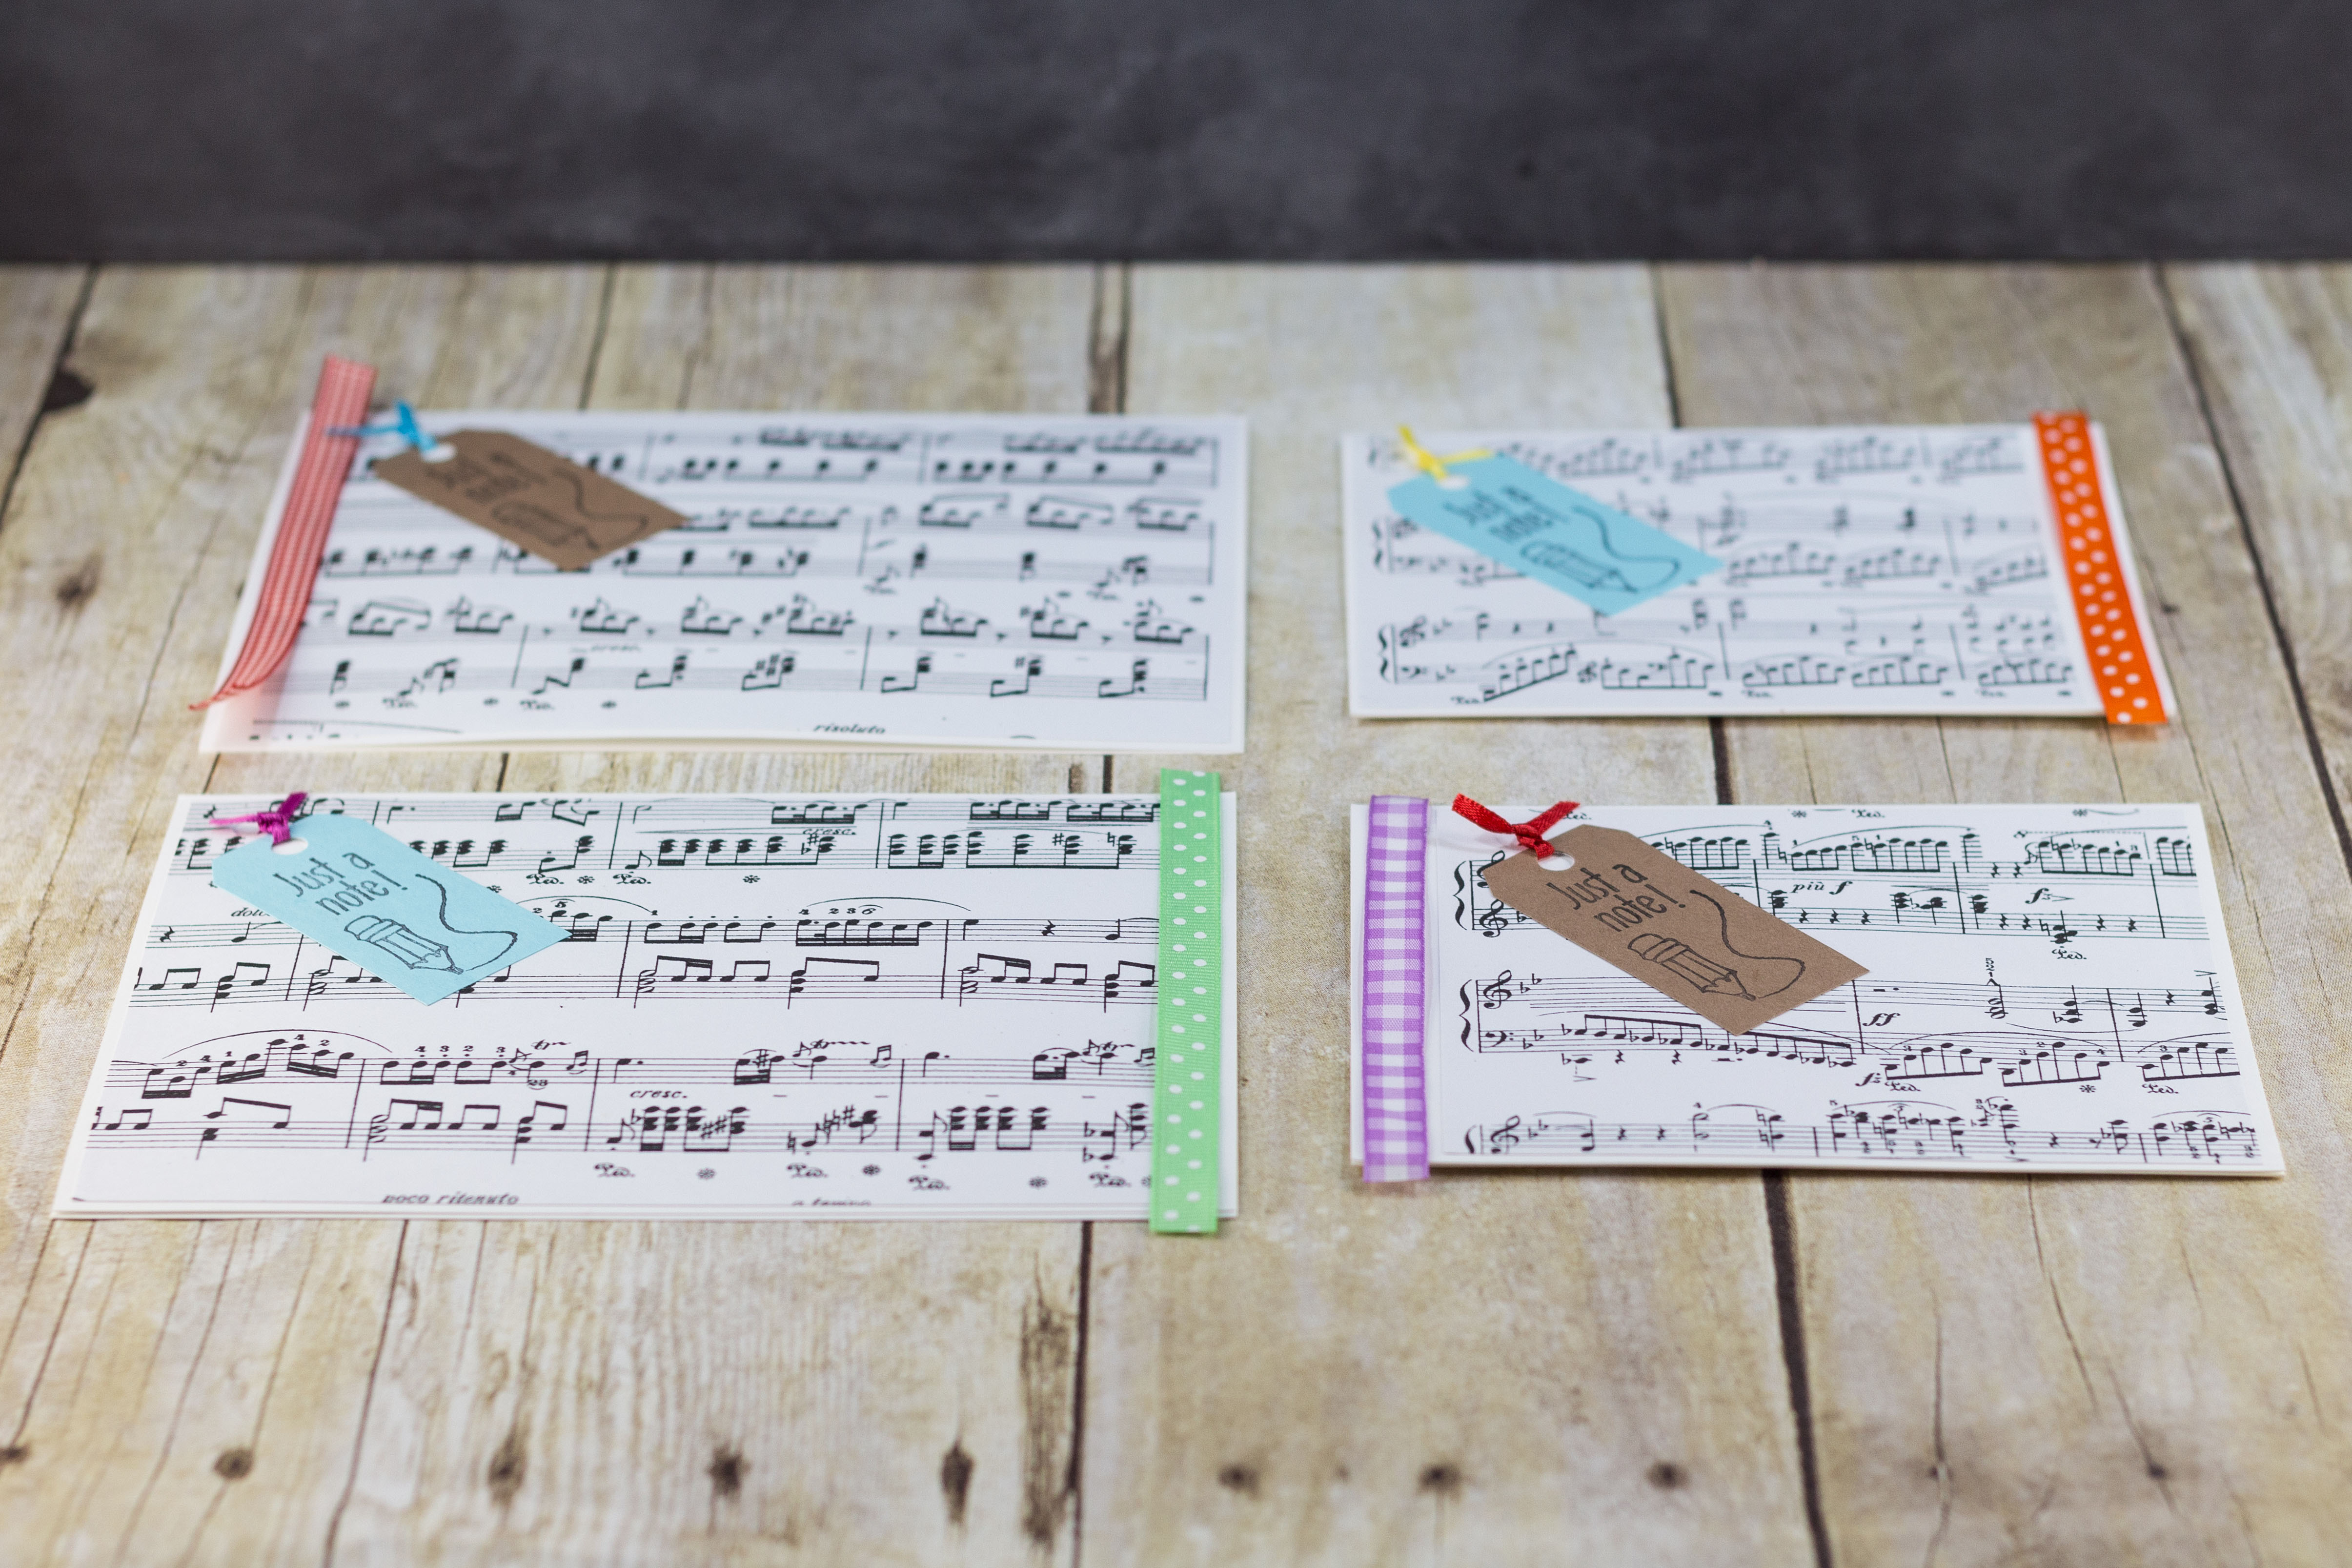
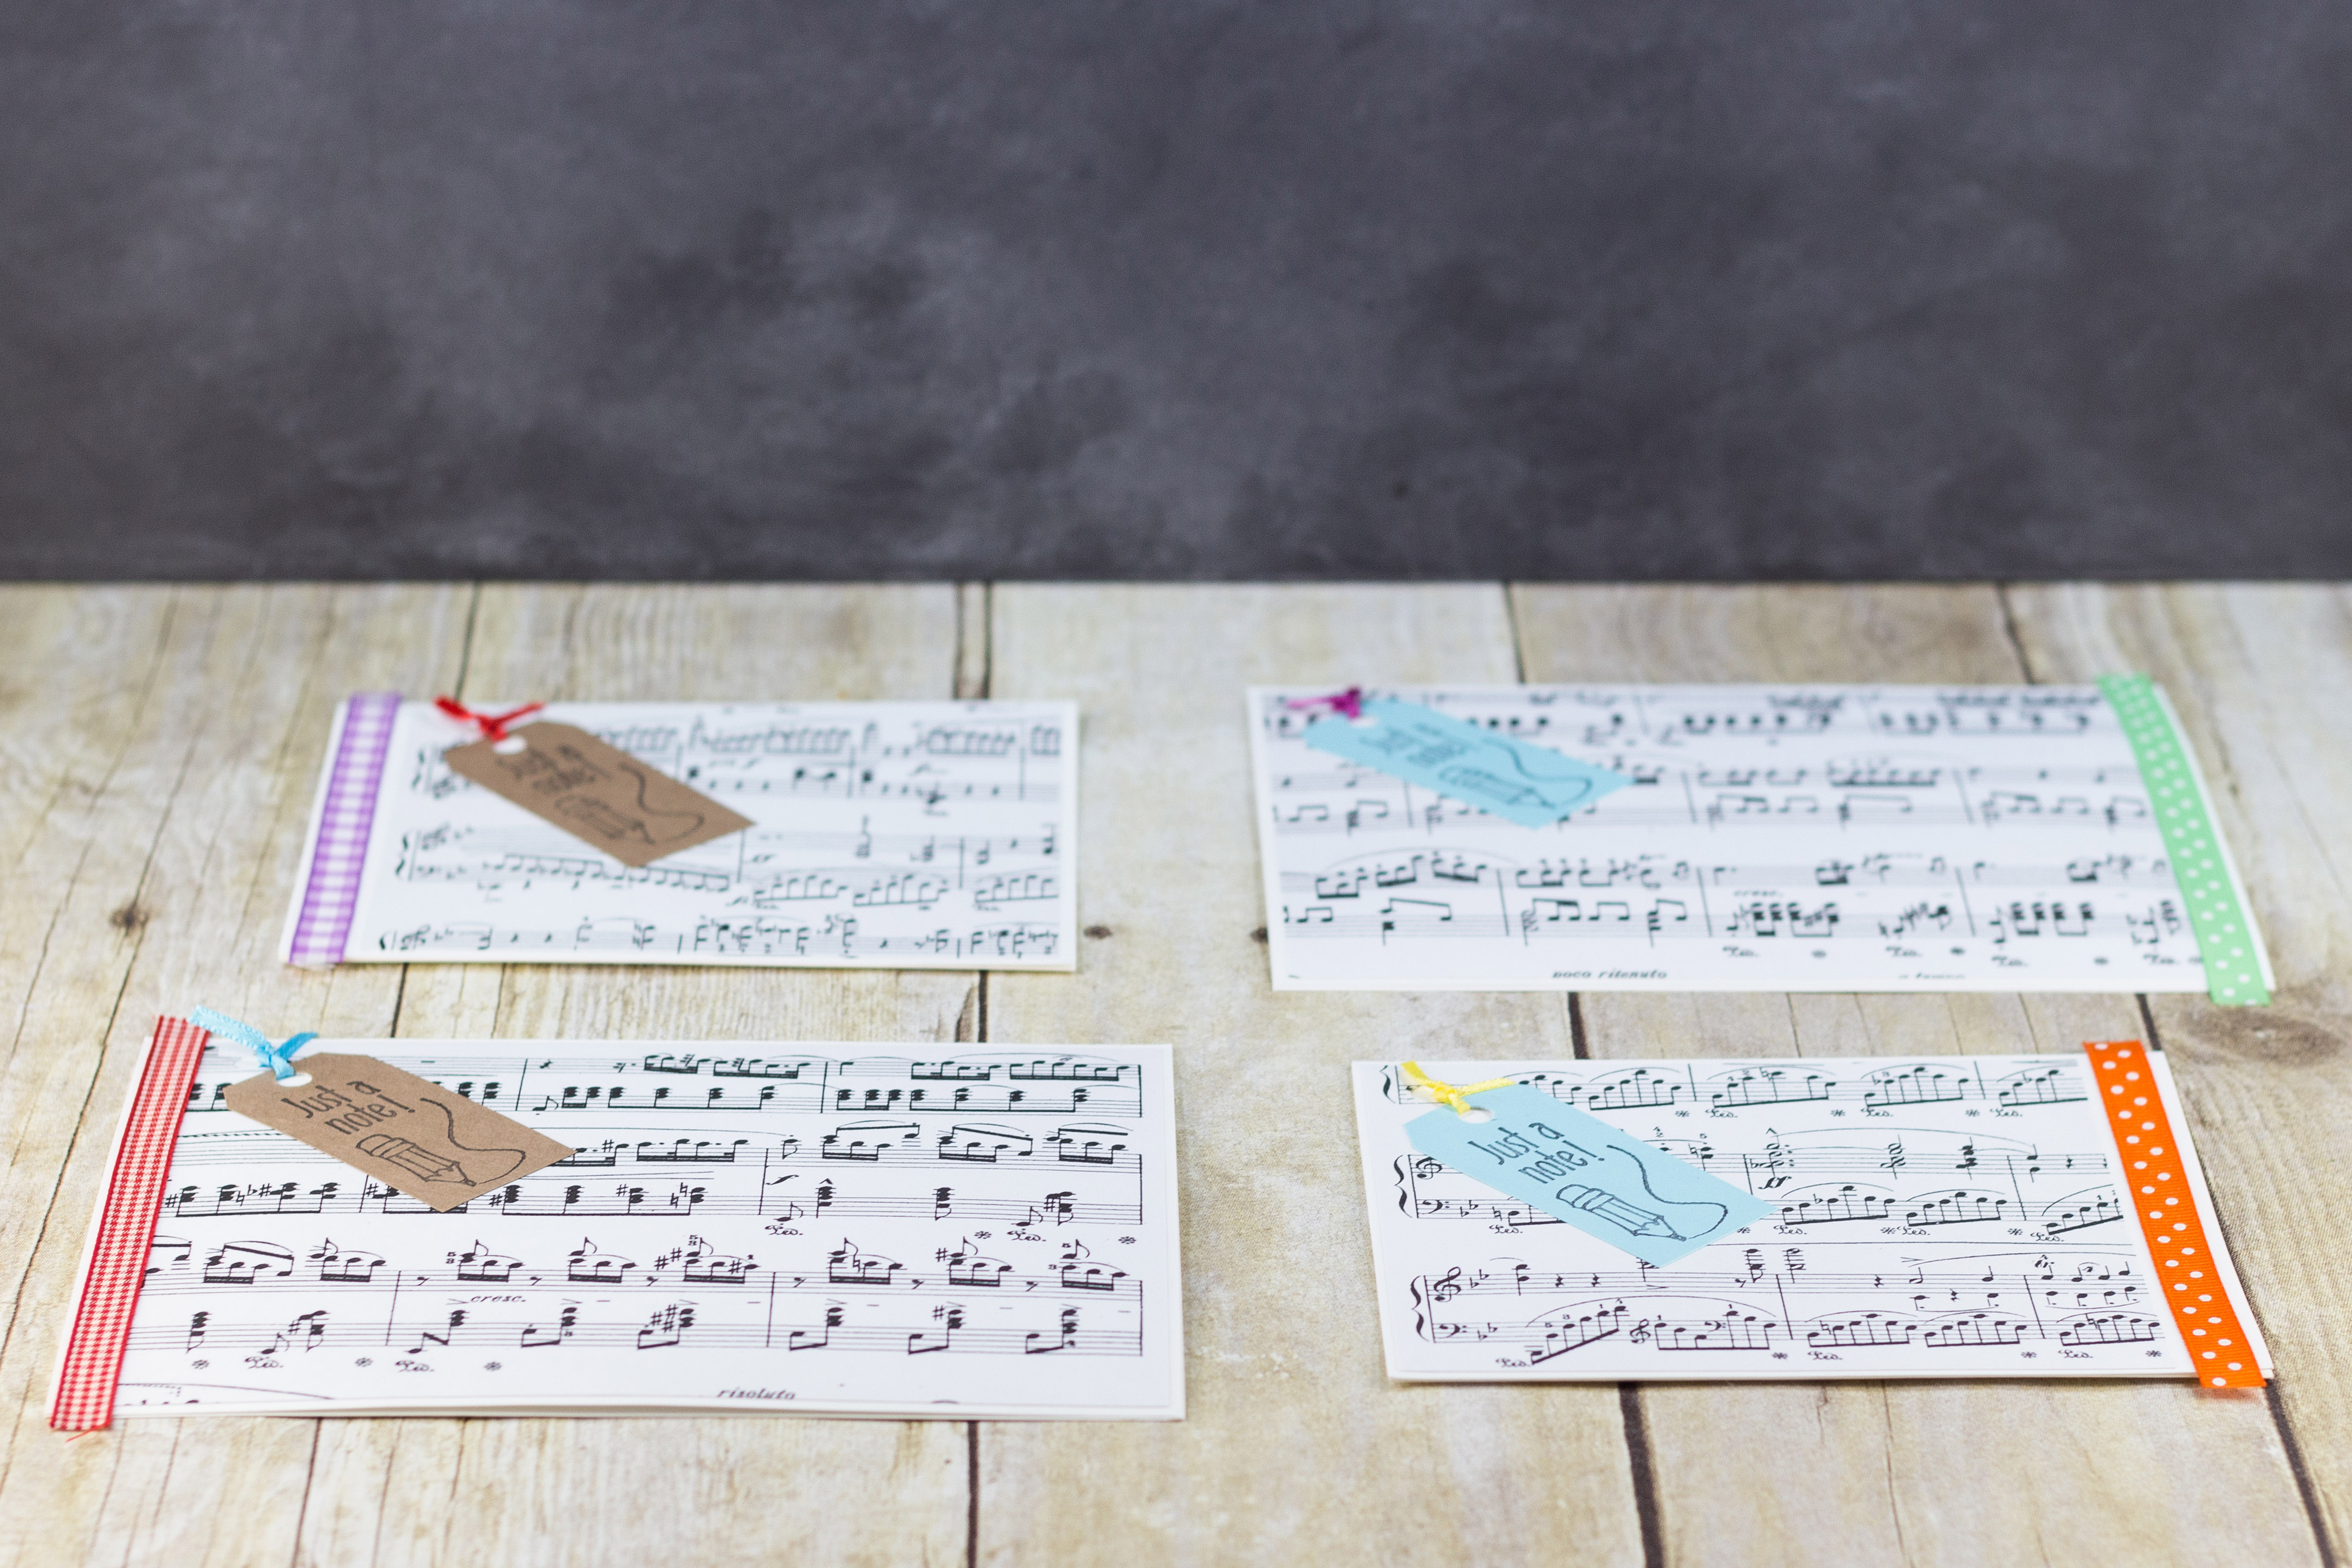
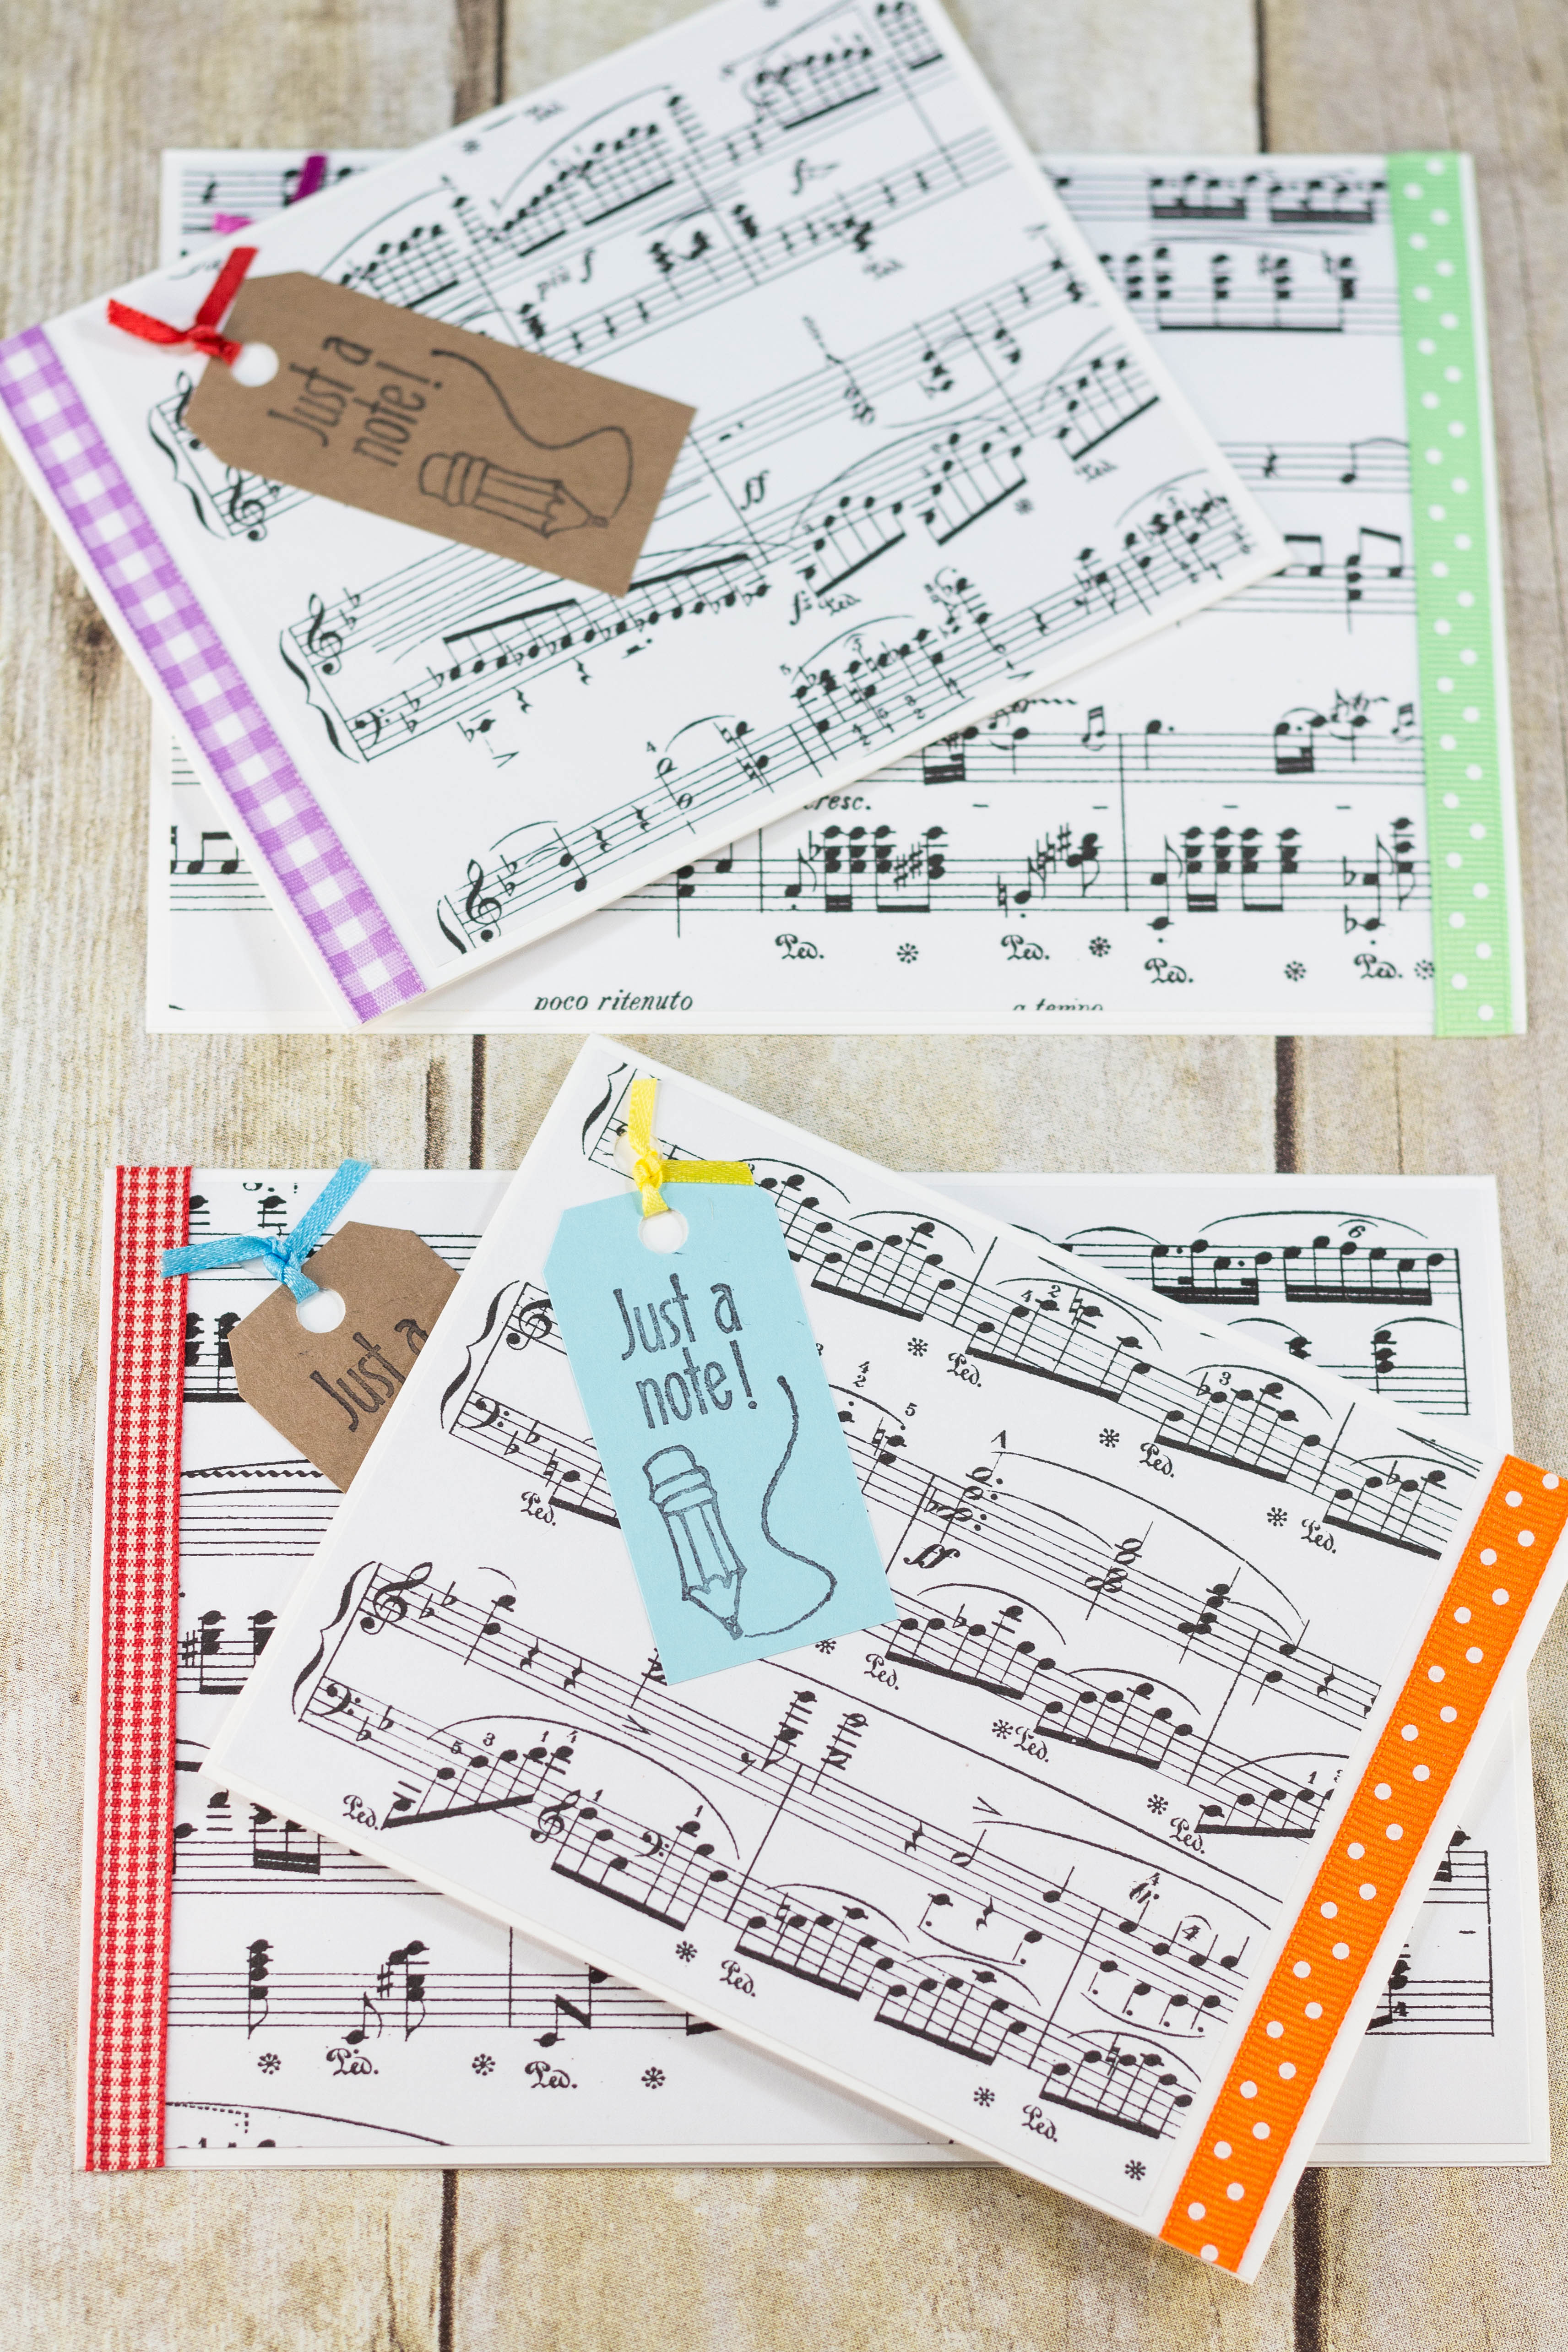
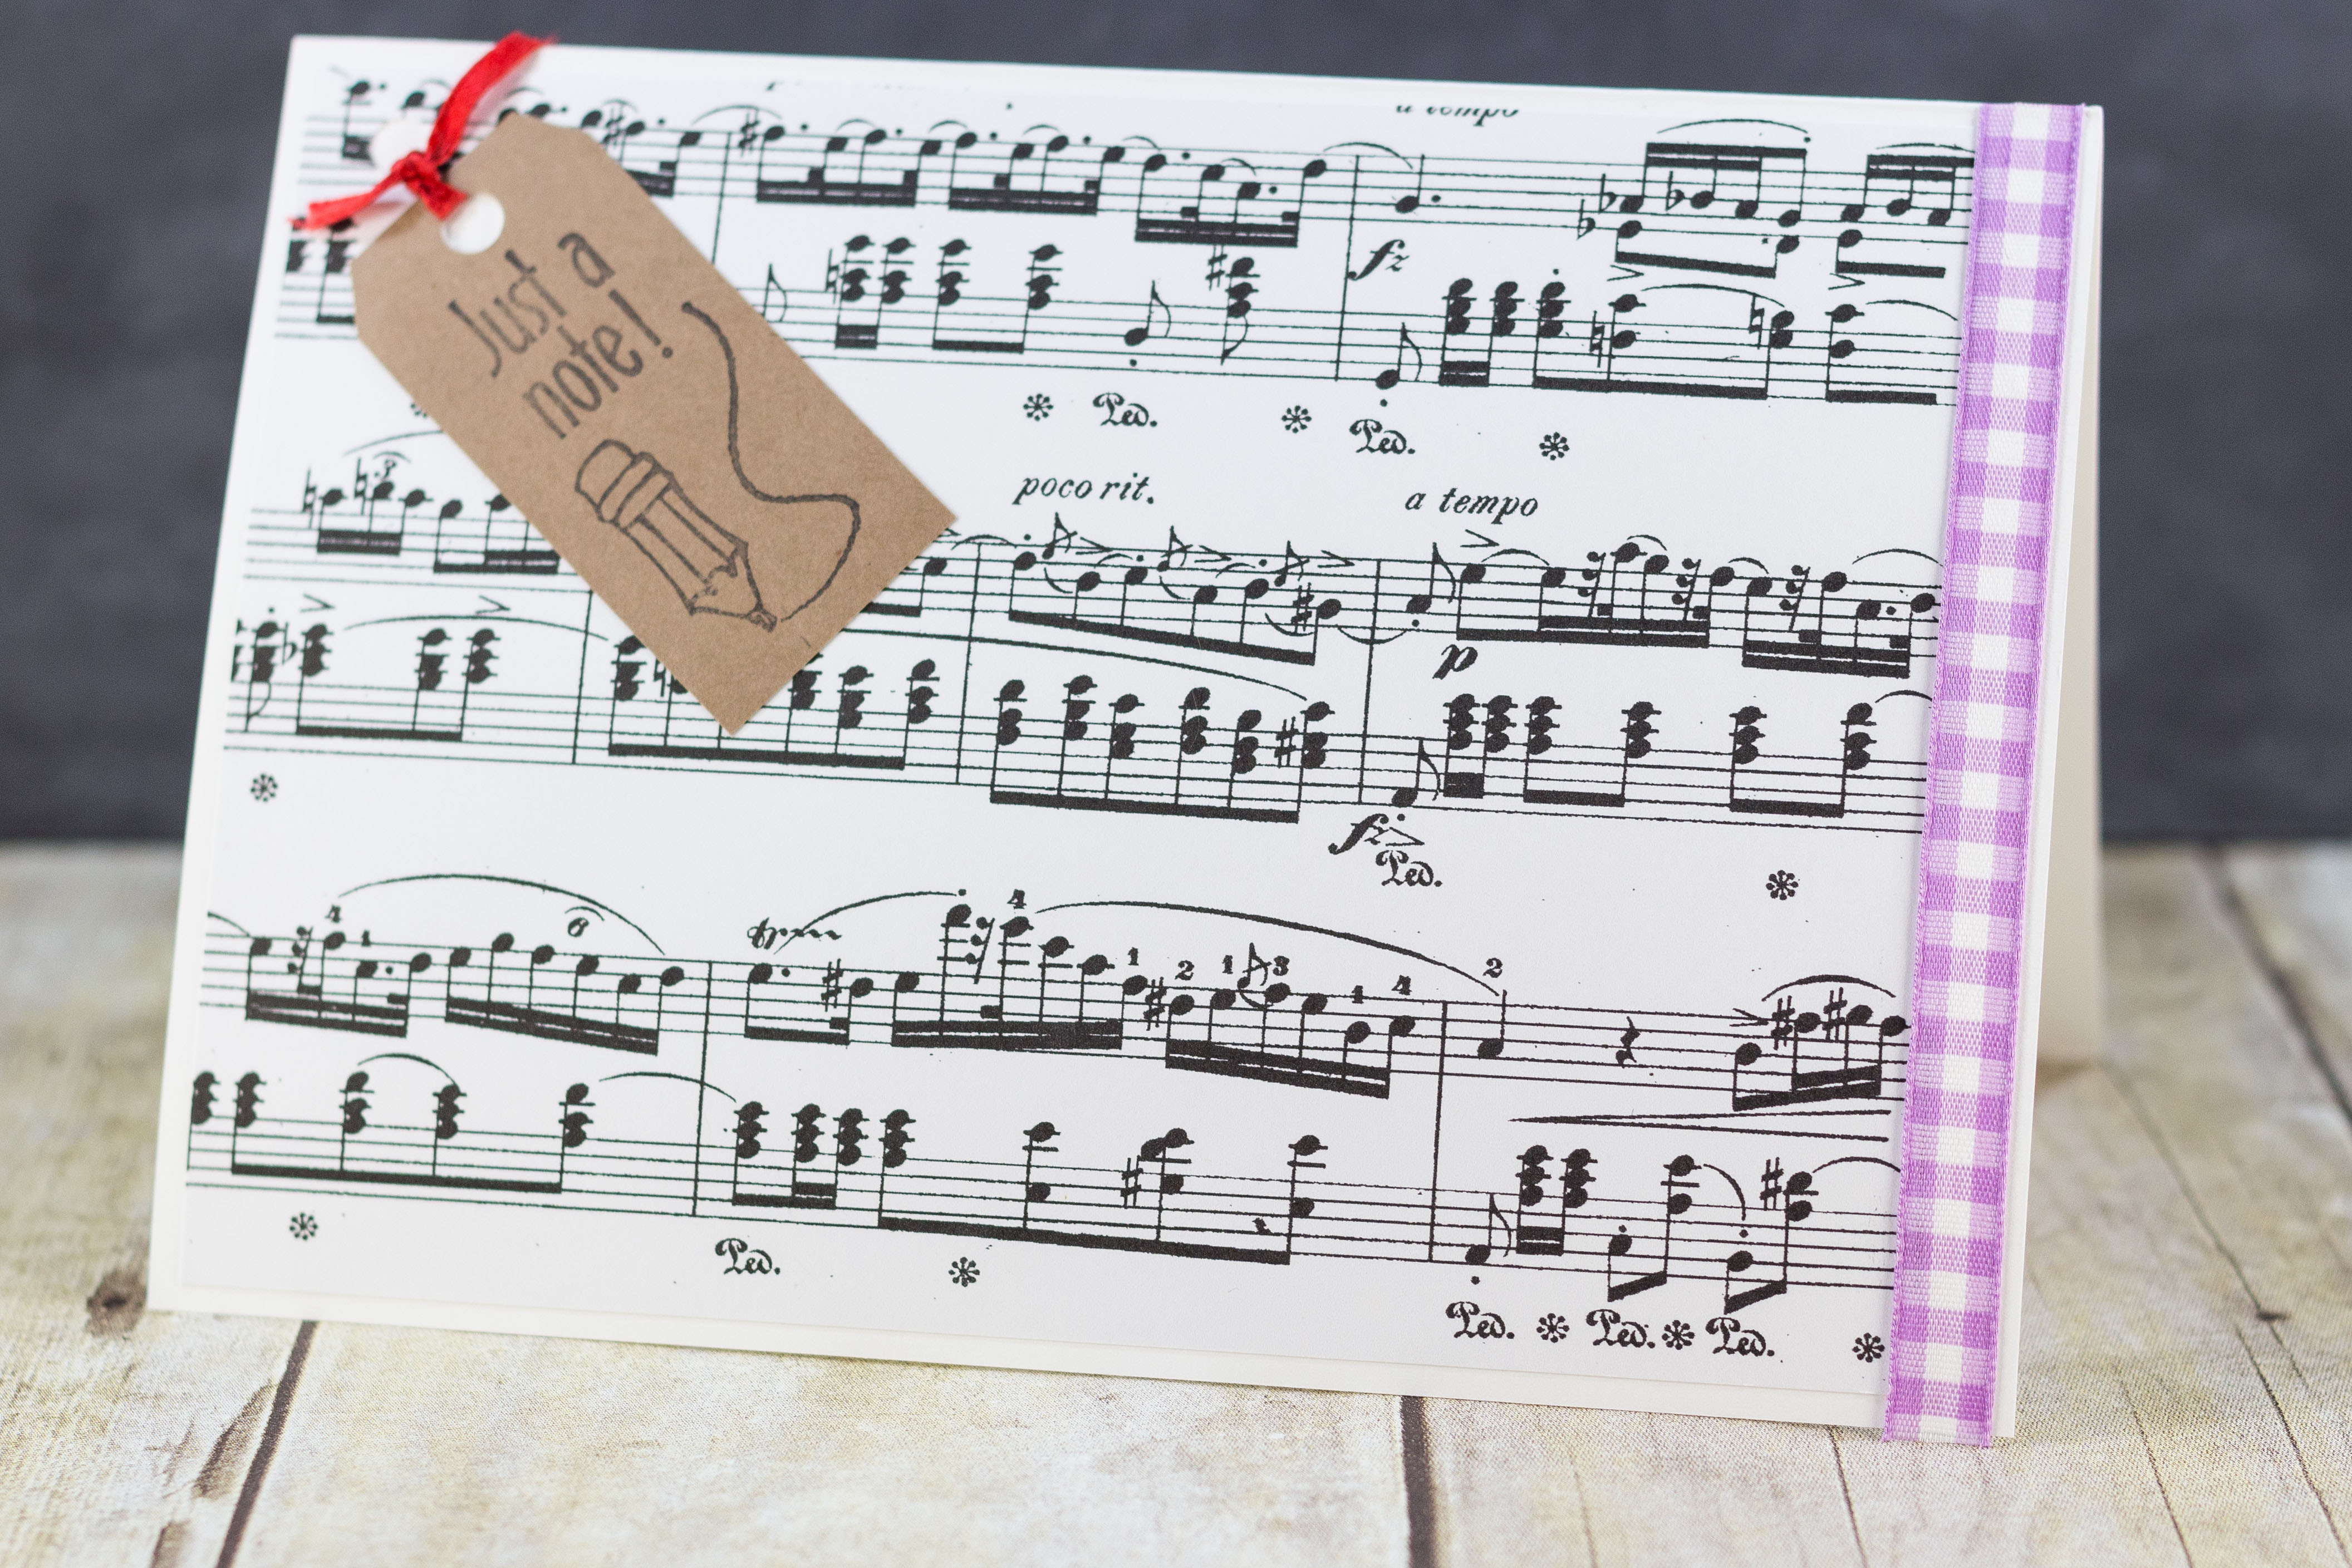
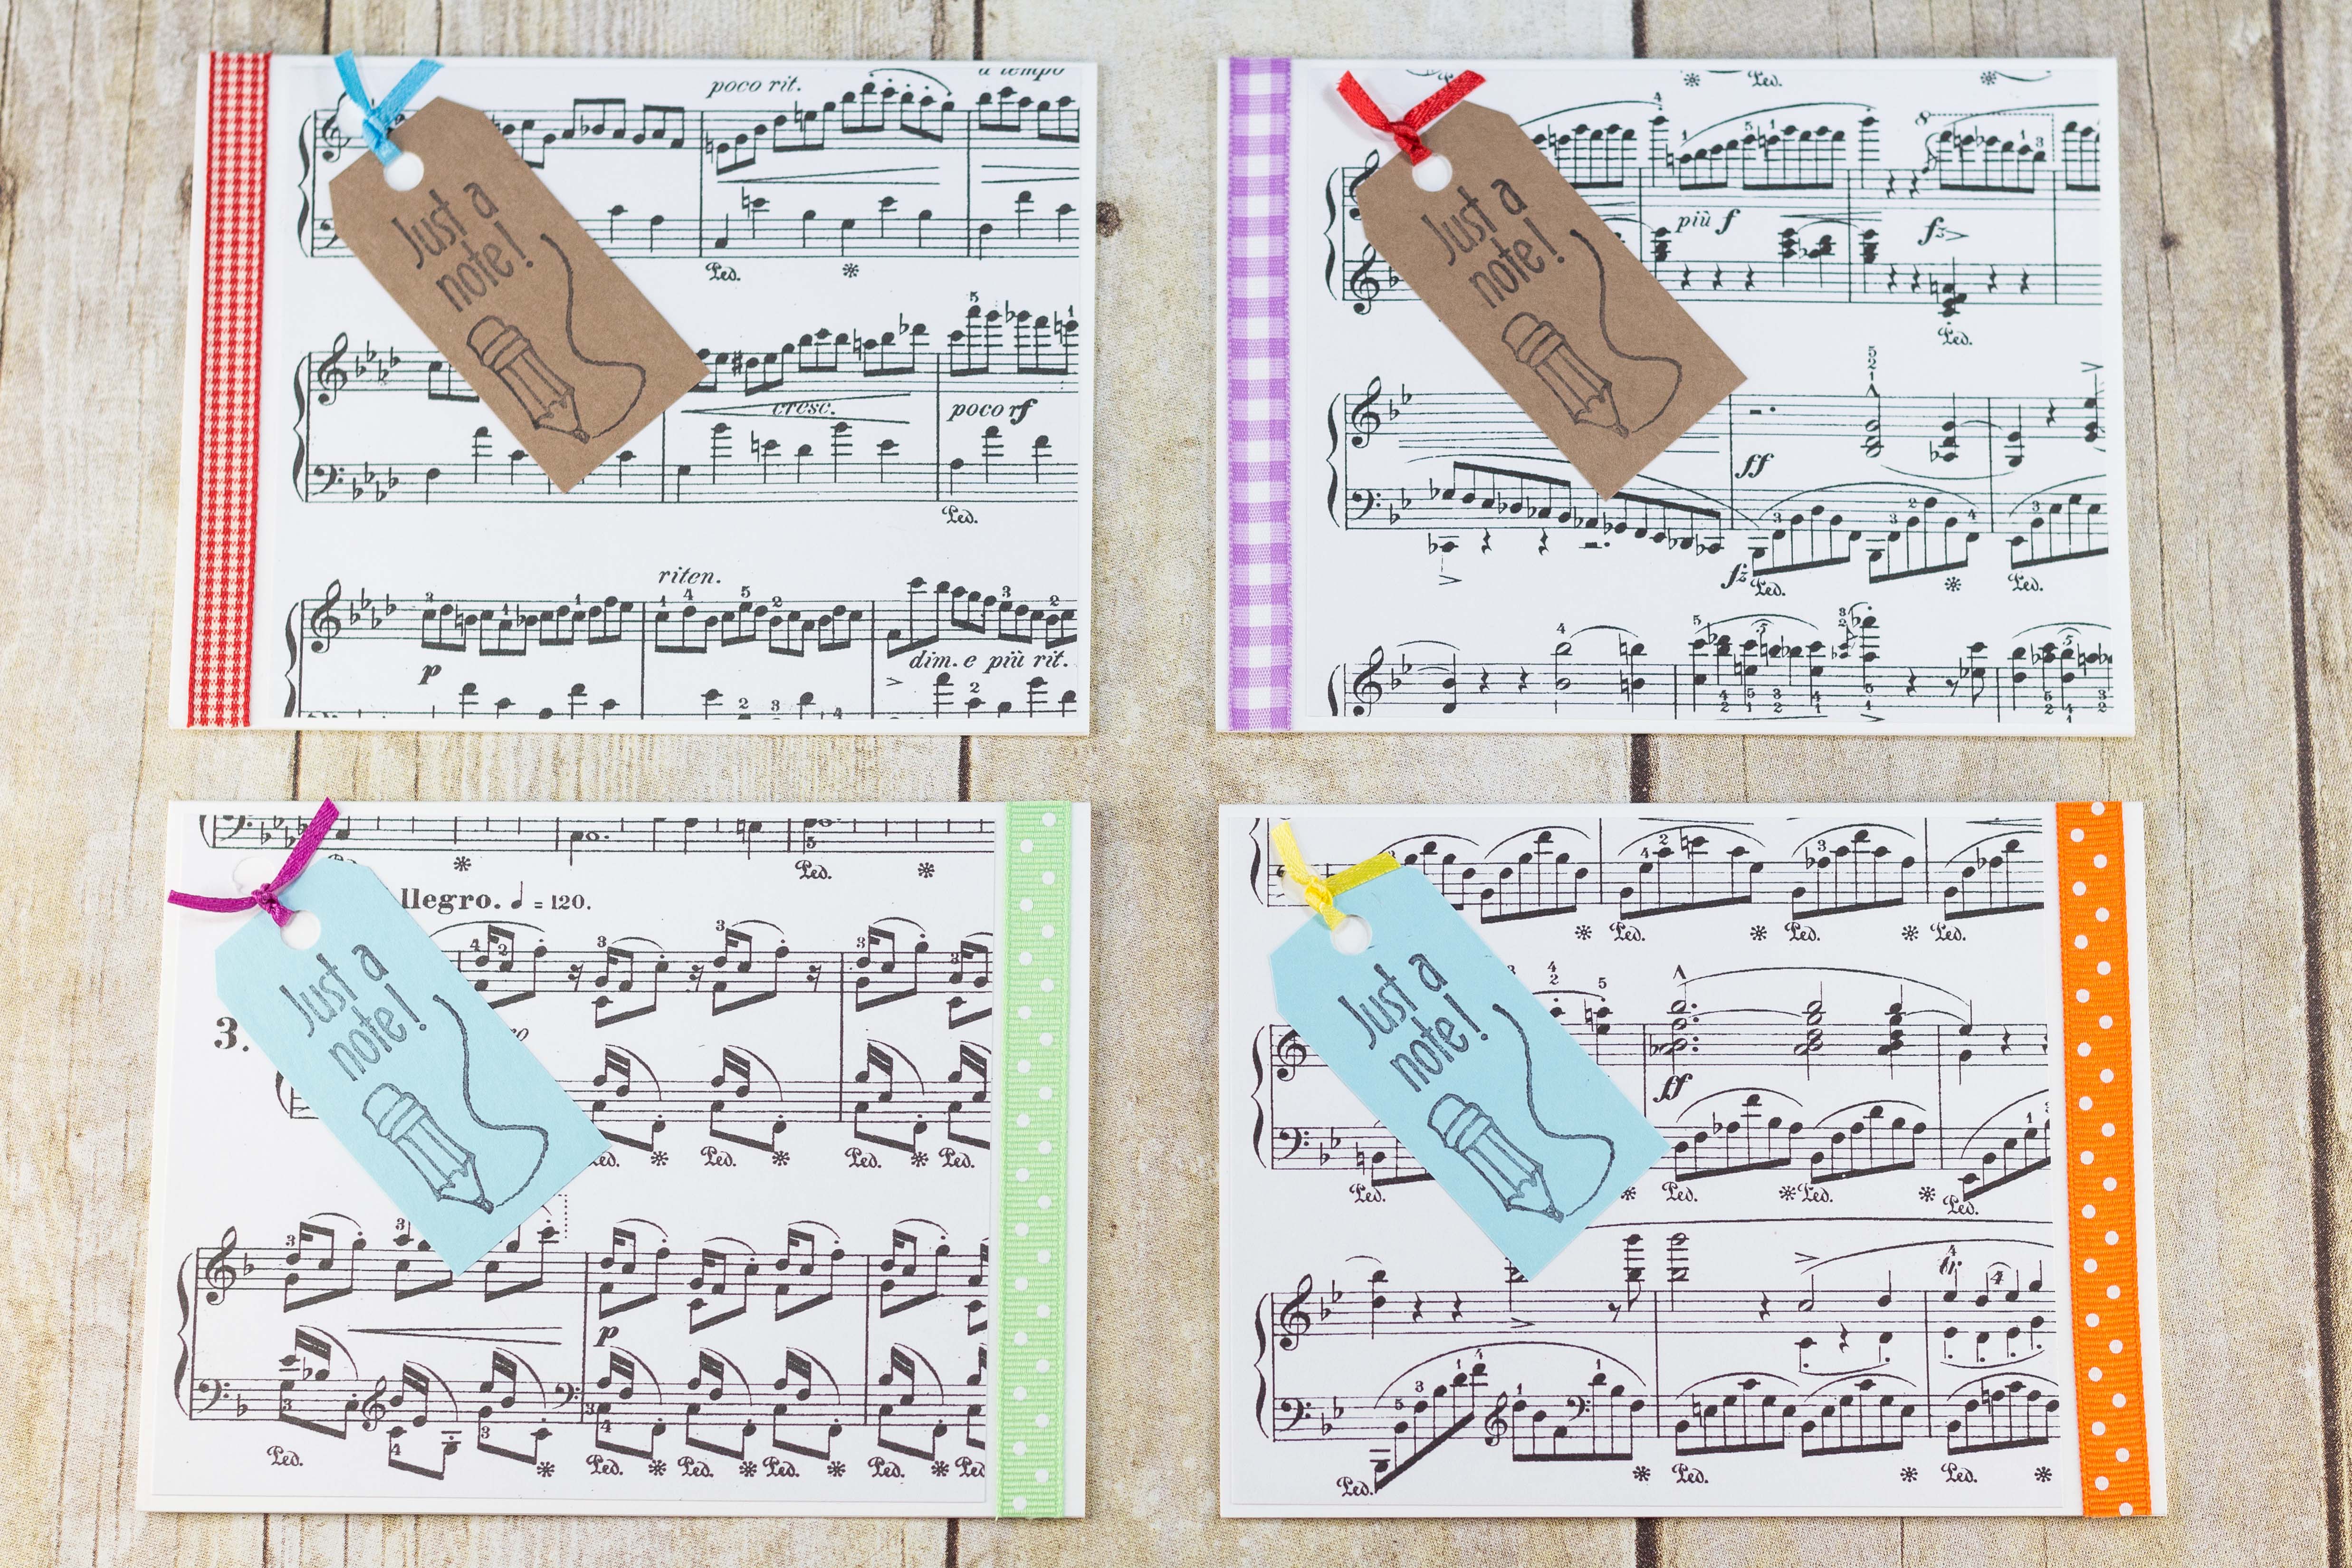
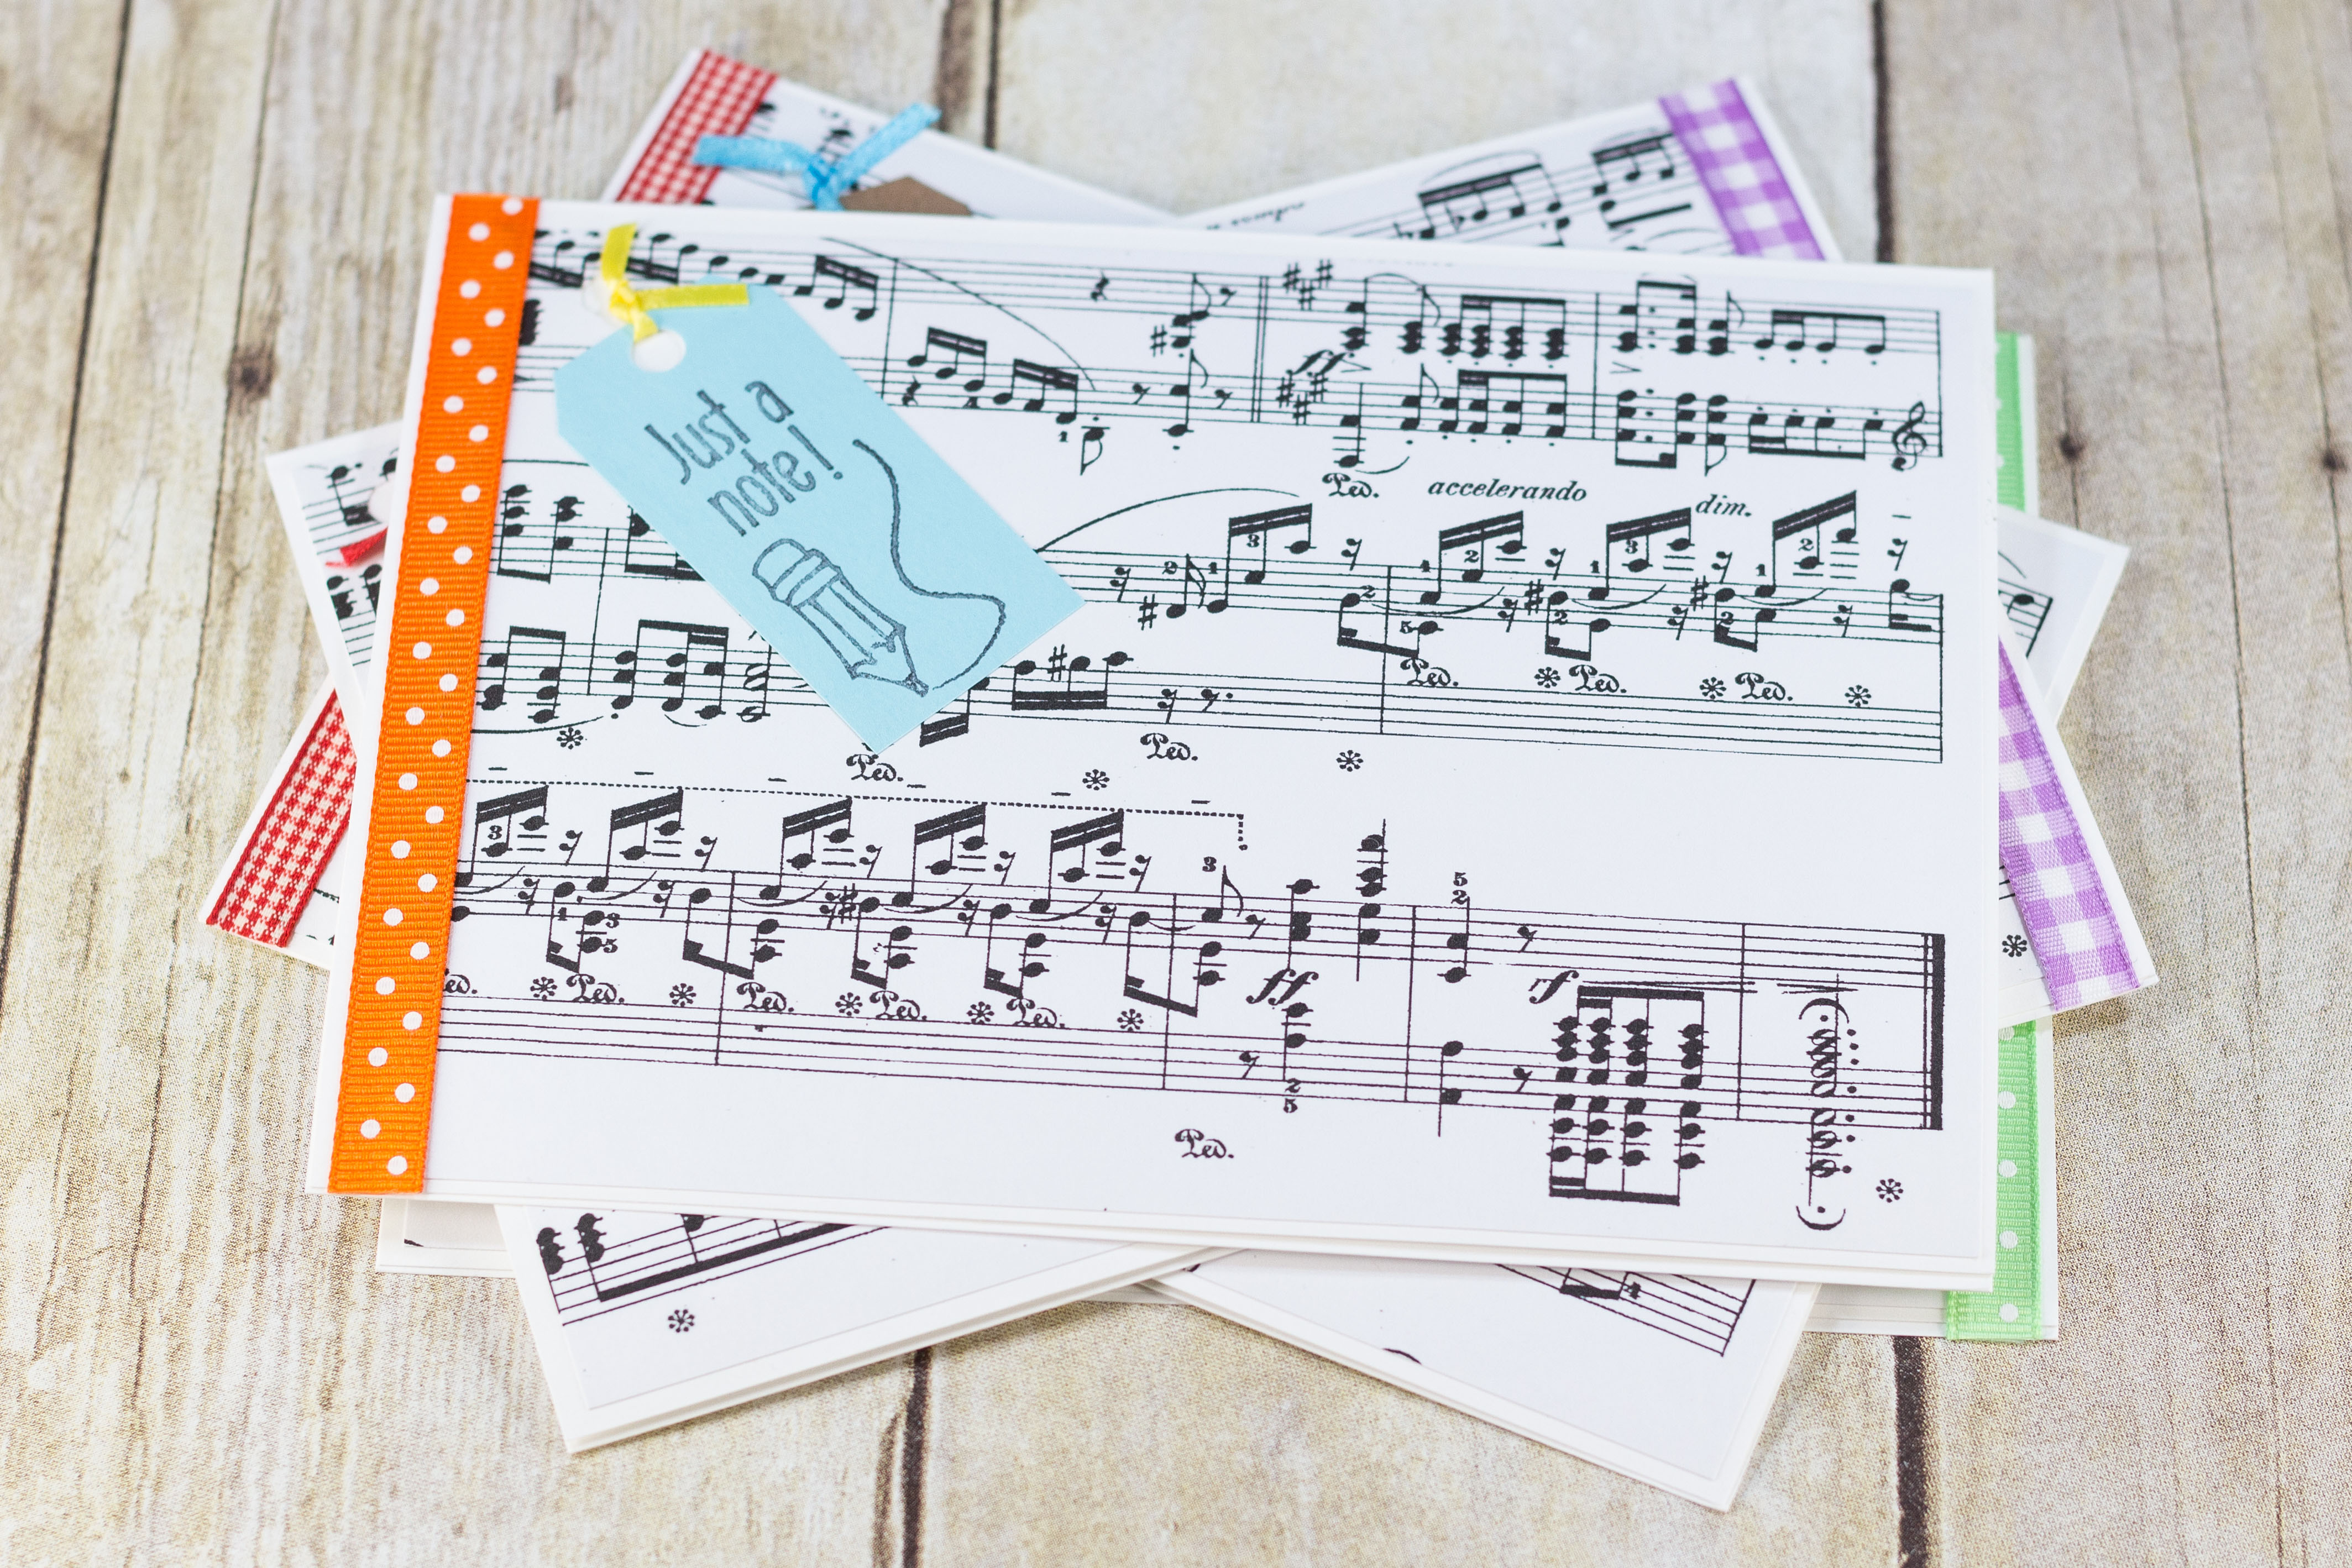
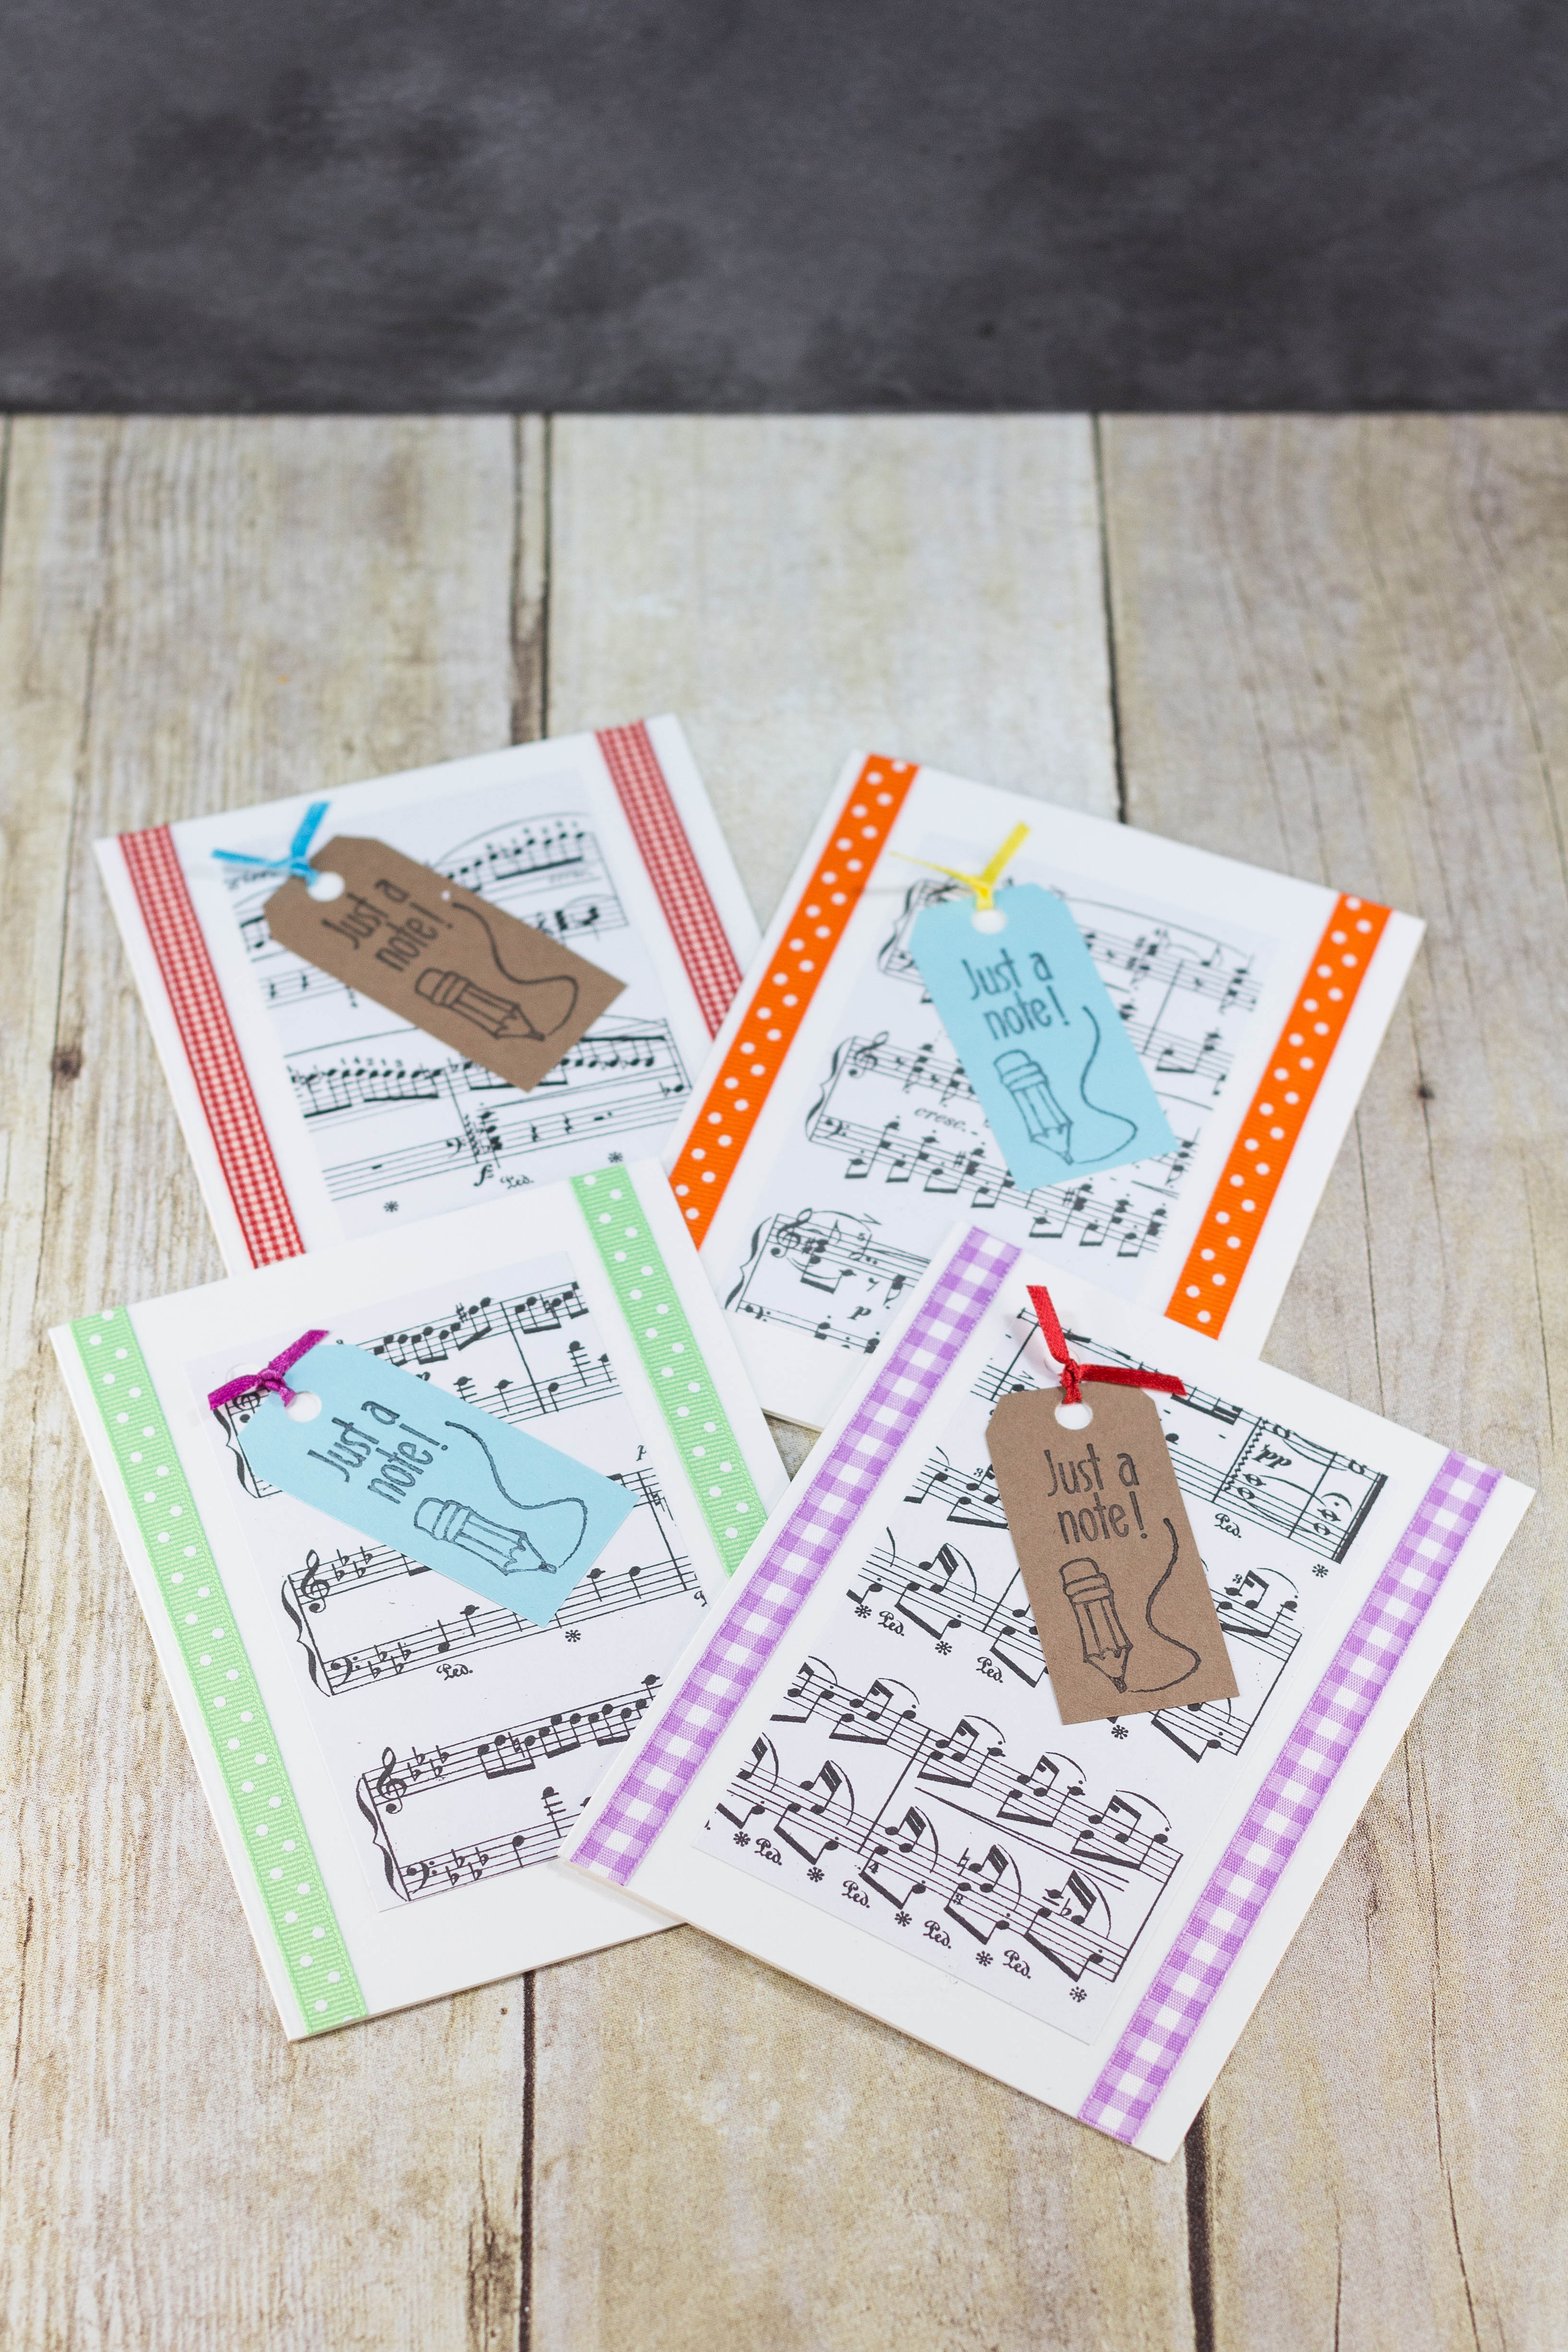
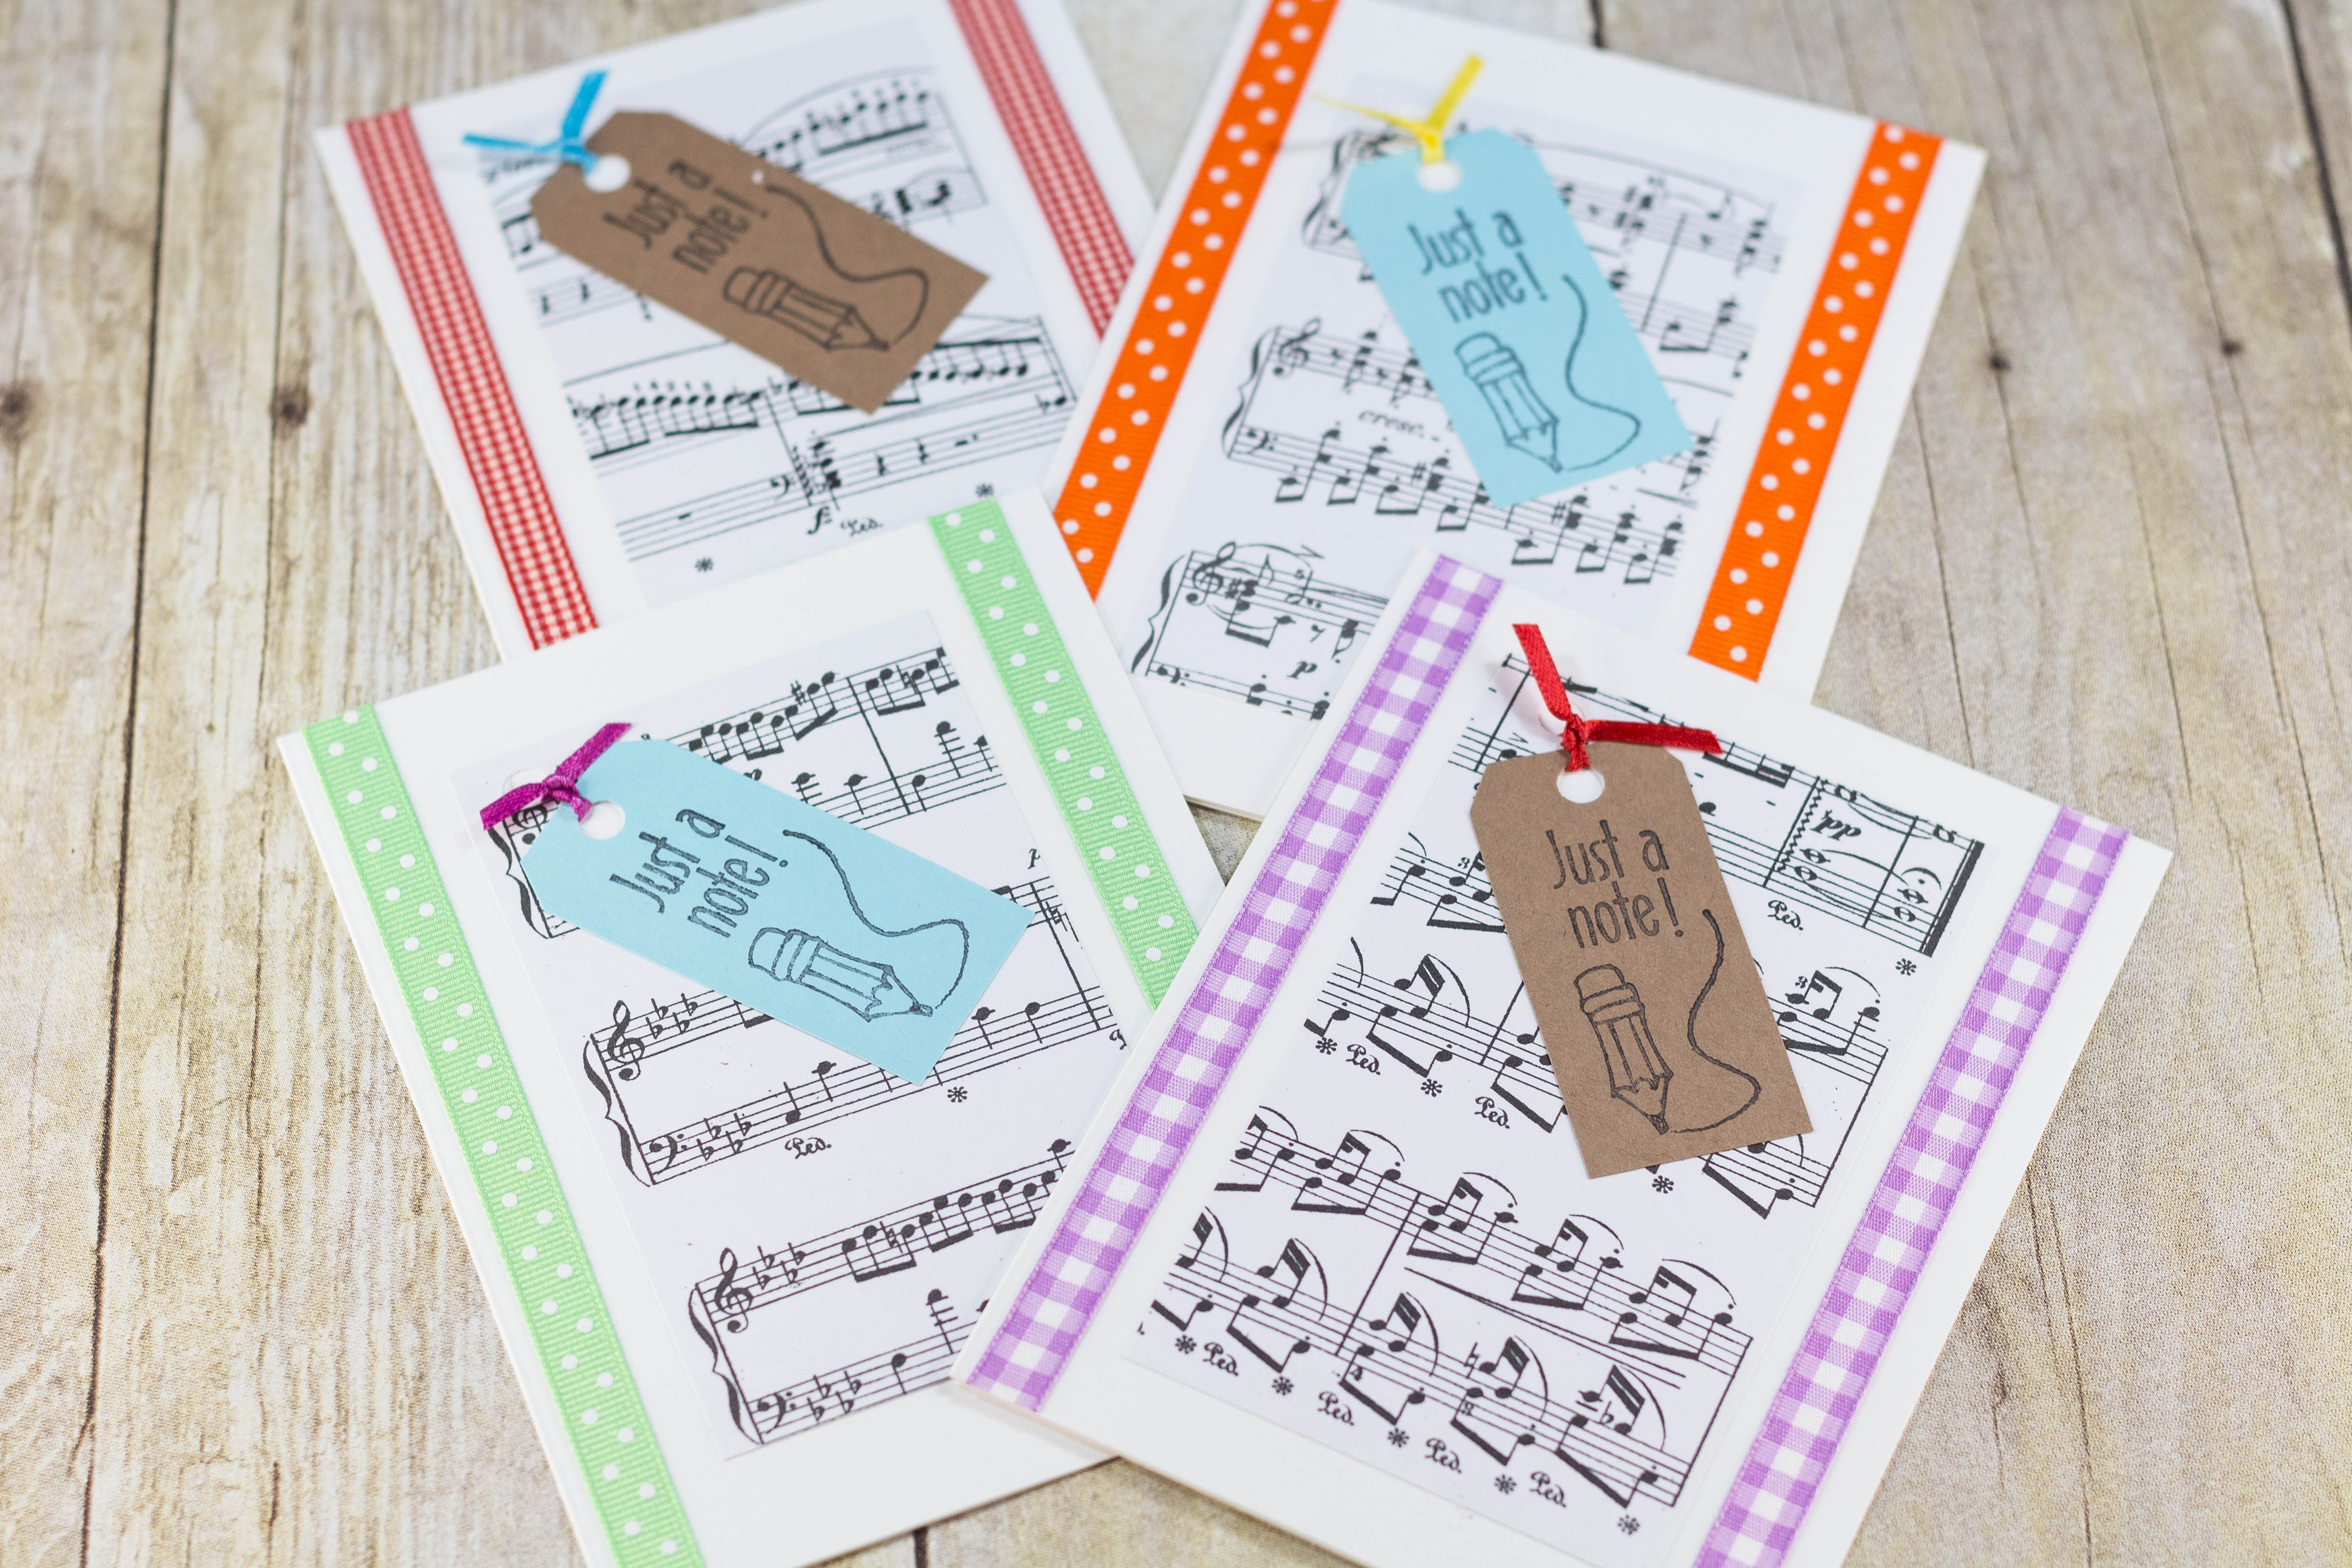
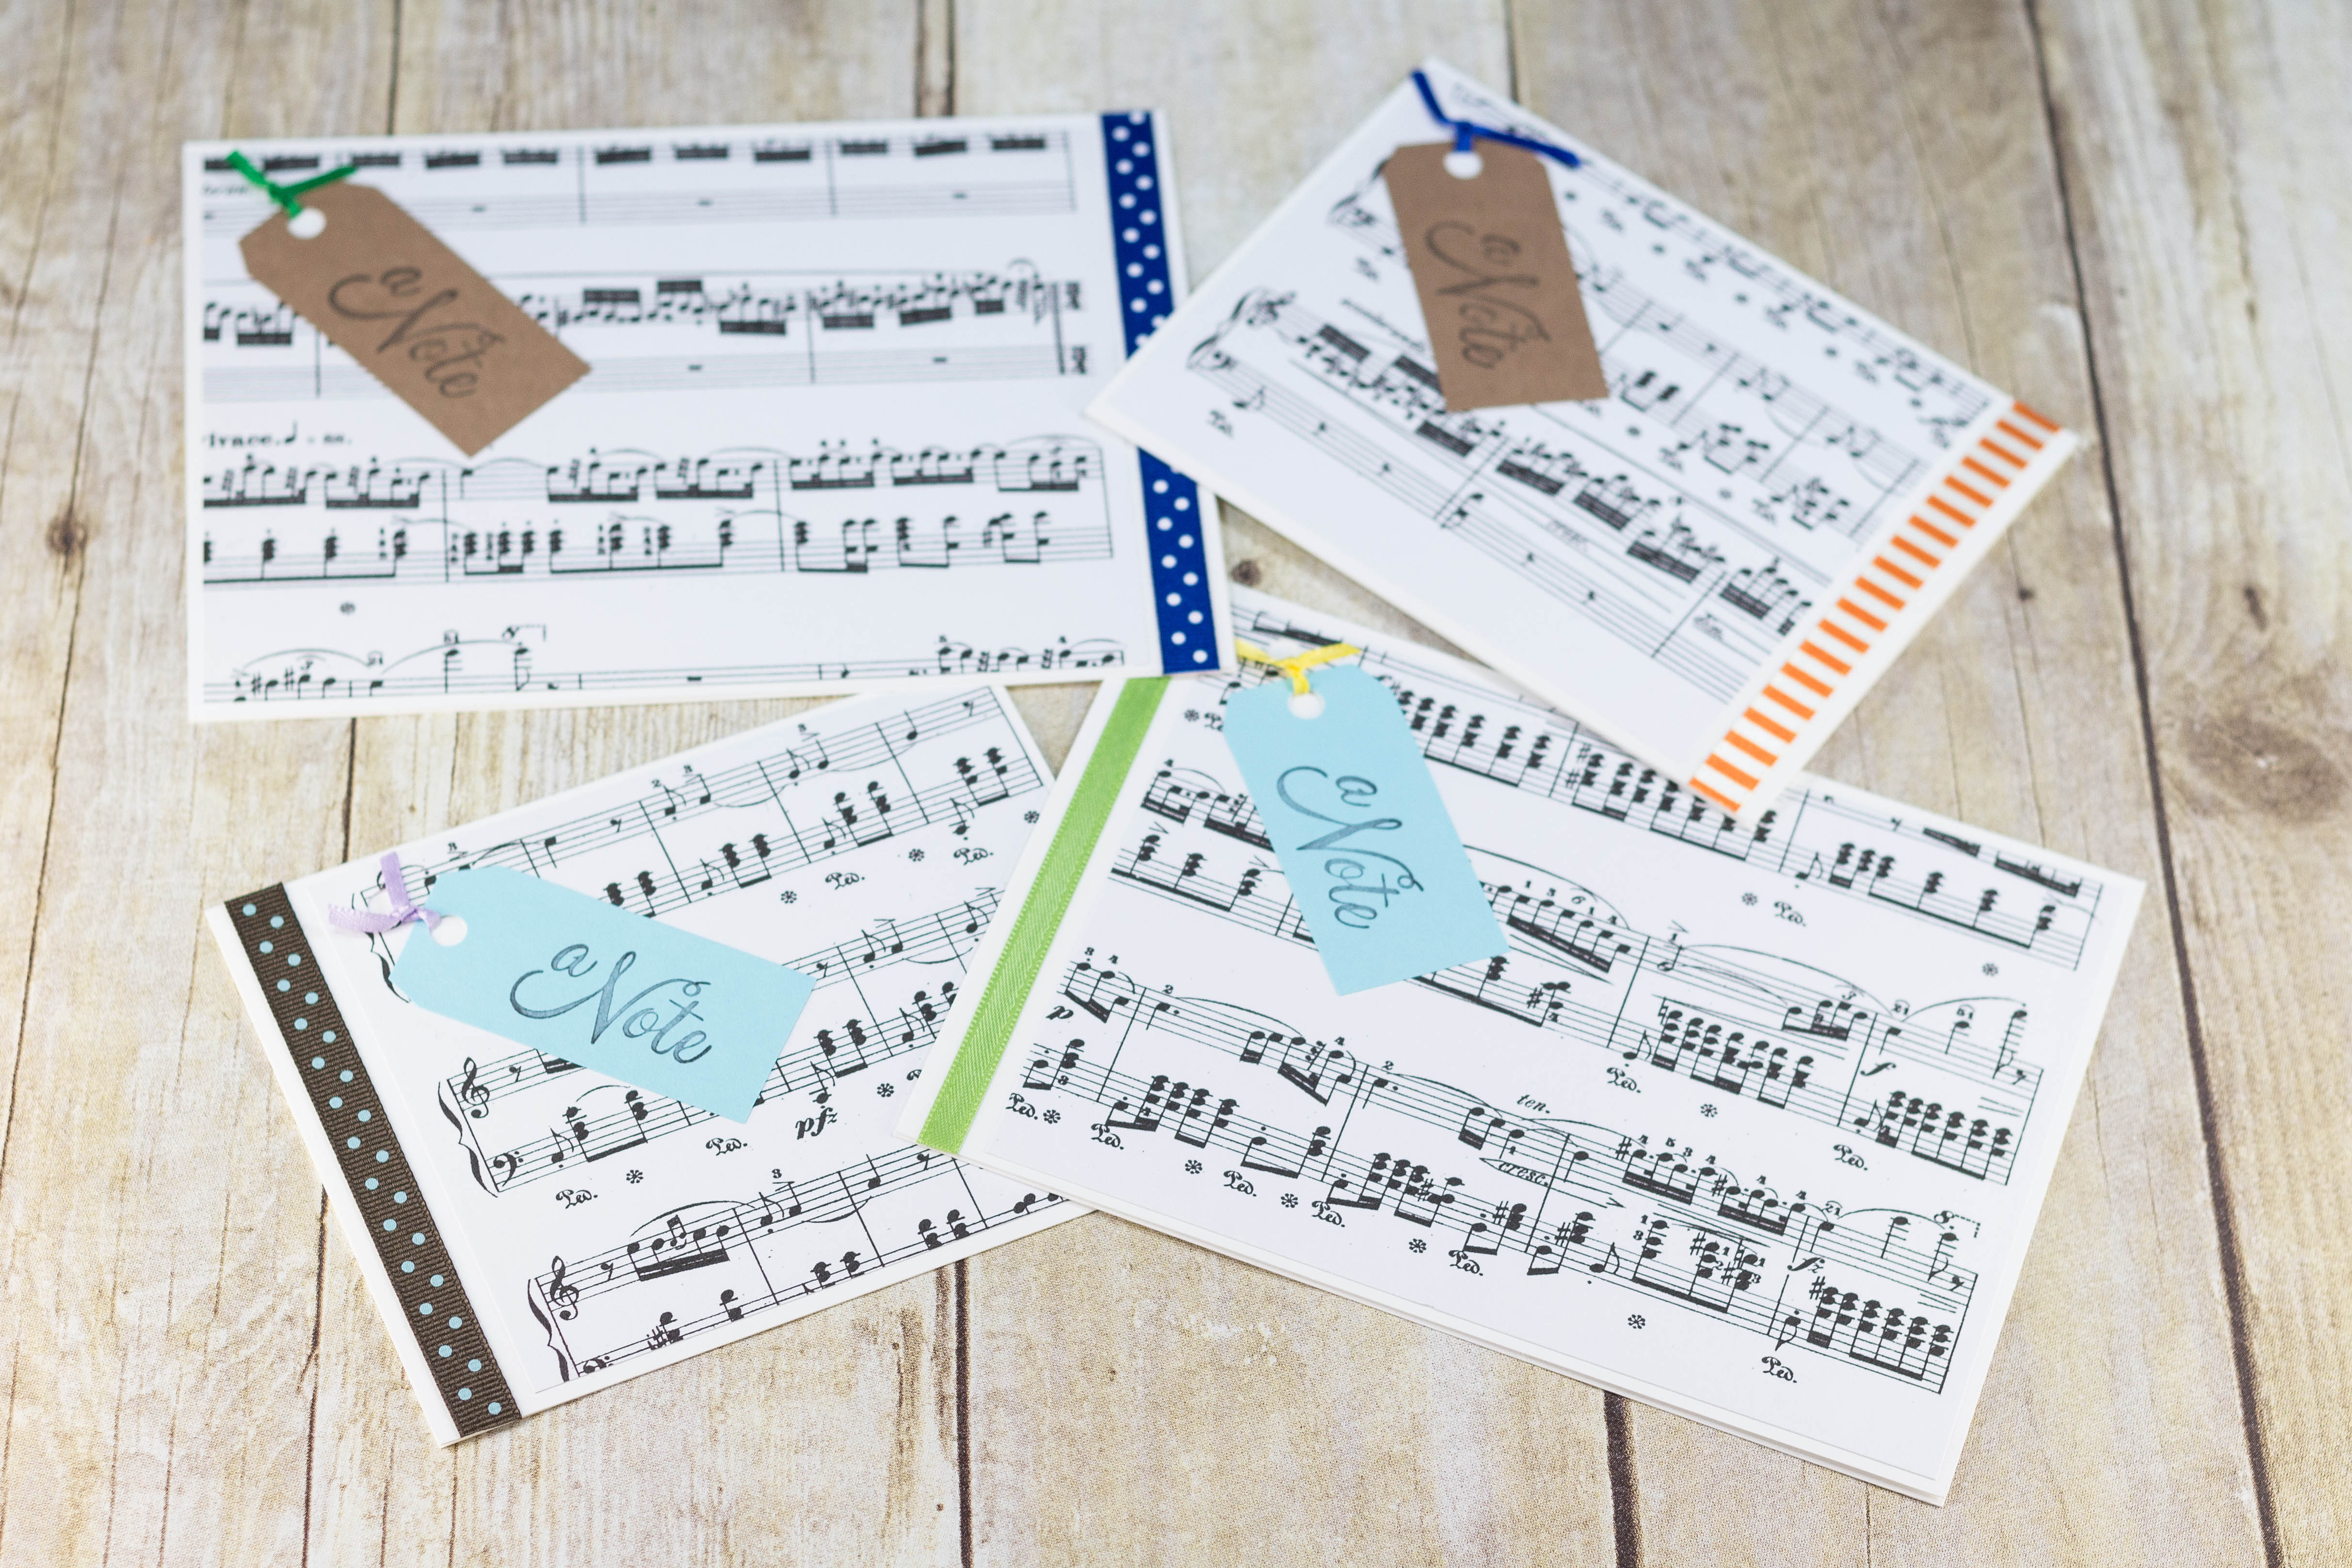
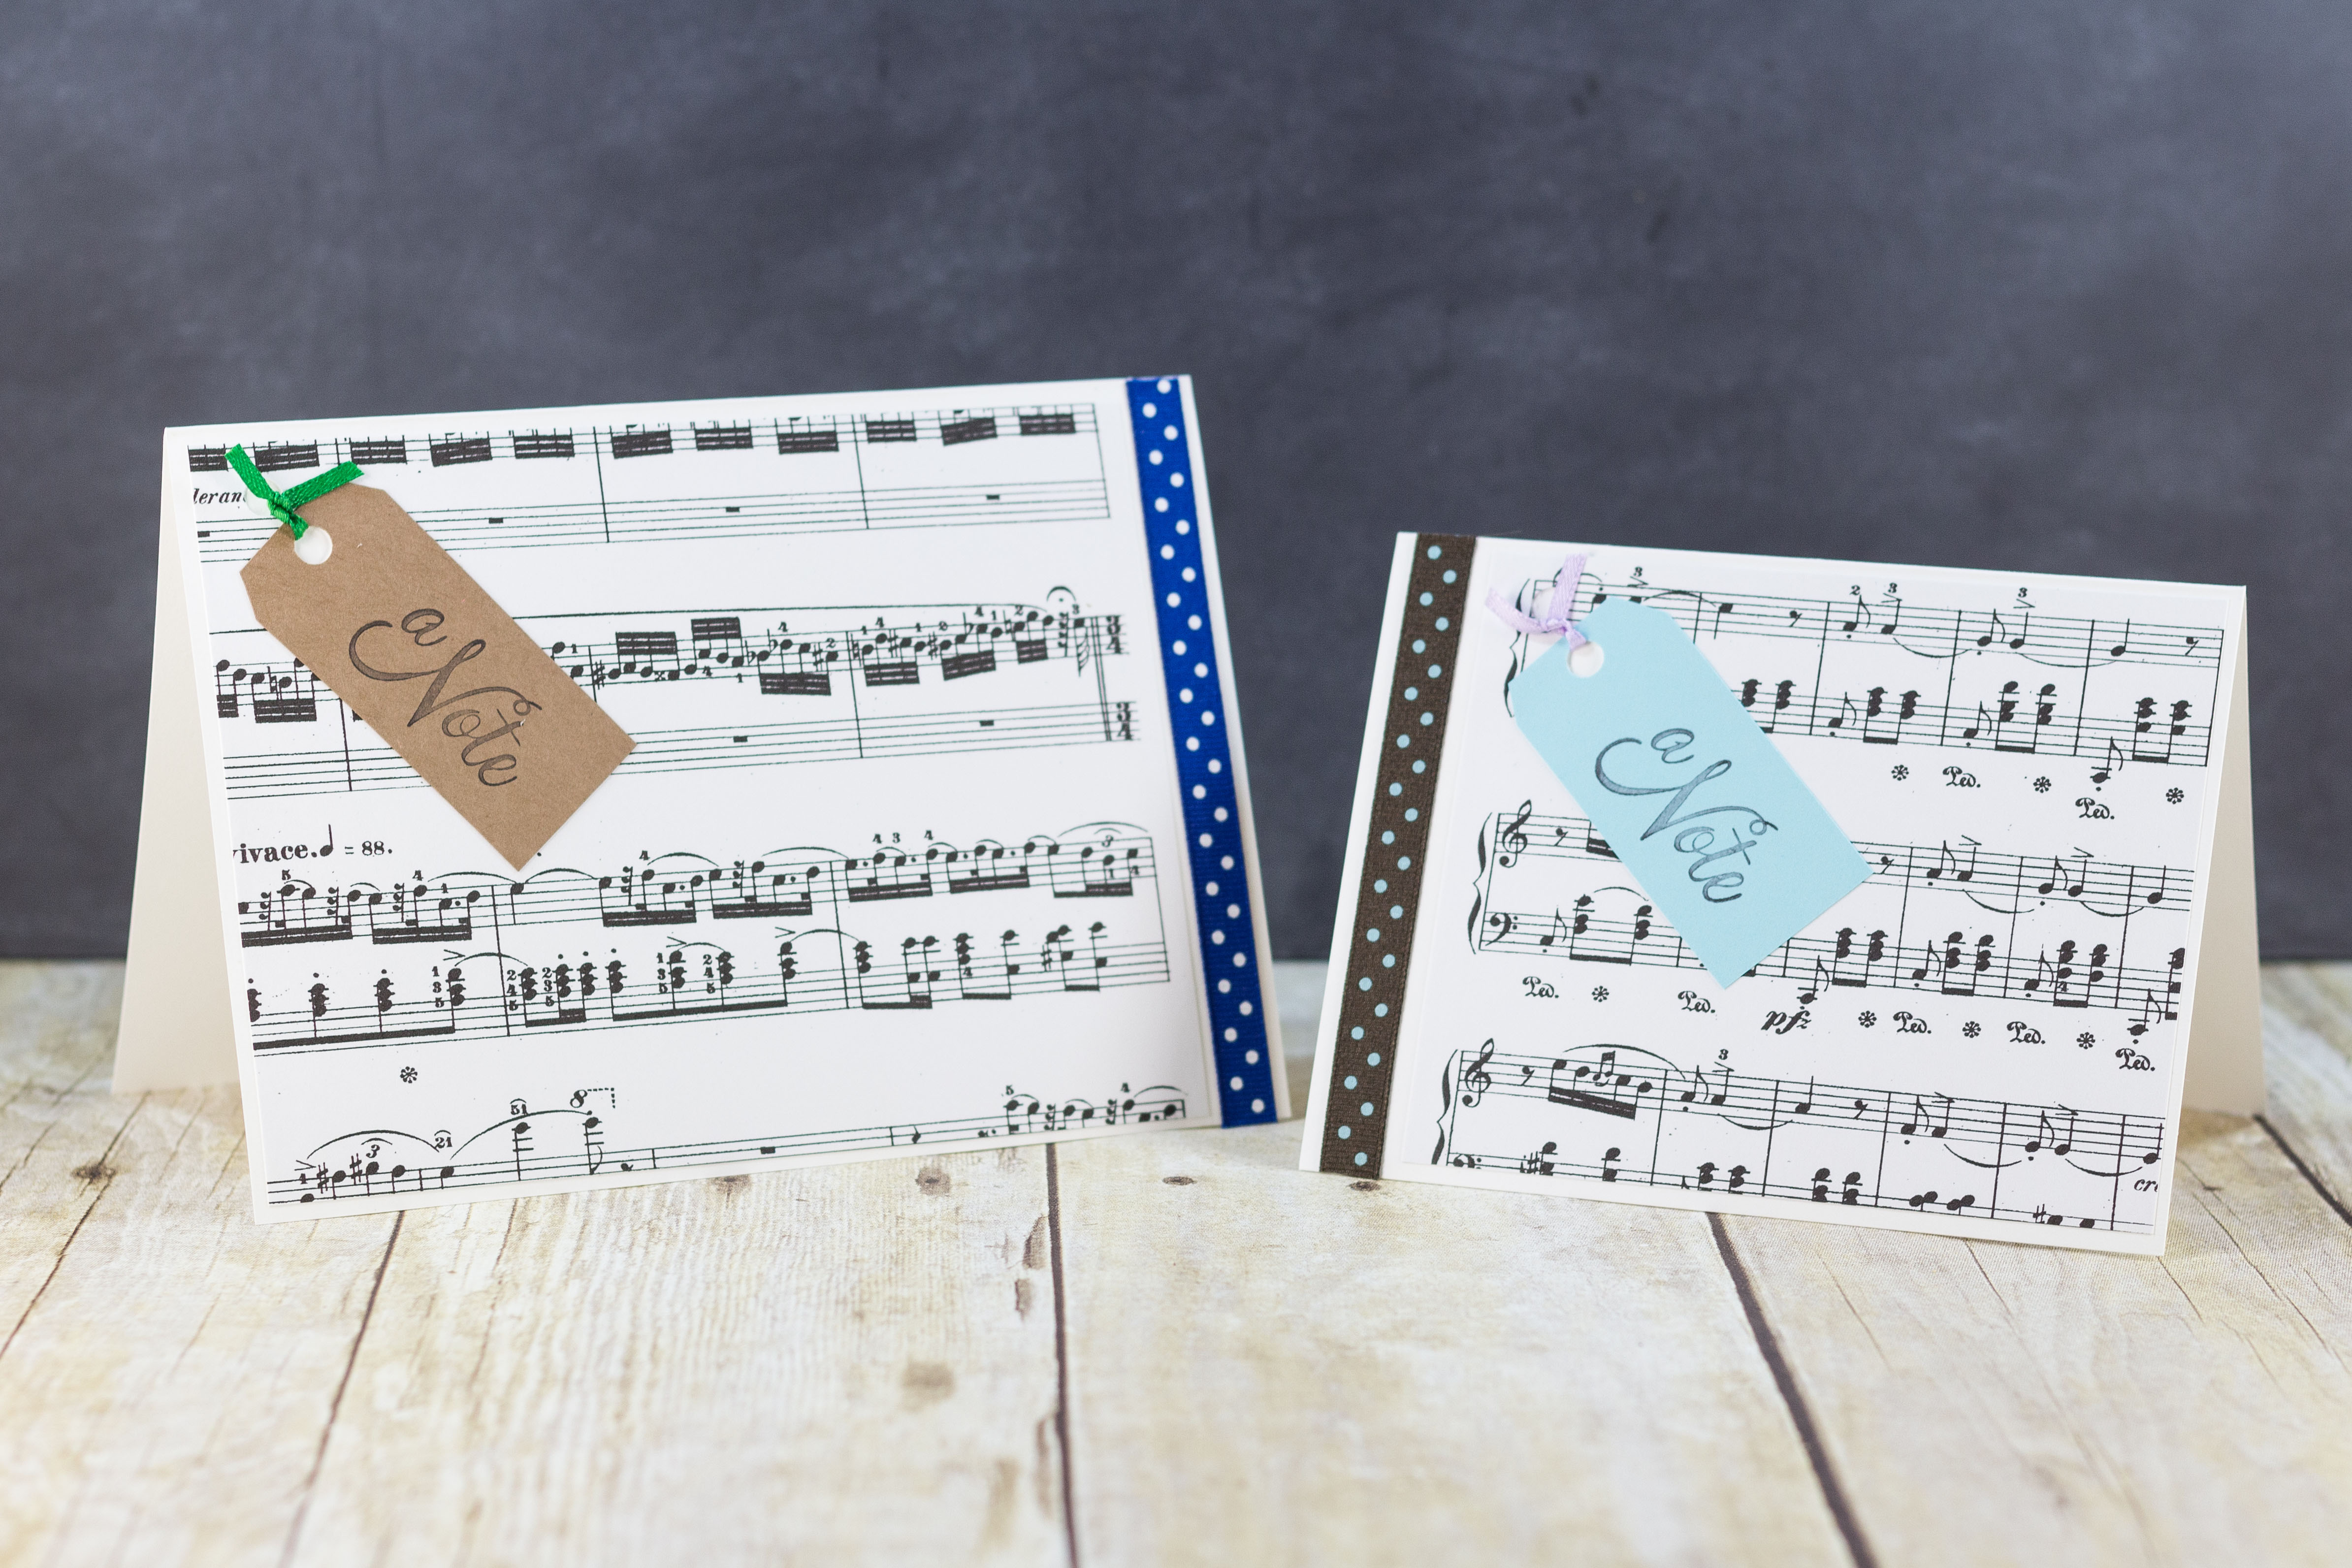
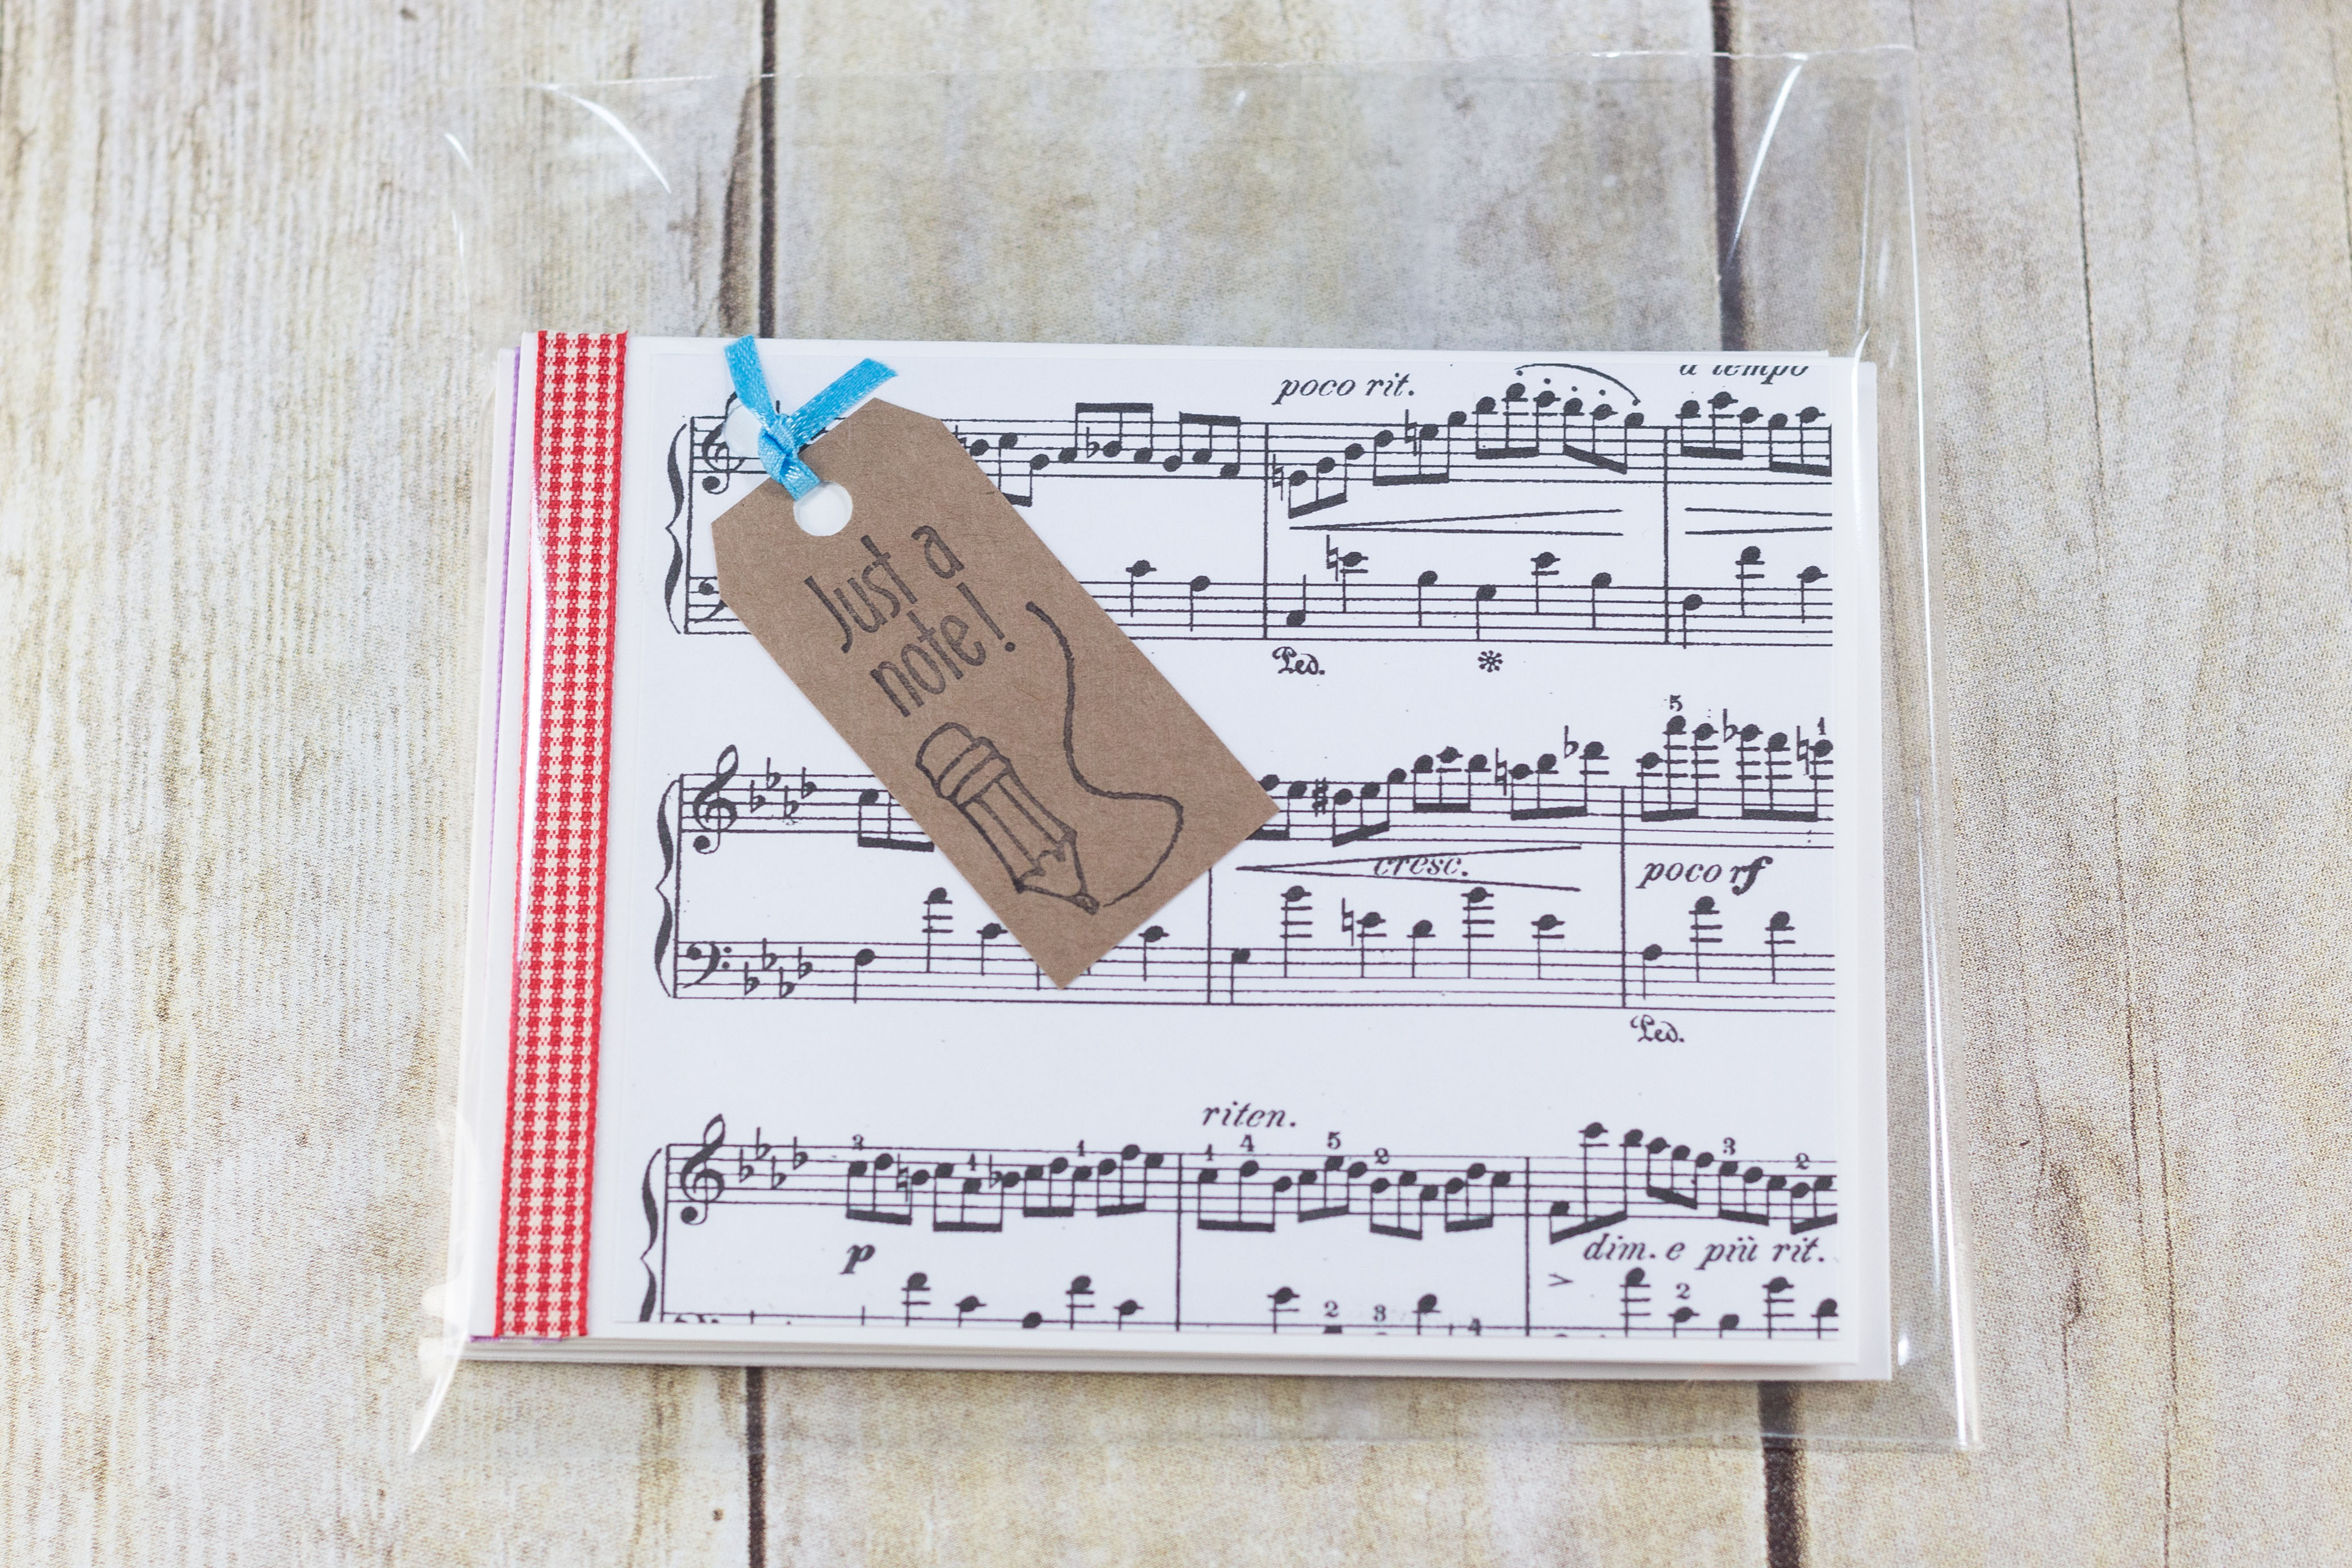
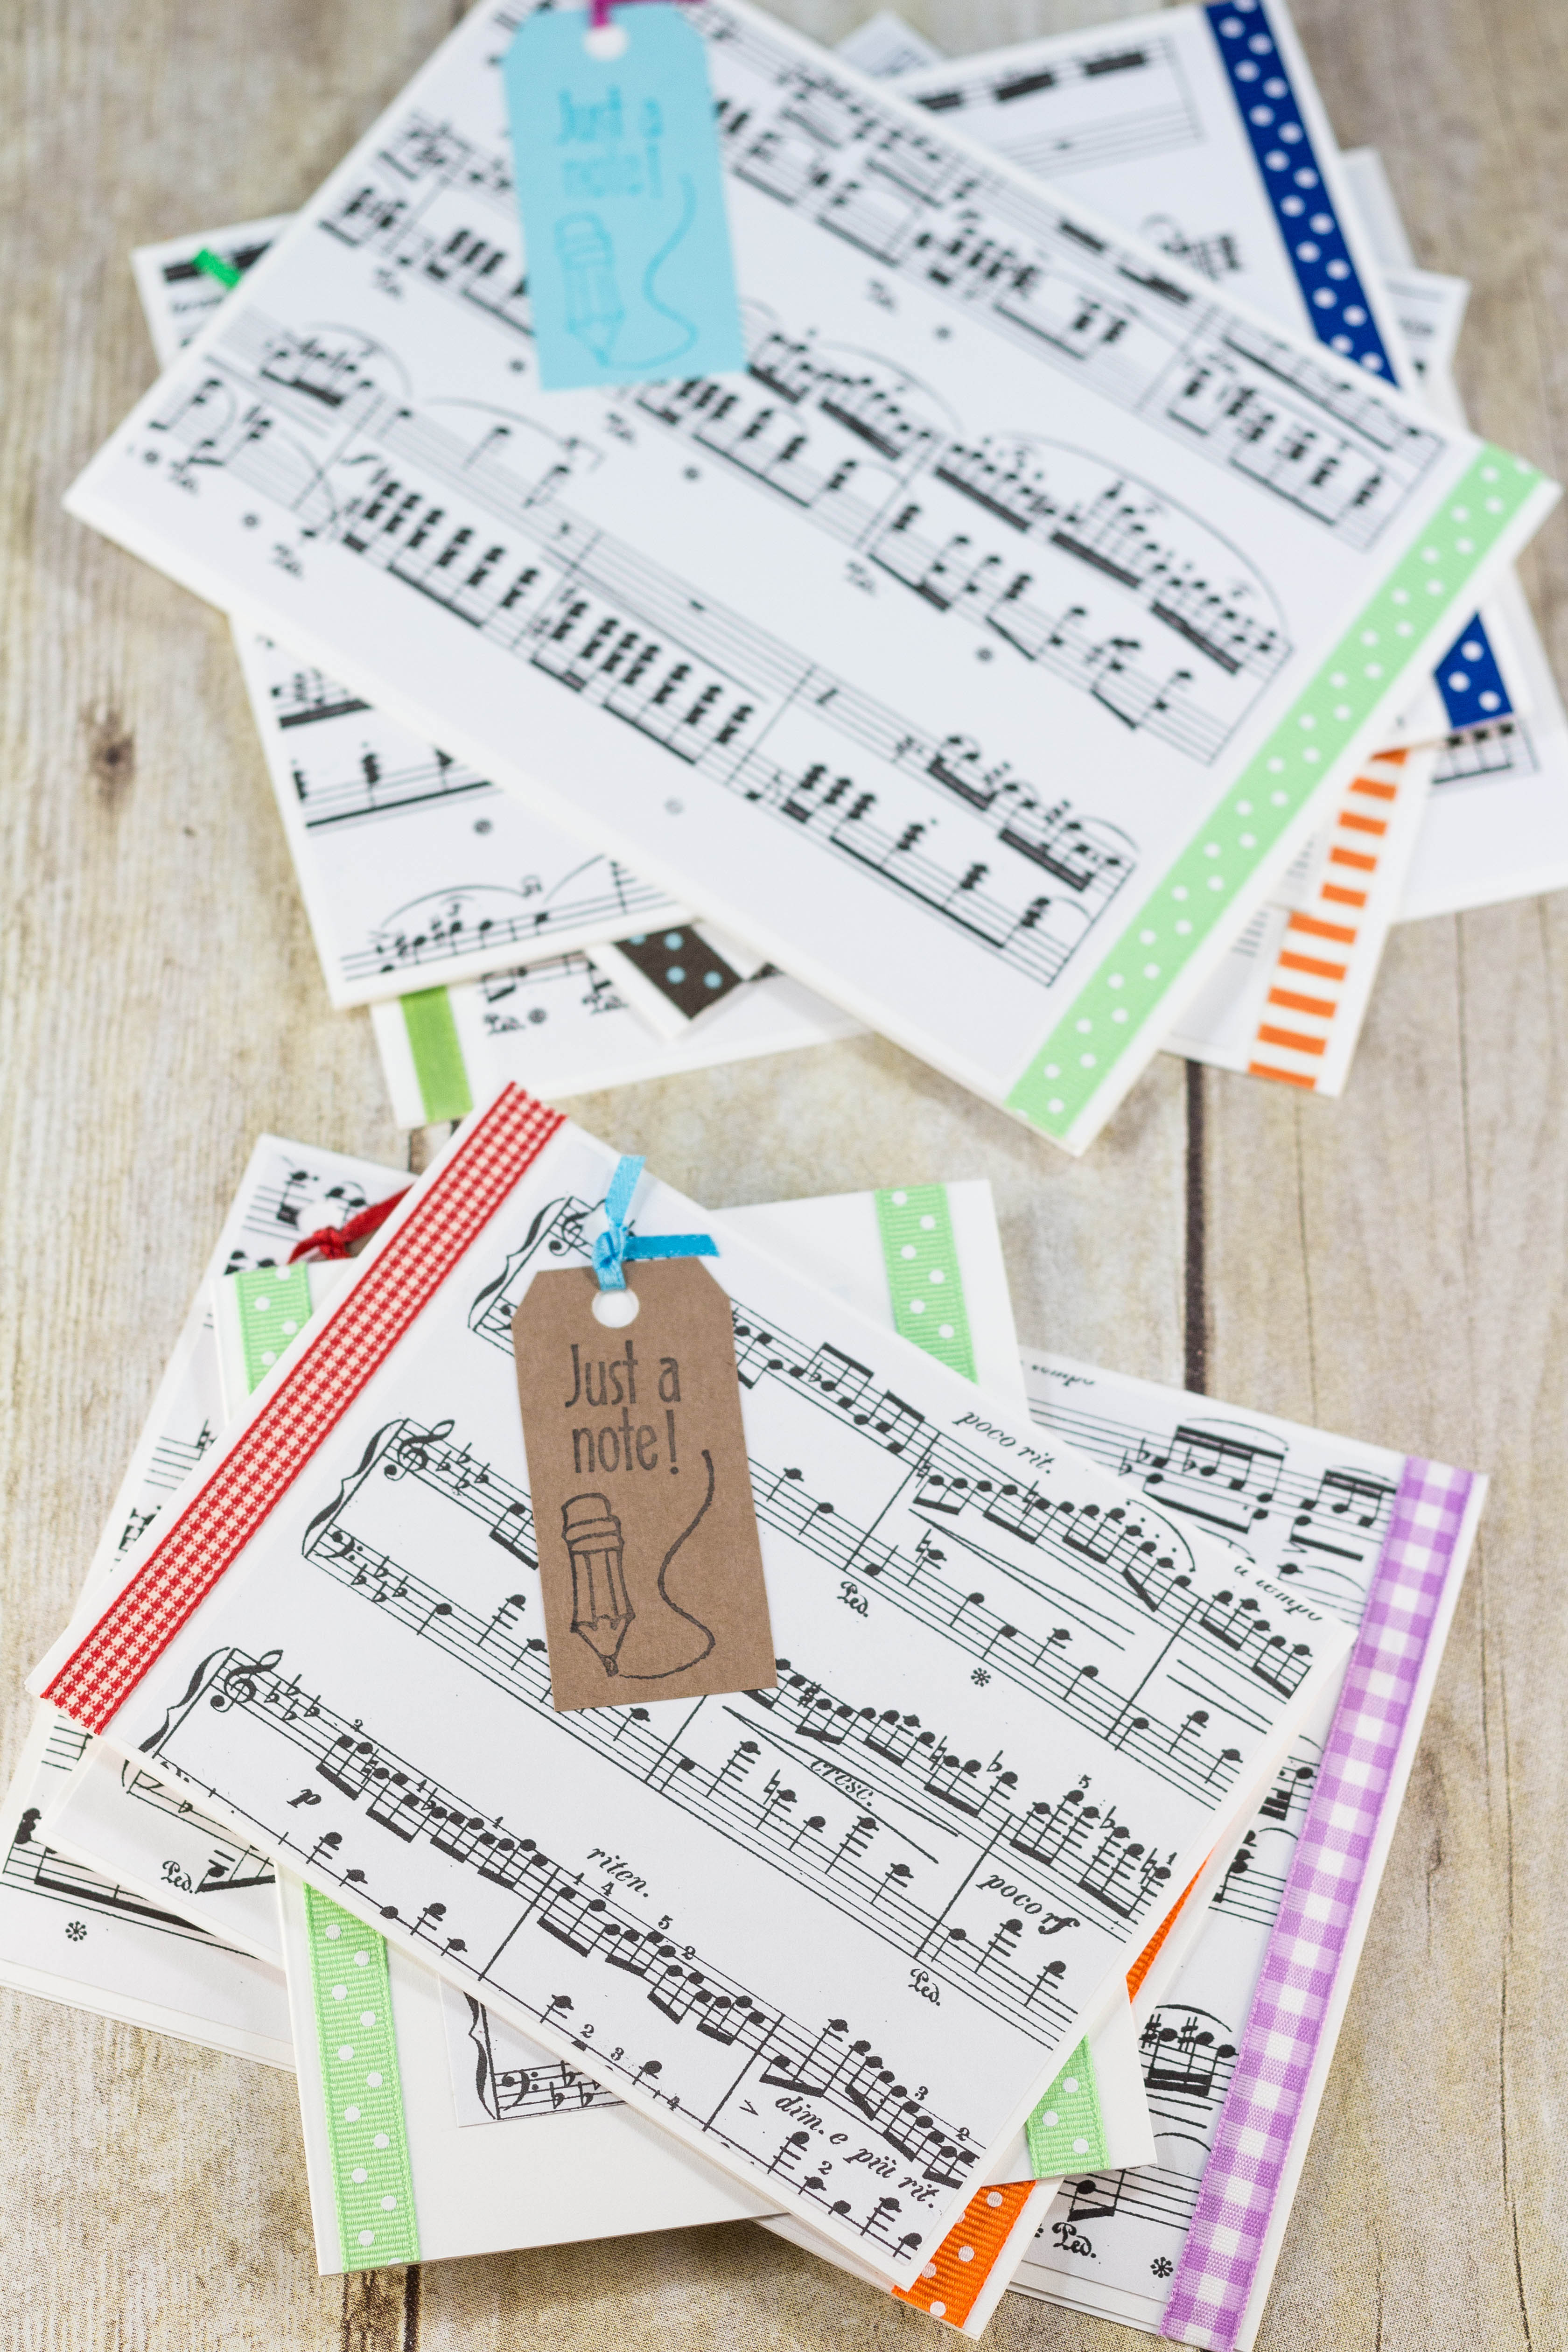
I’ve been making greeting cards for years. My just a note sheet music greeting card is by far my most popular design to date. But it’s taken me forever to make time for even a few photos for an Etsy listing, let alone enough photos for a tutorial. I also had to figure out how to create an assembly process that anyone else would actually want to do without crying or shoving the whole project in the back of the drawer. You know, not really the makings of a great tutorial.
But I did figure it out. For you, my readers. I’m really proud of this card design and am so happy to be sharing it with you here, at last.
Like many of my DIY tutorials, the just a note sheet music greeting cards tutorial is a little time-intensive and involves a fair amount of cutting. But there’s nothing about the project that’s particularly hard. Put on a good TV show or audiobook and settle in for a fun afternoon of greeting card making.
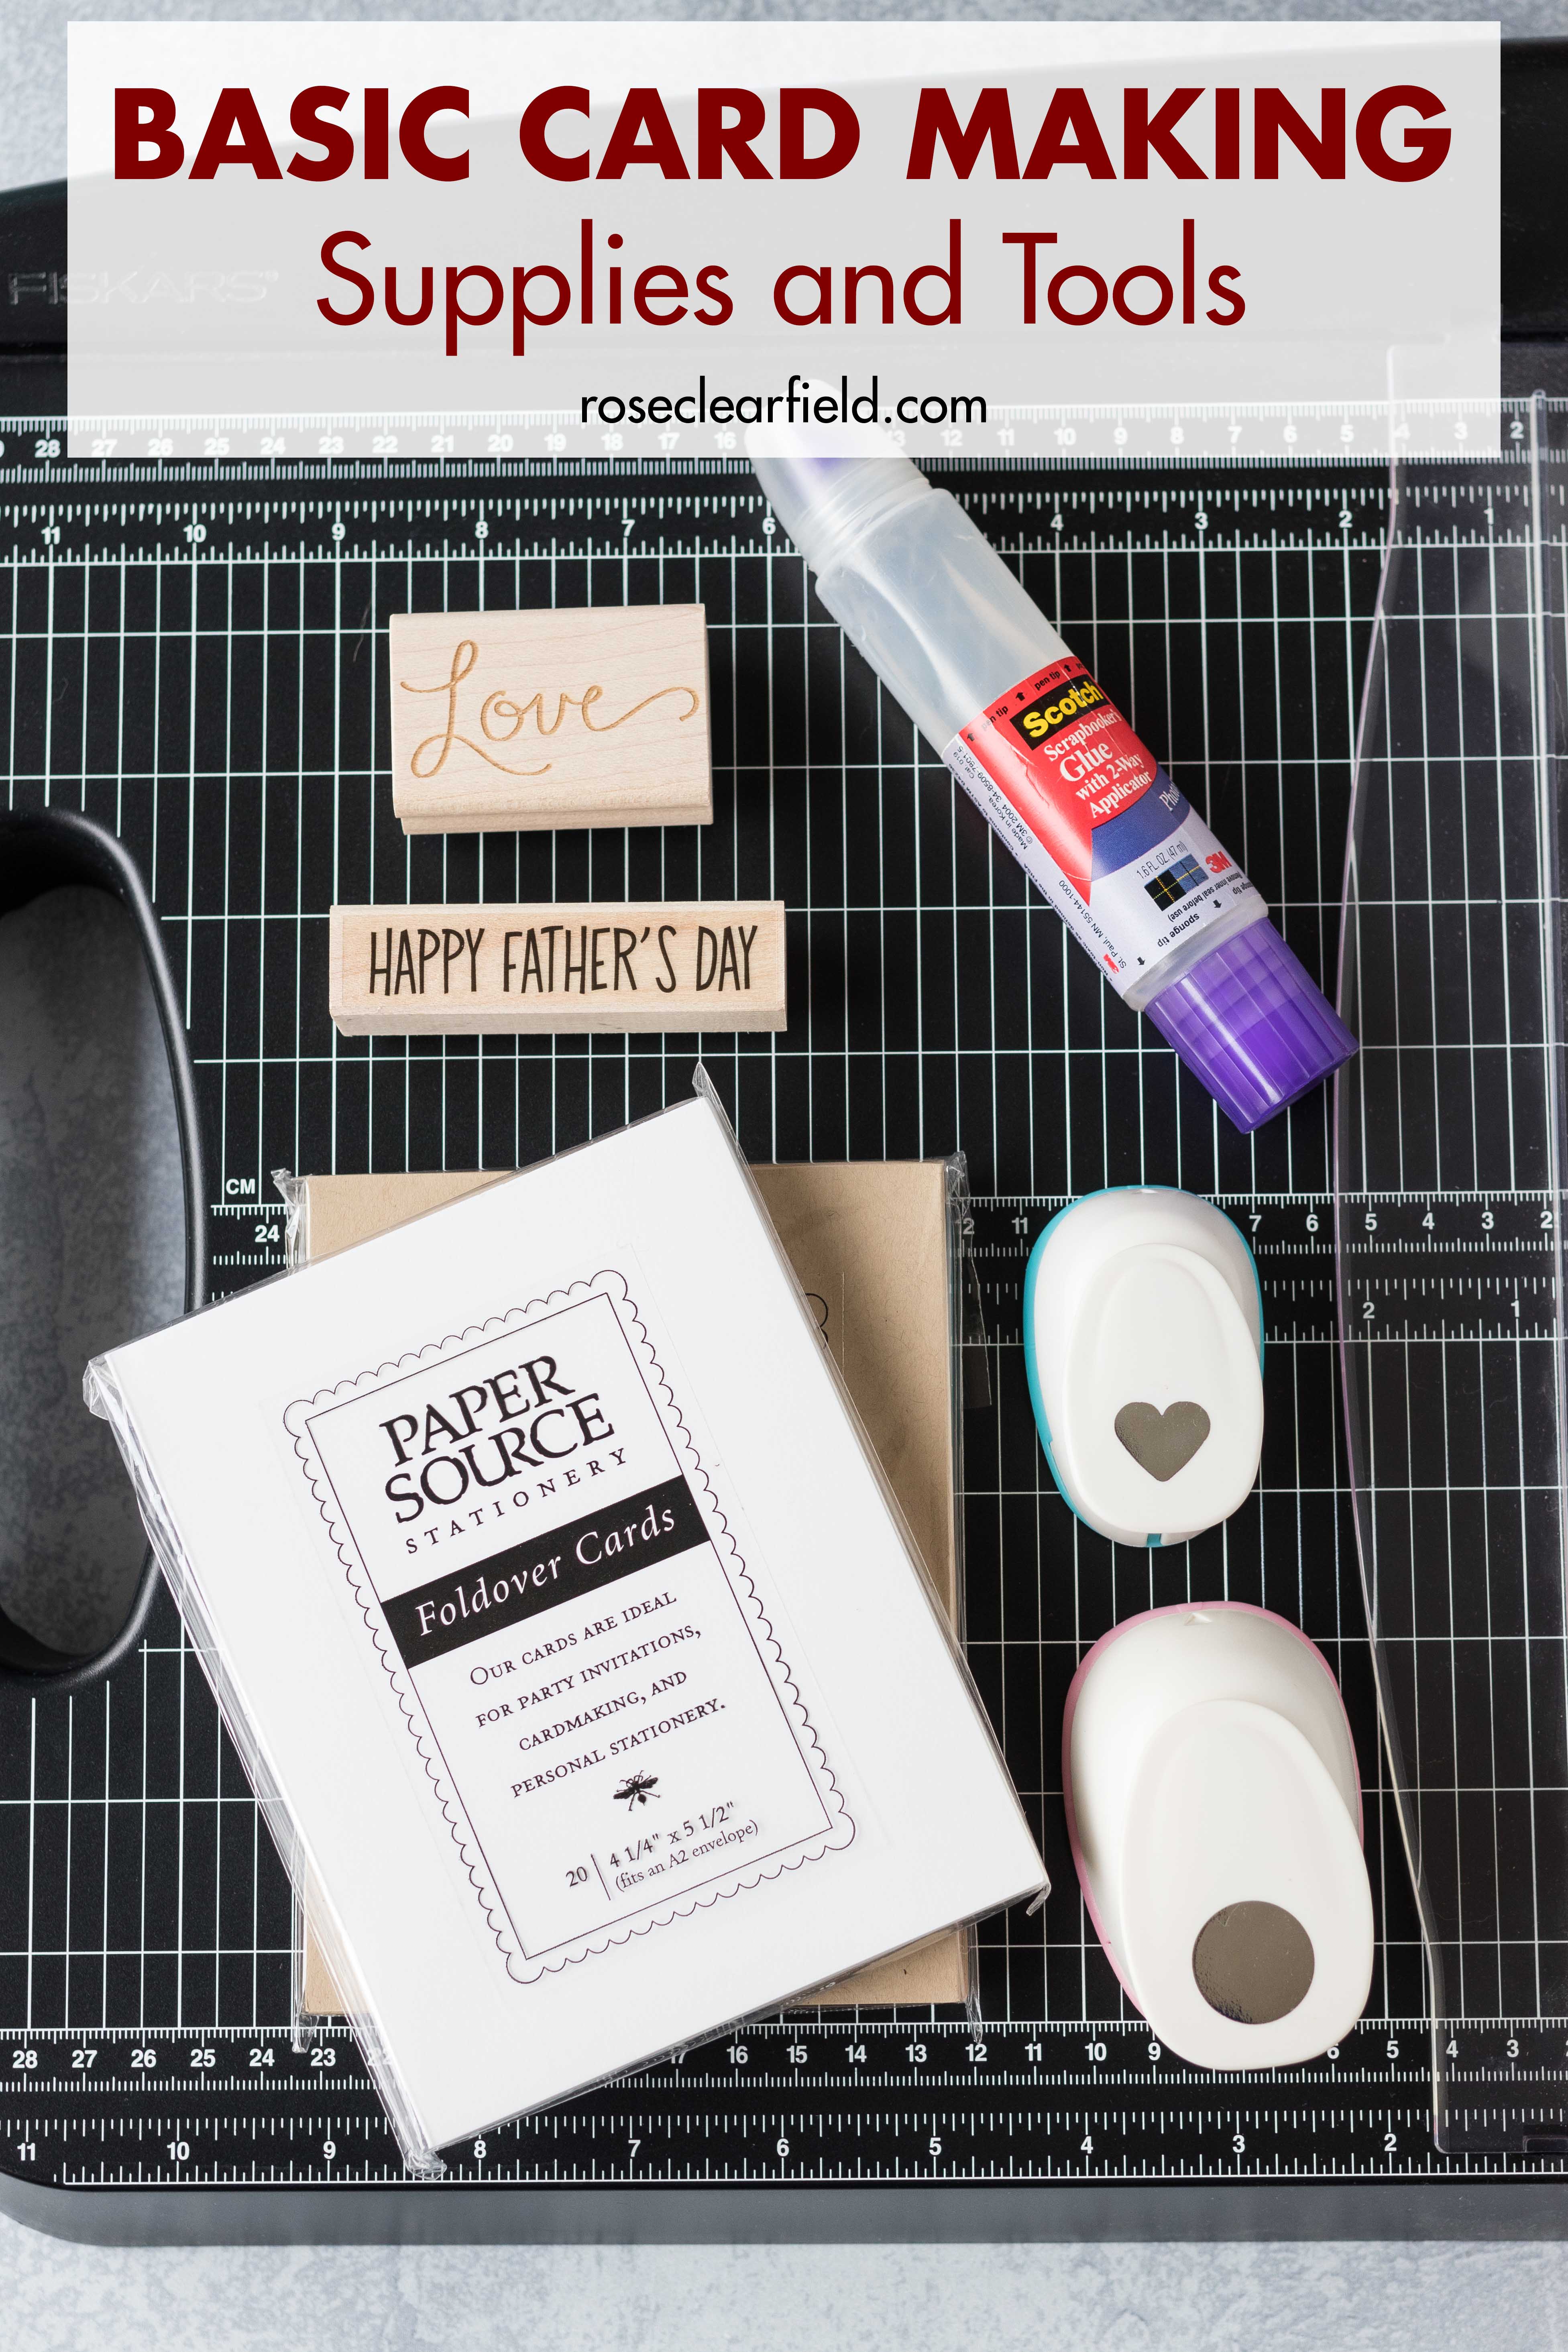
Just a note sheet music greeting cards supplies:
- Folded card blanks (I always order from Paper Source – A2 | A7)
- Envelopes (I always order them in bulk from Uline, but if you’d like a smaller quantity, Paper Source has them, too – A2 | A7)
- White cardstock
- Kraft or colored cardstock in the color of your choice for the tags
- Tag template (download right here)
- Printable sheet music resource (my go-to resource is All Piano Scores – Chopin, but don’t feel limited to this option). Vintage hymns are awesome, too!
- Minimum 2 rolls of ribbon, one roll 1/8″ wide and one roll 3/8″ wide in coordinating colors/patterns (I buy it from Michaels, but you can find tons of ribbon on Etsy, too)
- Just a note rubber stamp (see my note below)
- Stamp pad in the ink color of your choosing
- Single hole punch
- Scotch scrapbookers glue or another card-making/scrapbook glue
- Double-sided tape (optional, see my note below)
You’ll also need a pencil, regular scissors (for the tags), fabric scissors (for the ribbon), and a paper cutter (for the sheet music). I’ve been using this paper cutter for the last two years and love it.
Double-sided tape
To create professional greeting cards with absolutely no glue warping or stray drips, double-sided tape is the way to go. If you use very thin layers of Scotch scrapbookers glue as I instruct in this tutorial, there will be very minimal glue warping. When I do use double-sided tape, I use it for the sheet music only. I still use glue for the tags and ribbons.
Just a note stamp
At the time of writing this post, I did find the exact stamp I feature in this tutorial in the Etsy shop theLADYandtheSTAMPS. Availability is subject to change at any time without notice. I bought my stamp in a bargain bin at Michaels about four years ago. There are quite a few other just a note stamp designs out there that work perfectly for this tutorial. Search Etsy or eBay for “just a note rubber stamps” for up to date listings.
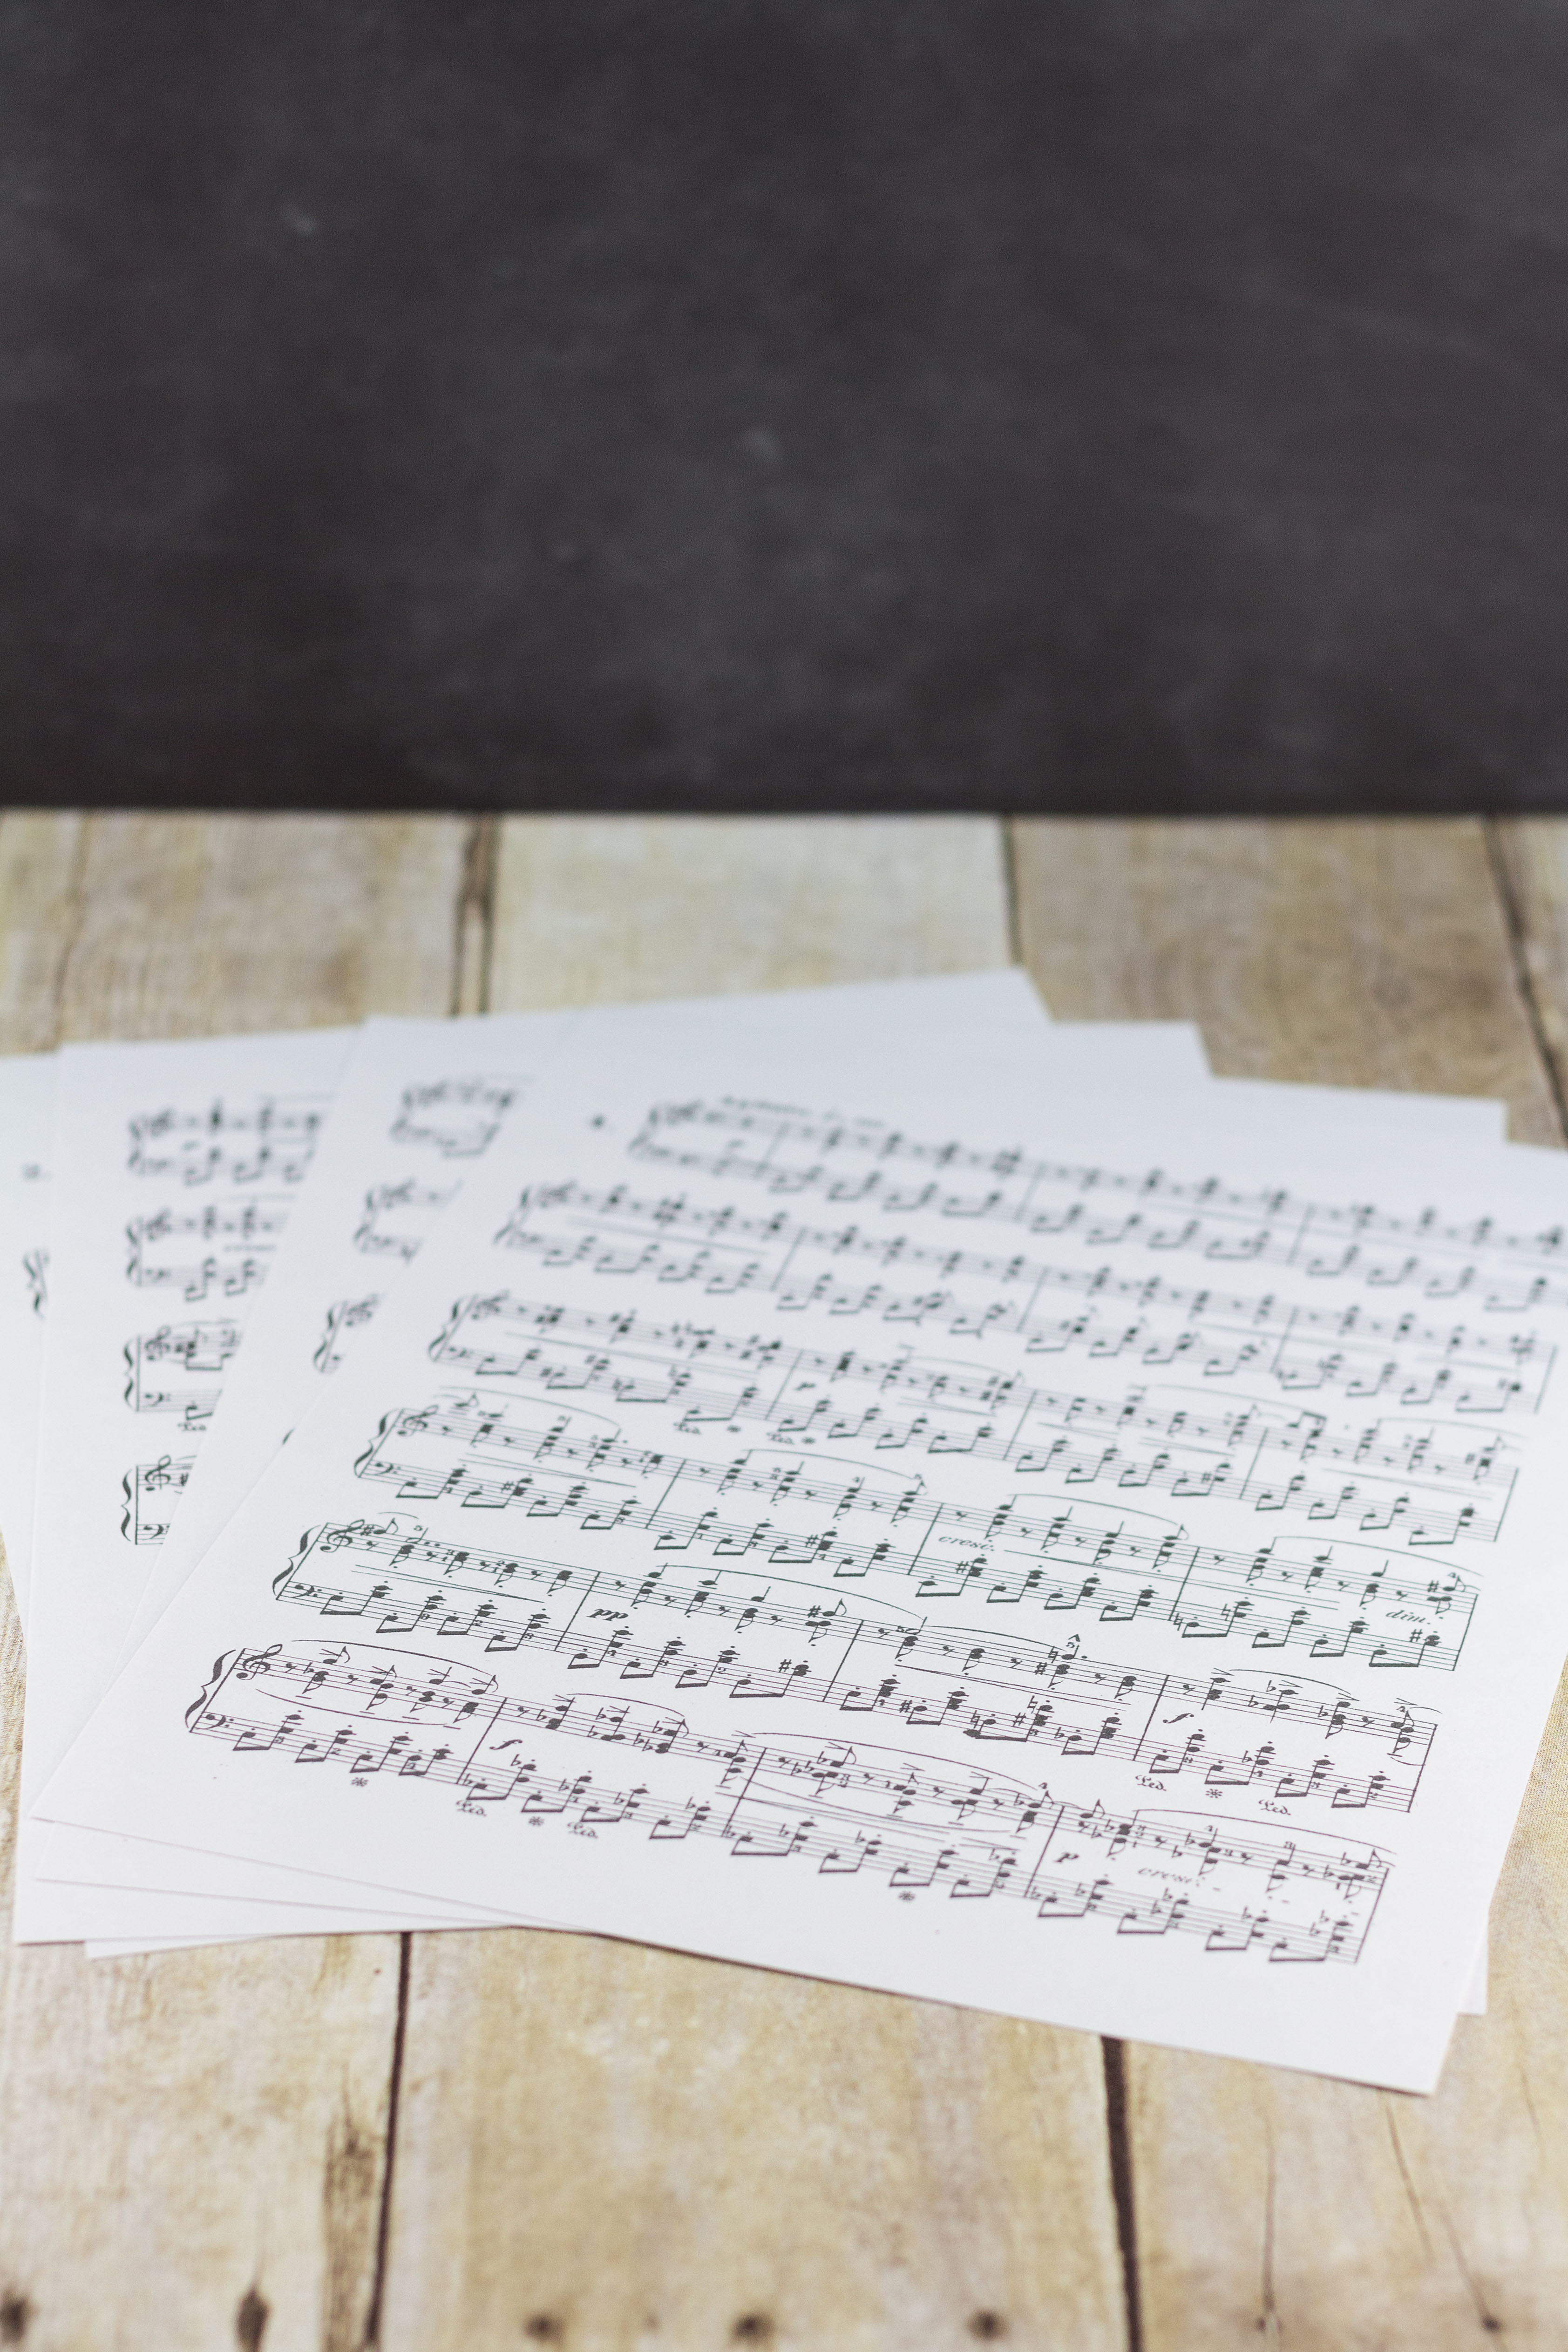
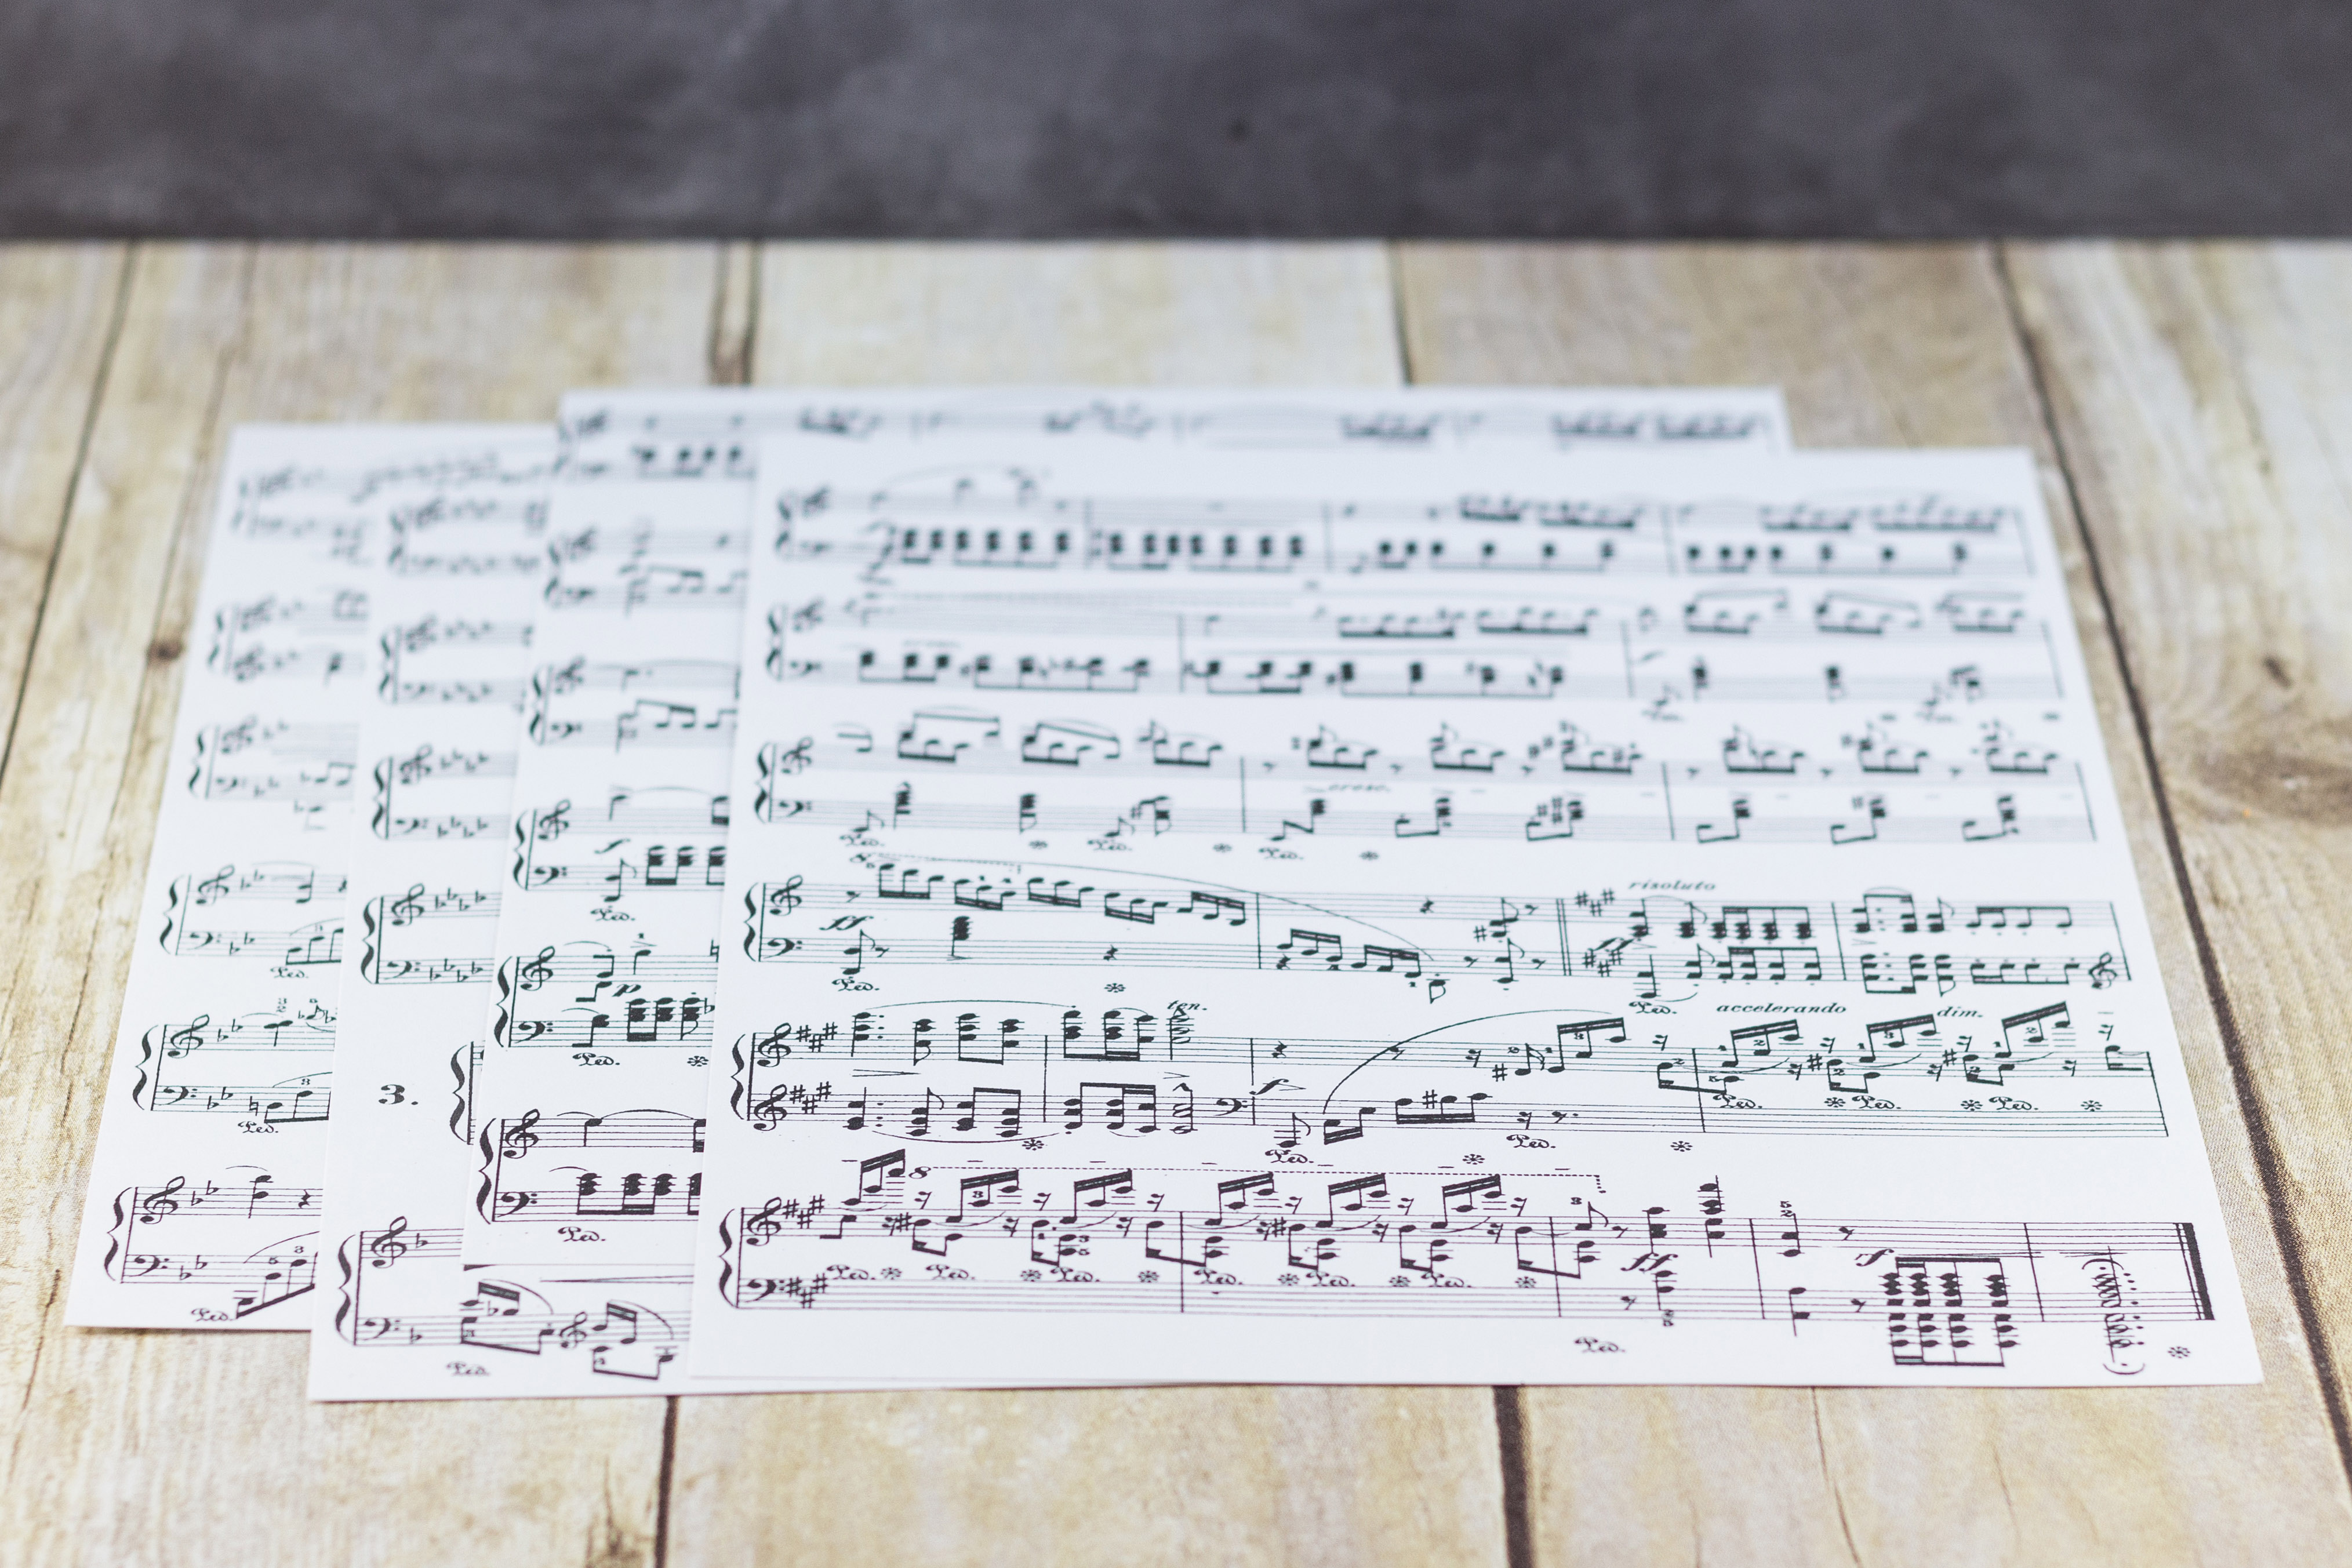
Pull up your sheet music resource. You’ll need to print one sheet for every two cards you make. Print the sheet music on the white cardstock.
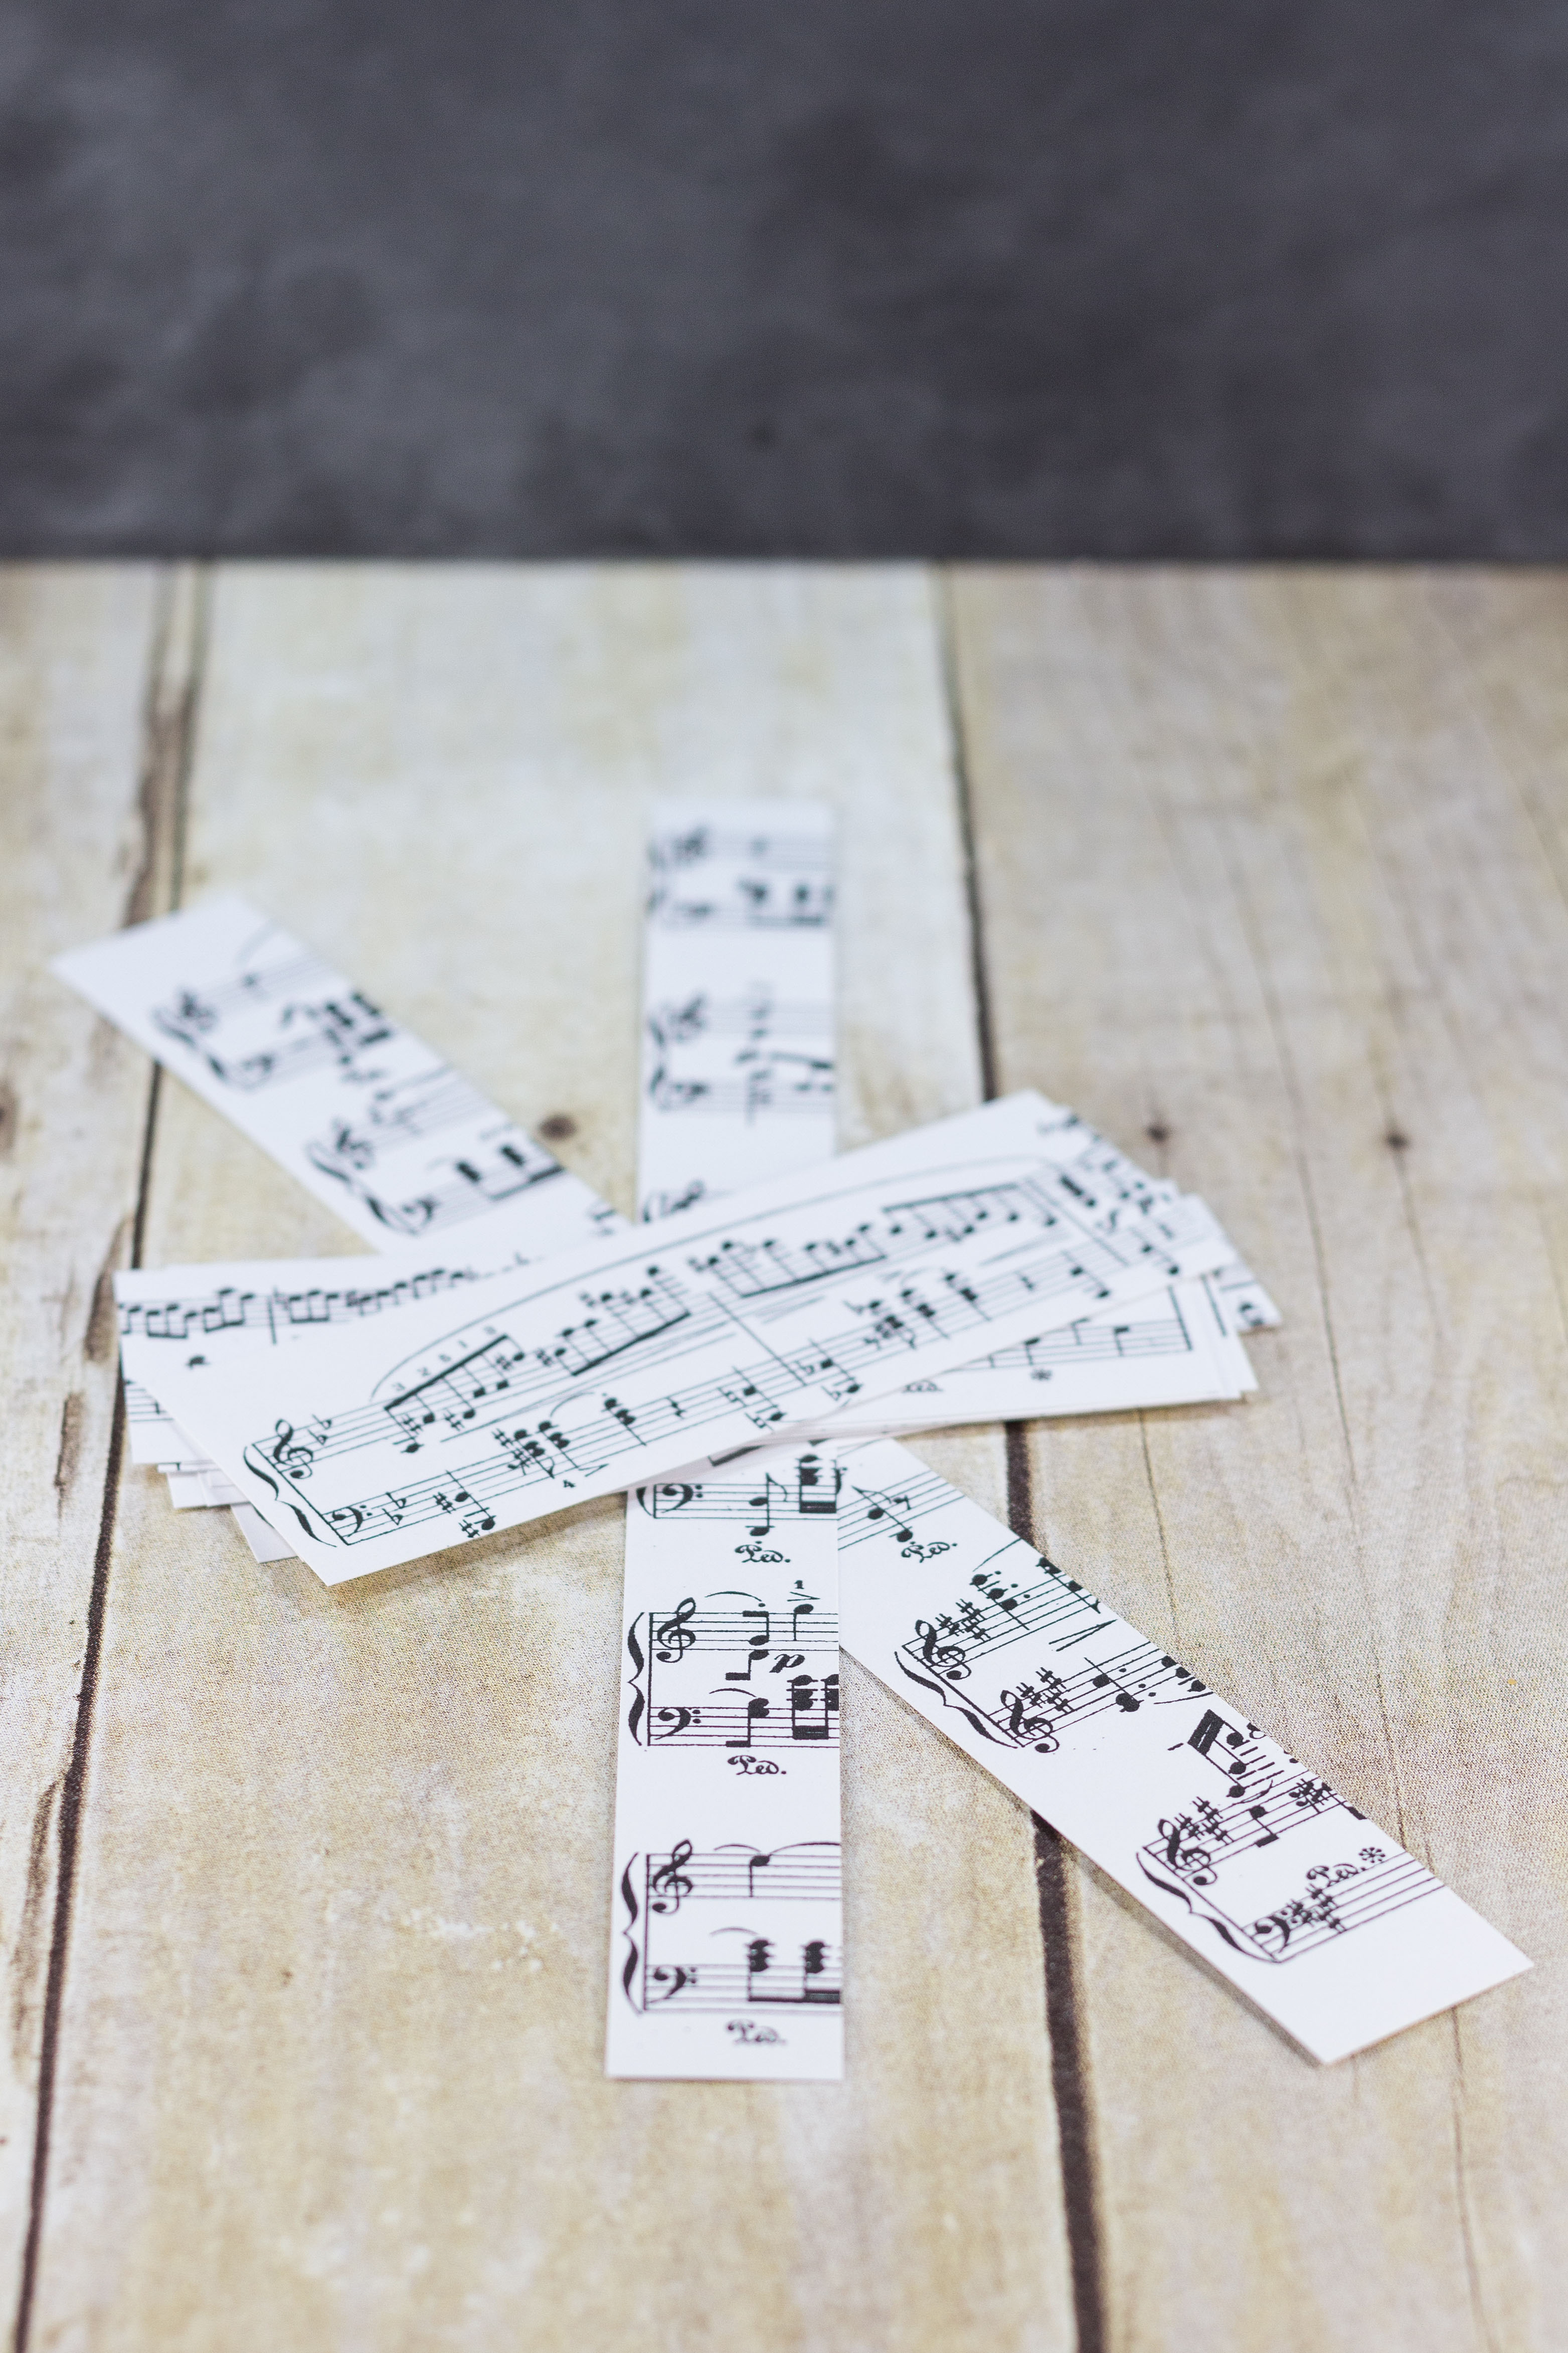
Trim the white edges off the sheet music.
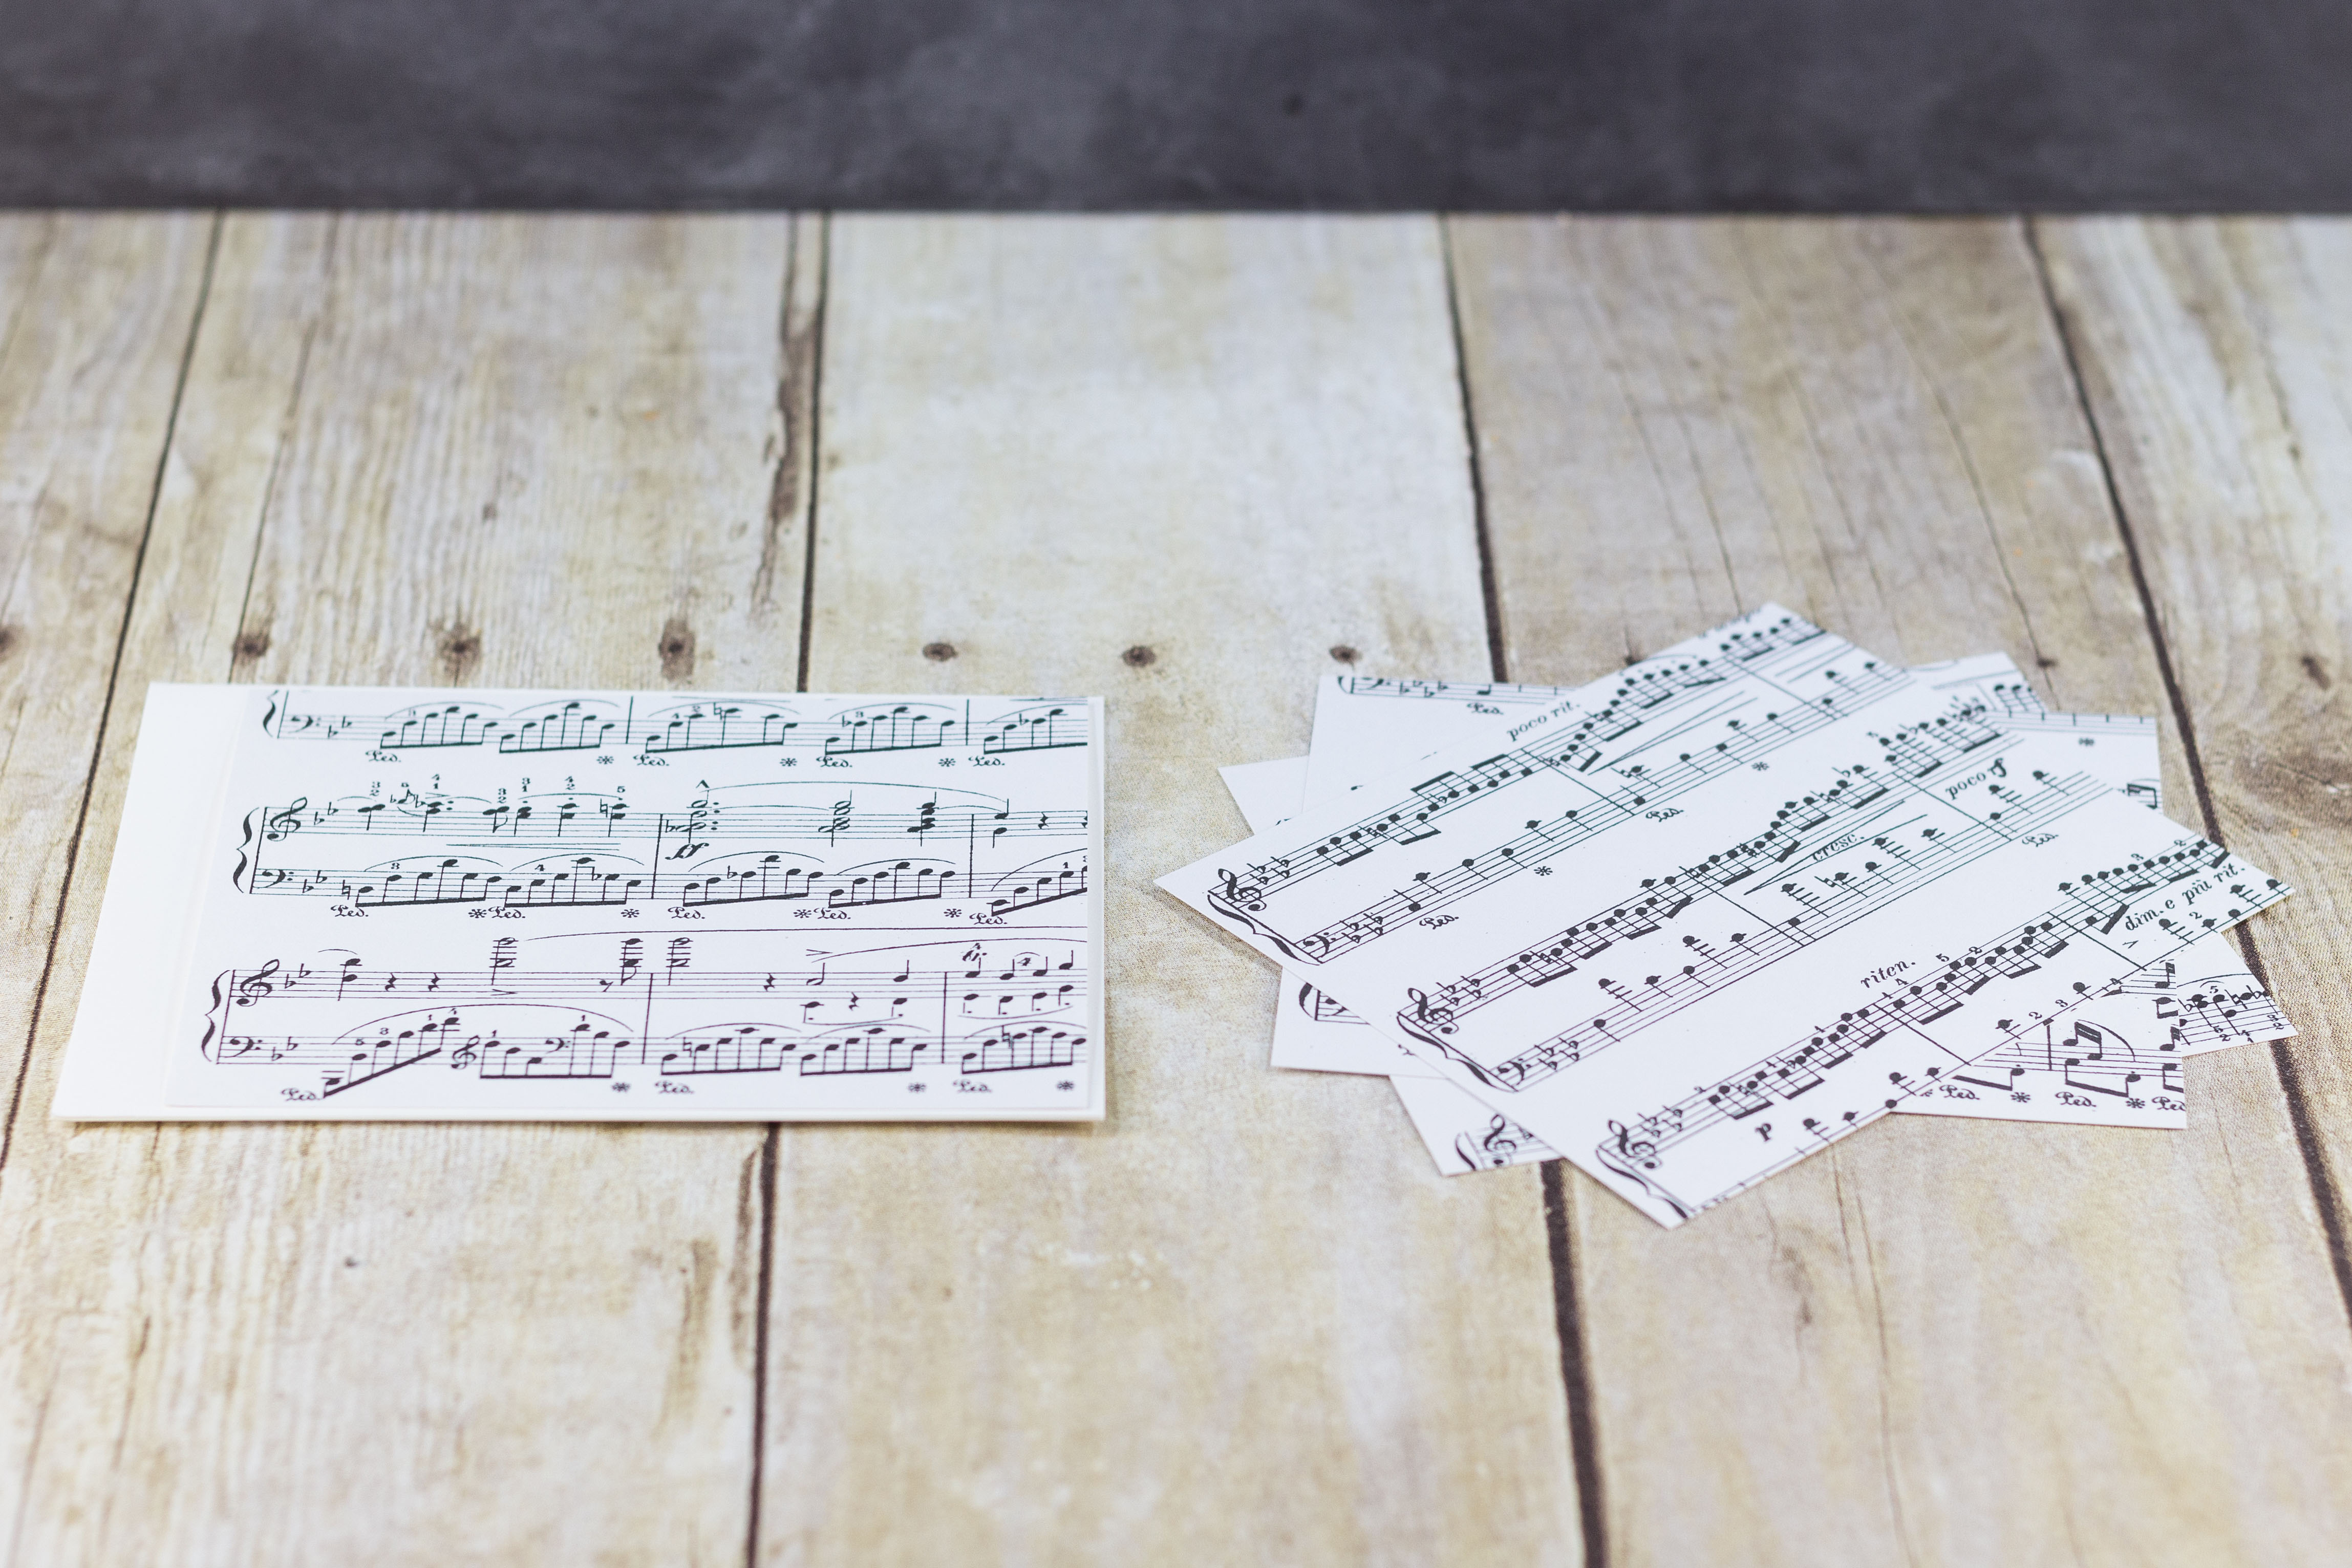
Cut the sheet music down to size for your greeting cards, leaving enough space on one side of the card for the ribbon detail. I eyeball these cuts, but they’re approximately as follows: A2 – 4 3/4″ x 4″, A7 -6 1/2″ x 4 3/4″.
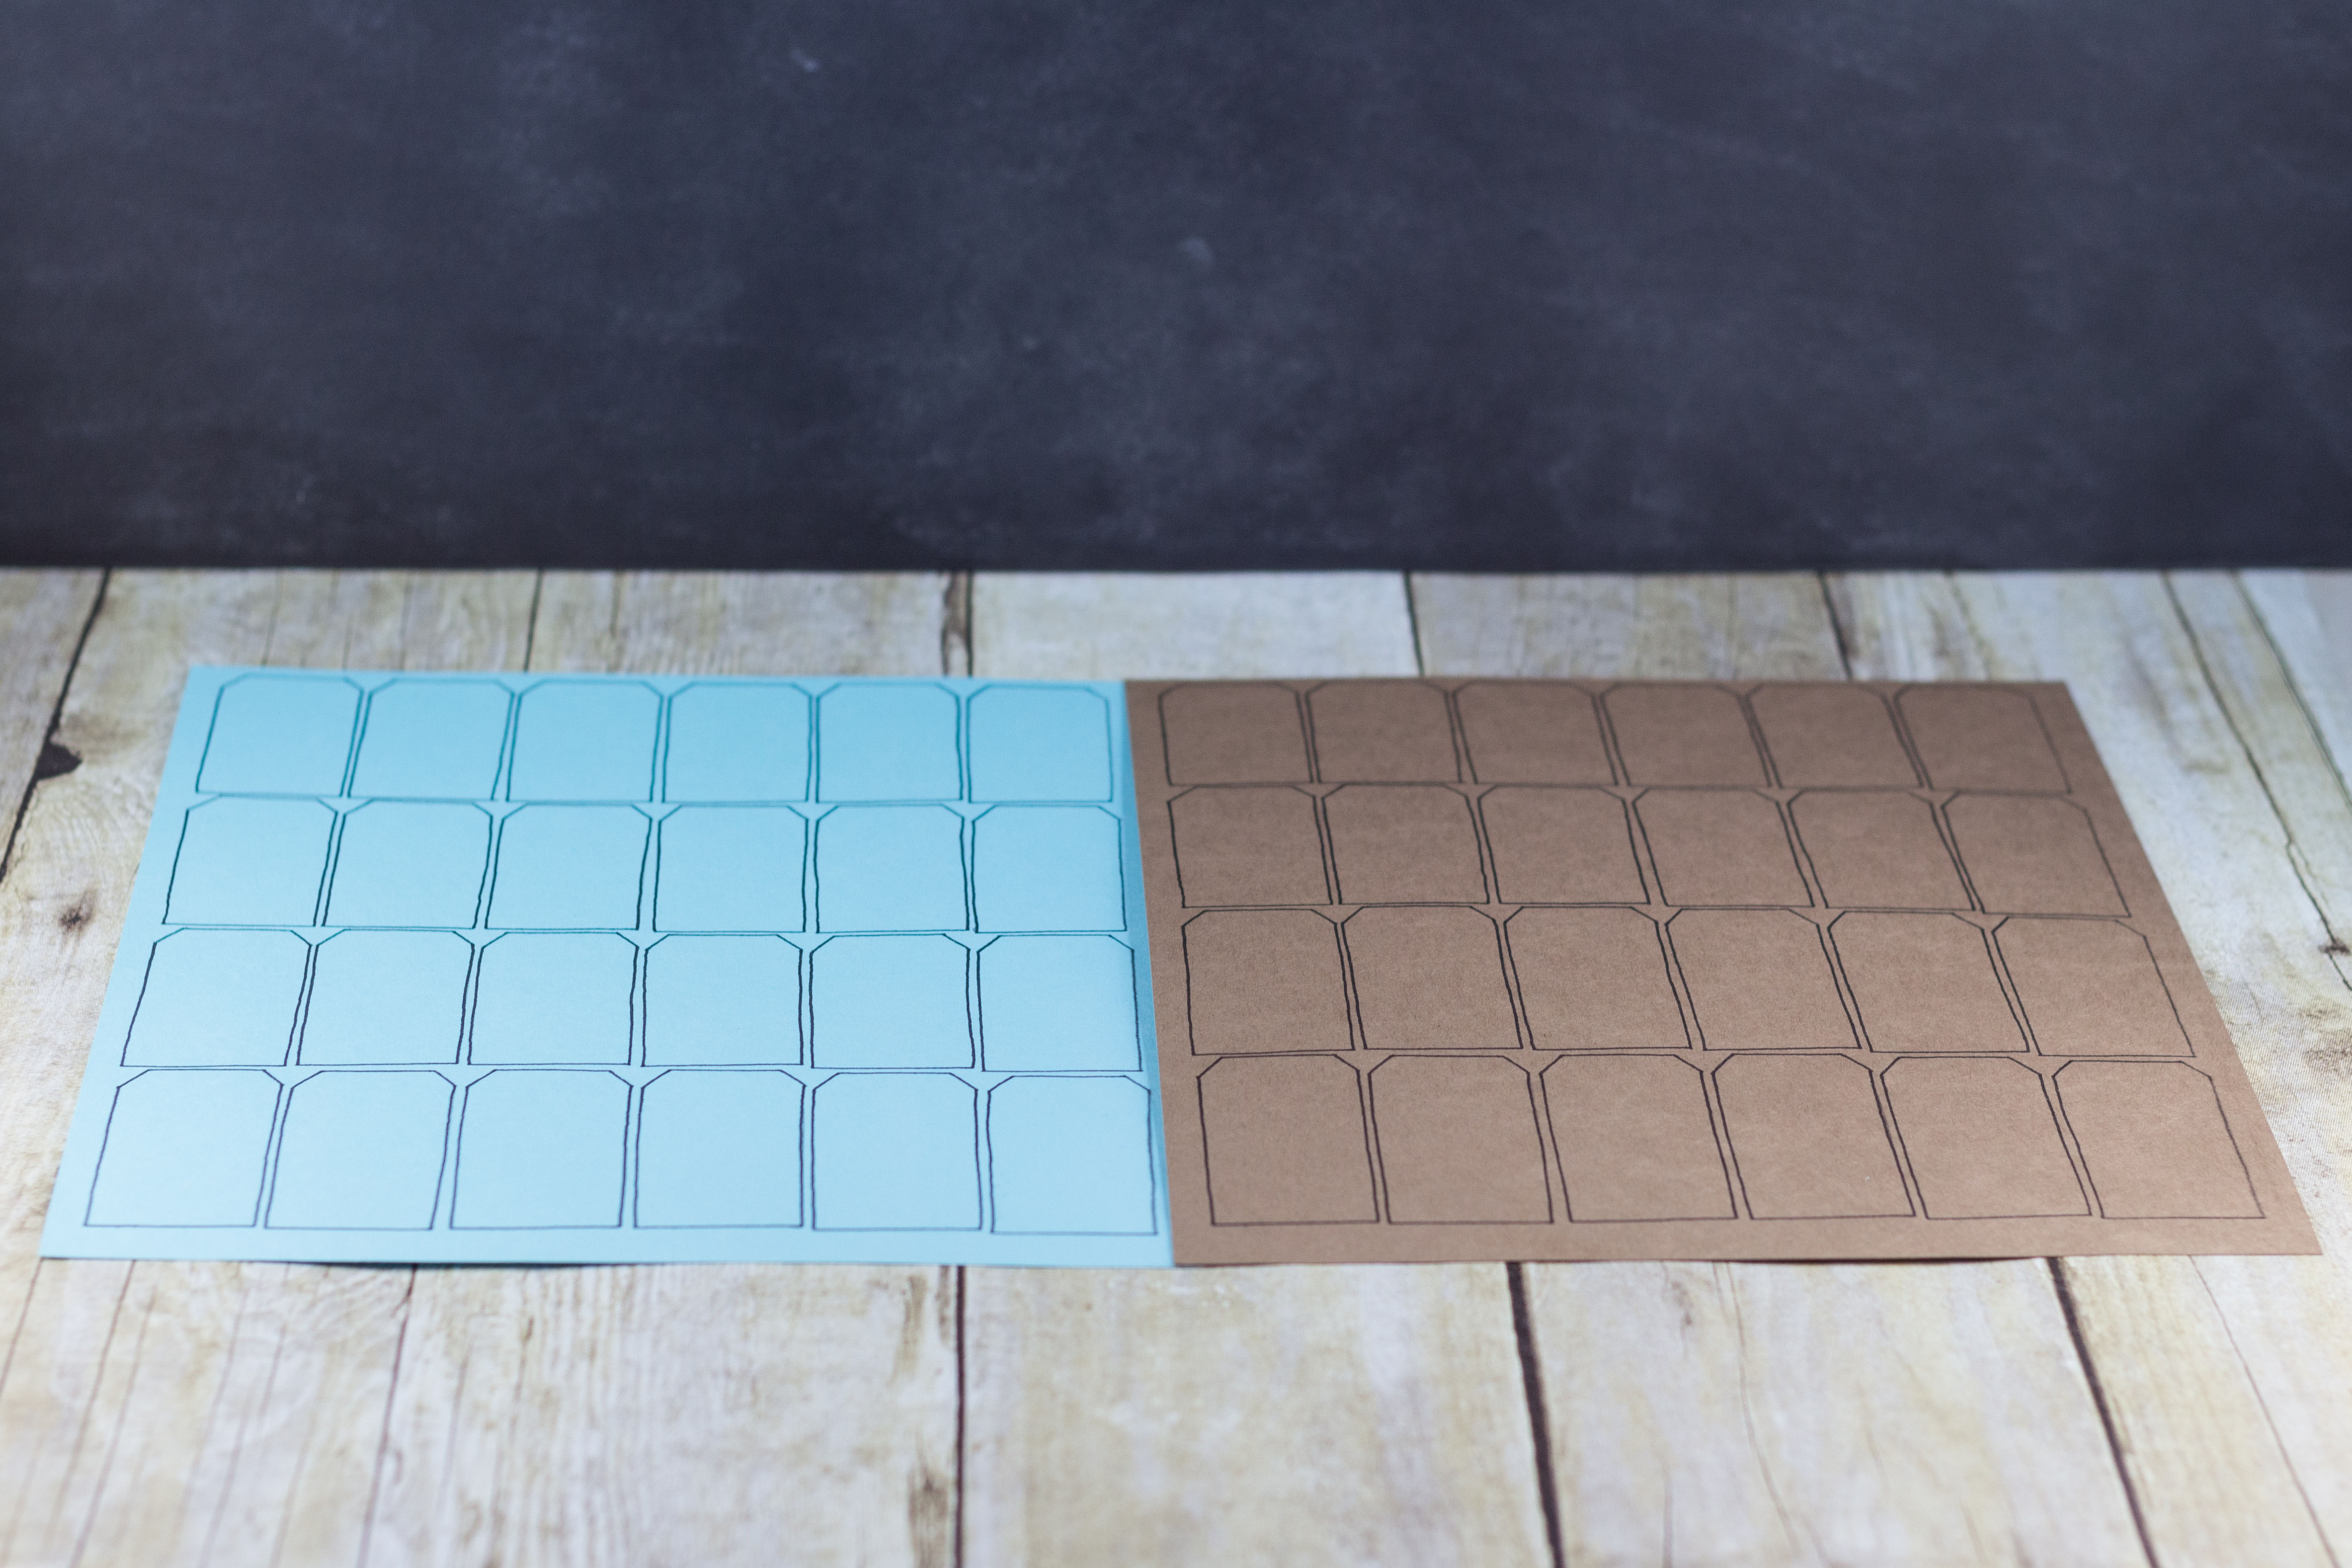
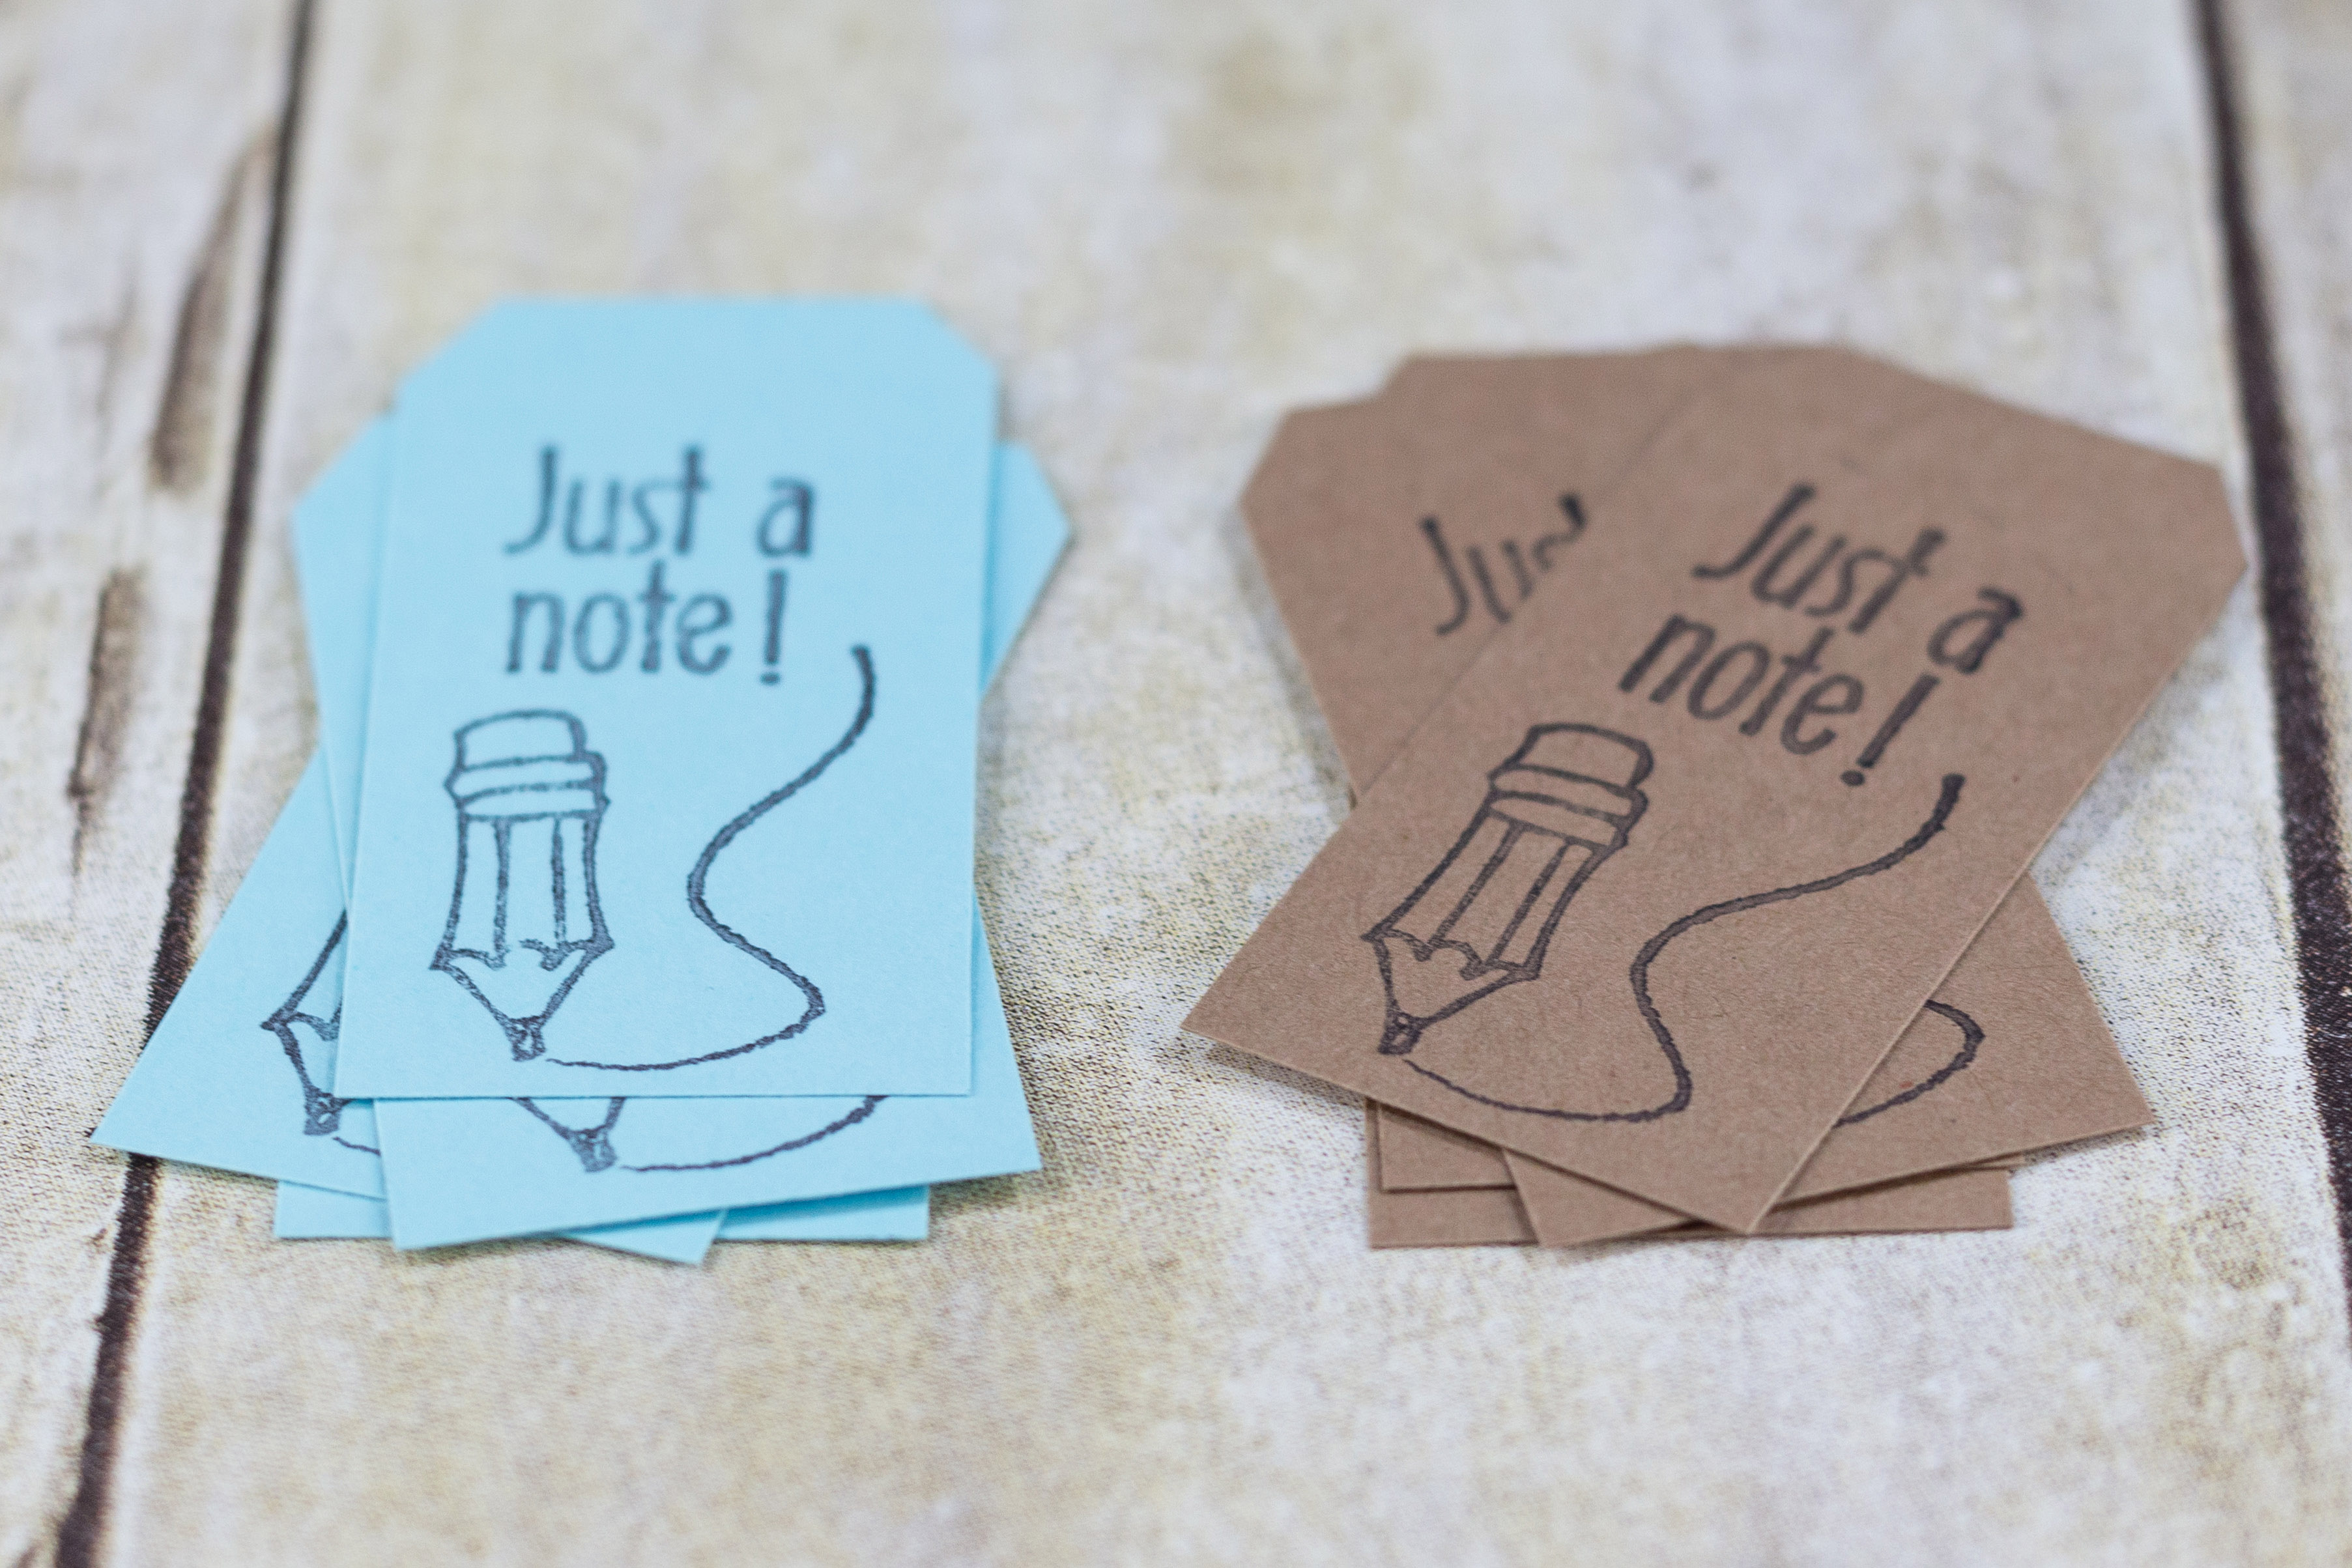
Open the tags template. Print the tags template on kraft or colored cardstock.
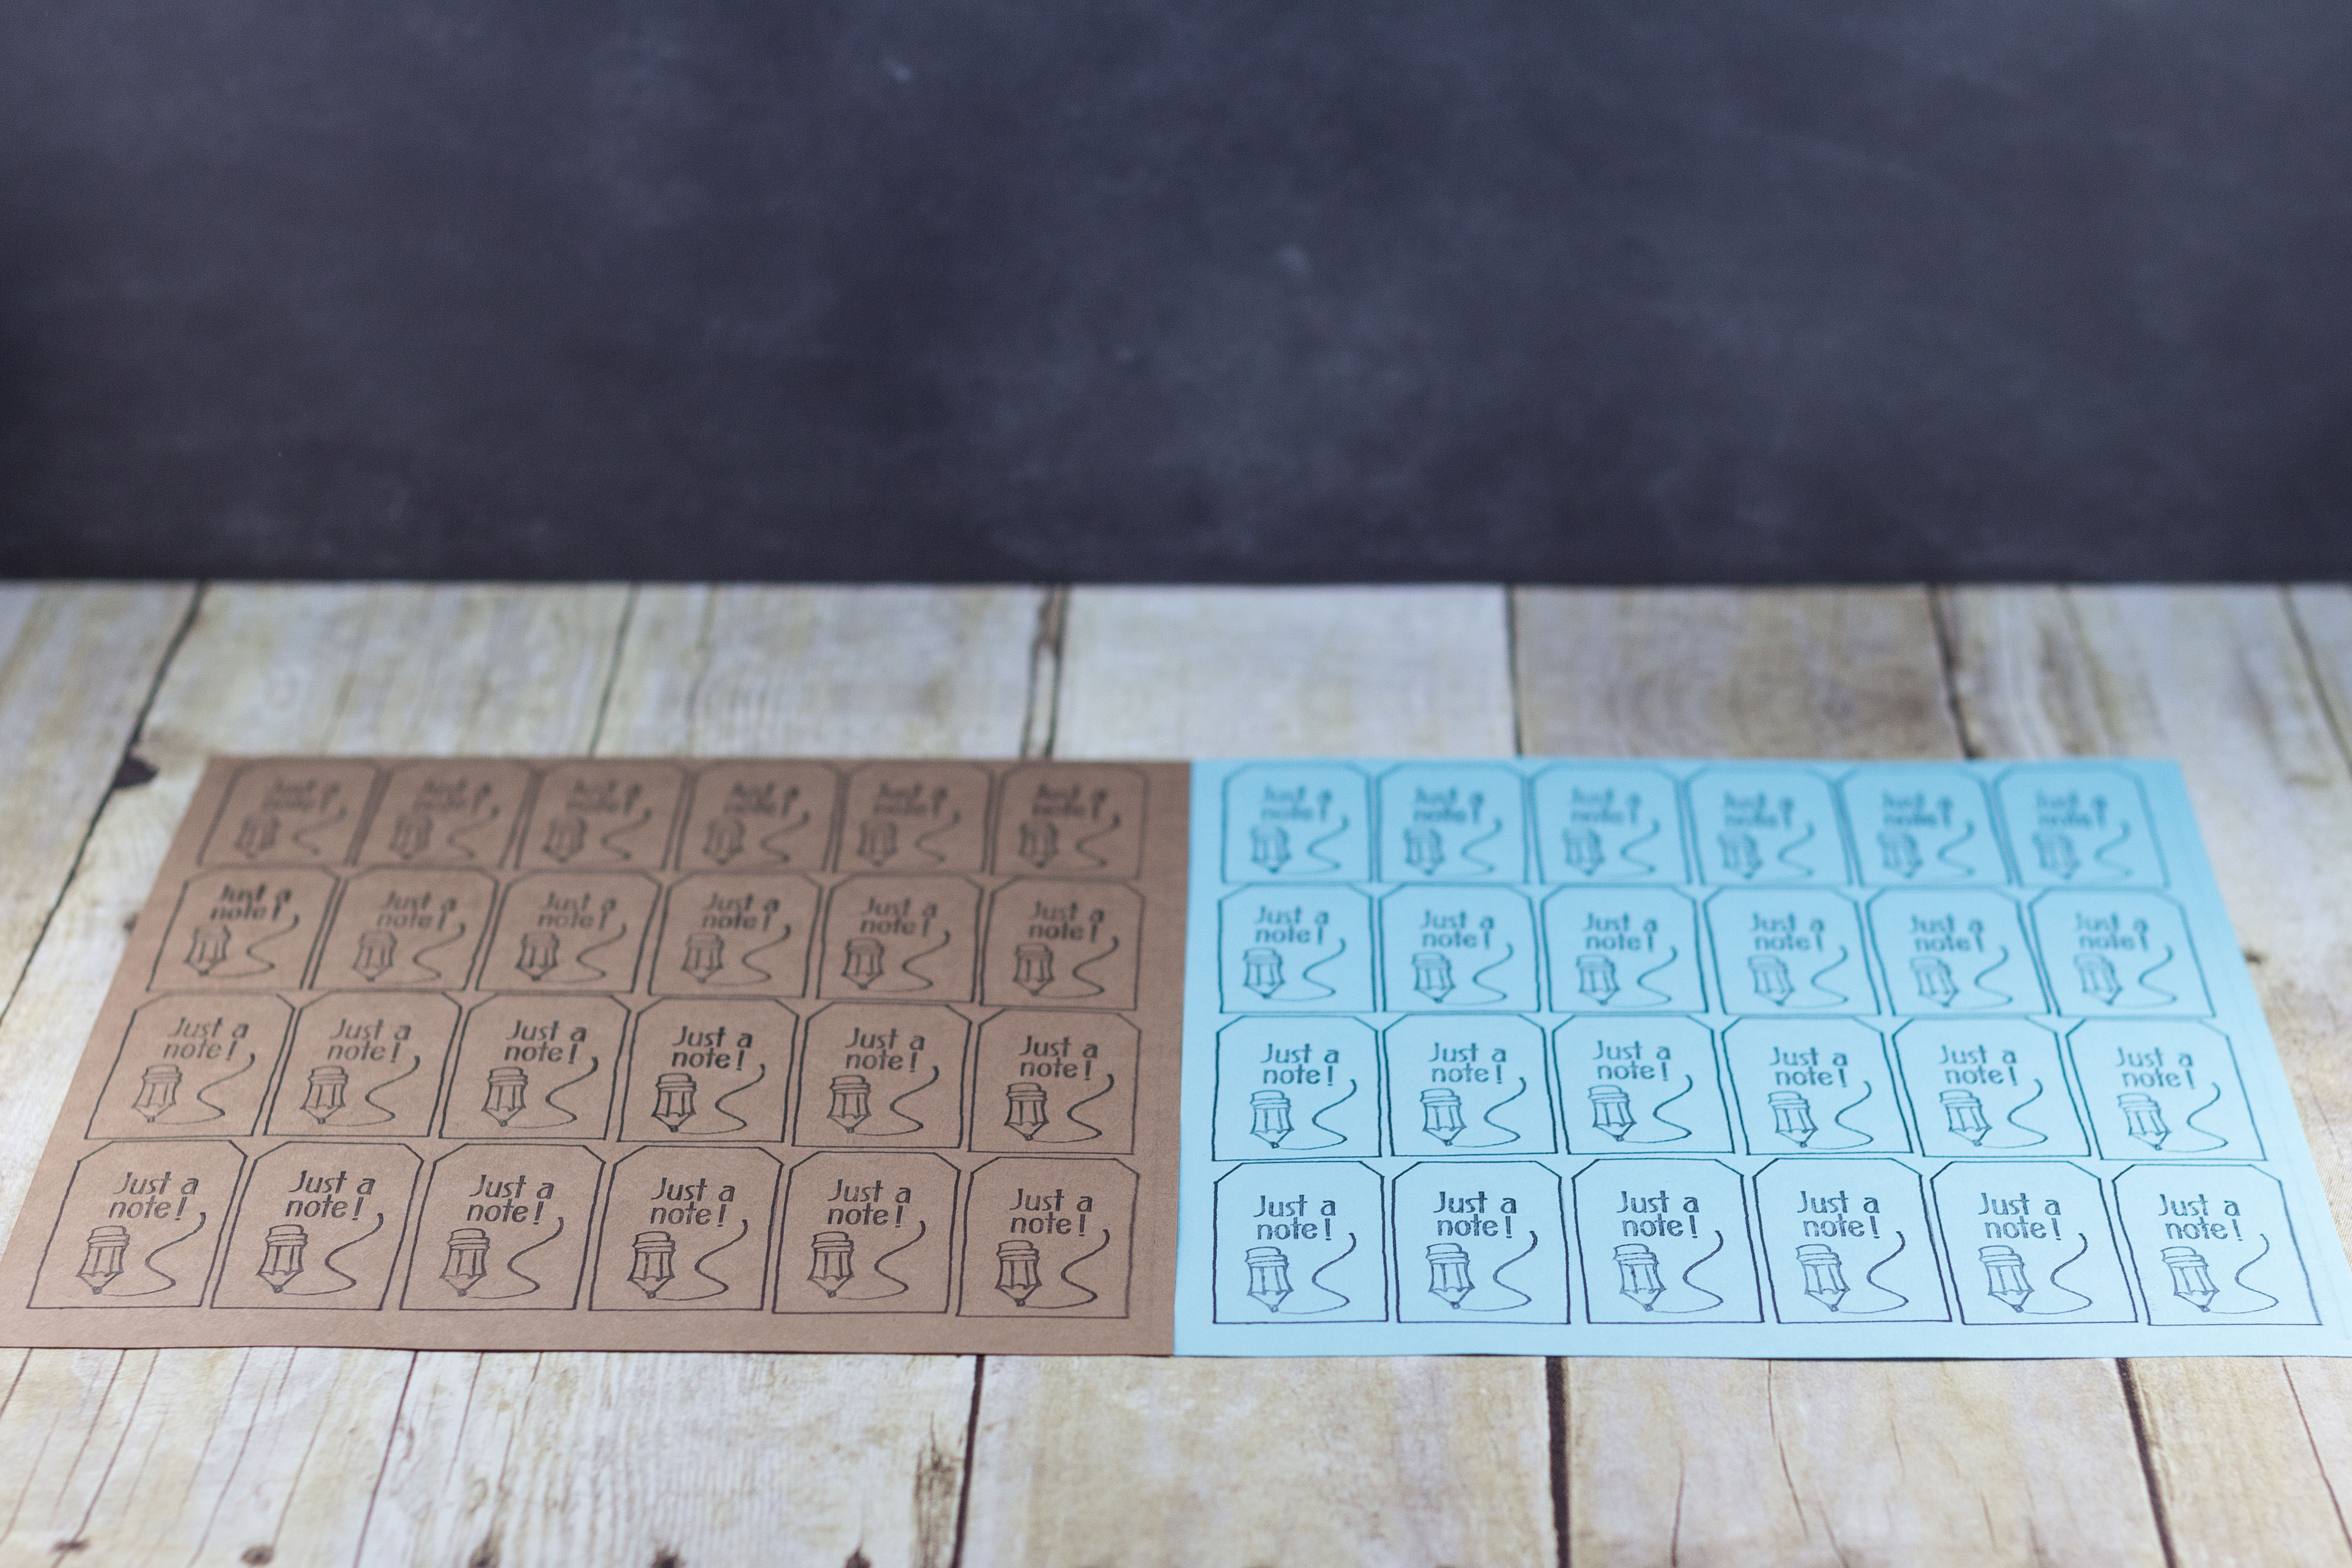
Stamp just a note on each of the gift tags. Let the ink dry completely.
Cut out the tags.
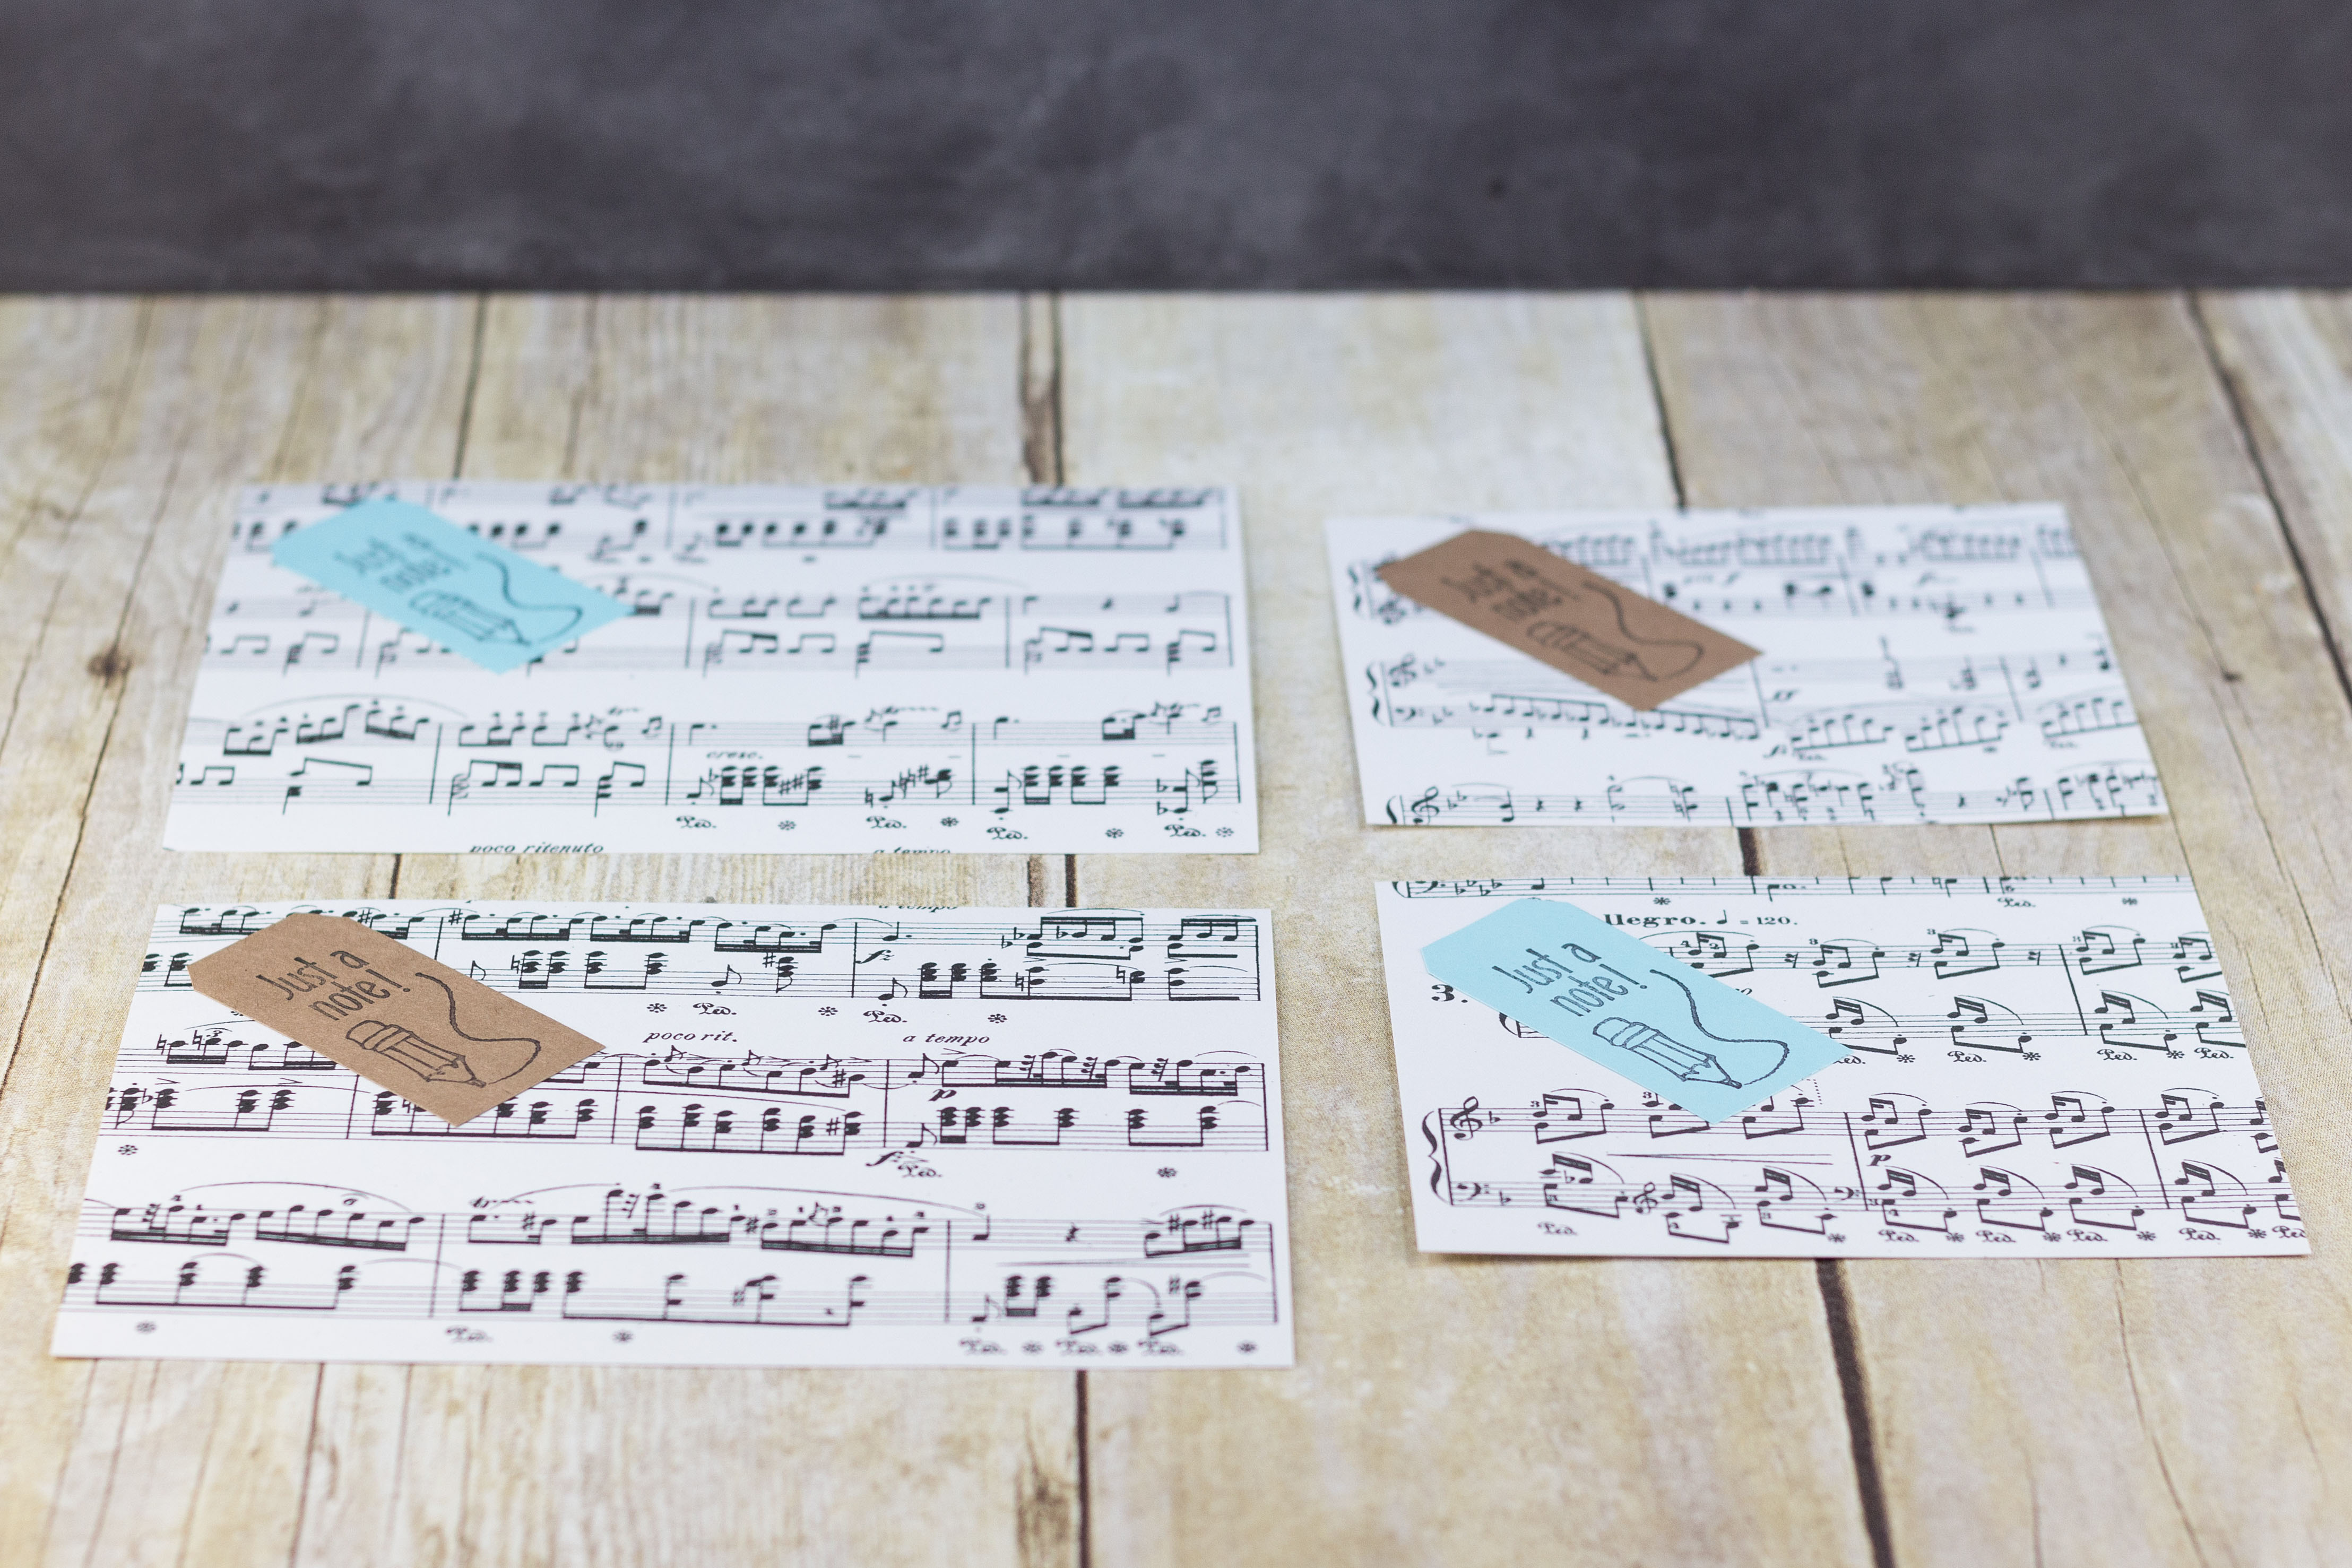
Apply a thin layer of glue just around the edge of each tag. Glue them on the sheet music. Let the tags dry completely.
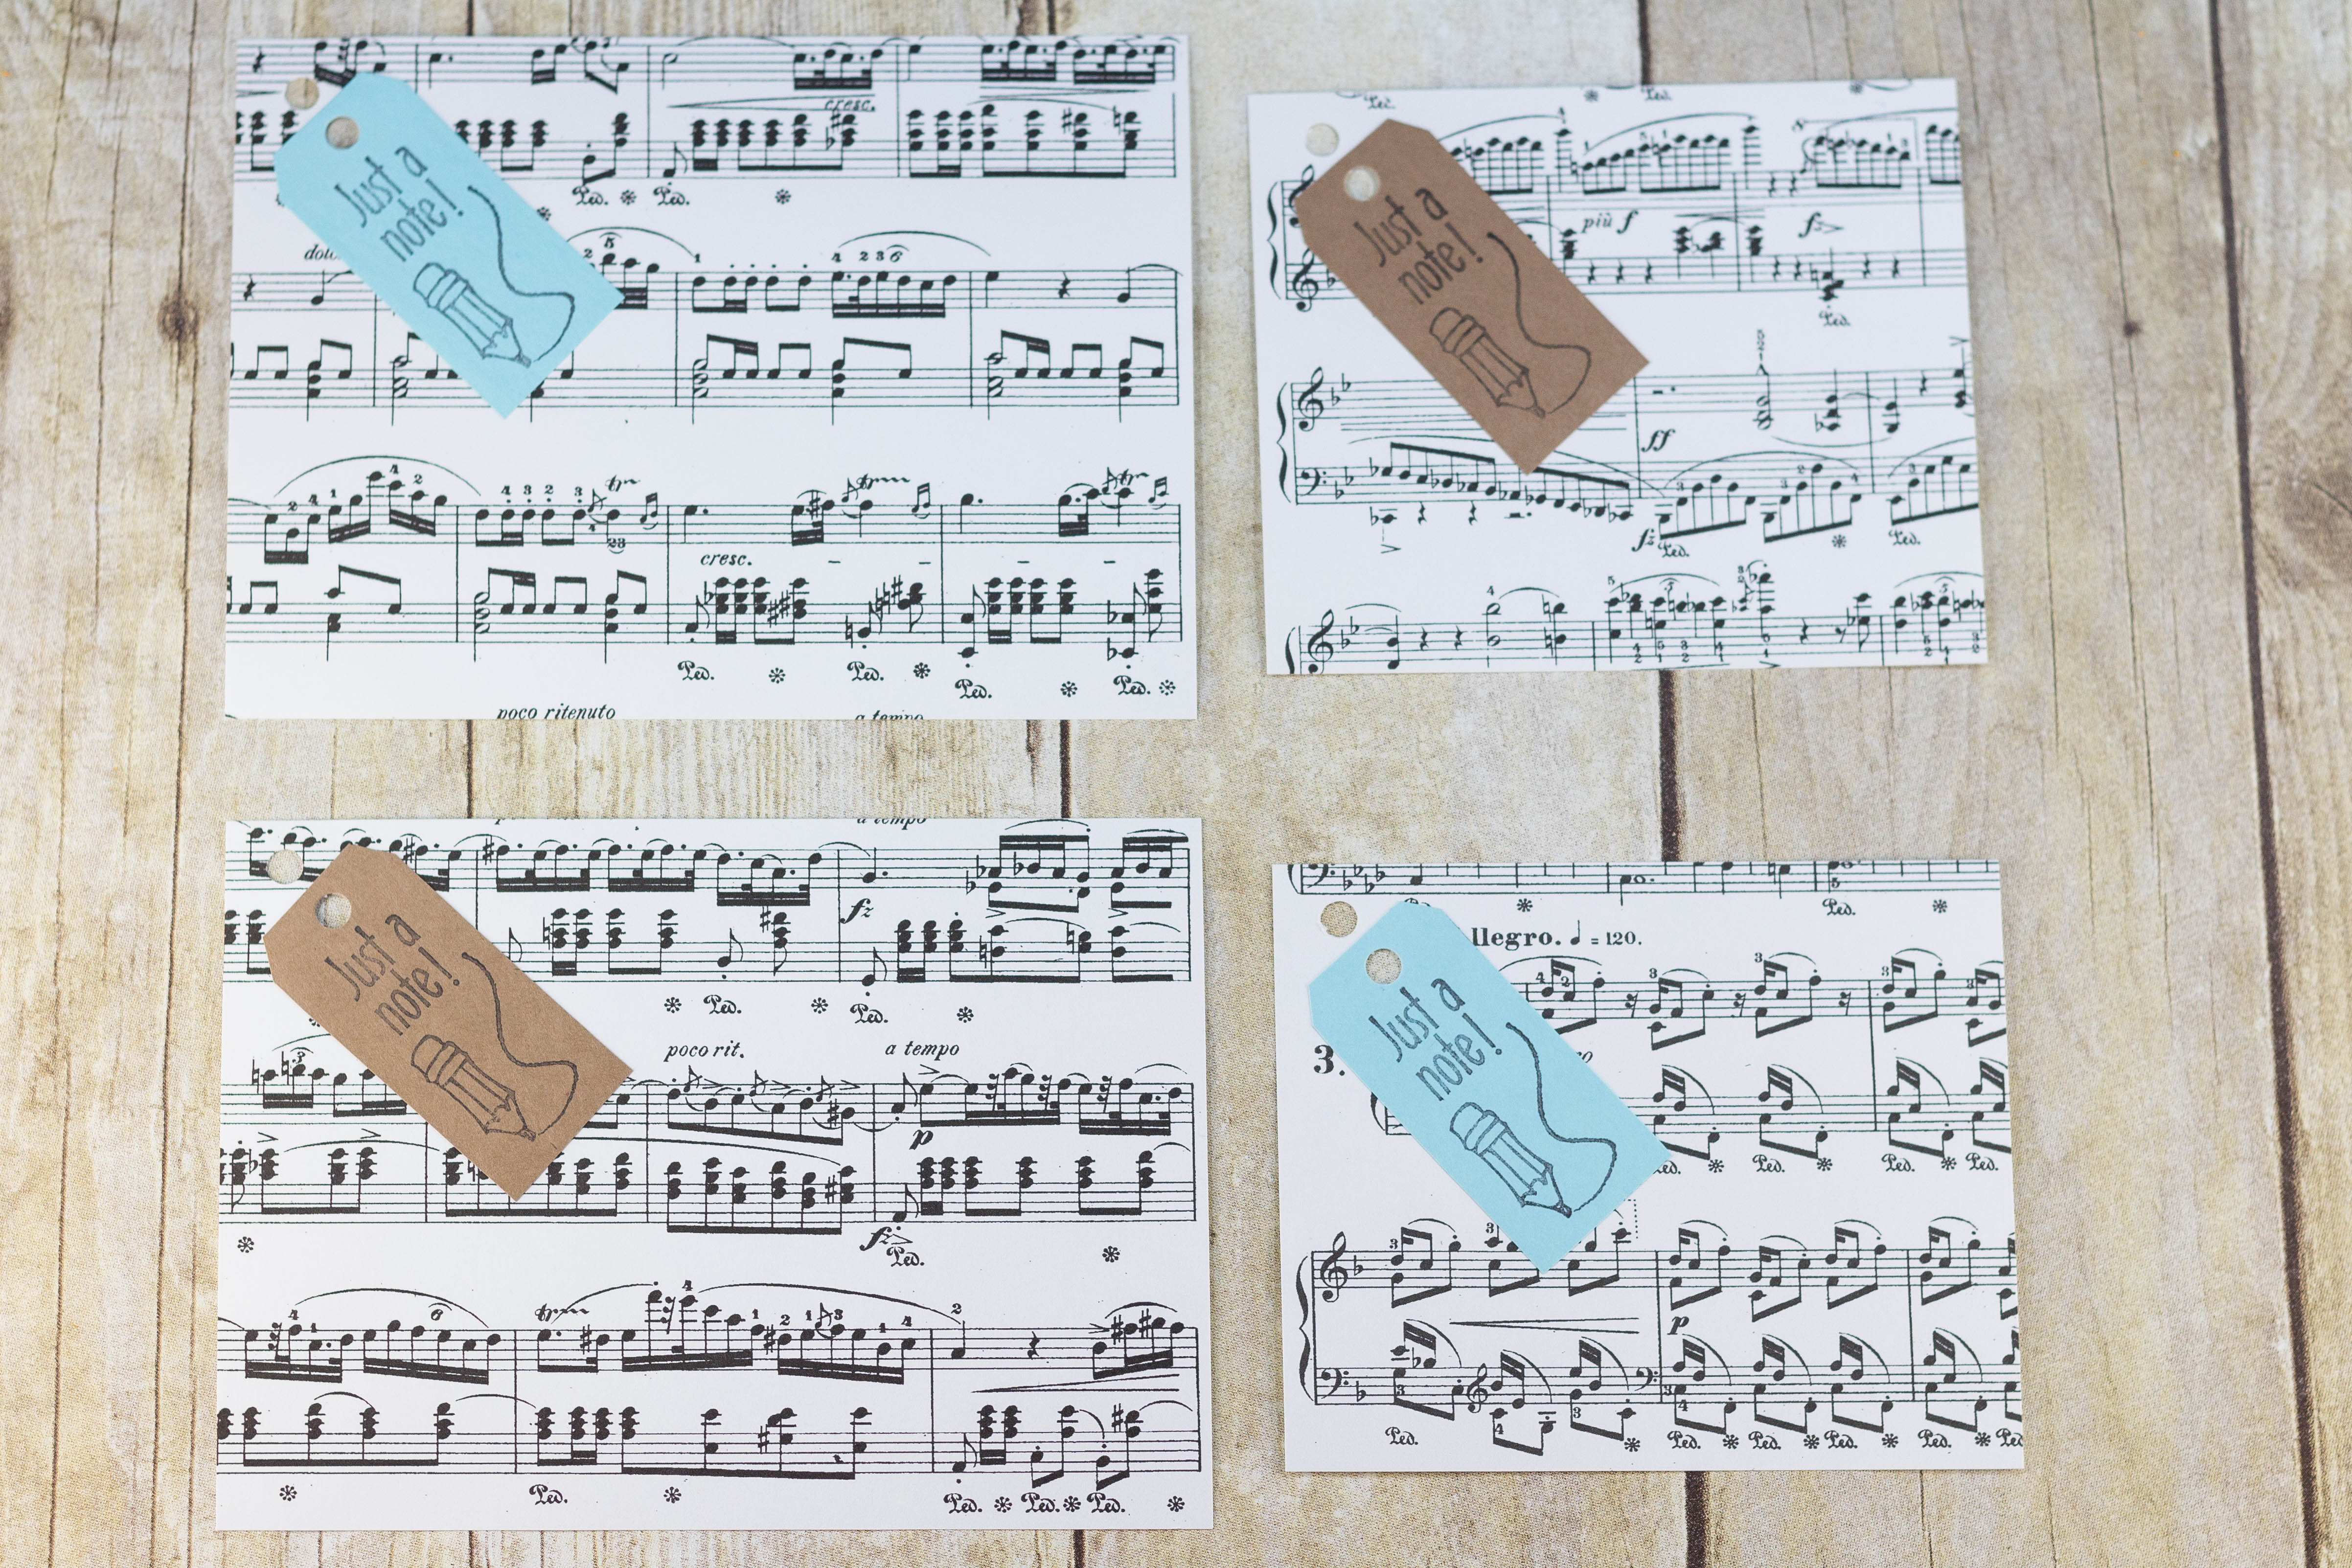
Using the single hole punch, punch one hole in the tag and one hole right above it as pictured below.
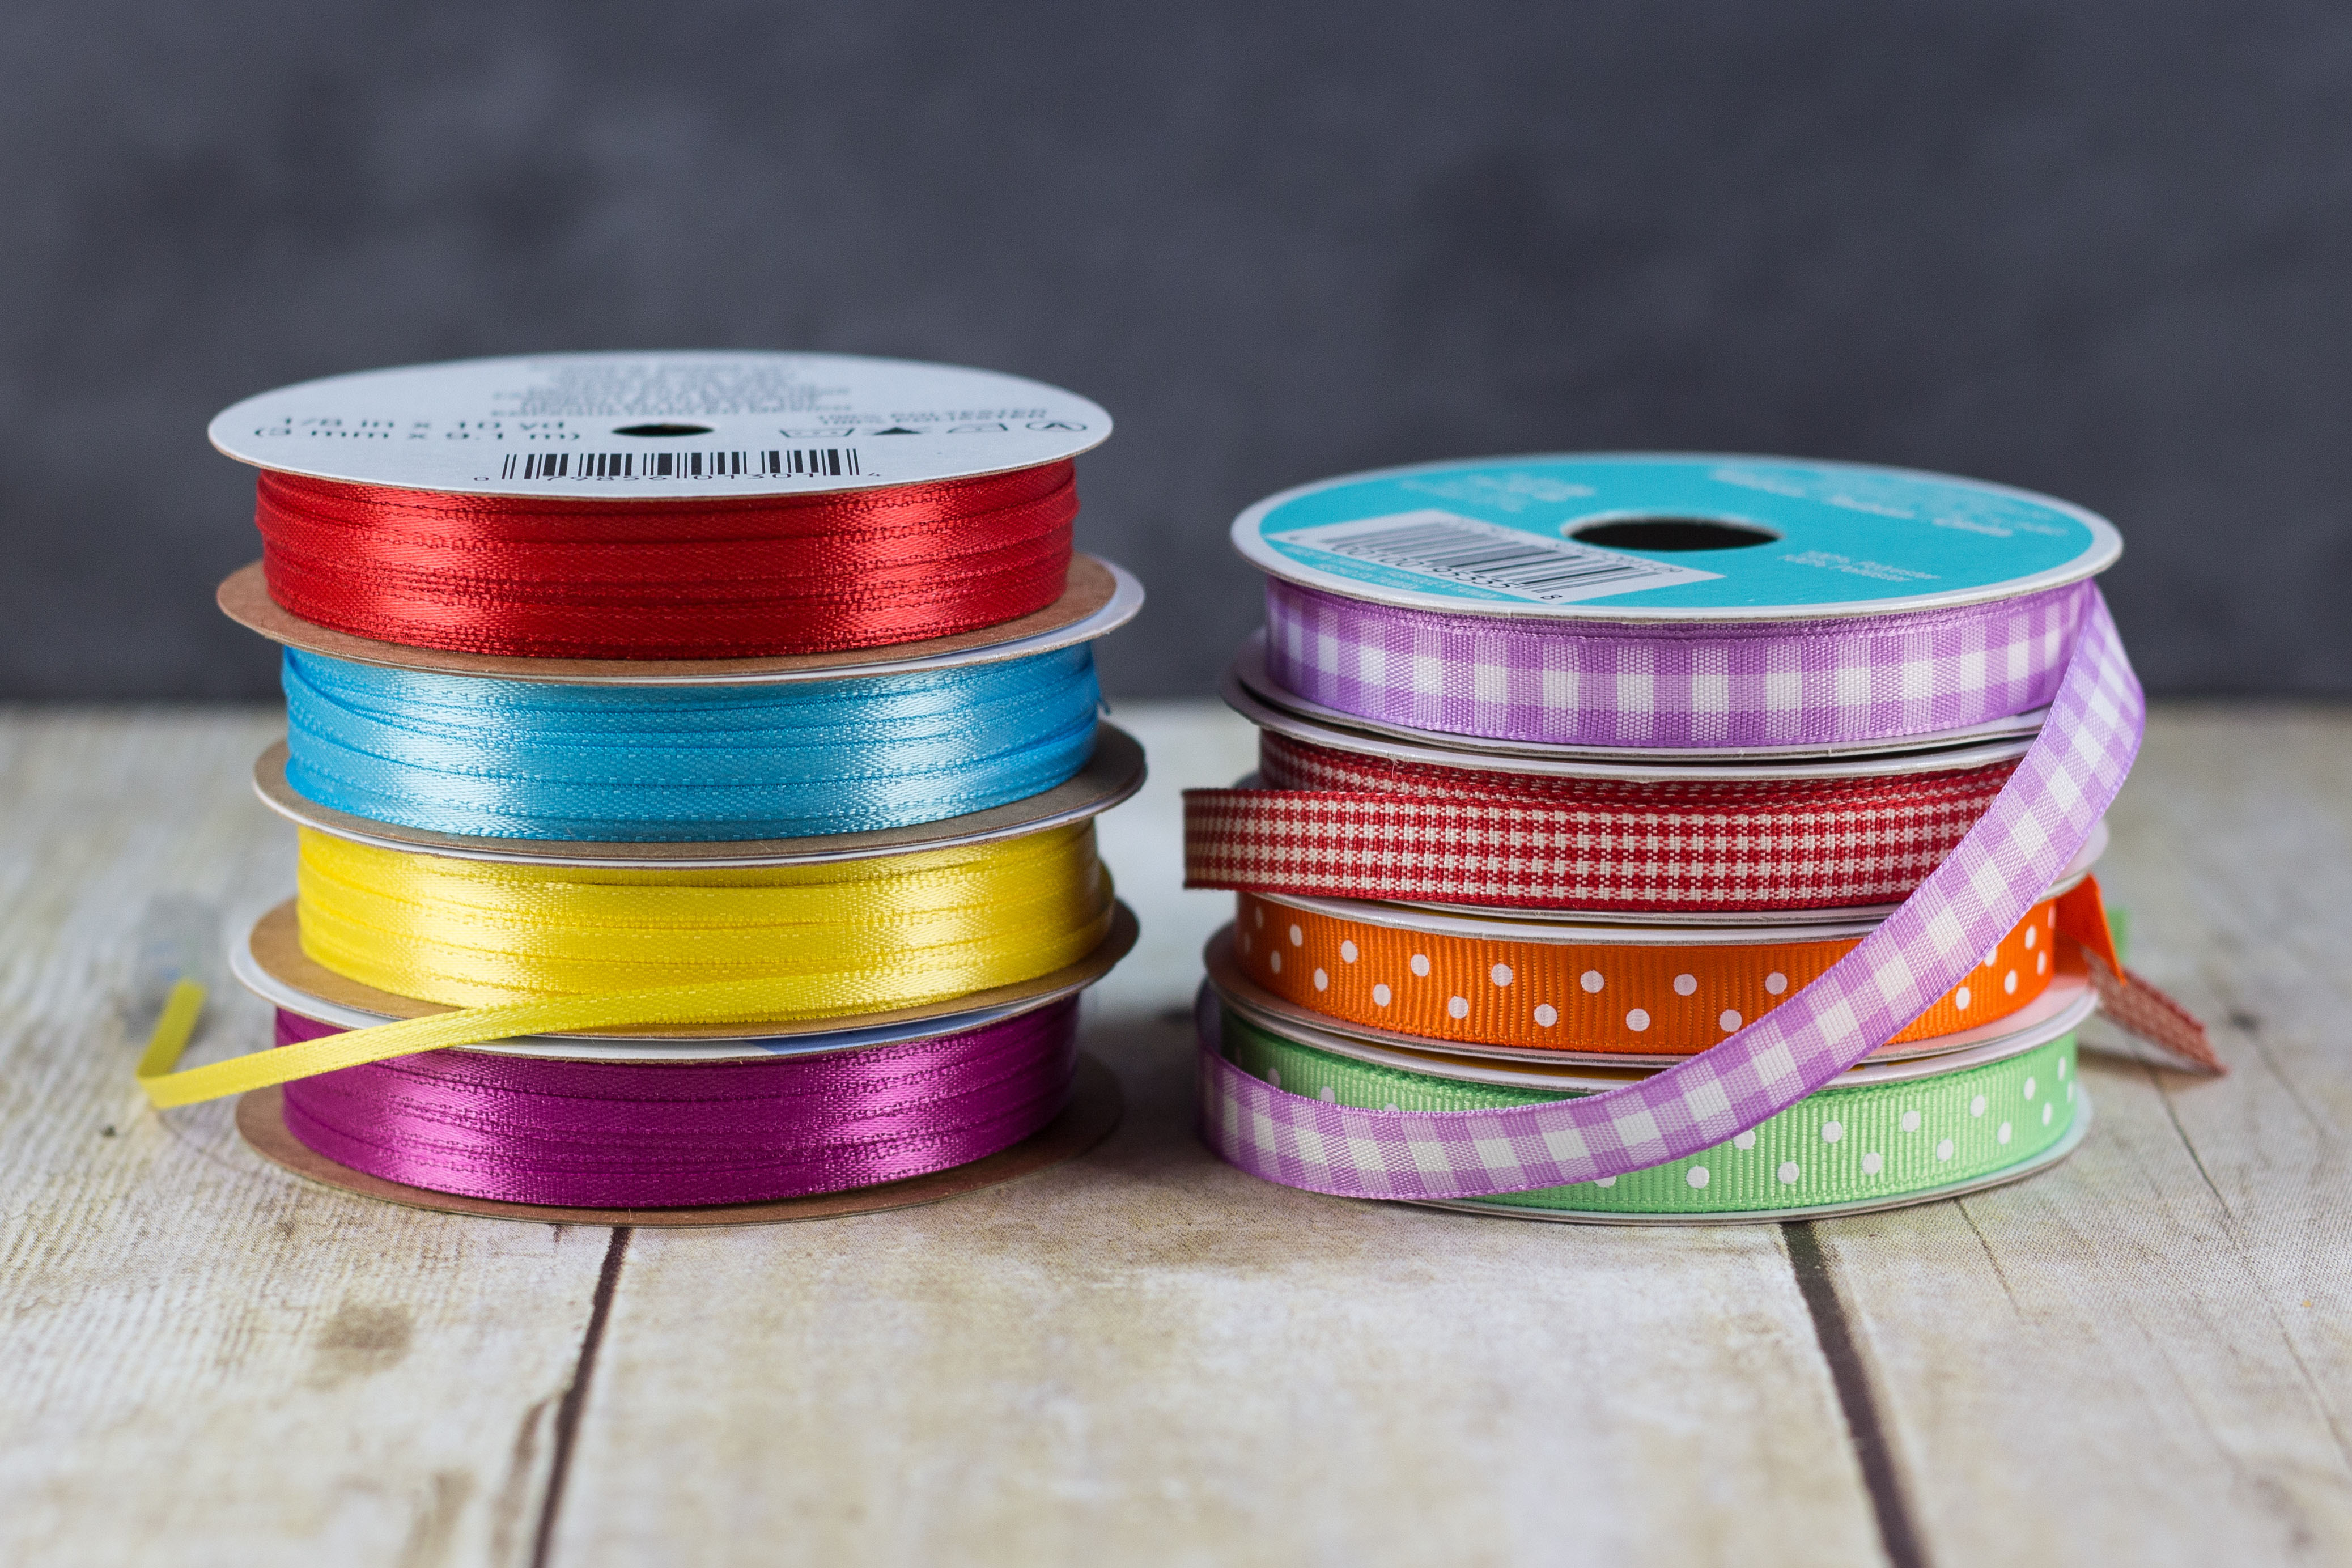
Select your ribbons. I have a ridiculously large ribbon collection, and I love choosing new combinations for each set of cards. You need a minimum of one roll 1/8″ wide and one roll 3/8″ wide.
Cut the 1/8″ ribbon. When I’m making sheet music greeting cards, I make at least eight at a time, which is why you see so many ribbons here. The ribbons should be approximately 3 1/2″ long.
Thread the 1/8″ ribbon through the two holes, and tie it twice. Trim the ends.
Apply a thin layer of glue or a single layer of double-sided tape just around the edge of sheet music. If you’re using double-sided tape, it’s a little fiddly cutting the tape down to fit around the tag. Glue or tape the sheet music to the greeting card. I switch up the sheet music and ribbon placement, sometimes gluing the sheet music on the left and the ribbon on the right, and sometimes the other way around. If you’ve used glue, let the cards dry completely.
Cut the 3/8″ ribbon. Again, I made a batch of eight greeting cards, which is why I cut so many ribbons. The ribbons should be approximately 4 3/4″ long for A2 cards and 5 1/2″ long for A7 cards. I cut them slightly longer than the cards, and then trim them down after the glue dries.
Apply two thin lines of glue where you’ll be attaching the ribbon. Press down the ribbon firmly. Let the ribbons dry completely.
Trim down the ribbons. Enjoy your beautiful new greeting cards!
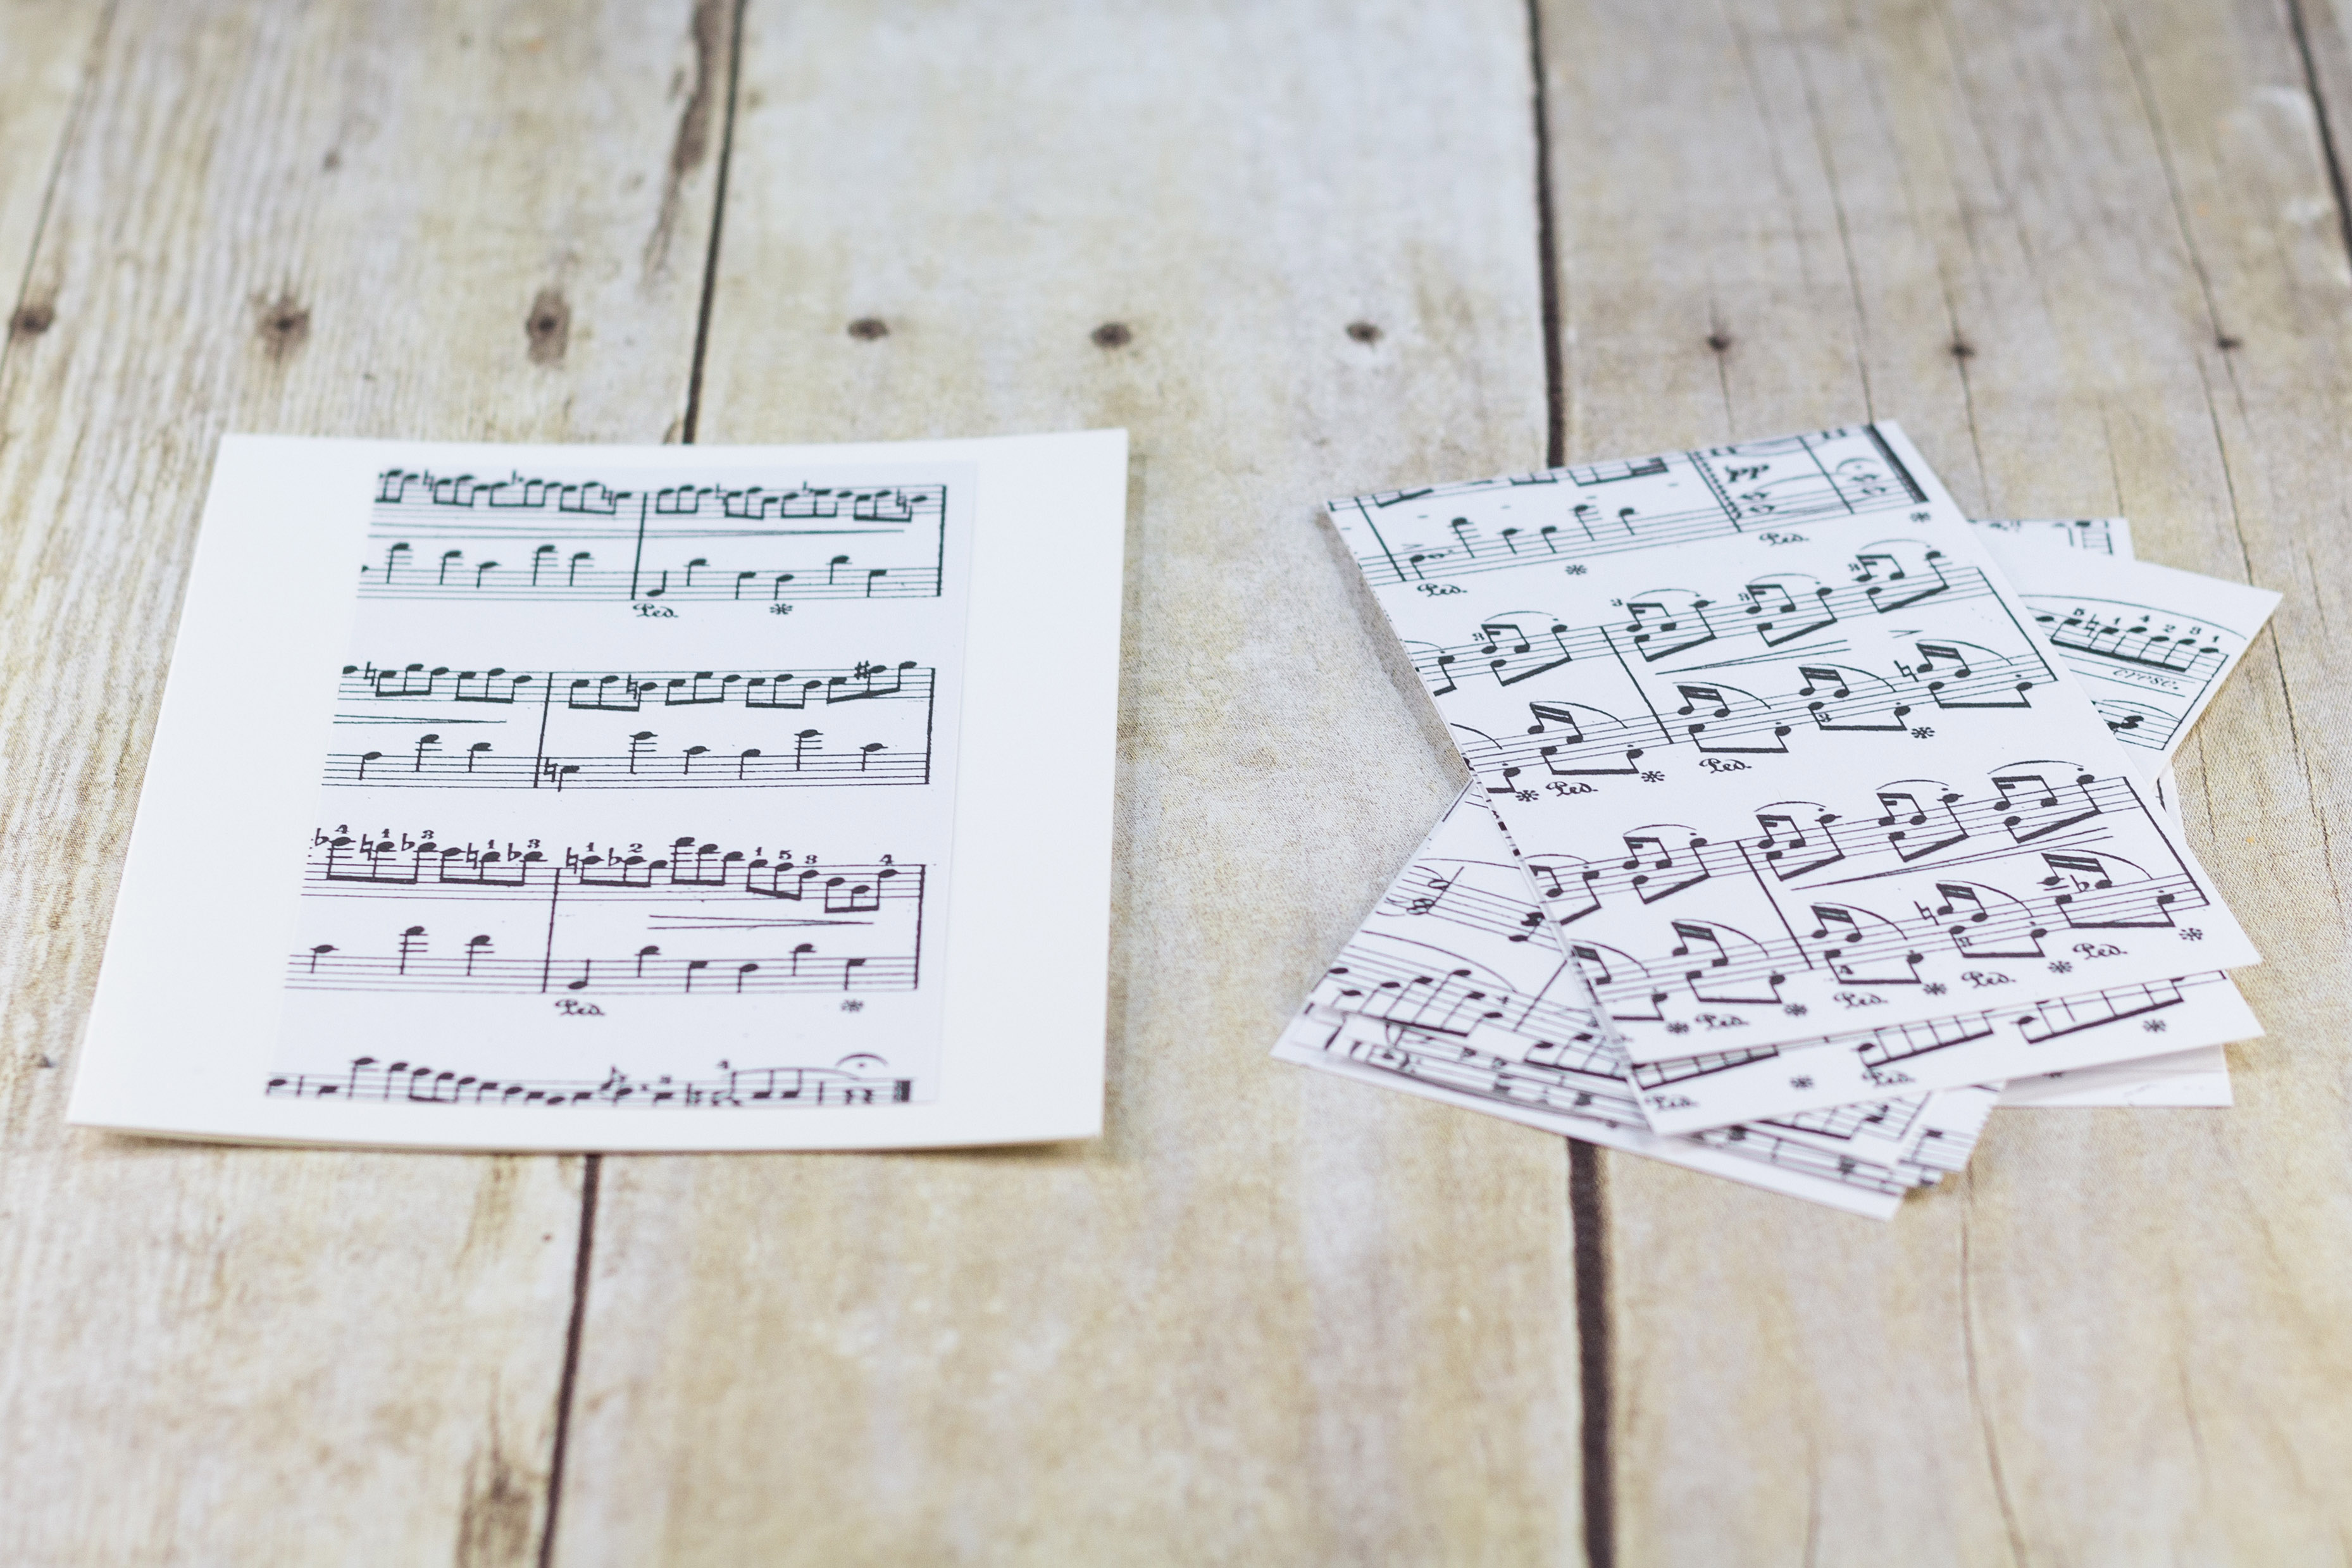
When you cut out the sheet music pieces for your cards, you’ll end up with some smaller pieces. I save the smaller scraps that you see pictured below for magnets (see here and here).
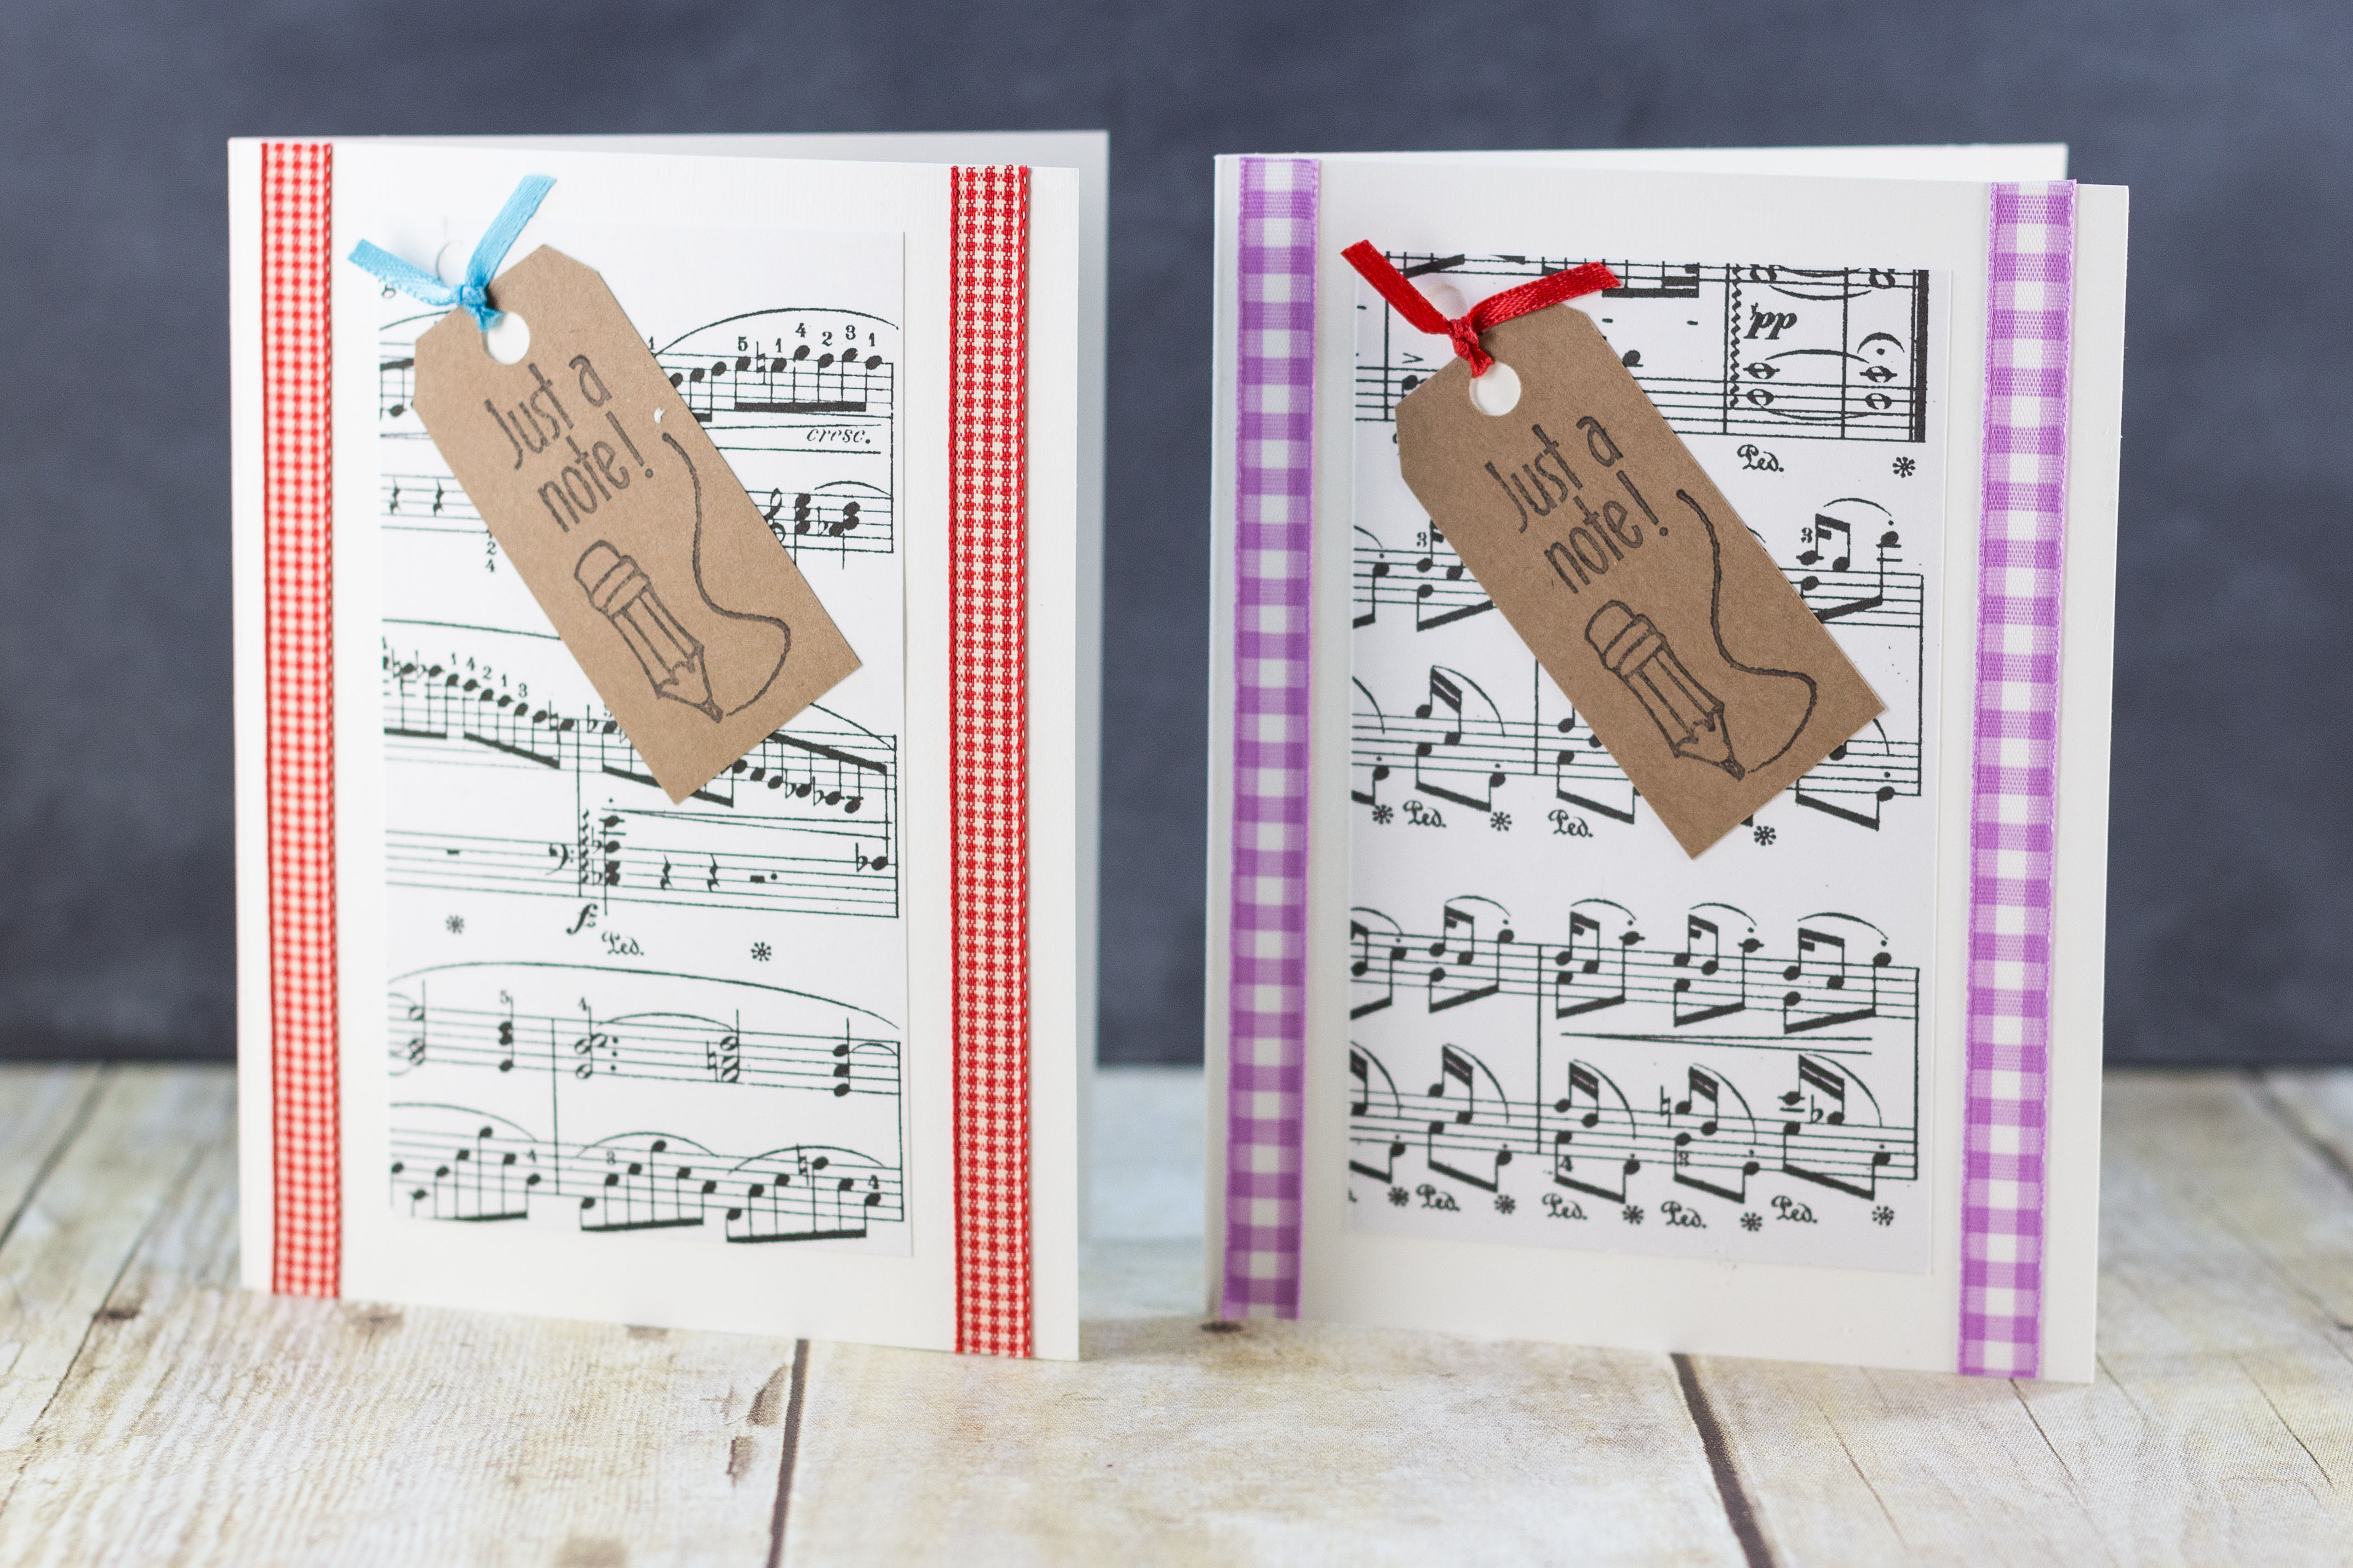
I use the biggest pieces to make A2 sheet music cards with a ribbon on either side.
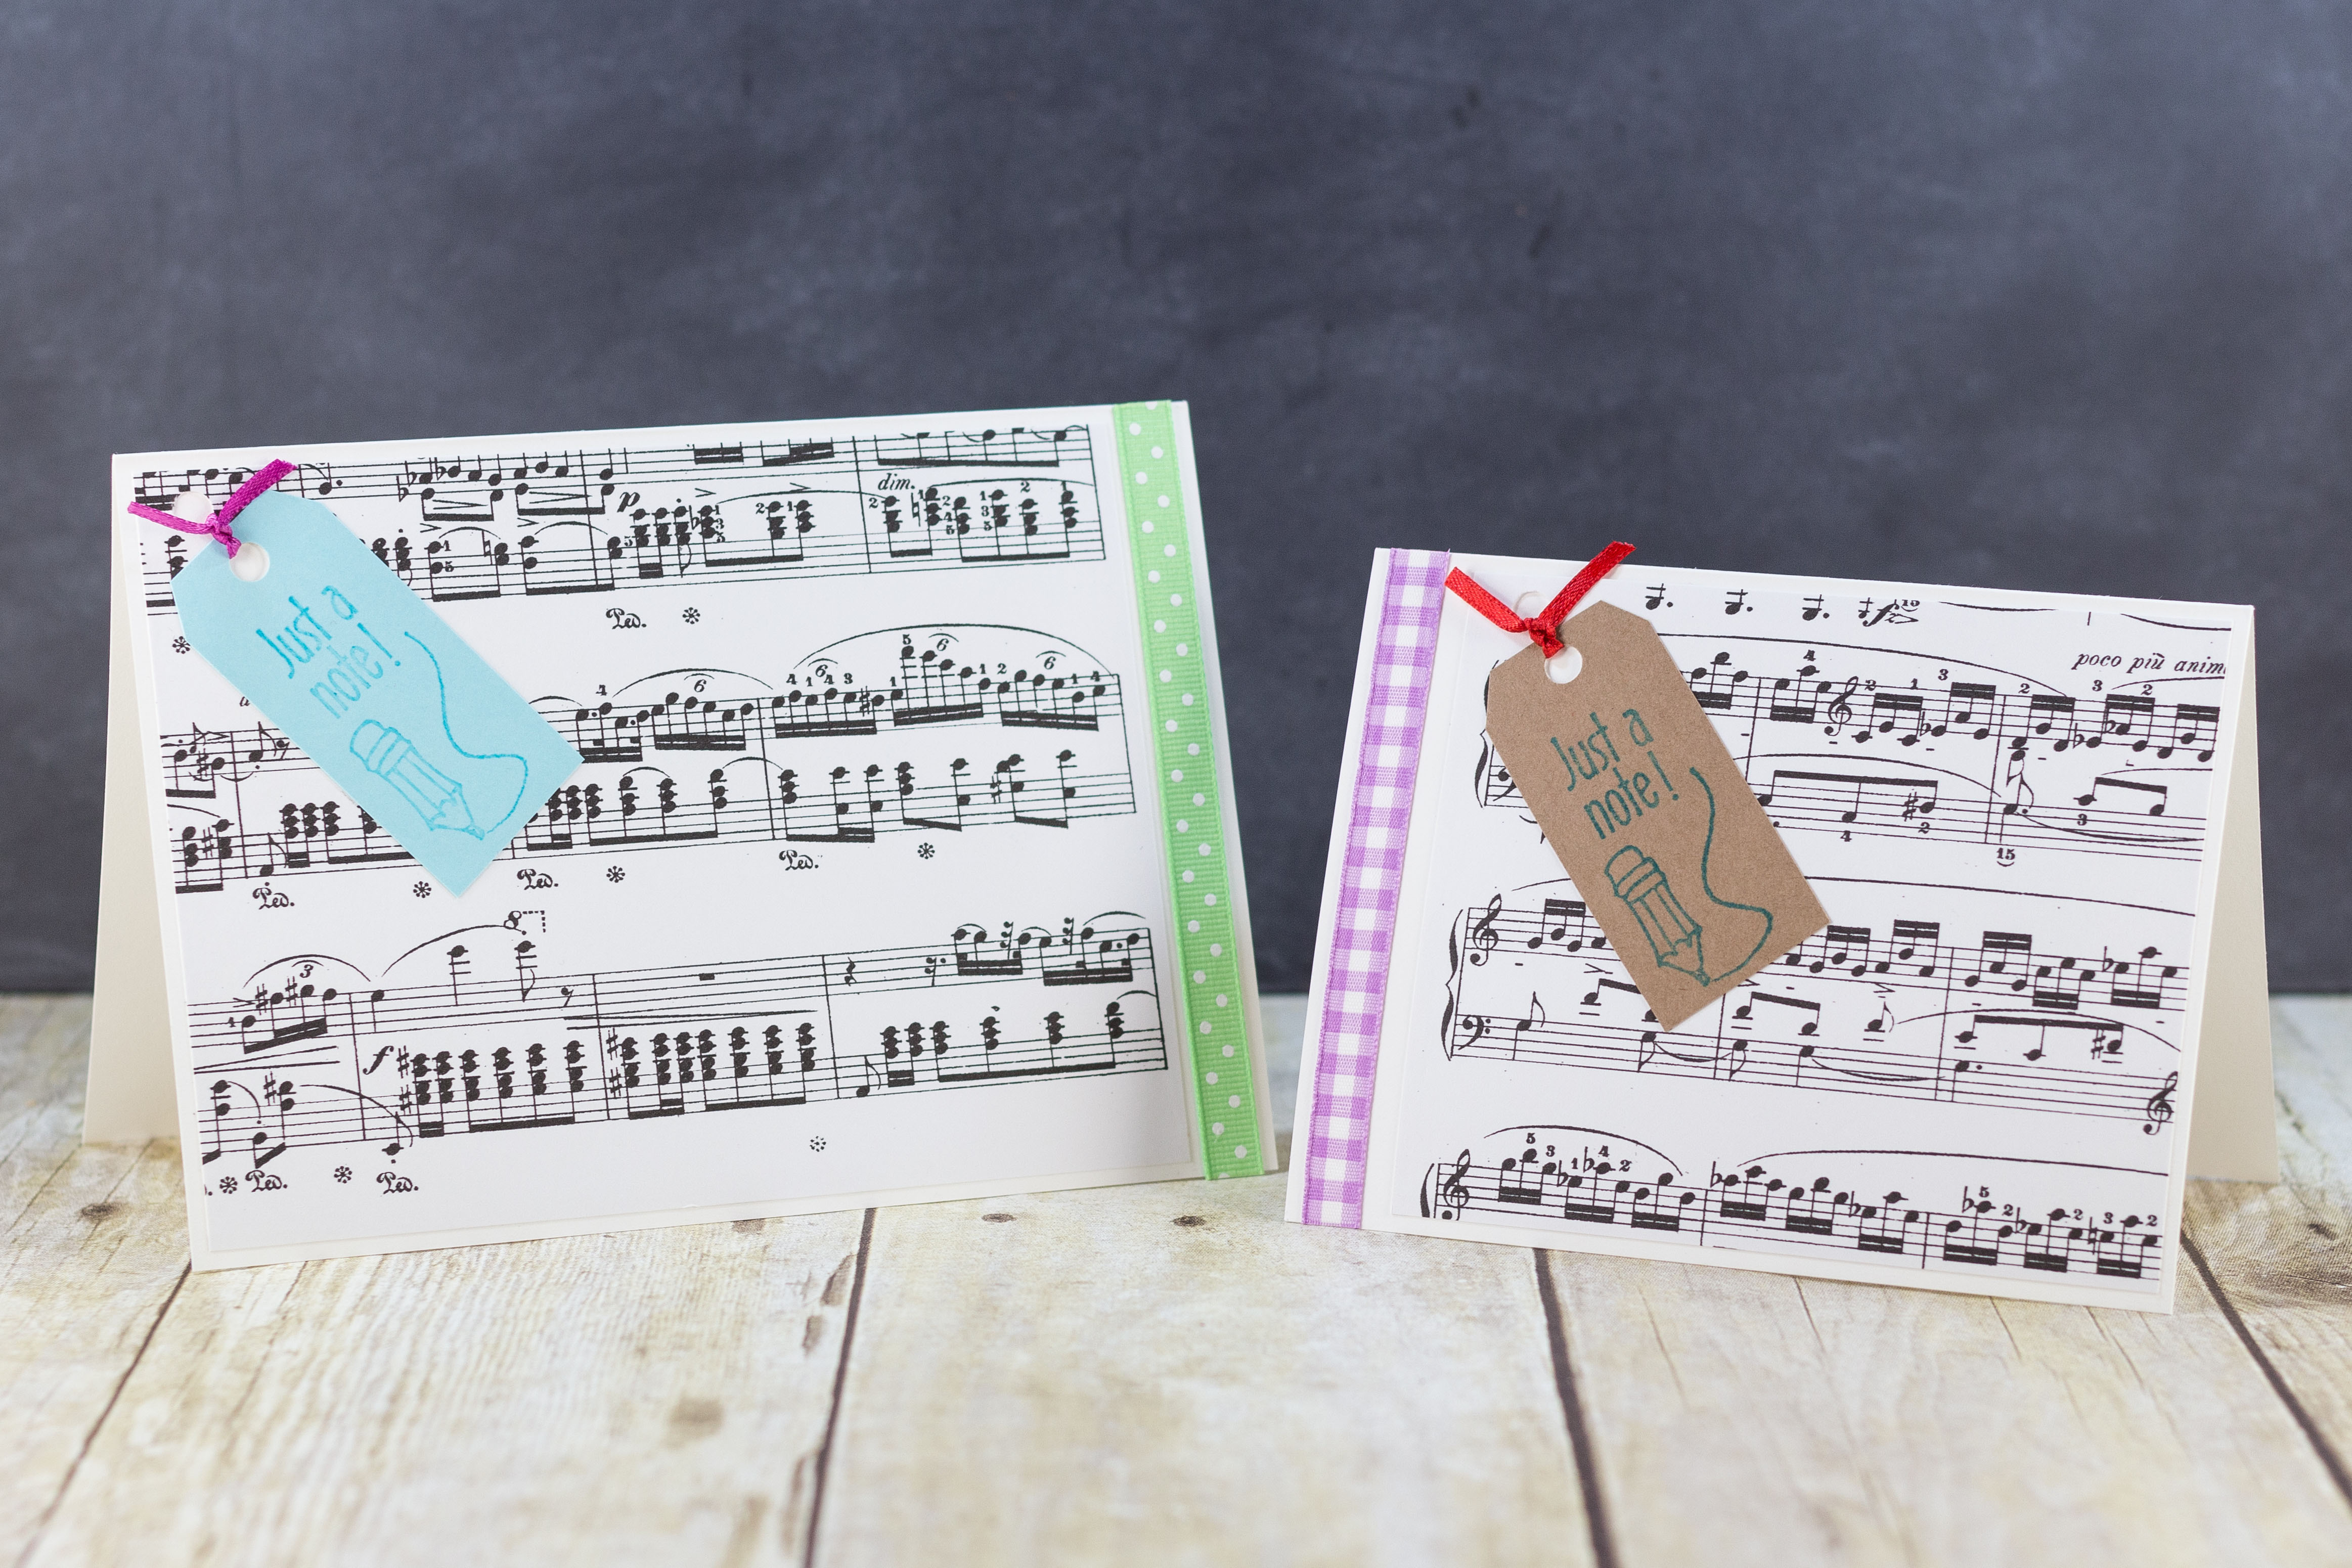
I’ve always made my sheet music greeting cards with kraft or blue tags, black stamp ink, and the just a note pencil stamp. Of course, you shouldn’t feel limited to these options. I’ve included a few more examples with other ink colors and a different just a note stamp for further inspiration.
Finally, for the first time ever, I have my just a note sheet music greeting cards available in my Etsy shop! I have both A2 and A7 sizes available for both kraft and blue just a note tags. Get free shipping on your greeting cards with the code FREESHIP.
All Etsy greeting card sets have a random assortment of colors with different colored ribbons for every set. Currently, I don’t take custom color requests. Thanks!
Did you make just a note sheet music greeting cards? I’d love to see them! Tag your photo #RoseClearfield on Twitter or Instagram, send me a snap on Snapchat (randomcreative), or post a photo to my Facebook page, and I’ll check it out. Thanks!
[Disclaimer: This post contains a few affiliate links. Thanks for your support!]
Did you make the just a note sheet music greeting cards?
I want to see them! Tag your photos #RoseClearfield on Instagram or Twitter or post a photo to my Facebook page.
More sheet music crafts:
- Plastic Easter eggs
- Easter sheet music wall decor
- Clothespin magnets
- Vintage botanical tile coasters
- Glass magnets
THE resource you need for DIY greeting cards!
Basic Card Making Supplies and Tools

