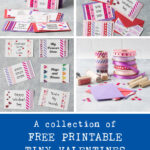
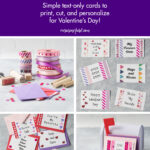
Free printable tiny Valentines are the most fun way to create unique mail for friends and family for Valentine’s Day.
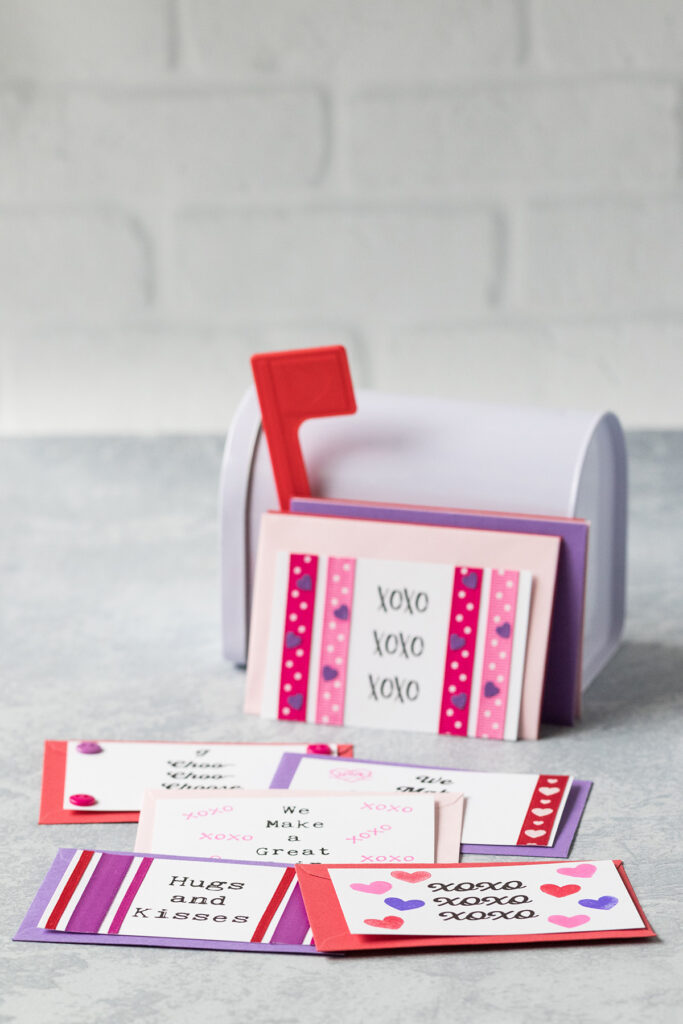
Free printable tiny Valentines are the ideal project for DIY Valentines cards. You get the enjoyment of personalizing each Valentine without the full effort of making the Valentines completely from scratch. I’ve purposely kept the designs very simple with classic holiday messages, so that you have lots of room to decorate the cards. Making your own Valentines is a great craft project for kids and adults alike. Beyond passing out Valentines at school, you can make your own Valentines for neighbors, co-workers, and extended family.
I’ve created free printable tiny Valentine templates with 10 Valentine sayings/messages, each in three different fonts. Then I have a recommended supplies list and tons of inspiration for customizing your Valentines. I can’t wait to see how you all decorate your new Valentines!
Happy crafting and Happy Valentine’s Day!
About the free printable tiny Valentines
The free printable tiny Valentines are for personal use only. You may download and print them as many times as you like for your own projects, which includes classroom use. You are not authorized to sell the templates or your finished Valentines. Additionally, if family, friends, or co-workers are interested in their own Valentines, please send them a link to this post where they can download their own files. Don’t distribute the downloaded files. Thanks for your support!
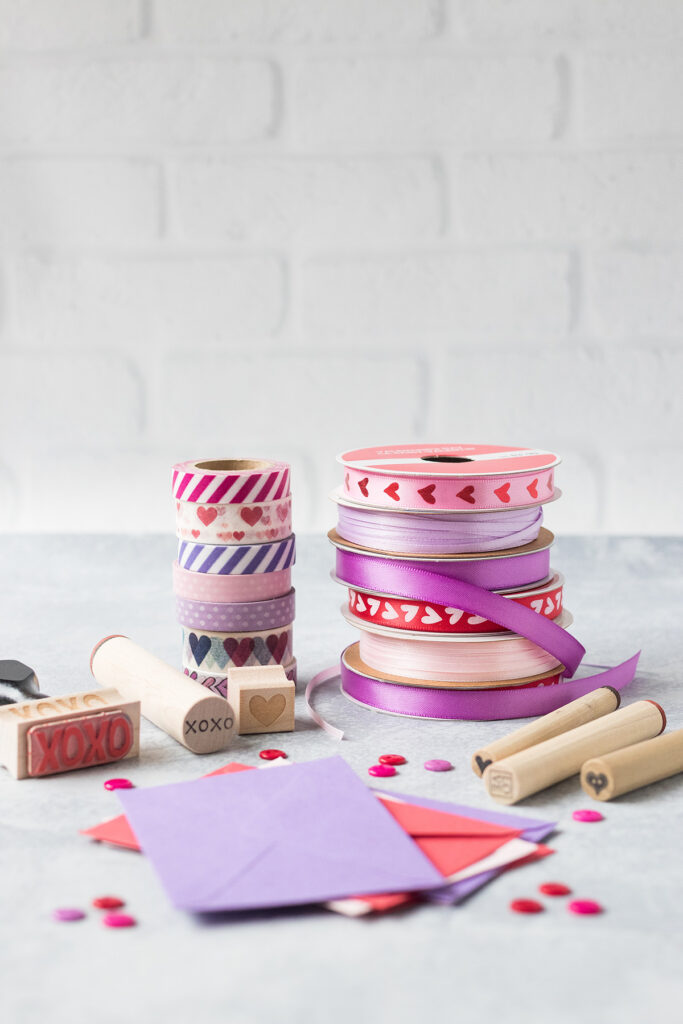
Supplies for DIY tiny Valentines
- White or colored card stock, as many pages as you need for your Valentines. The downloads have five Valentines on each 8.5″ x 11″ page.
- 4″ x 2.7″ mini envelopes, one for each Valentine
- Home printer or another printing source to print your tiny Valentines
- Free printable tiny Valentines downloads of your choosing. The links are in the very next section!
- Paper cutter. Scissors will work okay, but a paper cutter ensures straight edges quickly and easily.
- Fabric scissors, for cutting the ribbon
- Scotch scrapbook glue or another wrinkle-free paper glue
- 1/8″-1/2″ width ribbon in assorted colors and patterns. I purchase the vast majority of my ribbon from Michaels. They don’t carry their 1/8″ ribbon online, but you can always find a wide selection of it in their stores.
- 1/8″-1/2″ width washi tape in assorted colors and patterns. My favorite Etsy shops for washi tape are BBBSuppliesCRAFTSHOP and GoatGirlMH.
- 1/4″-1/2″ round or heart-shaped buttons in assorted colors
- 1/4″-1/2″ heart stickers in assorted colors
- Approximately 1/2″ in diameter heart paper punches as well as a tiny heart paper punch
- Small heart and other Valentine’s Day-themed rubber stamps. I purchased most of the rubber stamps that I used for my Valentines from norajane on Etsy.
- Rubber stamp pads in assorted colors. All of the rubber stamp pads that I used in this post are from MaxMark.
Please note that aside from the card stock, a printer, a paper trimmer or scissors, and the Valentines templates, you don’t need any specific supplies to make your own Valentines. I’m simply sharing the supplies that I used to make the Valentines pictured in this post with resources to make your crafting simple and stress-free. Don’t feel obligated to purchase any or all of these materials. Additionally, there are so many fun possibilities for decorating your tiny holiday mail beyond what I’ve shared here. For example, those of you with more advanced drawing and painting skills than me may want to use colored pencils, crayons, acrylic paints, etc. to add hand-drawn or hand-painted details to your Valentines.
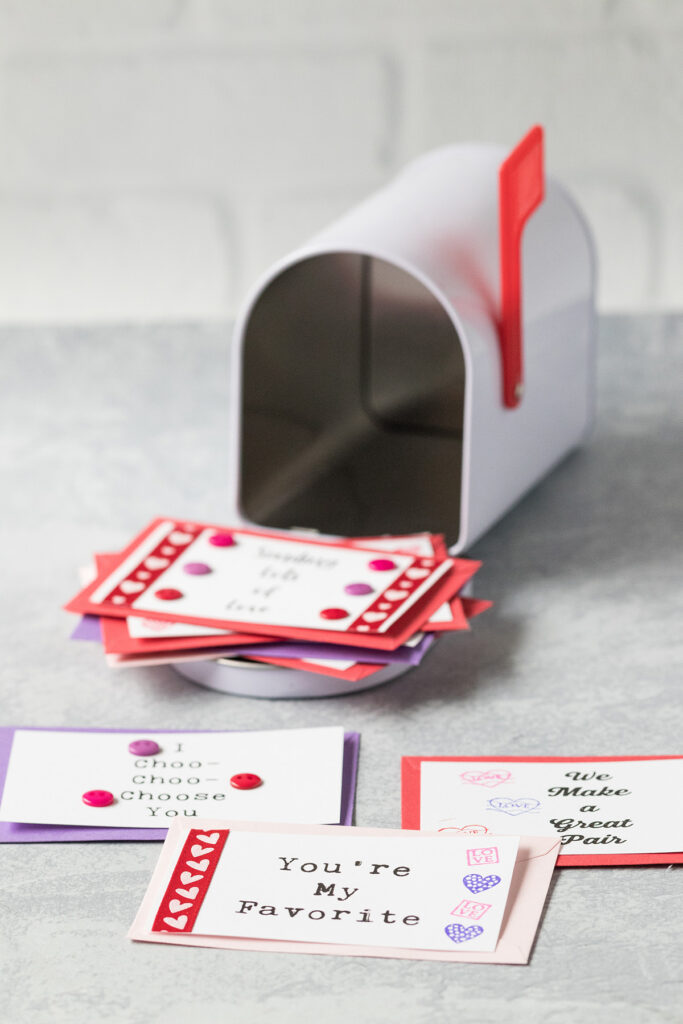
Free printable tiny Valentines downloads
There are 10 phrases/sayings for the tiny Valentines, each of which is available in three fonts: Bookman Press Script, Hartfordshire, and Typewriter. Each download features an 8.5″ x 11″ page with five Valentines. The final link is for the full set of 30 Valentines on six 8.5″ x 11″ pages. Each page has five different Valentines, so that you can print the entire set at once on just six sheets of paper. All of the templates are in PDF format.
- From My Heart to Yours – Bookman Press Script | Hartfordshire | Typewriter
- Happy Valentine’s Day – Bookman Press Script | Hartfordshire | Typewriter
- Hugs and Kisses – Bookman Press Script | Hartfordshire | Typewriter
- I Choo-Choo-Choose You – Bookman Press Script | Hartfordshire | Typewriter
- I Love You – Bookman Press Script | Hartfordshire | Typewriter
- My Forever Date – Bookman Press Script | Hartfordshire | Typewriter
- Sending Lots of Love – Bookman Press Script | Hartfordshire | Typewriter
- We Make a Great Pair – Bookman Press Script | Hartfordshire | Typewriter
- XOXO – Bookman Press Script | Hartfordshire | Typewriter
- You’re My Favorite – Bookman Press Script | Hartfordshire | Typewriter
- Assorted Sayings – Set of 6 Pages
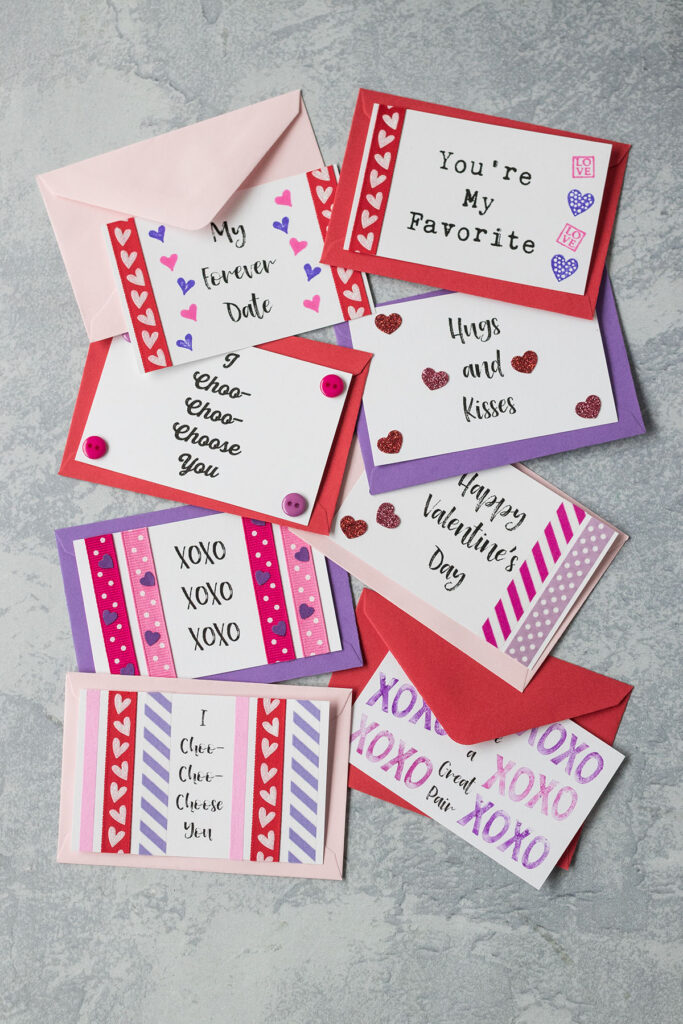
How to make tiny Valentines
The process for making tiny Valentines is very straightforward. The steps are as follows.
- Download the Valentines templates of your choosing from the above section.
- Load card stock into your printer.
- Print the Valentines templates.
- Use a paper trimmer or scissors to cut apart the Valentines. There are black outlines around each Valentine to show you where to cut. I opted to cut off the black outlines completely.
- Have fun decorating your Valentines!
- Stuff each Valentine into a mini envelope.
You’re now ready to write the recipients’ names on the envelopes and distribute them!
A few general tips for success
- Use a paper cutter to cut apart your Valentines. You can use scissors to cut apart your Valentines. However, you’ll get much better results using a paper cutter. If you make a lot of paper crafts, it’s well worth investing in a paper cutter.
- Allow each glued component to dry before moving on to the next one. When you glue a lot of components onto a piece of card stock all at once, the card stock will wrinkle, even when you use wrinkle-free glue. Scotch scrapbook glue dries in just a couple of minutes, which means that you can move on to gluing the next component pretty quickly.
- Cut ribbons and washi tape longer than is needed. It’s all but impossible to measure and cut ribbons and washi tape to fit on paper precisely. It’s much easier to cut them longer than needed and then trim down the edges once they’re glued or secured into place. For optimal results, I like to flip over my paper and cut the ribbons and washi tape from the backside.
Inspiration for decorating tiny Valentines
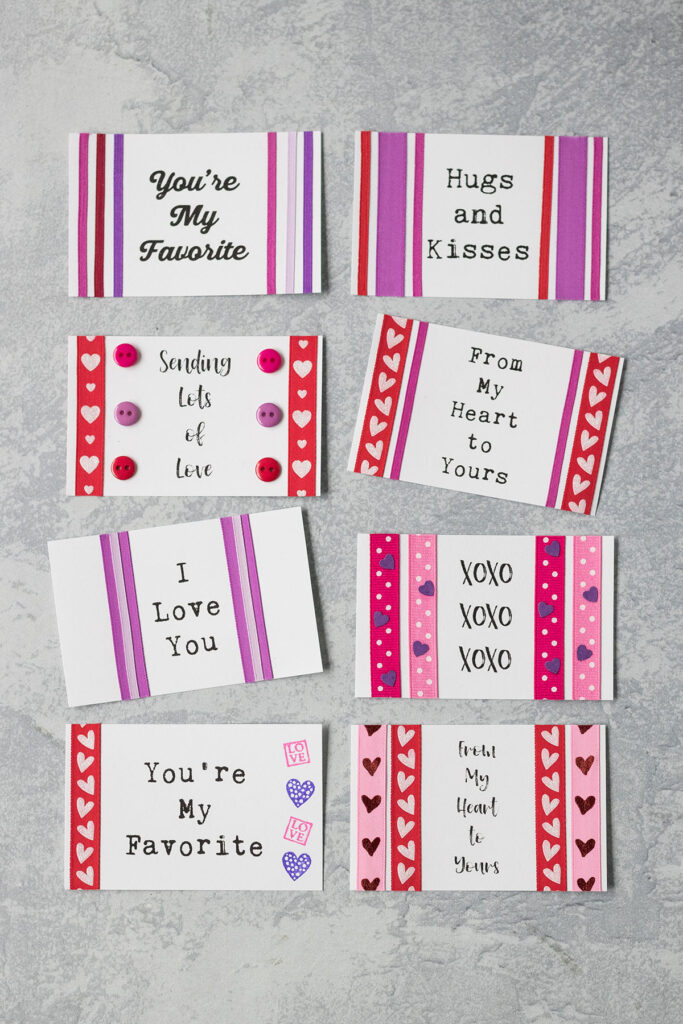
Ribbon
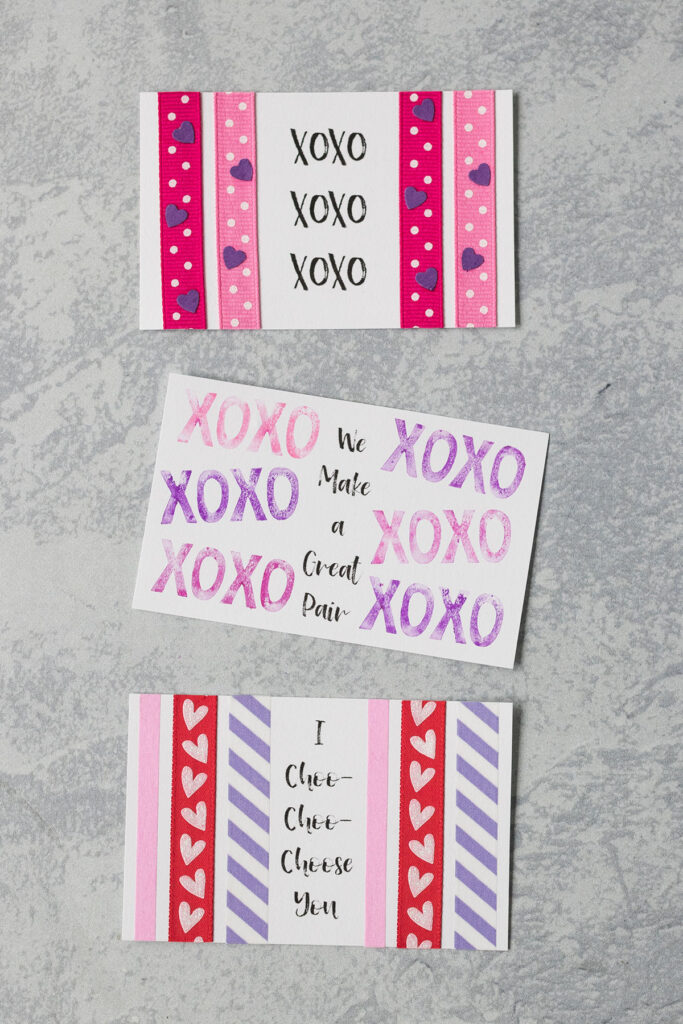
Ribbon is such an inexpensive, versatile craft material for greeting cards and lots of other paper, fabric, and mixed media DIY projects. As these Valentines are so small, you don’t want ribbon much wider than about 1/2.” I love using multiple ribbons on single cards, including ribbons with different widths. You can even layer narrow ribbons on top of wider ribbons.
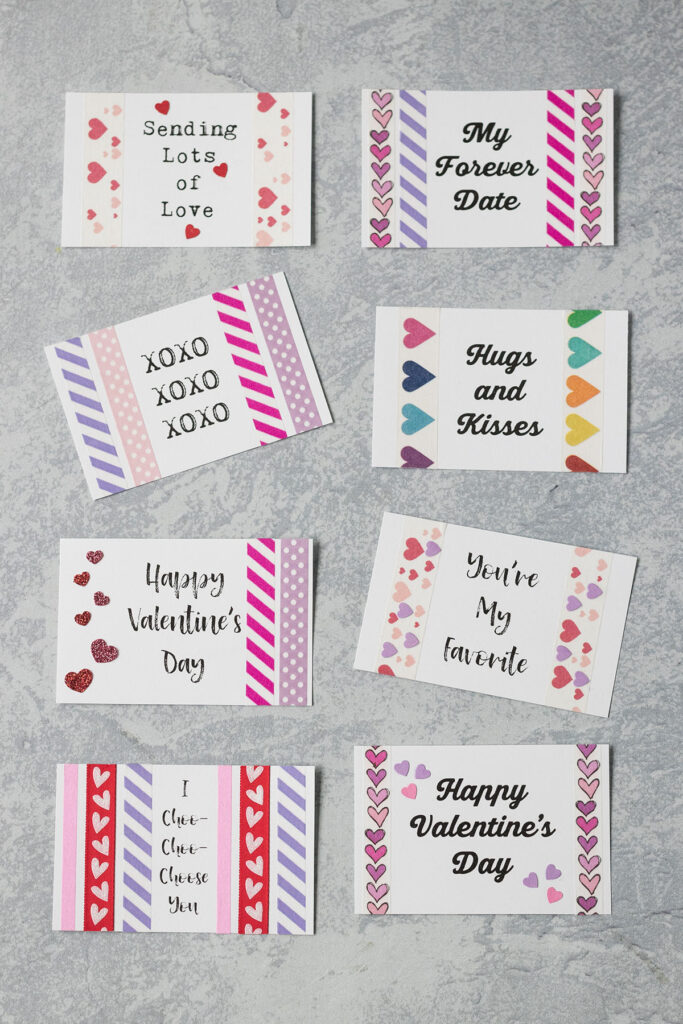
Washi tape
Washi tape is another inexpensive, versatile craft material that is far too easy to collect because there are so many fun colors and patterns available. As you simply stick washi tape into place, crafting with it couldn’t be simpler or quicker. My favorite sources for washi tape, especially seasonal/holiday washi tape, are the Etsy shops BBBsuppliesCRAFTSHOP and GoatGirlMH.
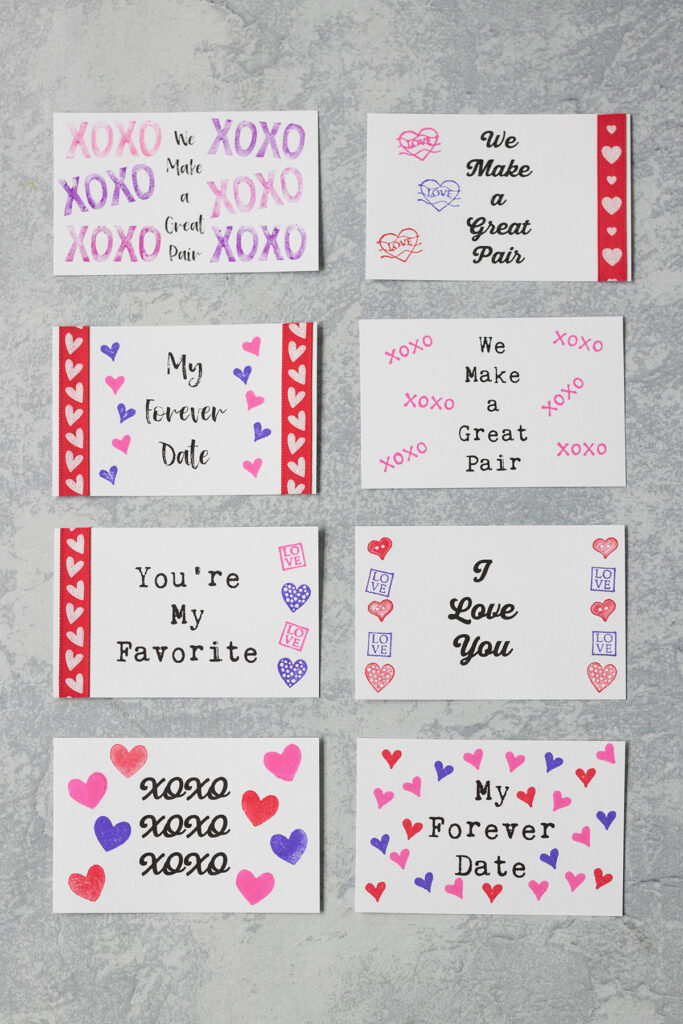
Stamps
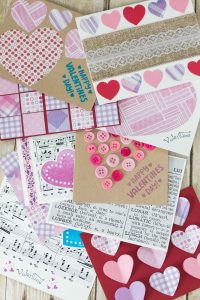
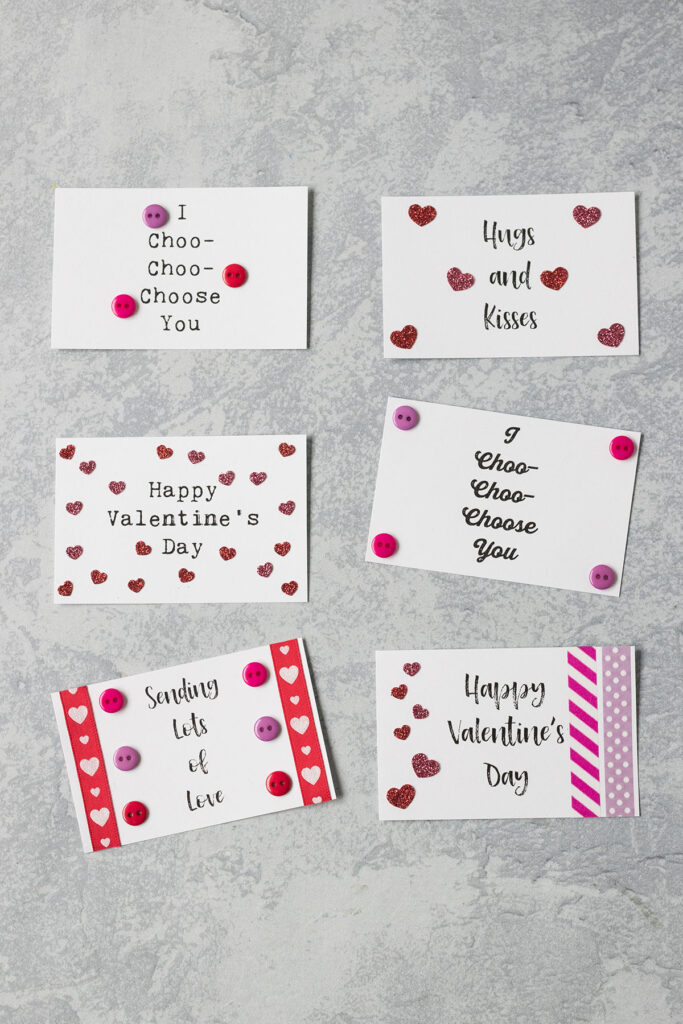
As soon as I started working on my tiny Valentines, I knew that I wanted to use norajane‘s mini heart stamps and other Valentine’s Day-themed stamps. I’ve been using her stamps regularly for over a decade and am always so happy with the results. The size of the stamps is just perfect for this type of small-scale project. I used a couple of larger stamps – the XOXO in the upper left-hand corner and the heart in the bottom left-hand corner – as well.
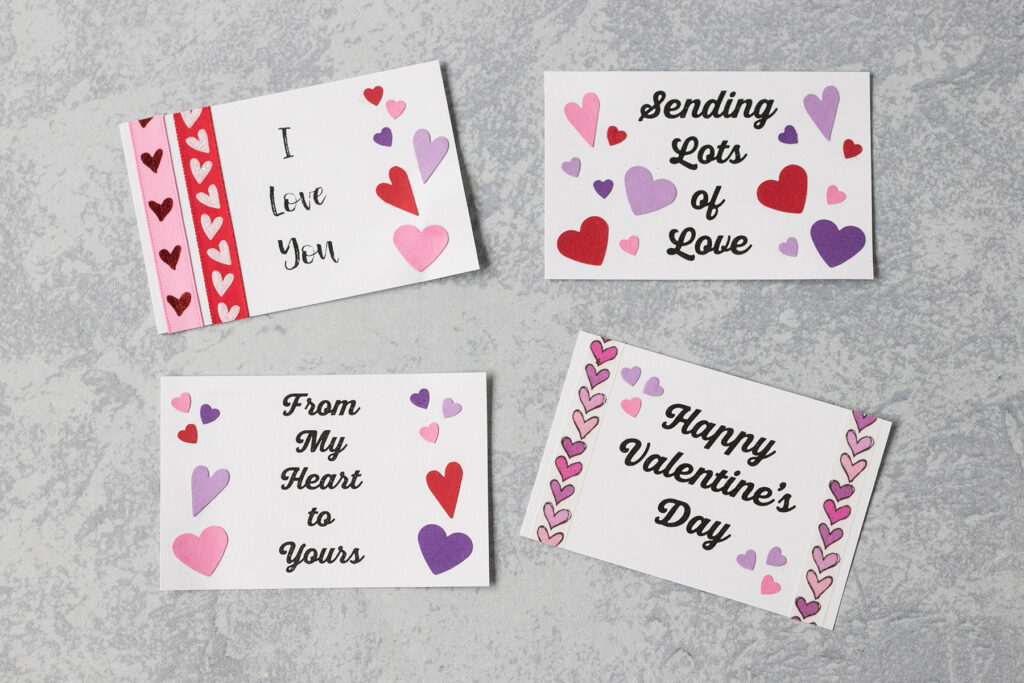
Punched hearts
For my tiny Valentines, I used a couple of my smaller heart punches. I love the visual interest of using heart punches in two different shapes. I also used quite a few tiny heart punches. The tiny heart punch may seem like a crazy purchase. However, I have used it for so many greeting cards and Valentine’s Day projects.
Stickers and buttons
Tiny heart stickers are absolutely adorable and so much fun for all sorts of Valentine’s Day craft projects. You know that I can’t do a DIY project without including a few buttons, too. Heart-shaped or round buttons measuring 1/2″ in diameter or smaller work well for tiny Valentines. I buy most of my buttons from MellowMoonSupply on Etsy.
Special techniques
Most of the decorating techniques that I used for my tiny Valentines are very self-explanatory. However, there are a few specific techniques that I wanted to call out, as they are very simple but will completely elevate your designs.
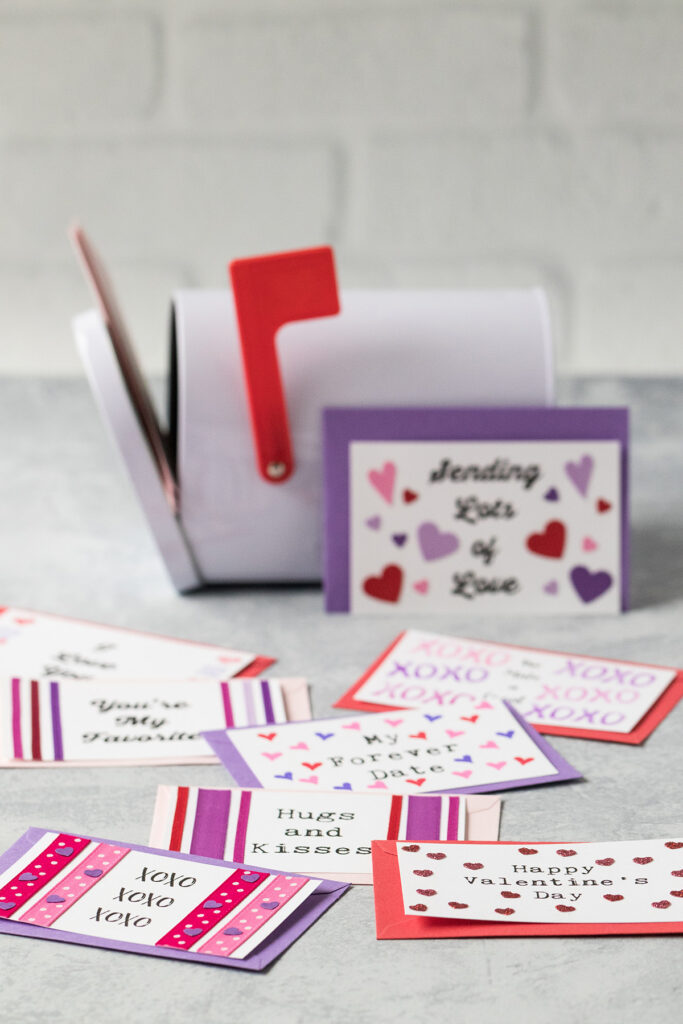
- Layering ribbon or washi tape with tiny punched hearts. I love laying down ribbon or washi tape and then adding a handful of tiny punched hearts on it.
- Using markers to stamp in different colors. In my how to make homemade greeting cards look professional post, I cover the technique of using markers instead of ink pads for rubber stamps. You get so many more colors for a fraction of the price of ink pads, and the results are so beautiful. The Crayola Super Tips markers set is fabulous.
- Using ribbons and washi tape on the same card. Using ribbon and washi tape together greatly expands your options for possible color and pattern combinations. It also adds visual interest with slightly different textures.
[Disclaimer: There are a few affiliate links in this post. Thanks for your support!]
Did you make your own tiny Valentines?
I want to see them! Tag your images #RoseClearfield on Instagram or Twitter or post a photo to my Facebook page.
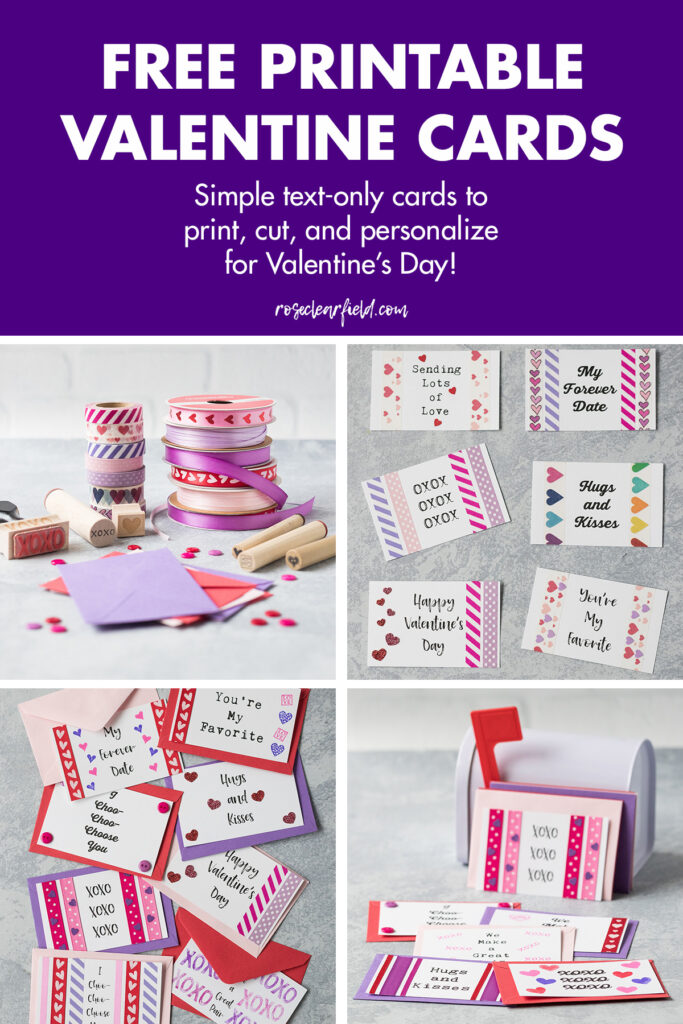
Pin this post for easy access to the free printable tiny Valentines later!
I also have a set of free printable Valentines to color!


