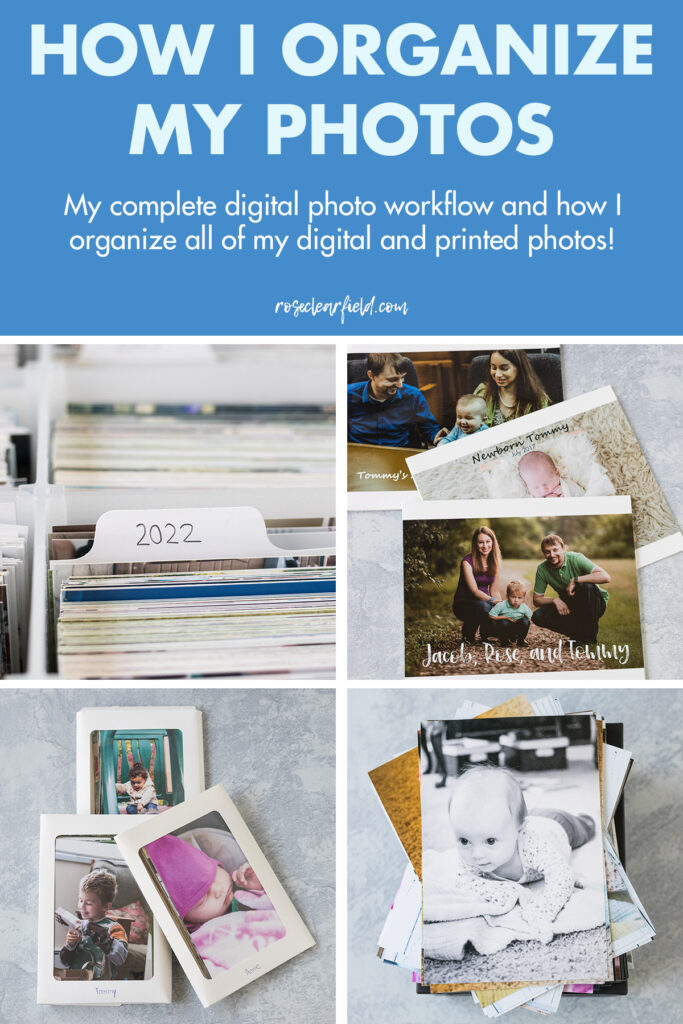
I have a complete guide for how I organize my photos!
This is a comprehensive post in which I actually go into a lot more detail beyond my photo organization. I share a wealth of information about my entire photography workflow and my storage methods for my phone and DSLR digital and printed photos. I provide my best tips for backing up, editing, and organizing your digital printed photographs so you’re able to work efficiently, stay organized, and ensure that you’re able to find everything quickly and easily for years to come.
Phone photos
I’m starting with my phone photos because my entire process for handling phone photos is much more straightforward. I take photos for my blog and all major events on my DSLR. However, as I always have my phone with me, I do end up taking a lot of phone photos as well.
I have an Android phone and have all of my photos automatically back up to Google Photos. If you don’t have an automatic backup system in place, I strongly recommend it. One, you protect your photos if something happens to your phone. Two, you can find any photo by date so easily.
When I write my monthly updates, in Google Photos, I go through my last month’s worth of phone photos. I add my favorites to a best of [insert current year] photos folder and save them to my hard drive. I also add all videos worth saving to a best of [insert current year] videos folder. Creating and maintaining these folders makes it even easier to find my favorite photos and videos and to share them with family and friends.
It’s rare that I edit phone photos. But sometimes, I’ll open them in Lightroom or Photoshop and make a few edits.
On occasion, I’ll add very favorite phone photos to my to print folder on my hard drive.
DSLR photos
I share lots of information about the exact DSLR camera body and lenses and other photography gear I use in my DSLR camera equipment guide for moms.
I have my DSLR with me the majority of the time and take anywhere from 5,000 to 12,000 photos with it in a single year. The following systems ensure that my photos stay safe and organized at all times.
I use Lightroom to import, backup, rate, edit, and export all of my DSLR photos. If you take and edit a lot of photos, Lightroom makes a huge difference in streamlining the entire post-processing workflow.
Importing/backing up
When I import my photos into Lightroom, I import them with a preset to do some basic edits right away. Importing the photos with a preset saves me so much editing time. To create a preset, in the Develop module, after you’ve edited a photo with those settings, click the + sign next to Presets. Make sure to give your preset a name, and make sure that all of the settings you want to include are checked. Click Create. Then when you import new photos, under Apply During Import, under Develop Settings, select the preset.
When I import my photos into Lightroom, I also make a backup copy to an external hard drive. I highly recommend making a backup. It takes a few extra seconds and ensures that all of your RAW files are safe if something happens to your hard drive. To make a backup, when you import new photos, under File Handling, check the box next to Make a Second Copy To:. Select your external hard drive or other backup source. I give the backup copy folder the exact same title as the regular folder on my hard drive.
Label your import and backup with the date and a descriptive title such as “Tommy’s first birthday party.” I add all of my backups and imports to master folders by year, so that all of the pictures from a single year are in one master folder. When you import photos, you can also add keywords, which help you find photos again easily.
Rating
Once I’ve imported photos, I go through the set and decide which ones I’m going to edit. Lightroom lets you rate your photos 1 to 5. I simply rate photos that I want to edit 5. You certainly can use a more elaborate ranking system.
Editing
I edit the photos that I’ve ranked. I like to edit a single set of photos within a few days. This way, the aesthetic is cohesive, and the set doesn’t sit half-finished for months.
I do the vast majority of my editing in Lightroom. Over the last decade, I’ve created a couple dozen custom brushes. I have a black-and-white portrait preset for most of my black-and-white edits. Occasionally, I’ll do a little editing in Photoshop, mostly healing or cloning that I can’t do in Lightroom.
Exporting
Once I’ve finished editing the photos, I export the edited set to my hard drive. I use the same title for the export folder that I used in Lightroom, so the photos have a date and title that make them easy to find later. When you export photos, use the Export Location settings to create a hard drive folder in the location that you want with the title that you want.
I also rename my files, as it makes them much easier to find later. There’s nothing worse than sorting through piles of photos that are all named by date only or worse yet, by storage card number only (i.e., IMG_0128). When you export photos, use the File Naming section to rename your files.
I export all of my photos at 100 quality (under File Settings) and 300 pixels per inch (under Image Sizing). It’s completely up to you how you’d like to adjust these settings.
Backing up edited photos
In addition to having a finished set on my hard drive, I make two backup copies – one on OneDrive and one on Smugmug.
I also pay for cloud storage, which backs up my entire hard drive daily. This means that I have a backup there as well. Currently, I use IDrive and have been happy with it.
After I’ve made the backups, I delete the original RAW photos. I delete both the hard drive and external drive versions. I know that deleting RAW photos is a bit controversial. Personally, I can’t imagine having enough storage space to keep all of my RAW files indefinitely. In a decade of DSLR shooting, I’ve never wanted to go back and re-edit the RAW files. But I know that I’m in the minority, and many photographers store their RAW files indefinitely. This decision is entirely up to you.
Printing
After I export the edited photos, I choose which ones I want to print and add them to a to print folder on my hard drive. I wait until I have at least a couple hundred photos in the folder to place a print order.
For the better part of a decade, I used Smugmug for printing. About a year ago, they significantly raised their prices to about four times that of their competition and got rid of several of their photo finishes. So I switched to Printique and have been very happy with it. The quality and turnaround times are excellent, and the online interface is as good as you’ll find anywhere else.
Organizing printed photos
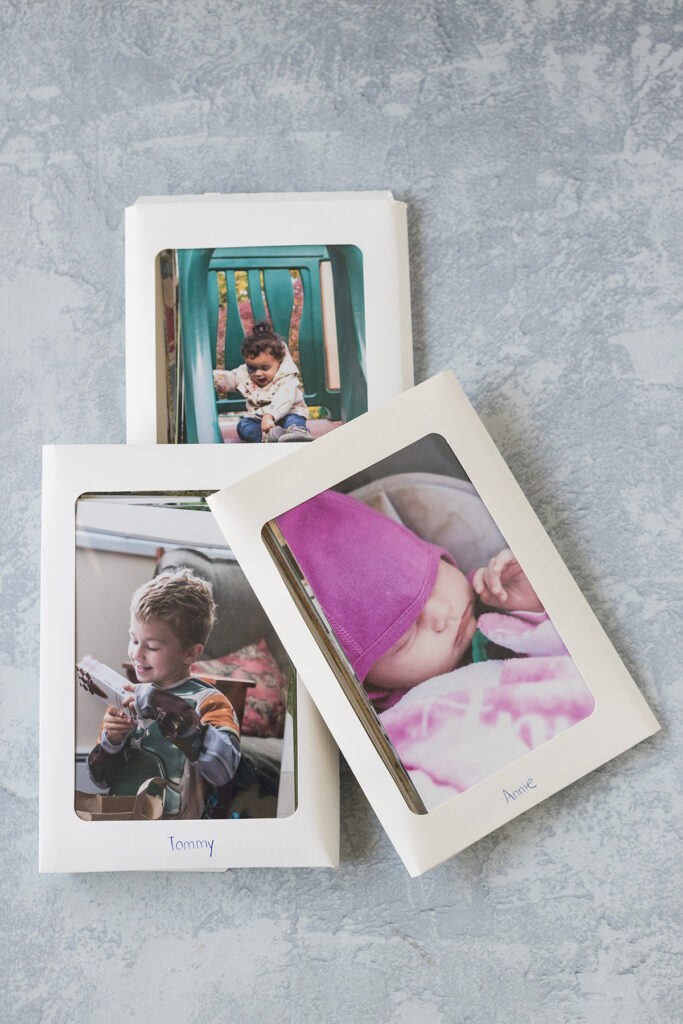
I have a photo storage box for each of my kids as well as one for me and Jake. For my older three kids, I have the Cropper Hopper. Unfortunately, it isn’t available anywhere right now. If you can find one on eBay or elsewhere online, I highly recommend it. For Annie, me and Jake, and Tommy’s second box (we filled his Cropper Hopper), I have this photo storage box. I prefer the Cropper Hopper for ease of sorting and looking through lots of photos. I also love that it has a single large storage space on the backside. But you do risk dumping the contents of the whole box. So there are pros and cons to both photo storage systems.
Over time, my kids will need subsequent boxes. It took about six years to fill Tommy’s first Cropper Hopper.
I print copies for the kids of the photos that include them, and I print my favorites for my and Jake’s box as well as other photos (i.e., the cats, the kids’ cousins, miscellaneous vacation photos). As the kids get older, if there are other photos they would like in their boxes, we’ll add them as needed.

On the back of each photo, I write the date and who’s in it. Sometimes I’ll write an occasion as well, such as Thanksgiving Day or Olivia’s birthday. I recommend using a ballpoint pen (I’m linking my current favorite) and letting the ink dry completely before filing the photos.
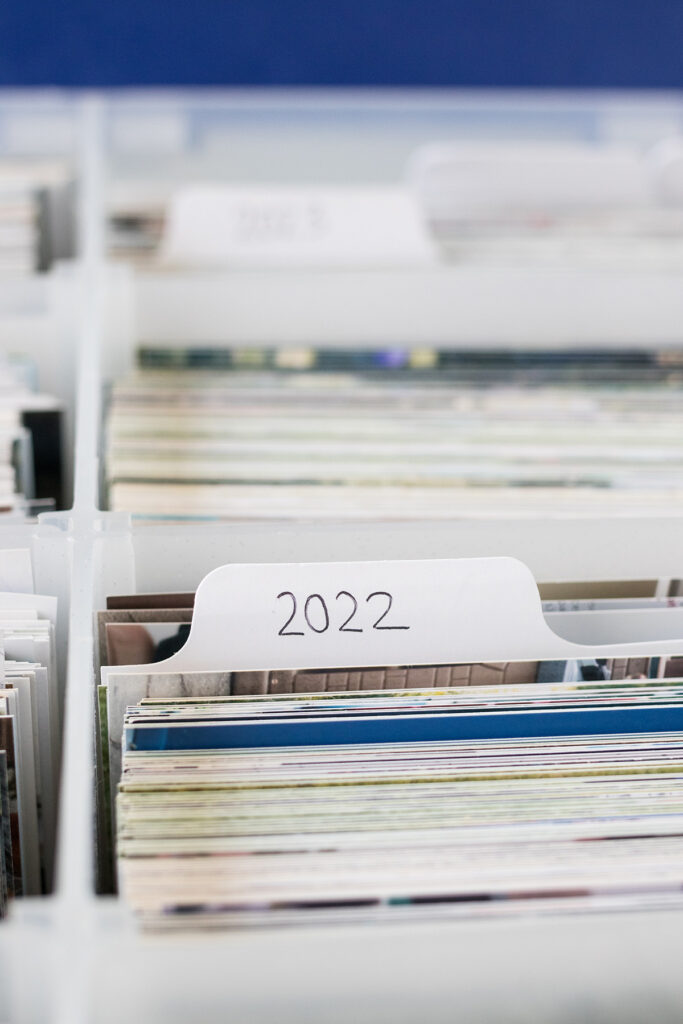
Once the photos are labeled, I sort and file them by date. For the Cropper Hoppers, I put labeled dividers for each year.
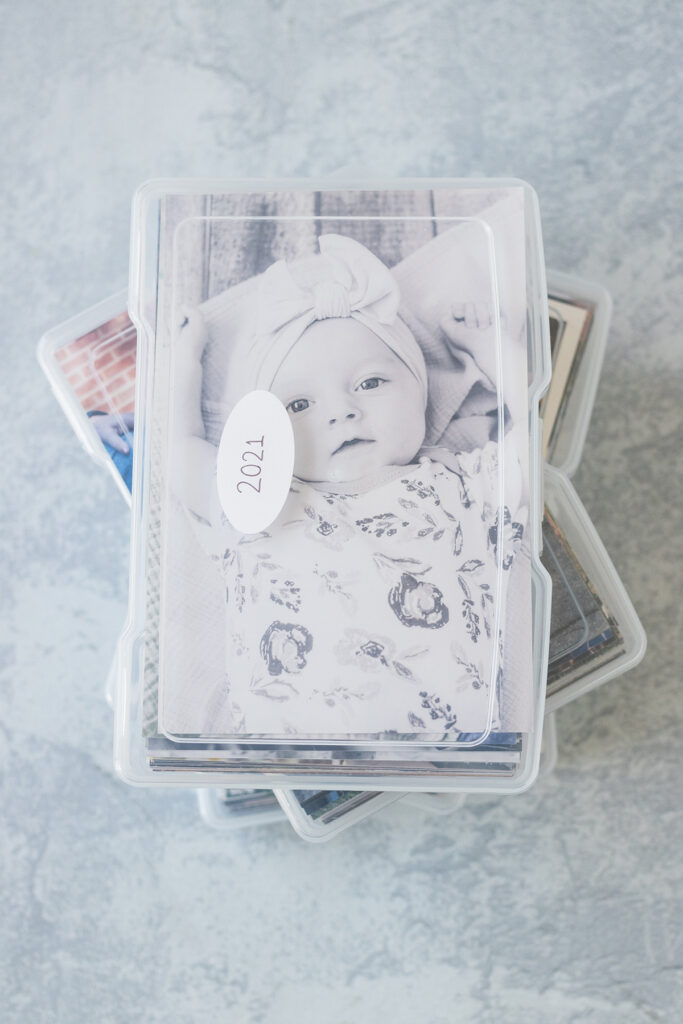
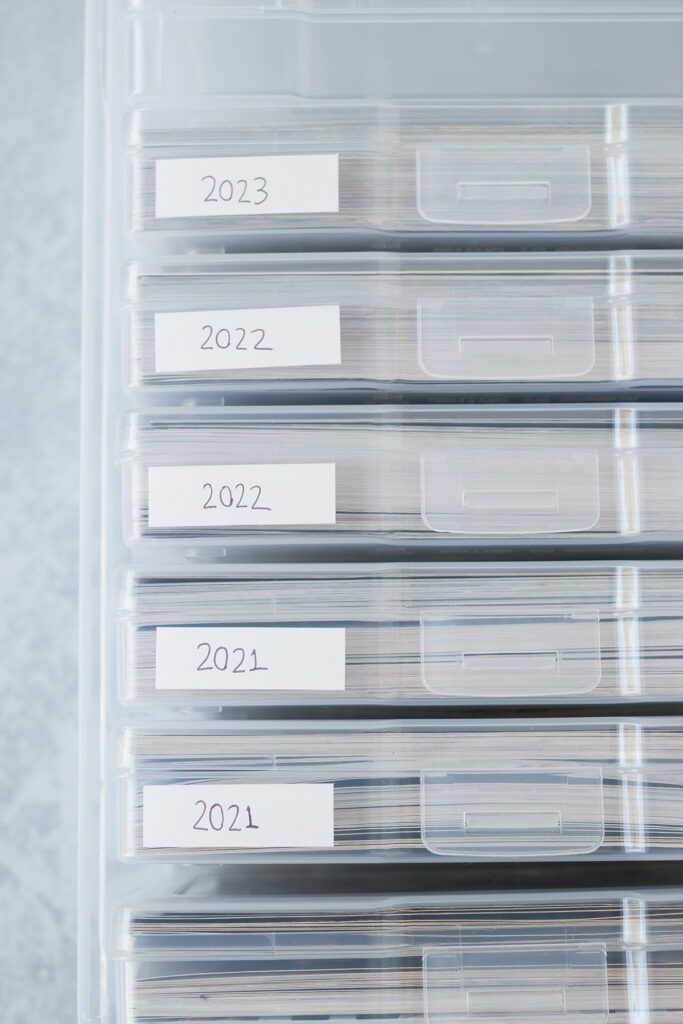
For the photo storage boxes, I label the smaller interior boxes with the year(s). I put one label on the front of the box and a second label on the top of the box so I can see all of the years easily whether the boxes are in or out of the storage container.
Yes, I am always behind on editing and printing photos. Then it takes me forever to label and sort the photos. It will always be a work in progress. But that’s okay.
Do you ever make photo books?
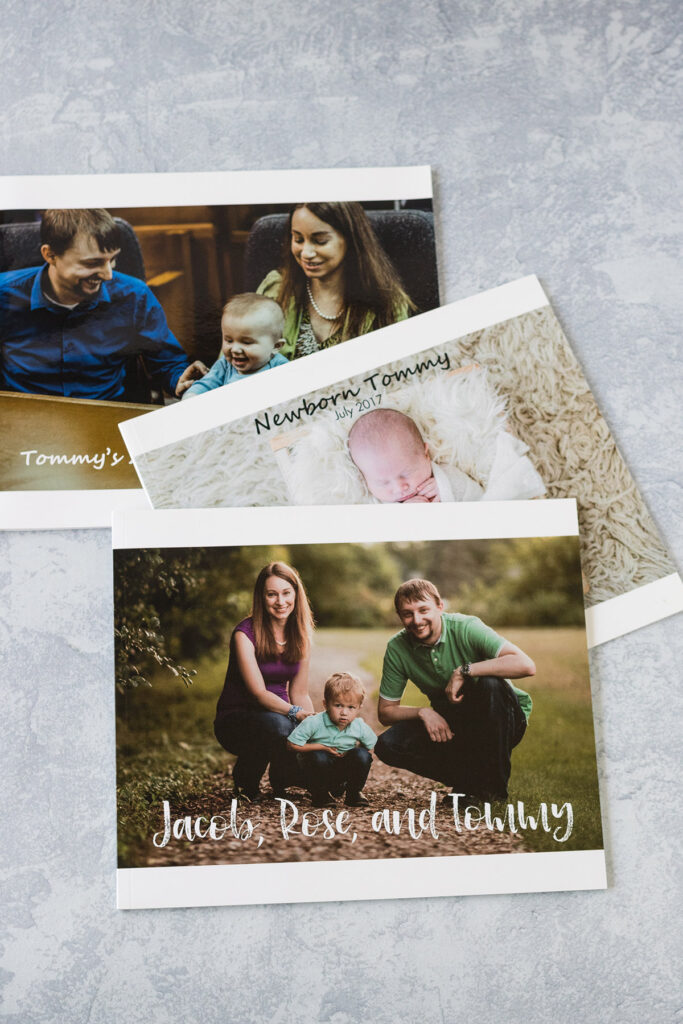
Before we had kids and then when Tommy was our only child, I made photo books fairly regularly. I love to make books for vacations and special events. I made books of Tommy’s newborn photos and his adoption finalization. In the above photo, I also included one of our adoption profile books.
I use Blurb to make all of my photo books. The Blurb software is built into Lightroom. It’s so easy to work with your photos right in Lightroom and then export the book to Blurb to have it printed. The prices are competitive, and the quality is good. A few other great options for photo books include Mpix, Printique, and Artifact Uprising.
As the girls get older, I’d like to get back into the habit of making books more regularly again. I plan to make books of their newborn photos and our vacations. Additionally, once I finish Annie’s monthly updates, I’d like to turn the update posts into books for each kid.
[Disclaimer: There are a few affiliate links in this post. Thanks for your support!]
What else would you like to know about how I organize my photos?
Please leave questions in the comments! I’d love to hear more about your digital photo workflow, too, including what does and doesn’t work well for you. If you share any photos of your organized printed photos, please tag me #RoseClearfield on Instagram or Twitter or post a photo to my Facebook page.
Pin this post for easy access to the how I organize my photos resource later!